Visuele inspiratie
Promptbibliotheek
Sterke AI-resultaten uit het wild, mét de prompt erbij. Klik op een beeld, kopieer de prompt en maak er iets eigens van.
Krijg de prompts die indruk maken
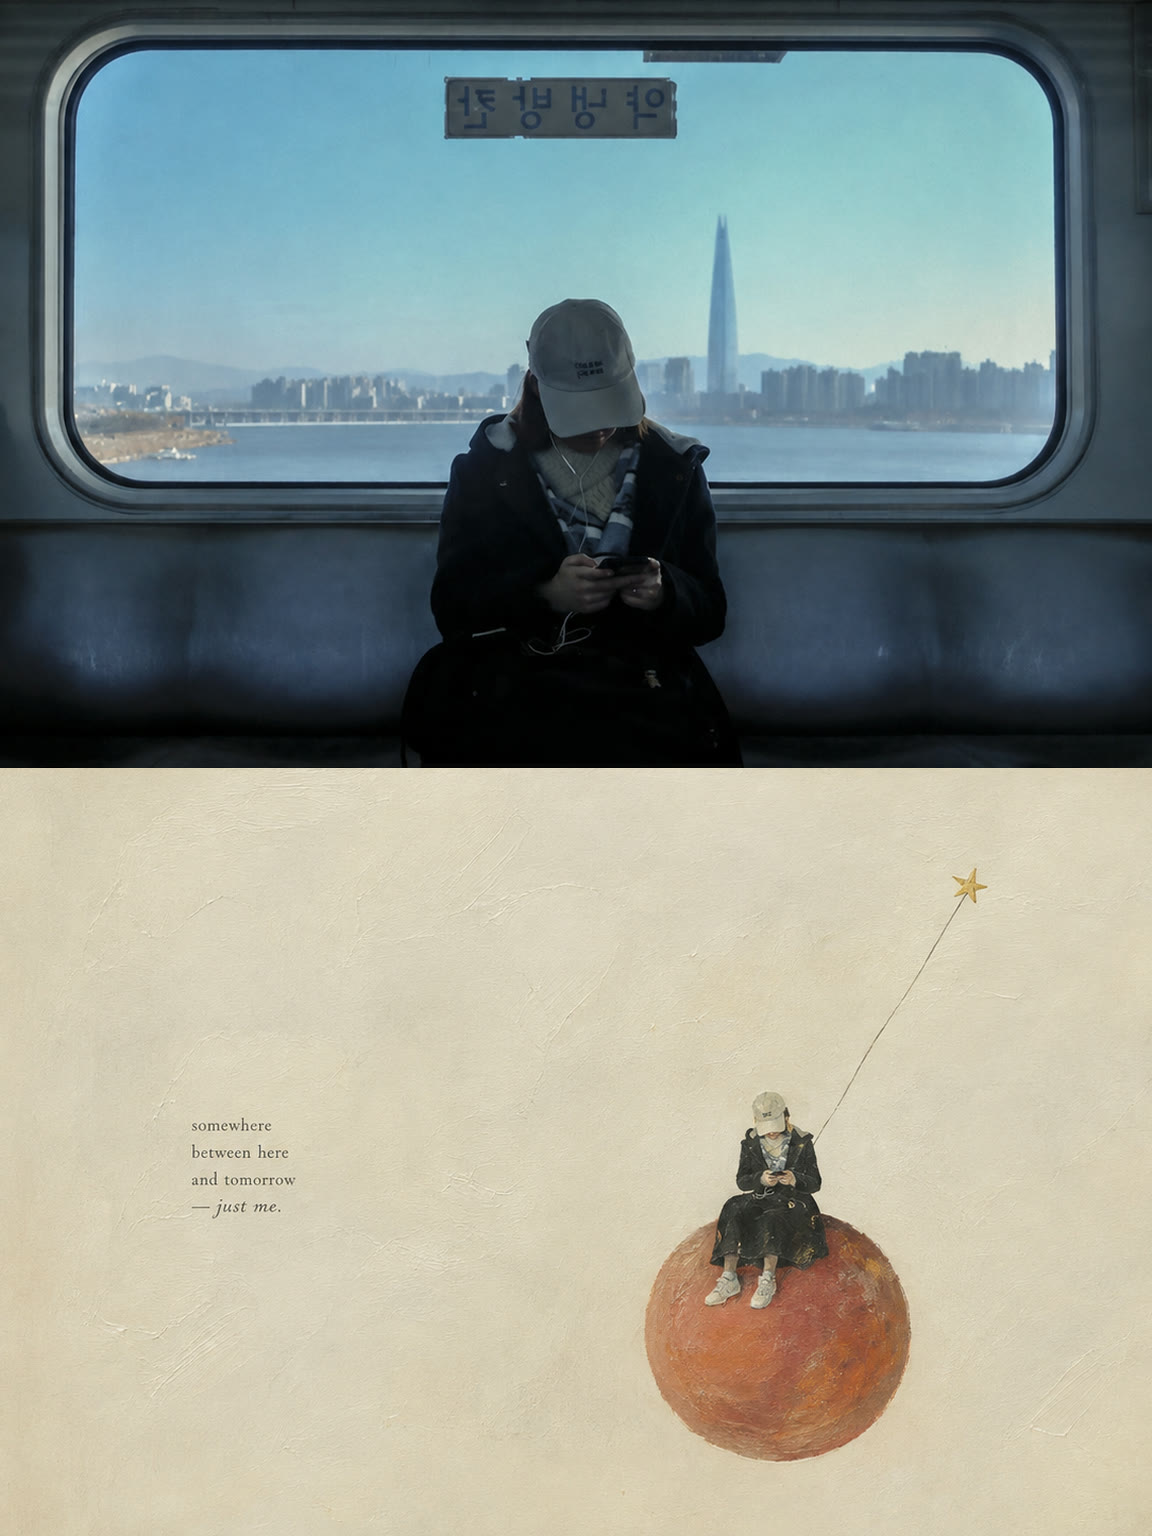
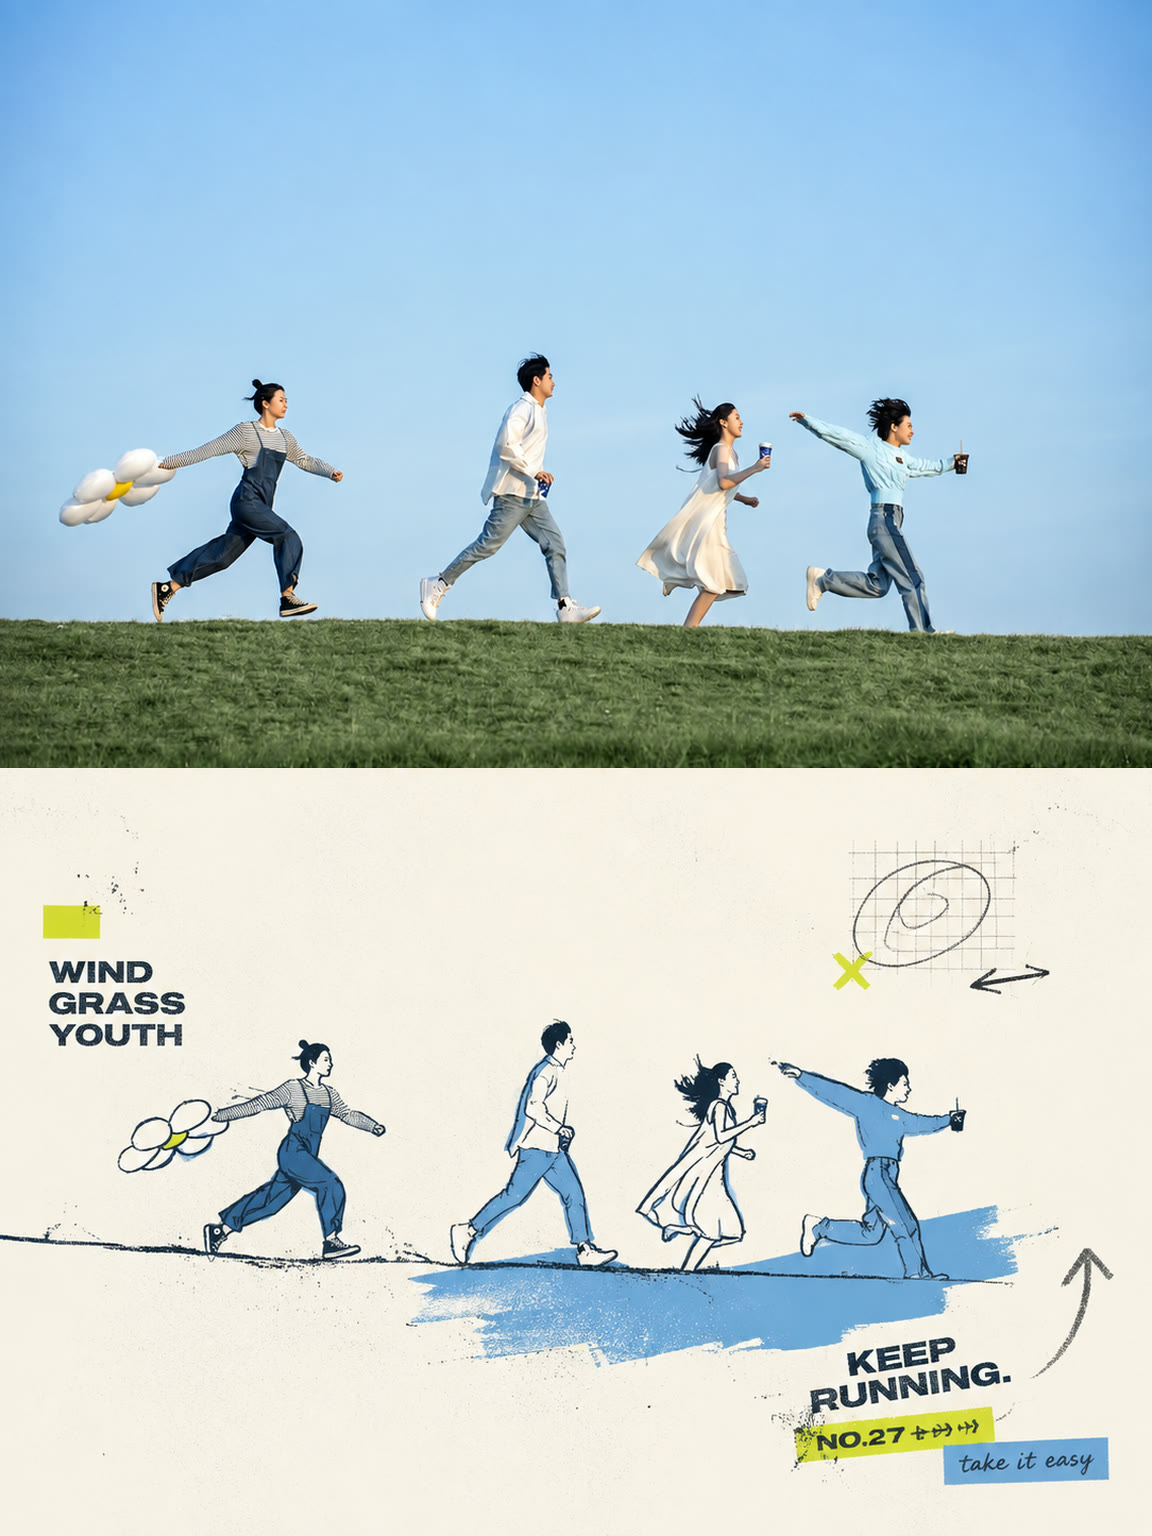
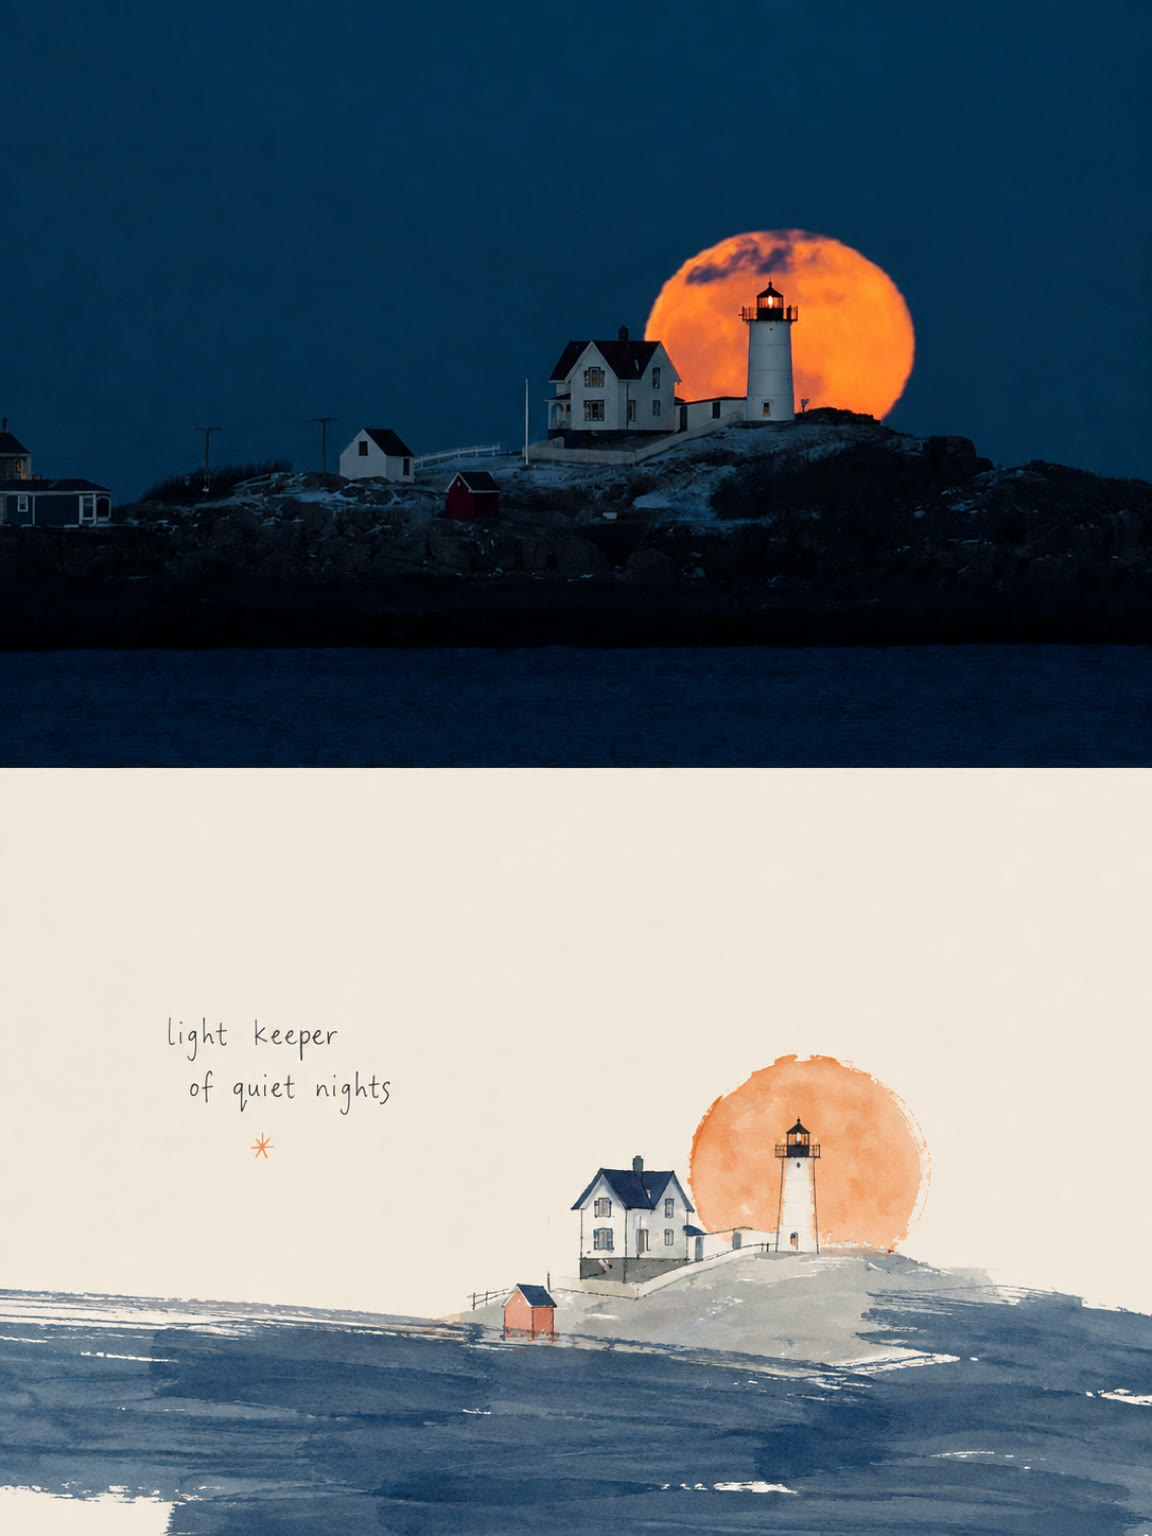
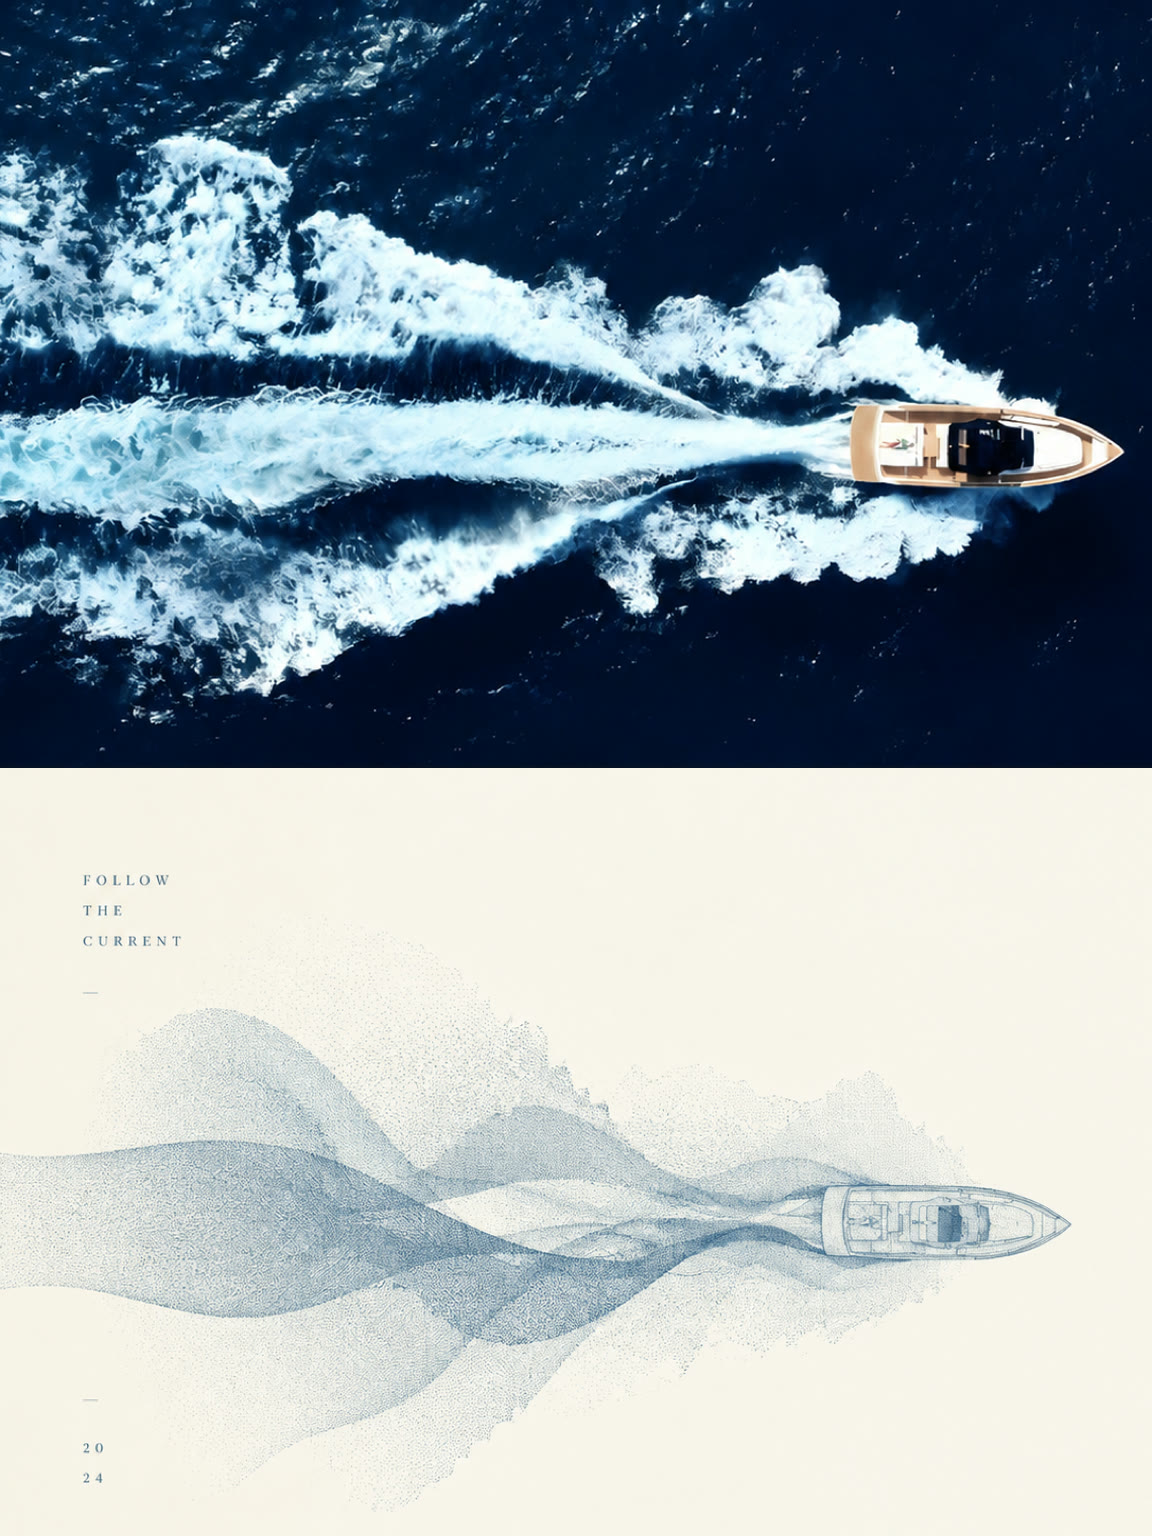
Krijg de prompts die indruk maken
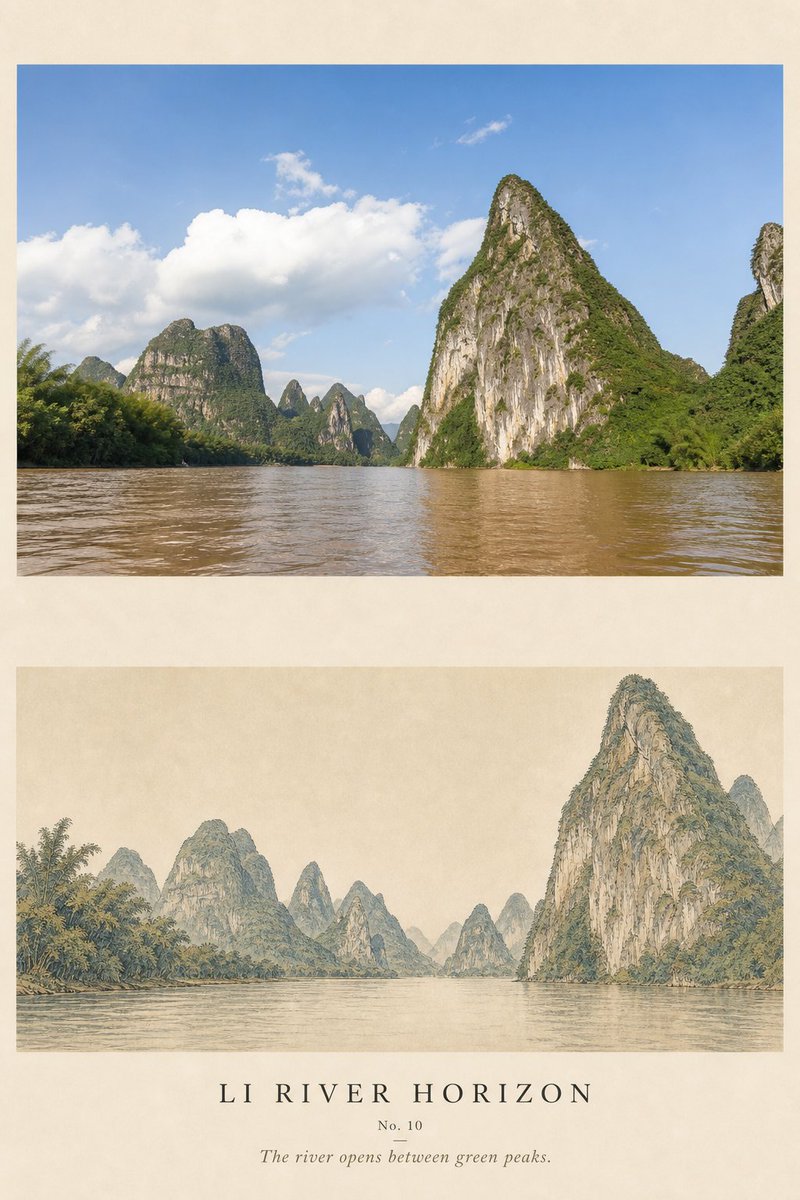
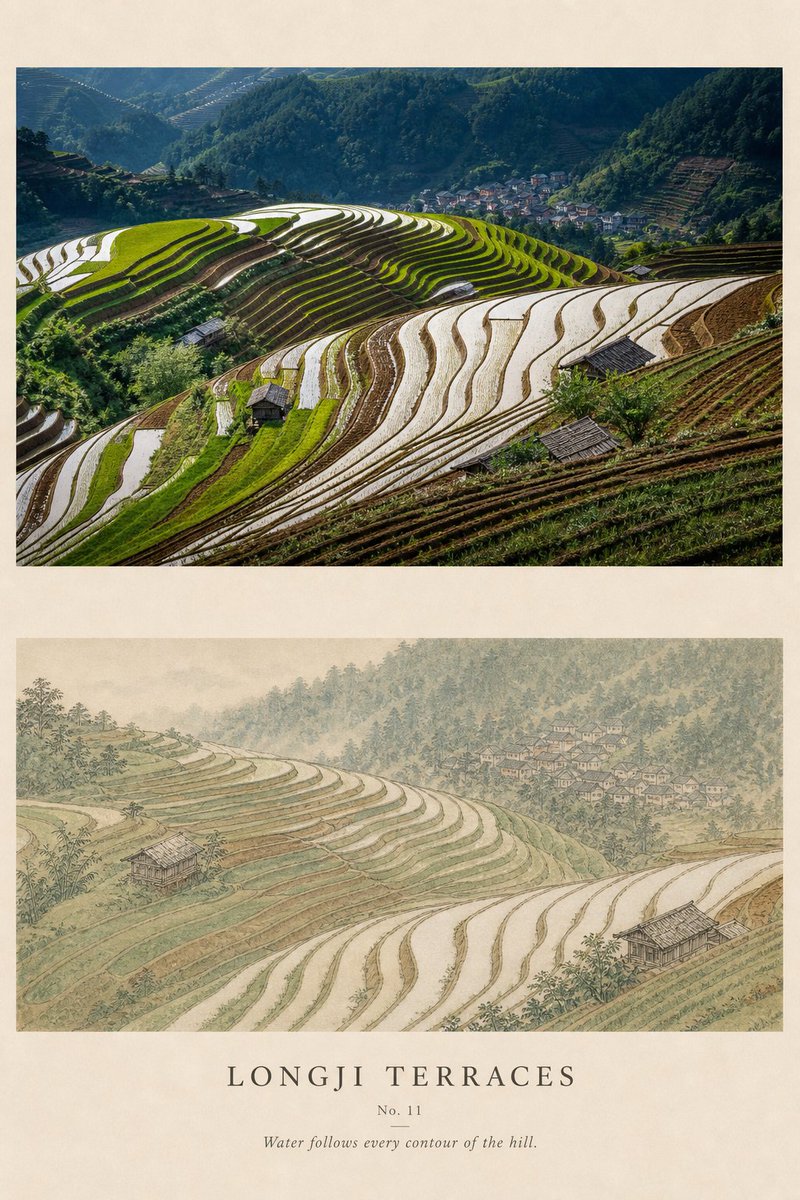
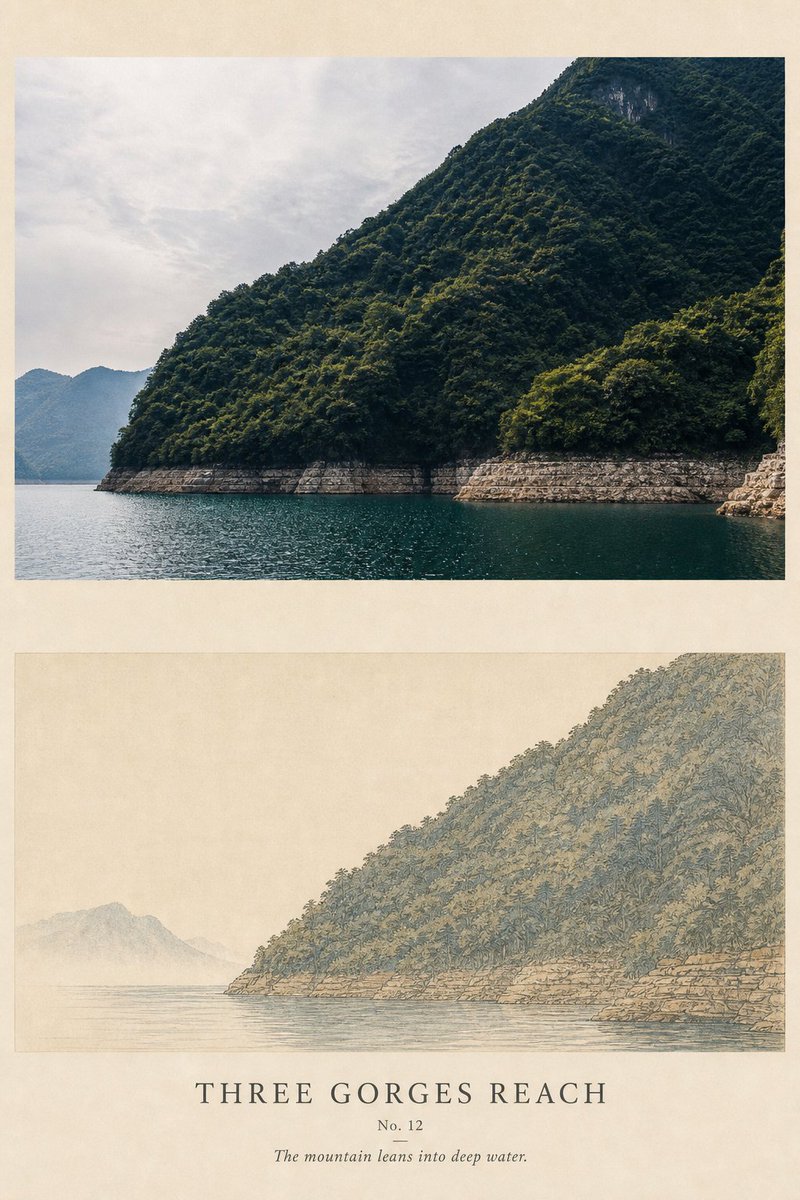
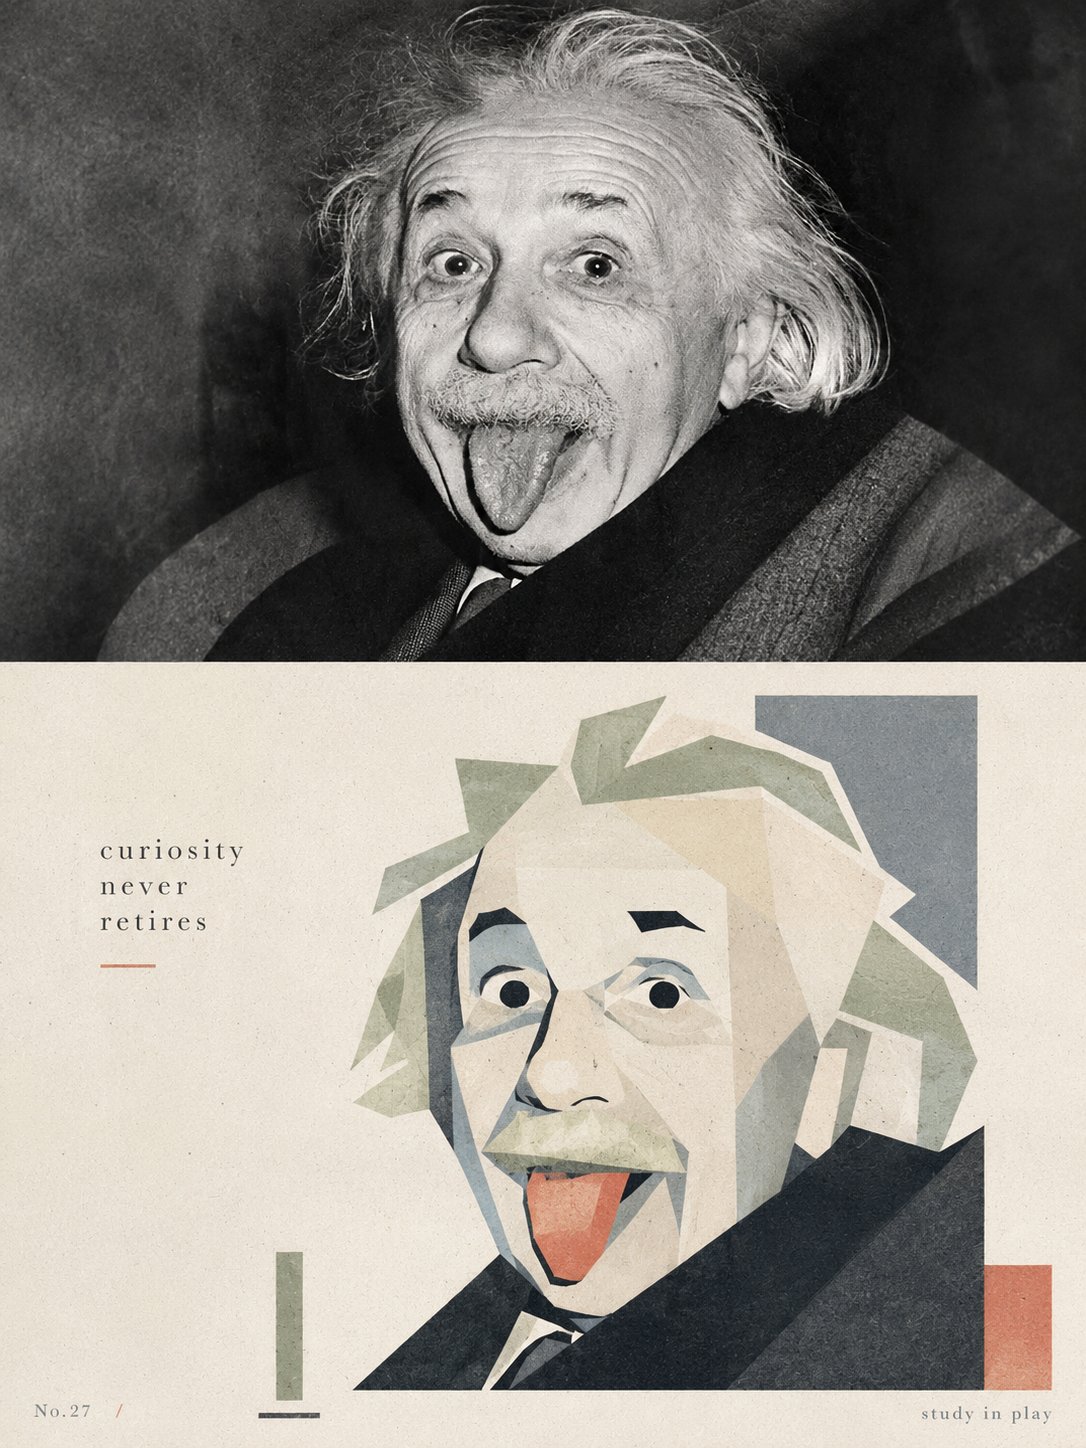
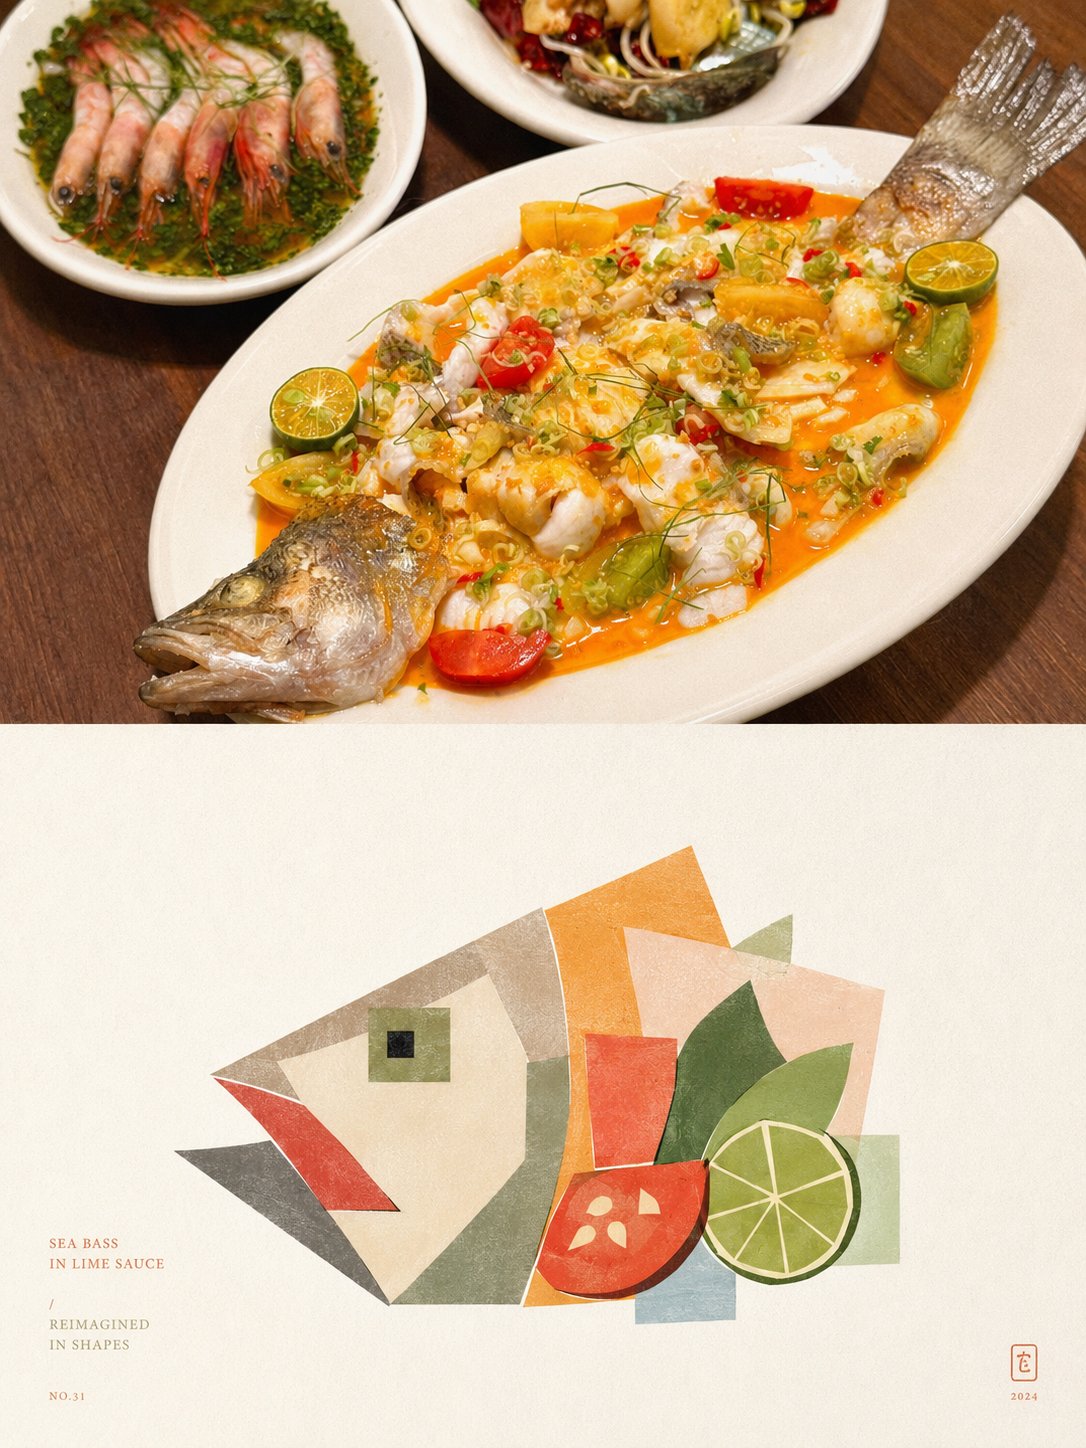
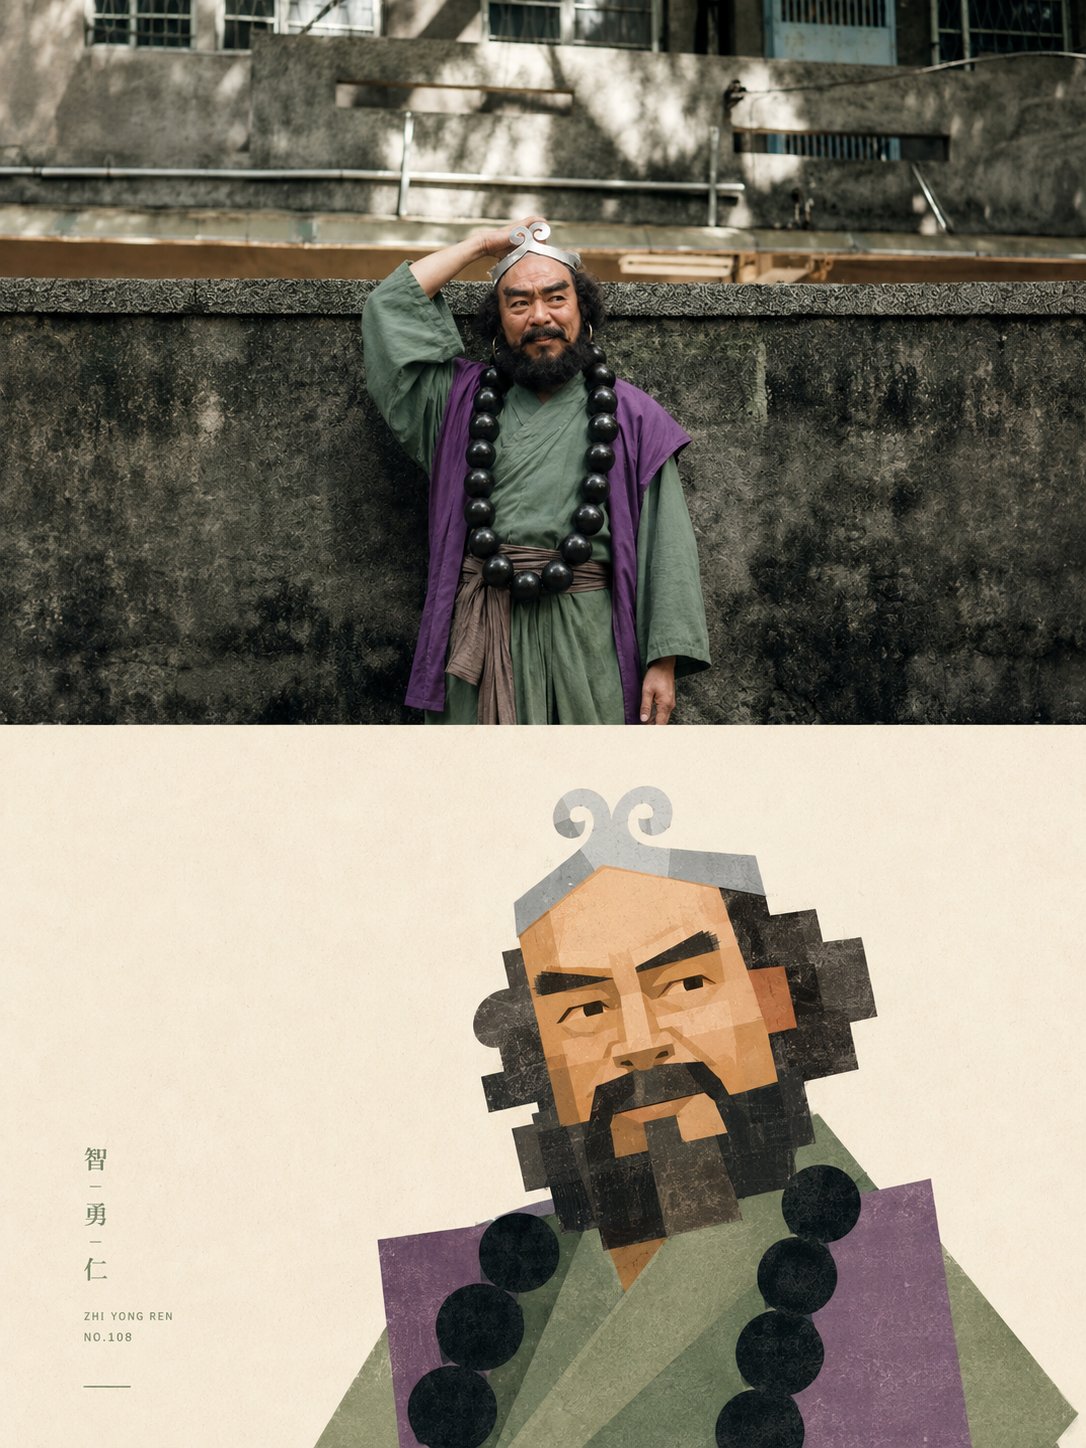
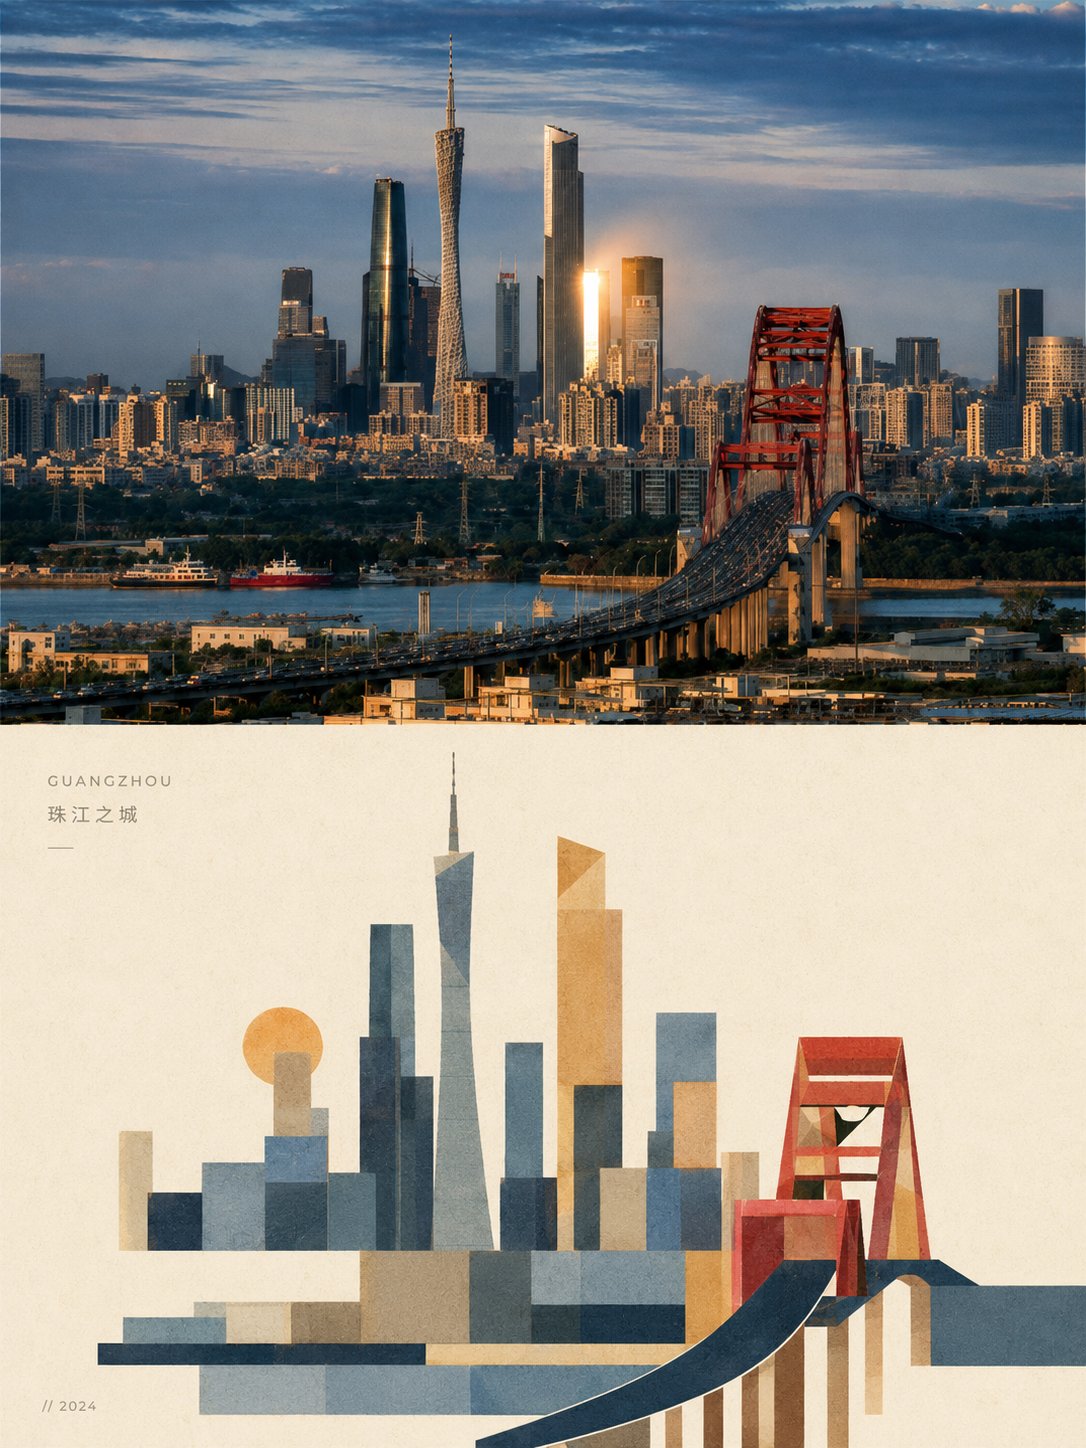
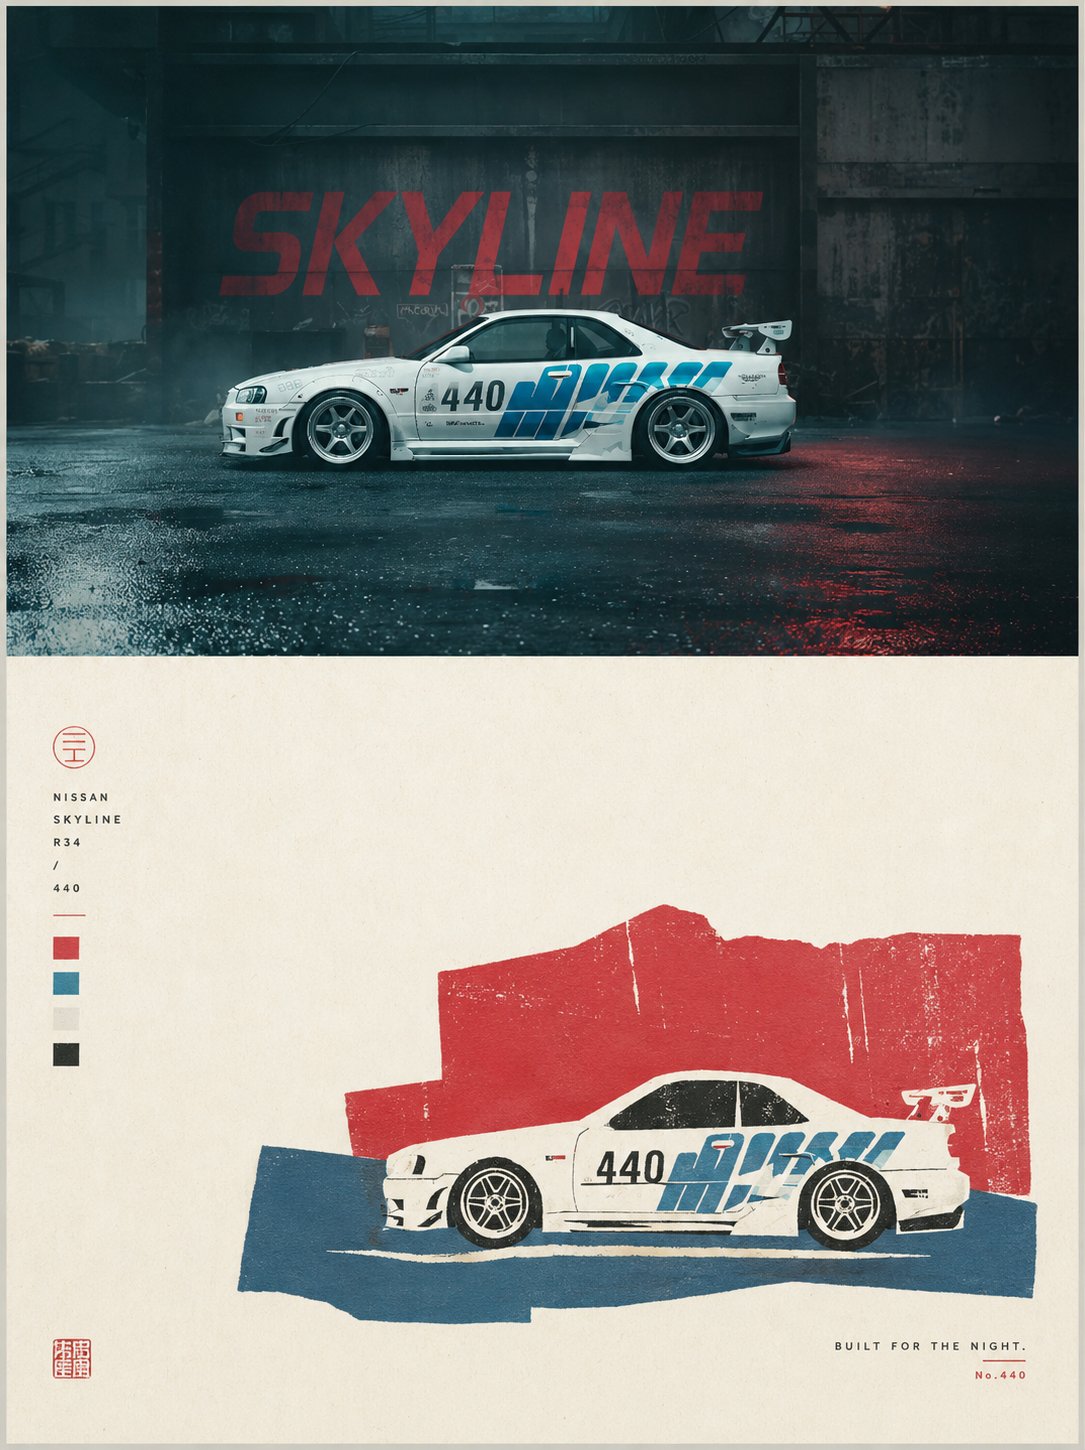
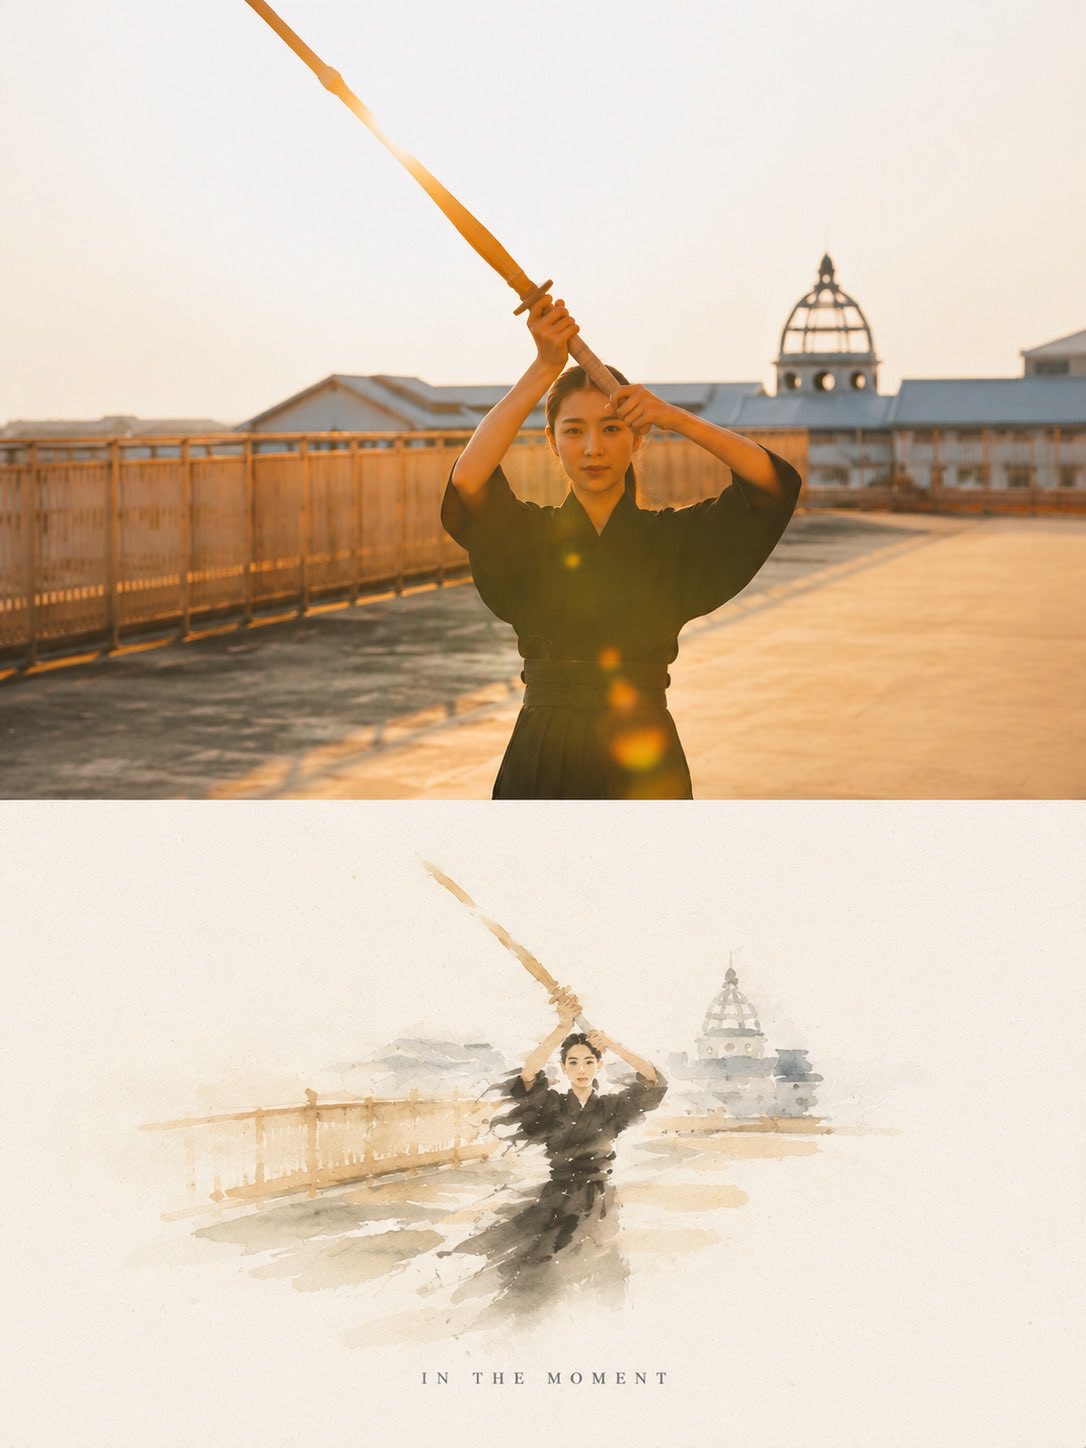
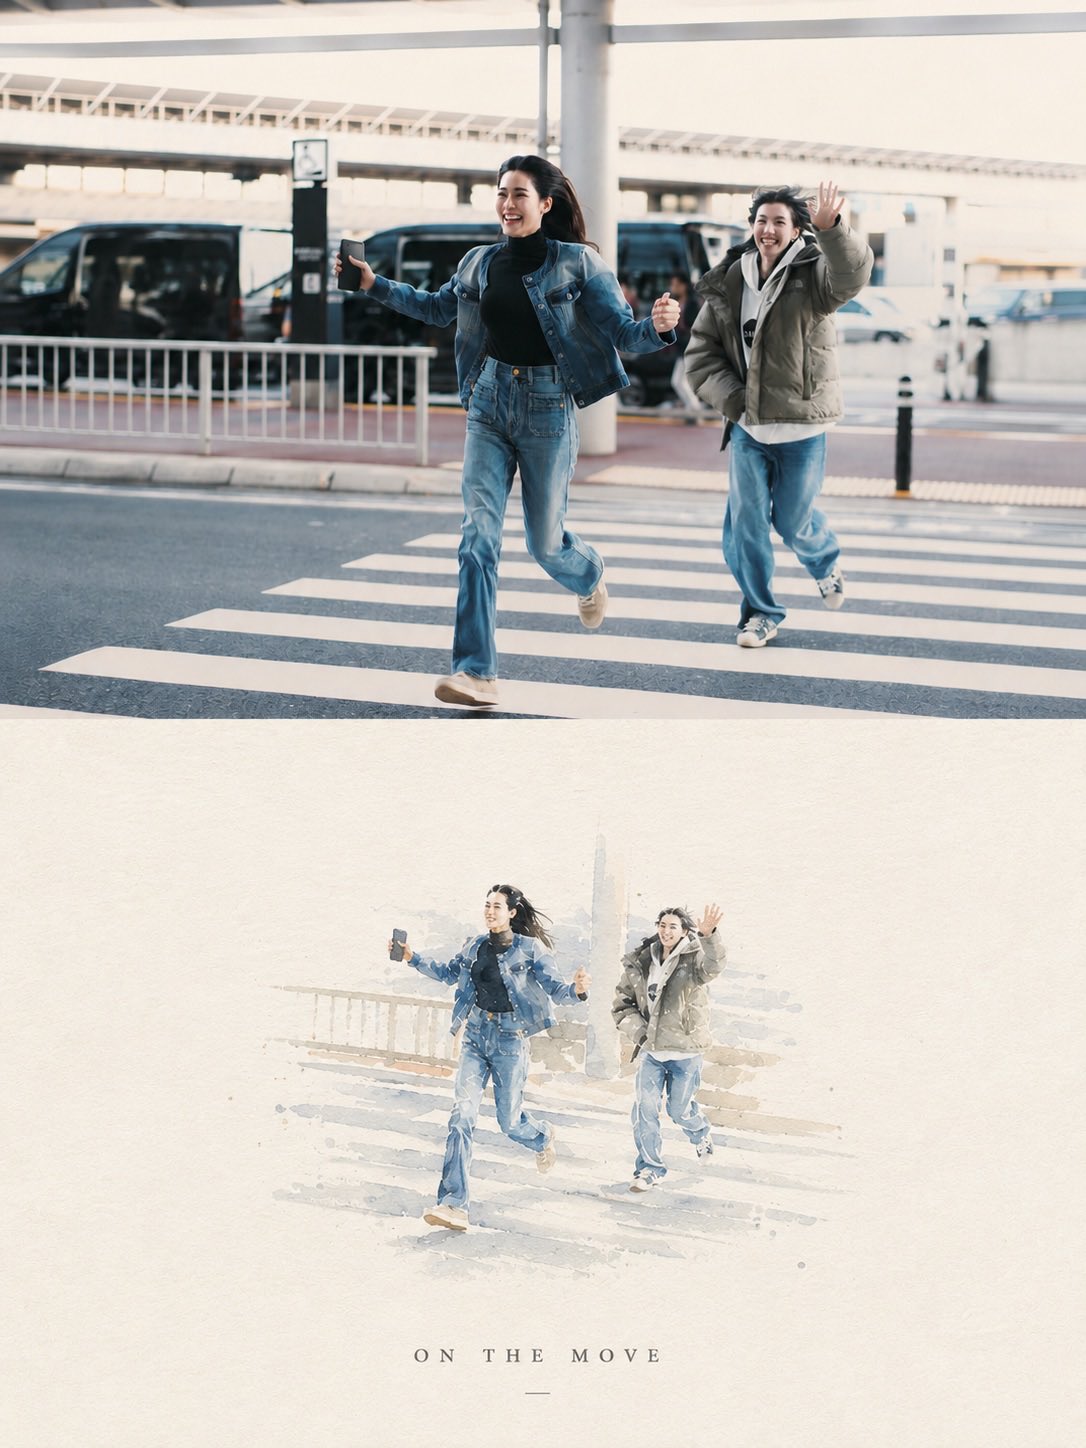
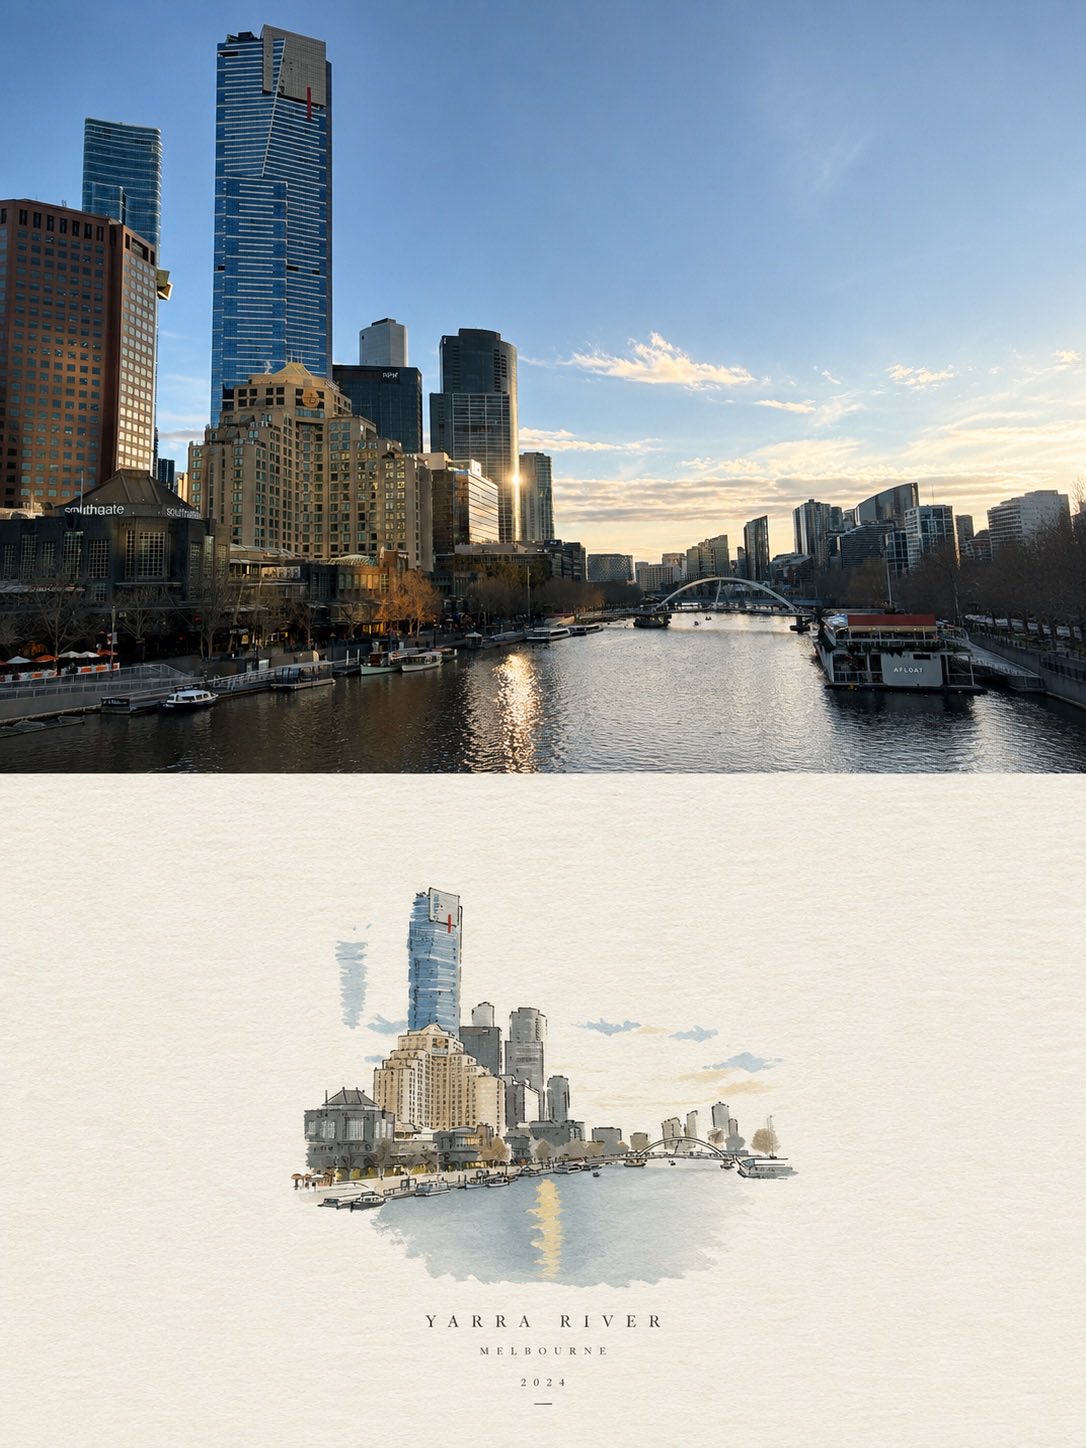
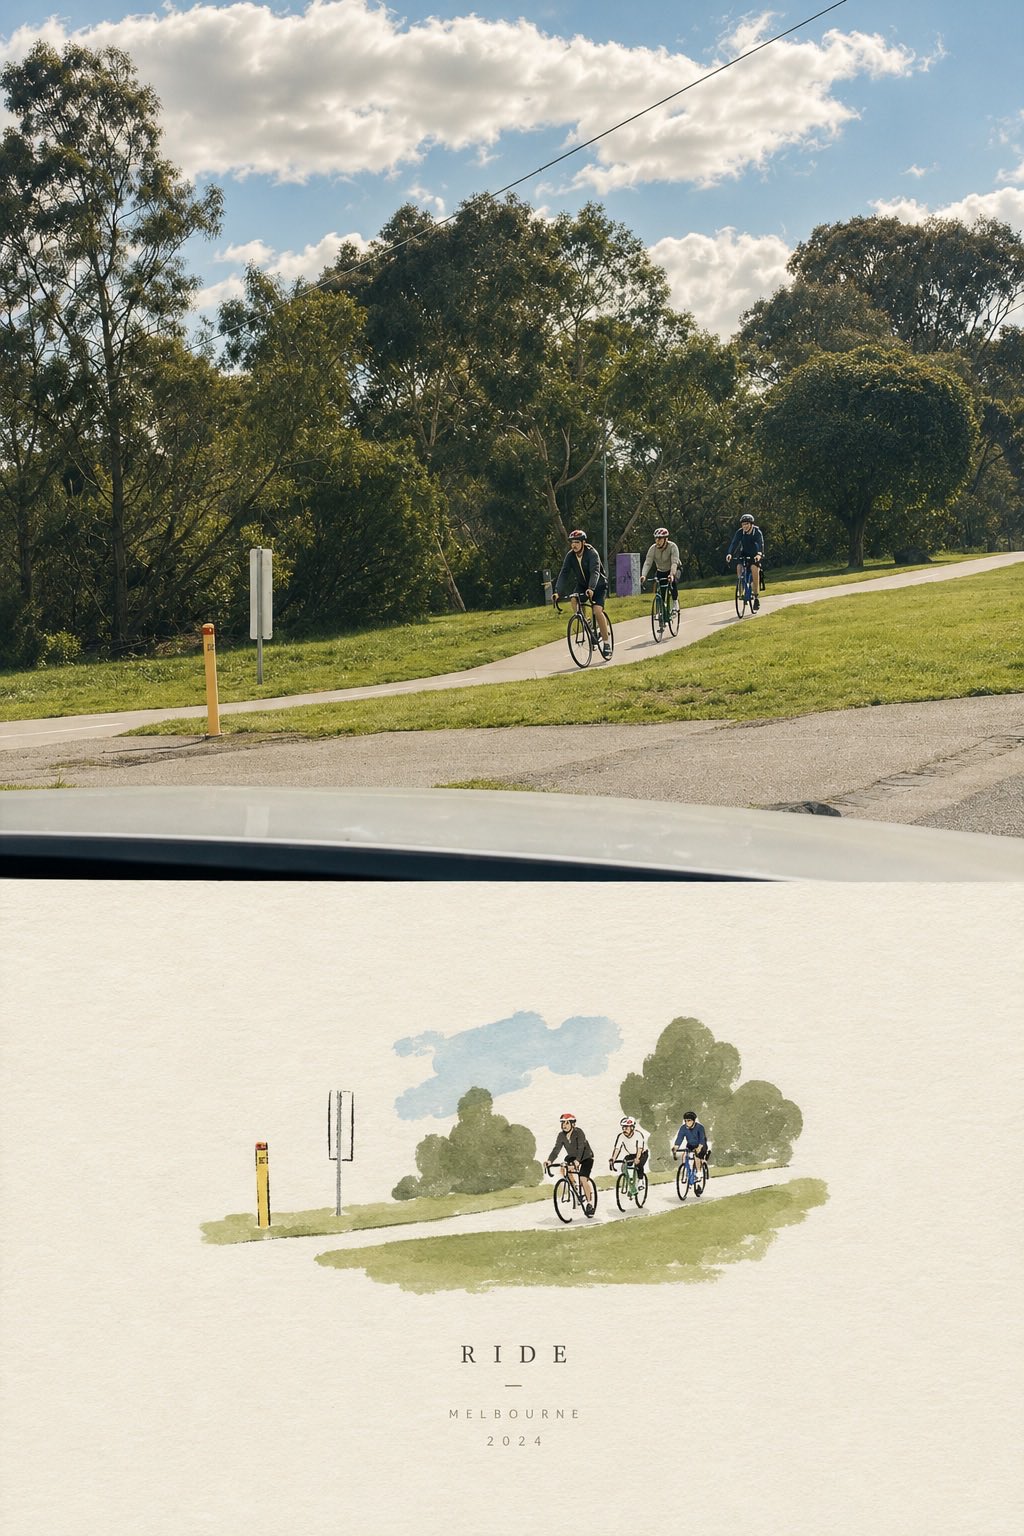
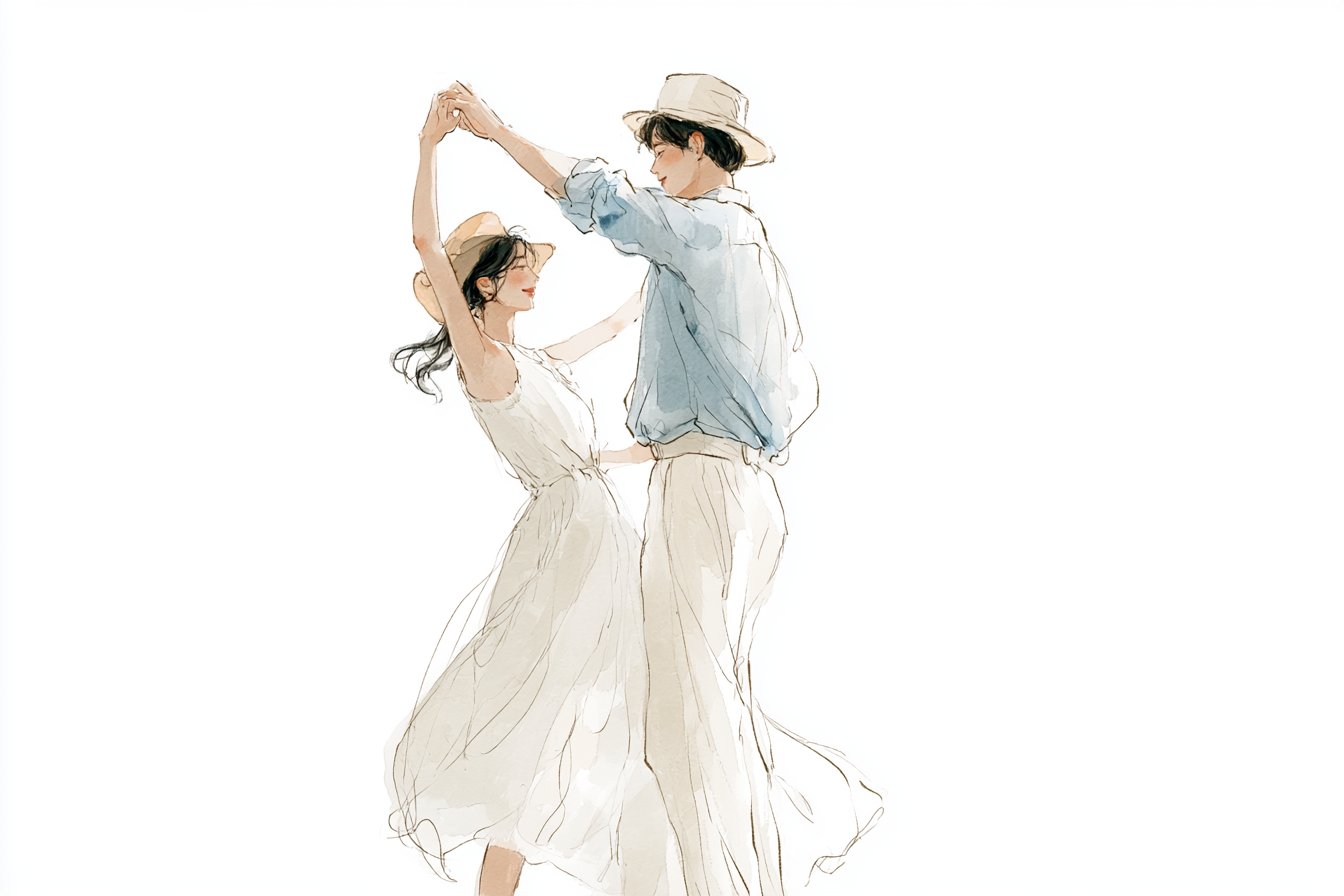
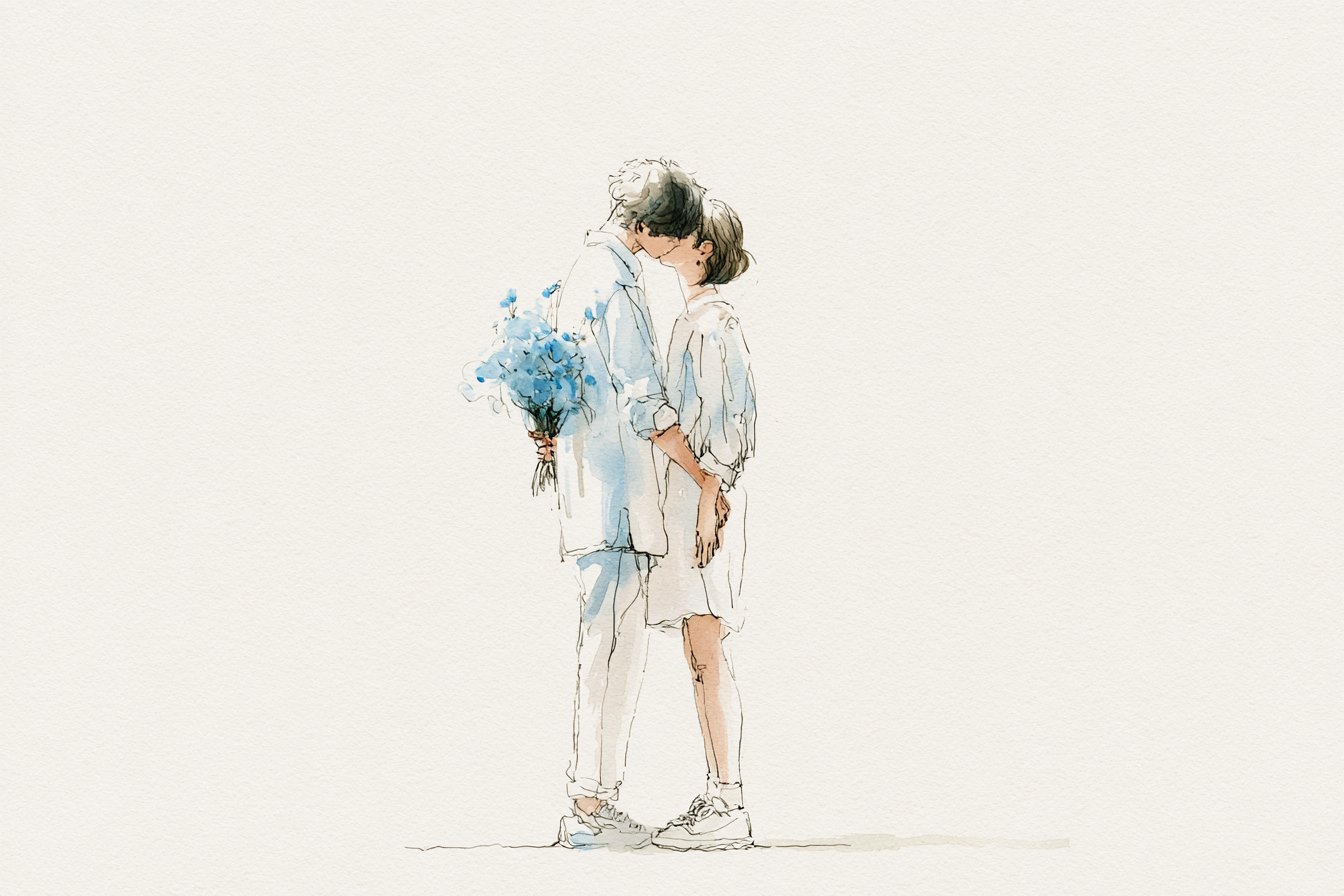
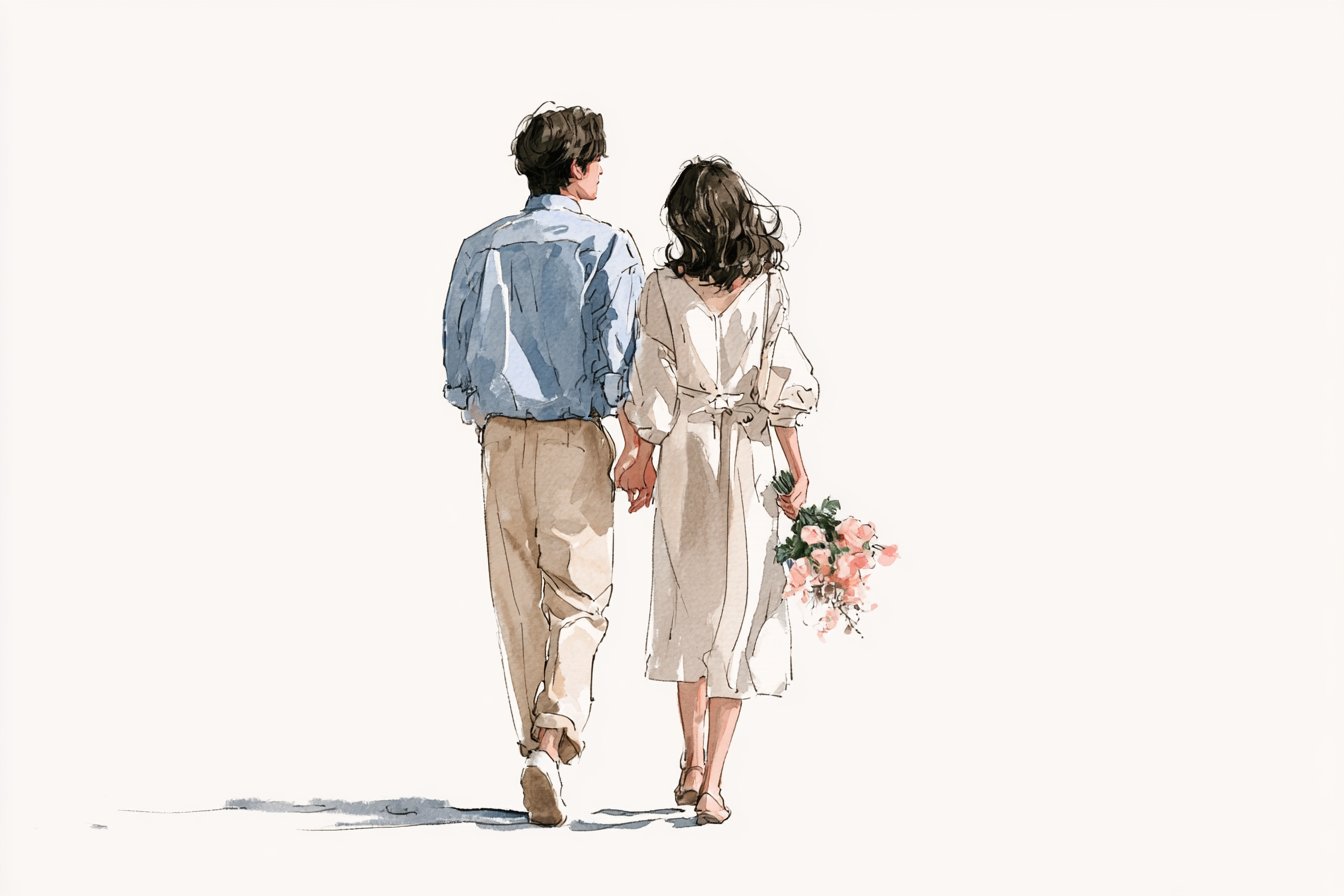
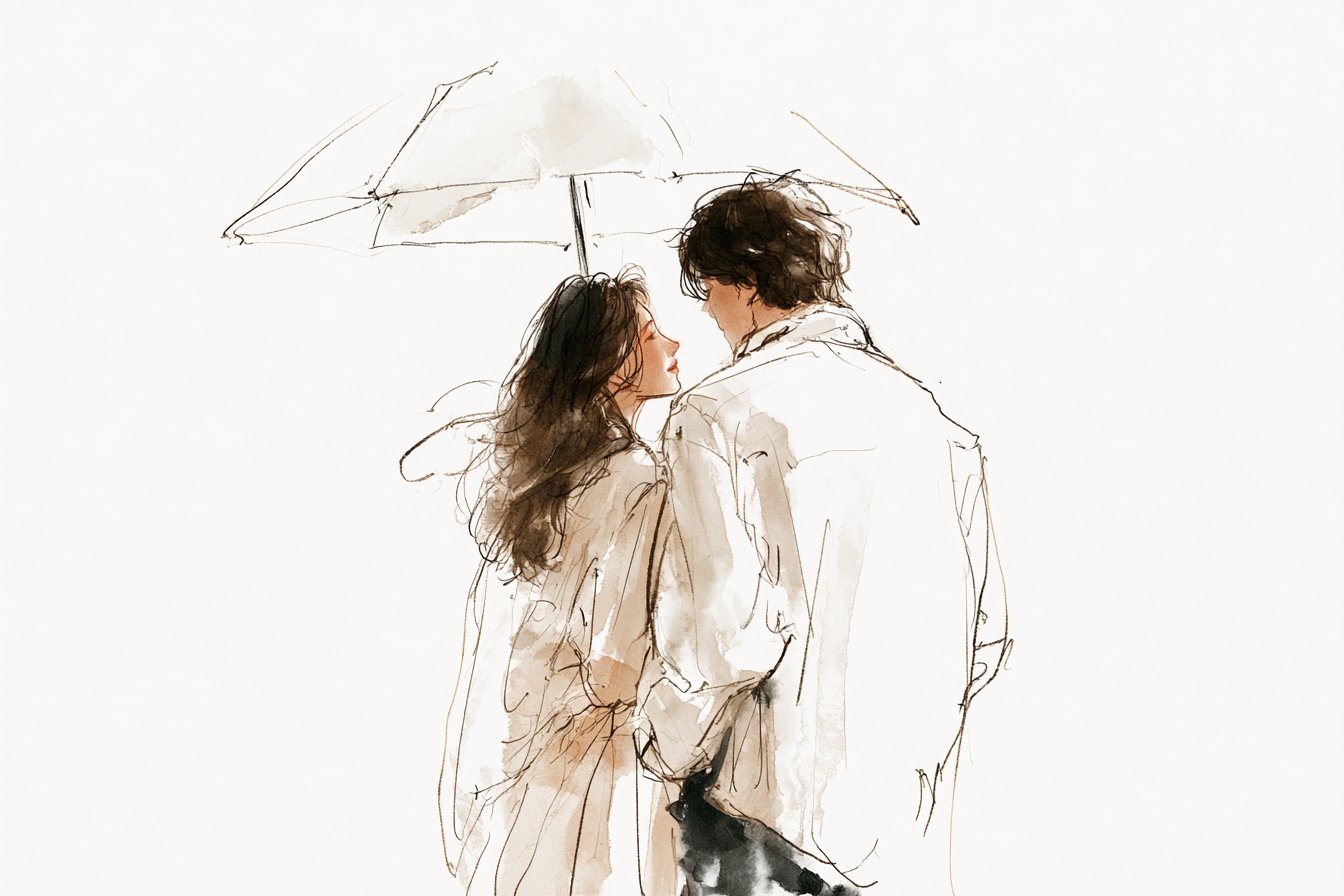
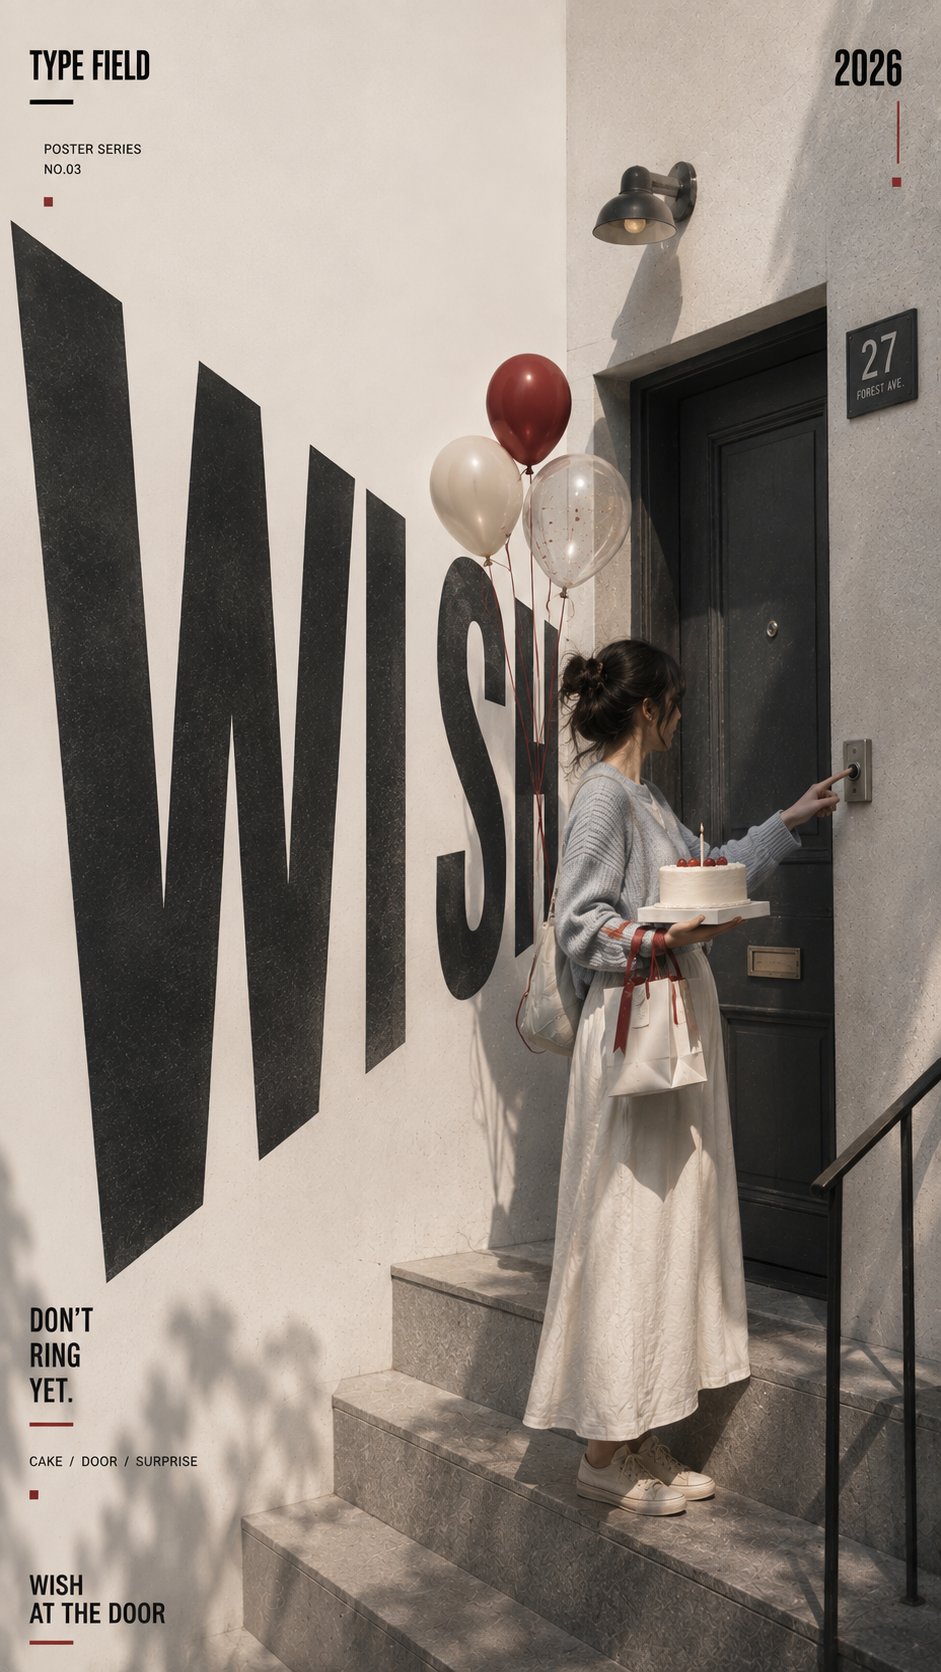
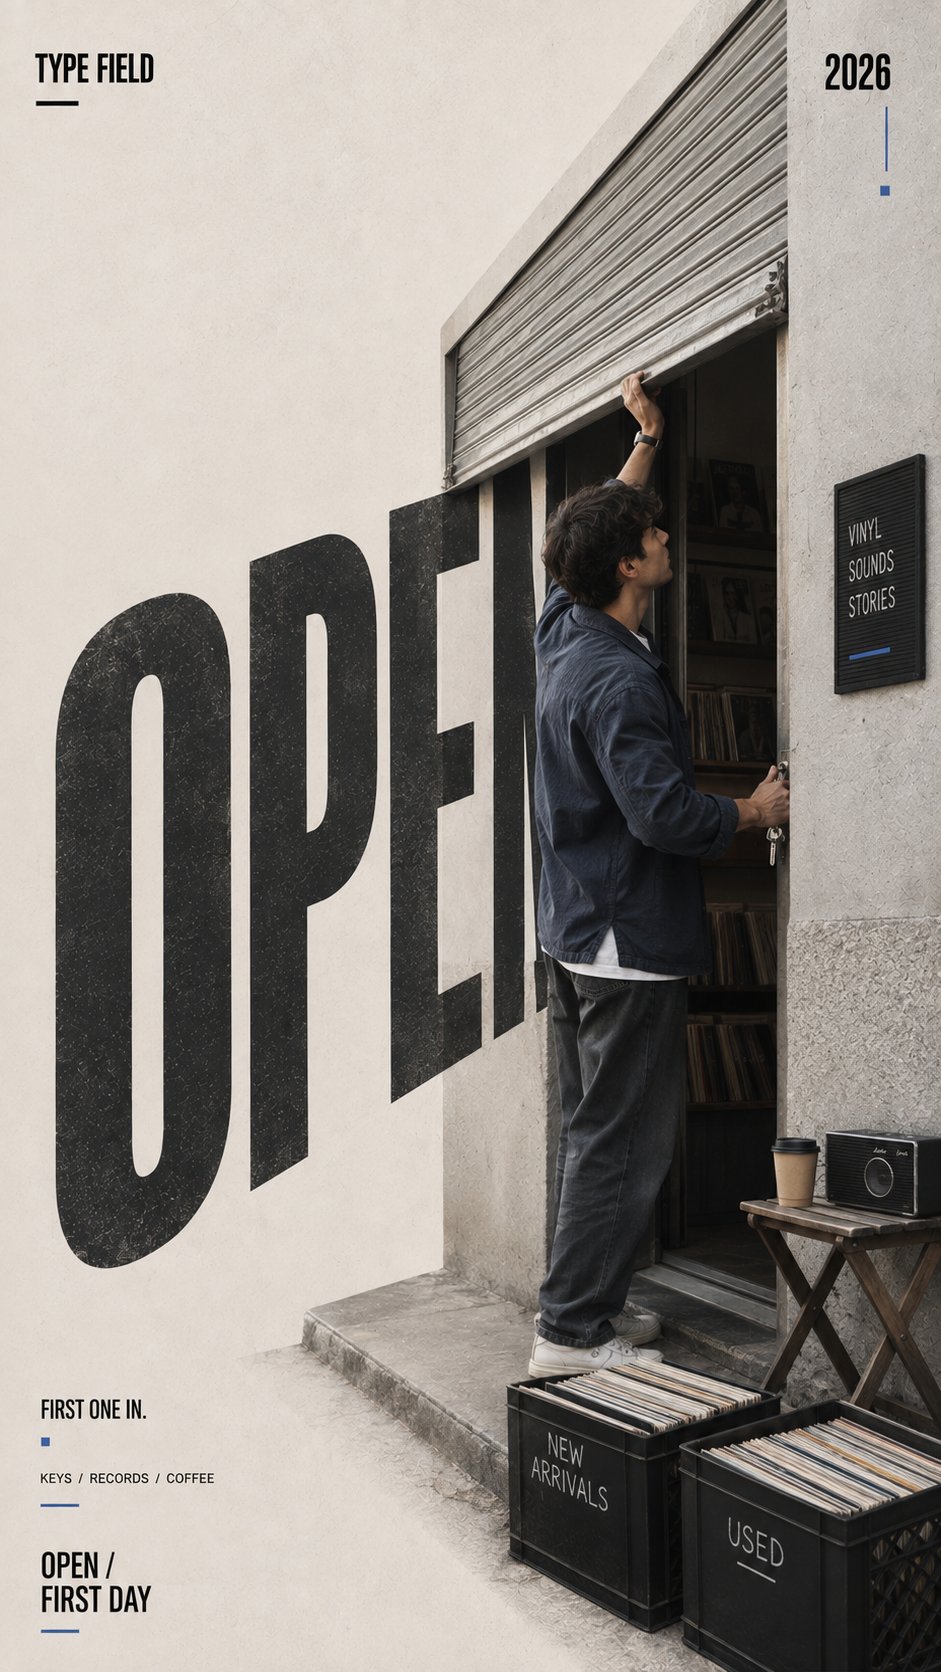
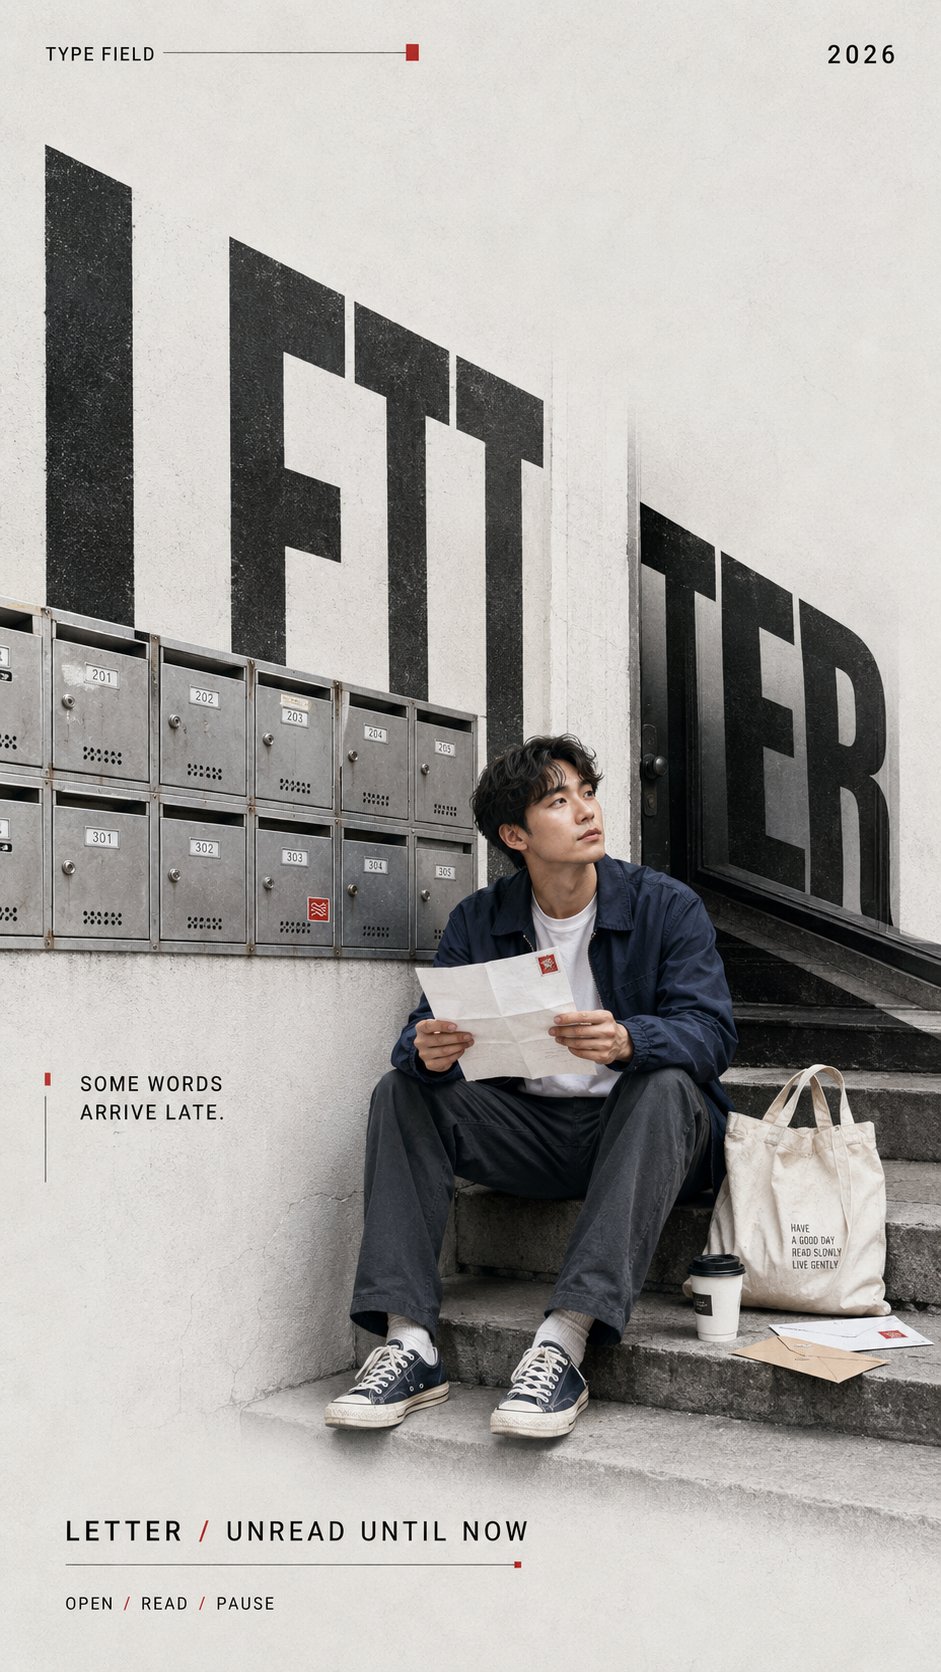
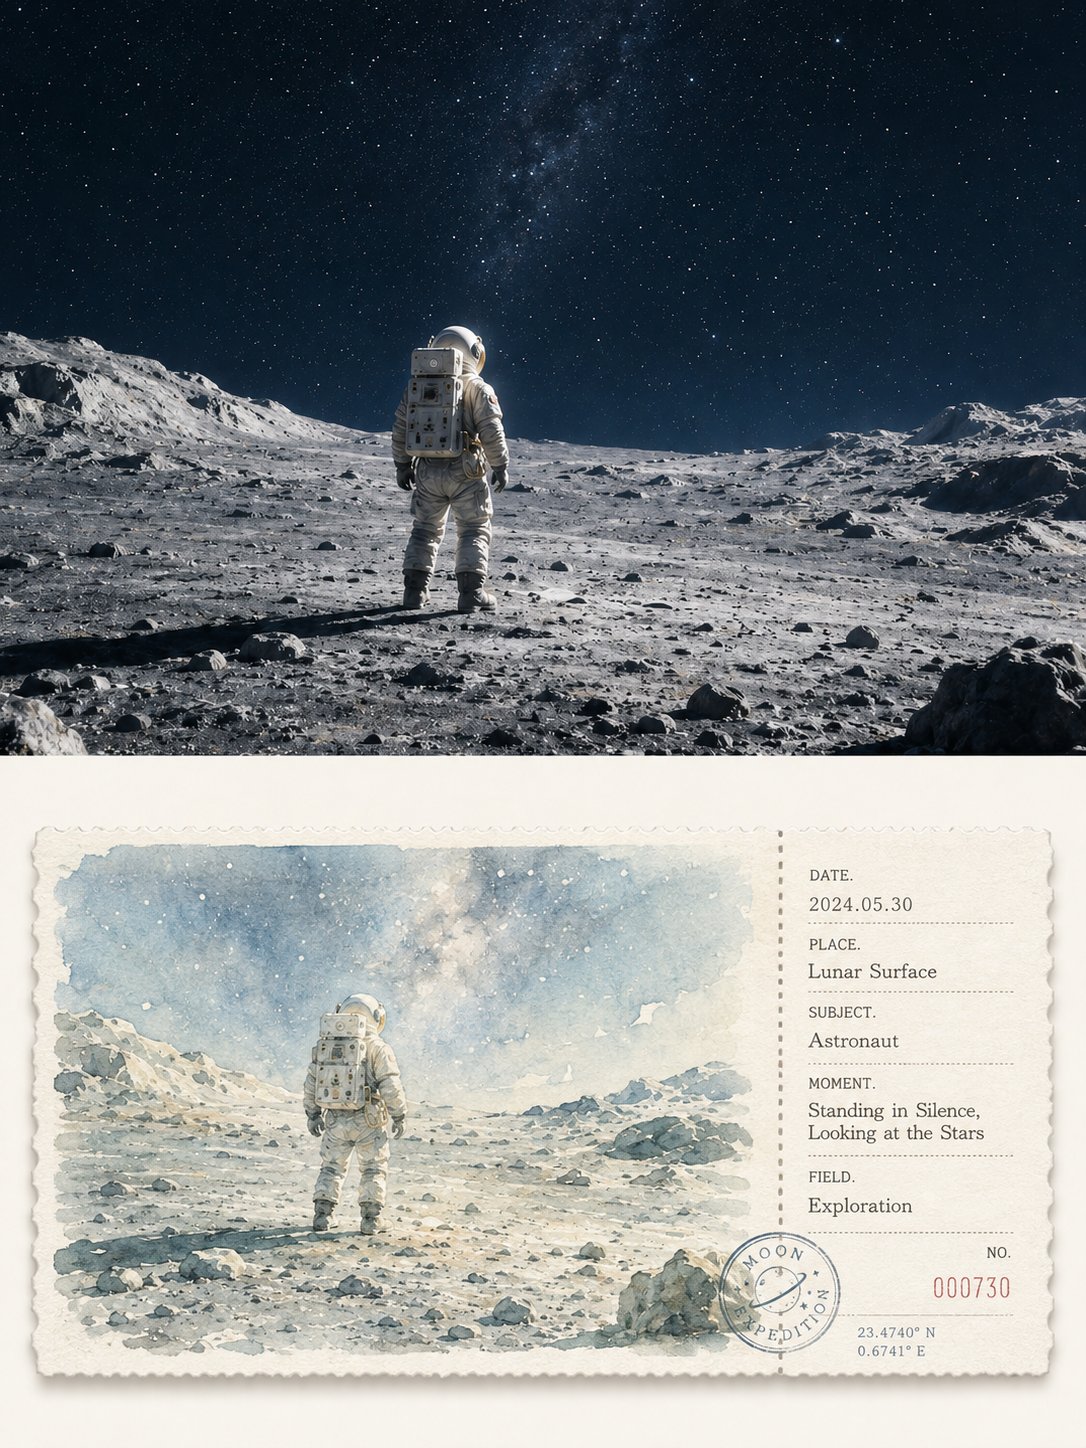
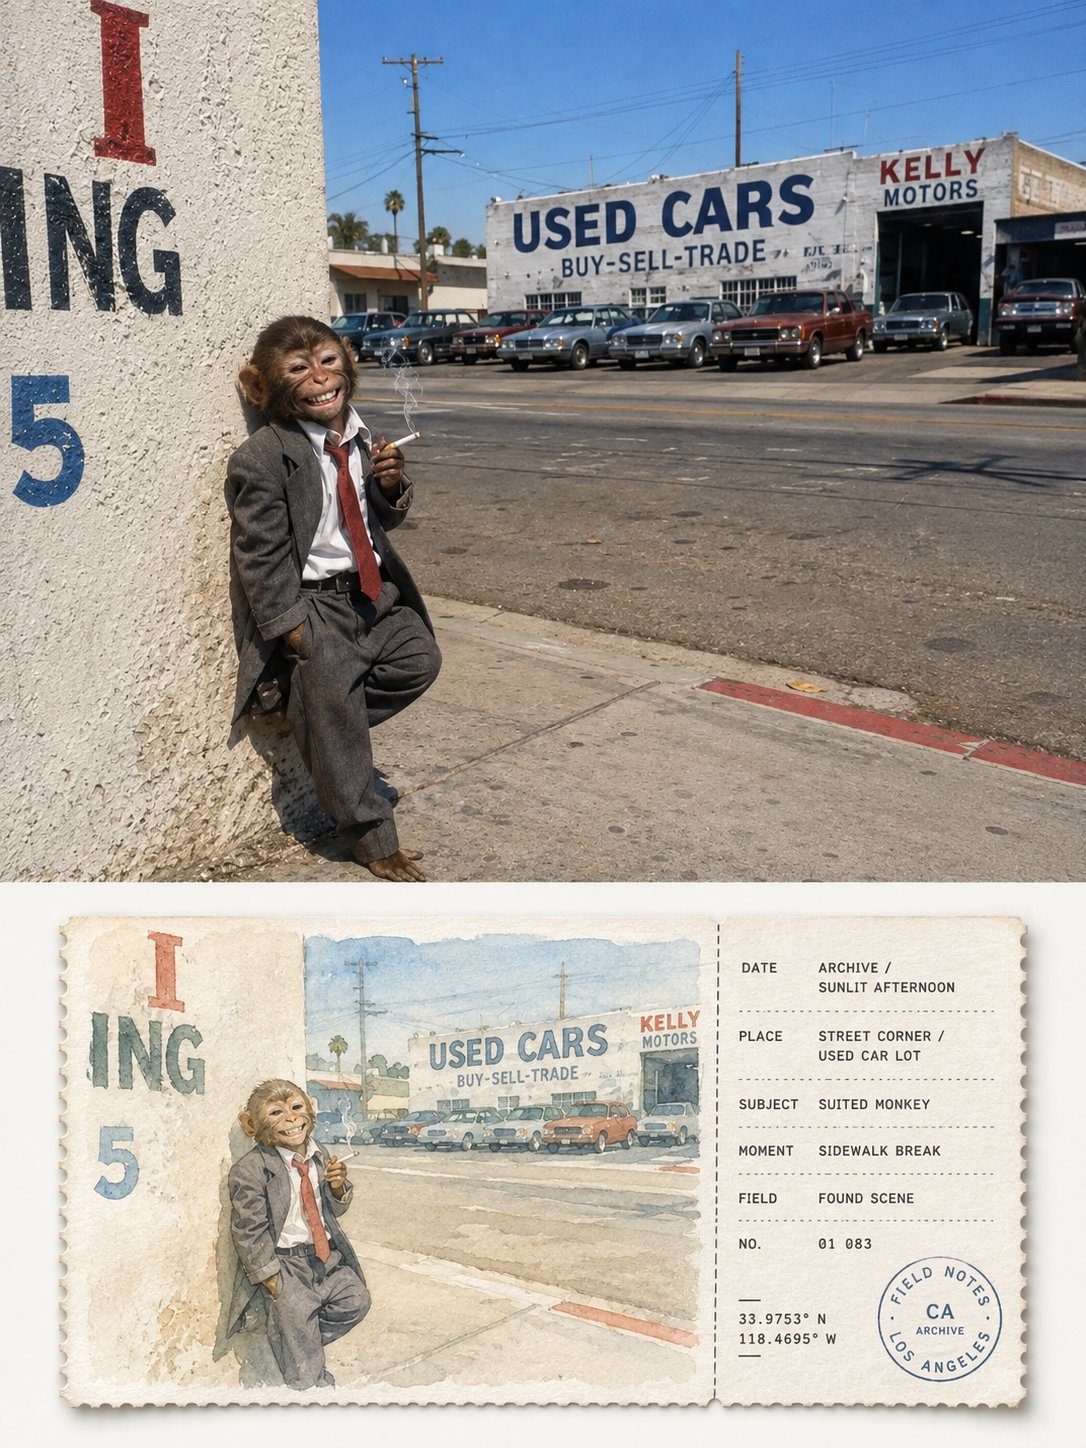
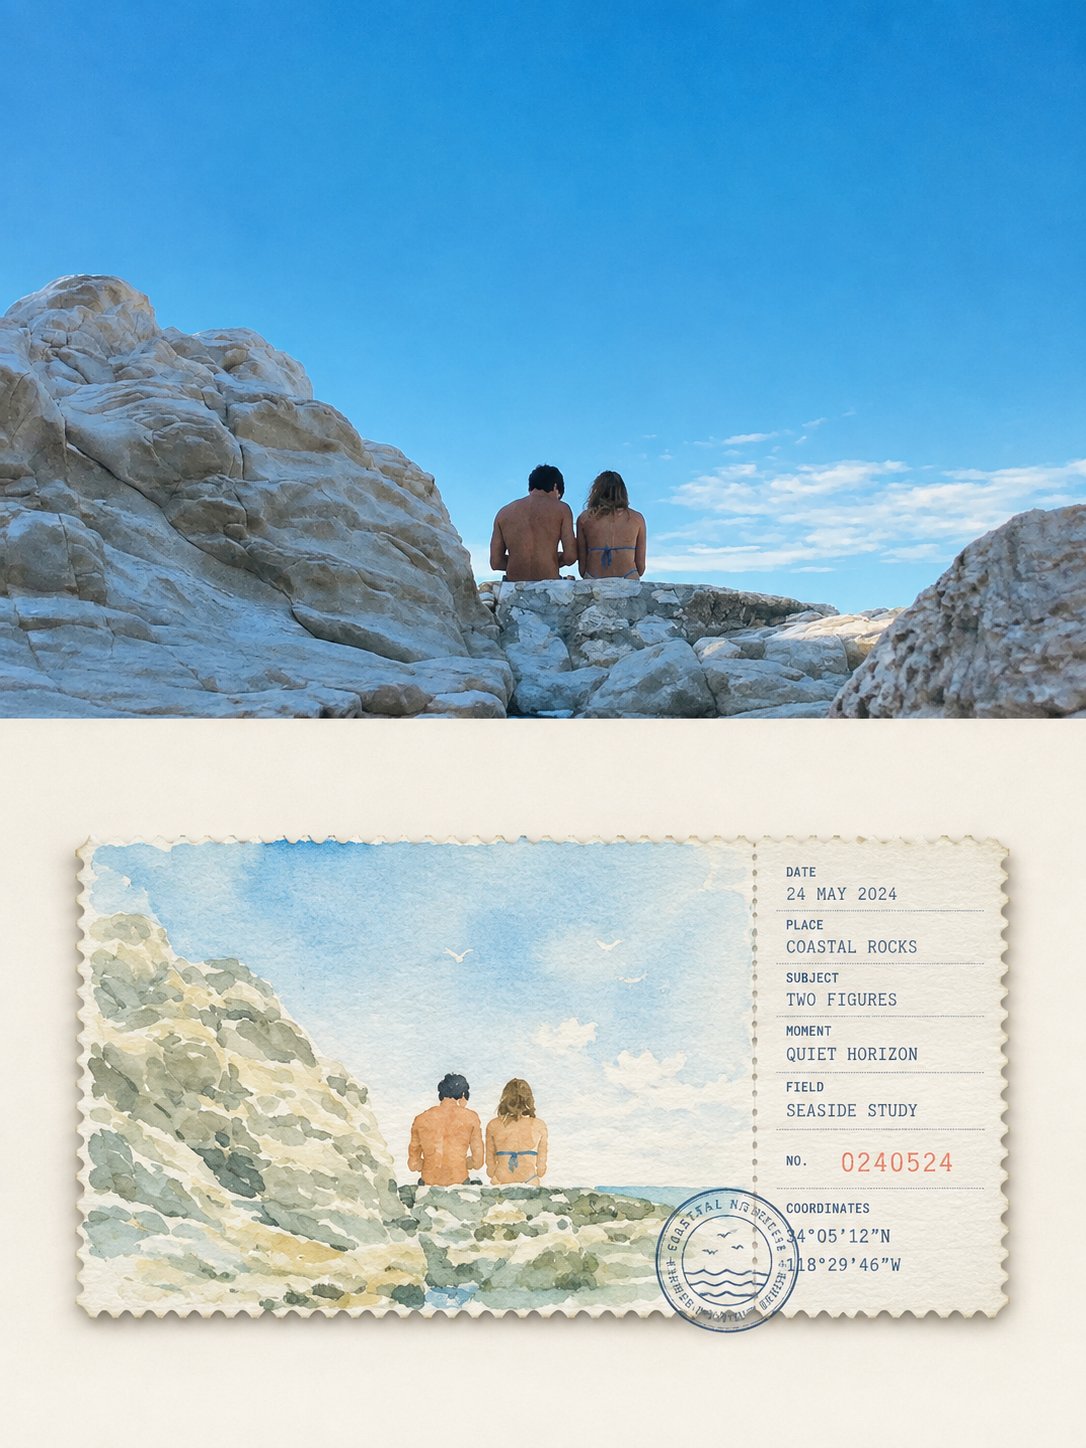
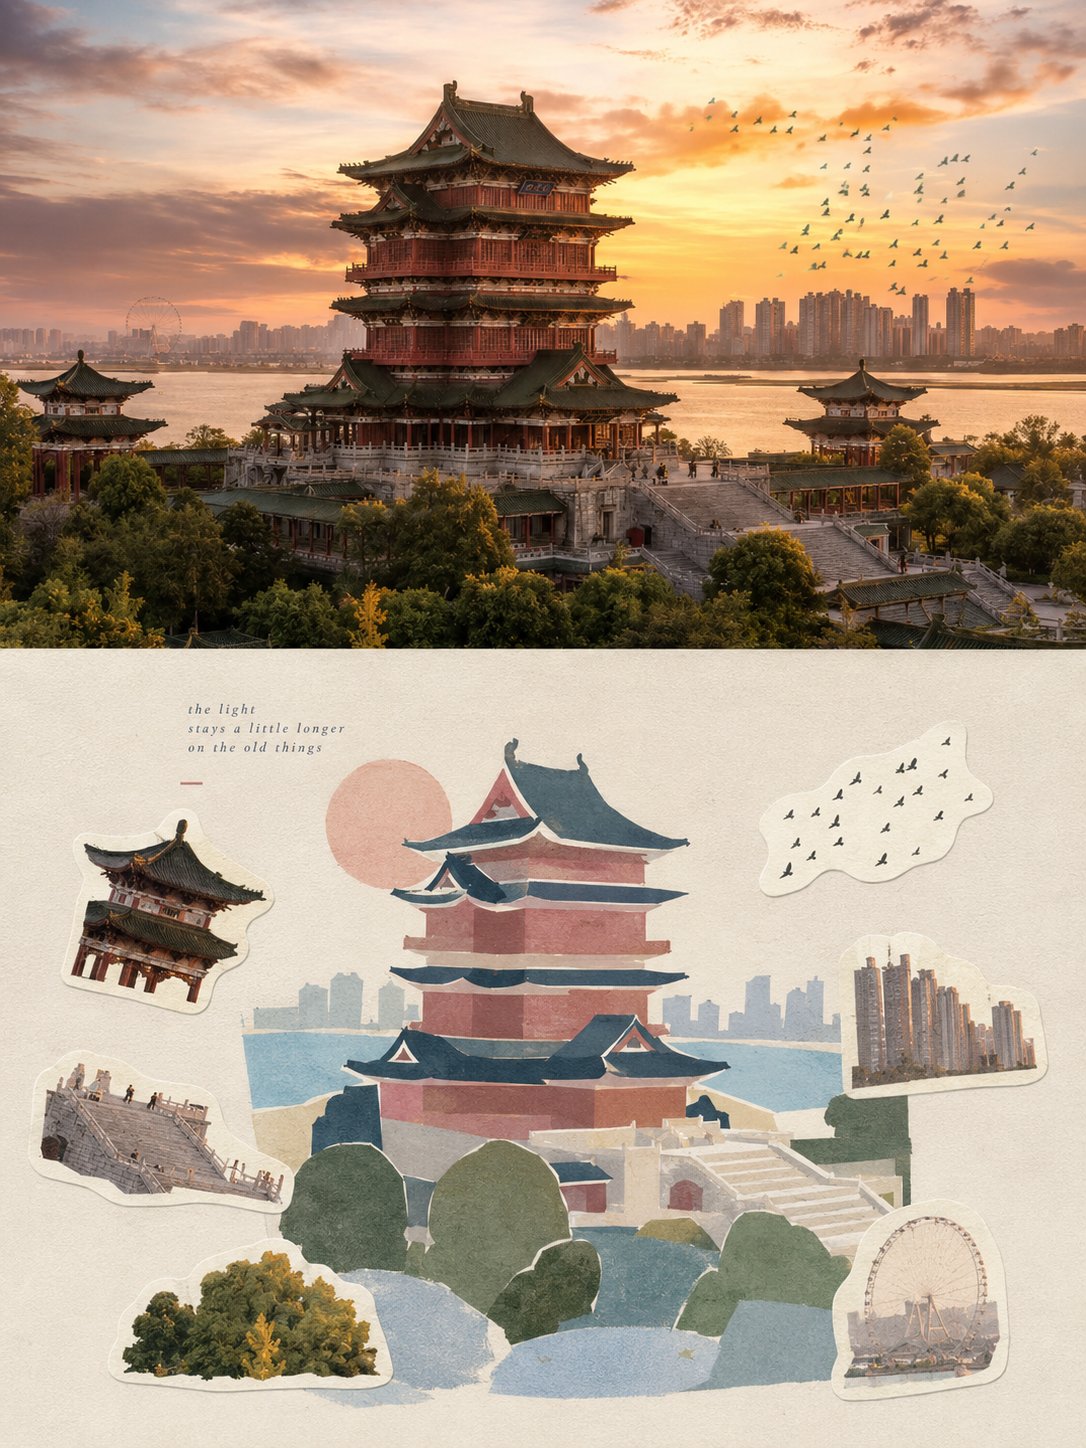
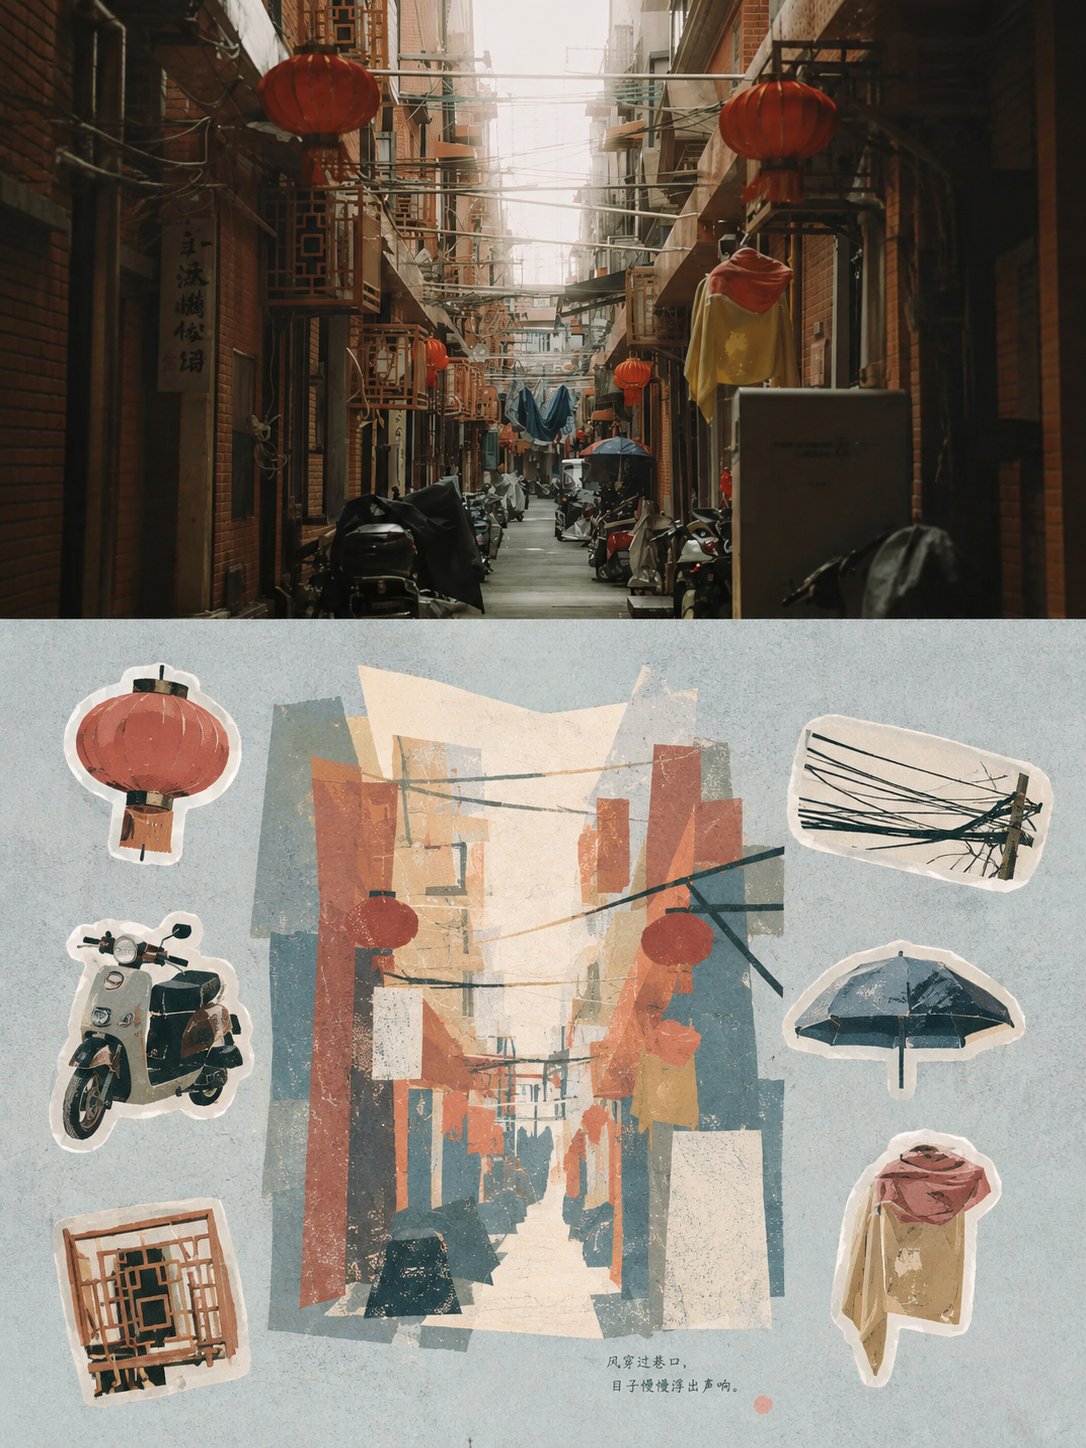
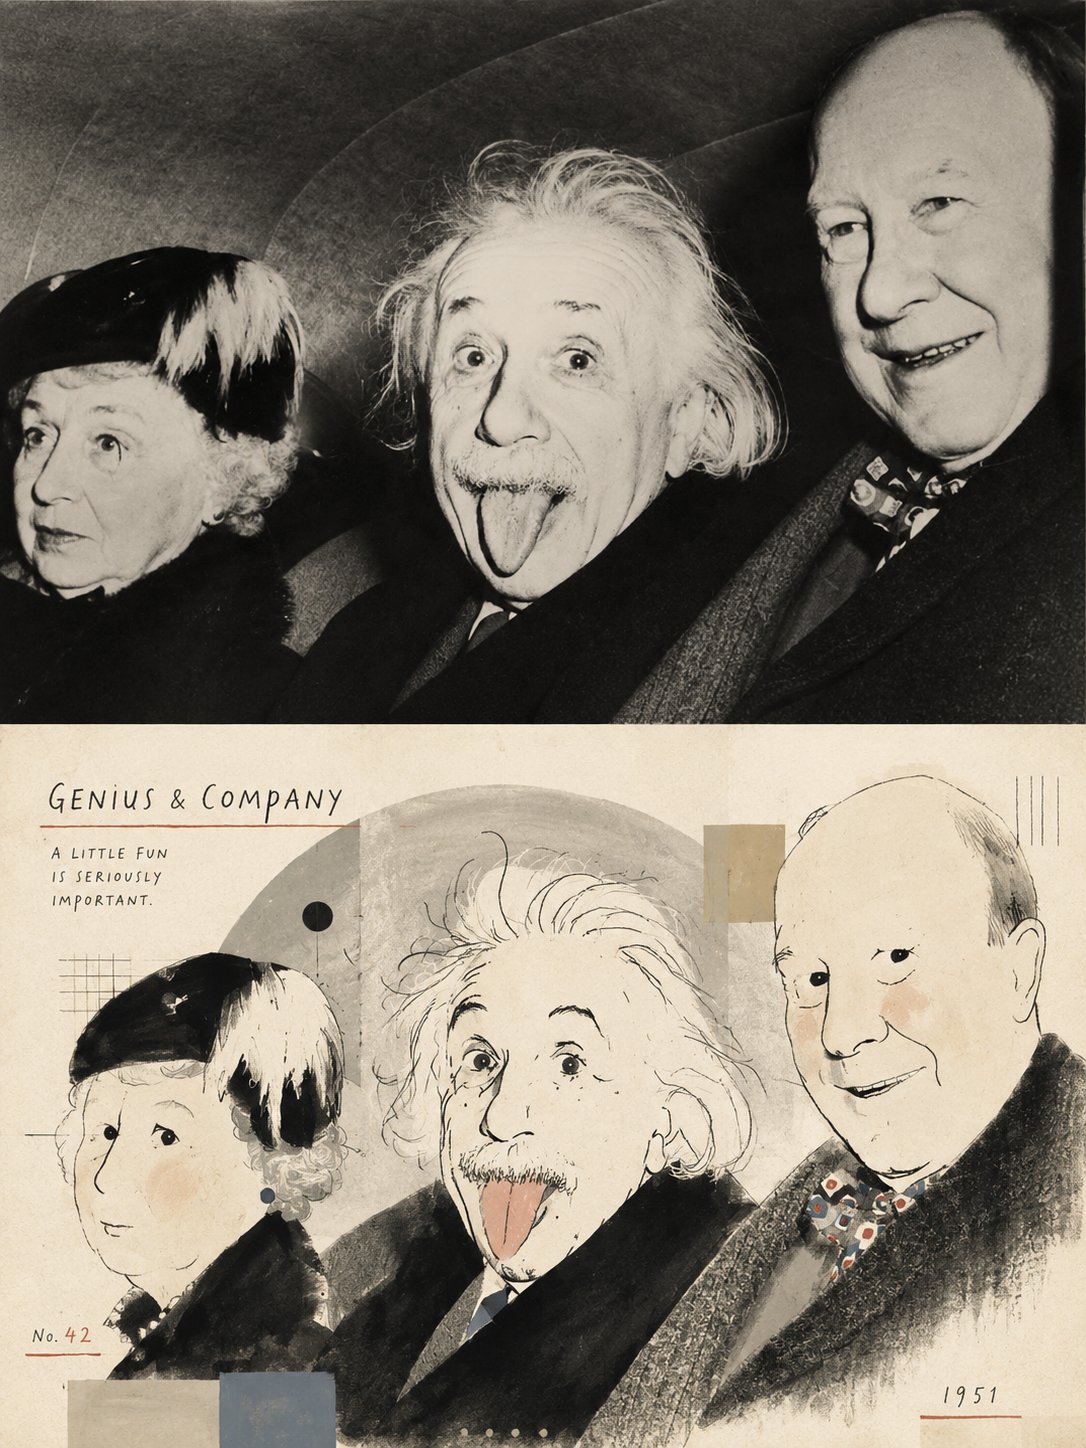
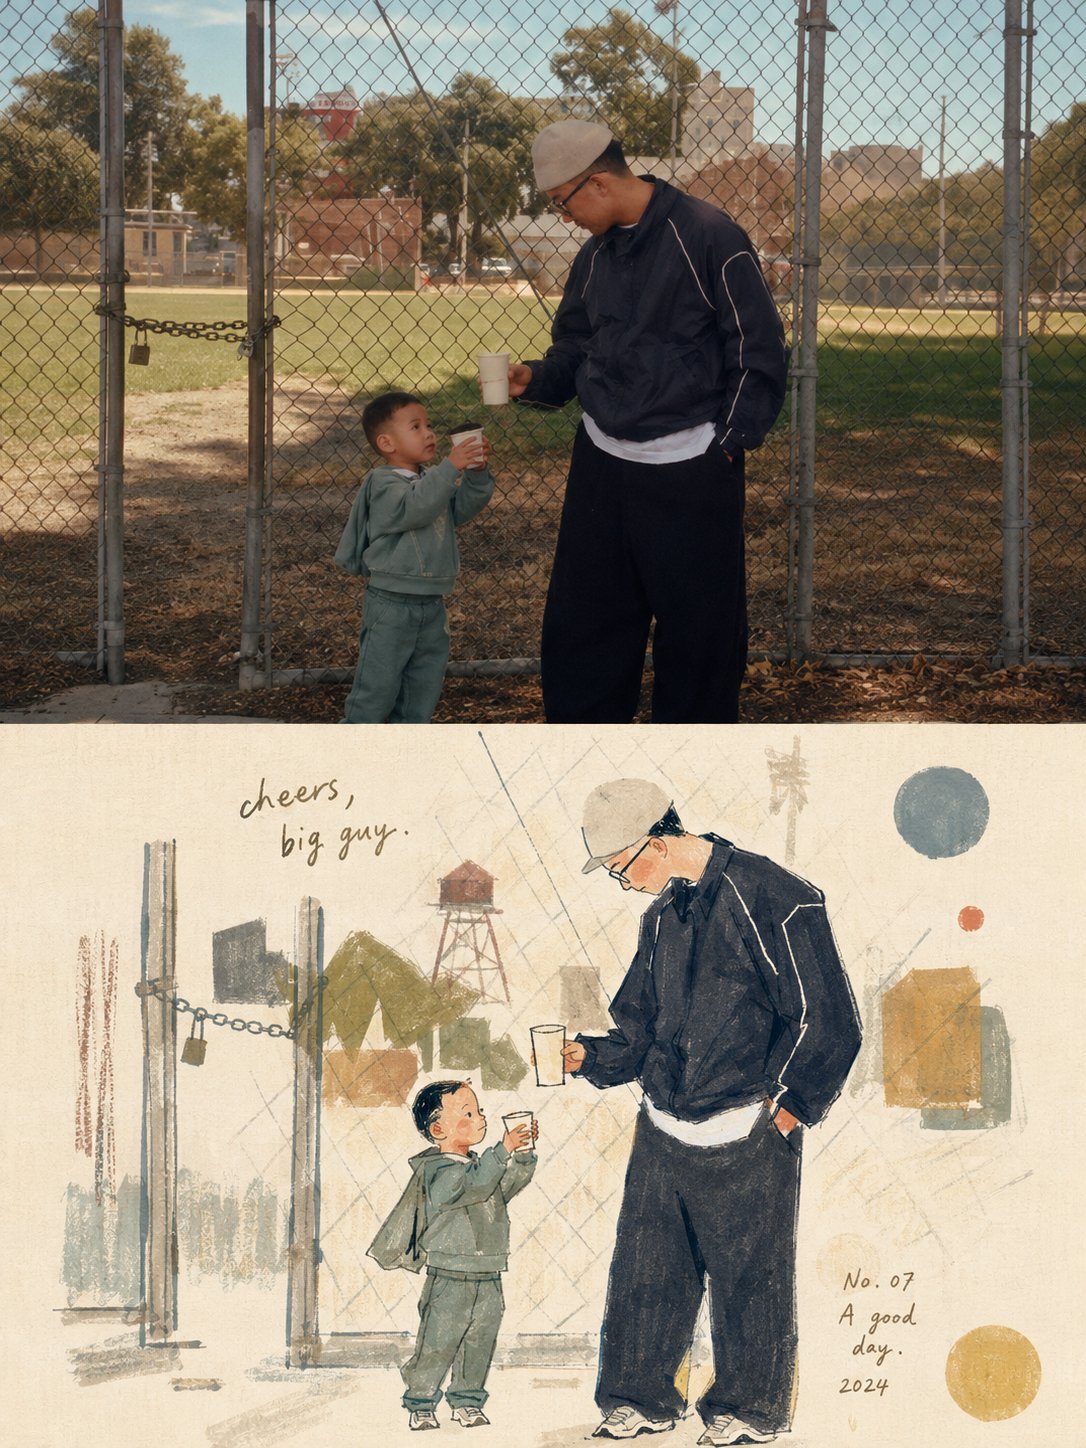
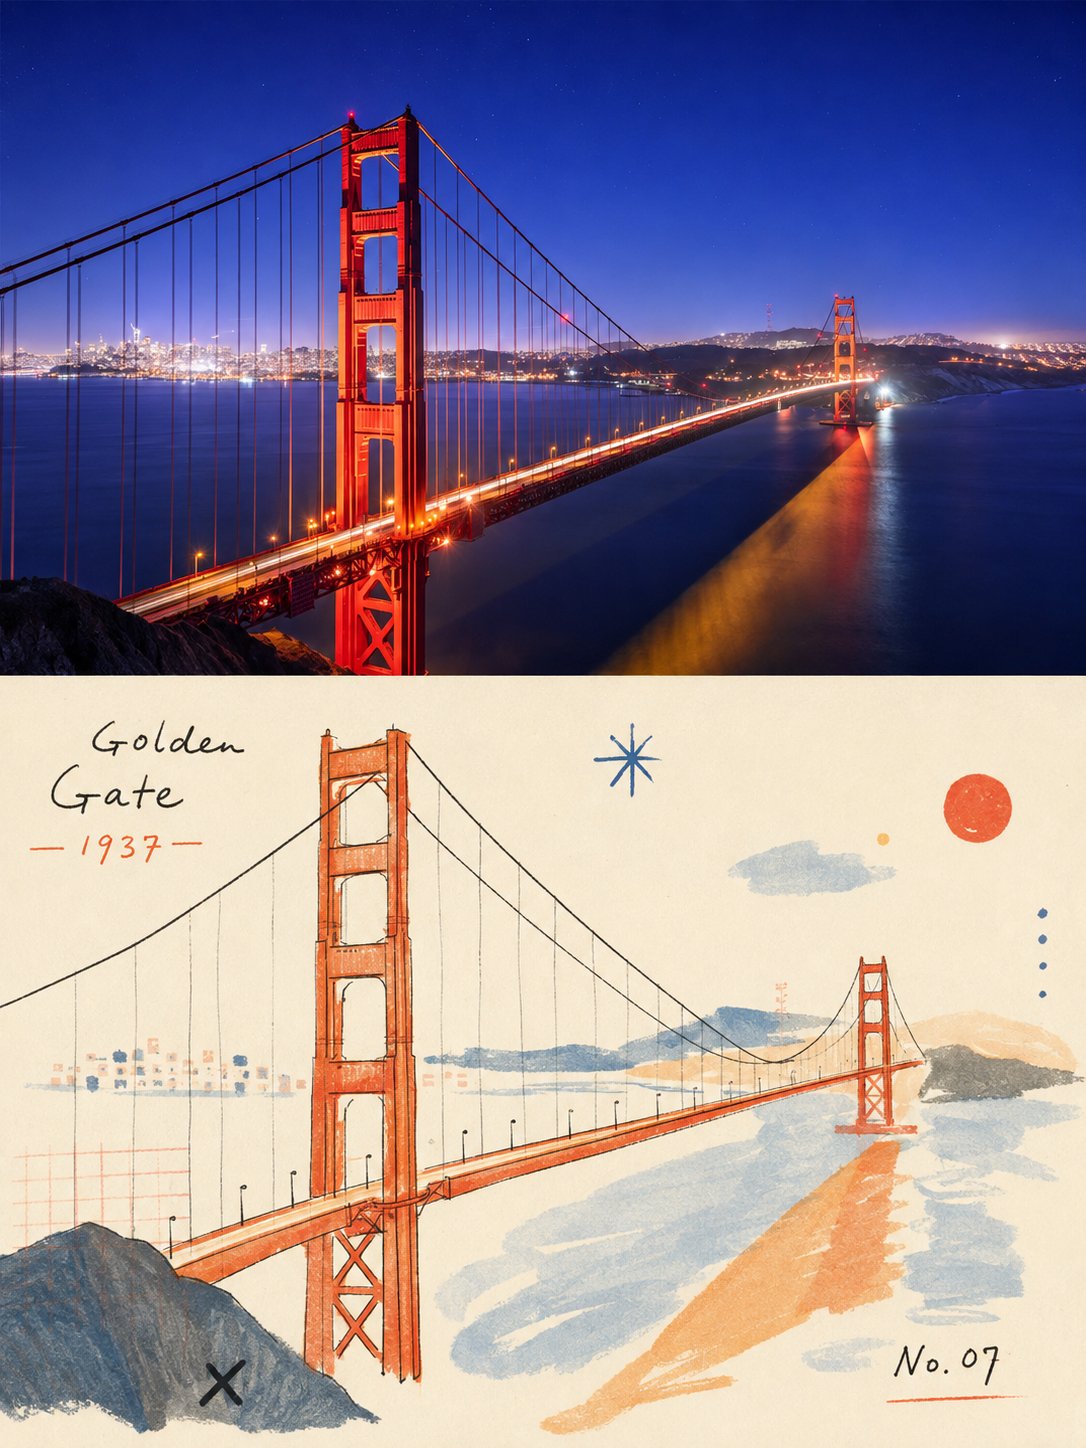
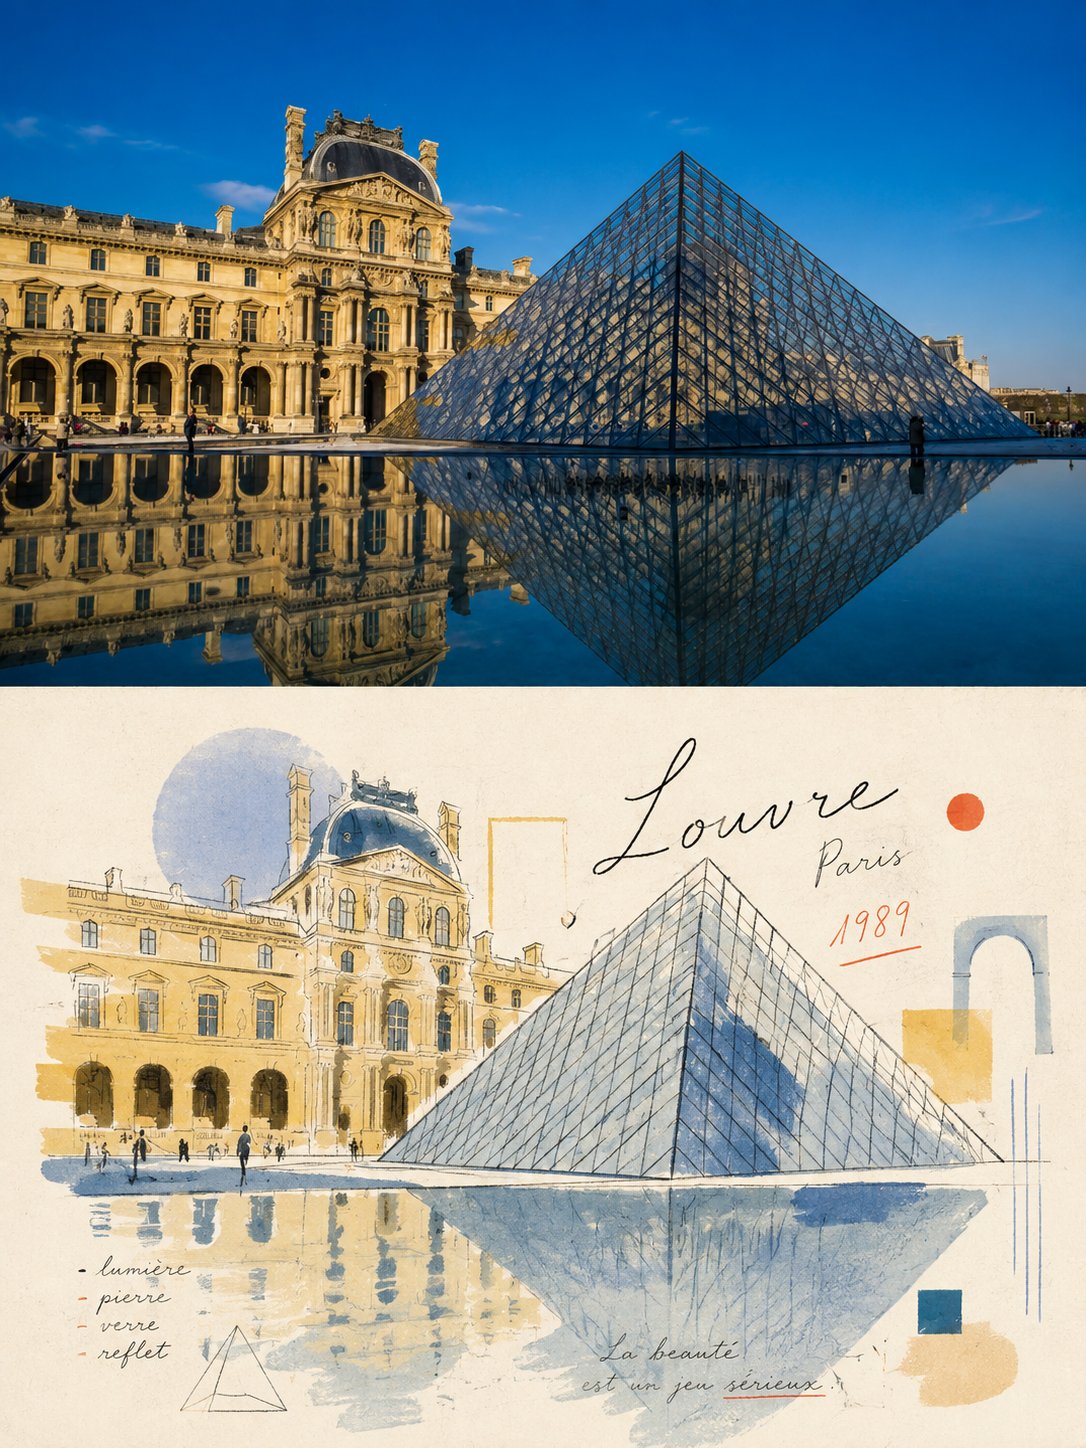
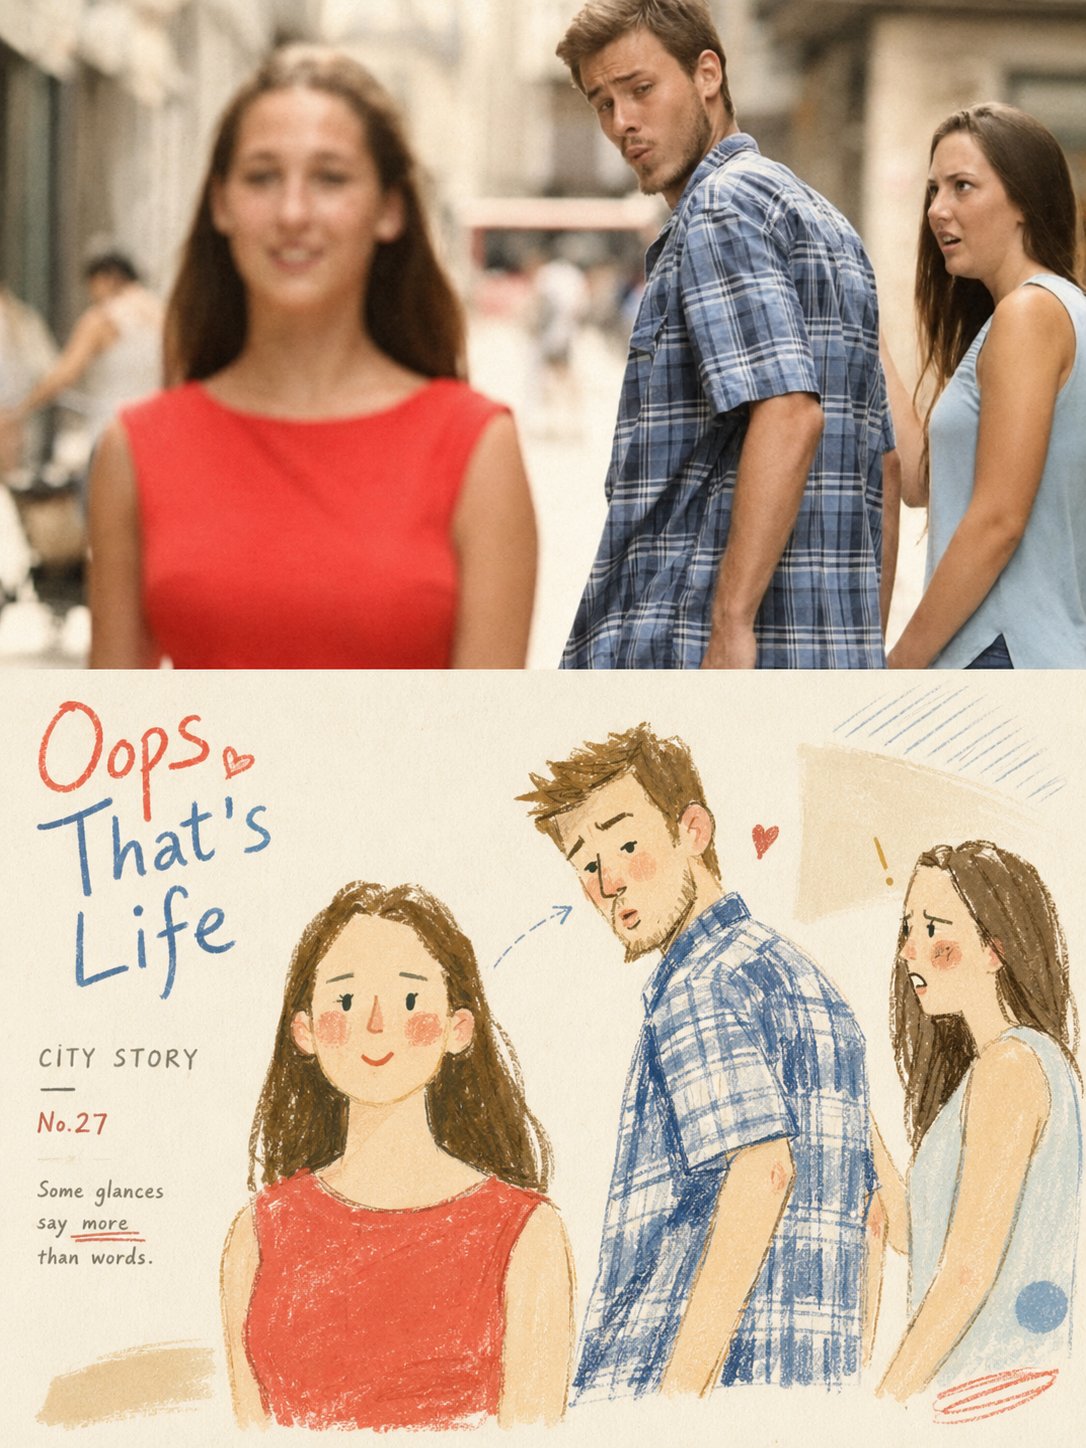
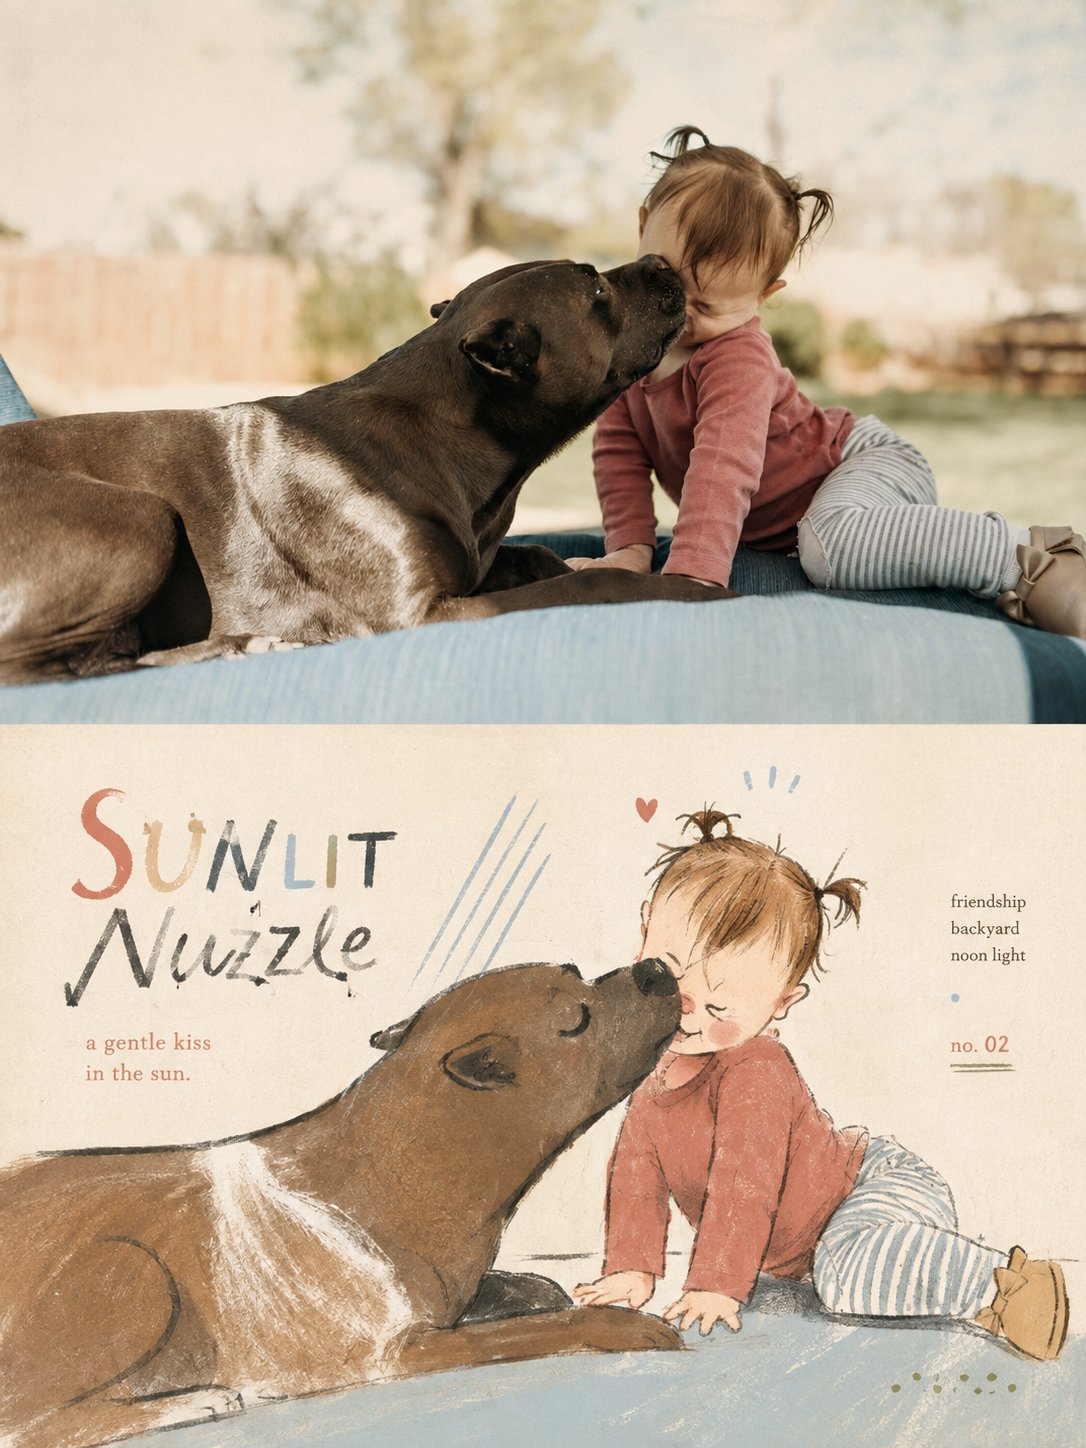
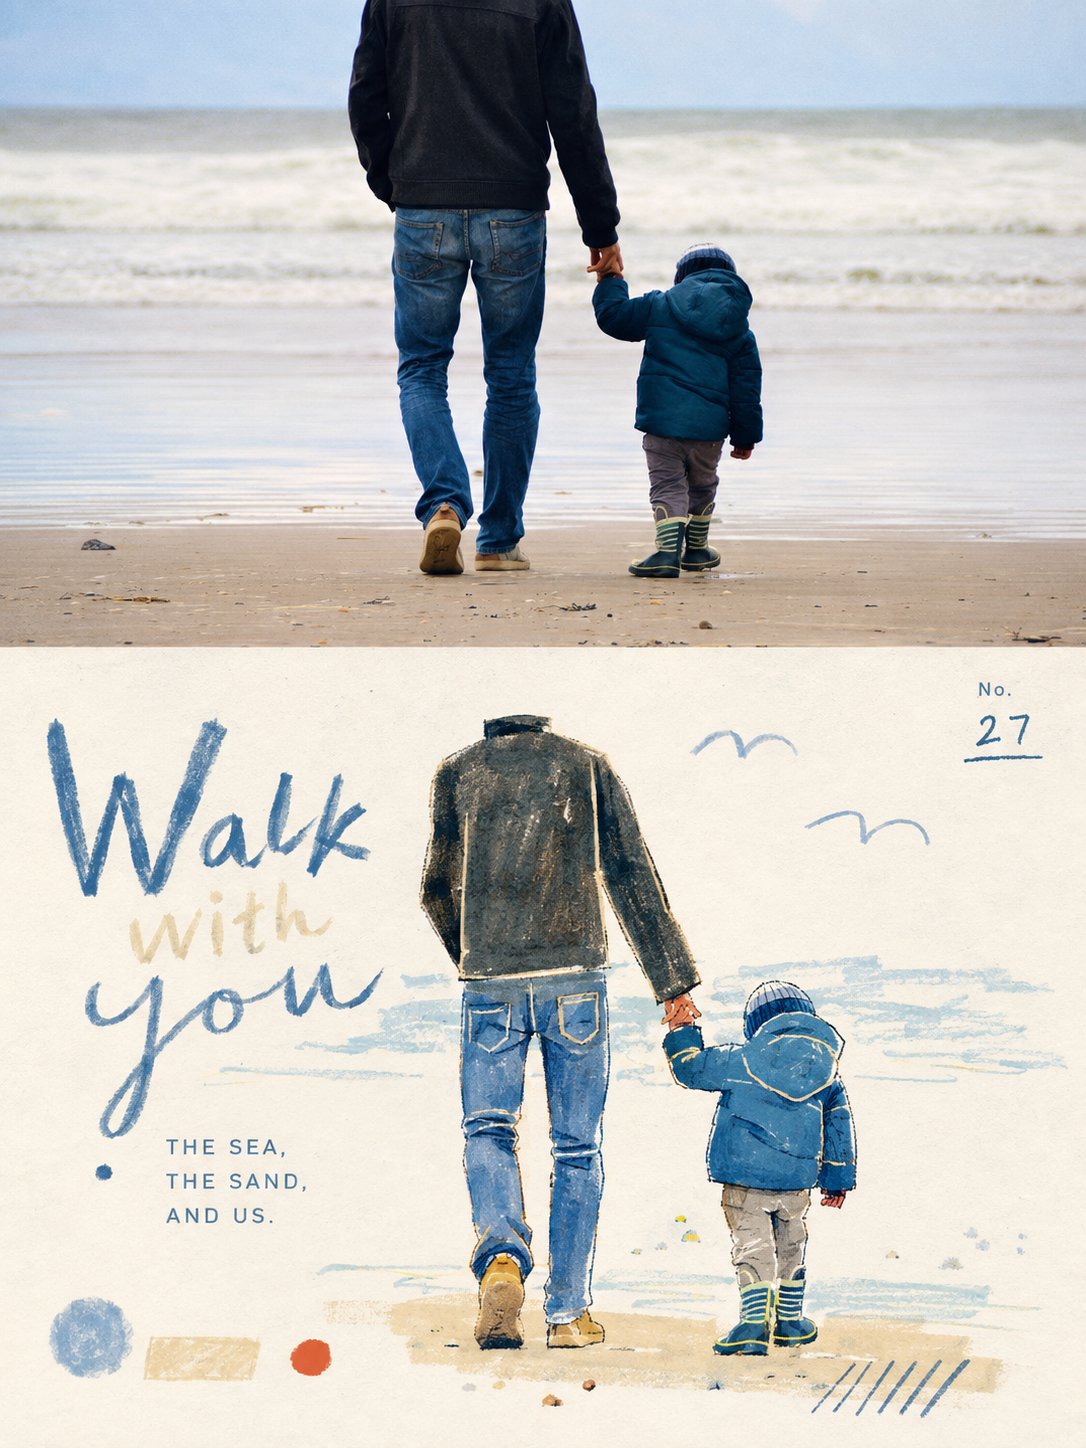
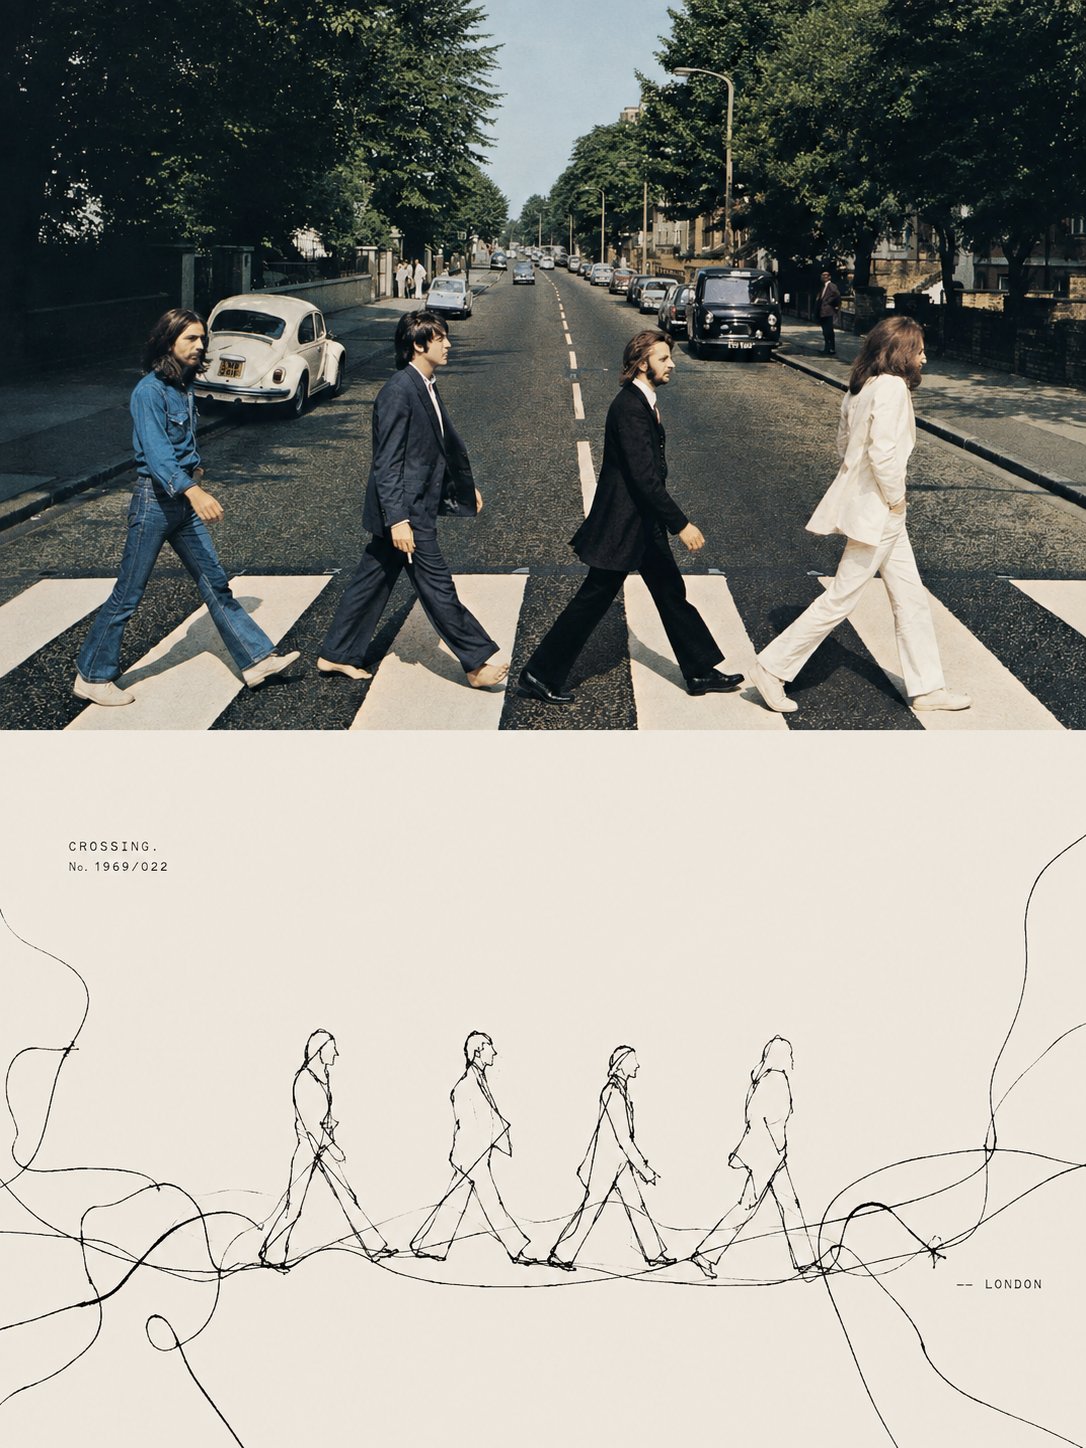
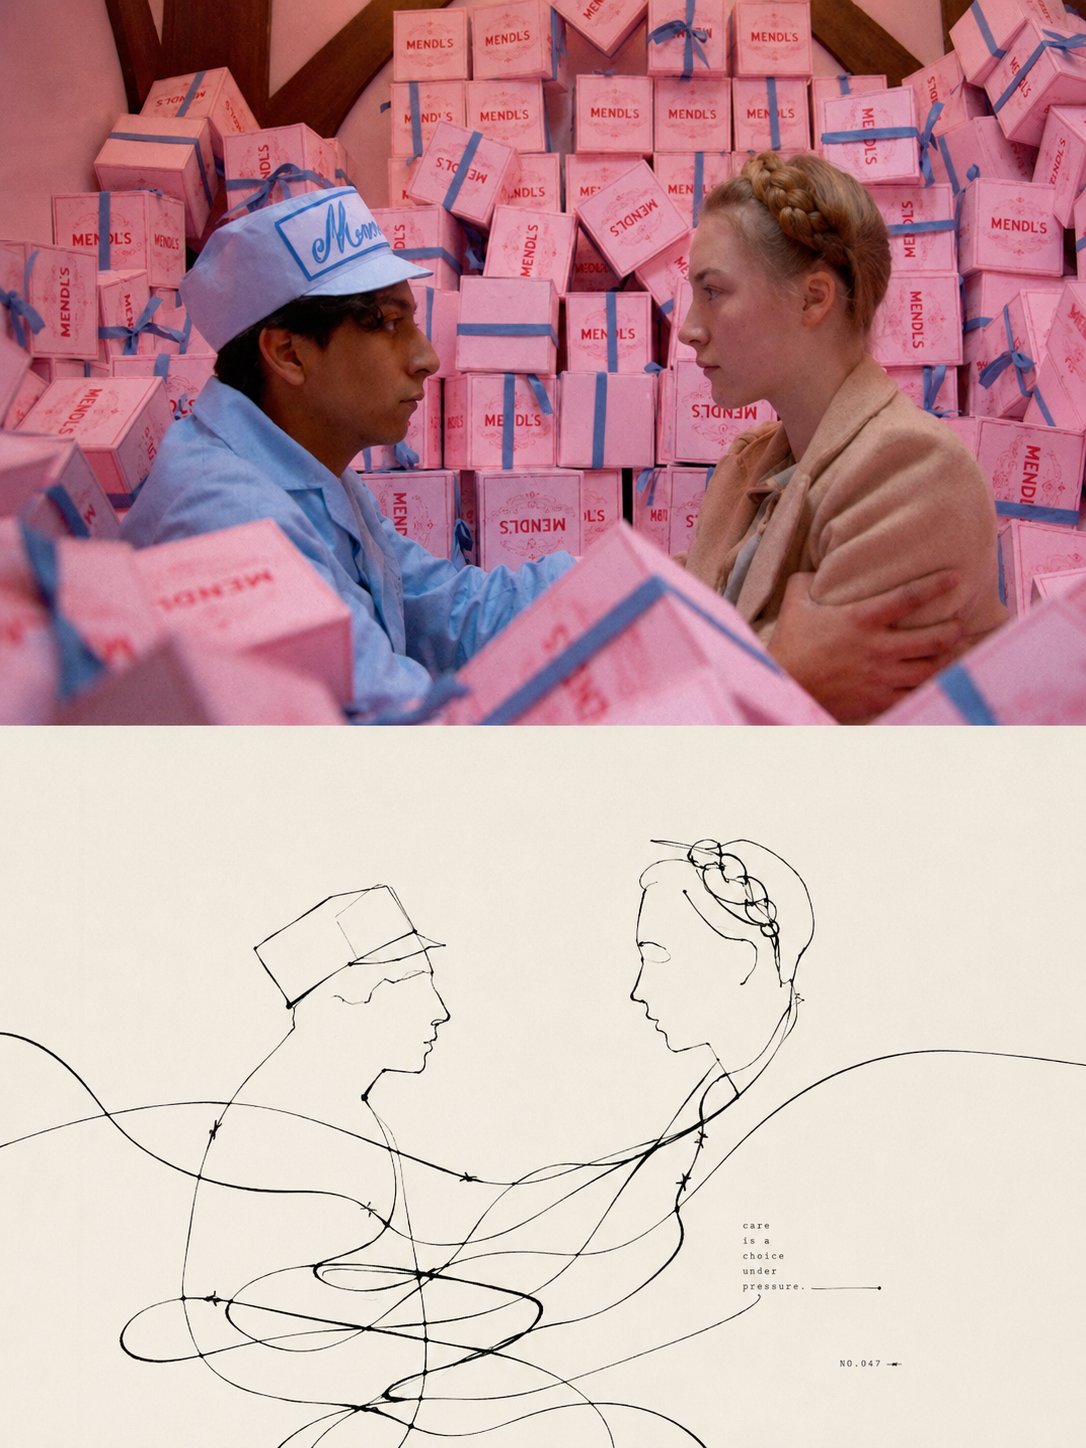
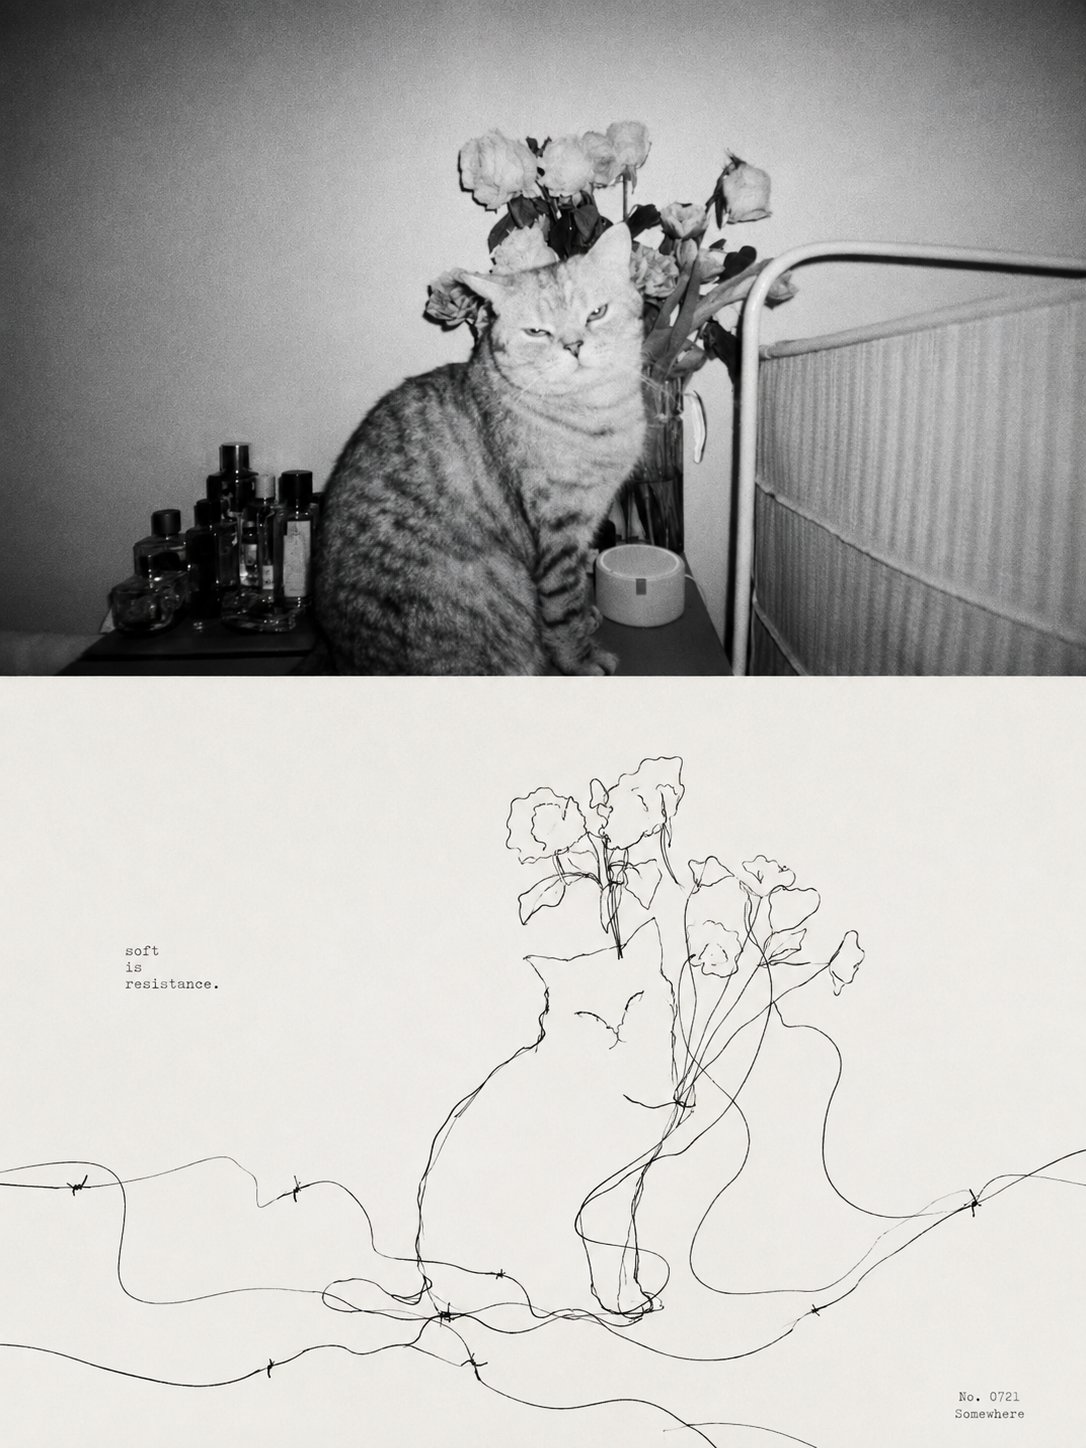
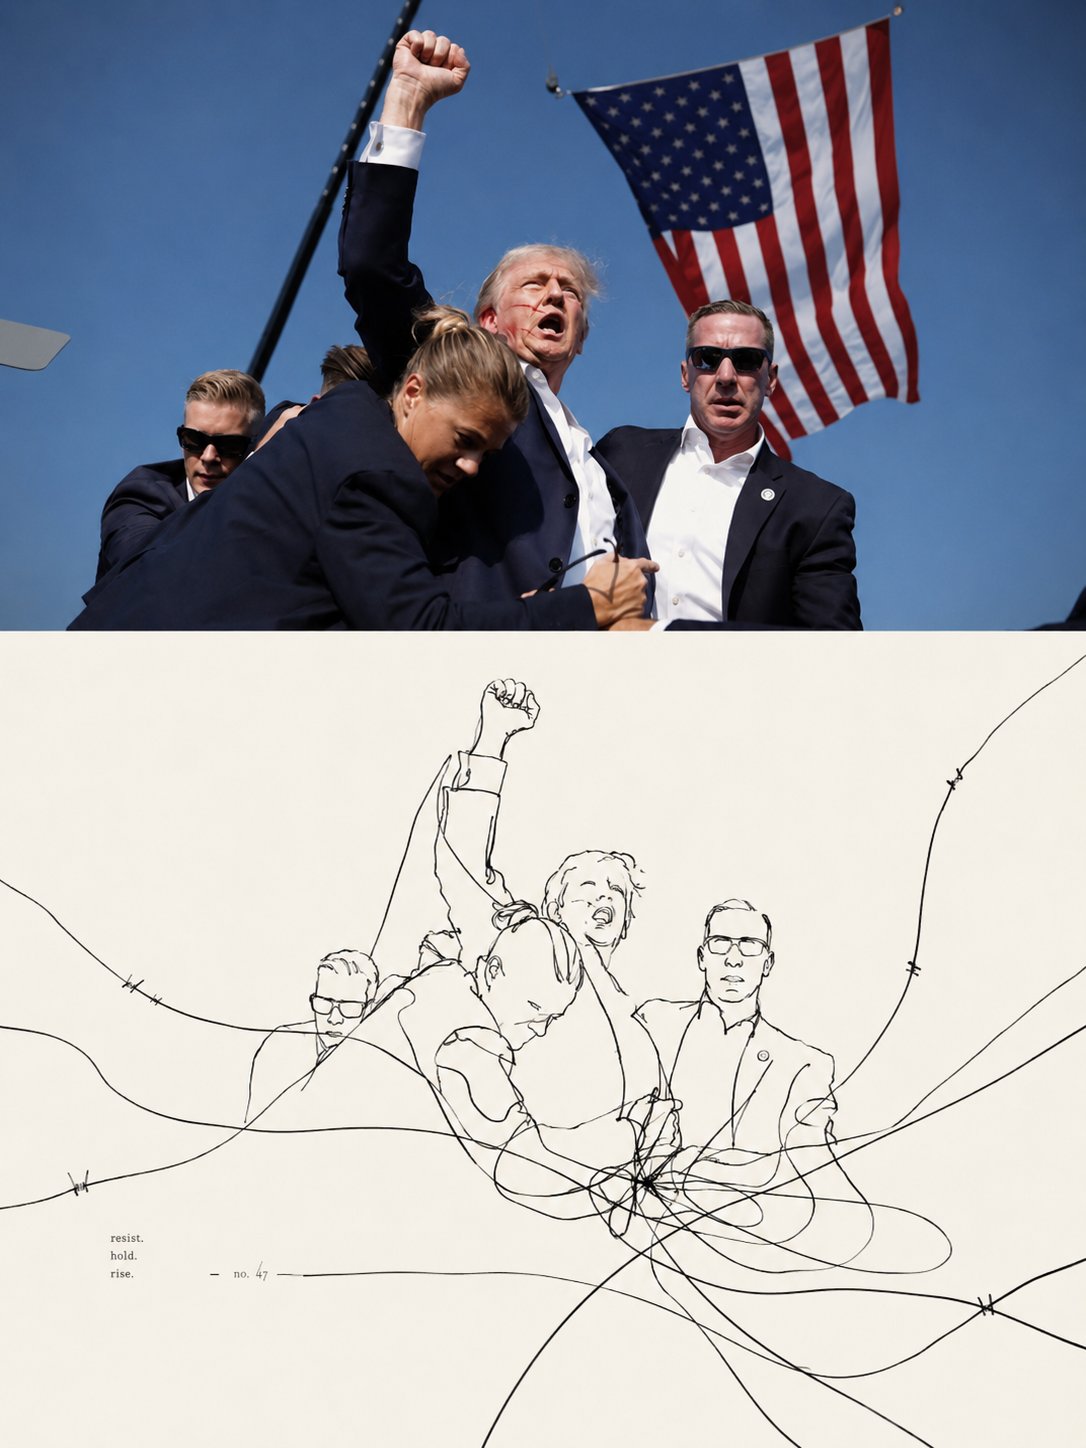
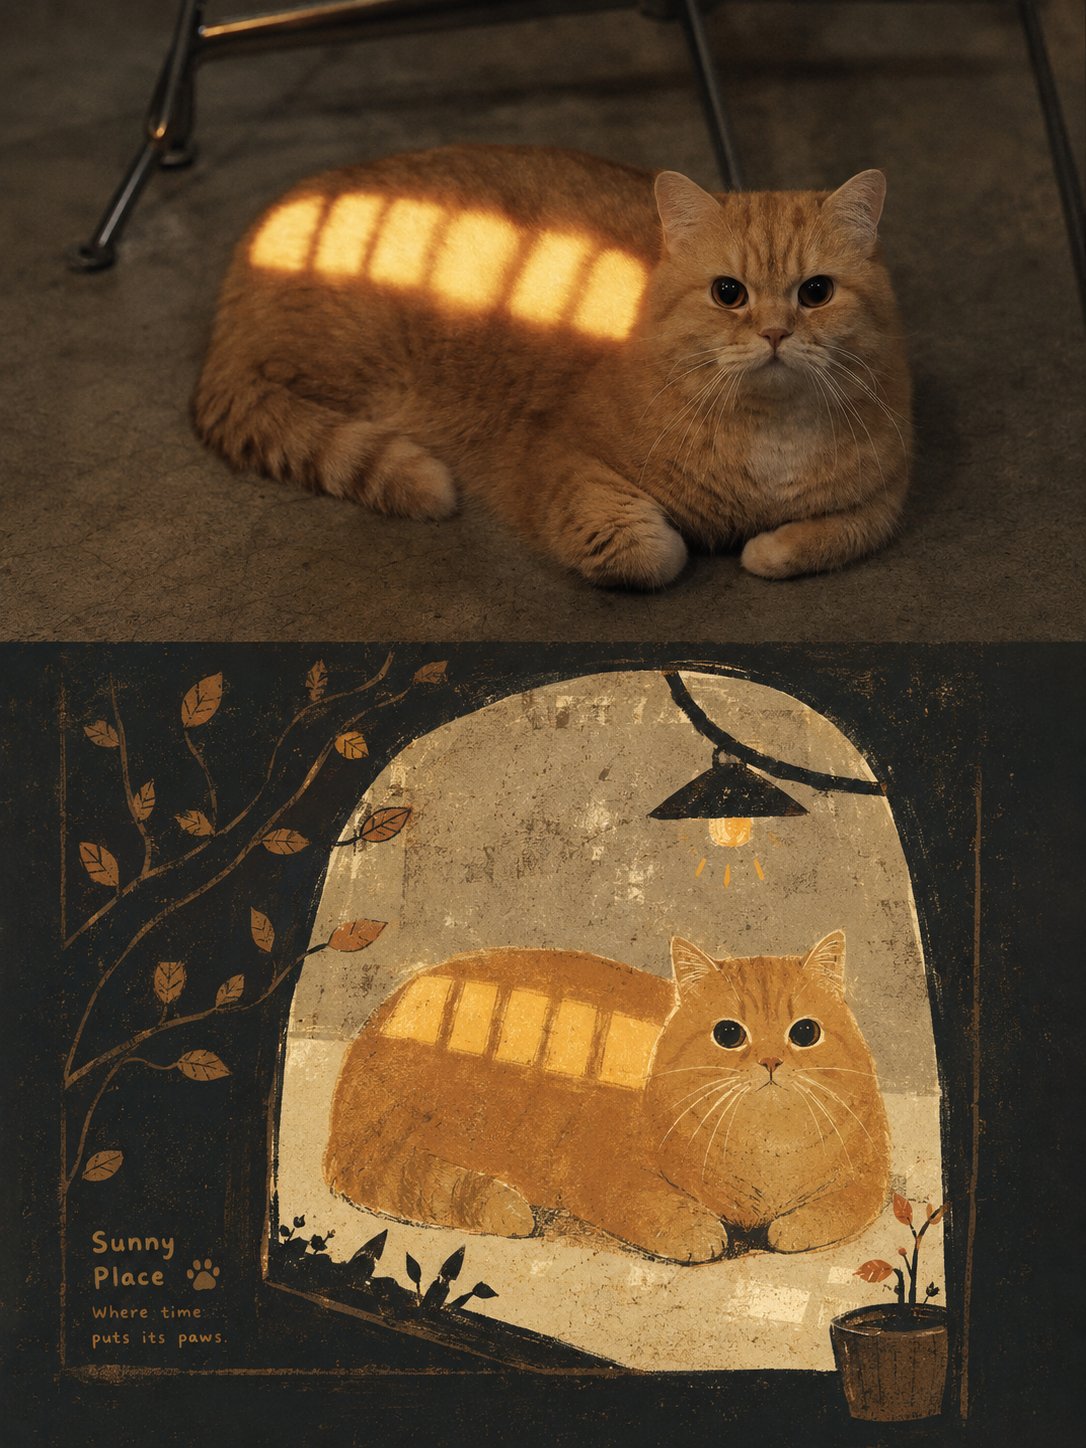
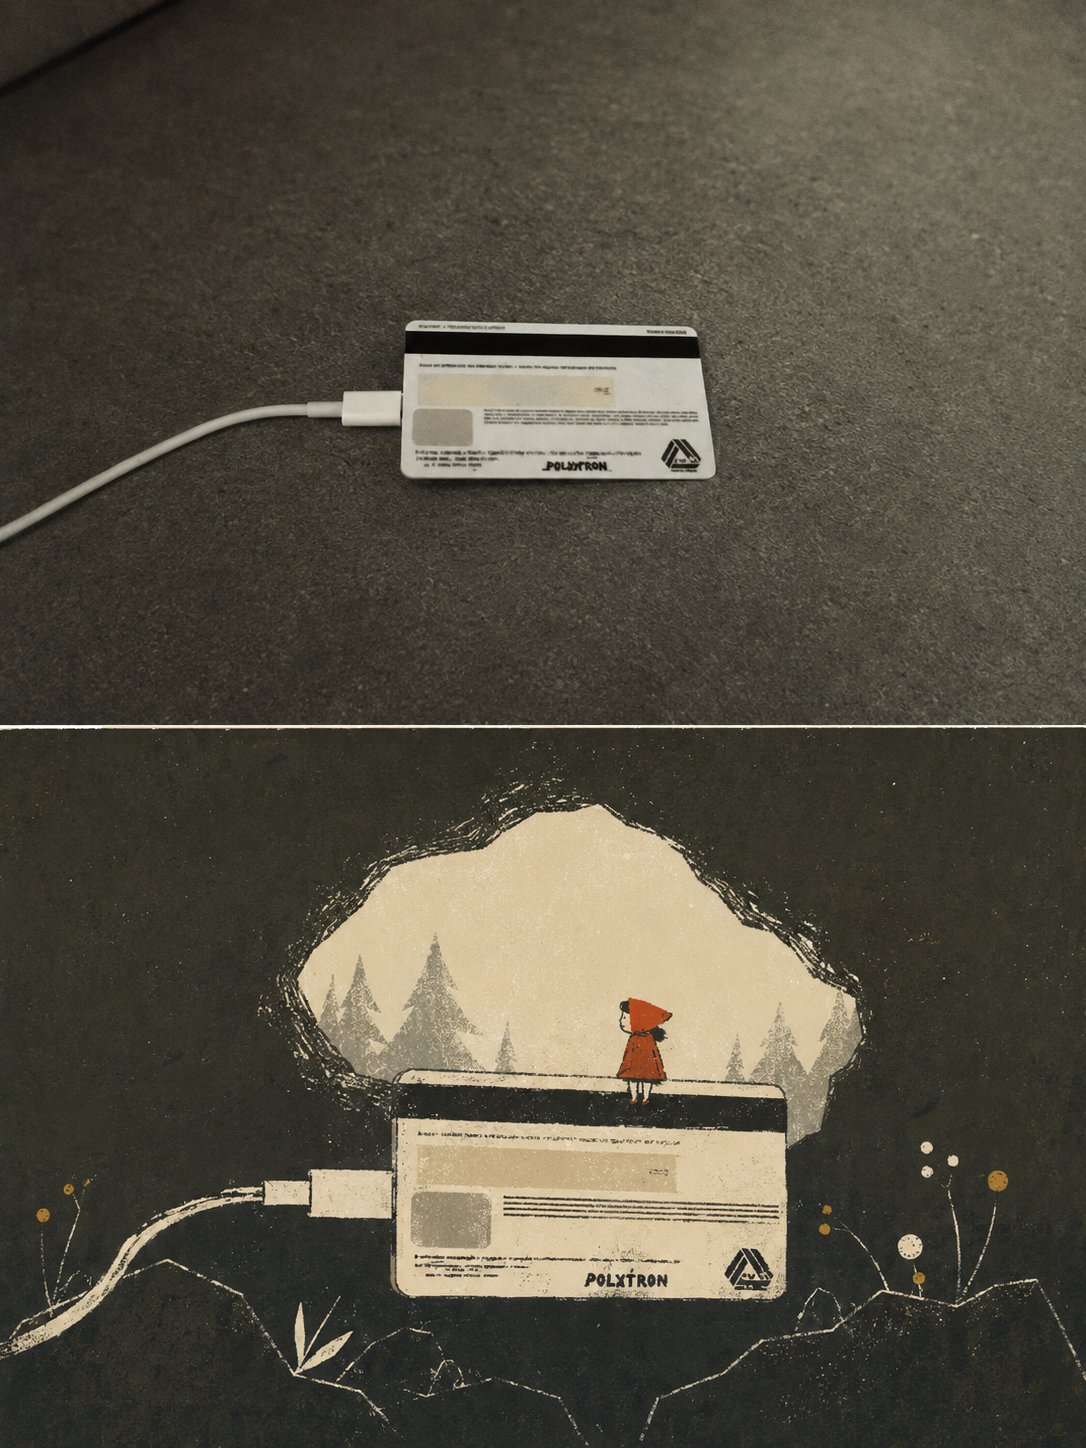
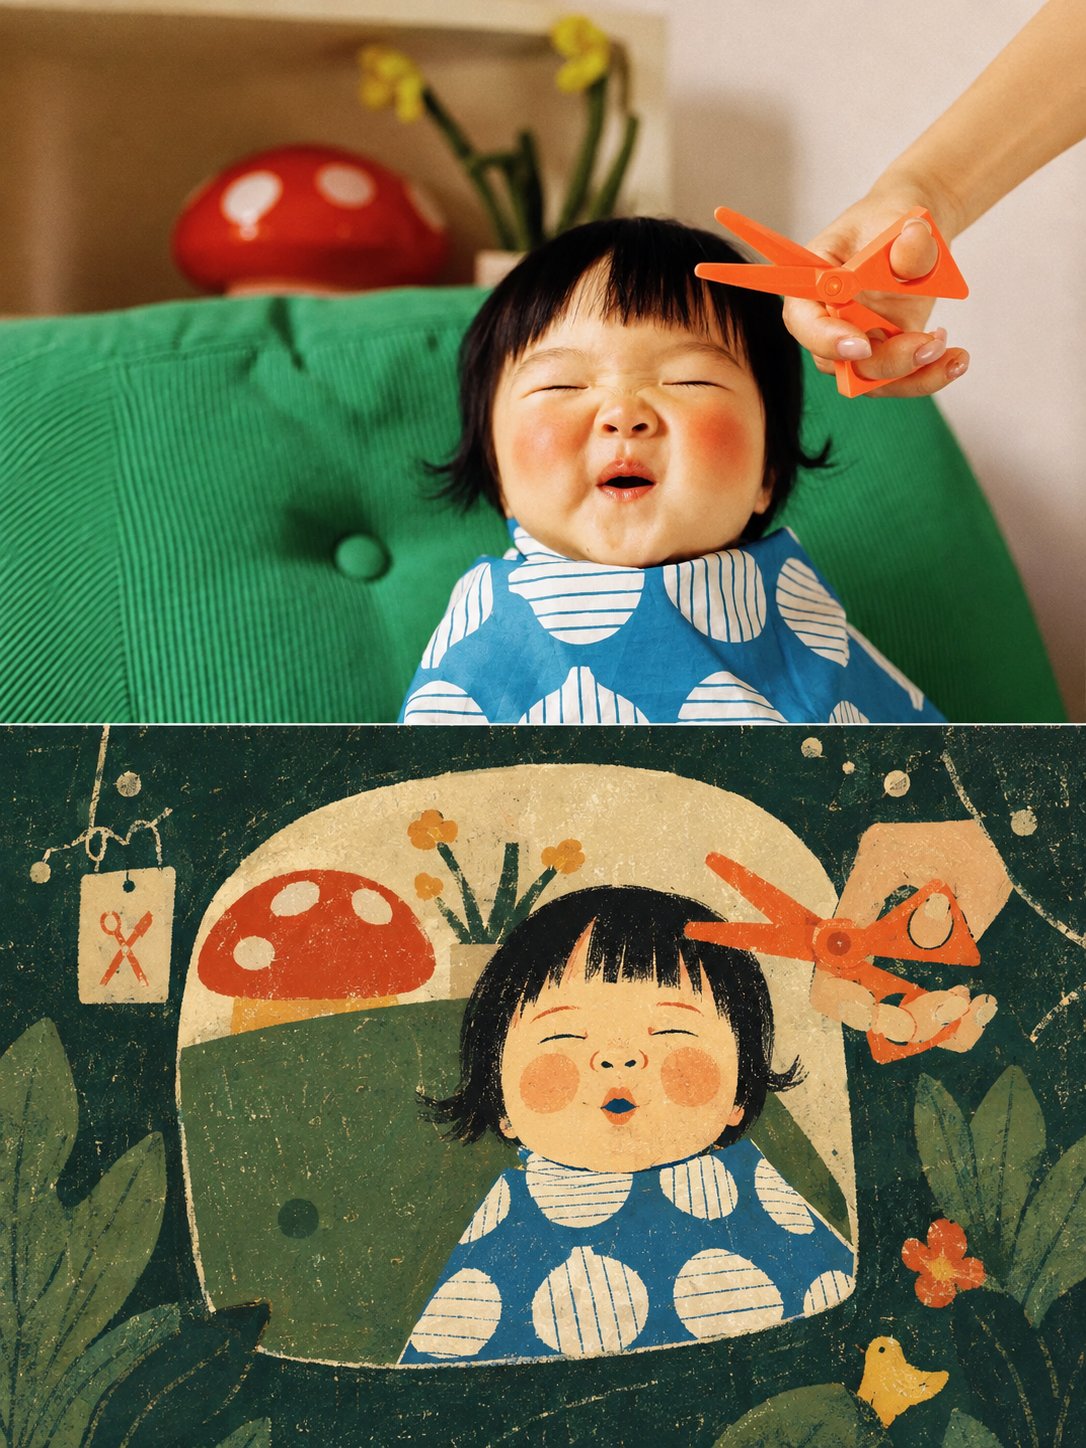
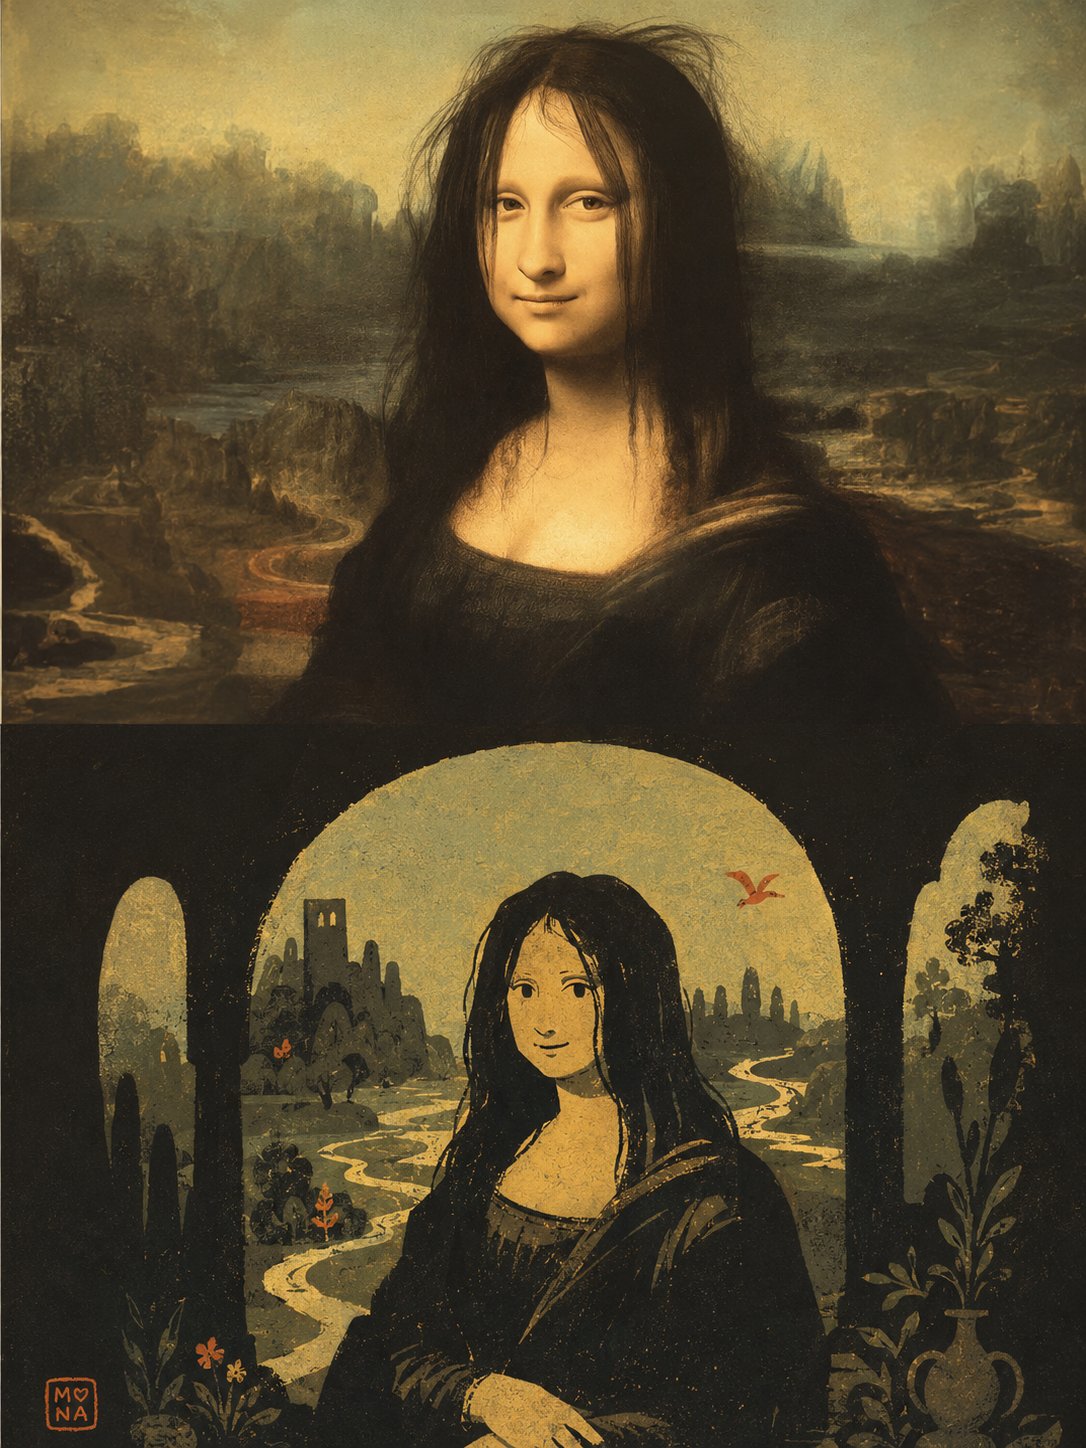
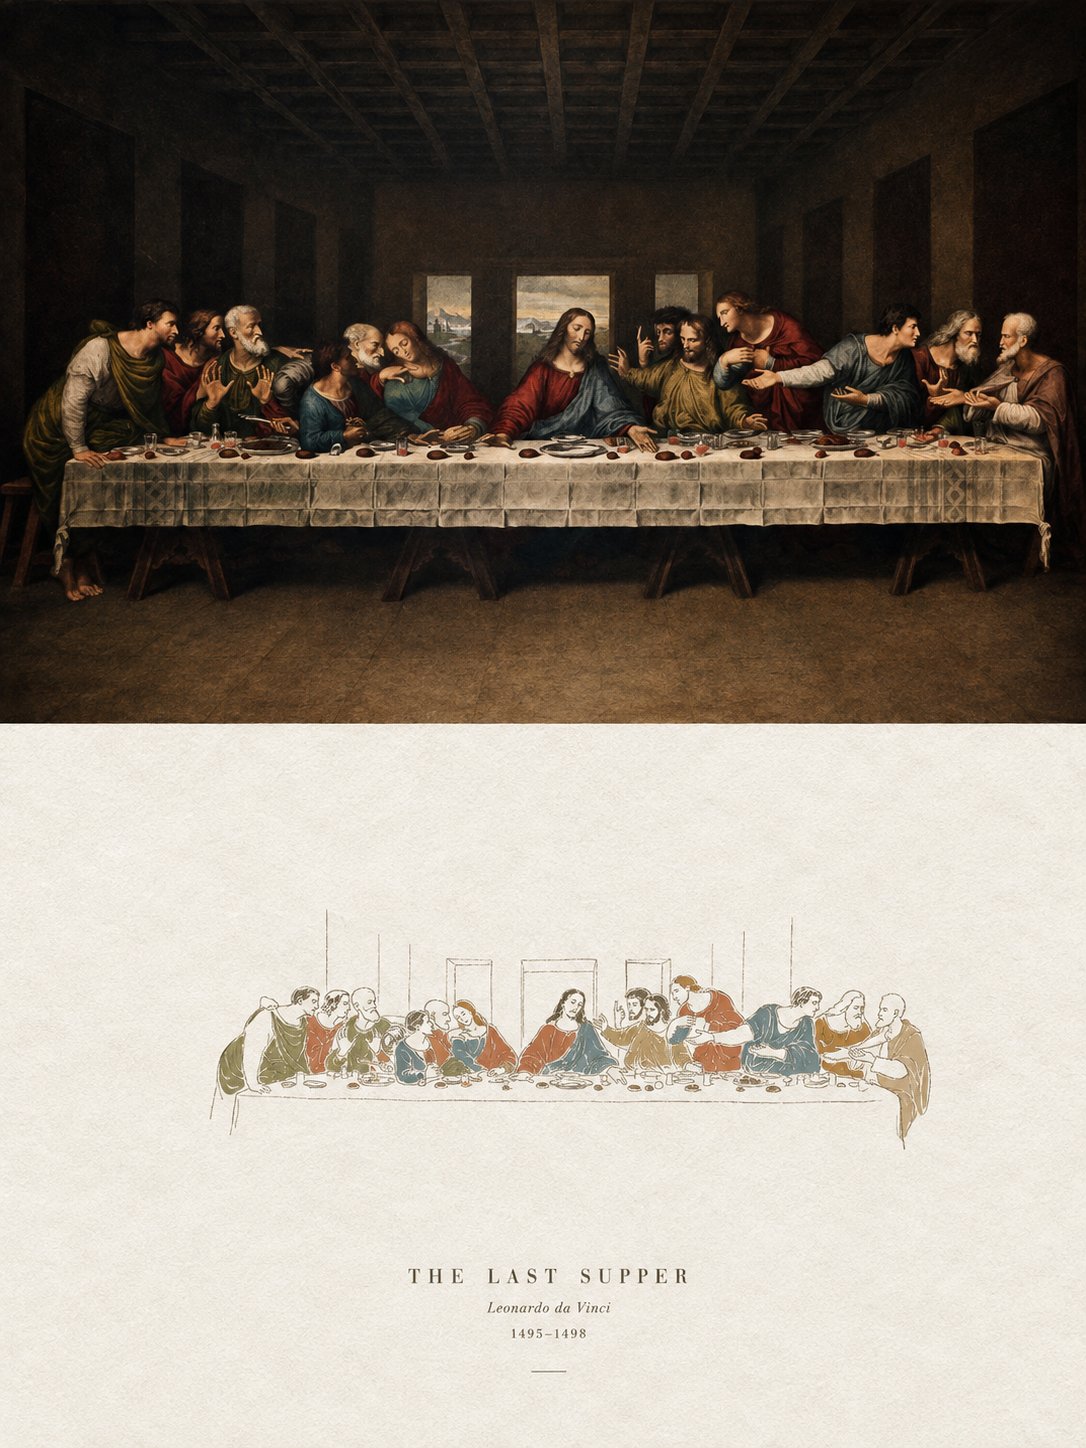
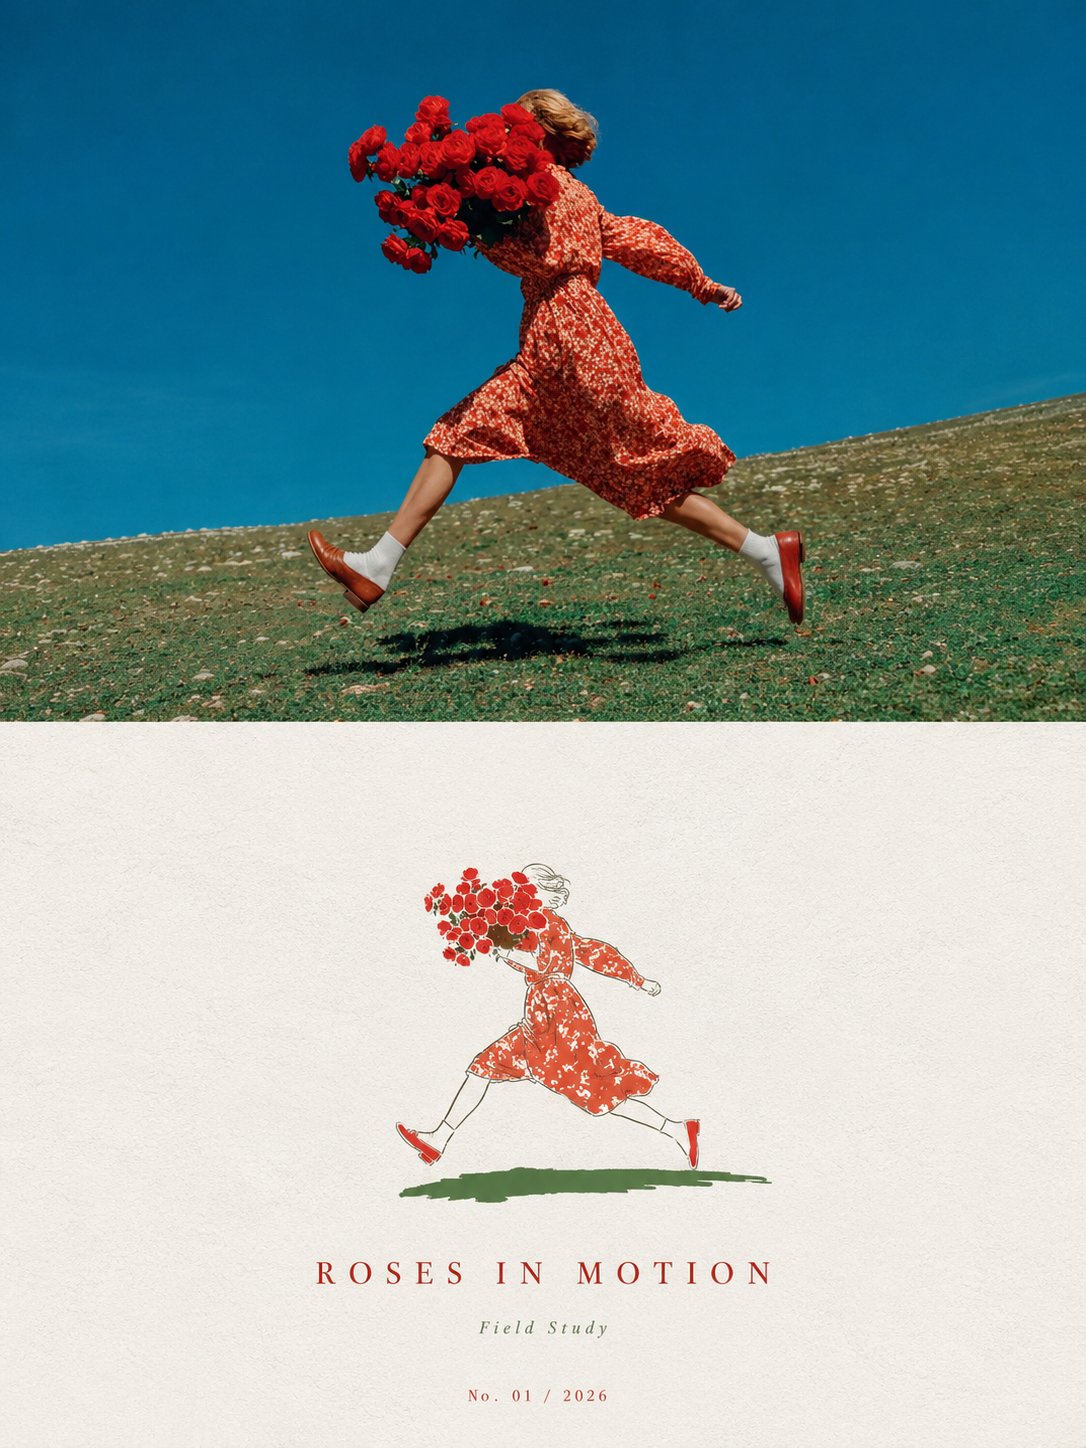
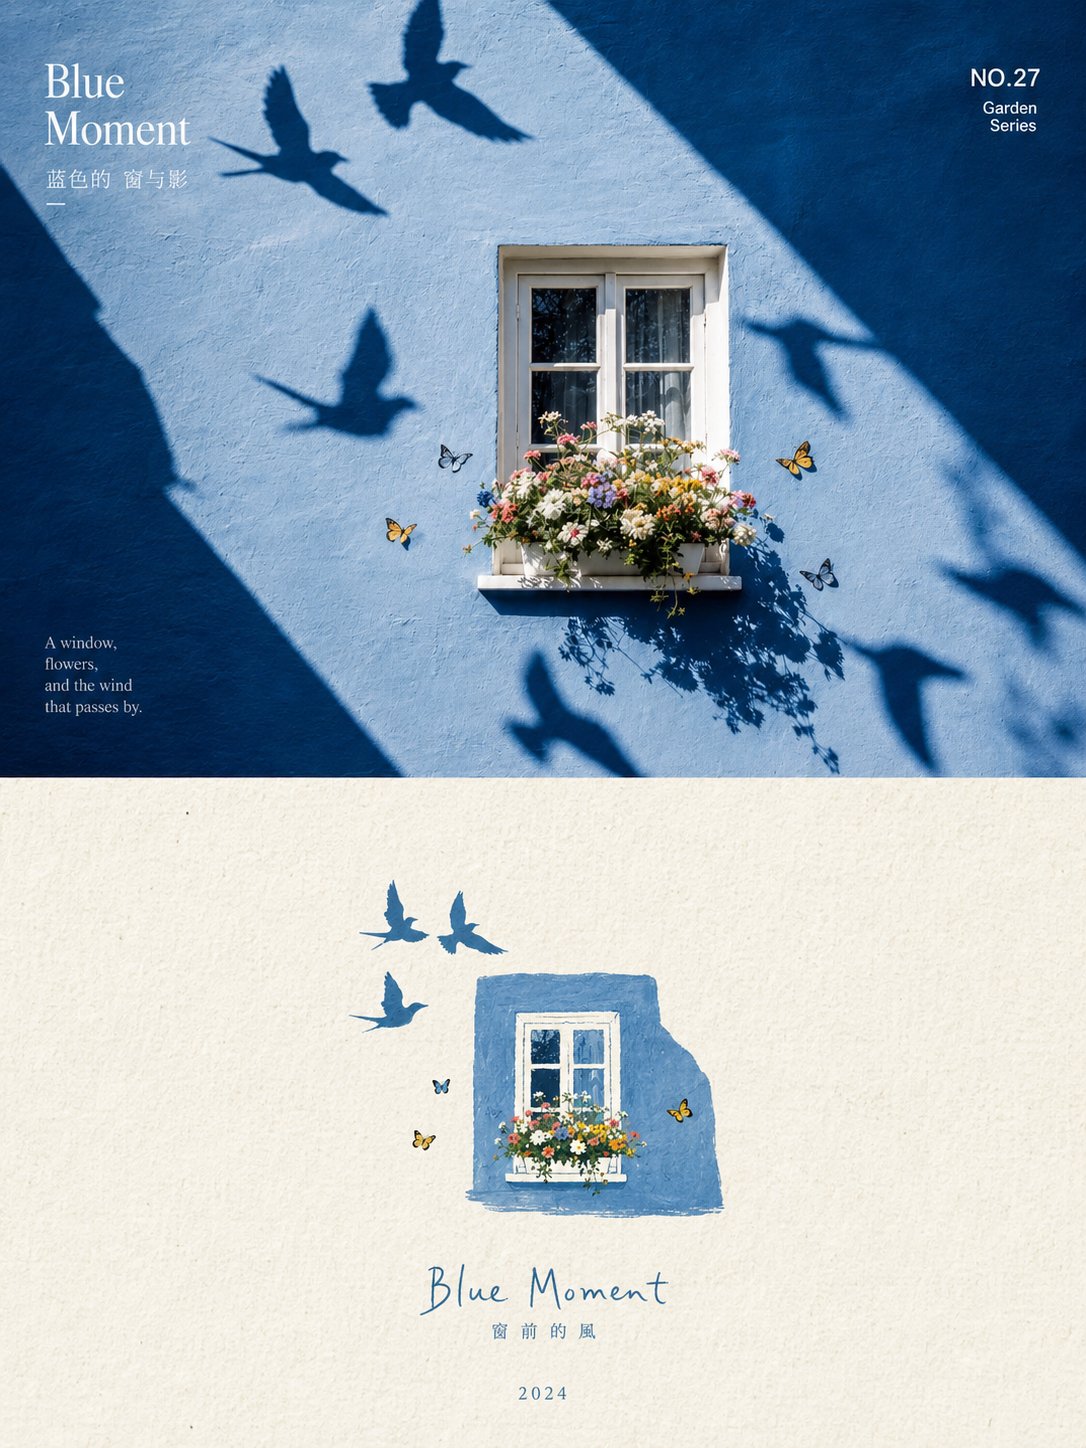
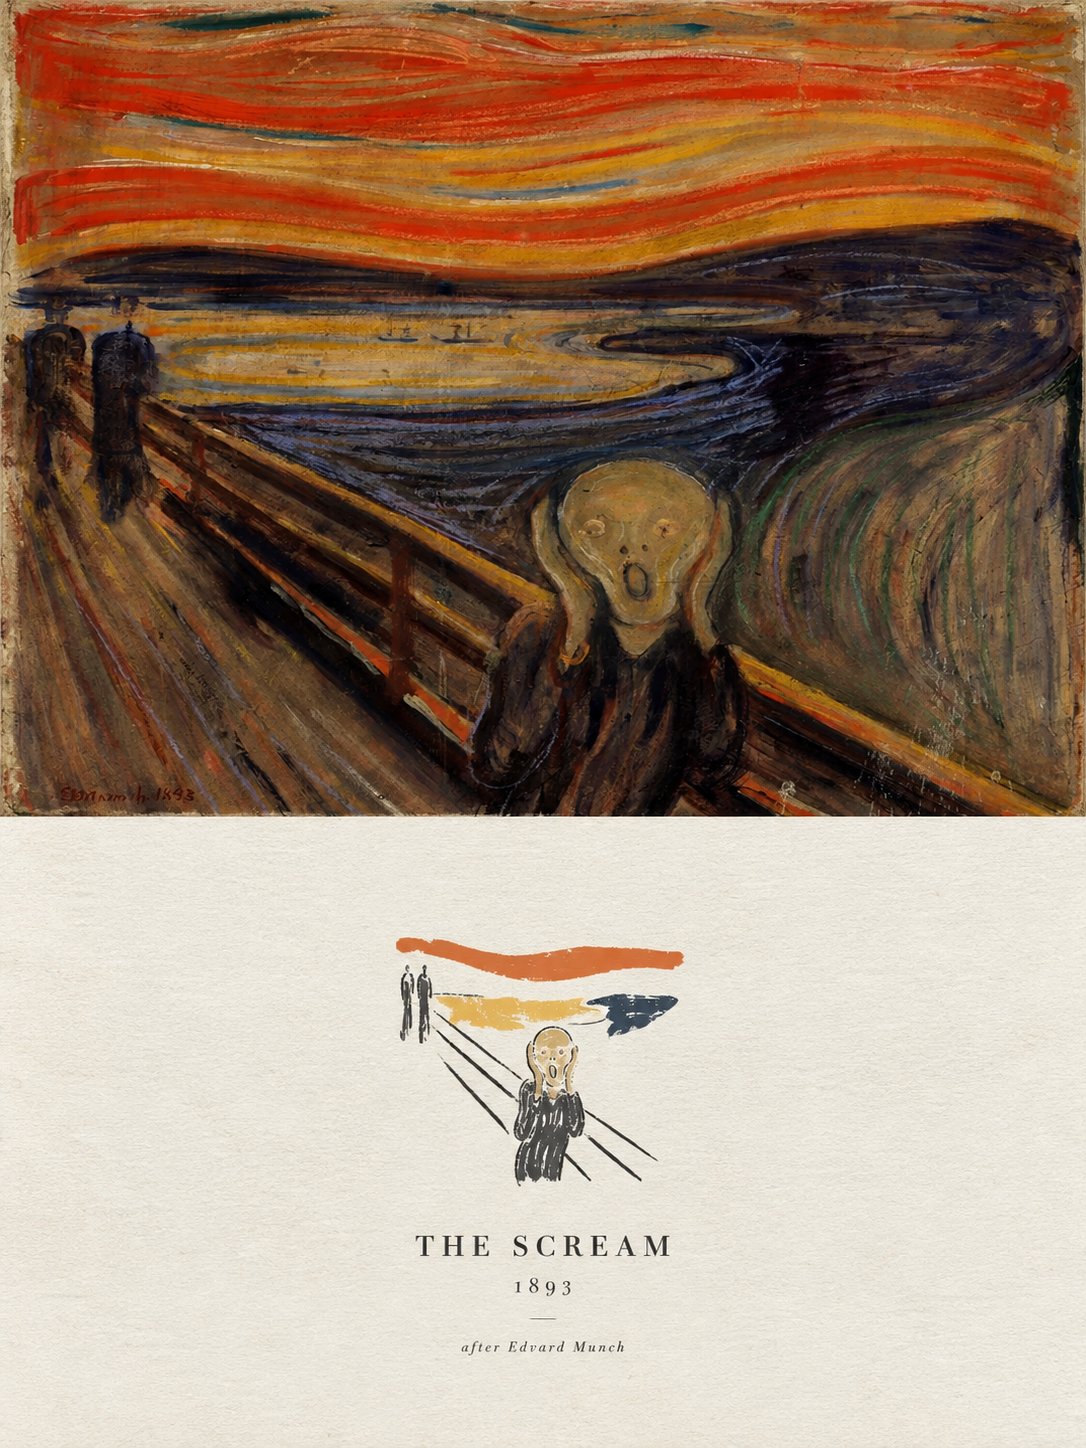
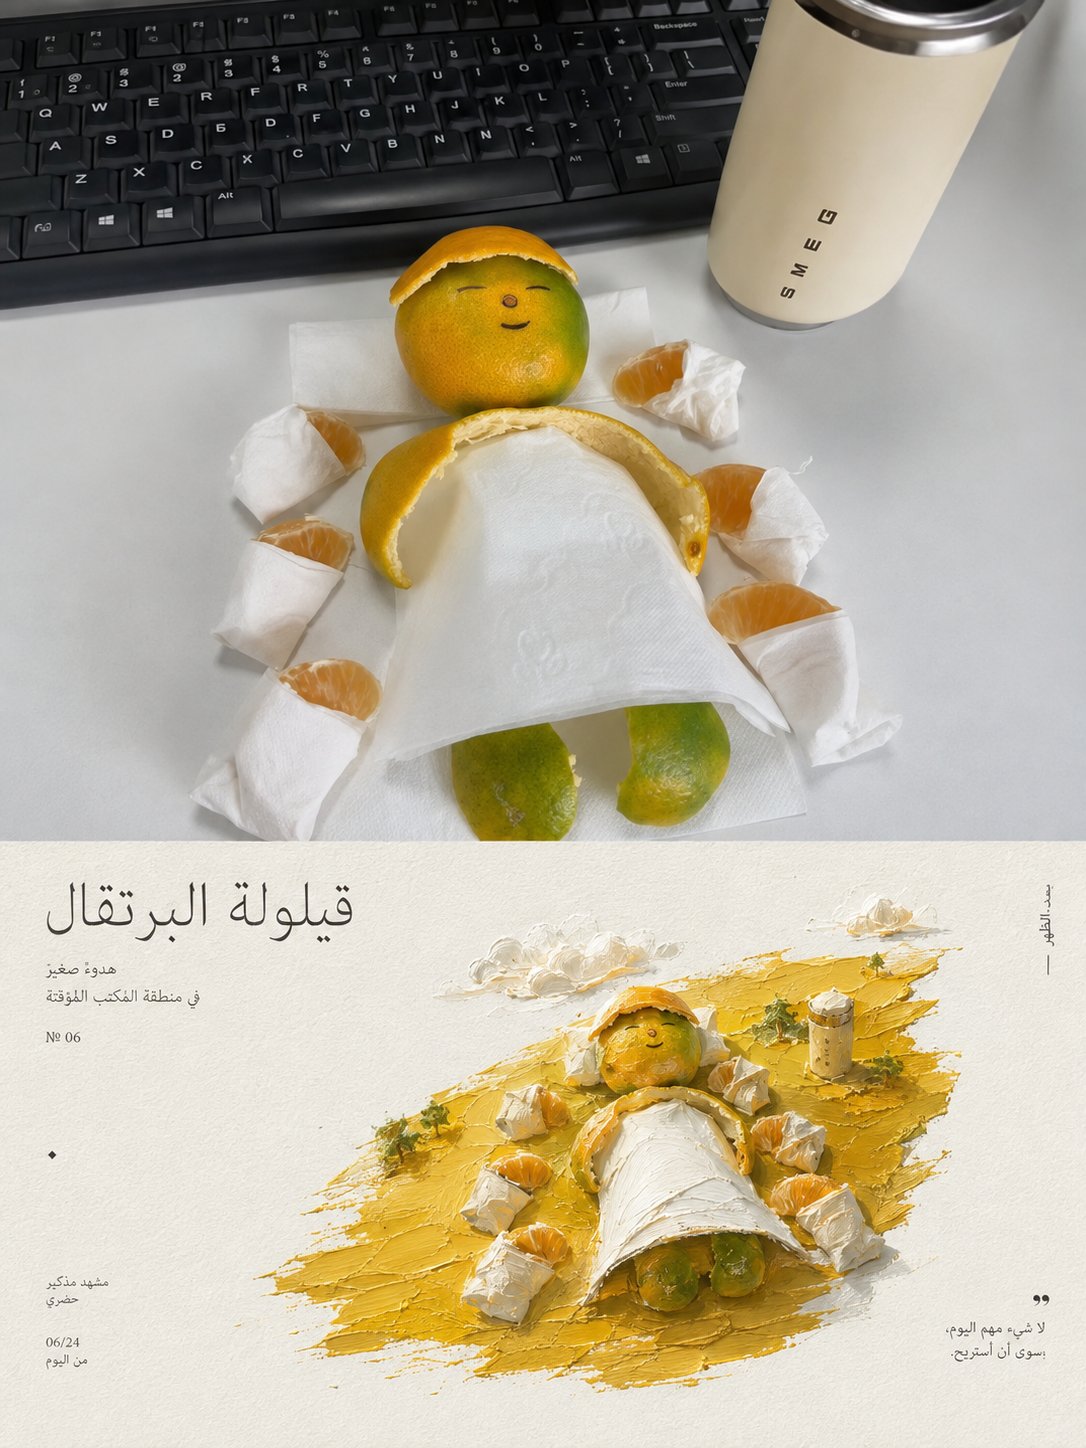
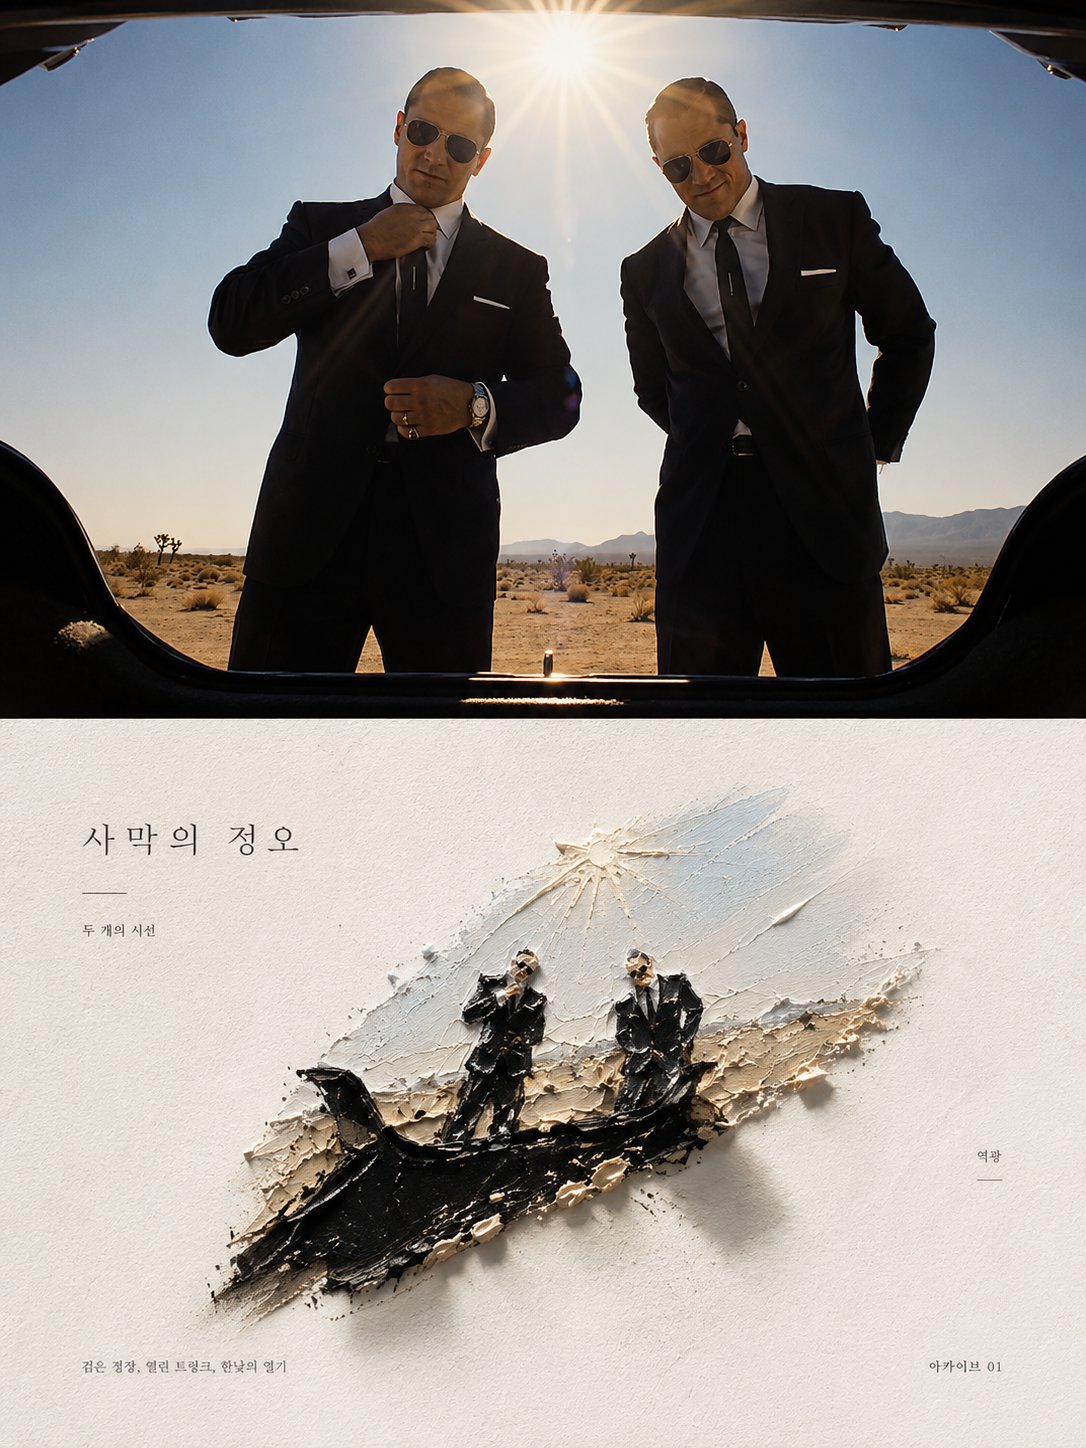
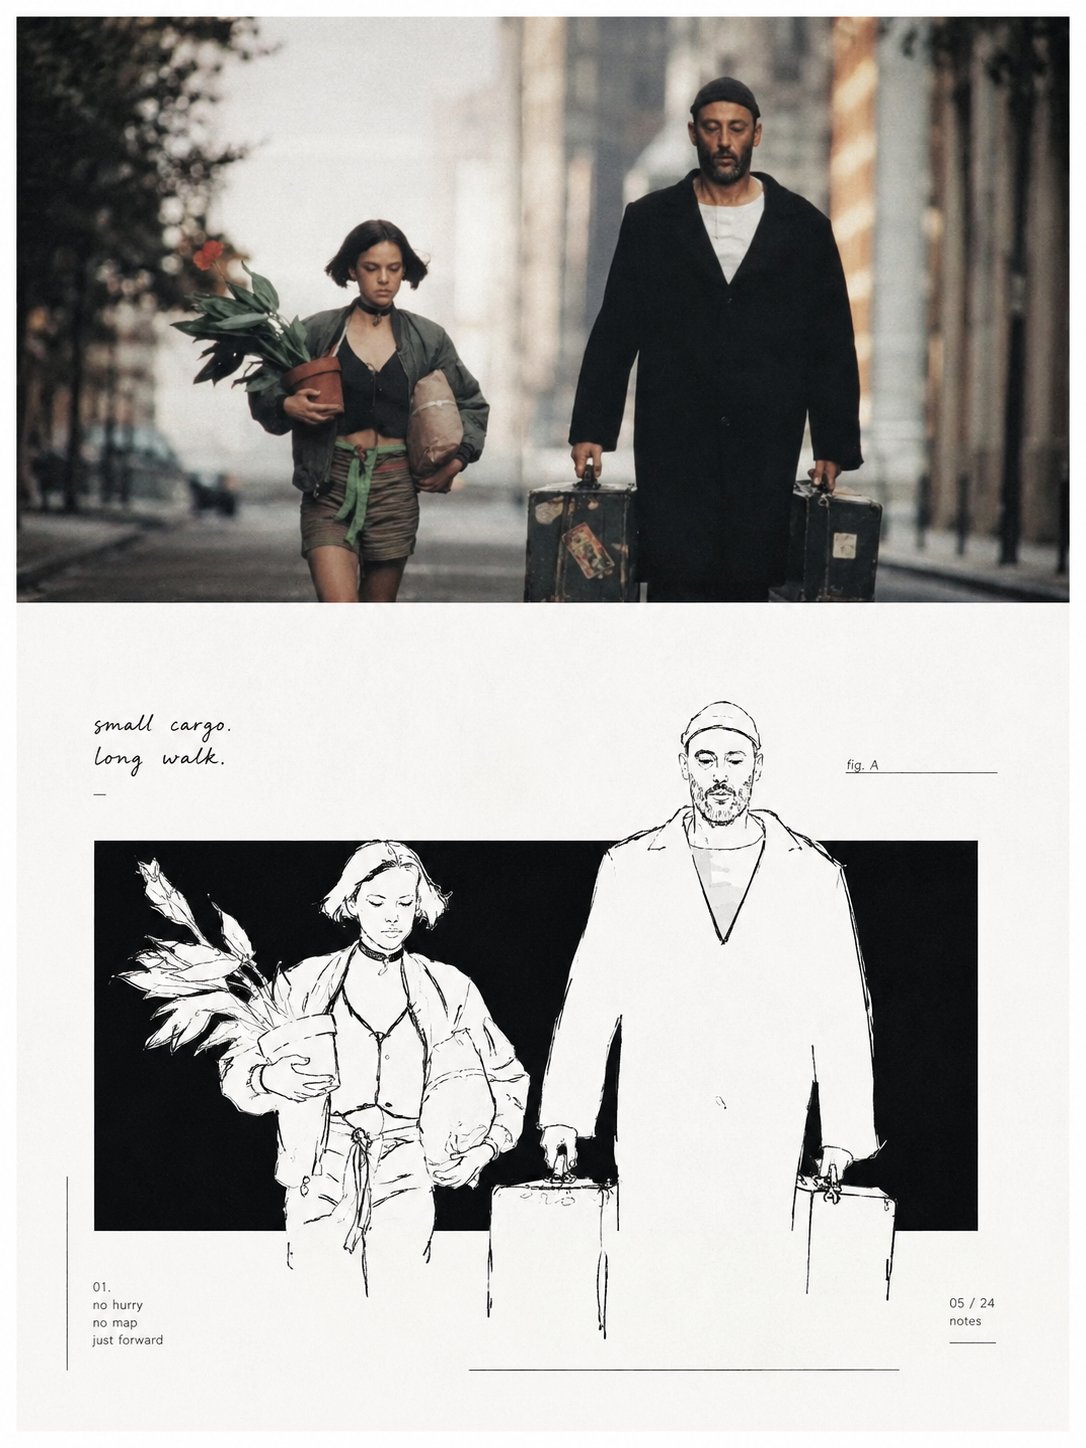
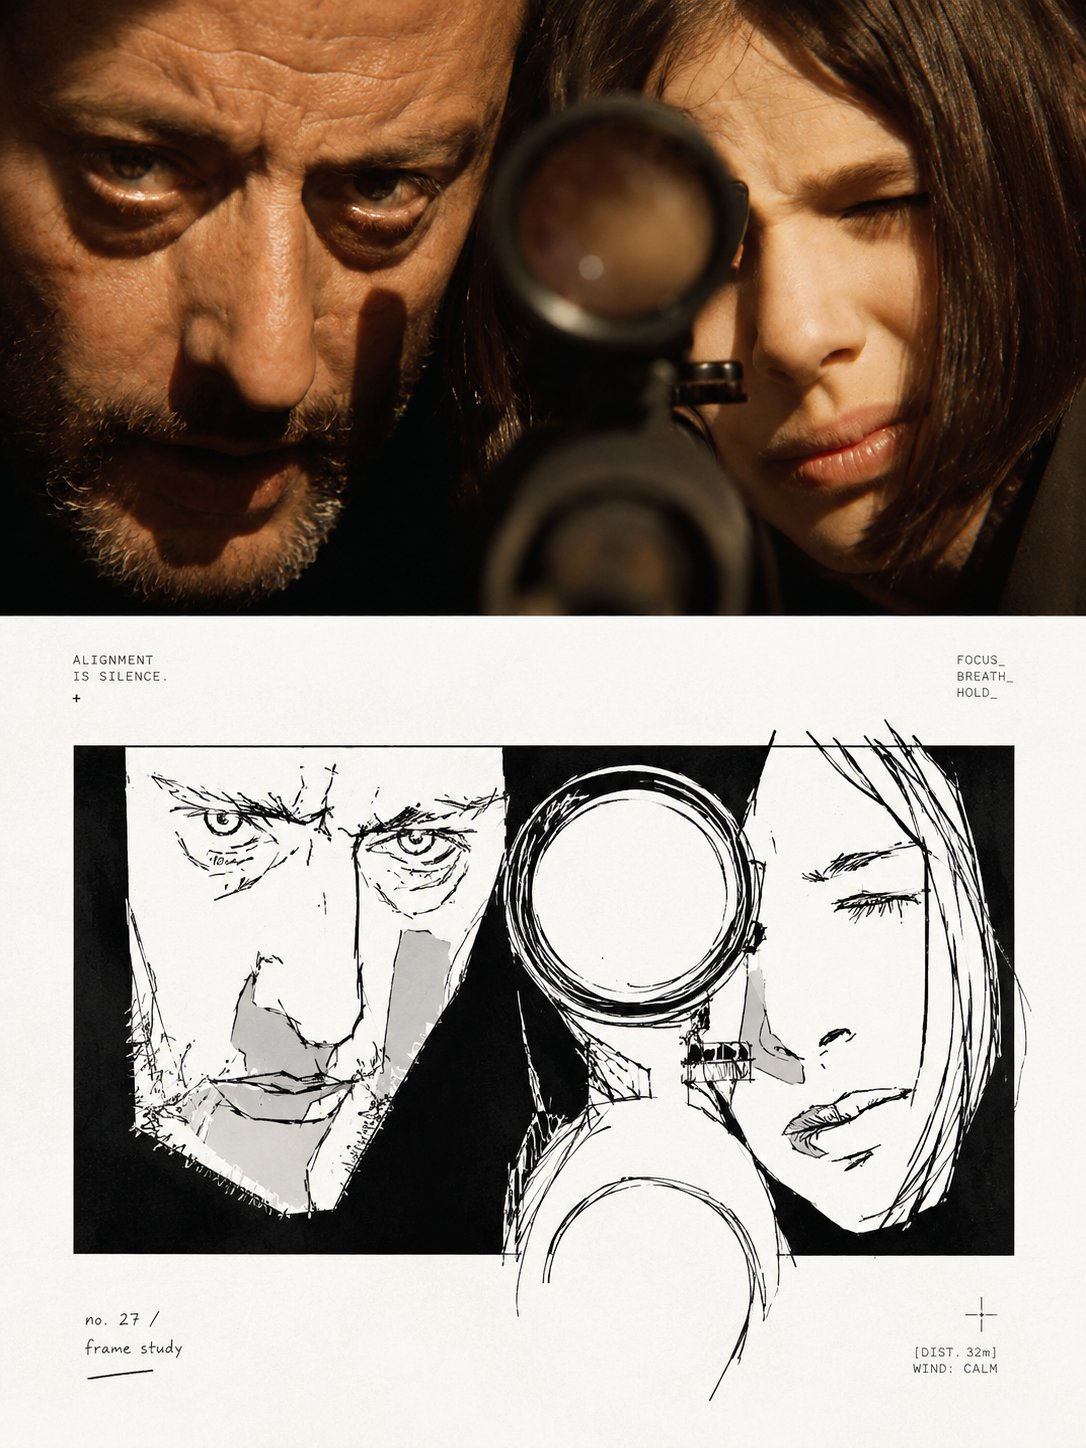
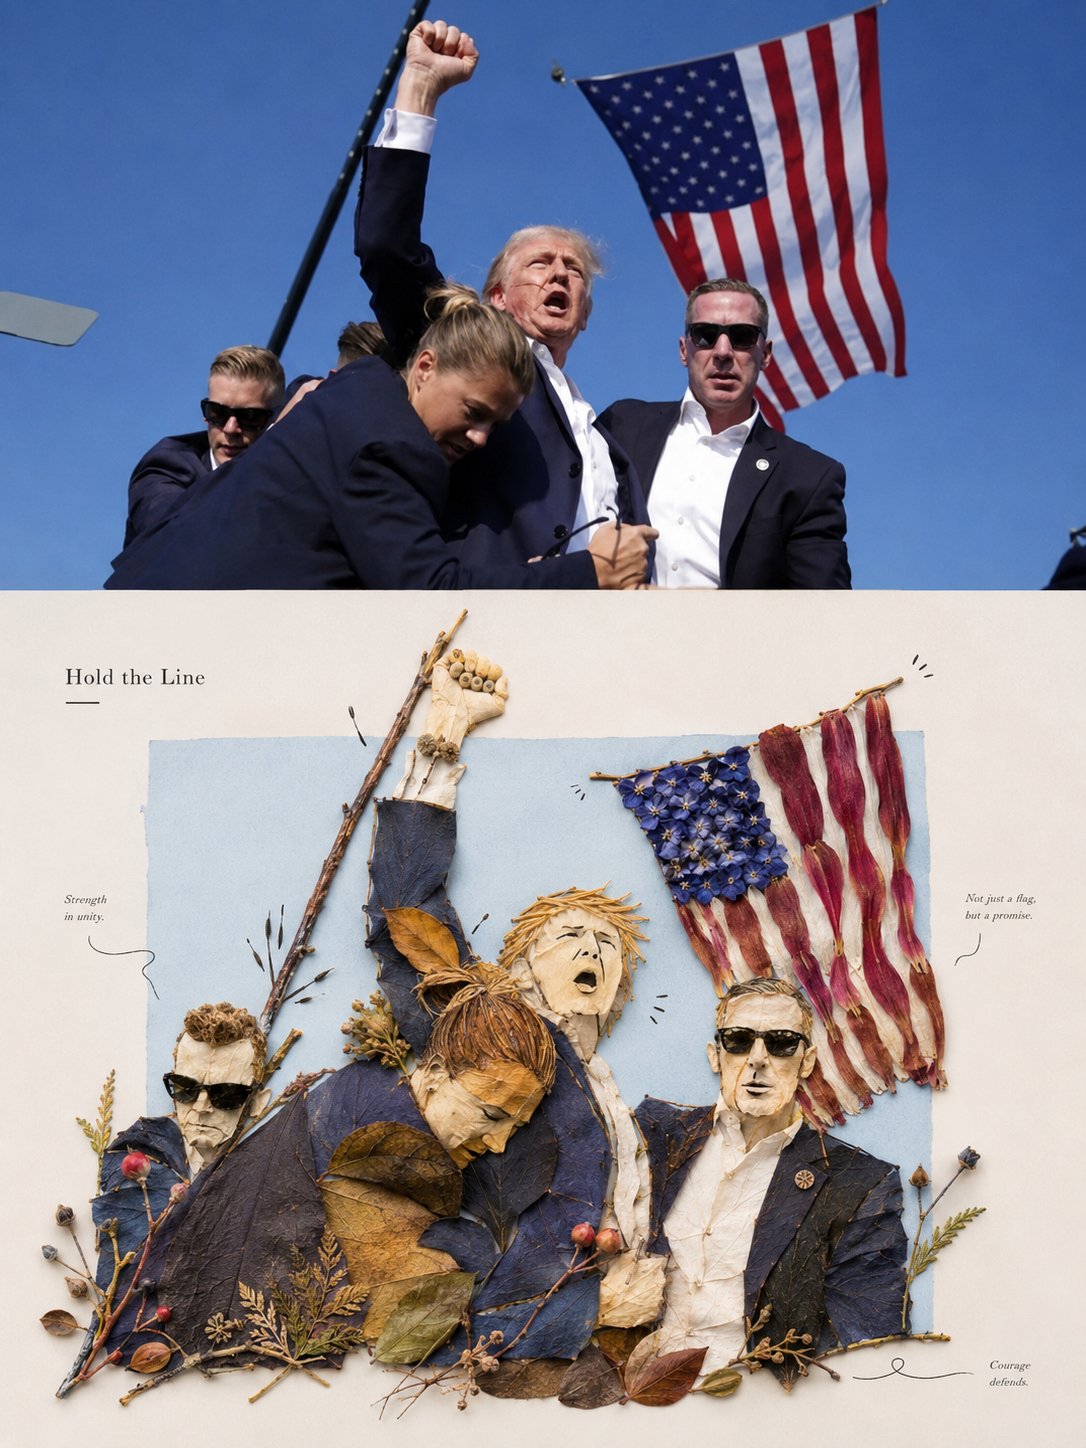
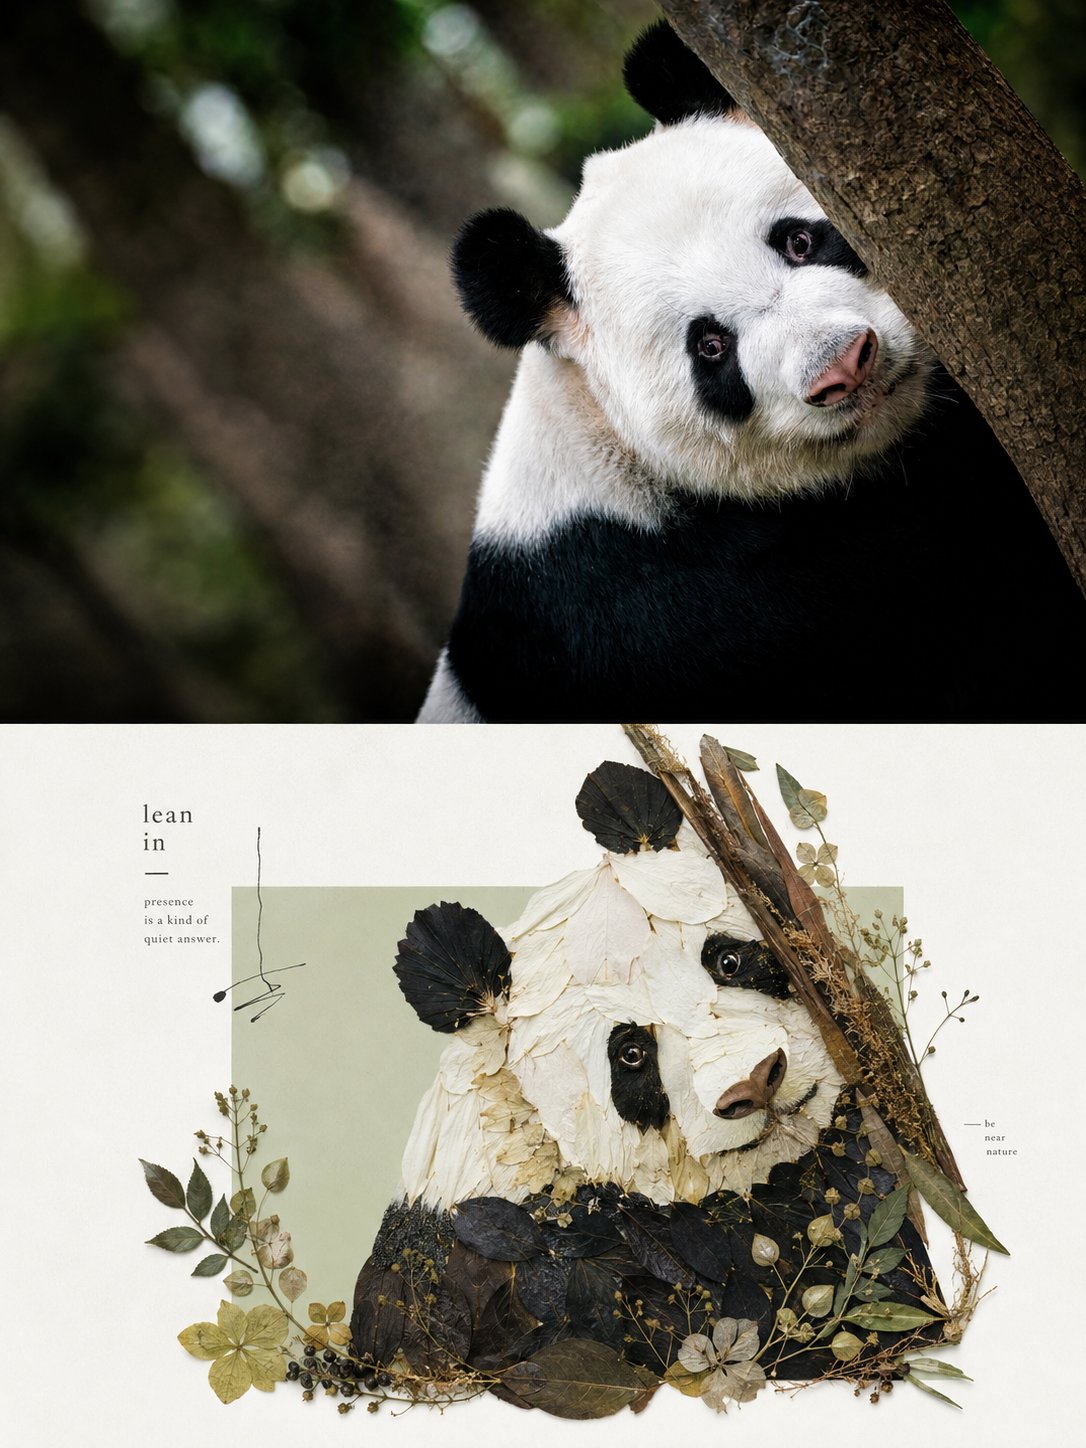
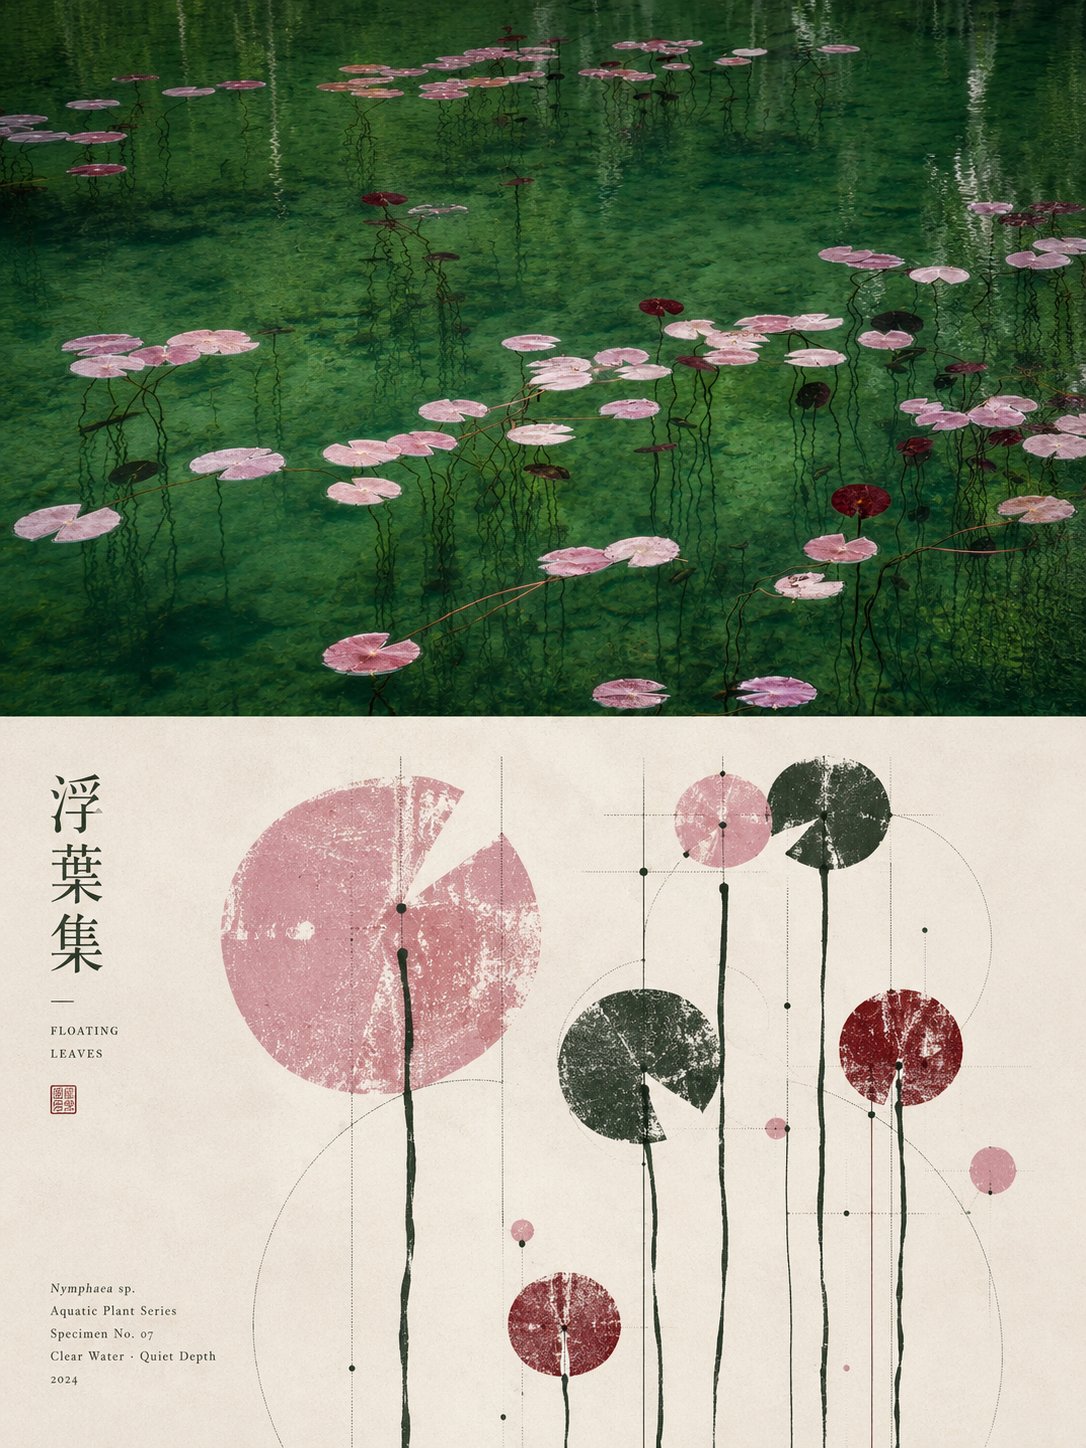
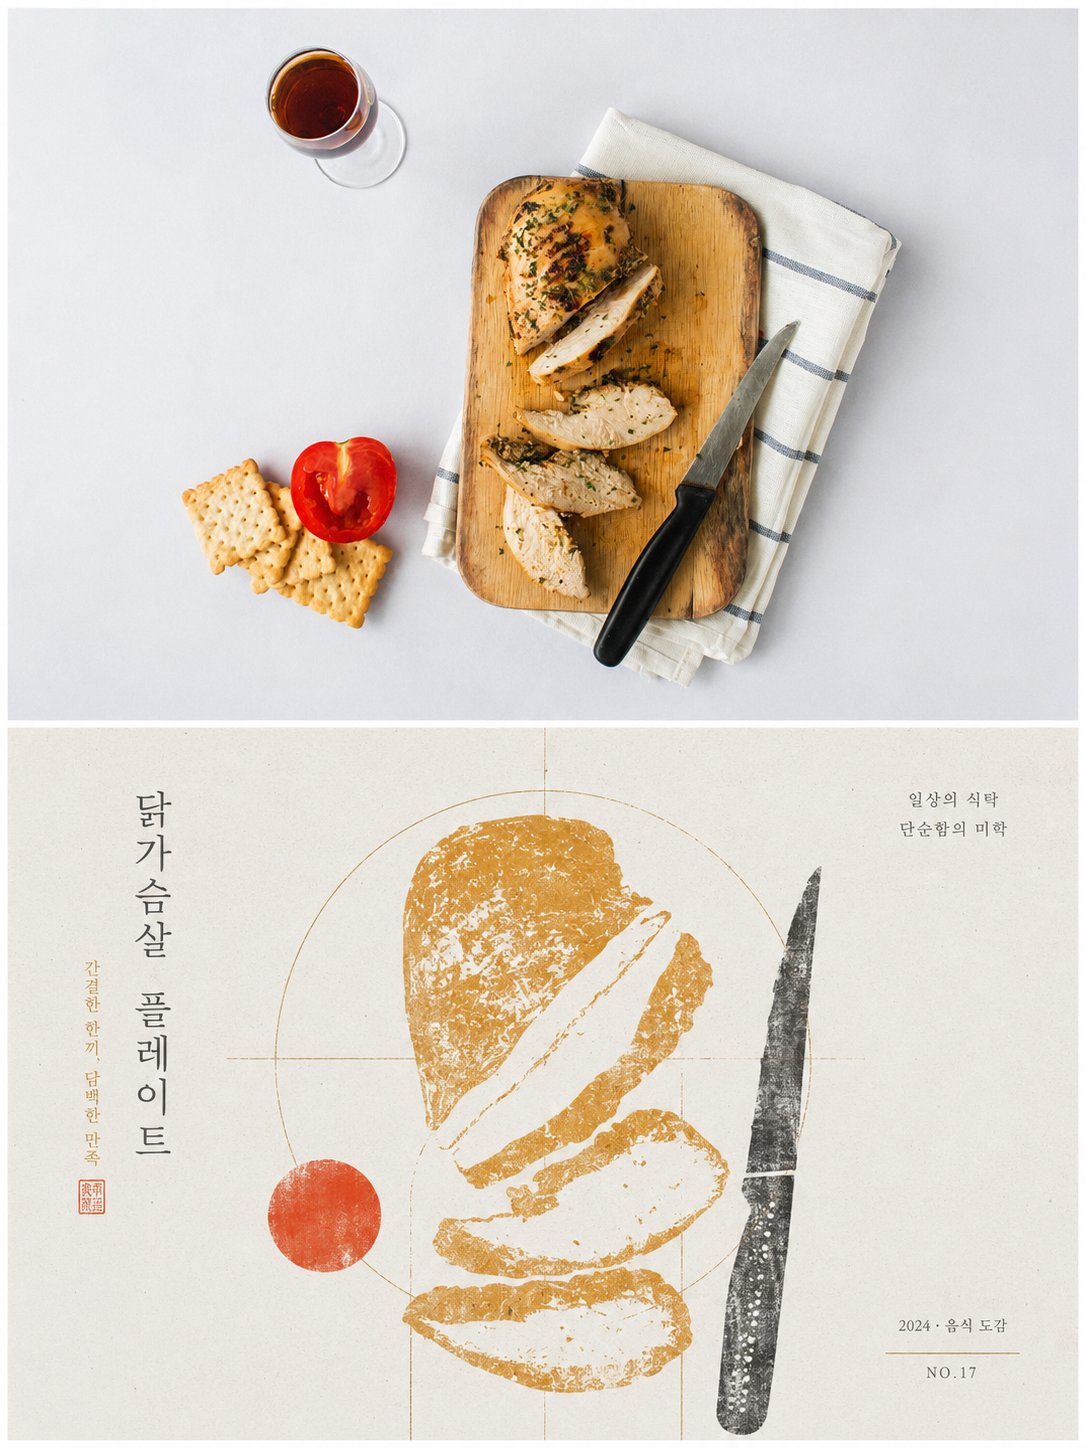
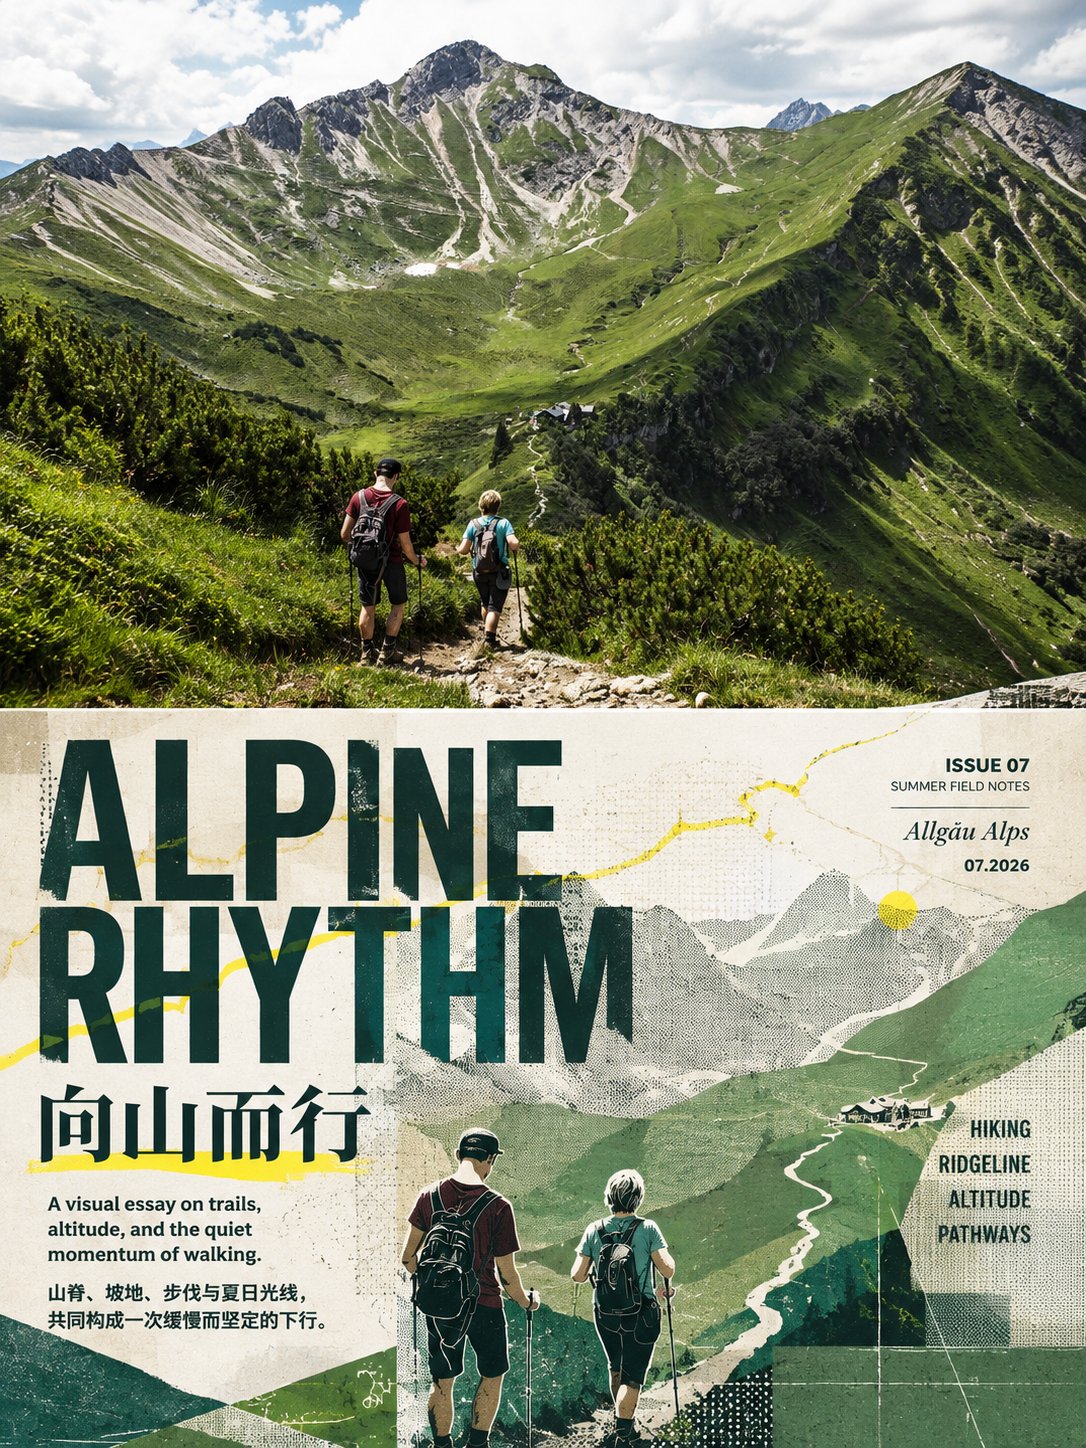
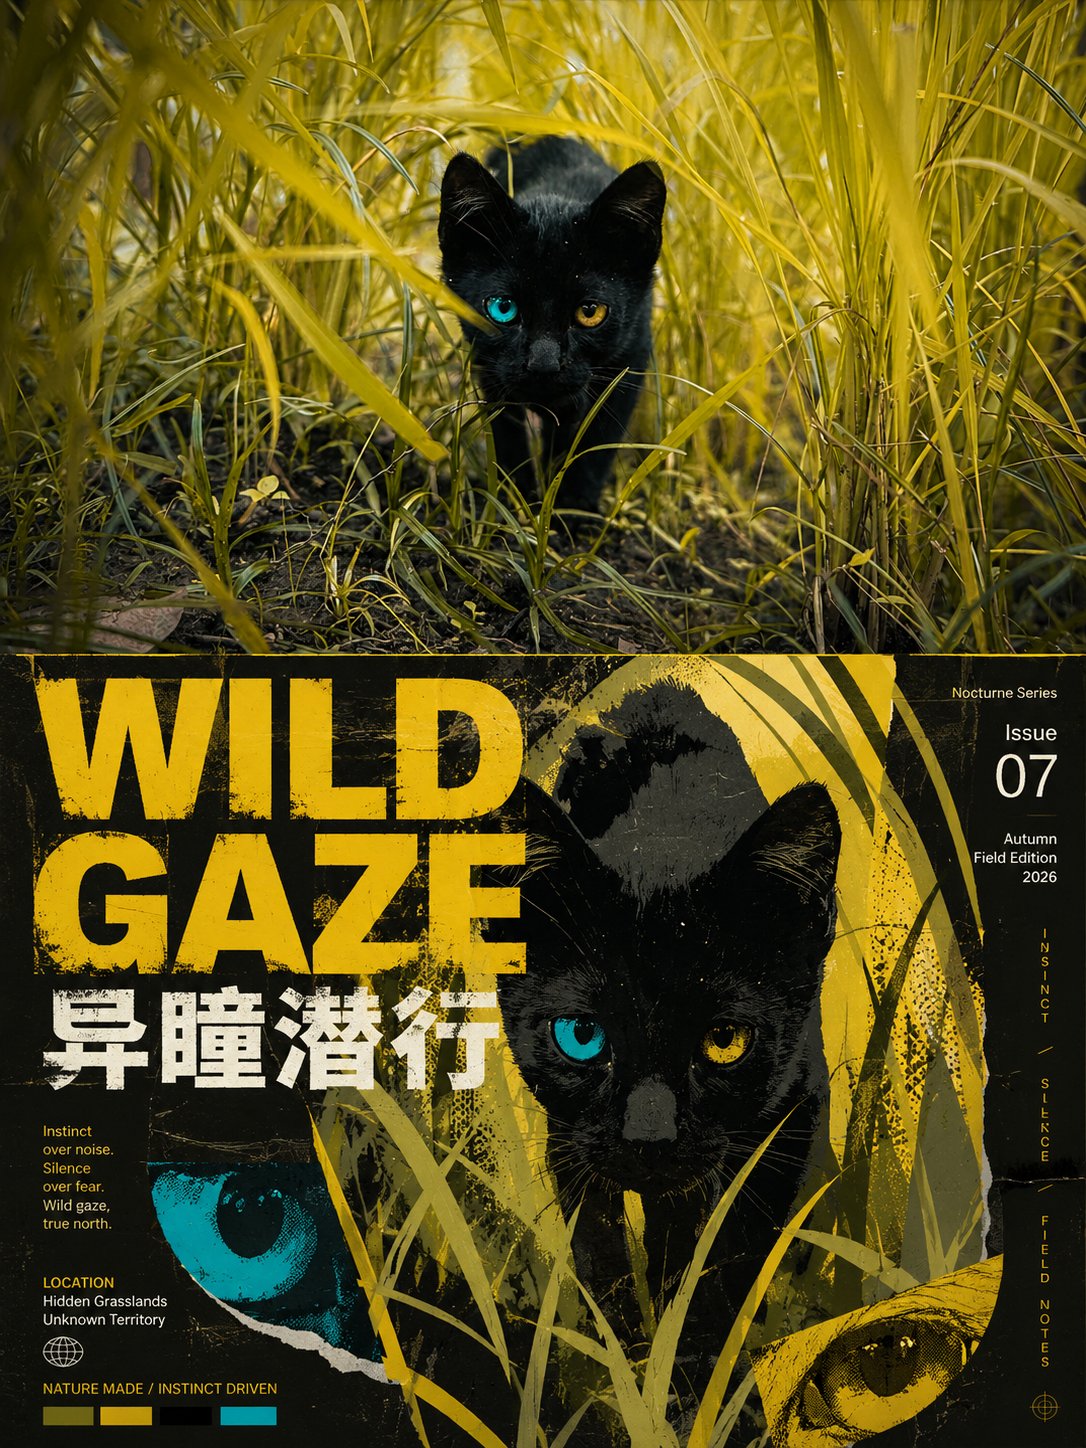
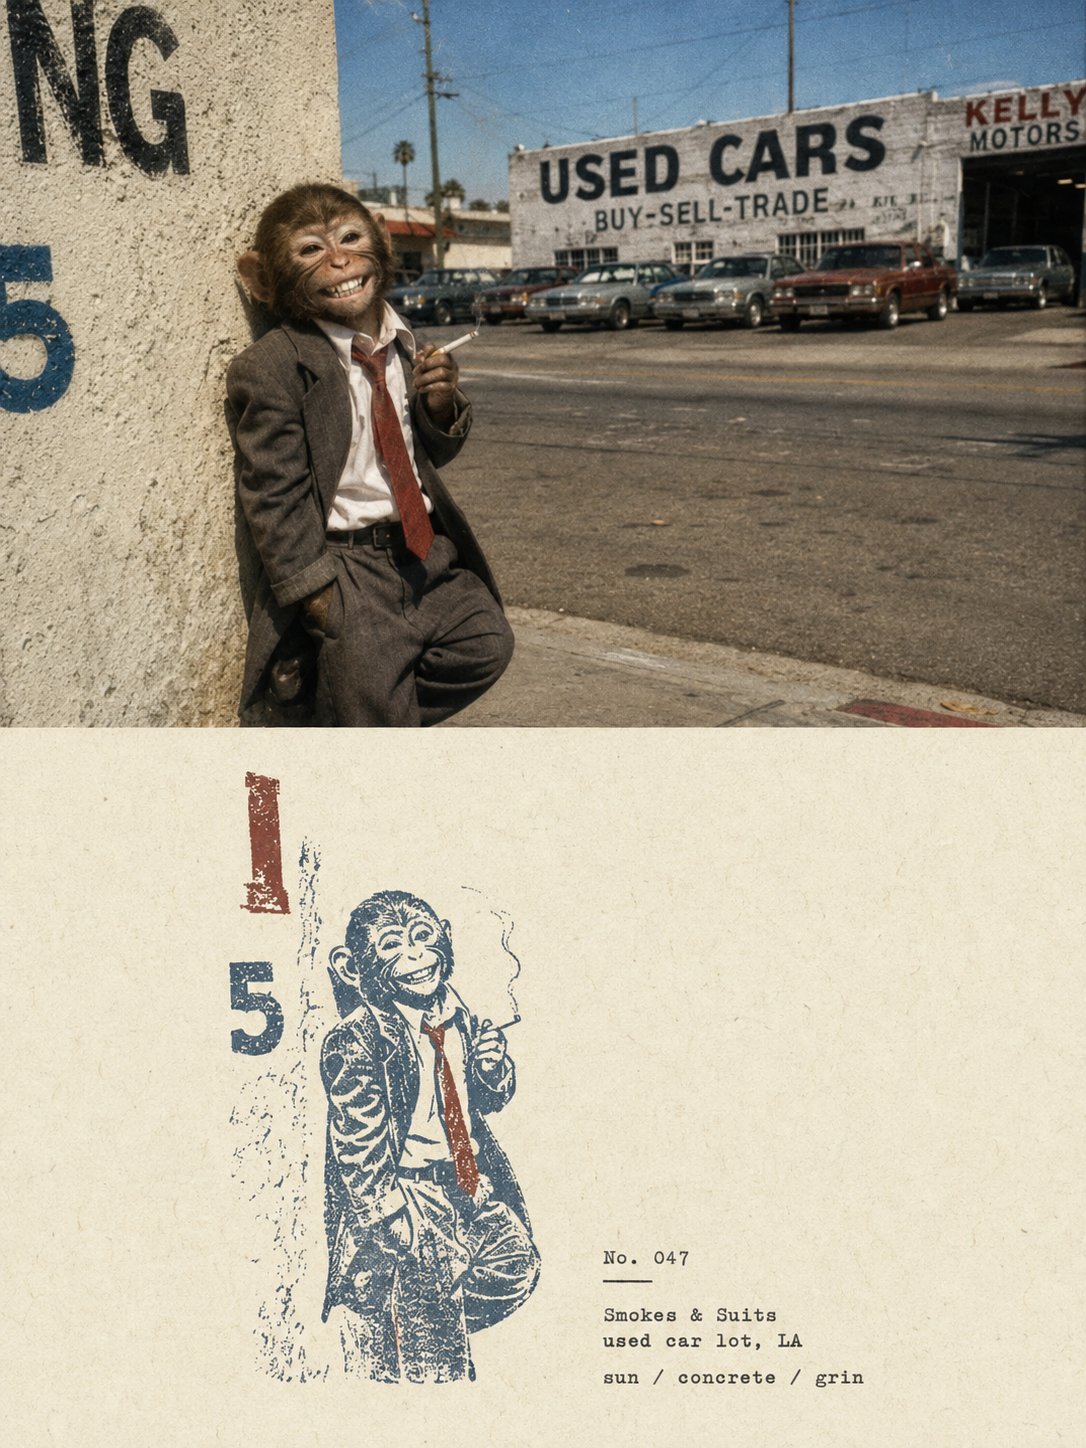
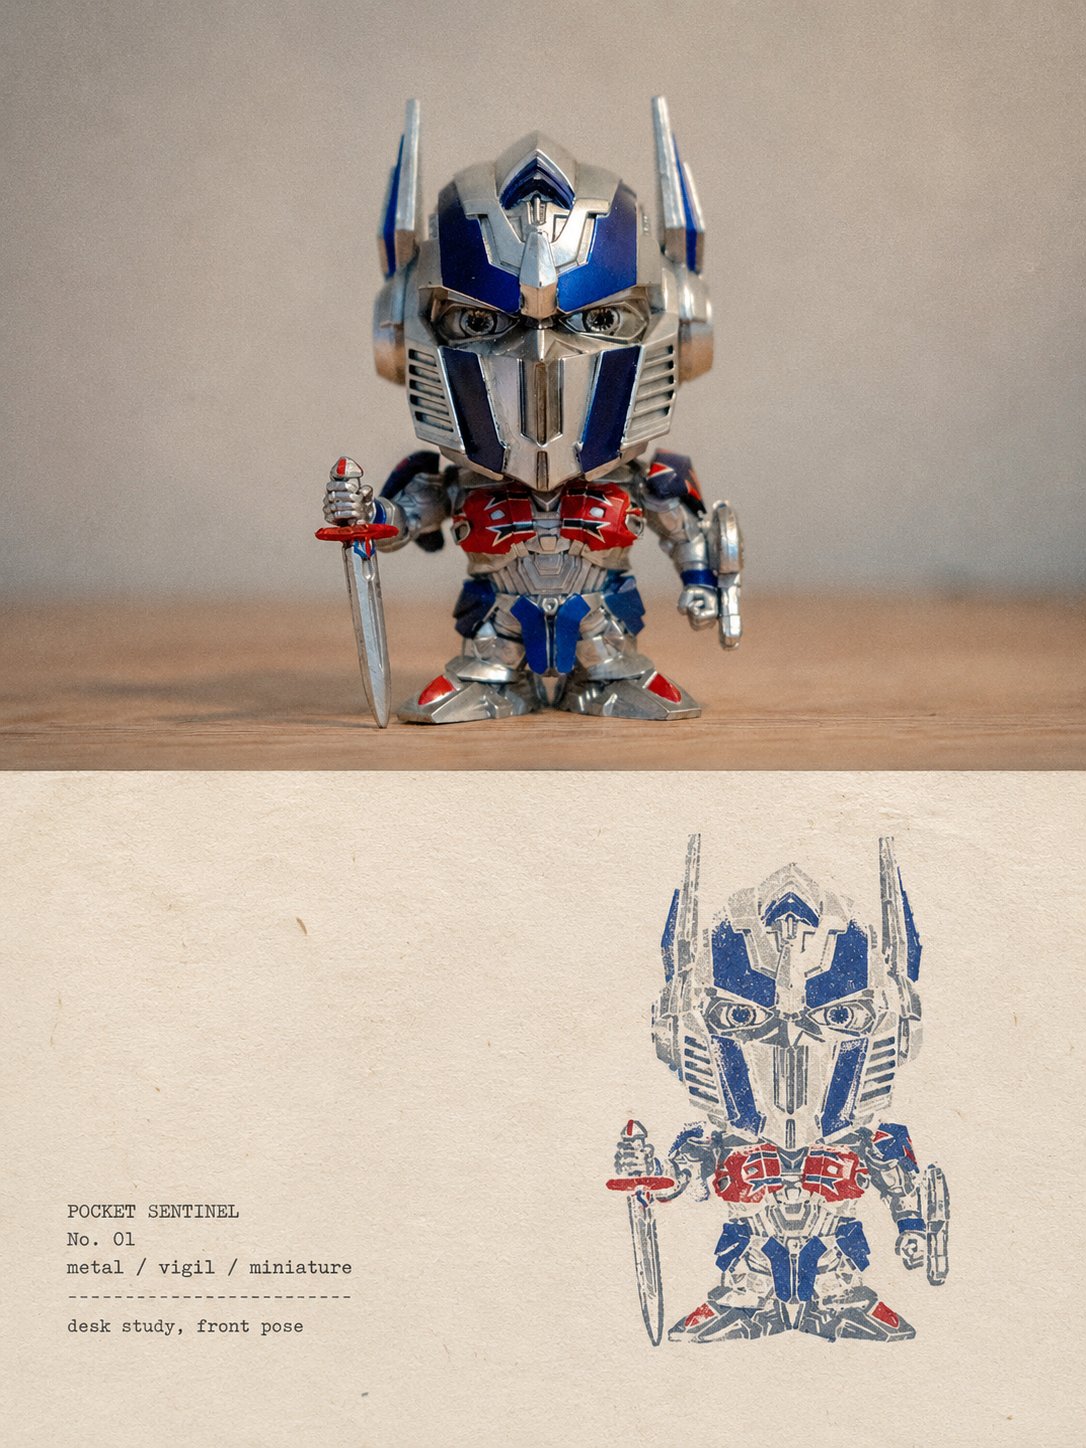
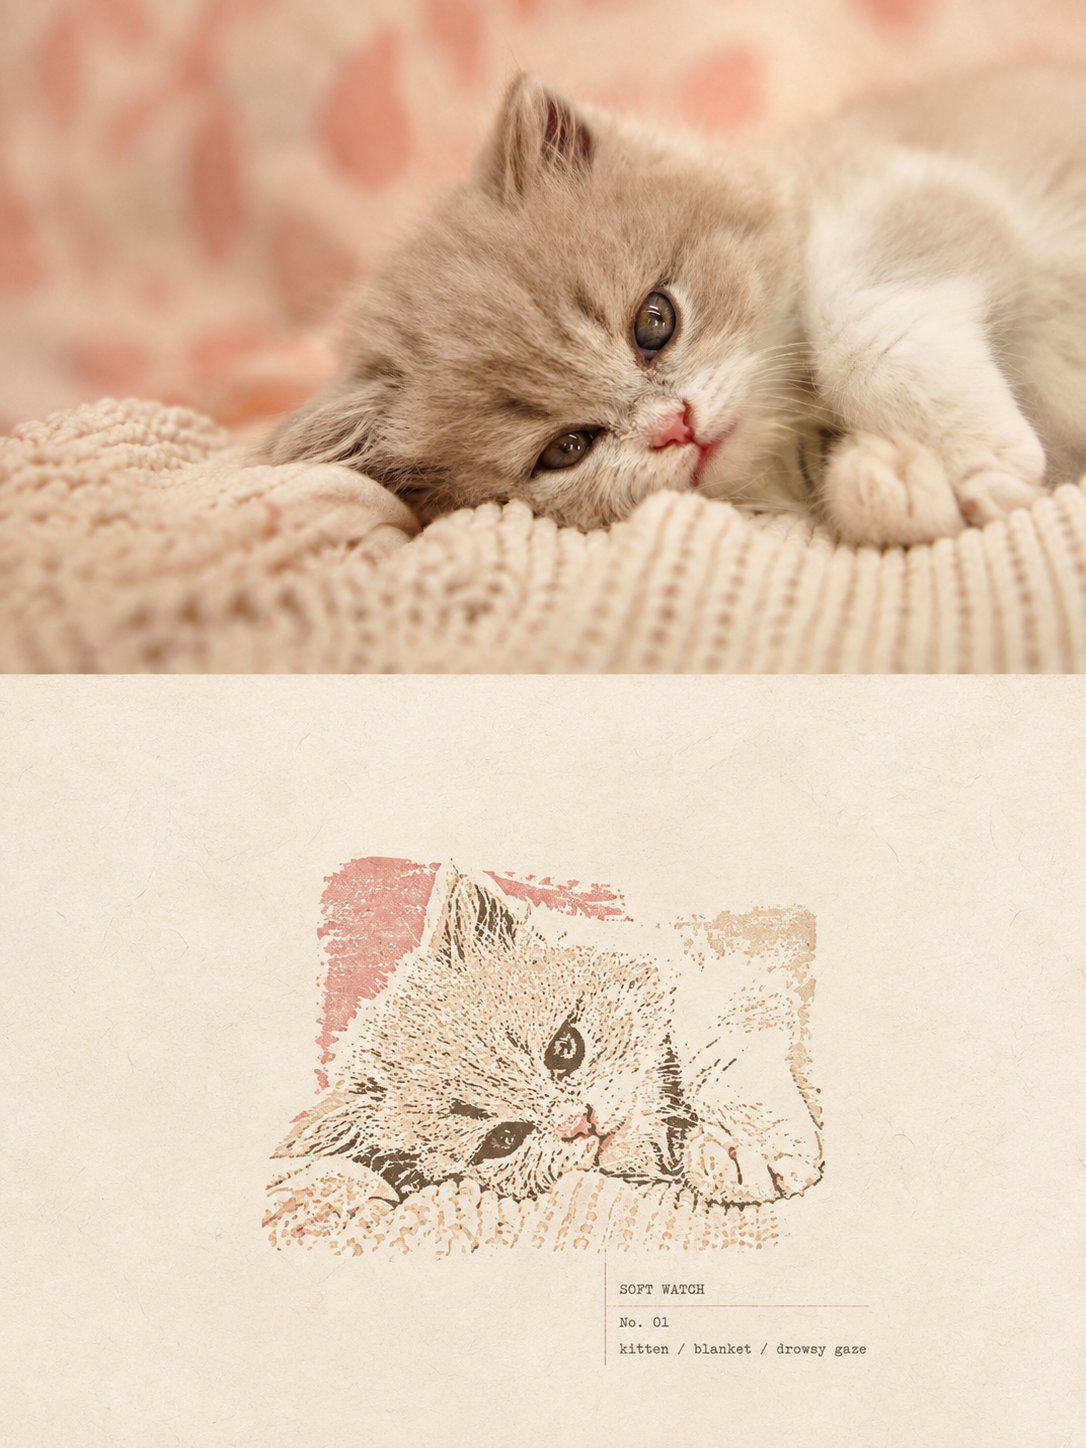
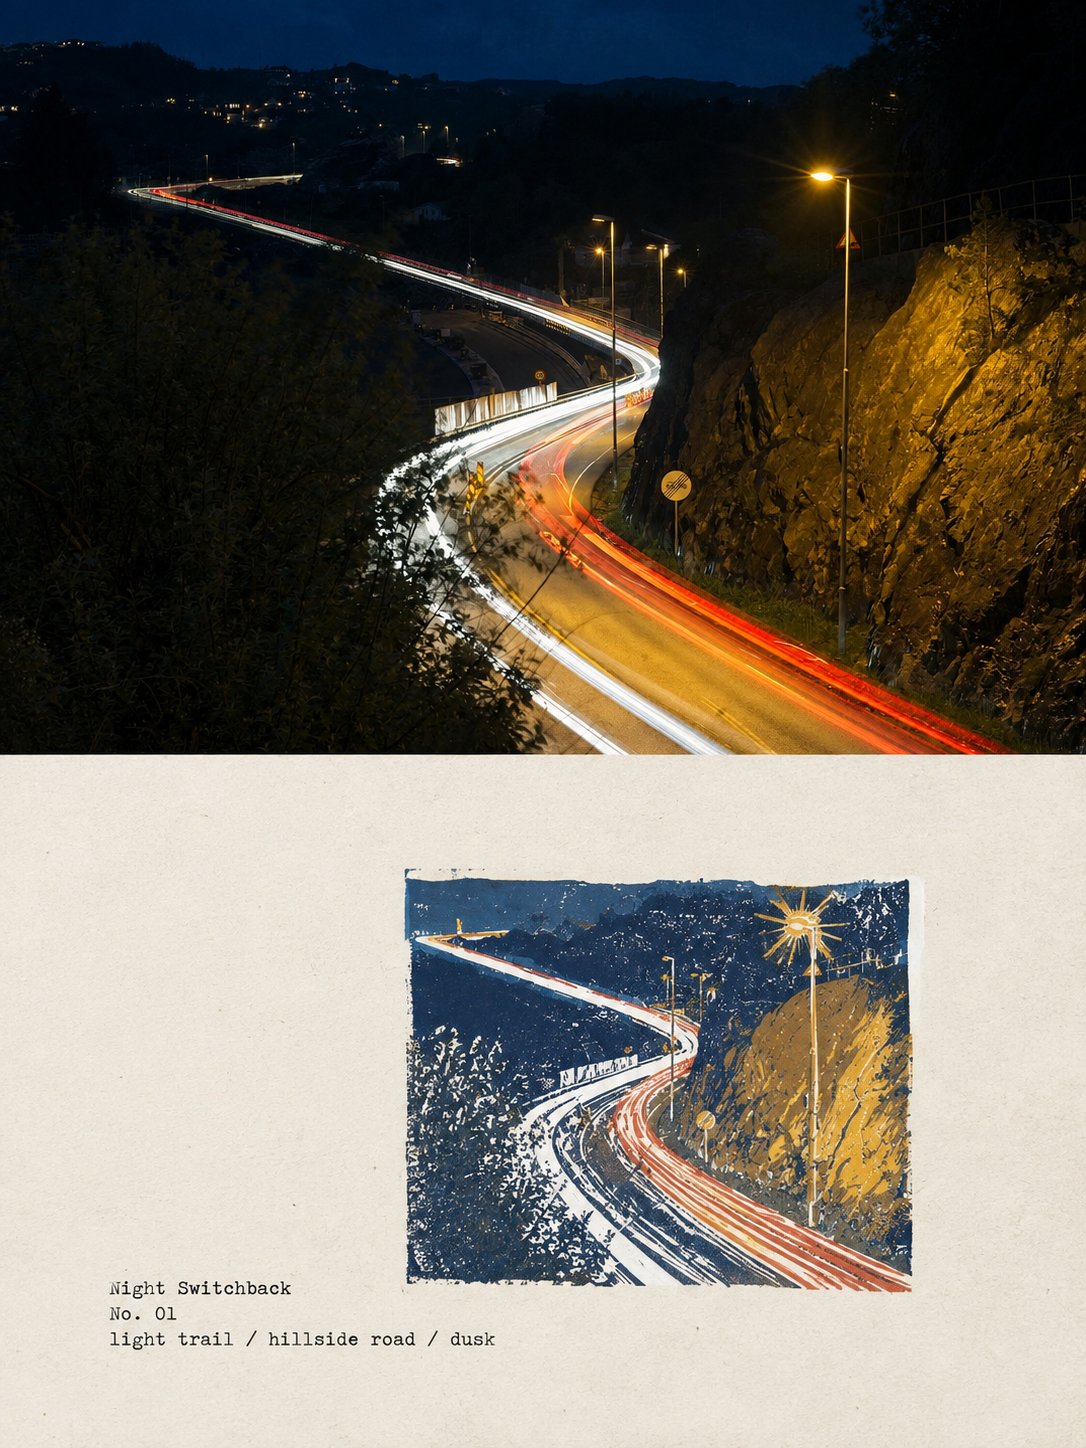
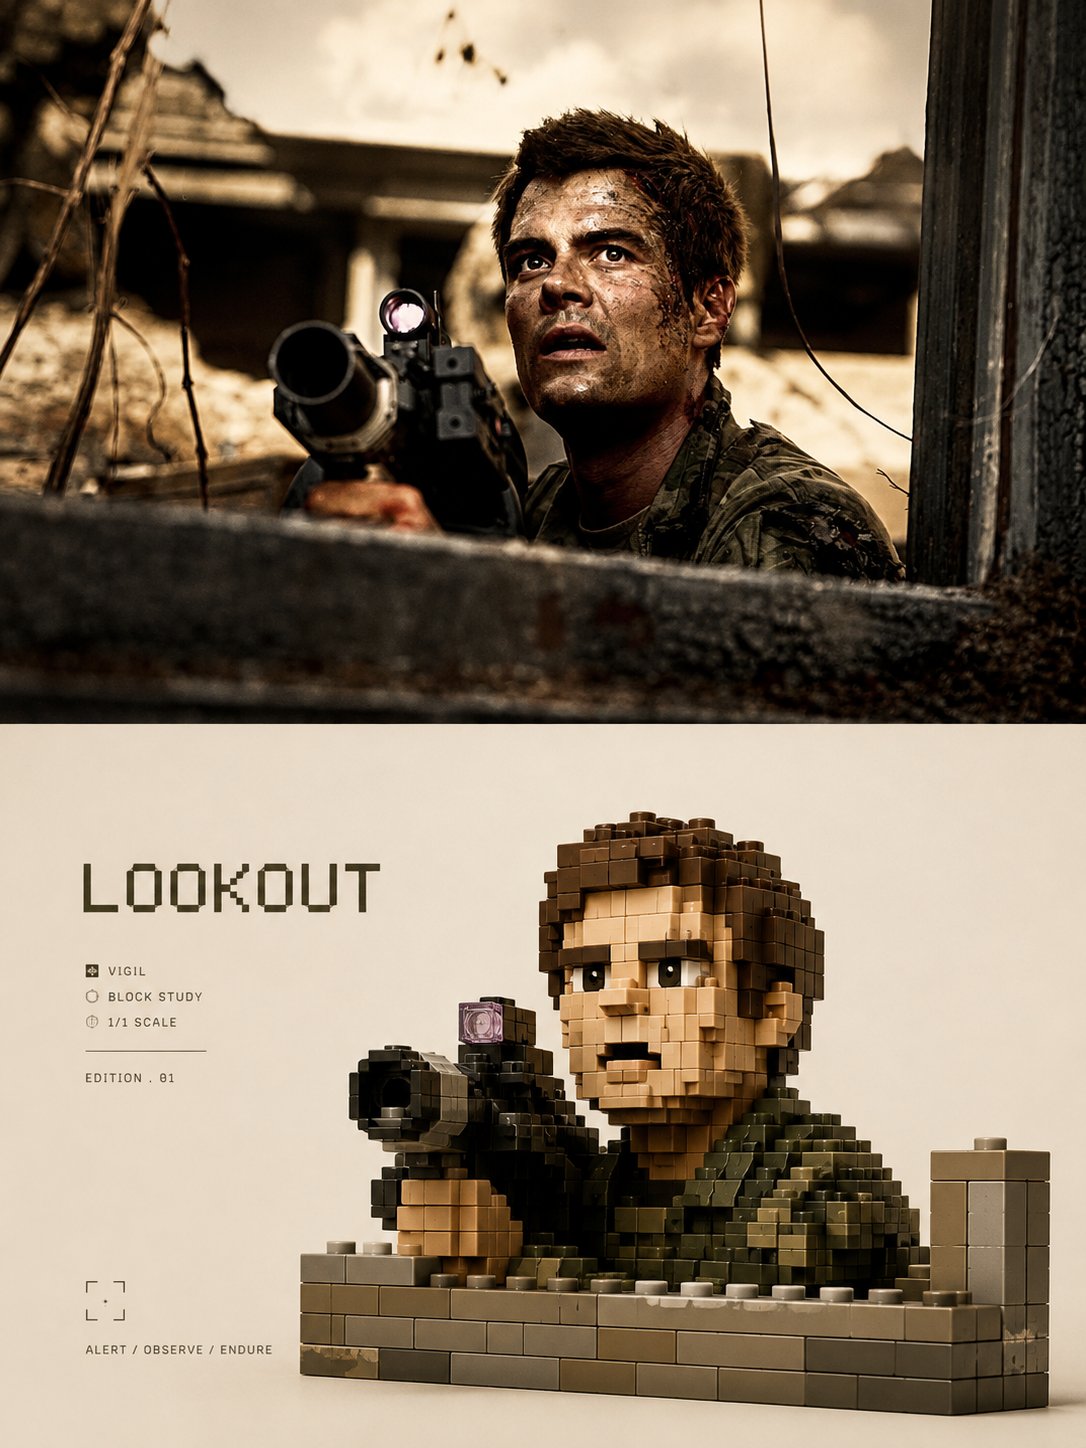
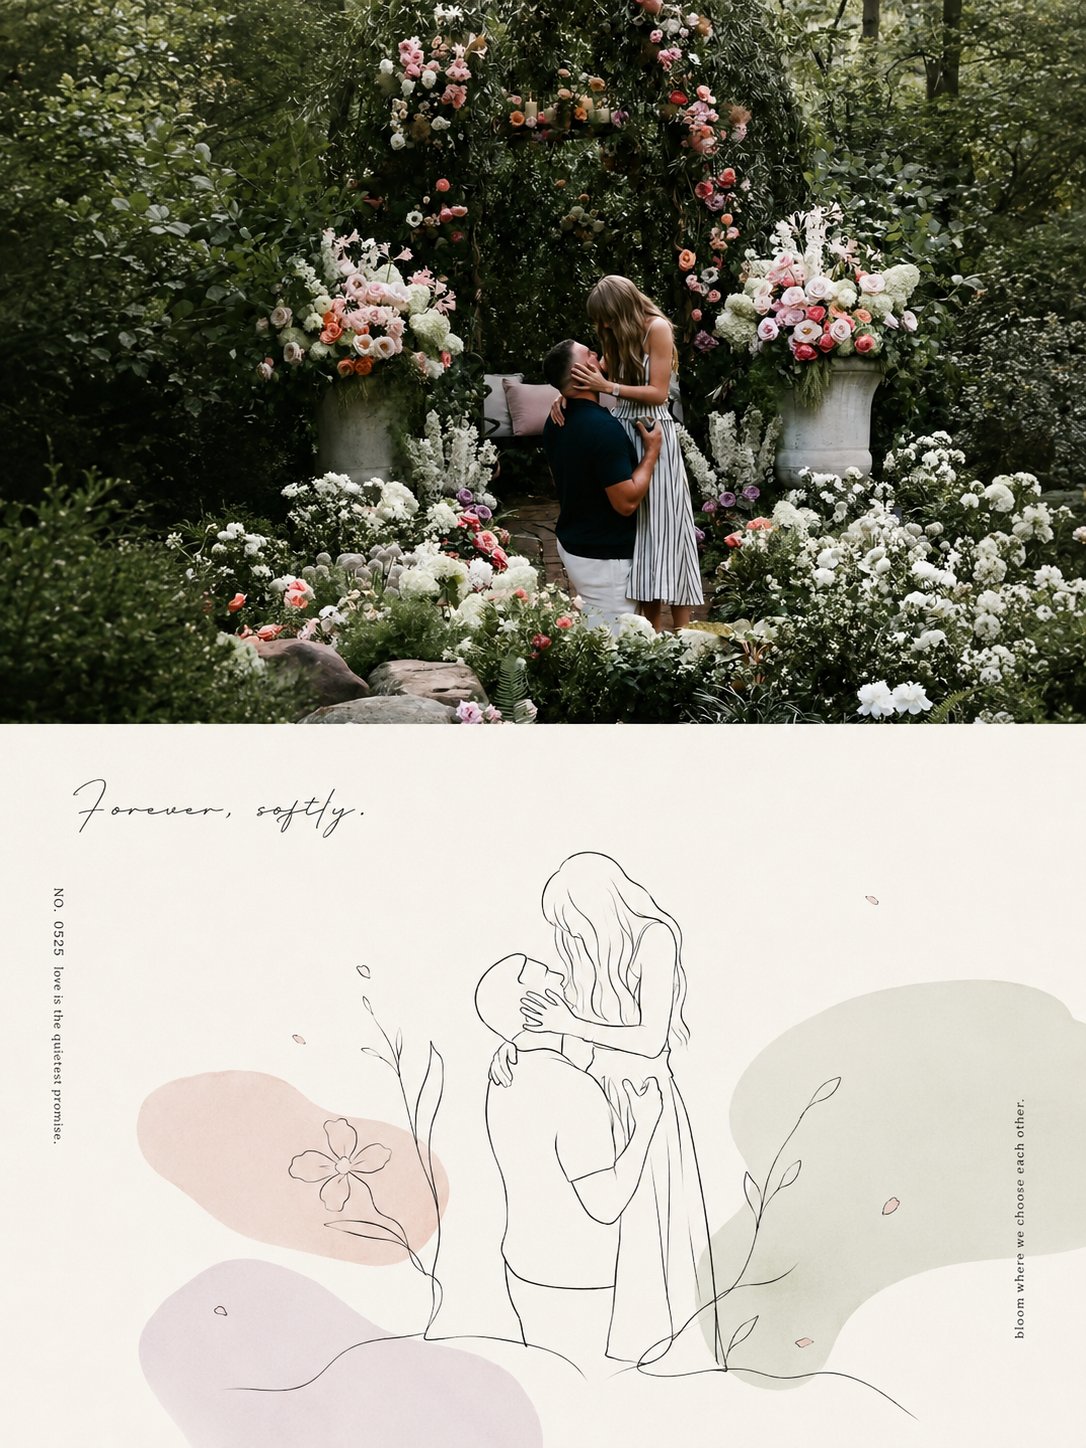
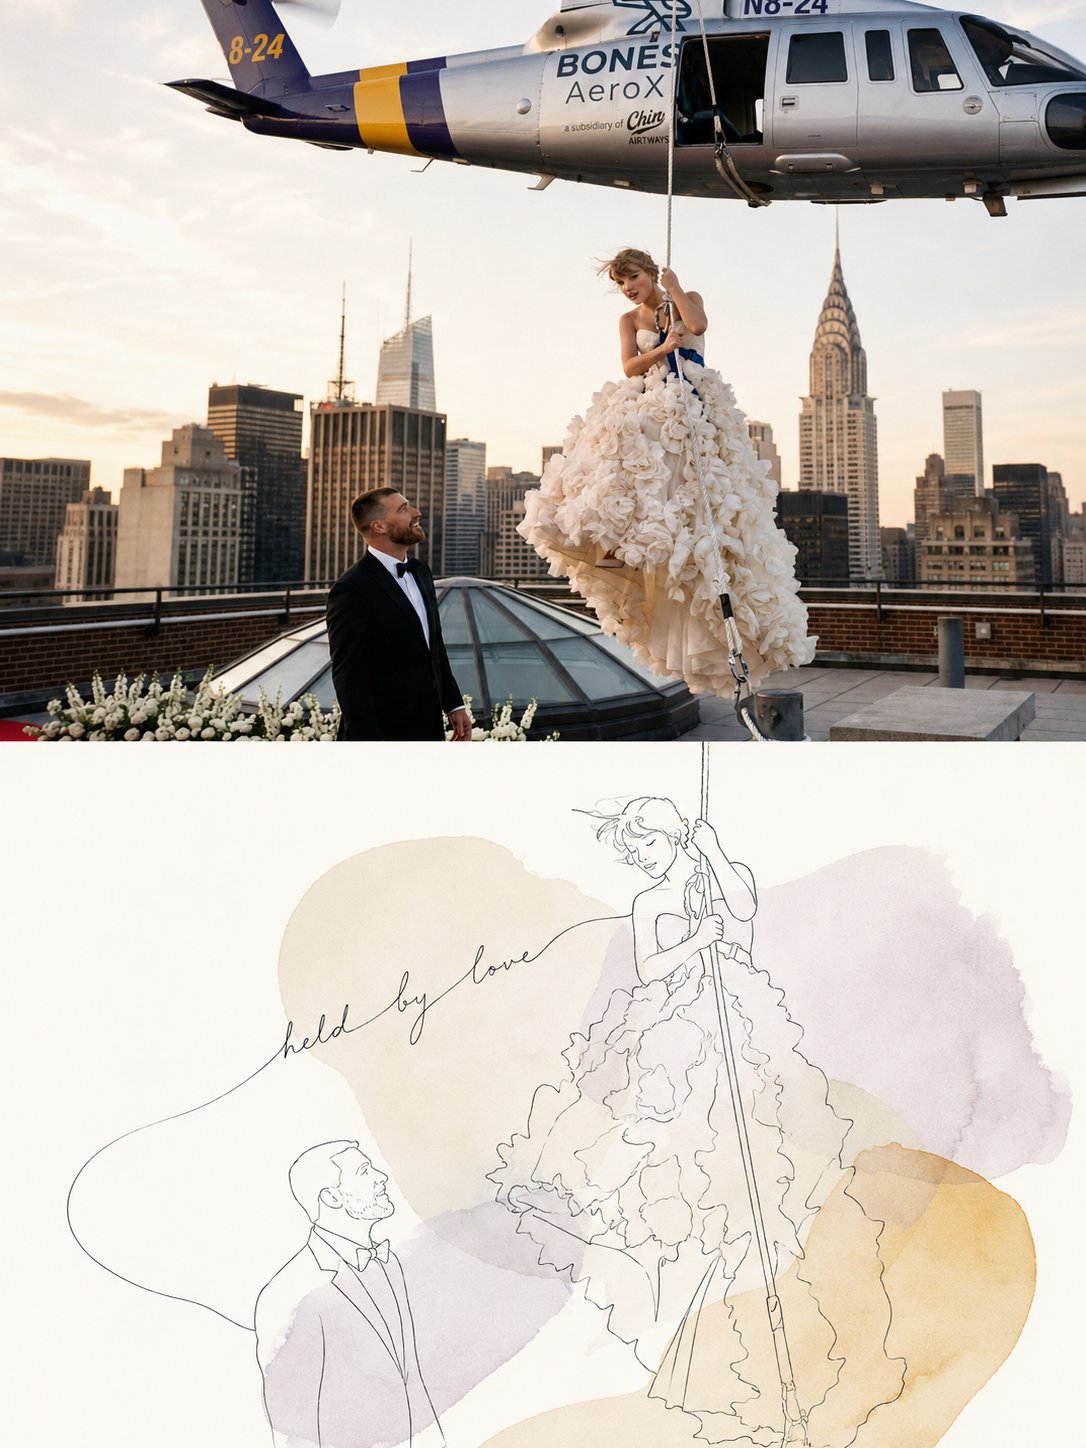
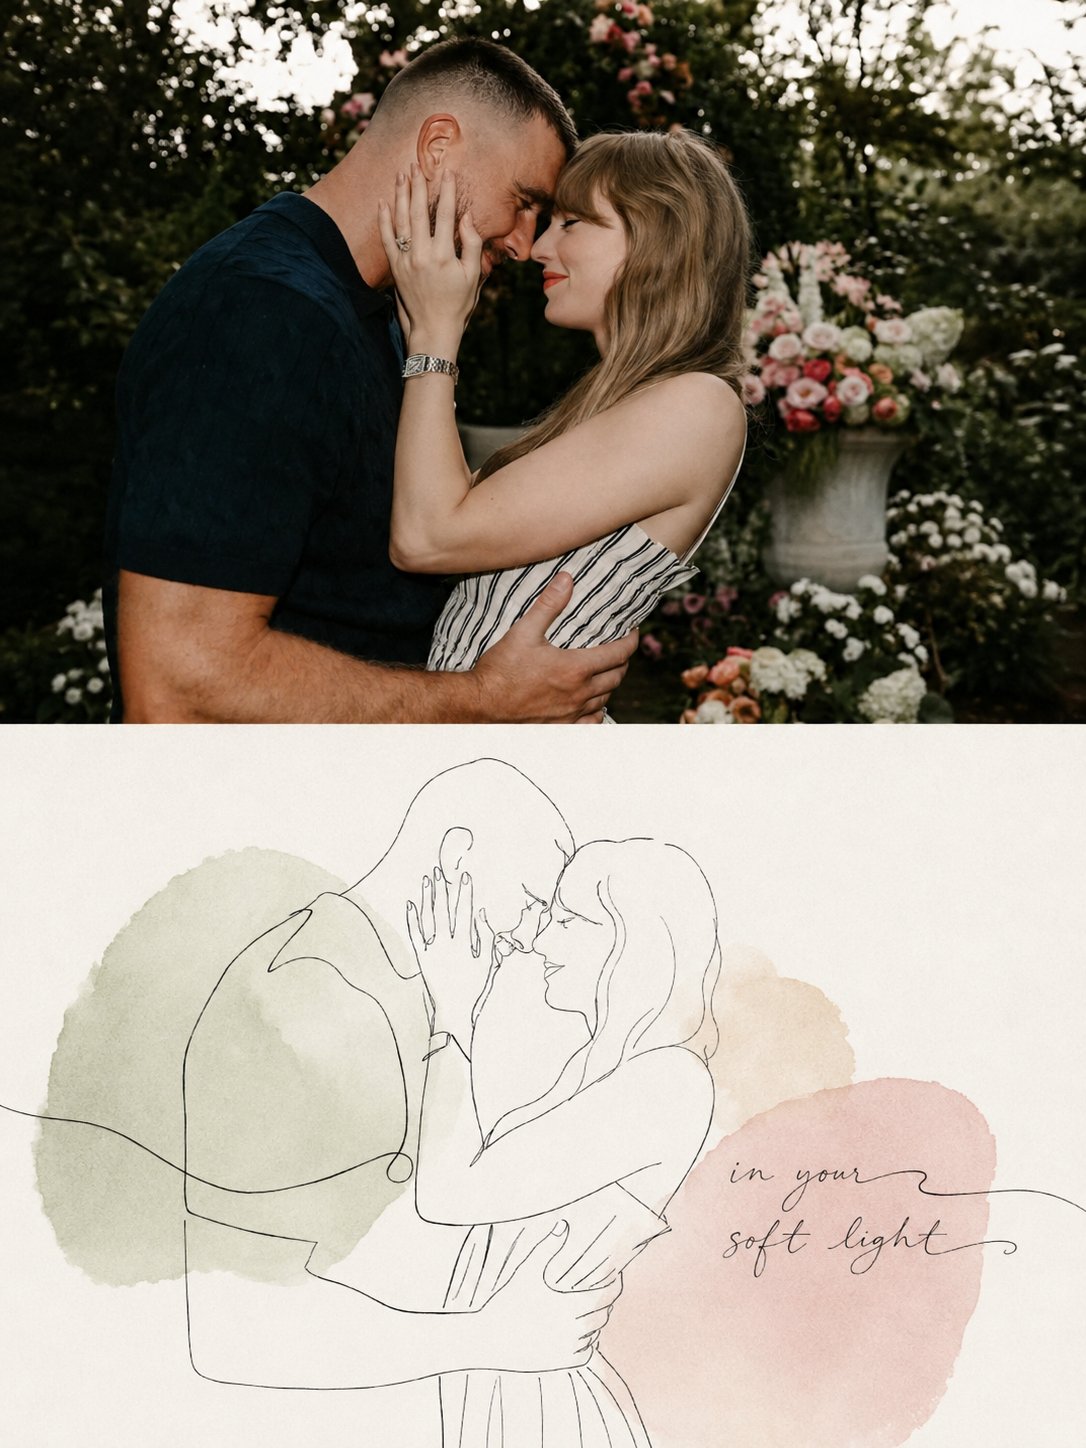
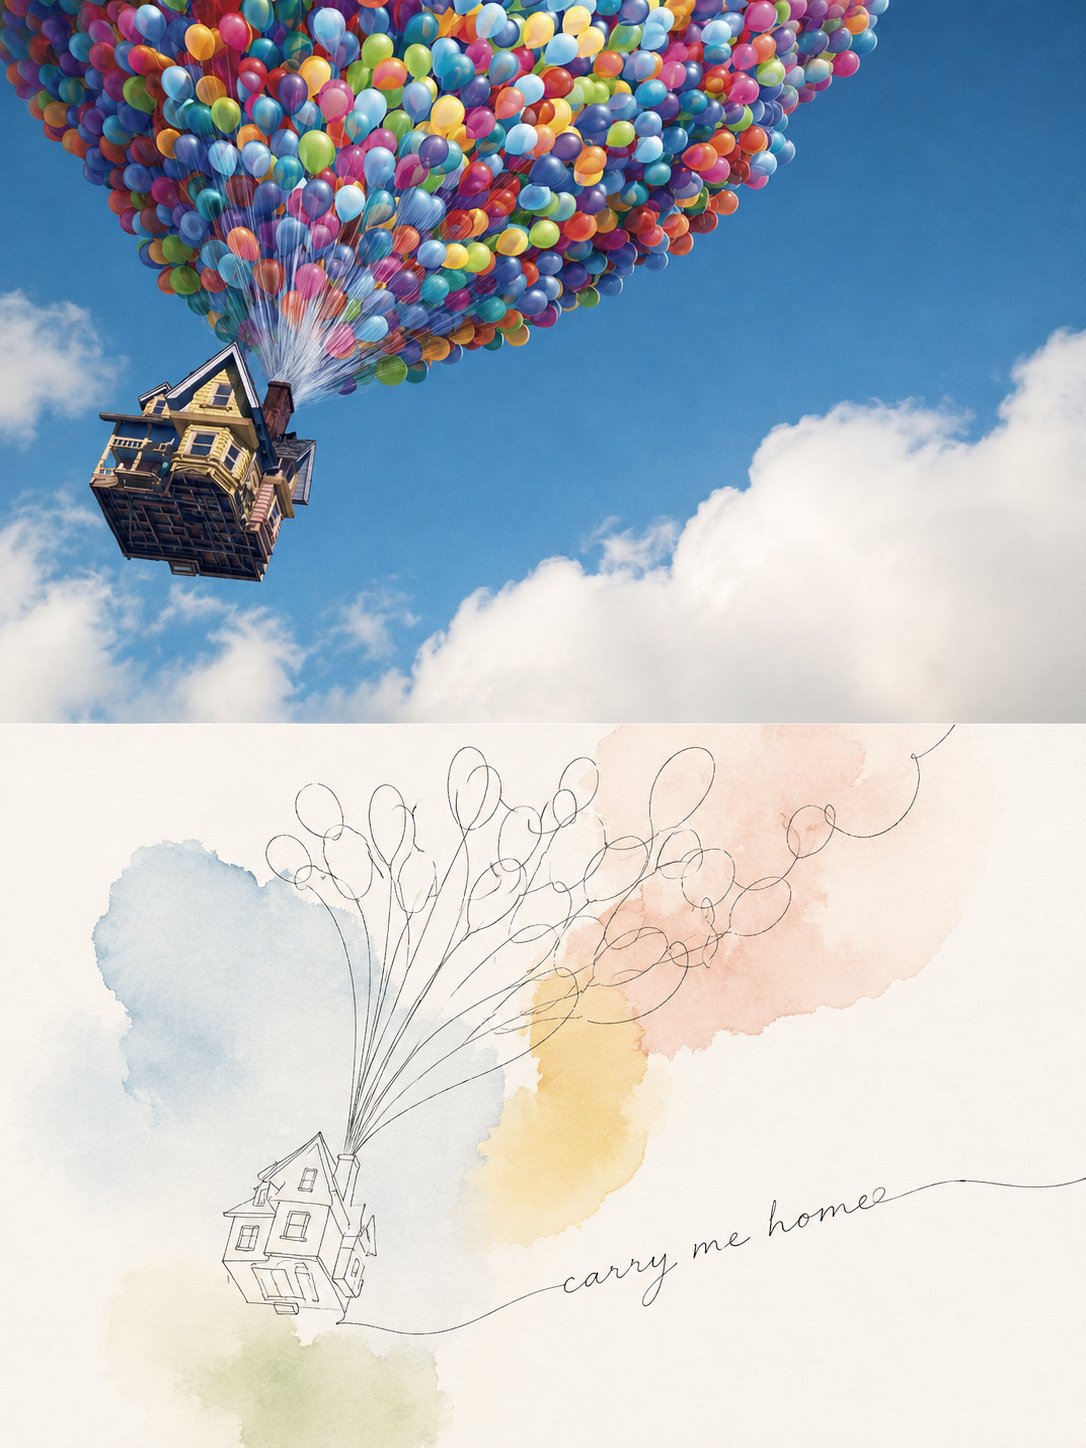
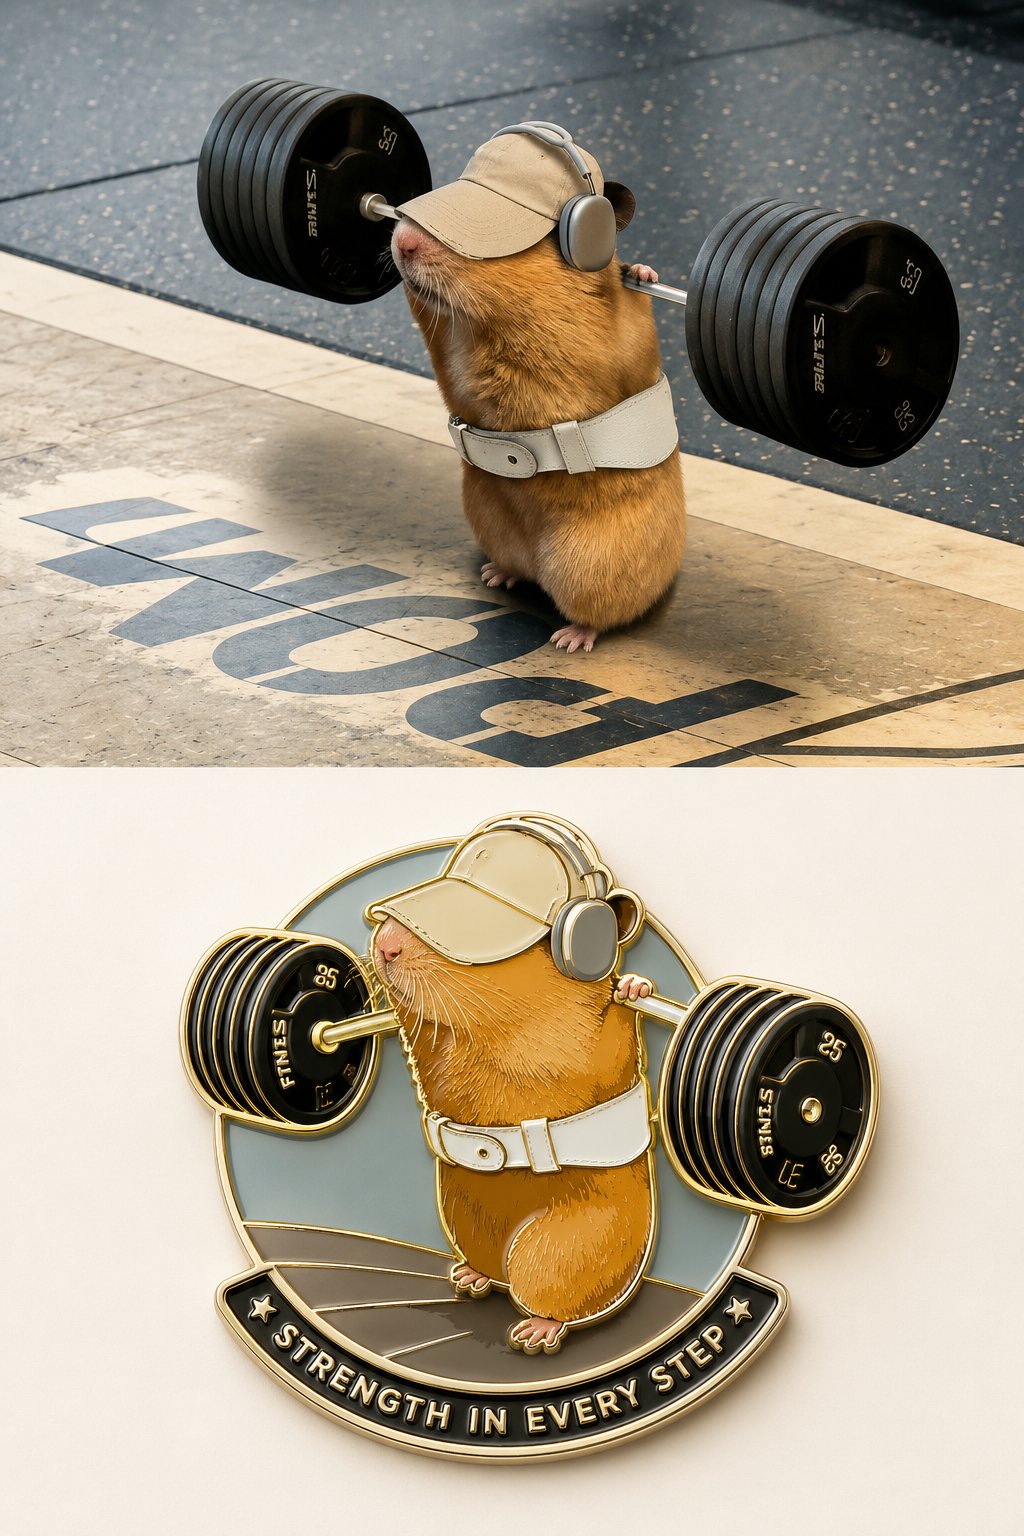
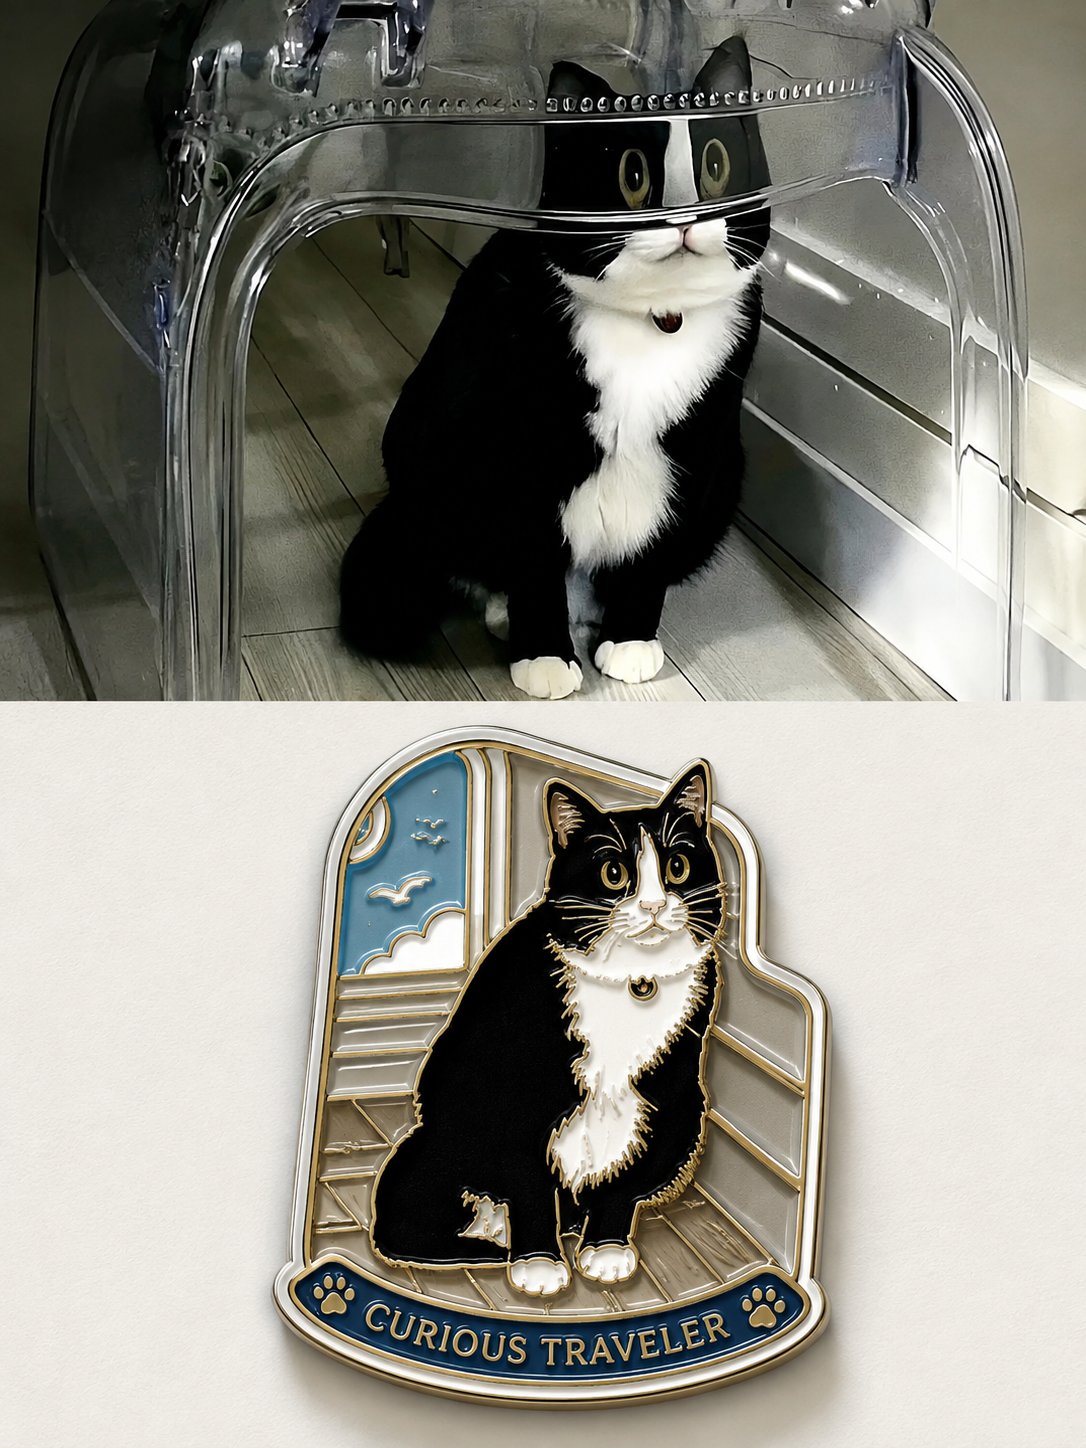
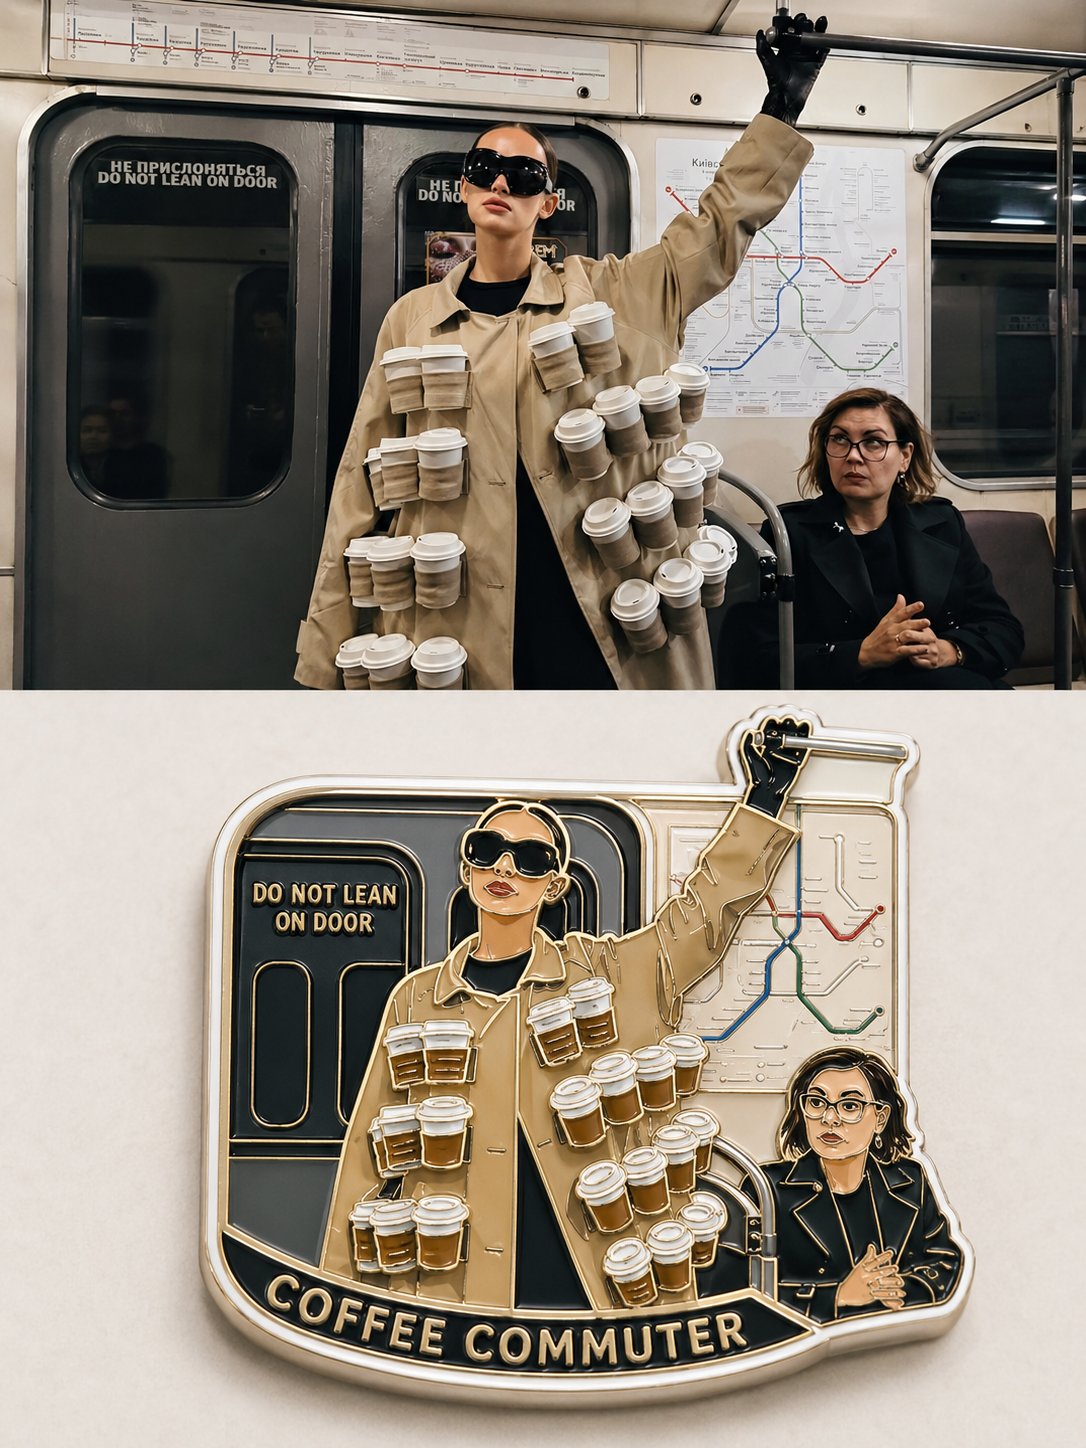
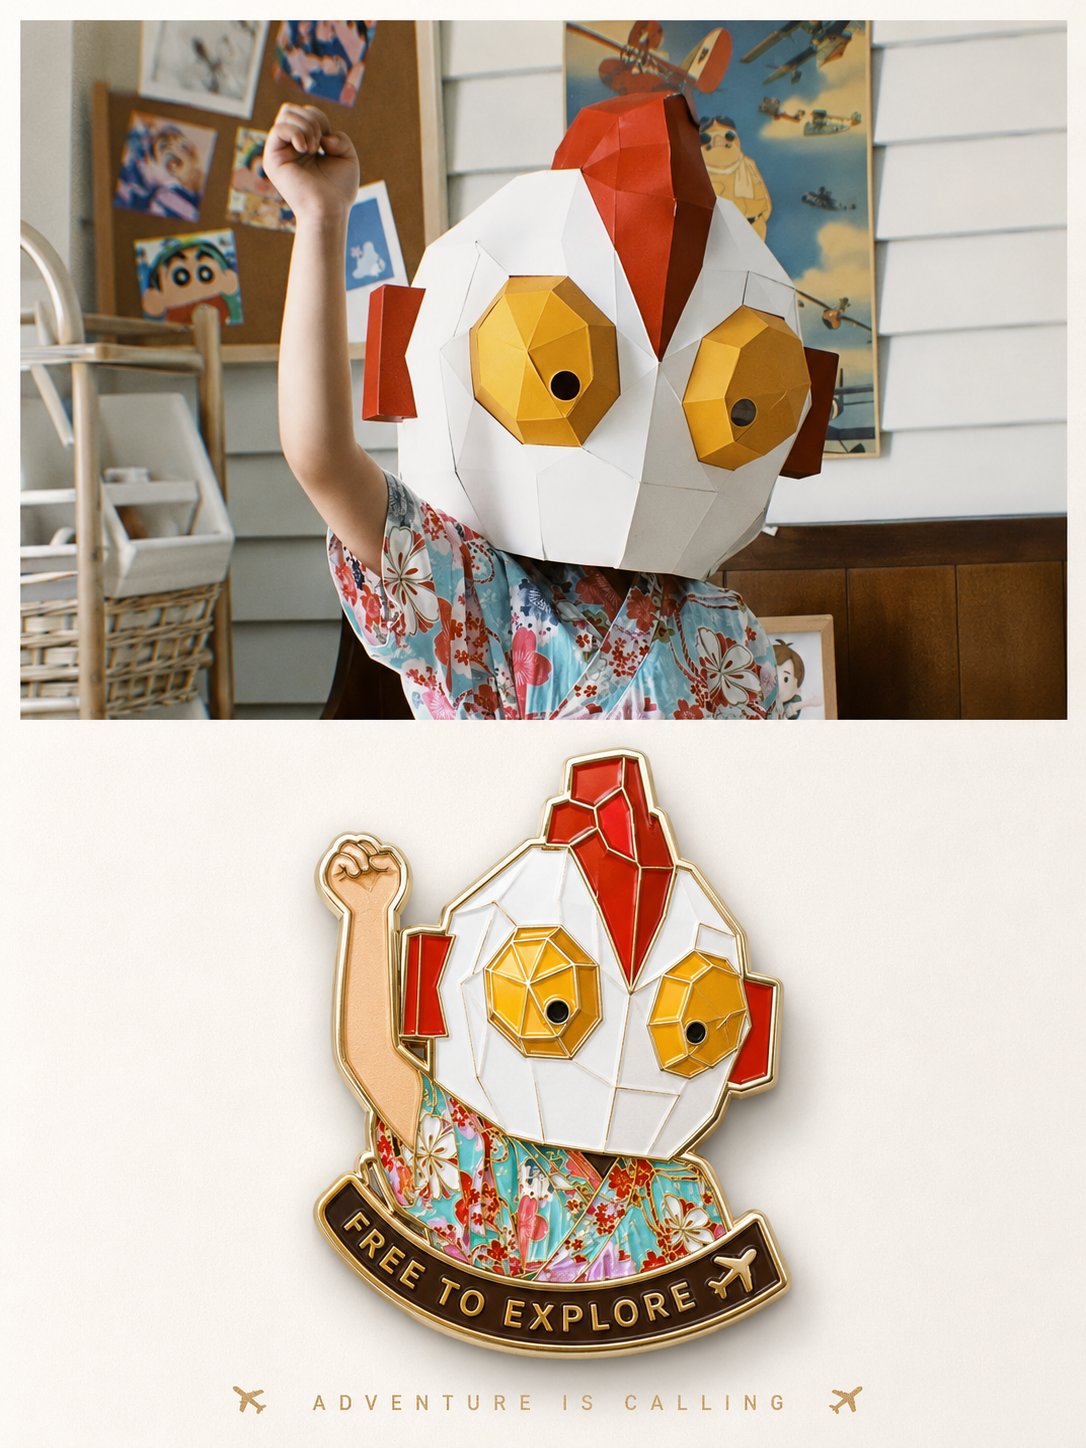
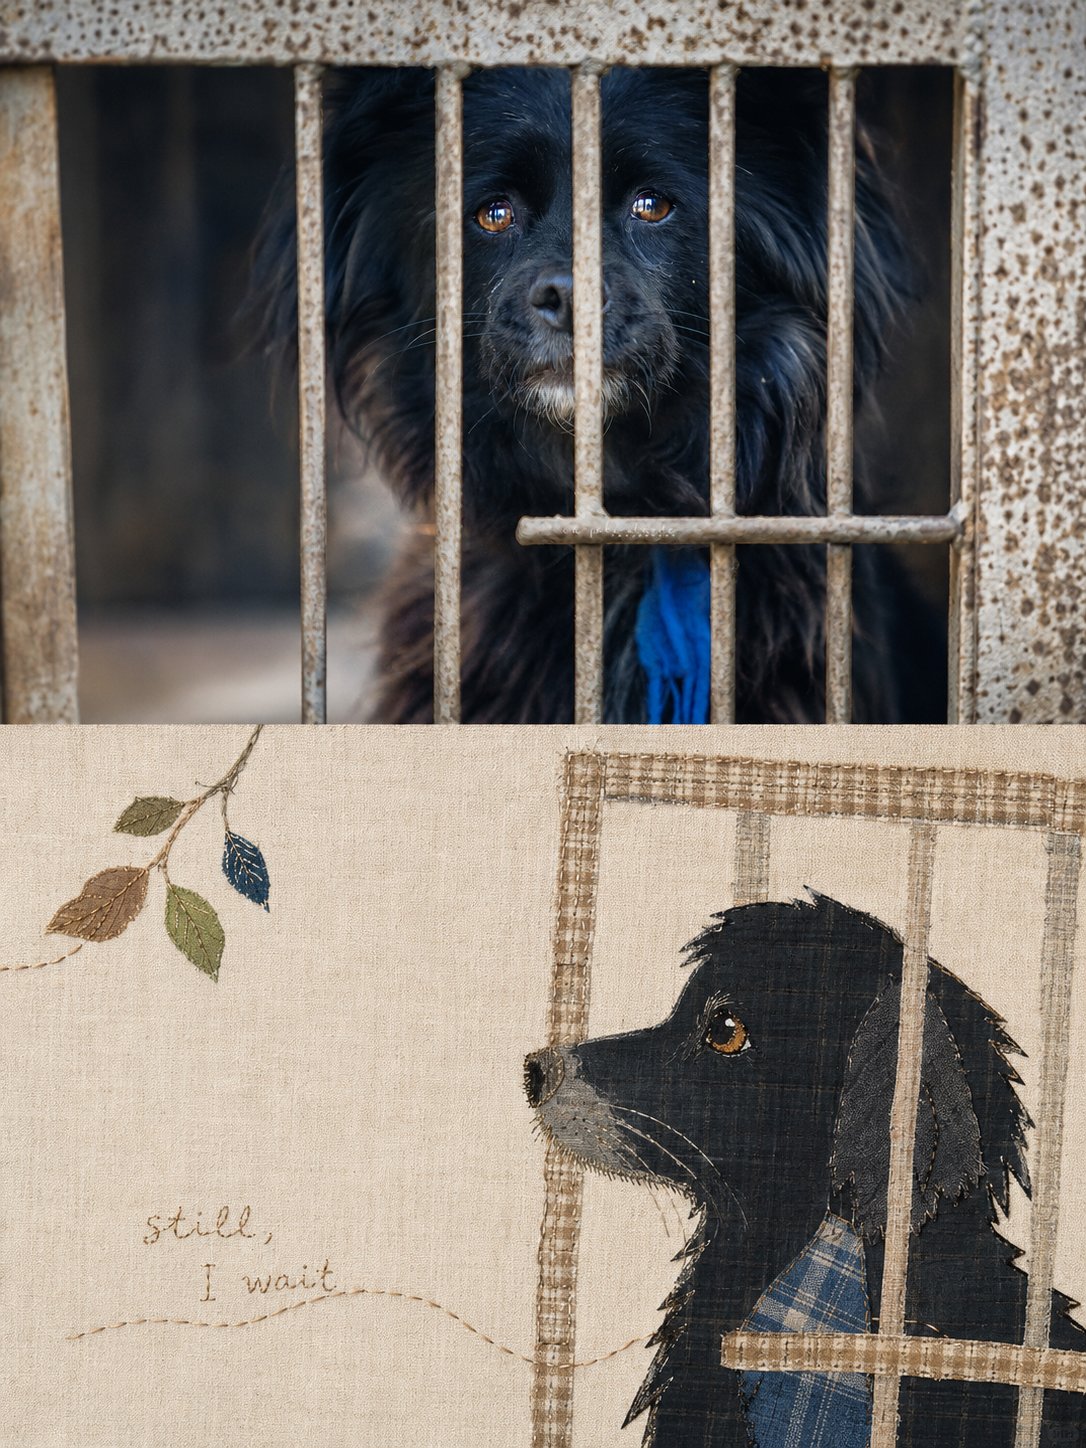
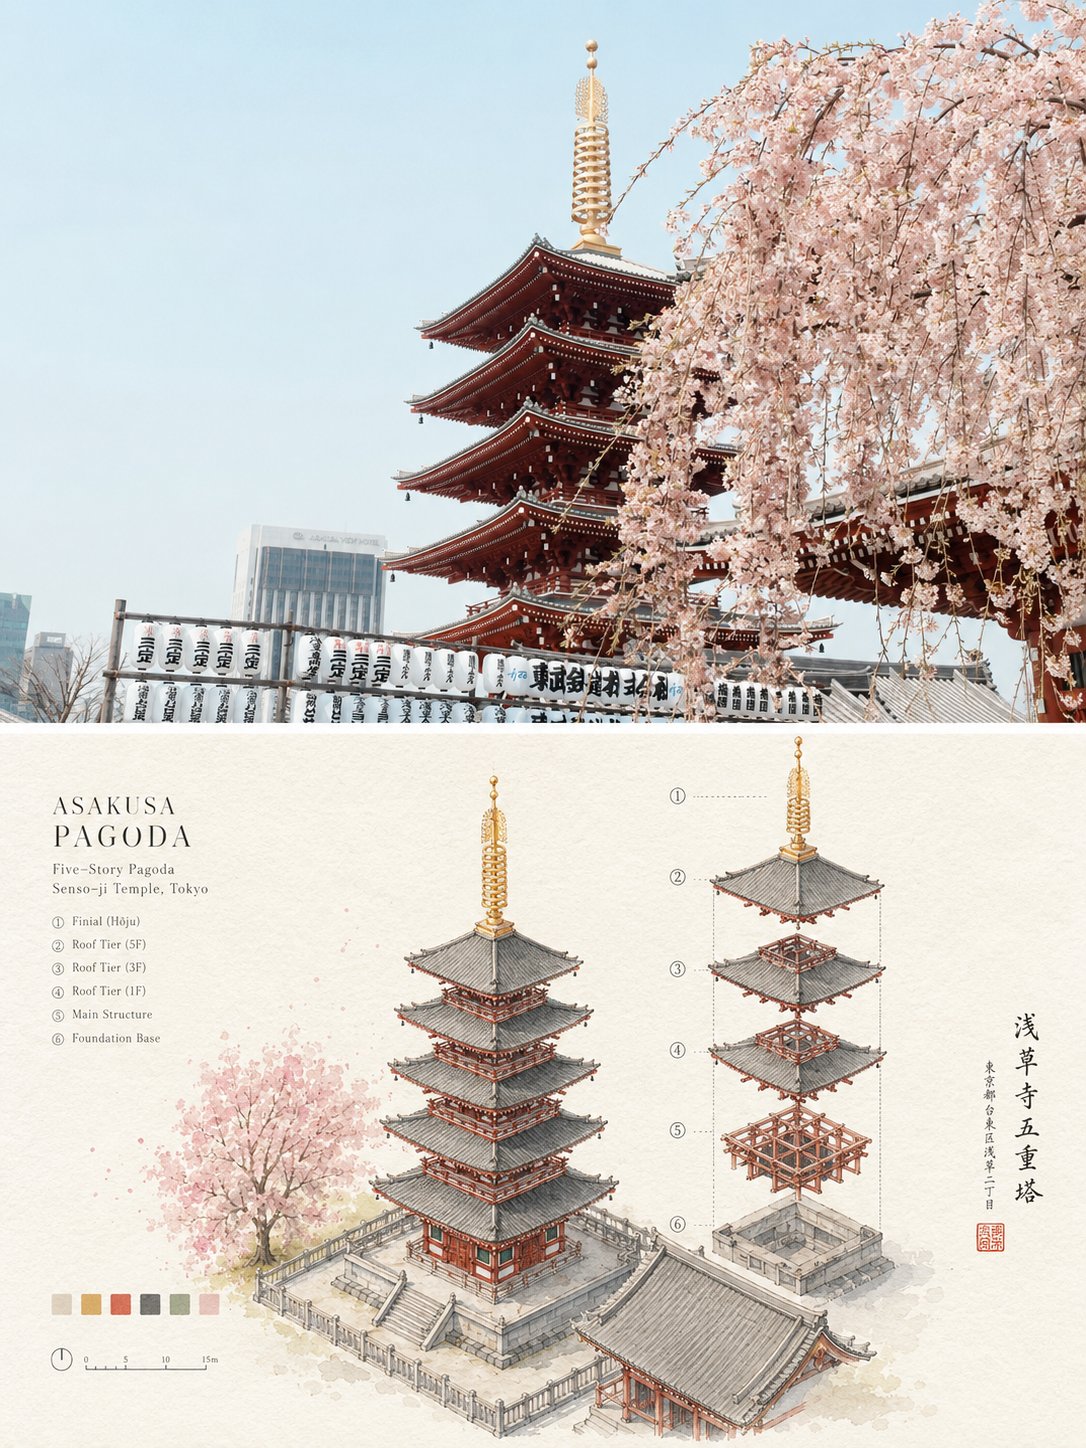
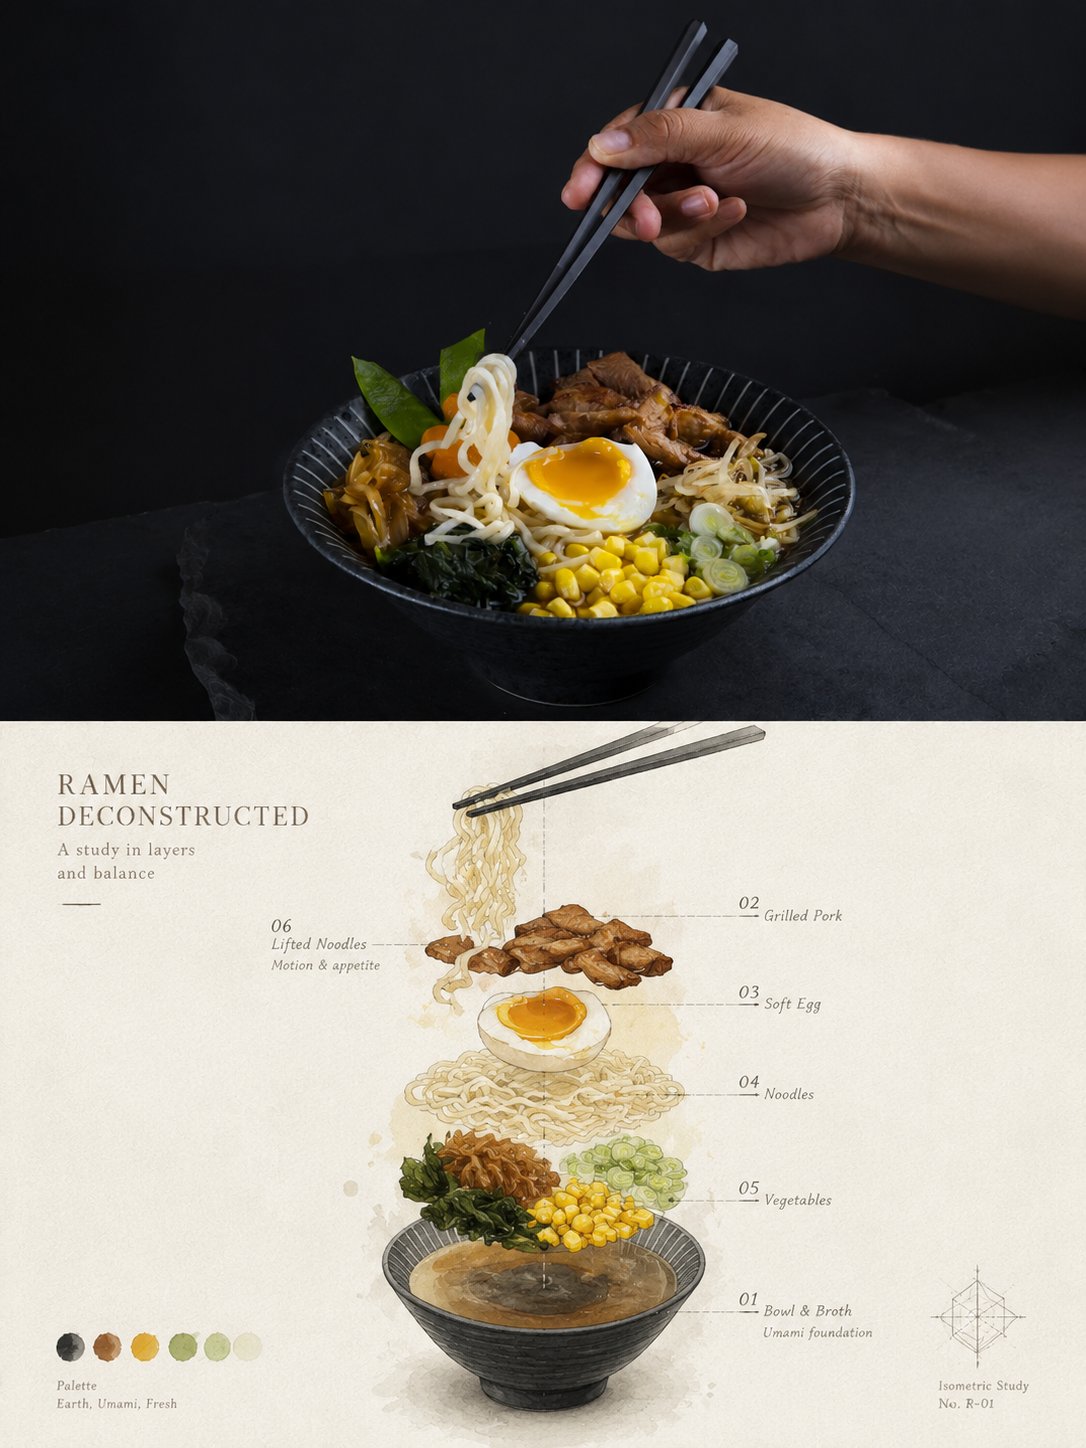
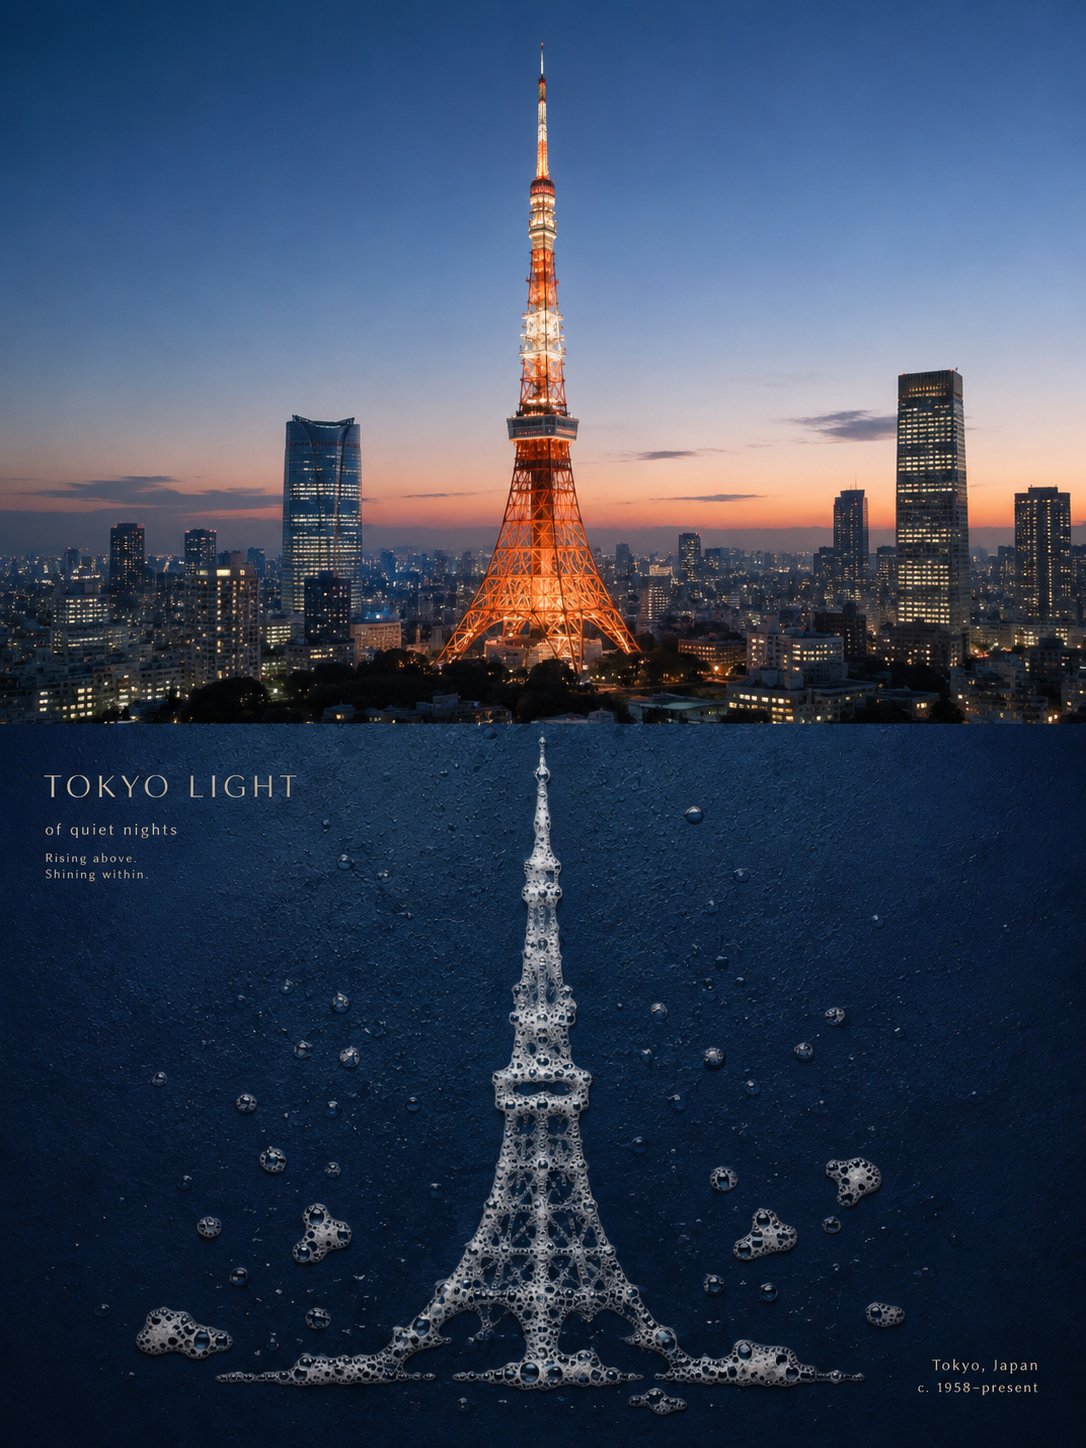
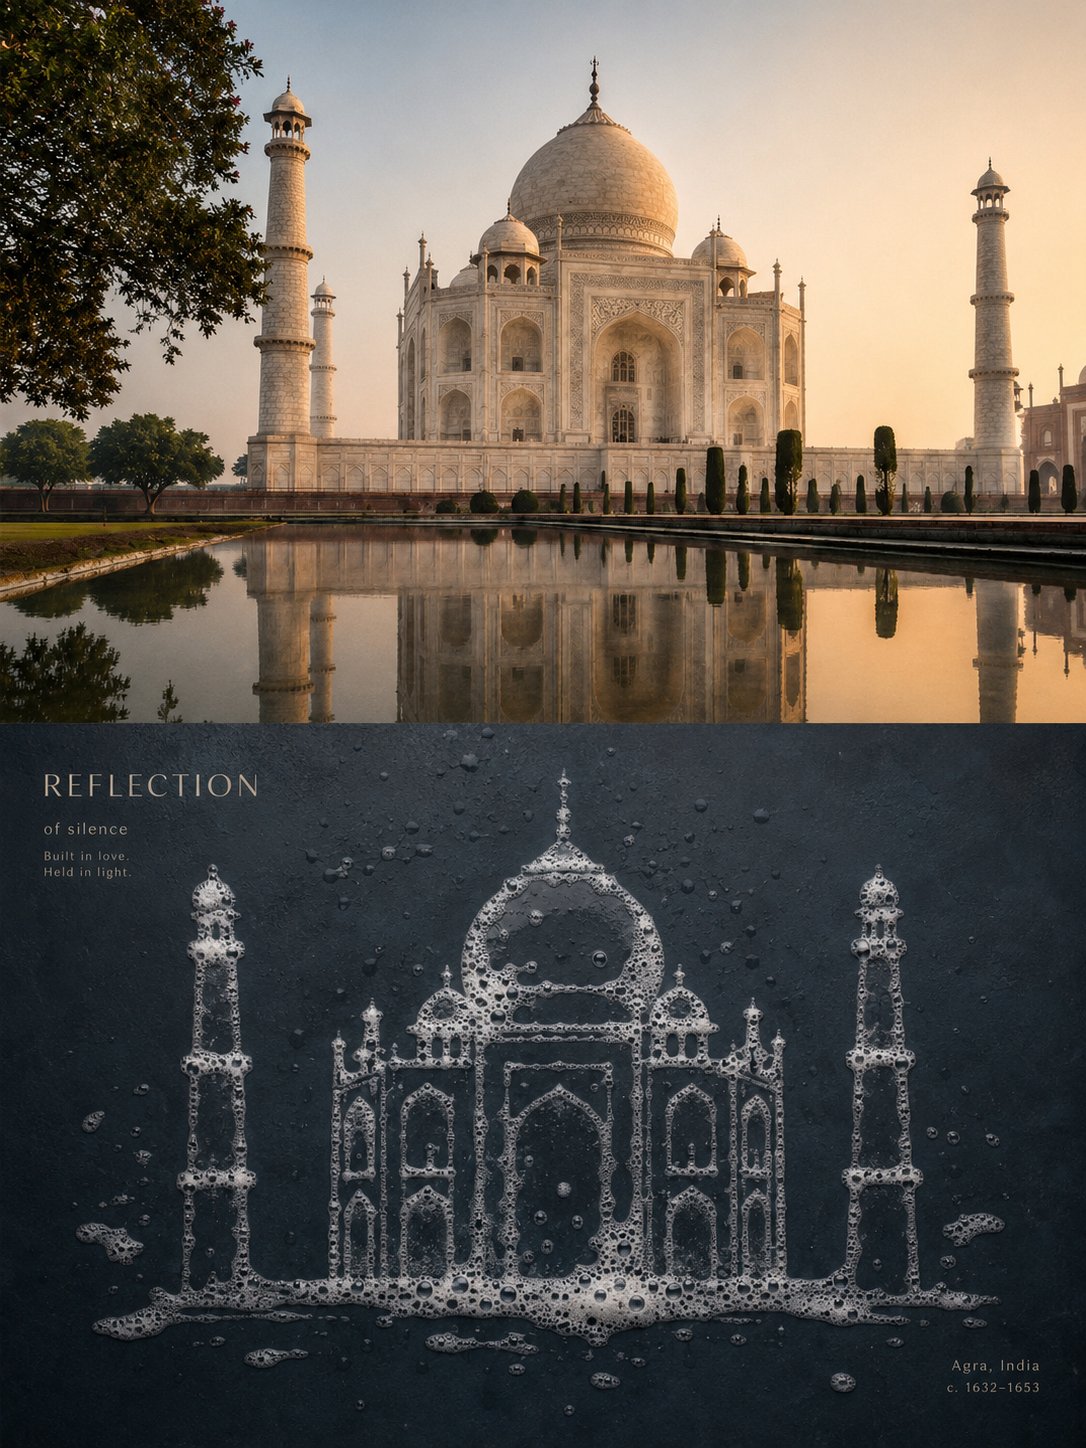
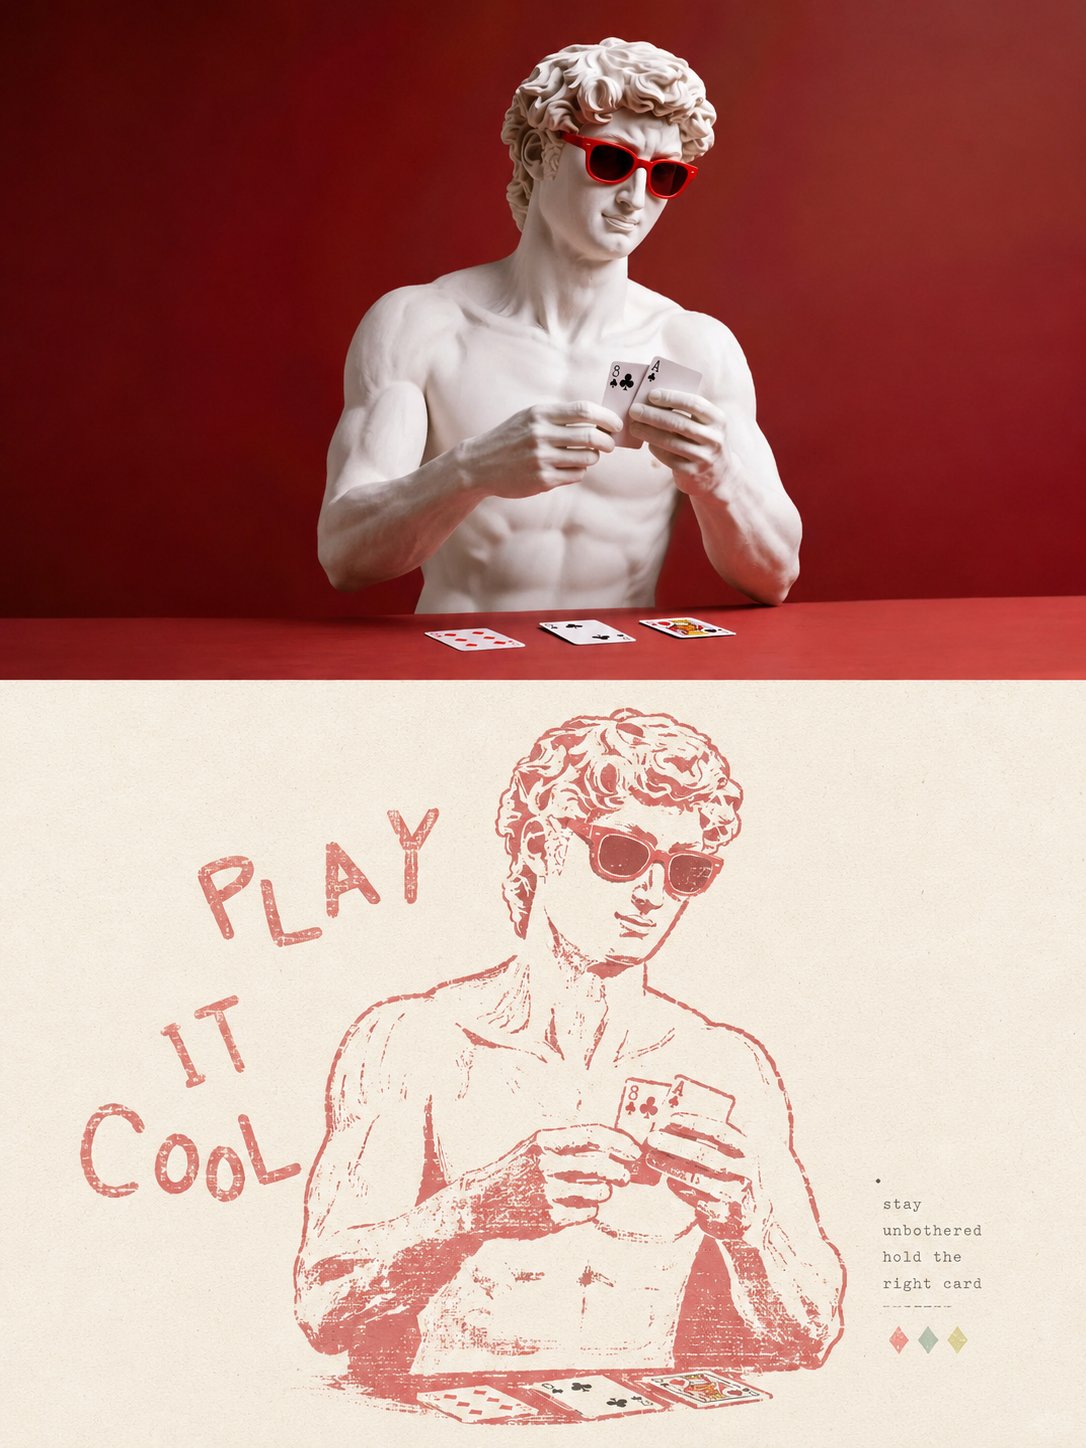
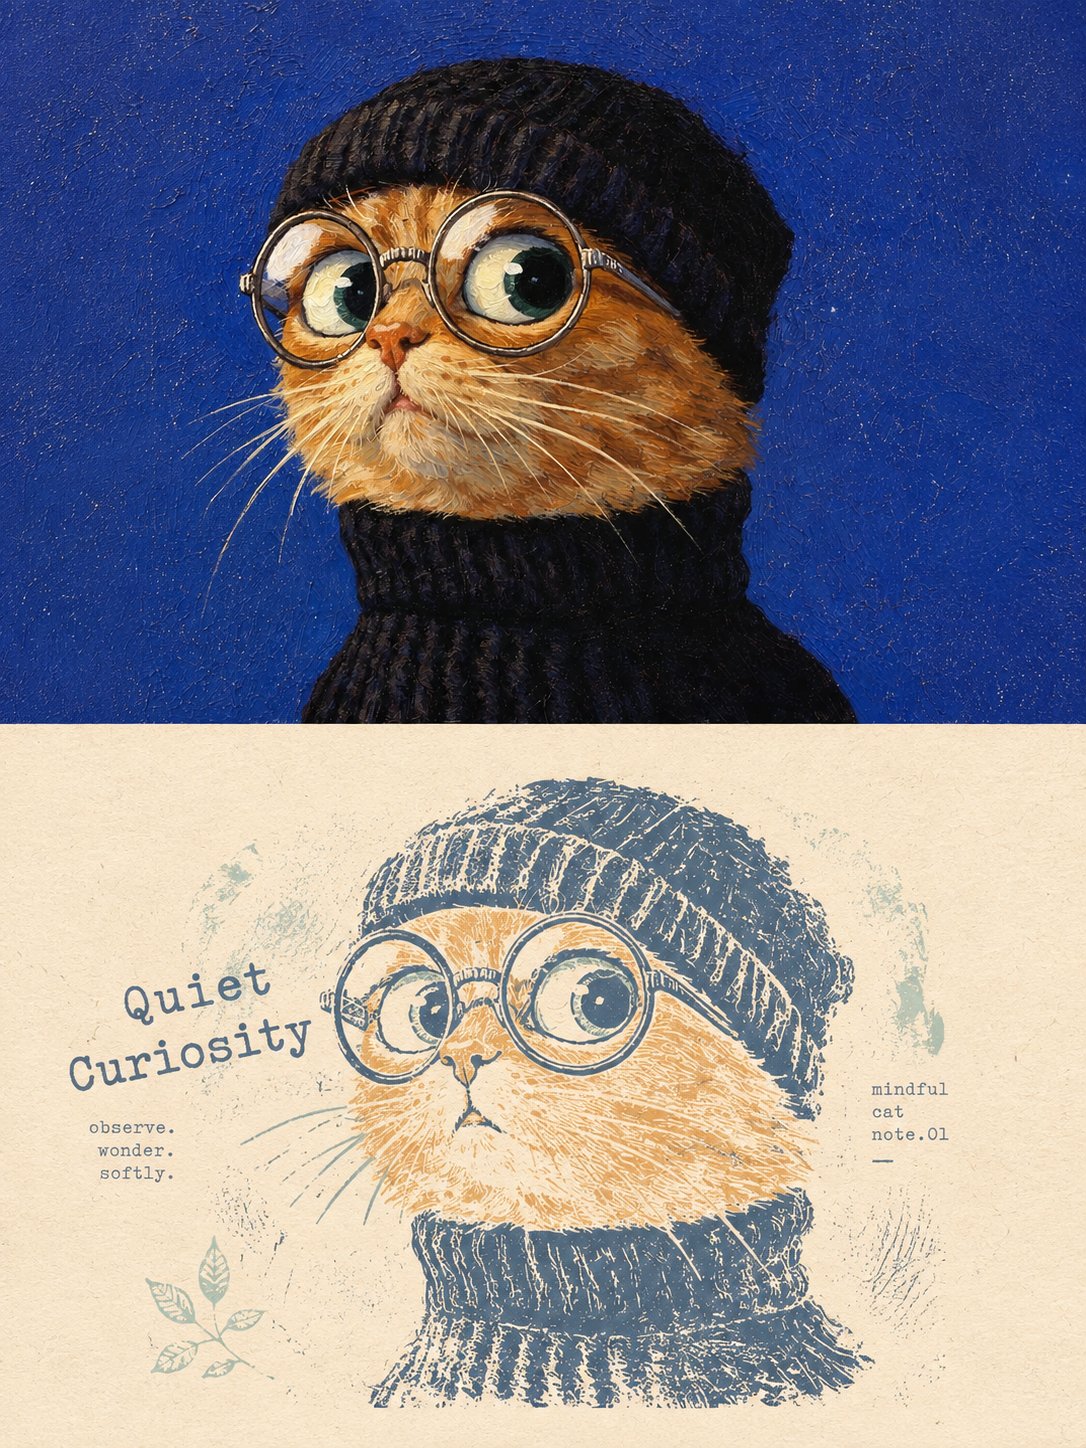
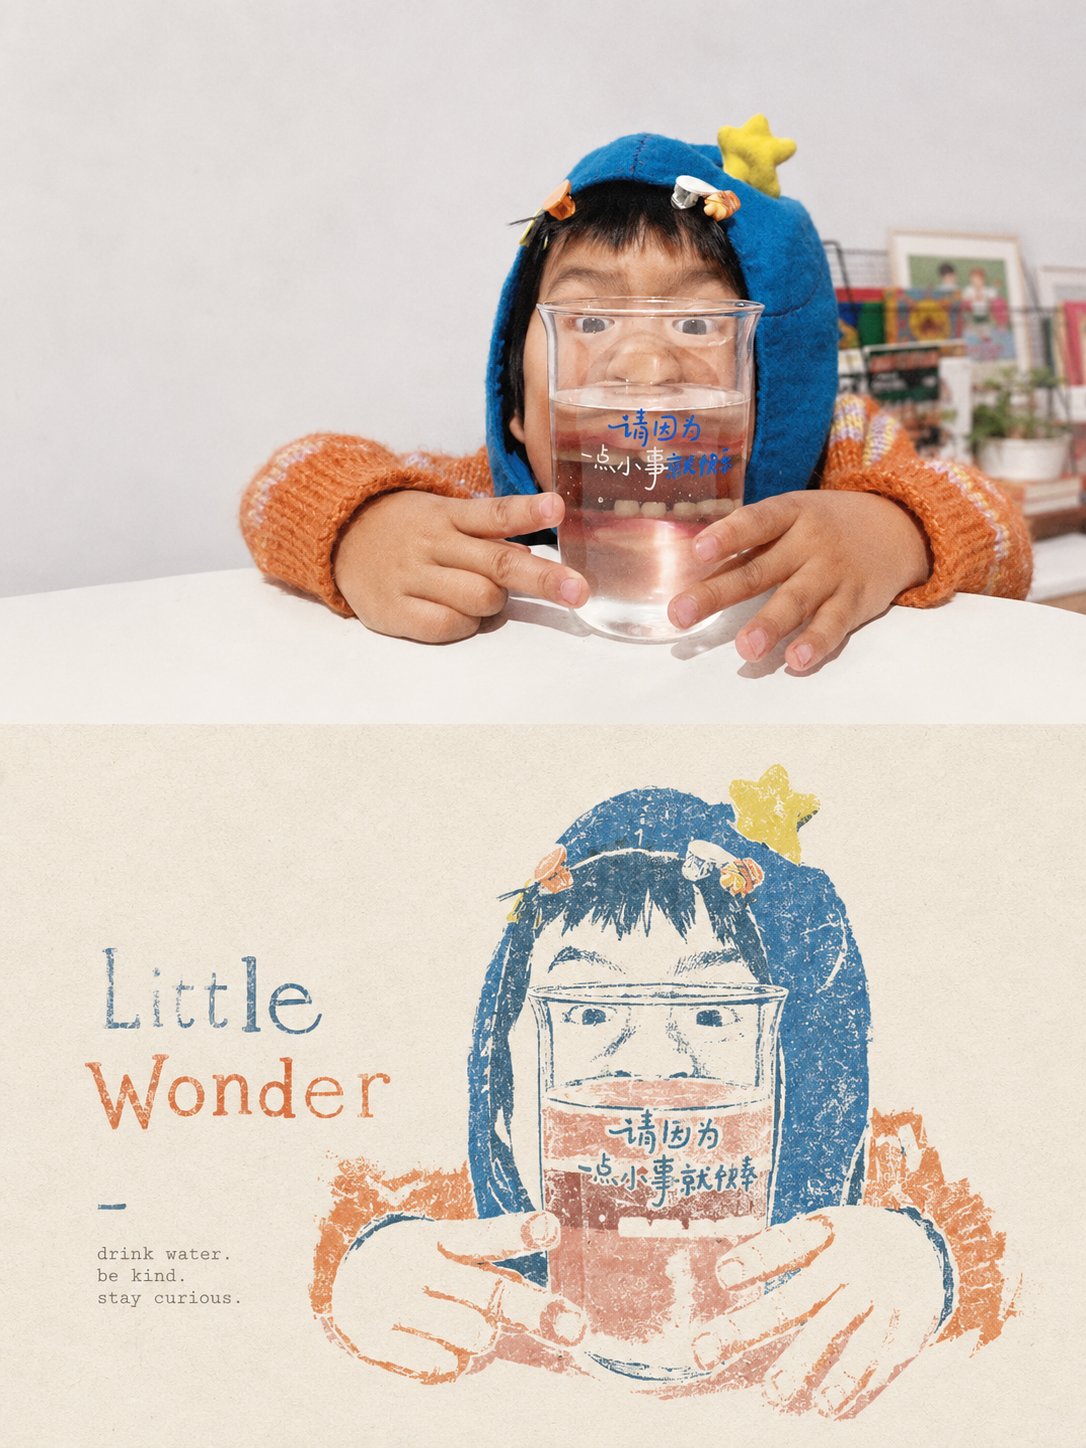
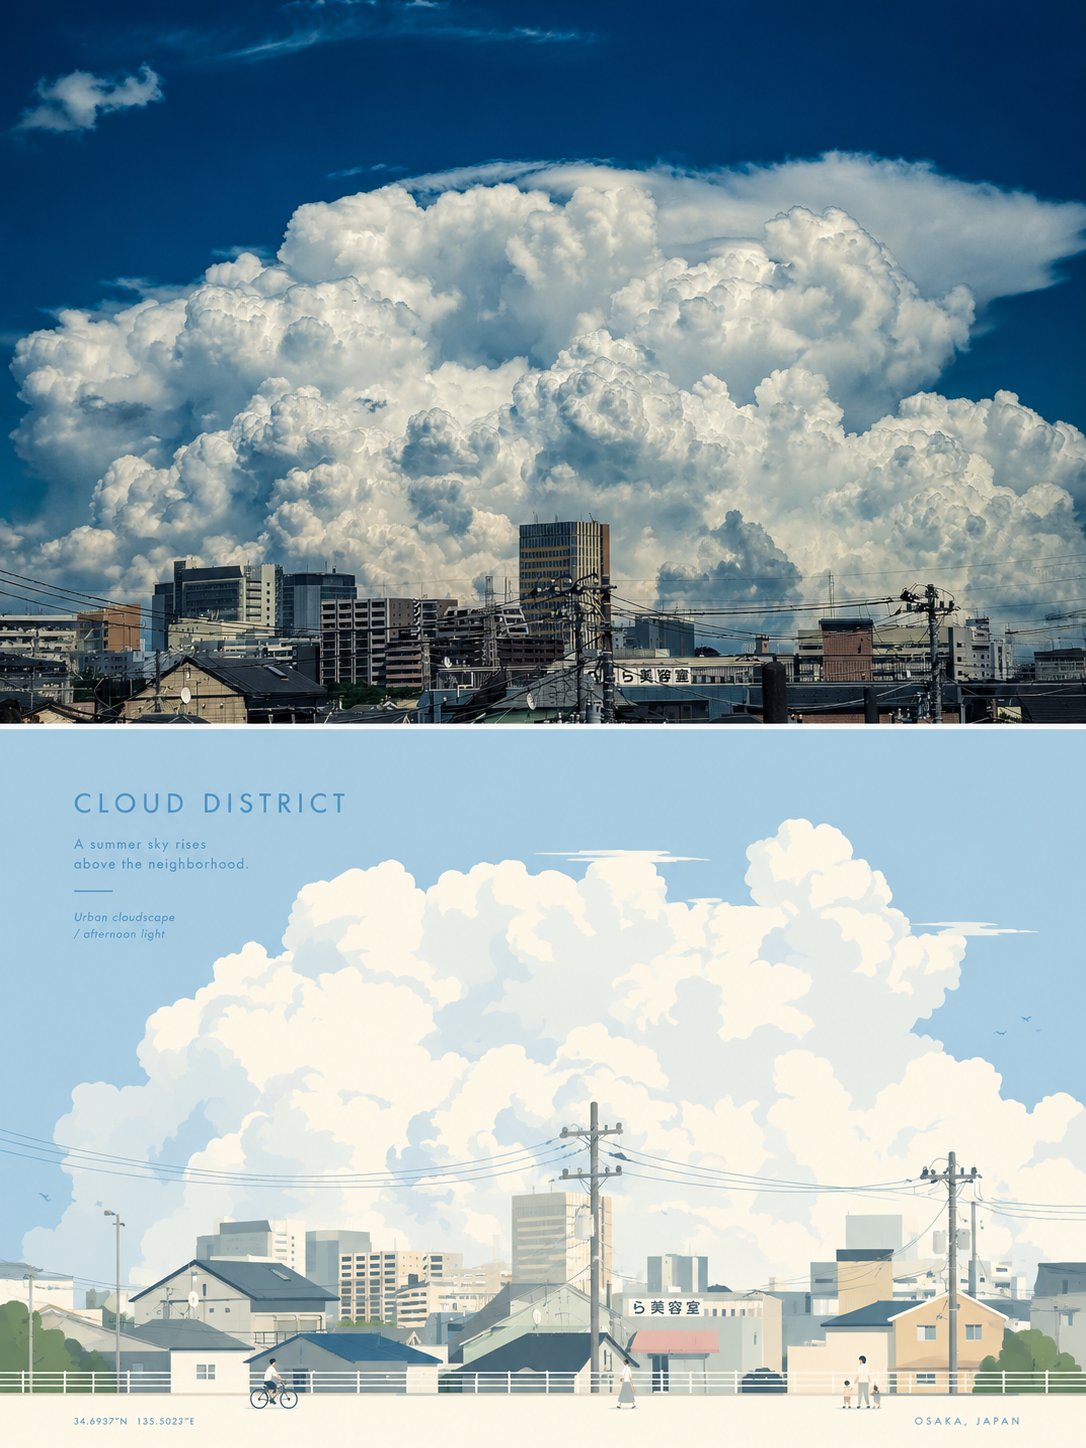
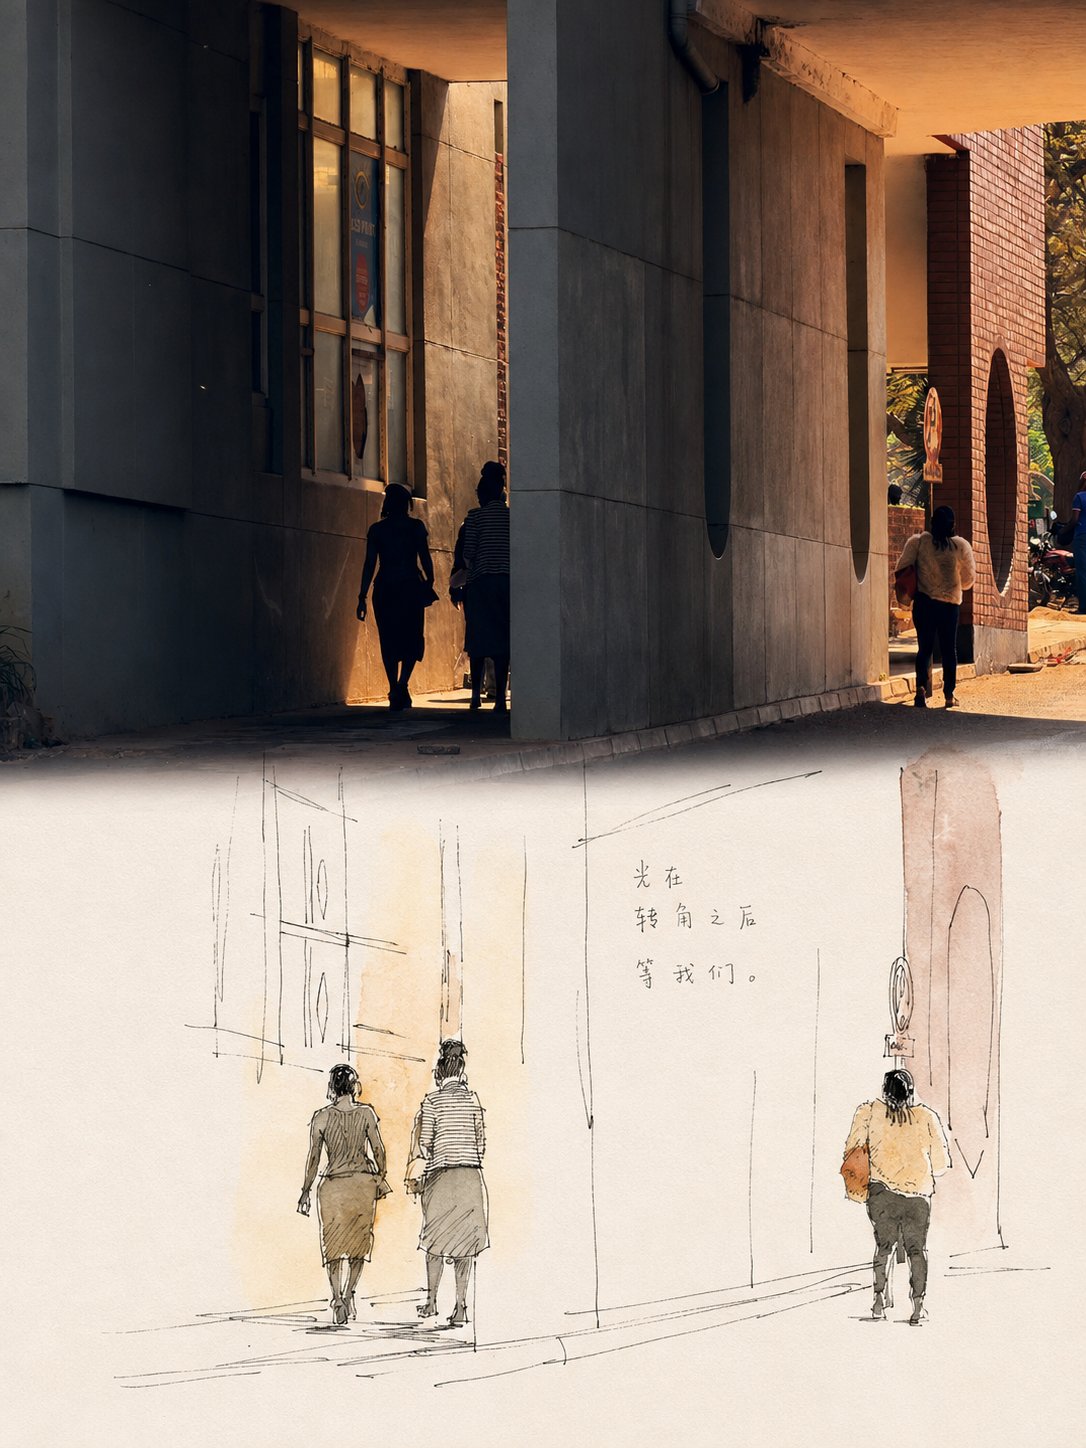
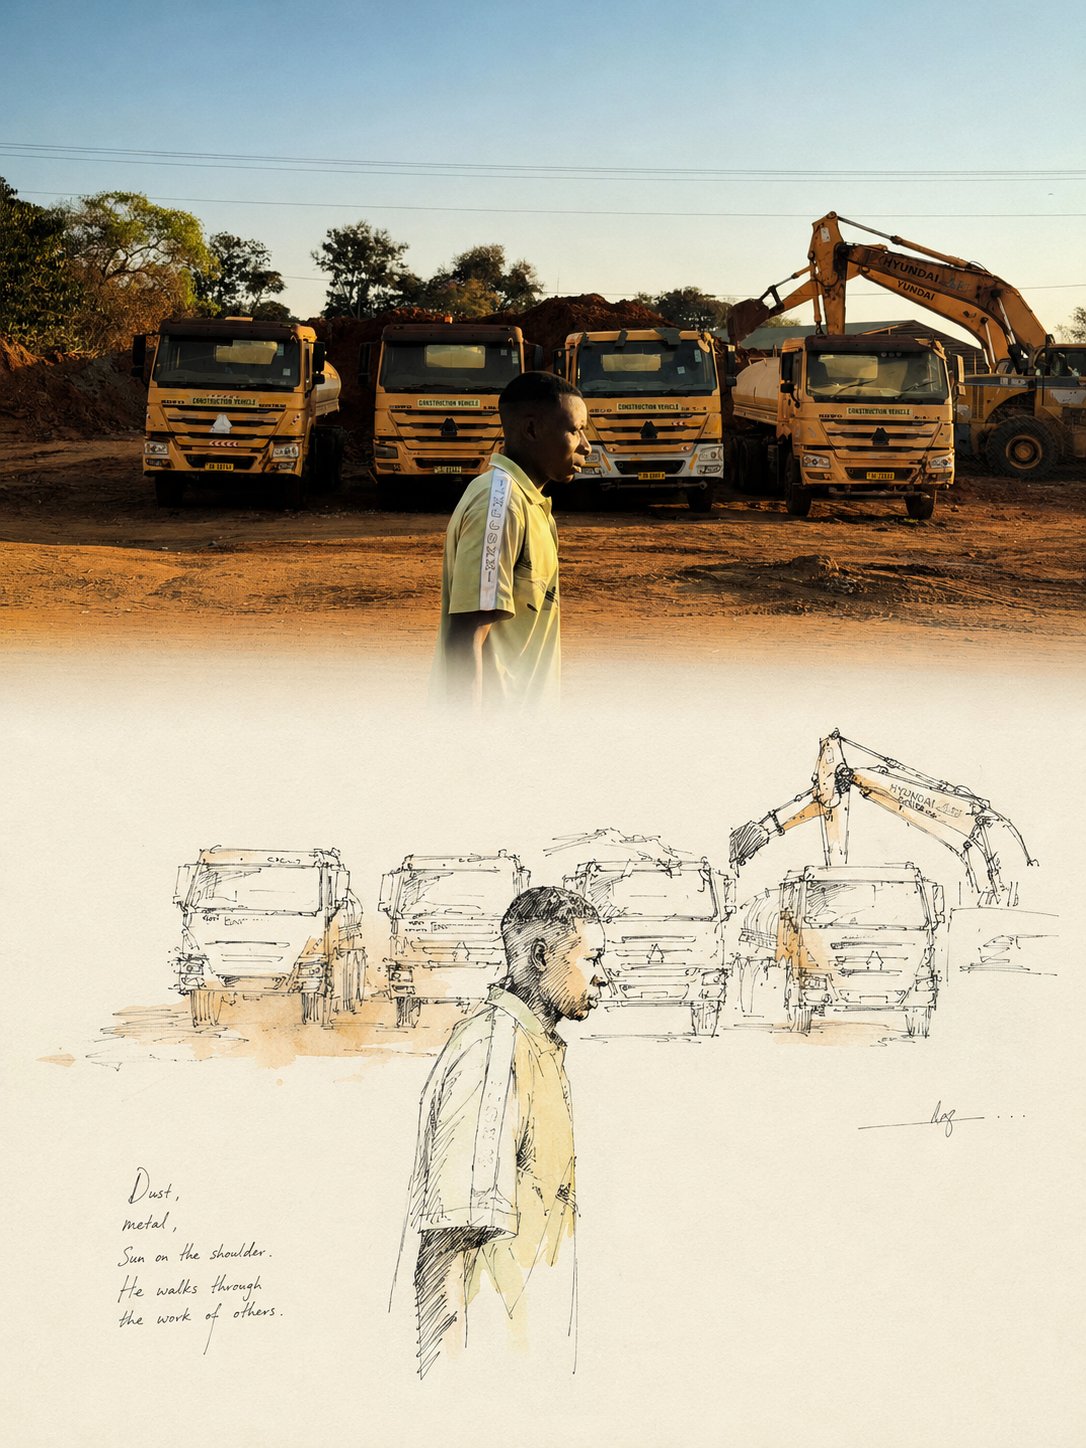
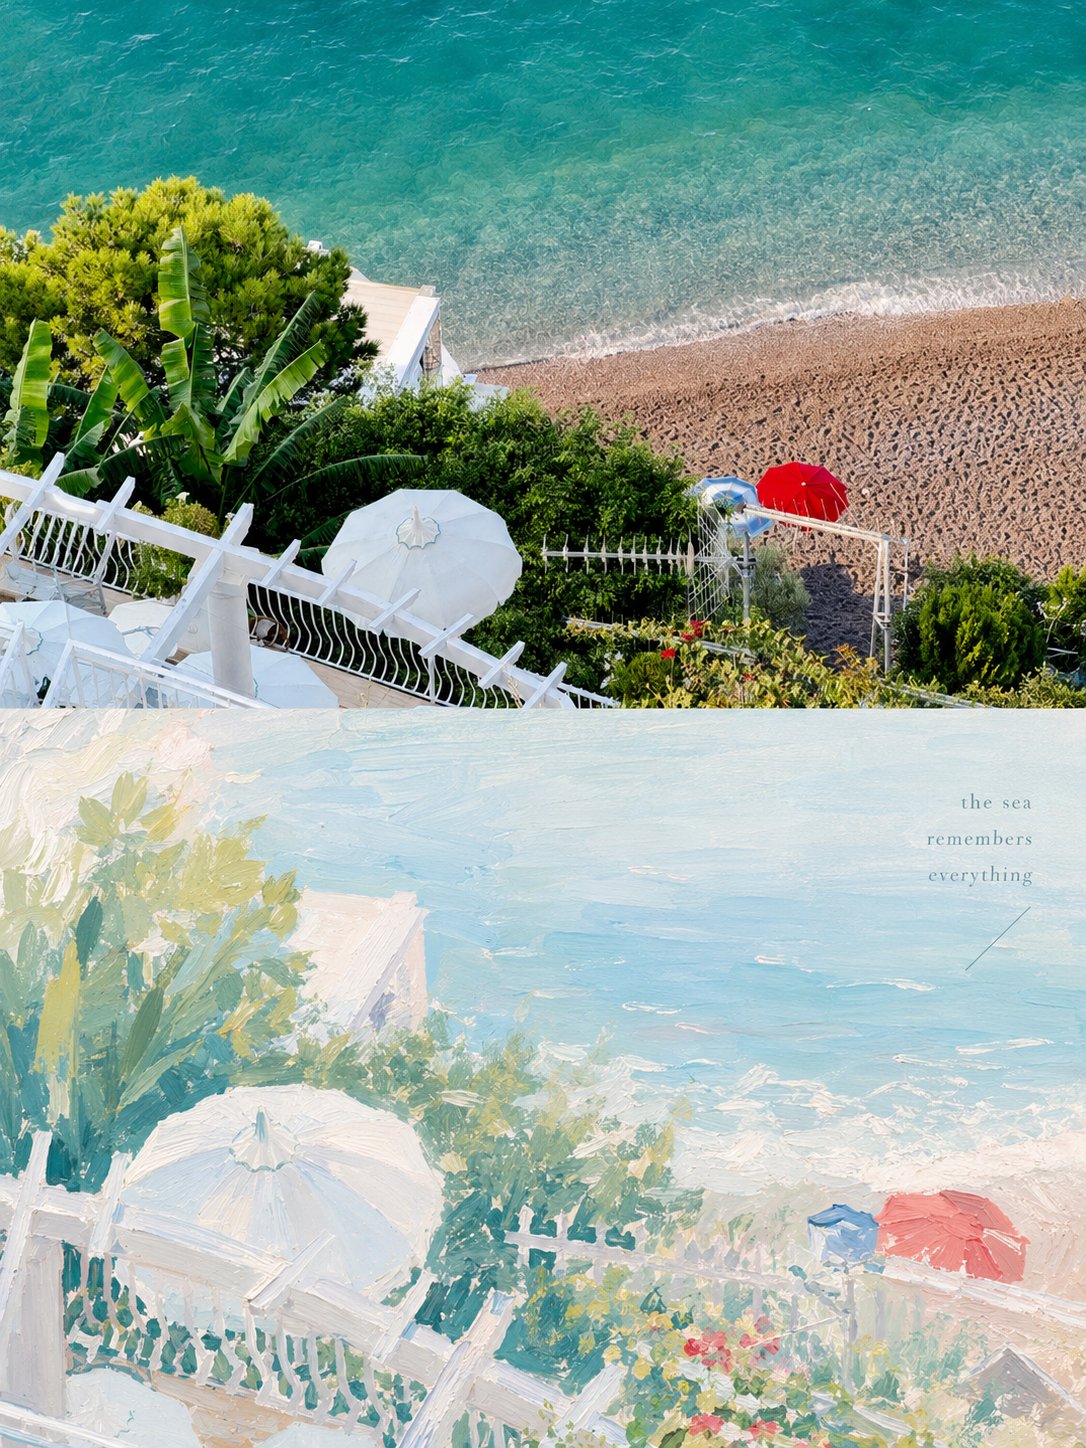
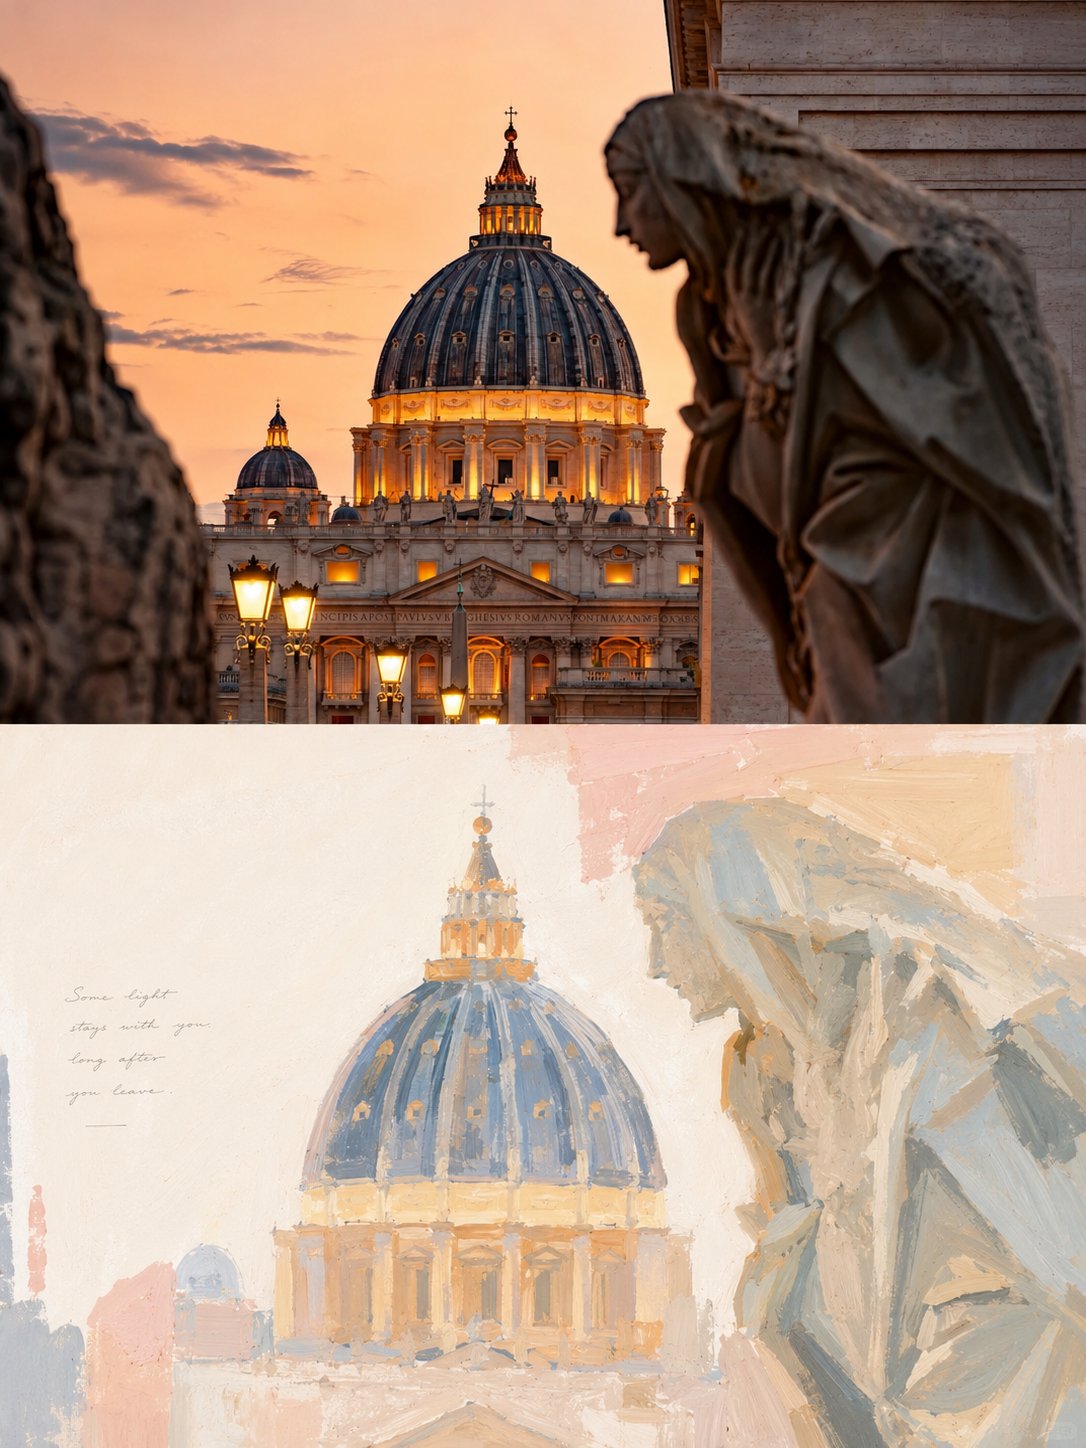
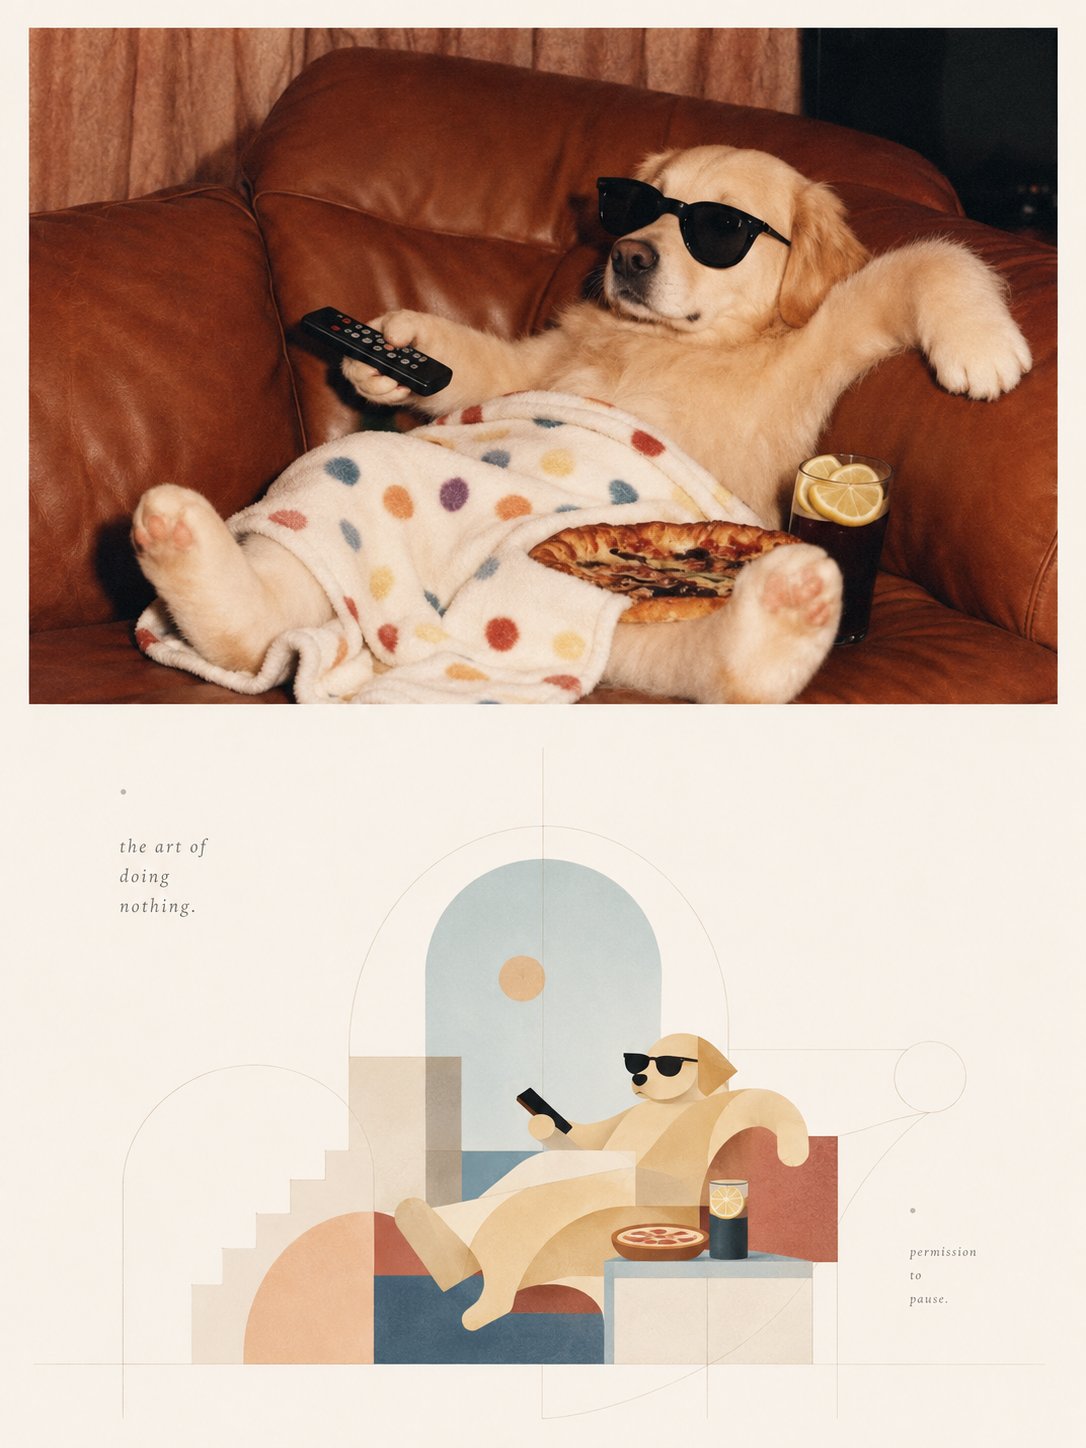
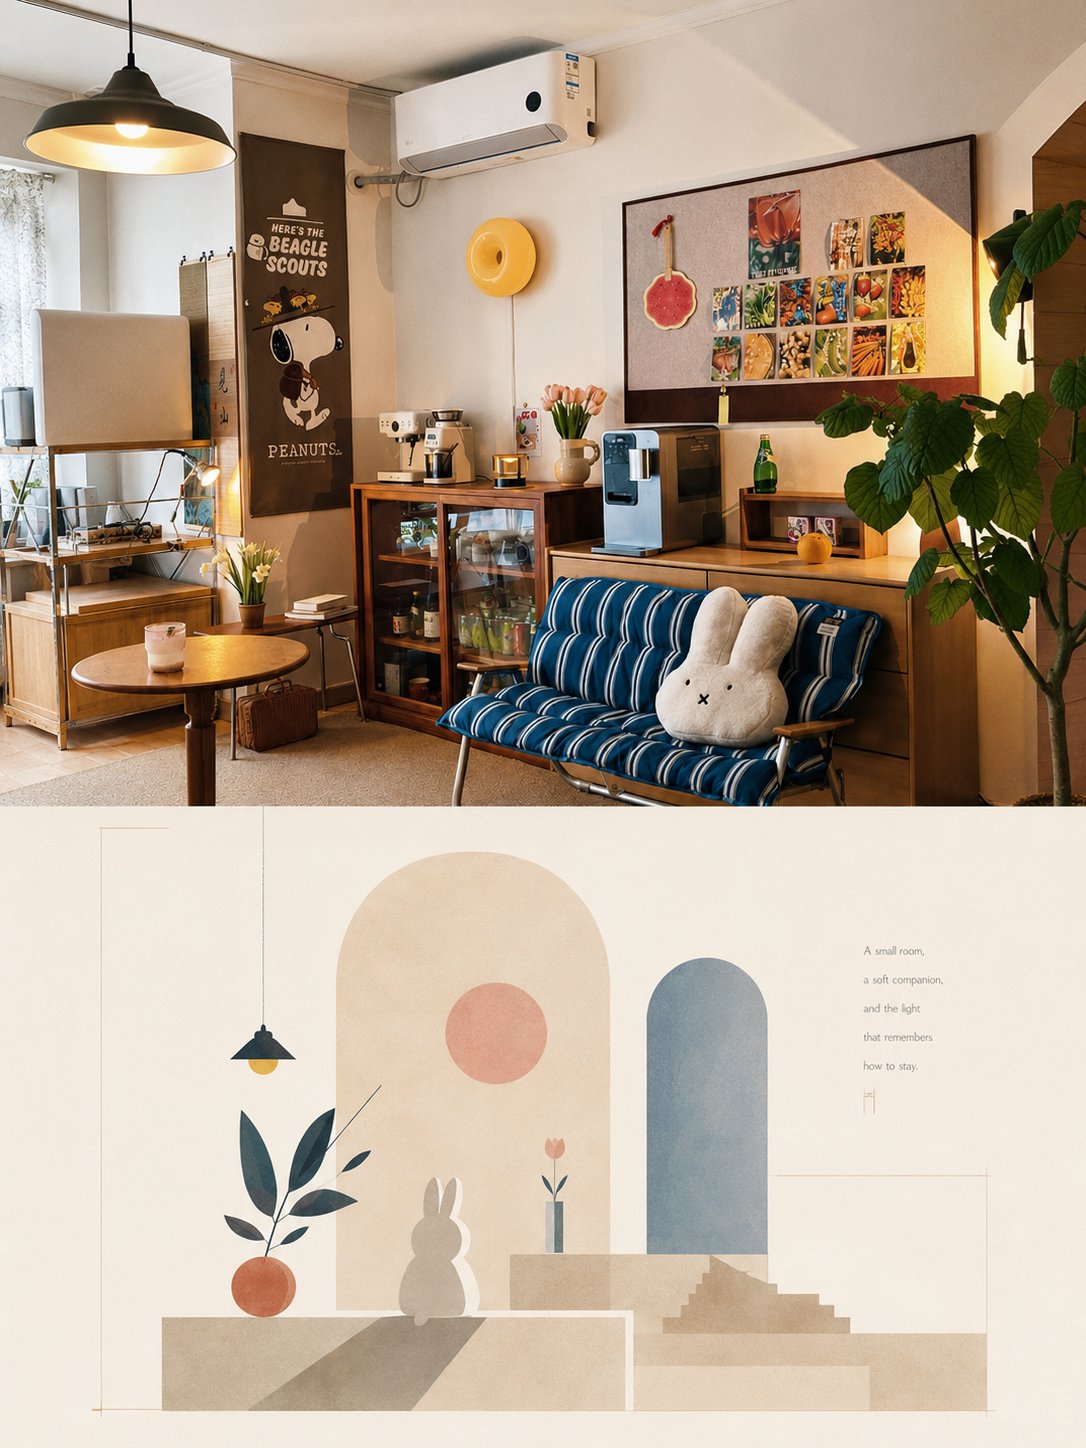
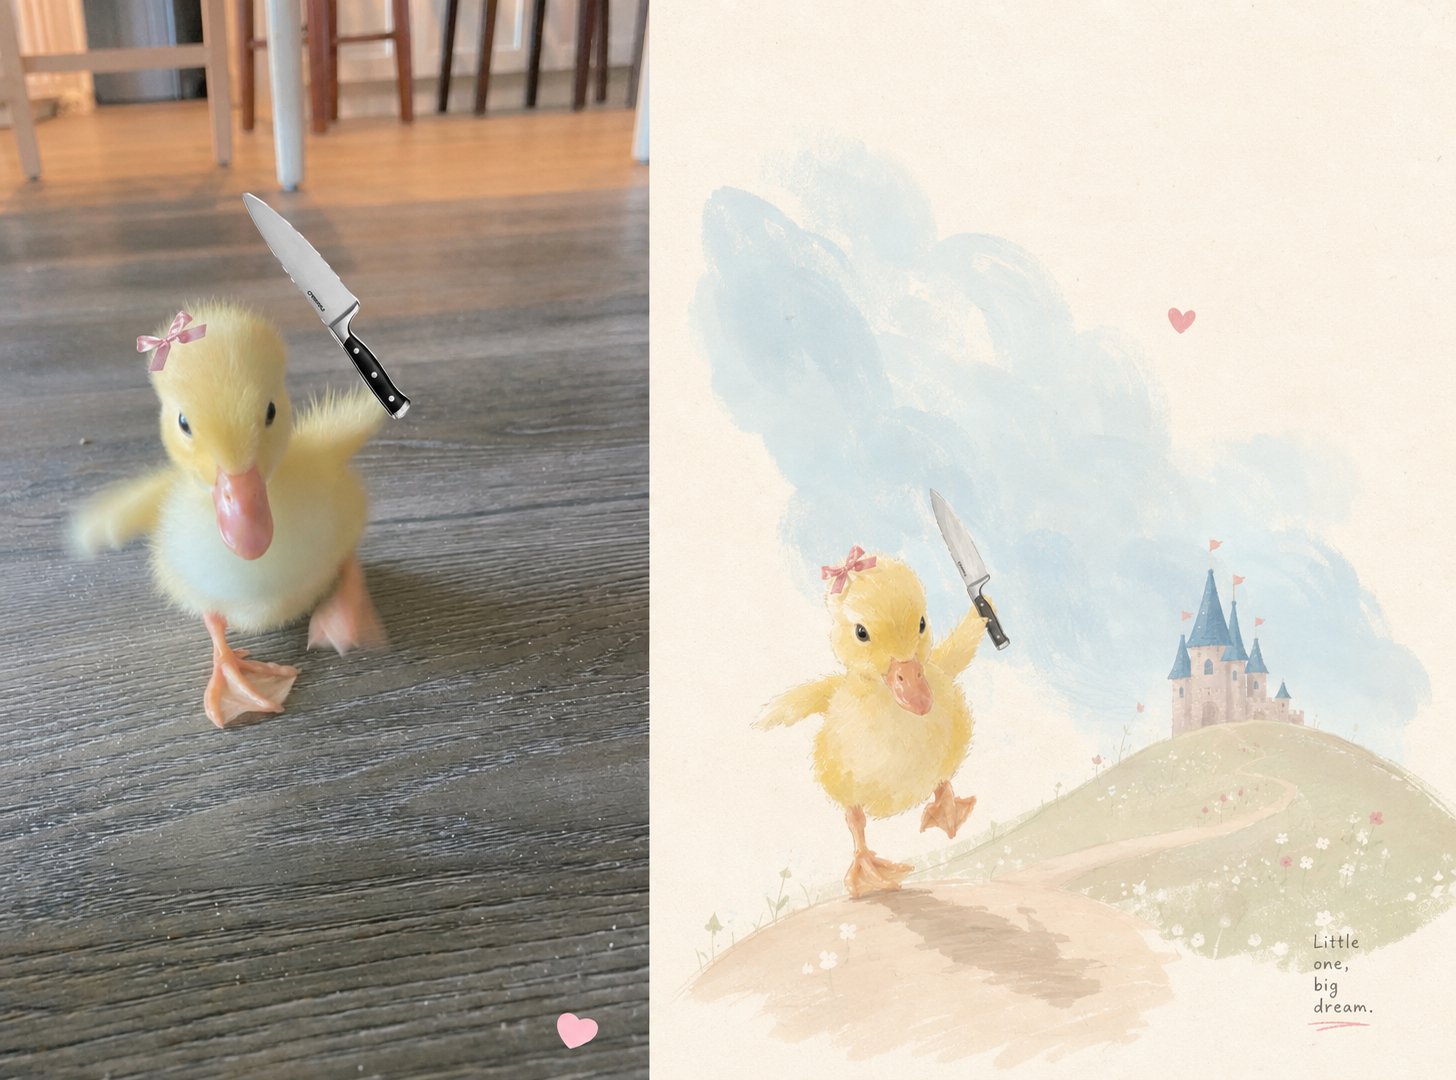
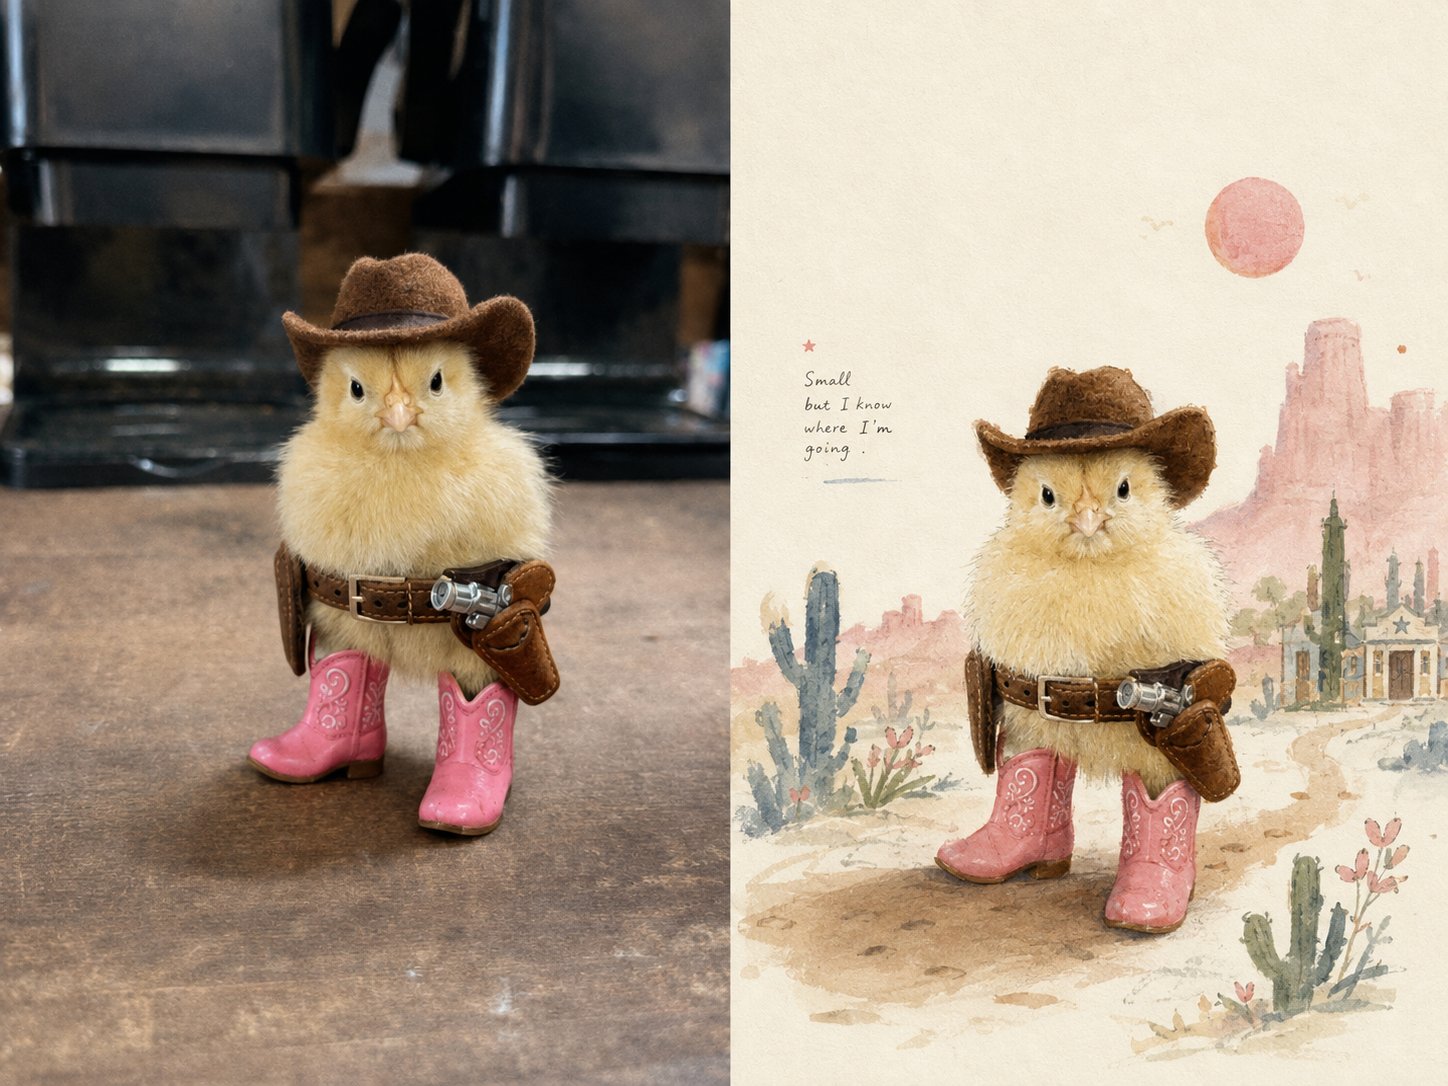
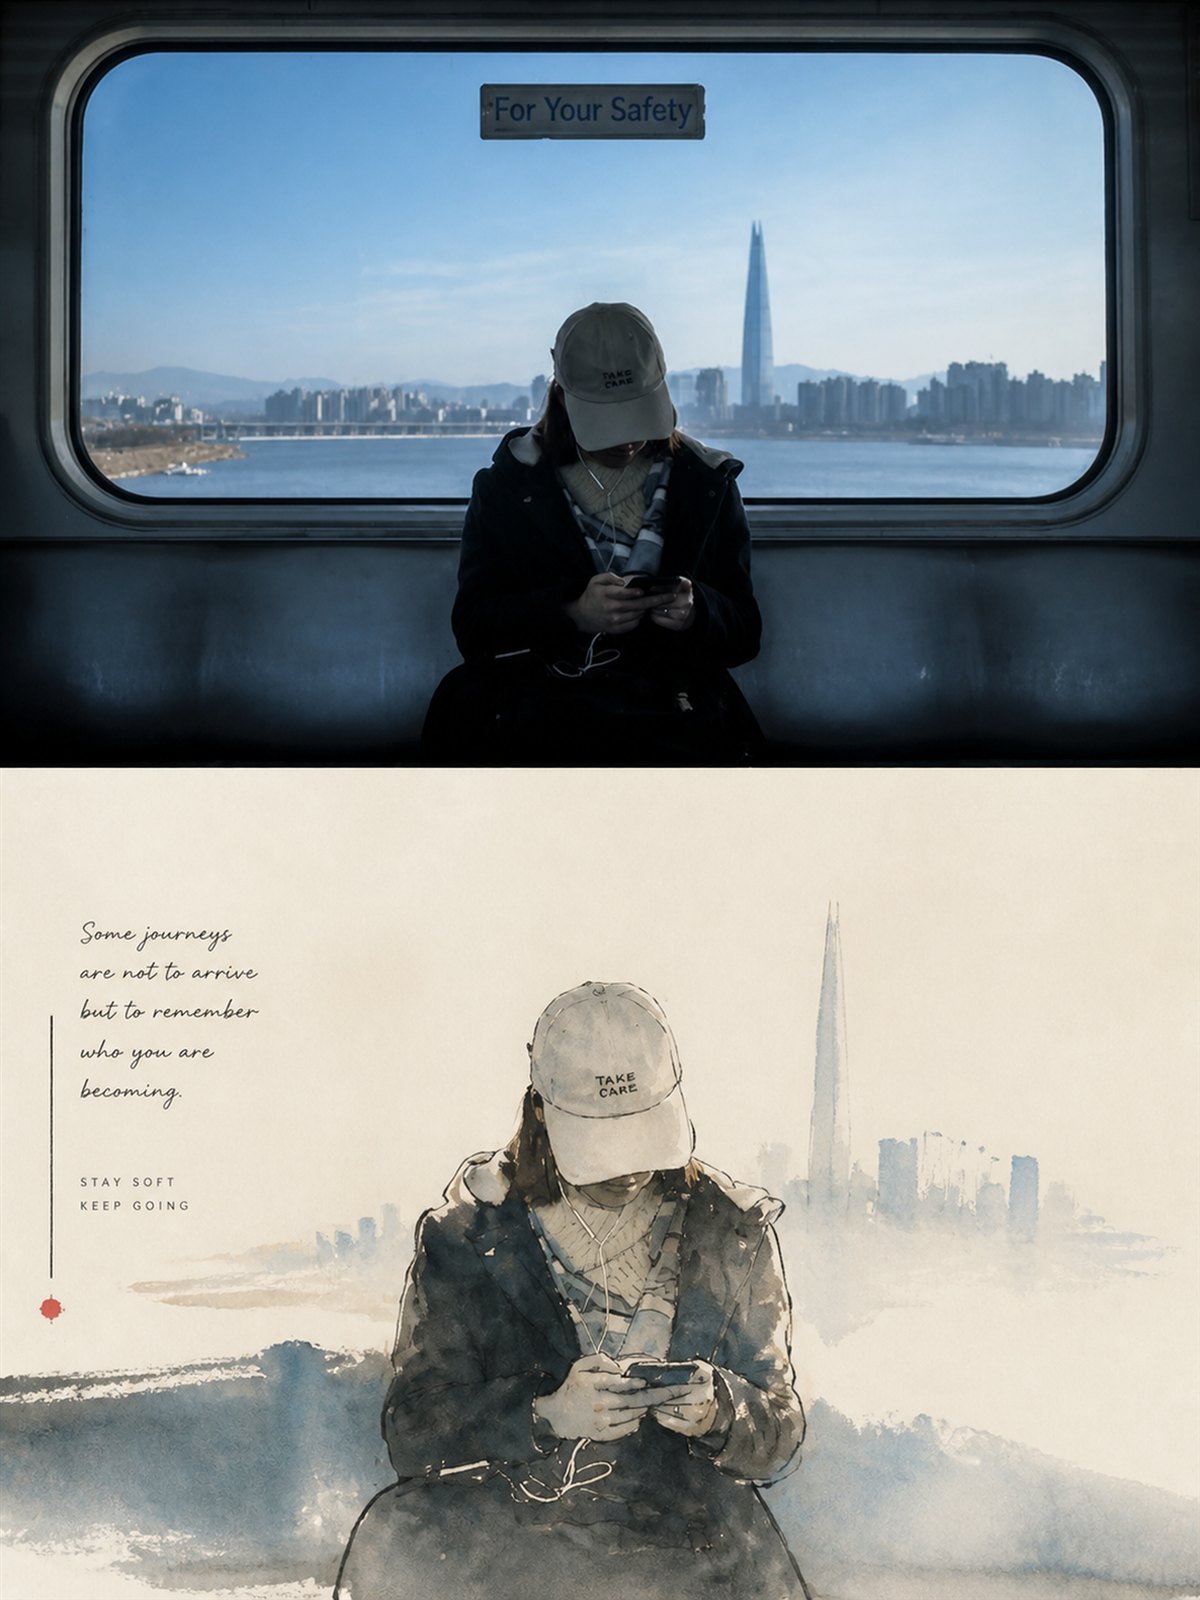
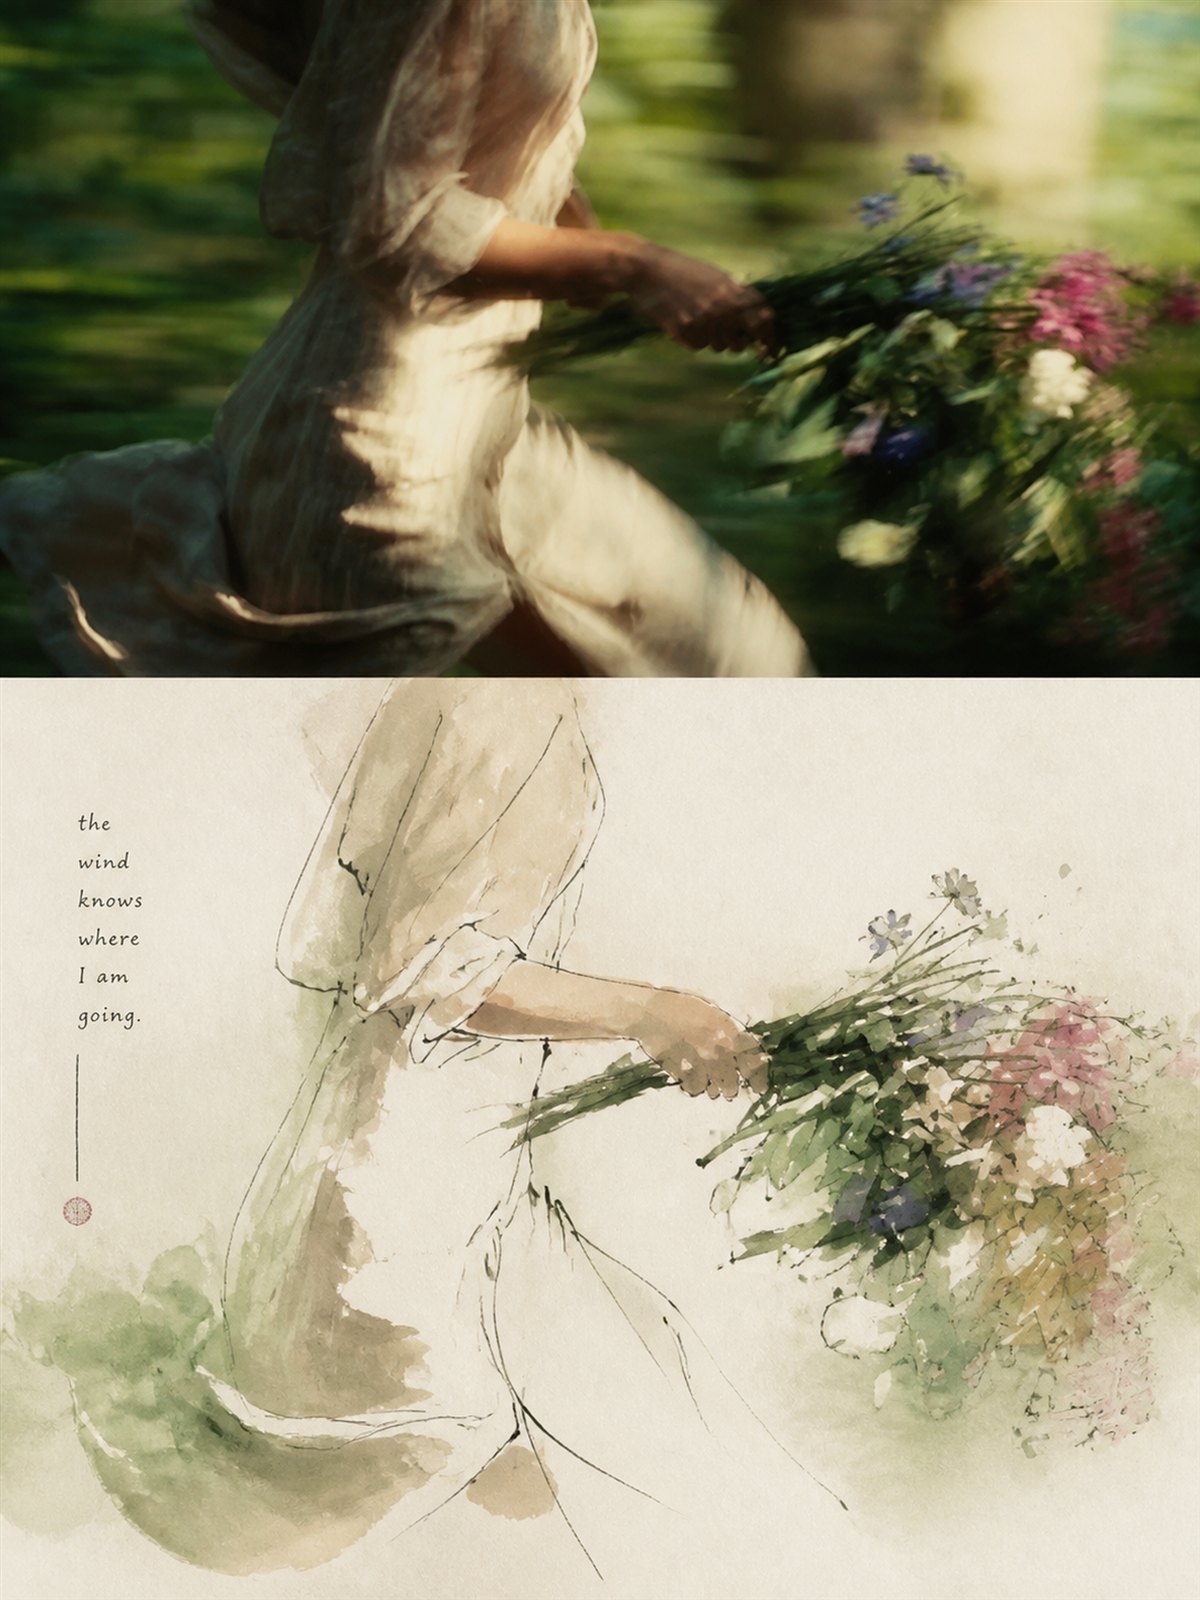
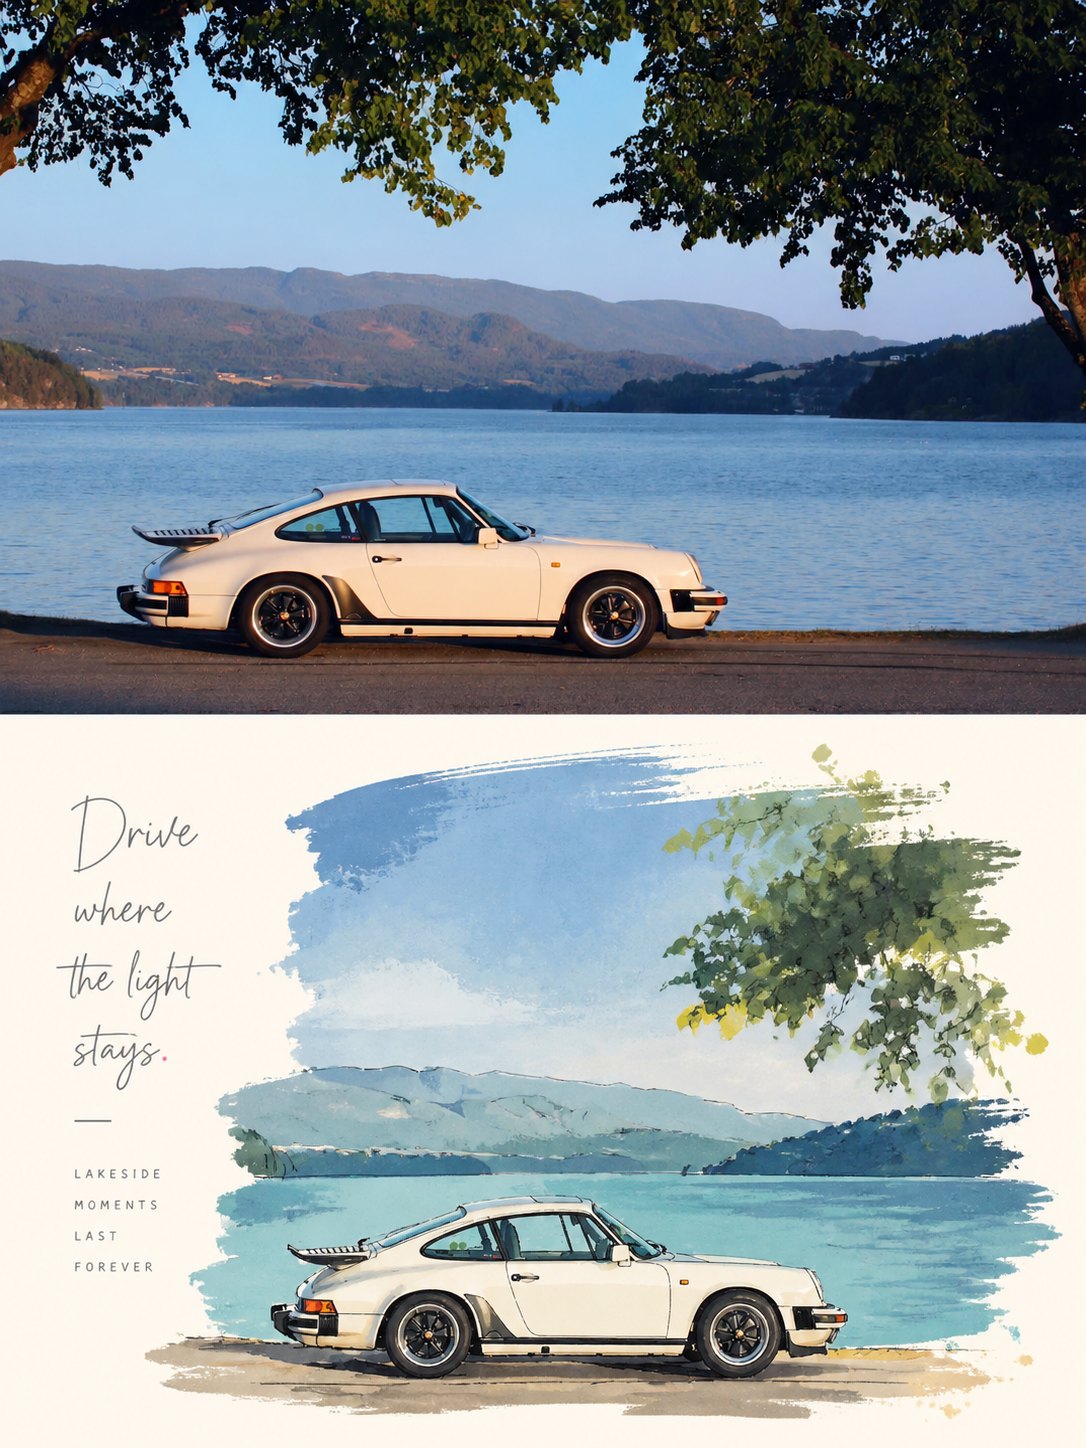
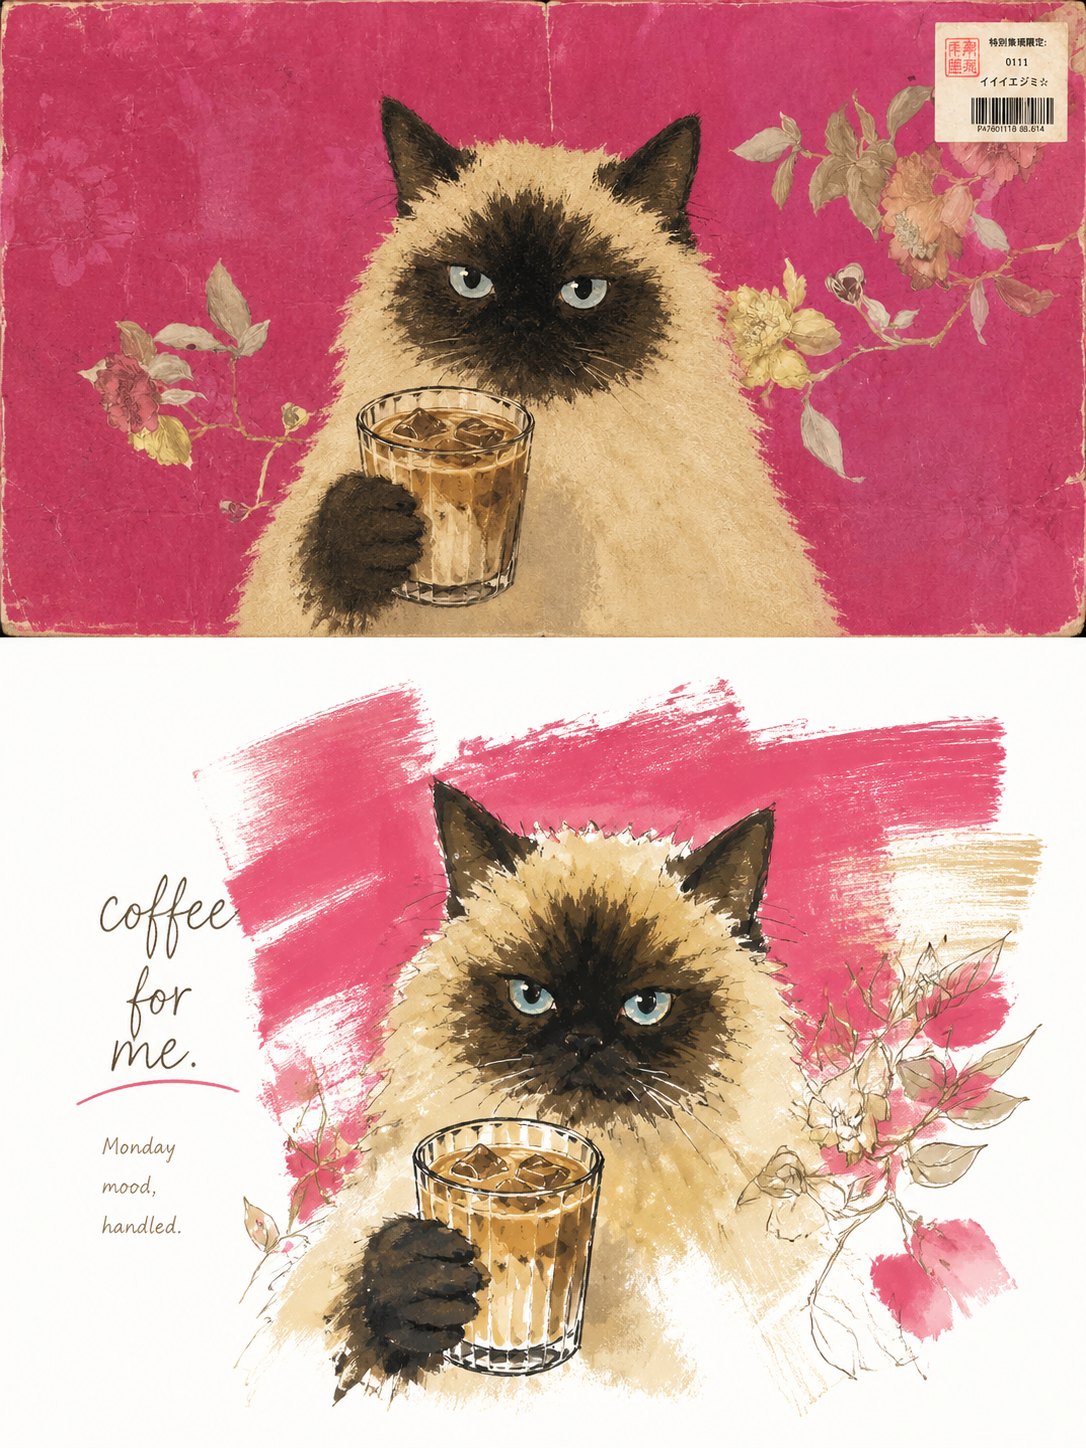
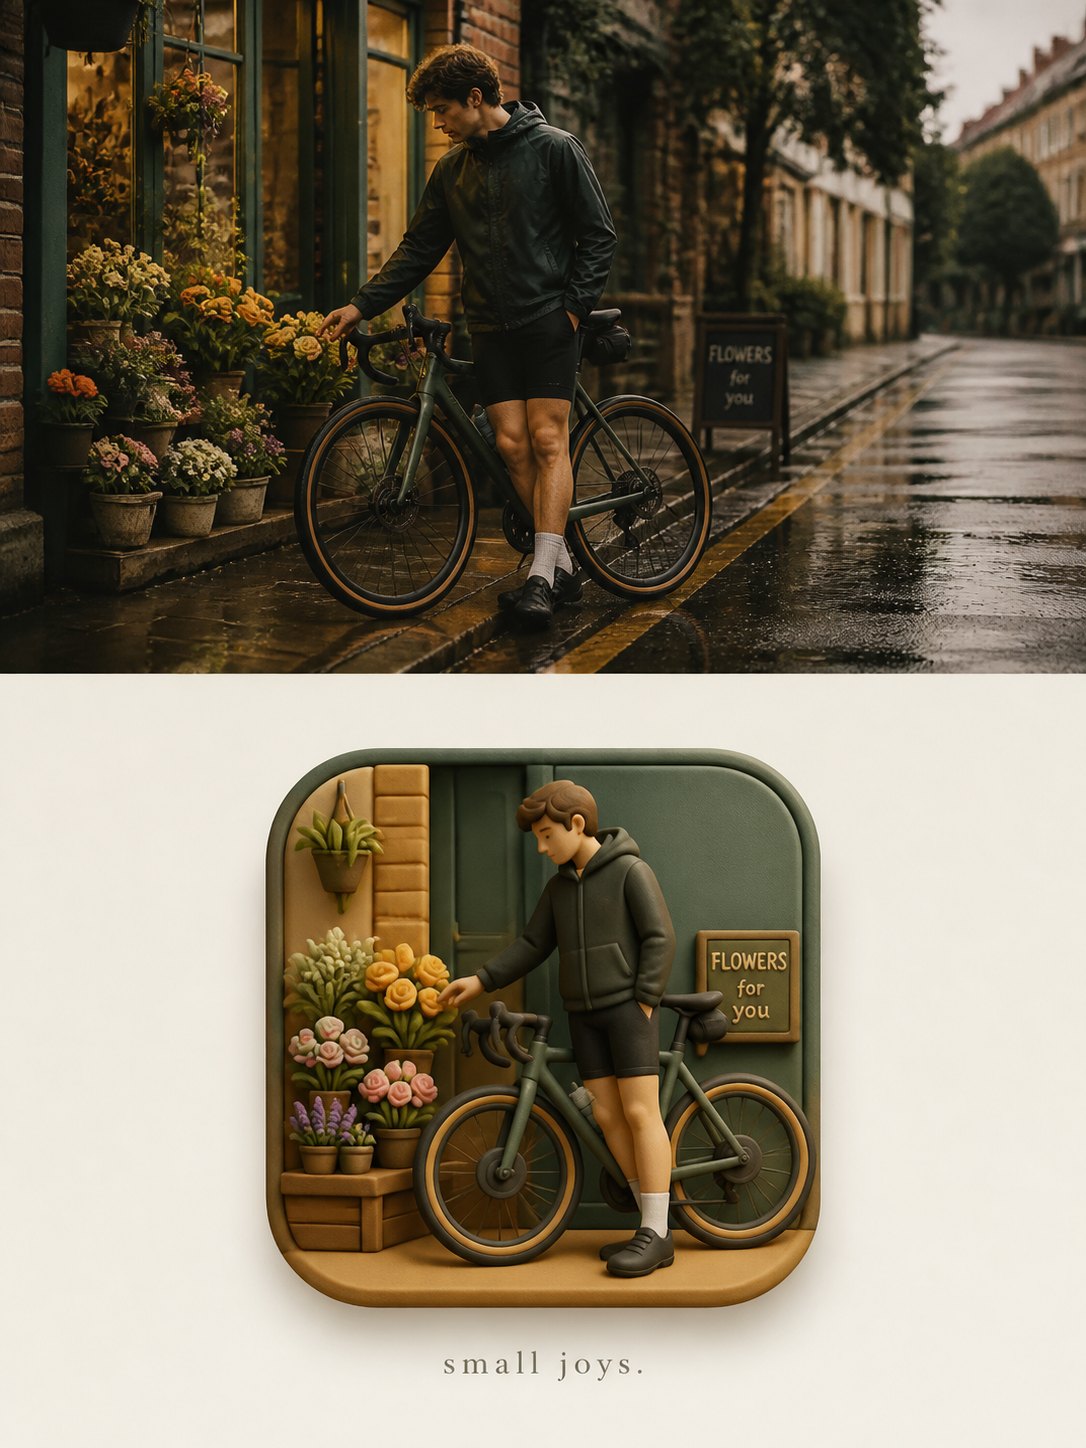
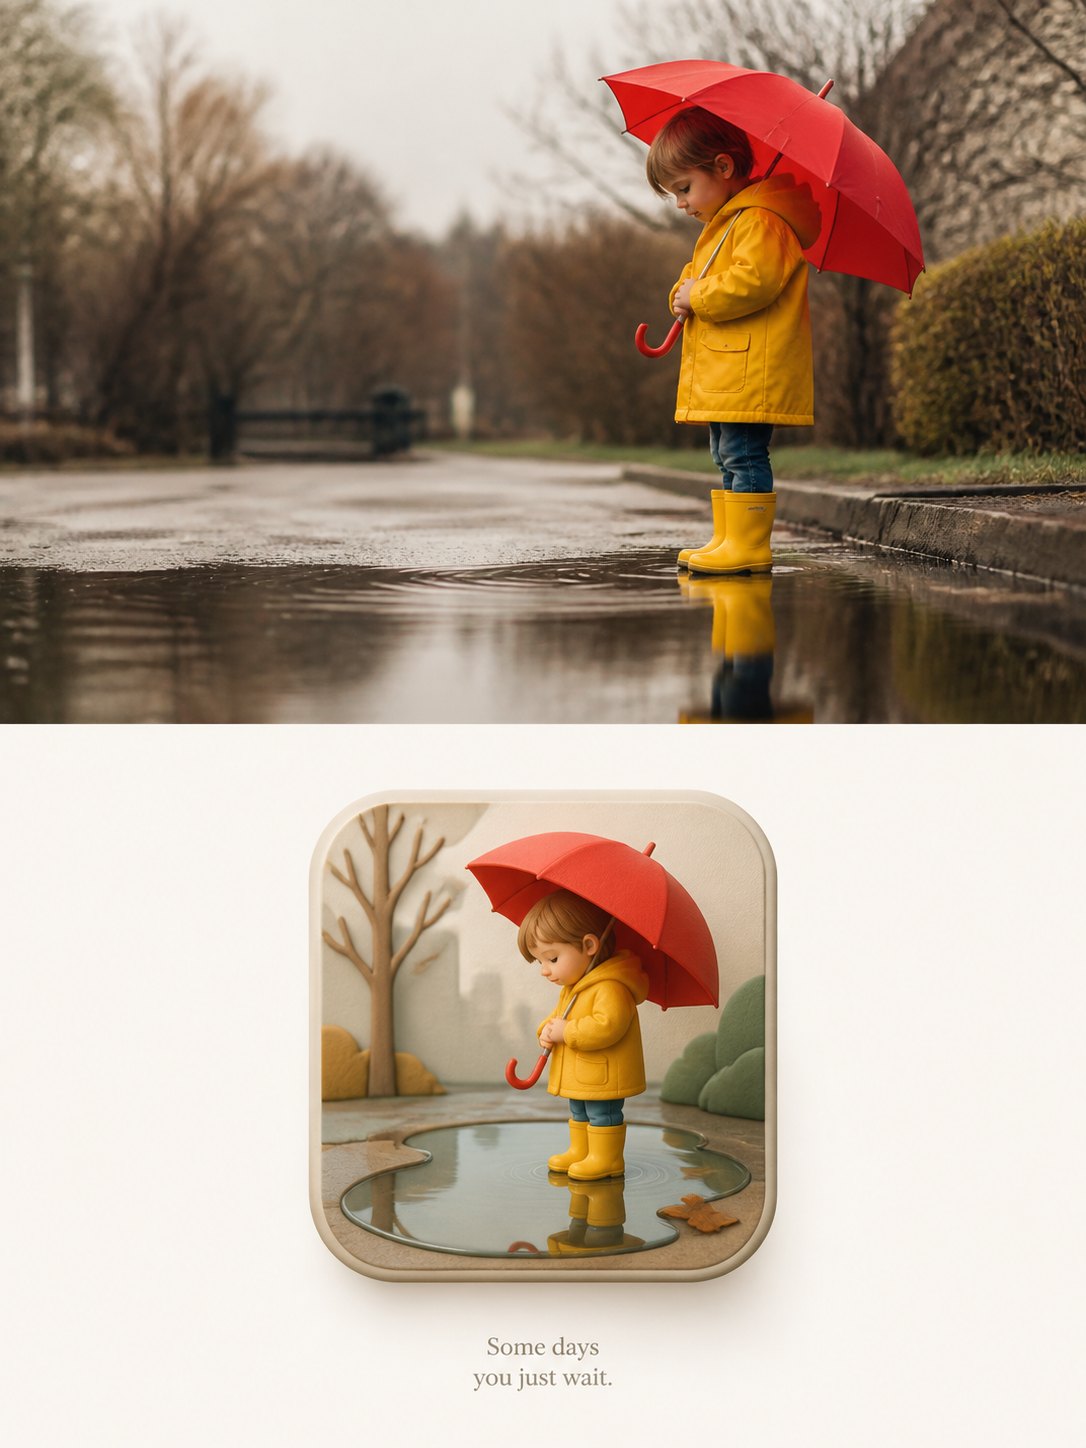
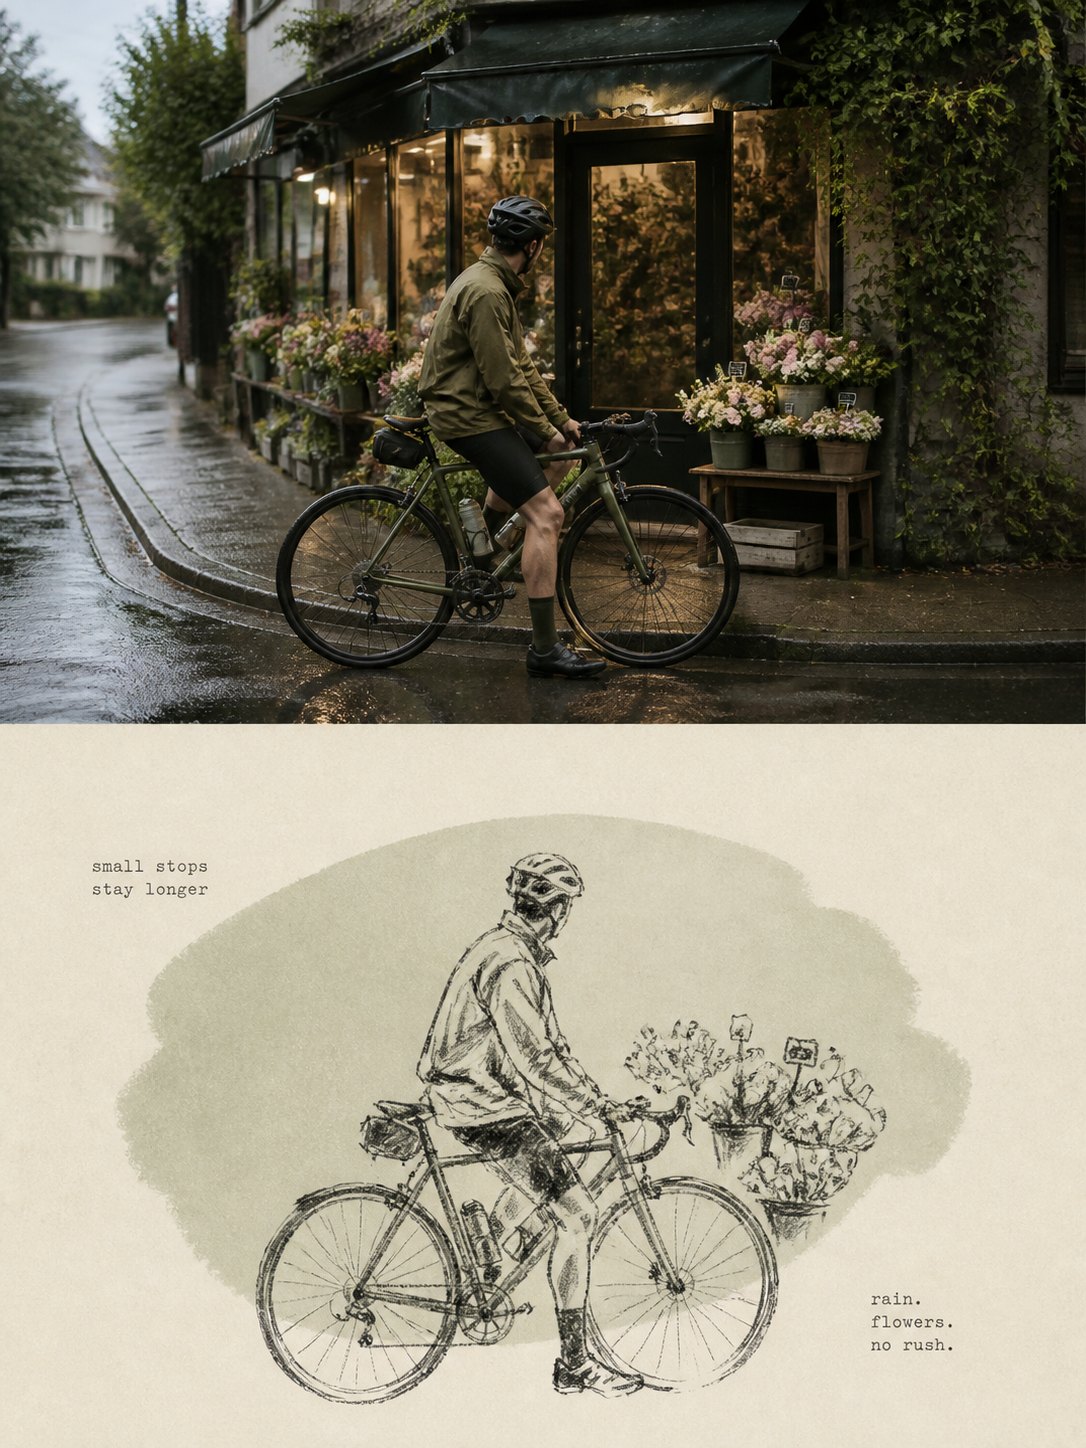
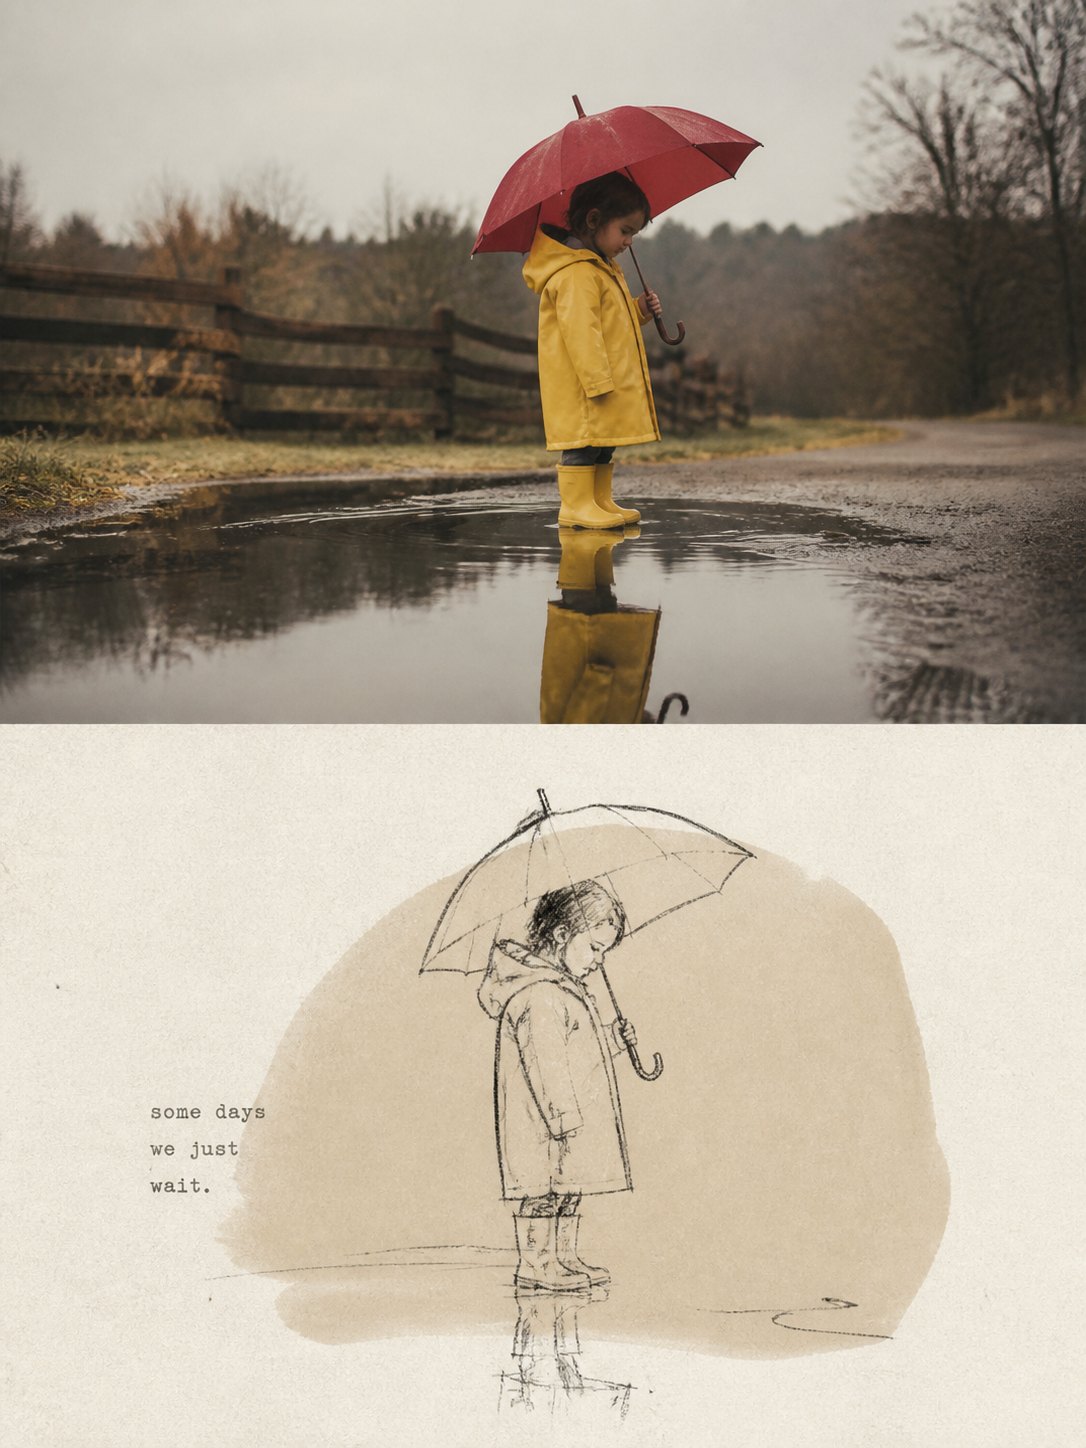
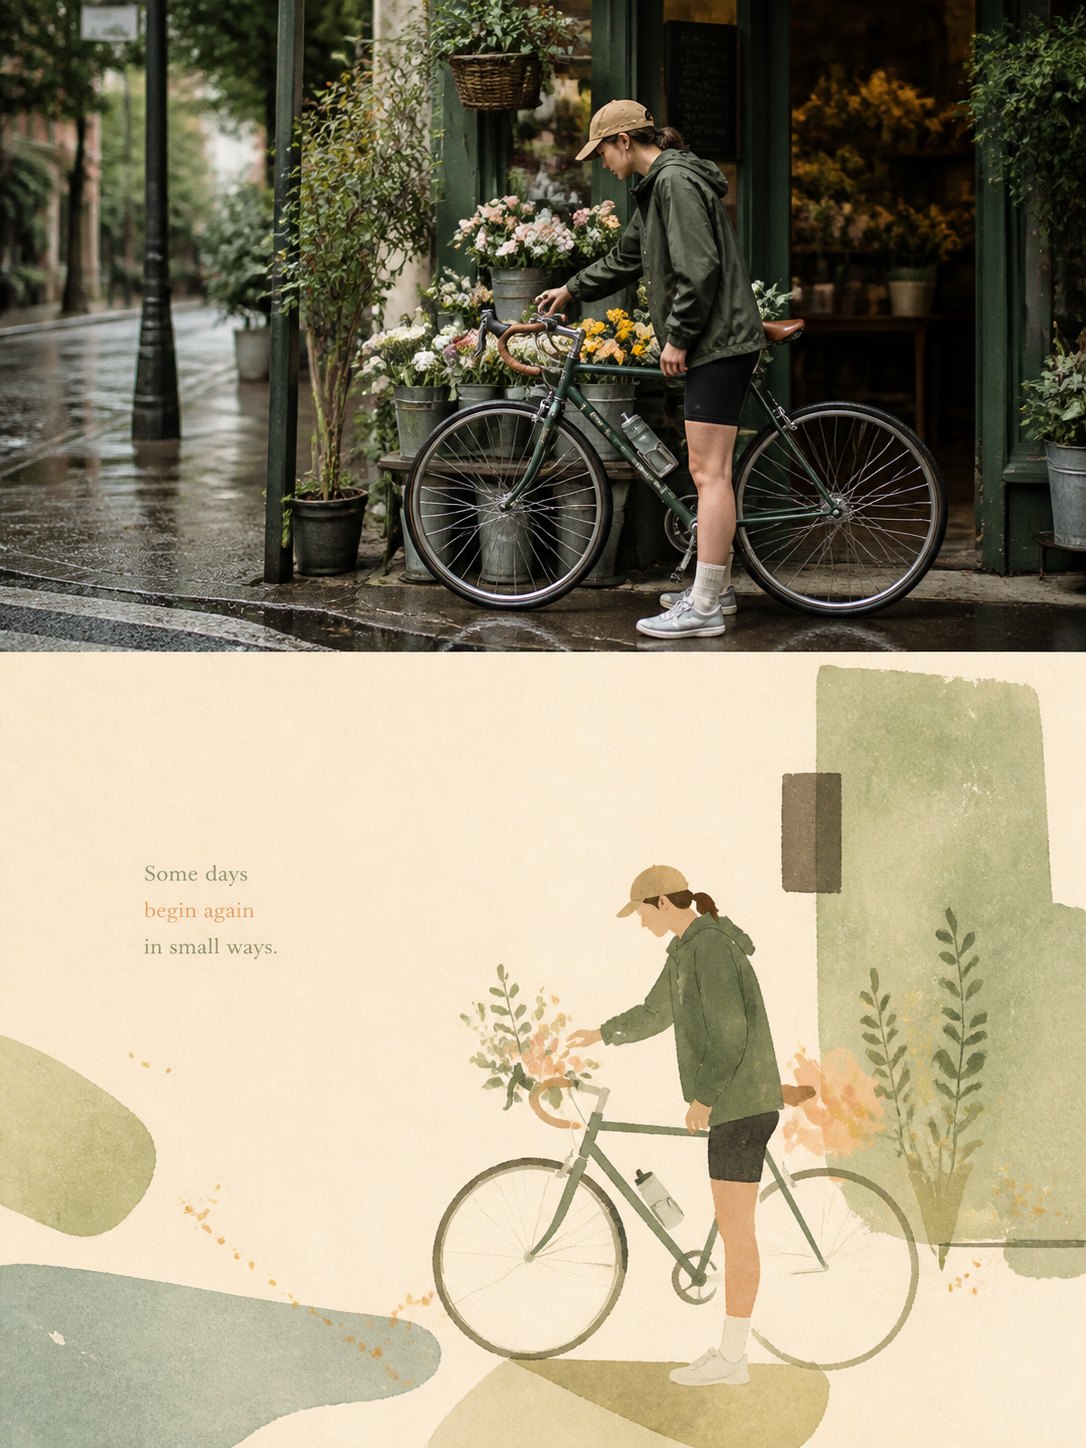
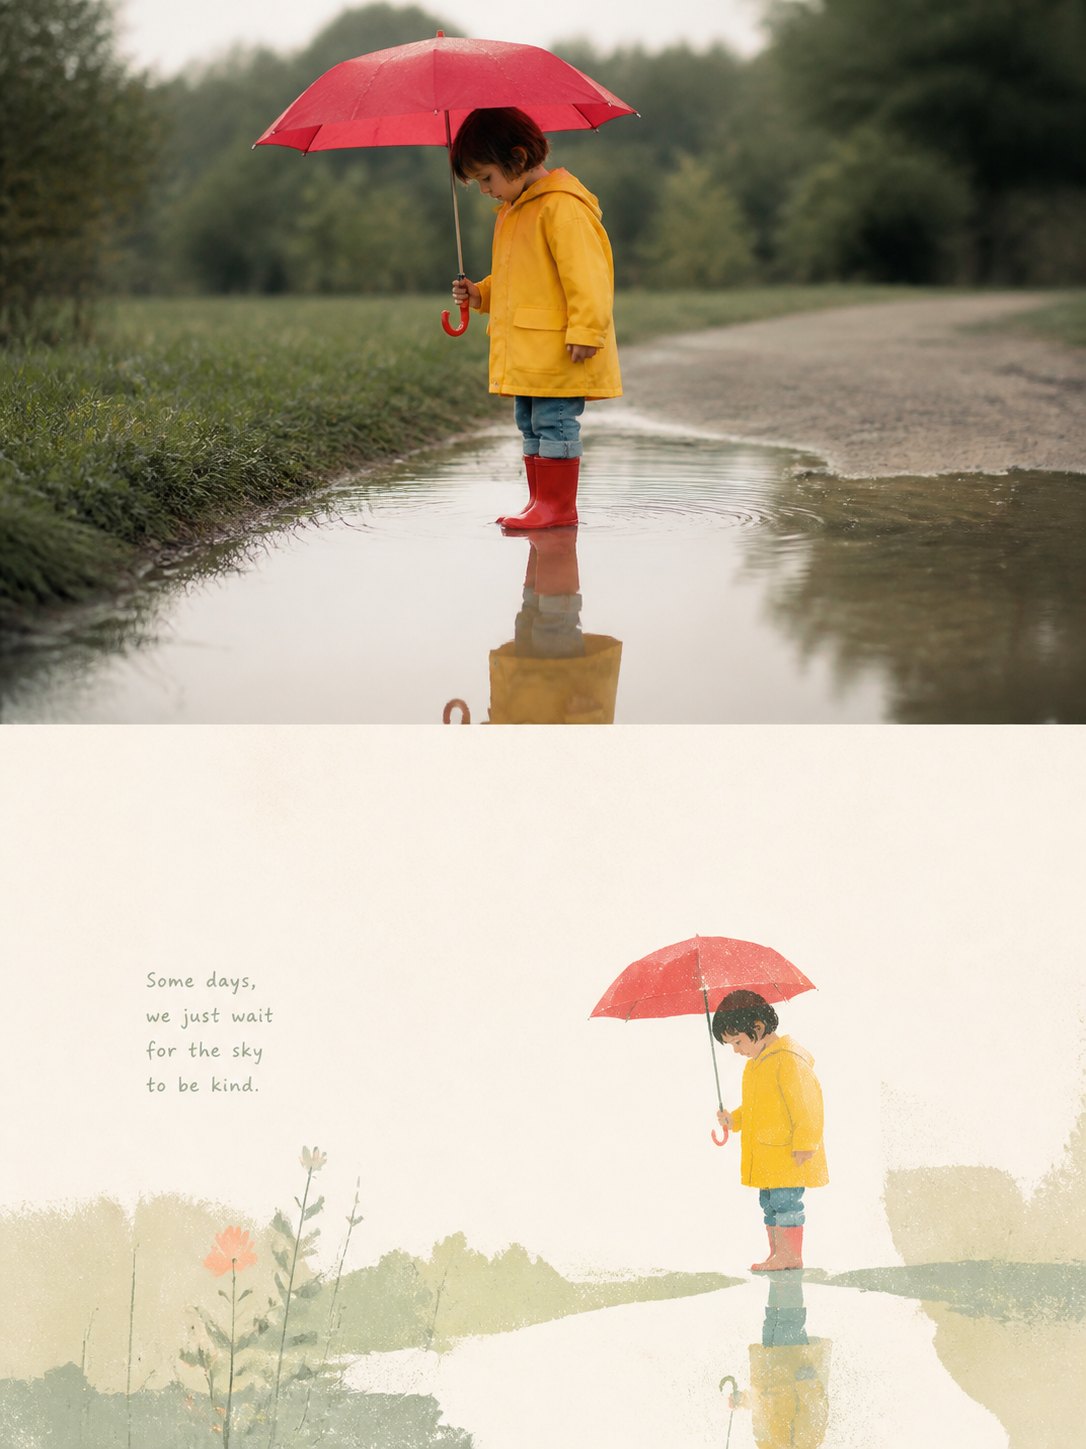
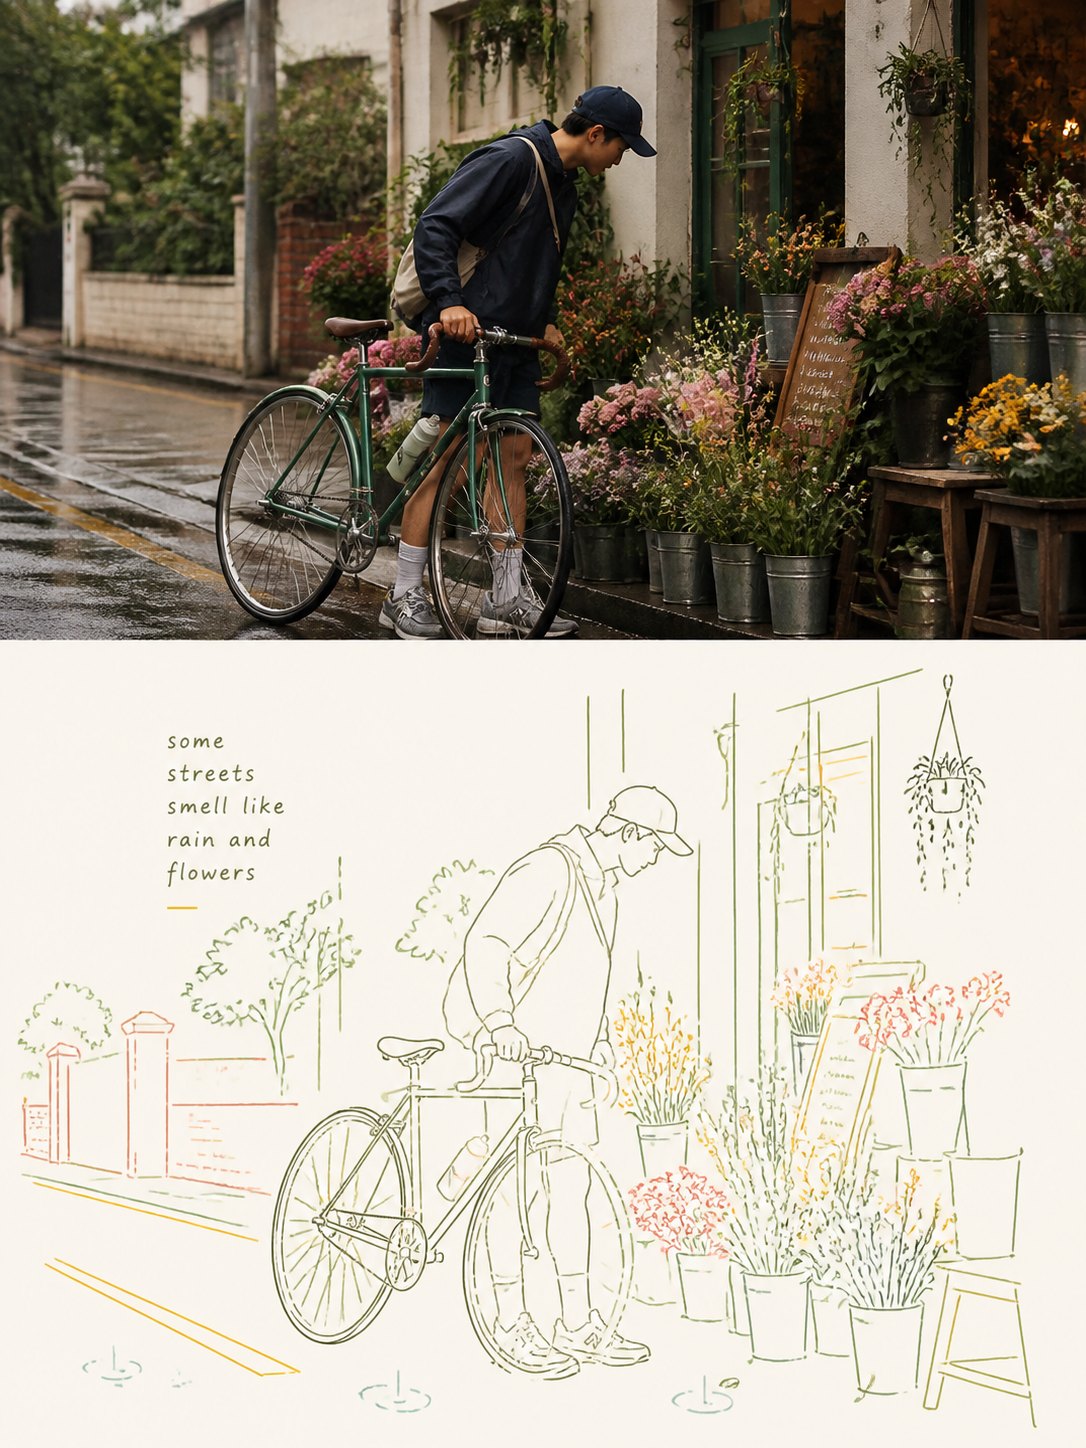
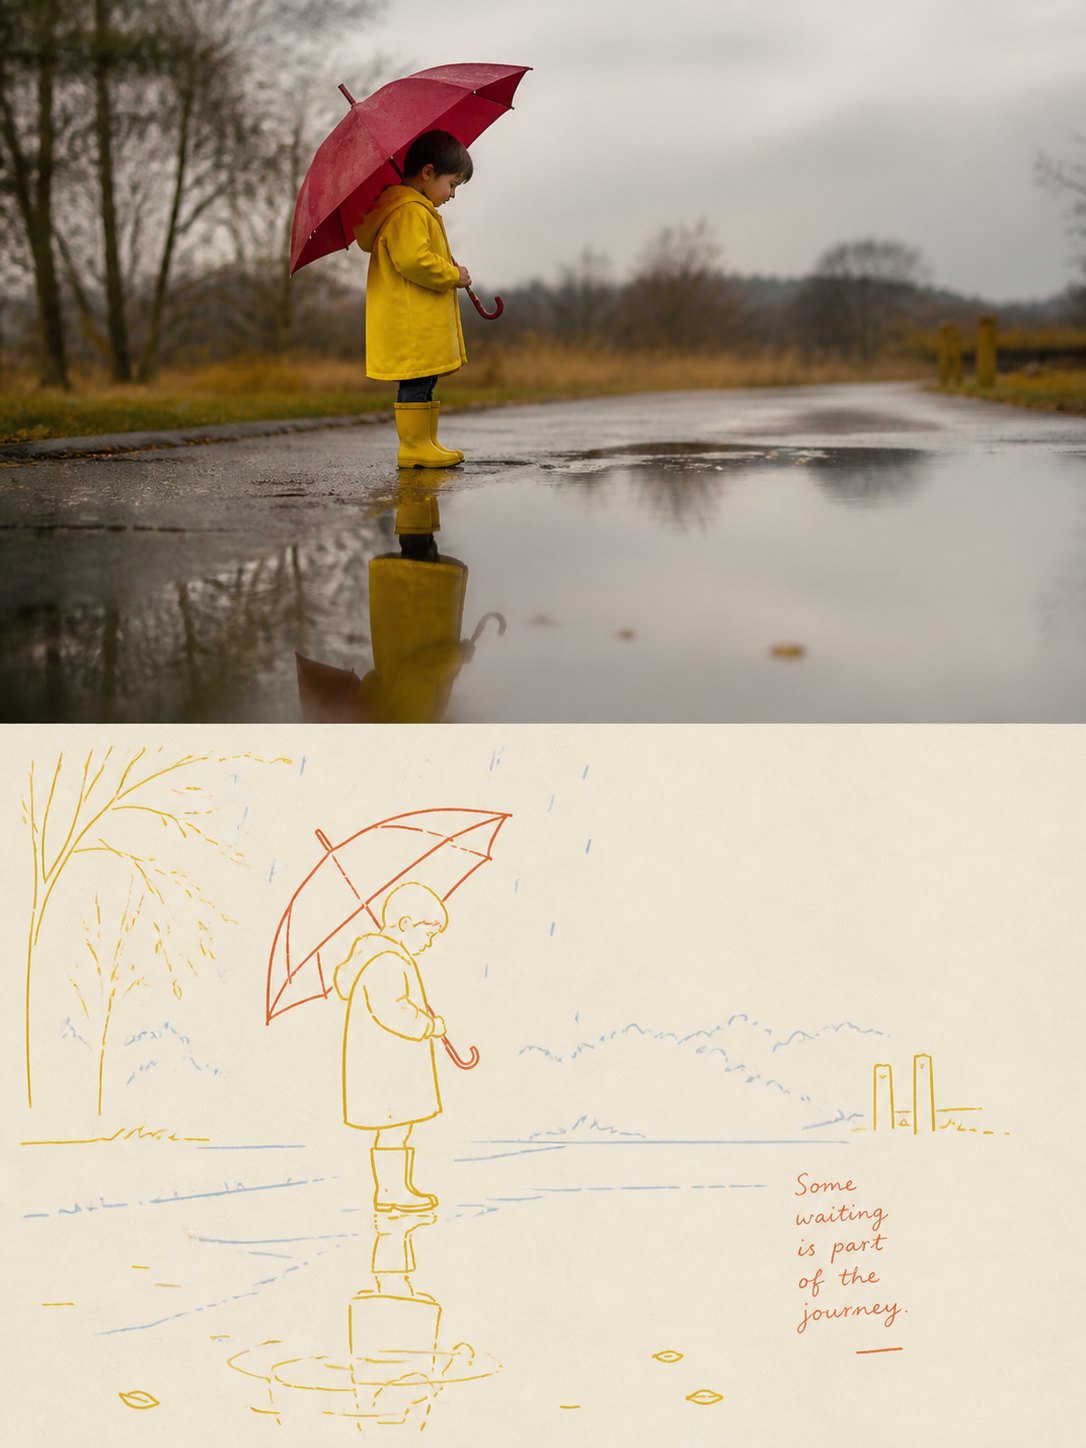
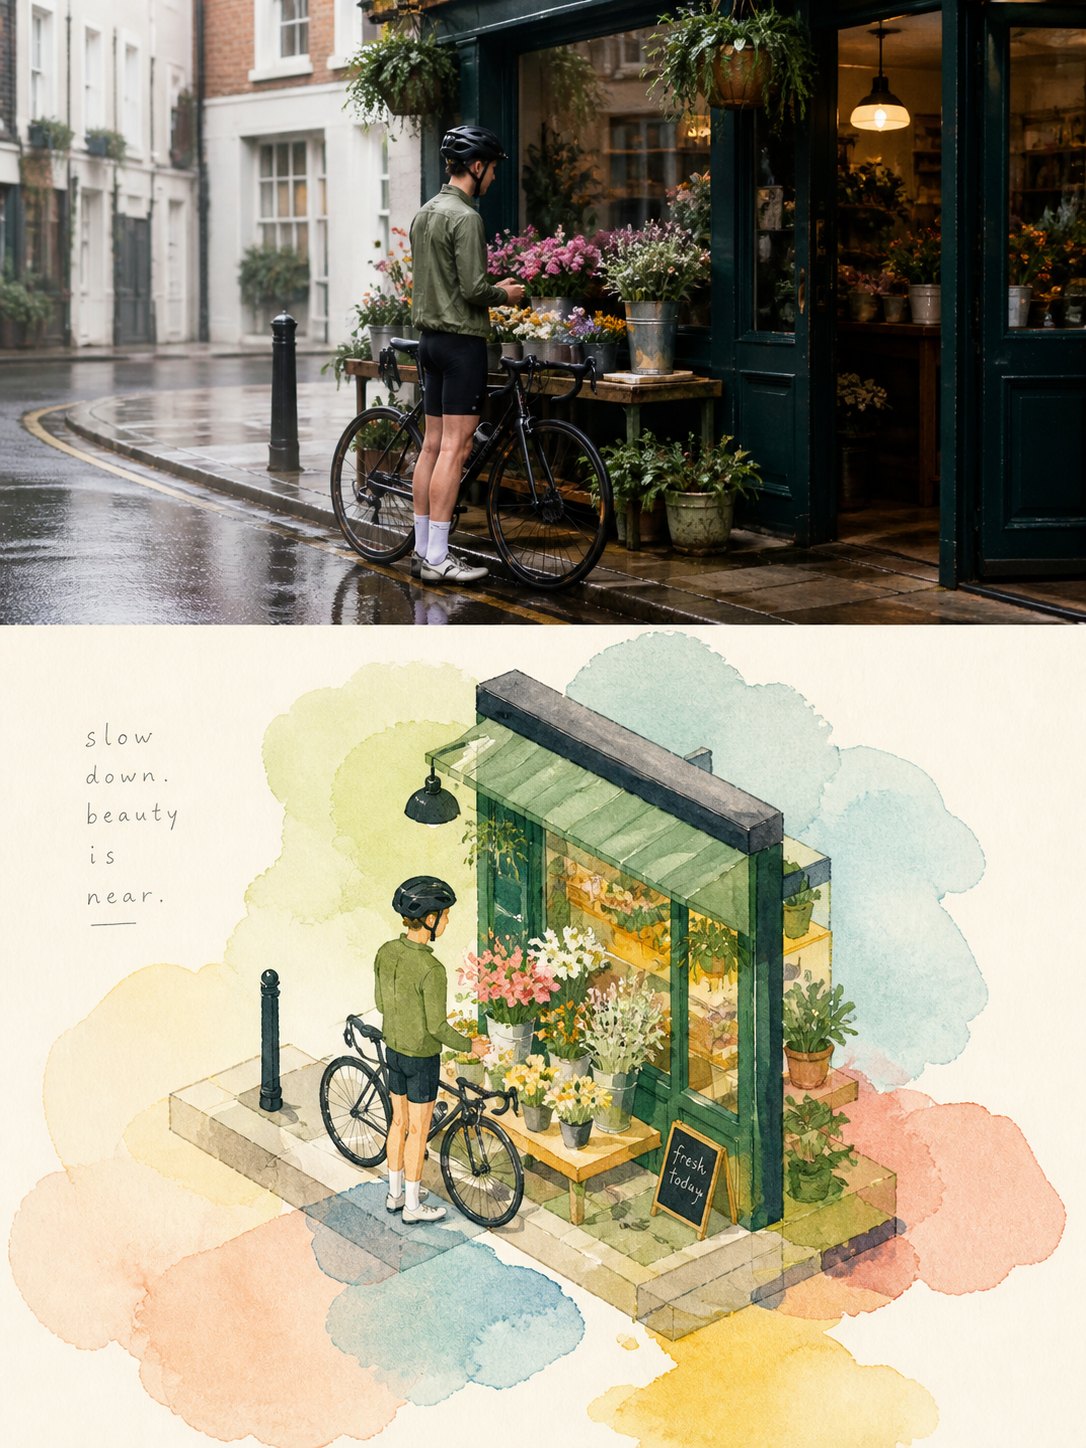
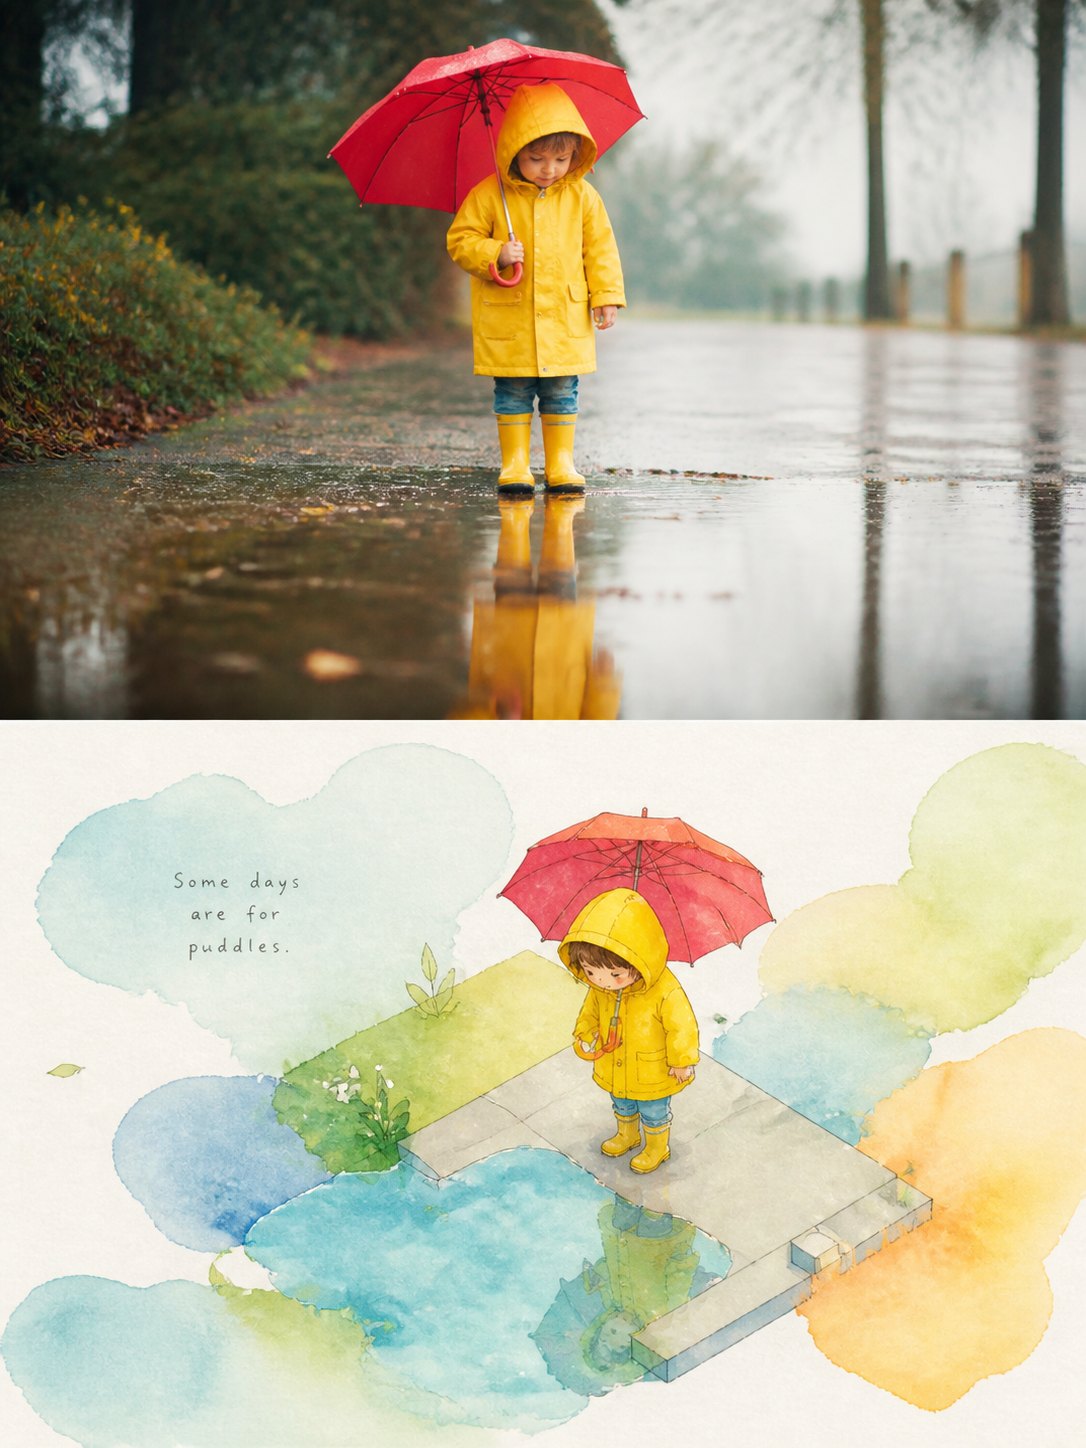
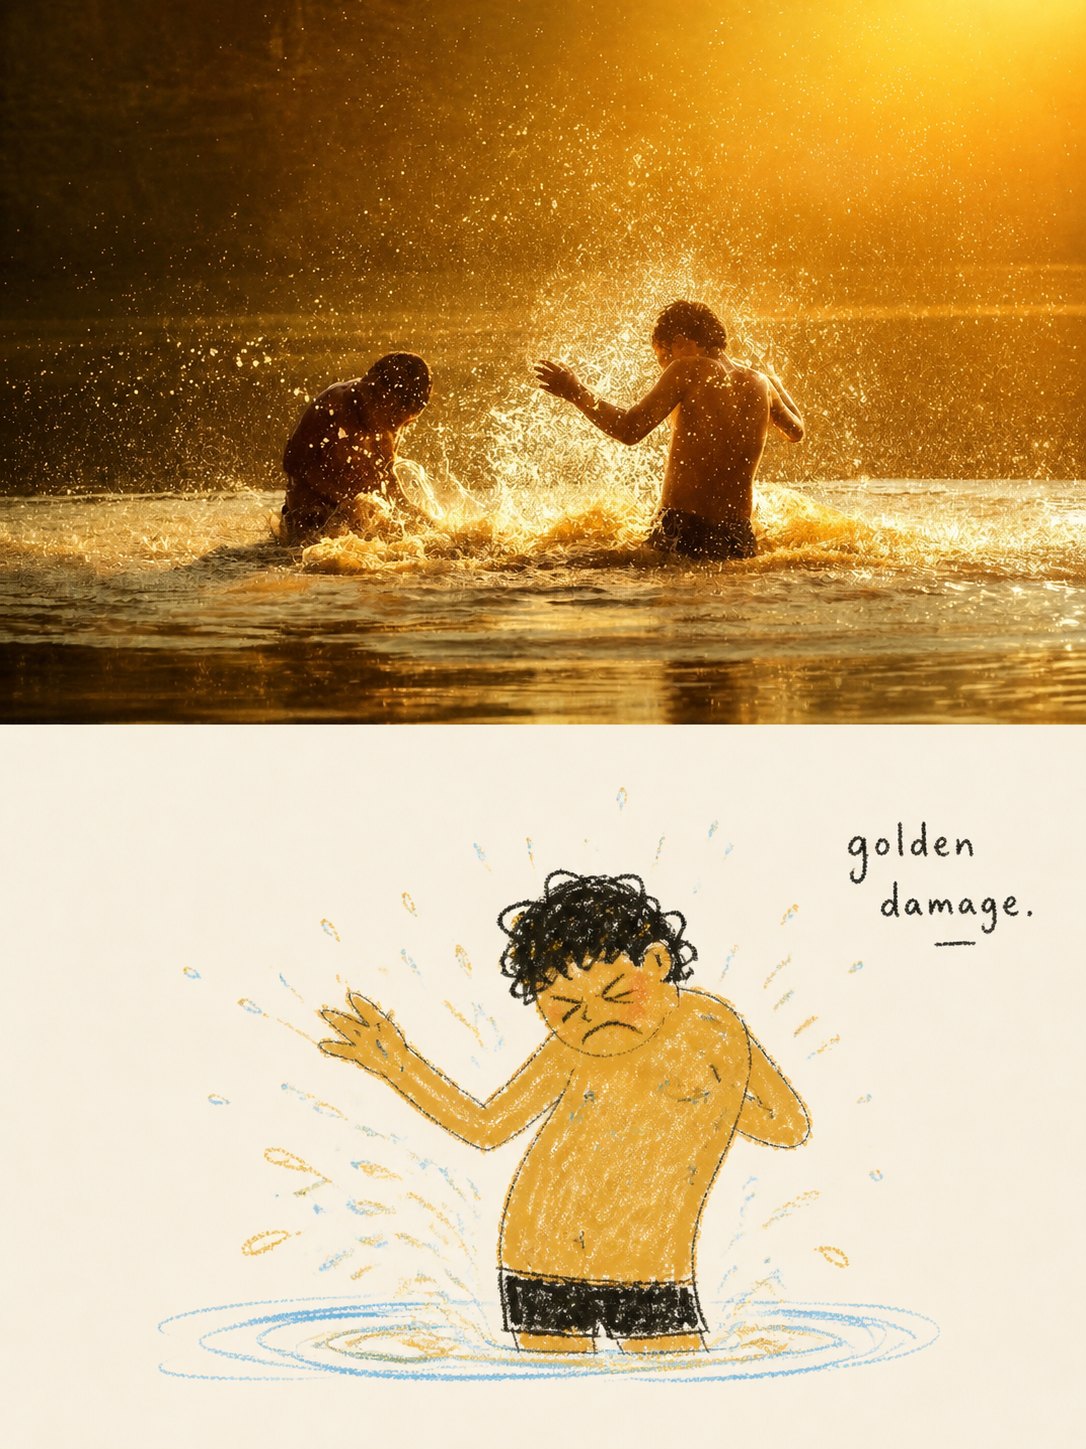
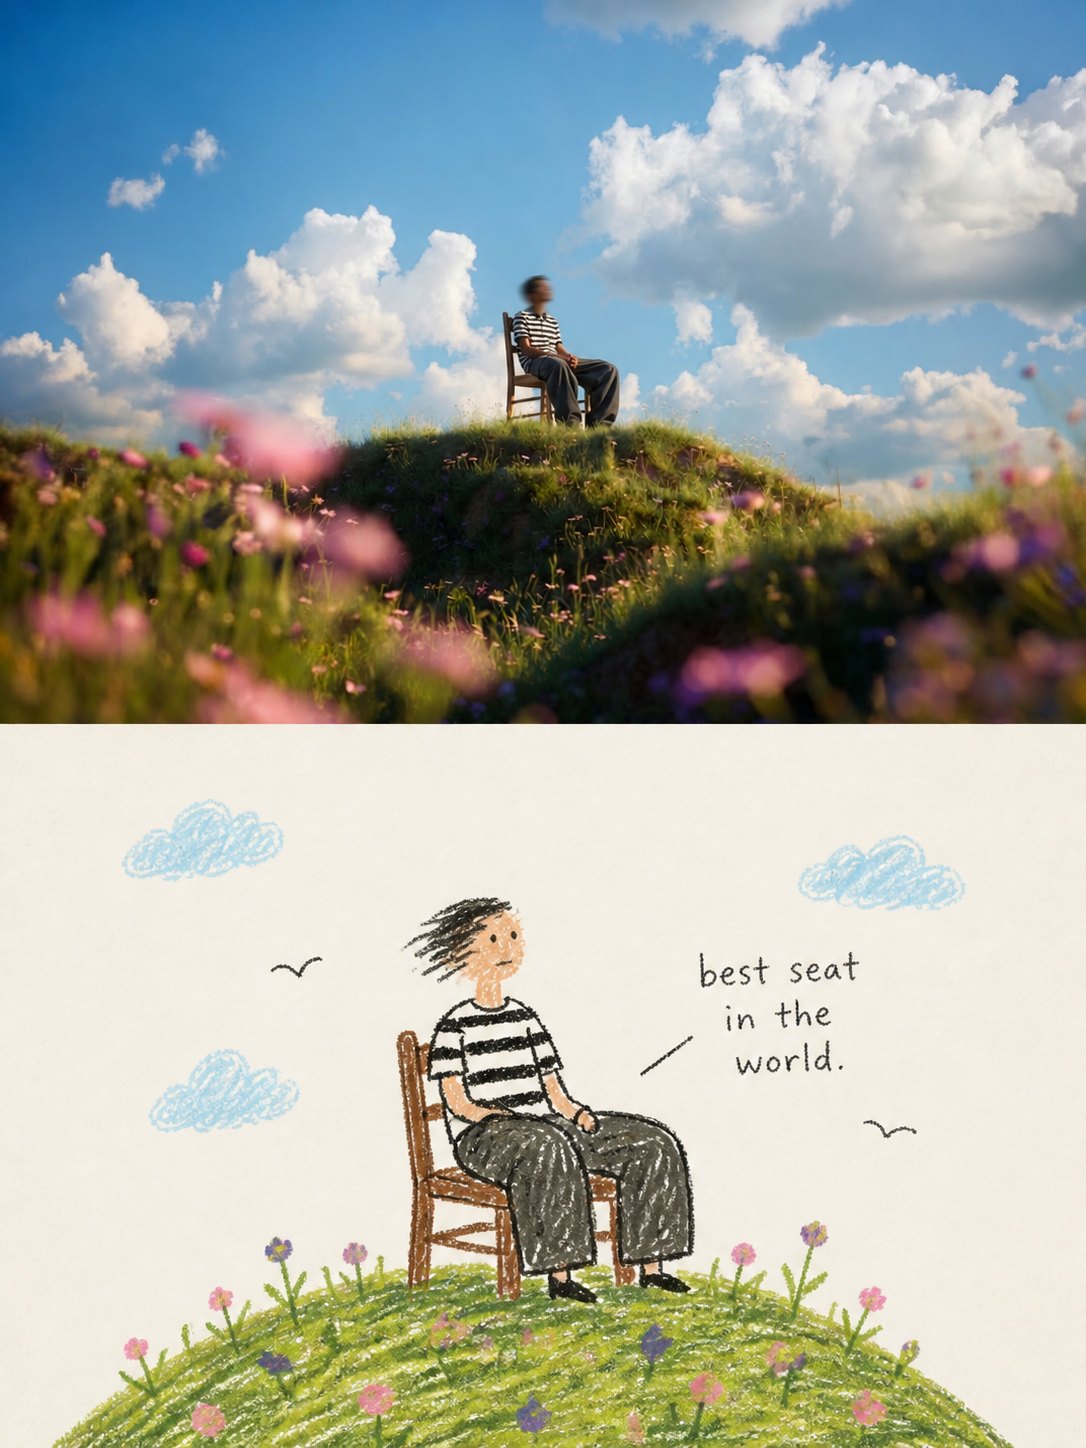
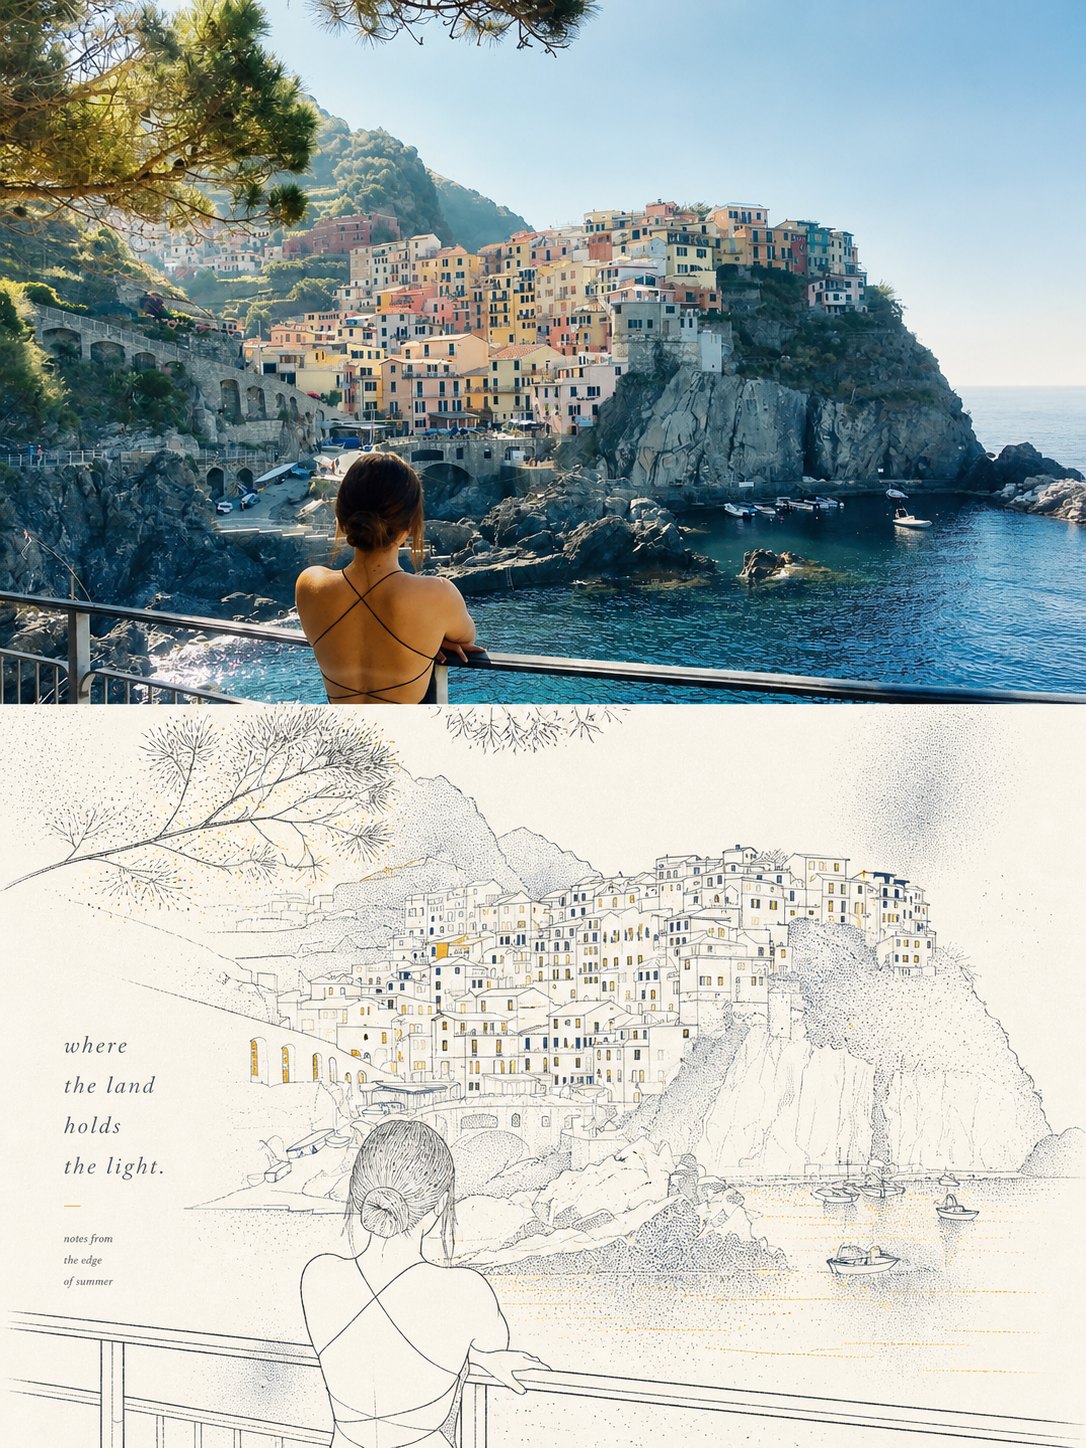
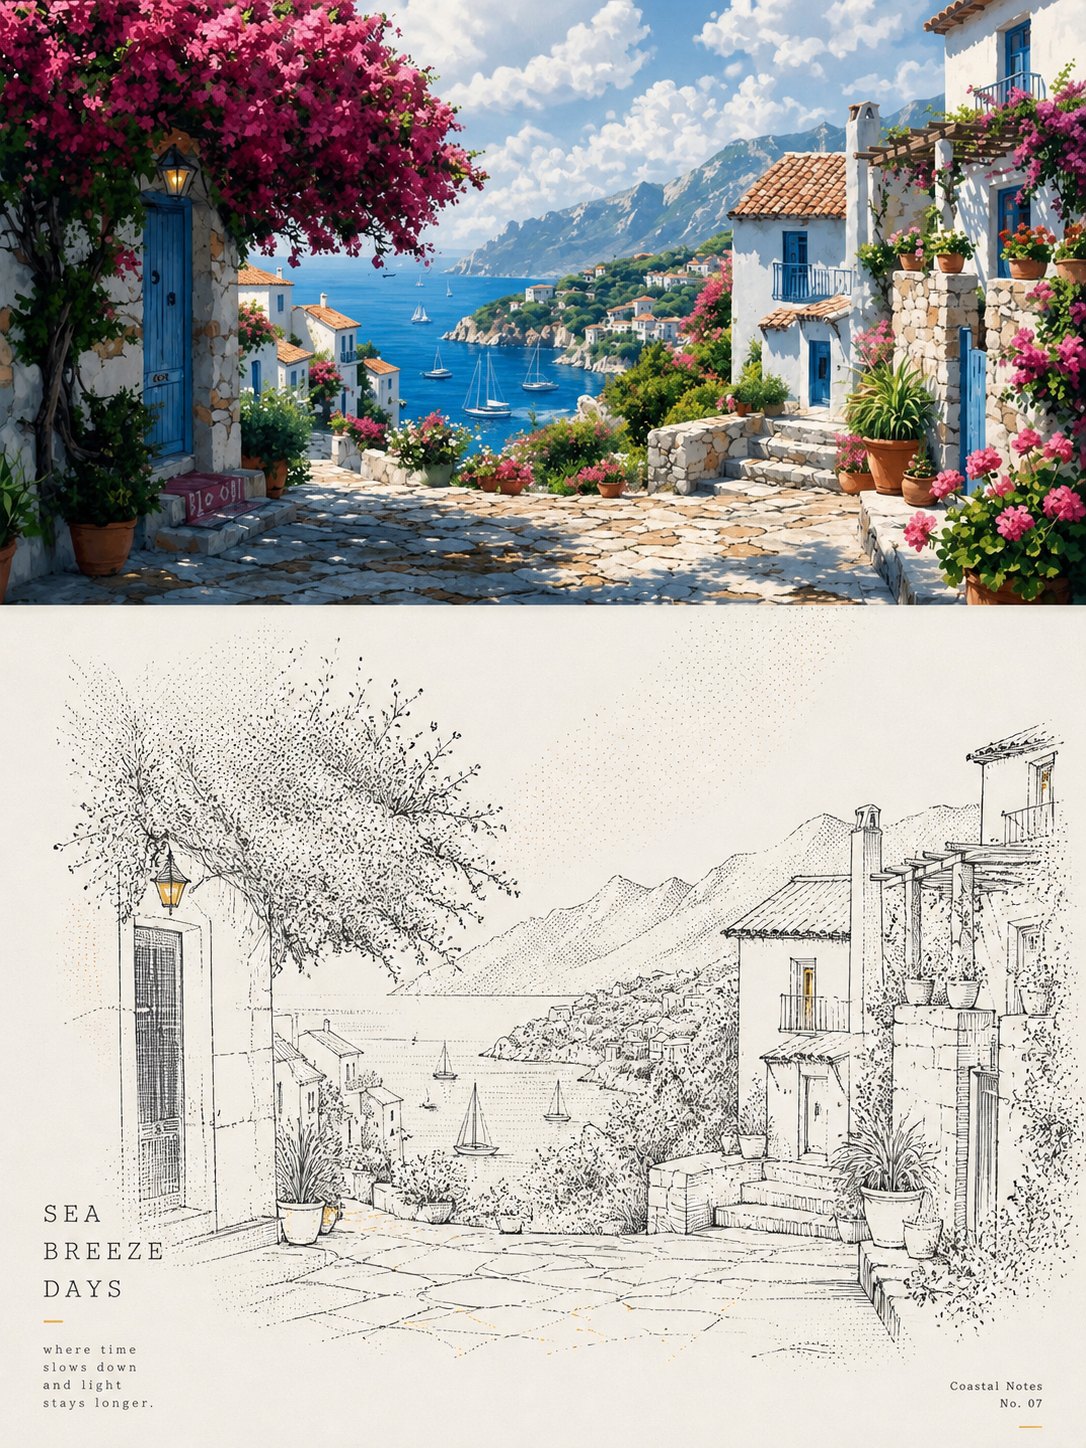
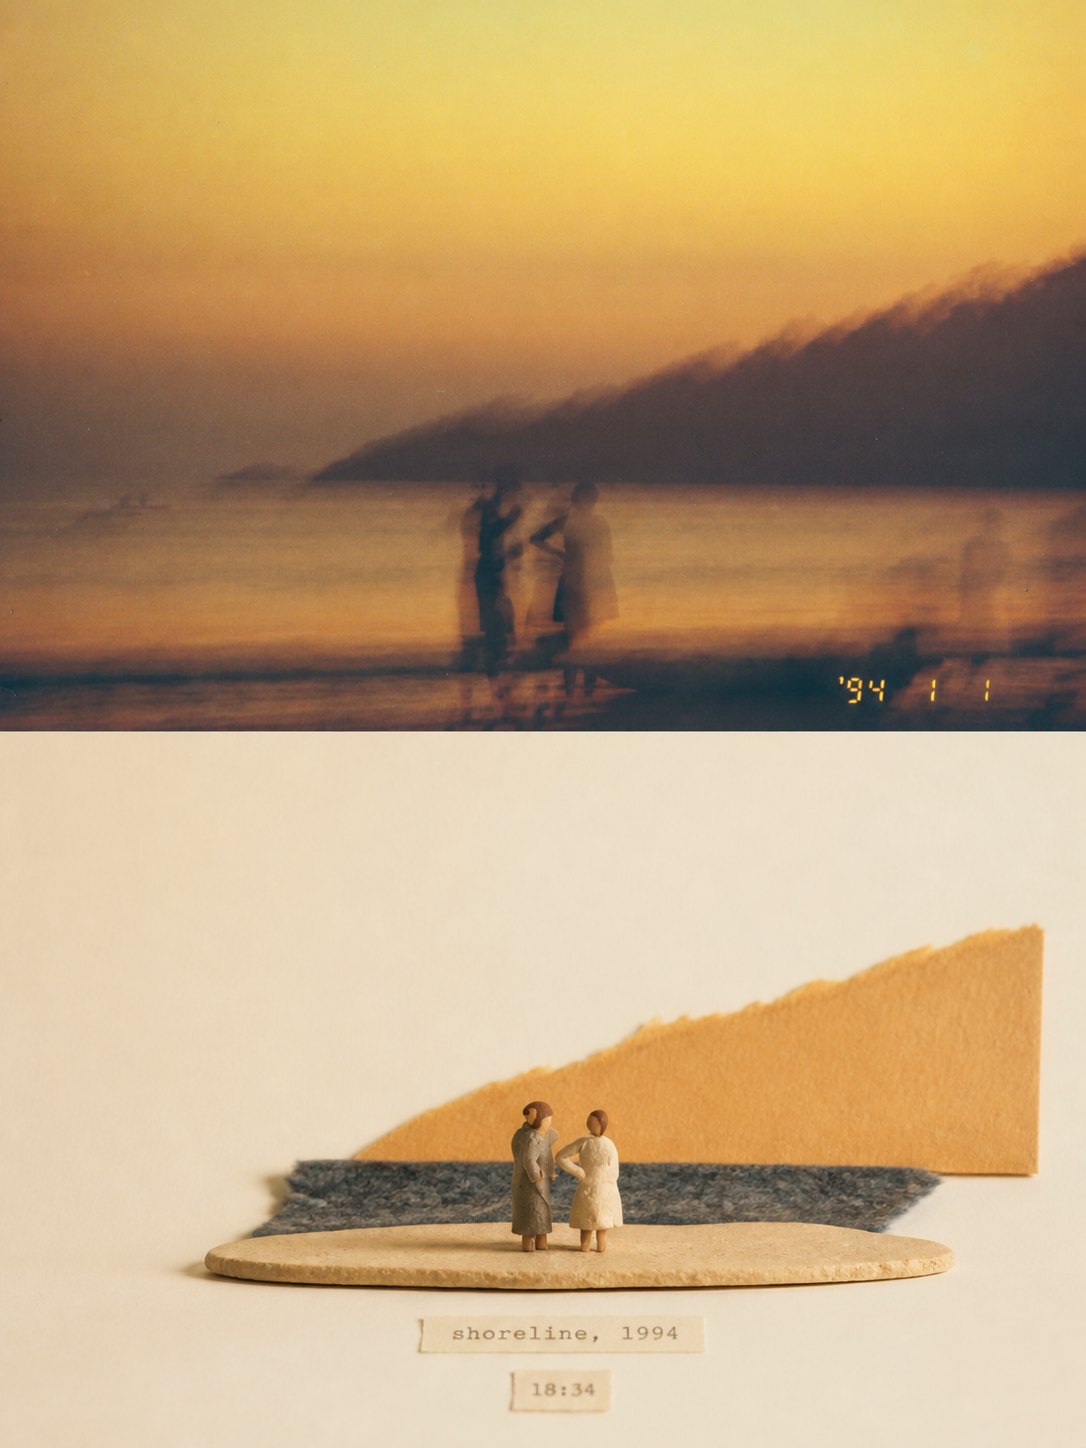
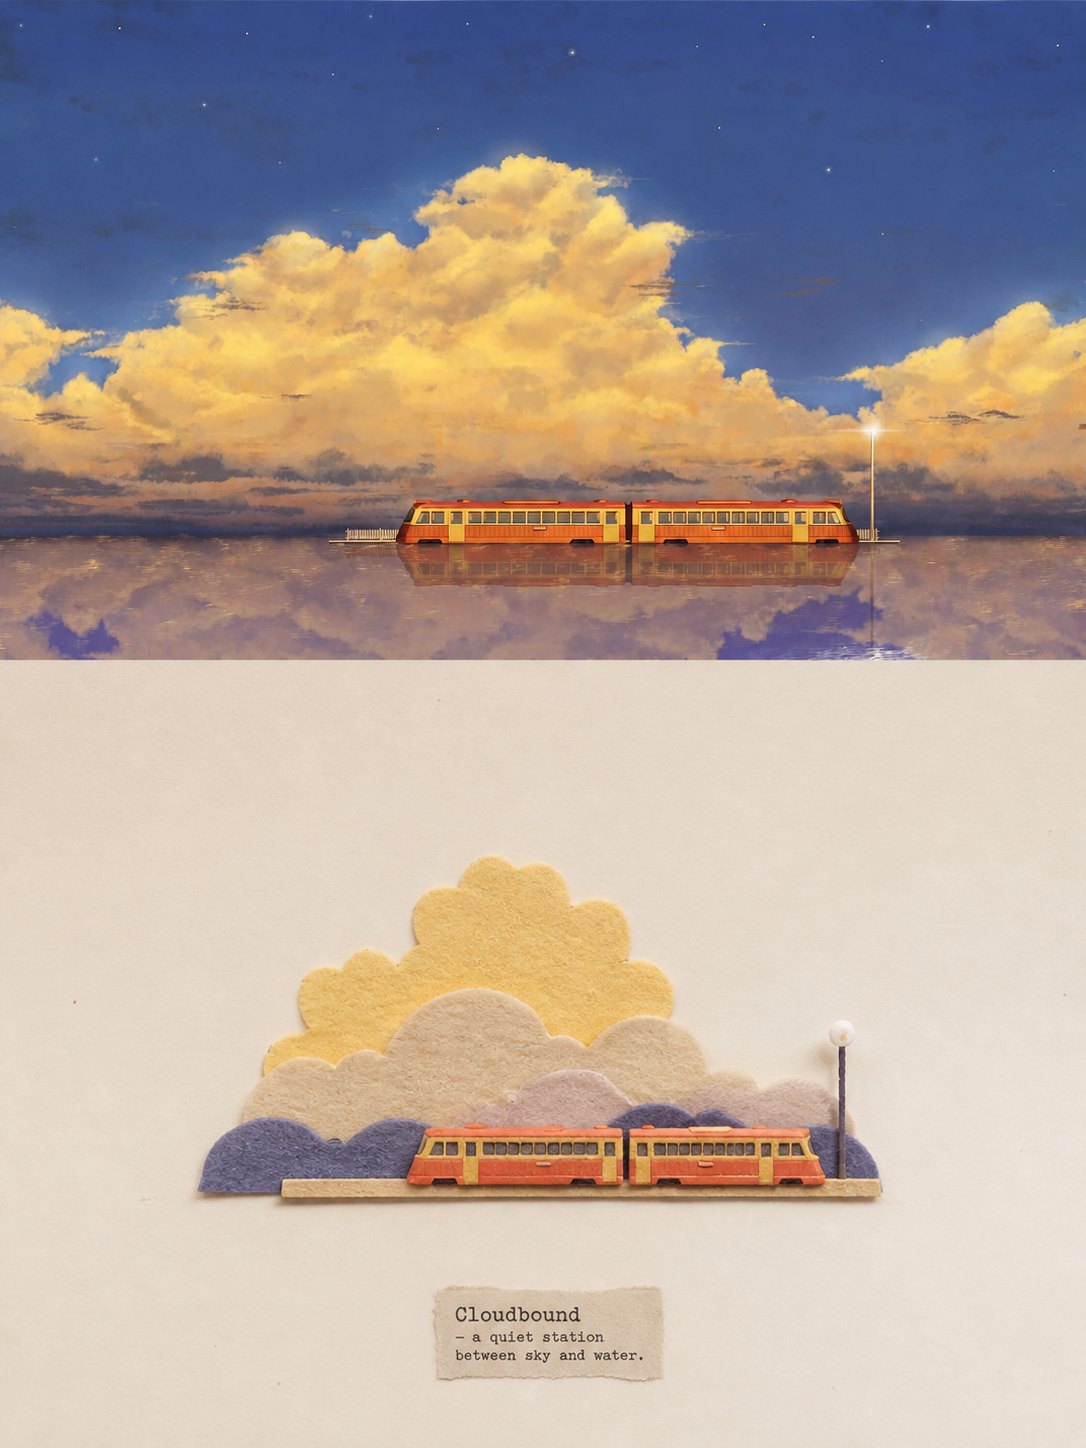
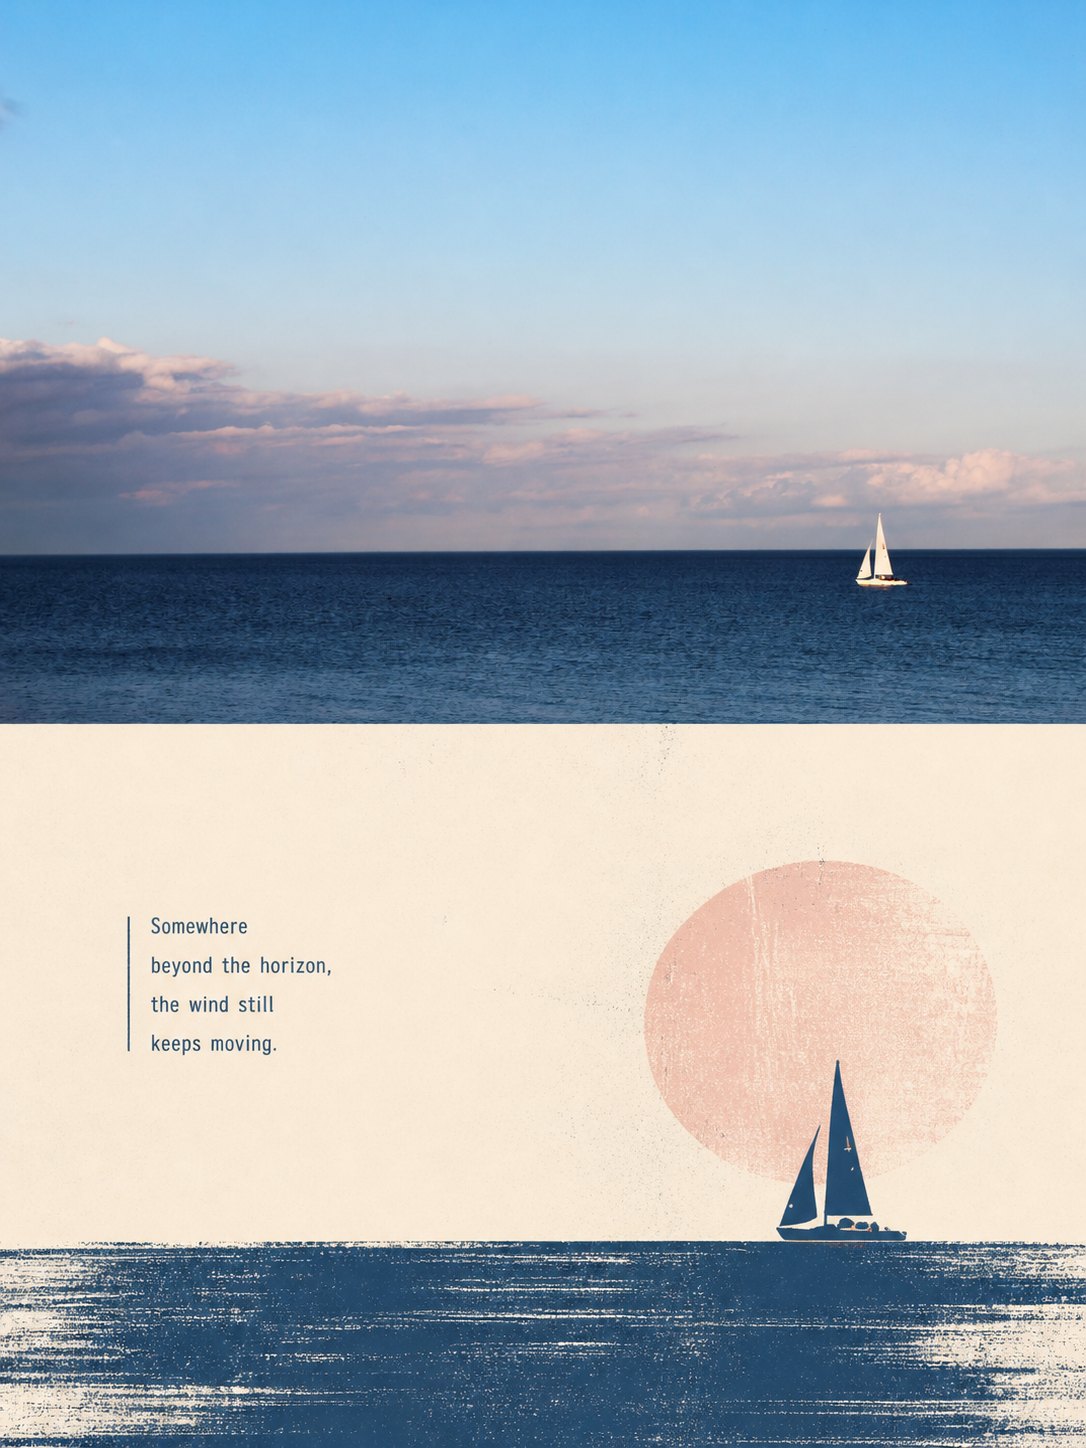
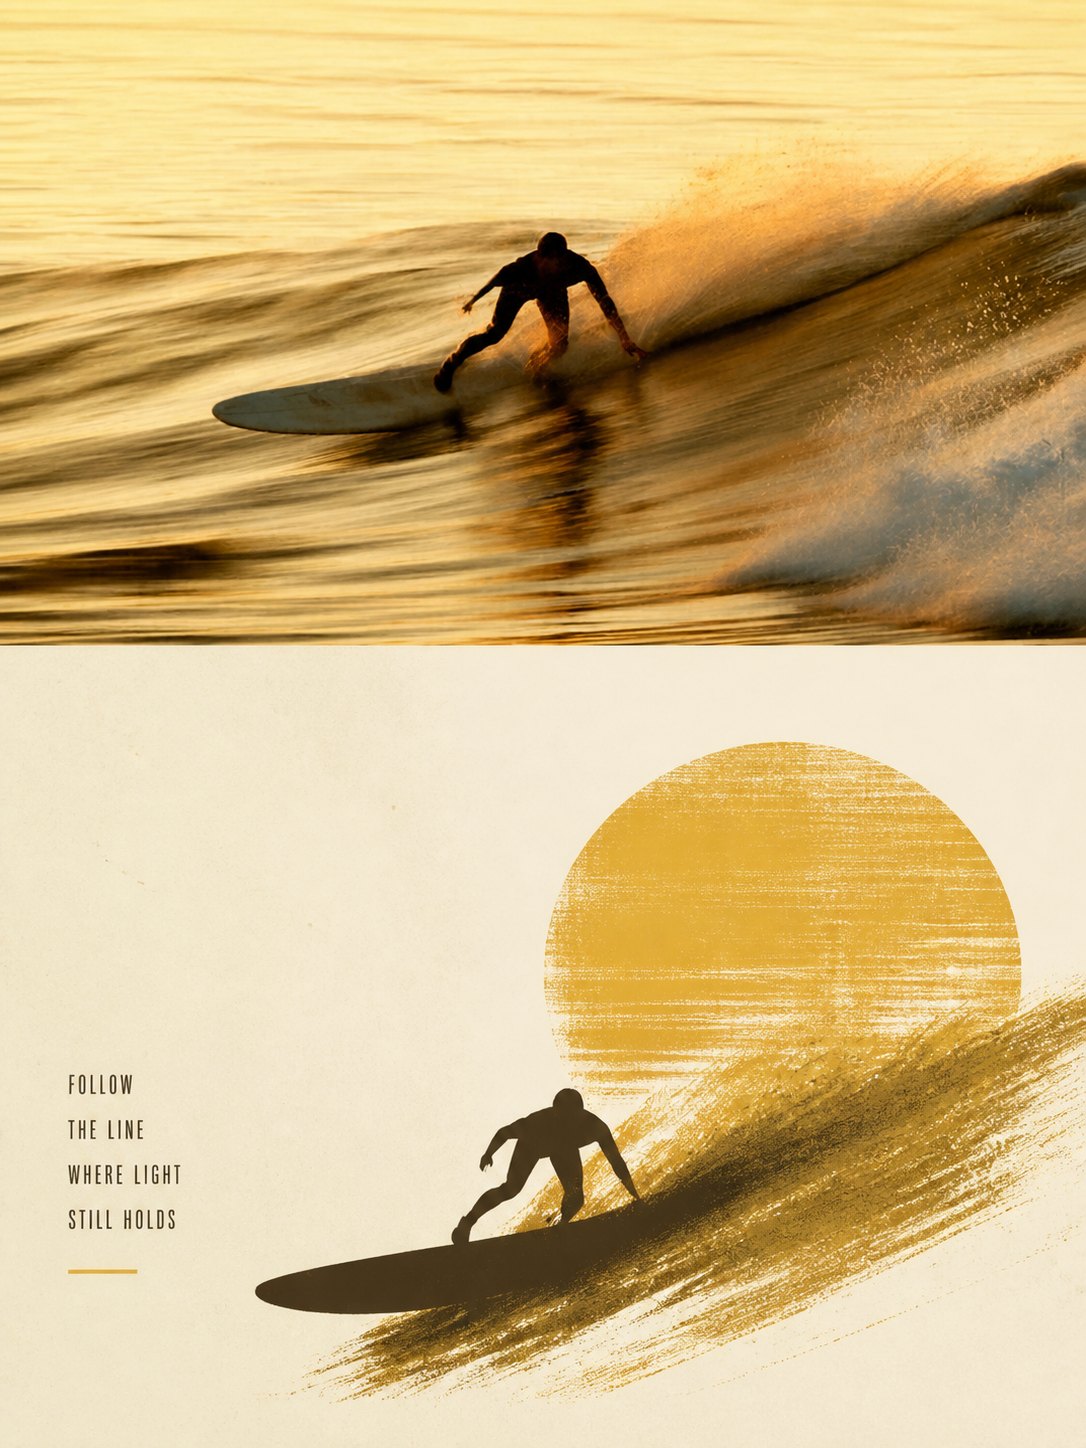
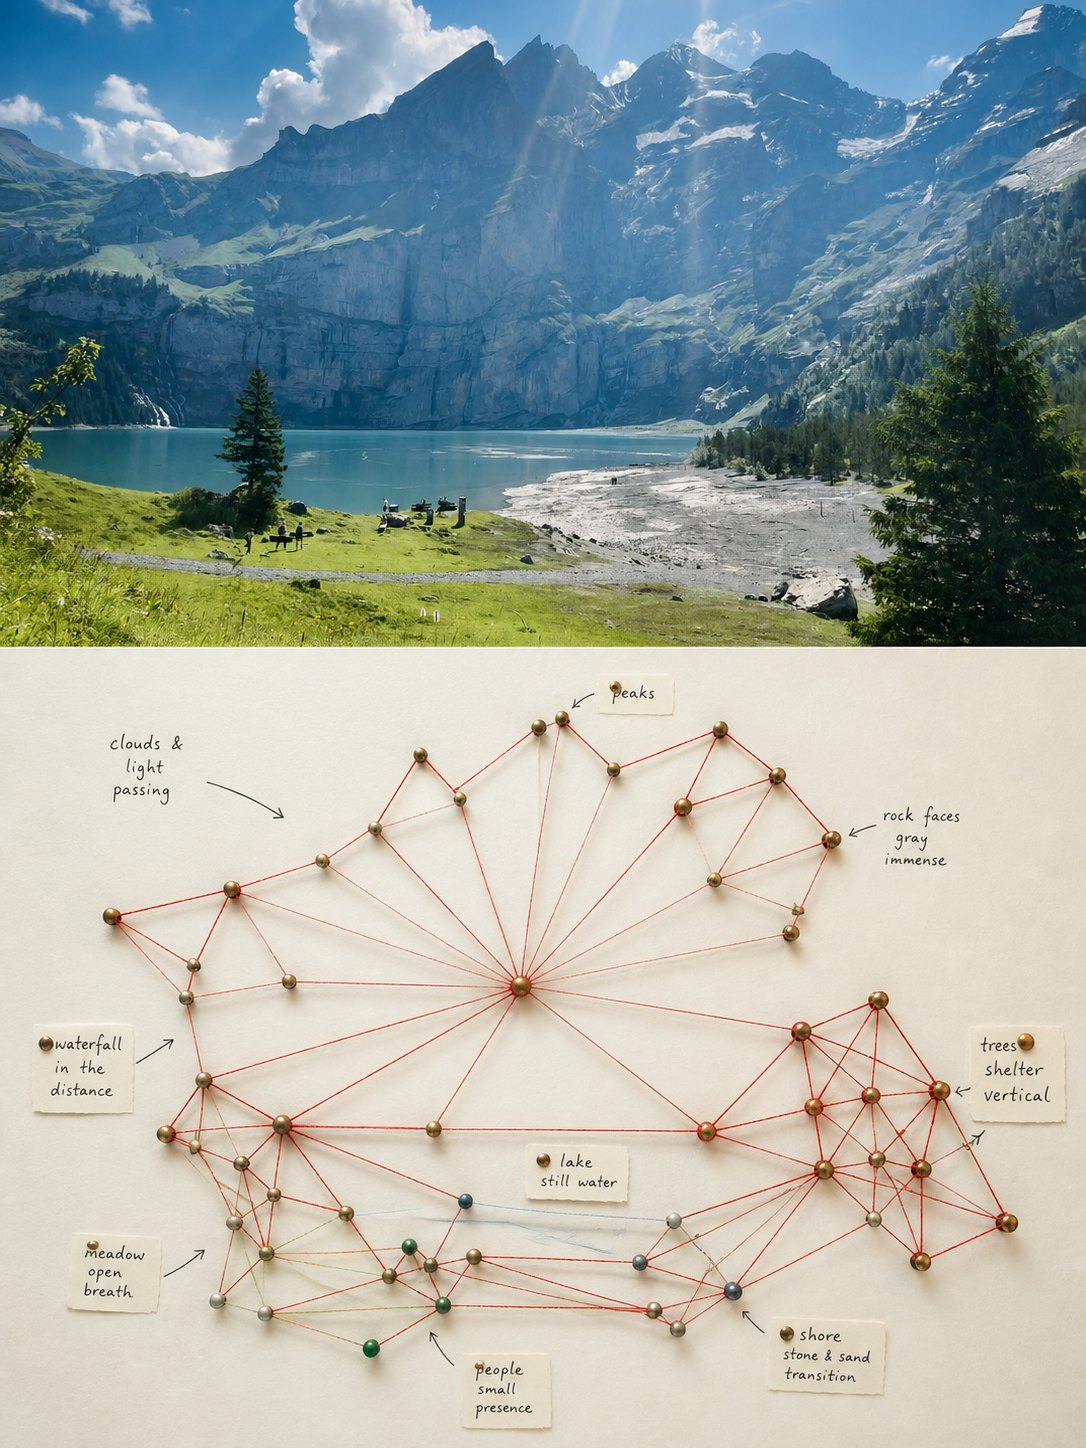
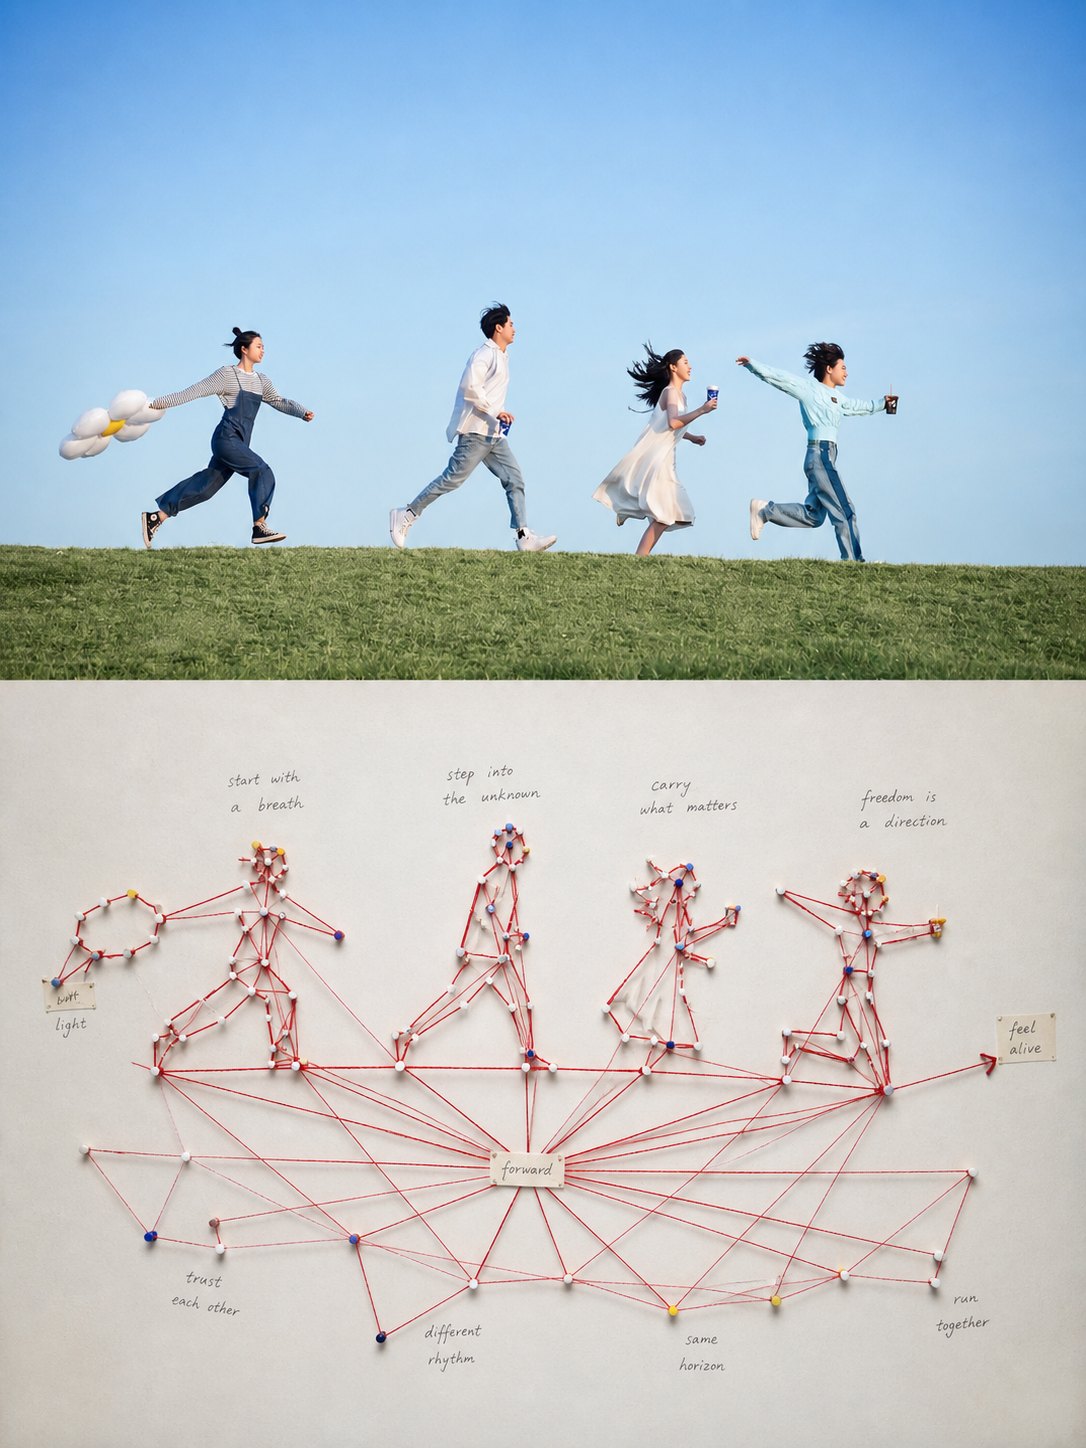
 1 / 4
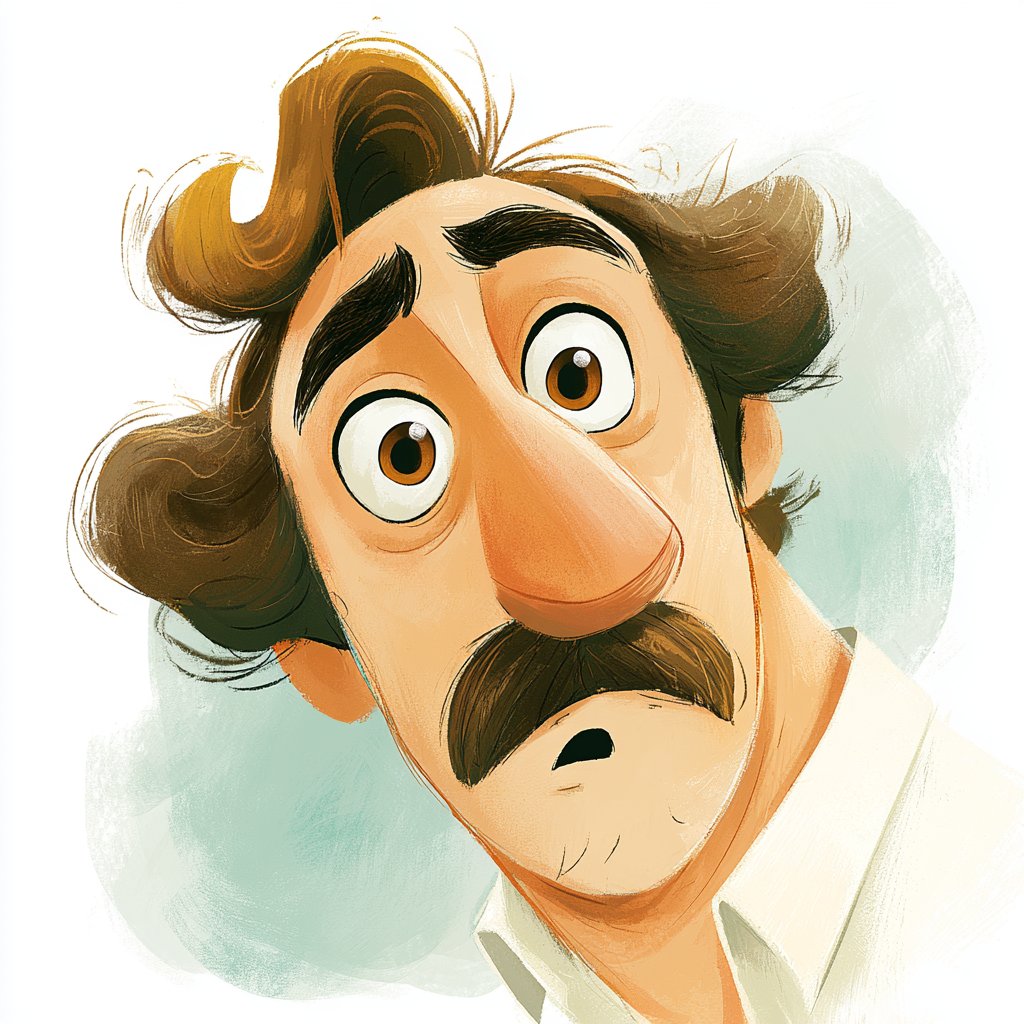
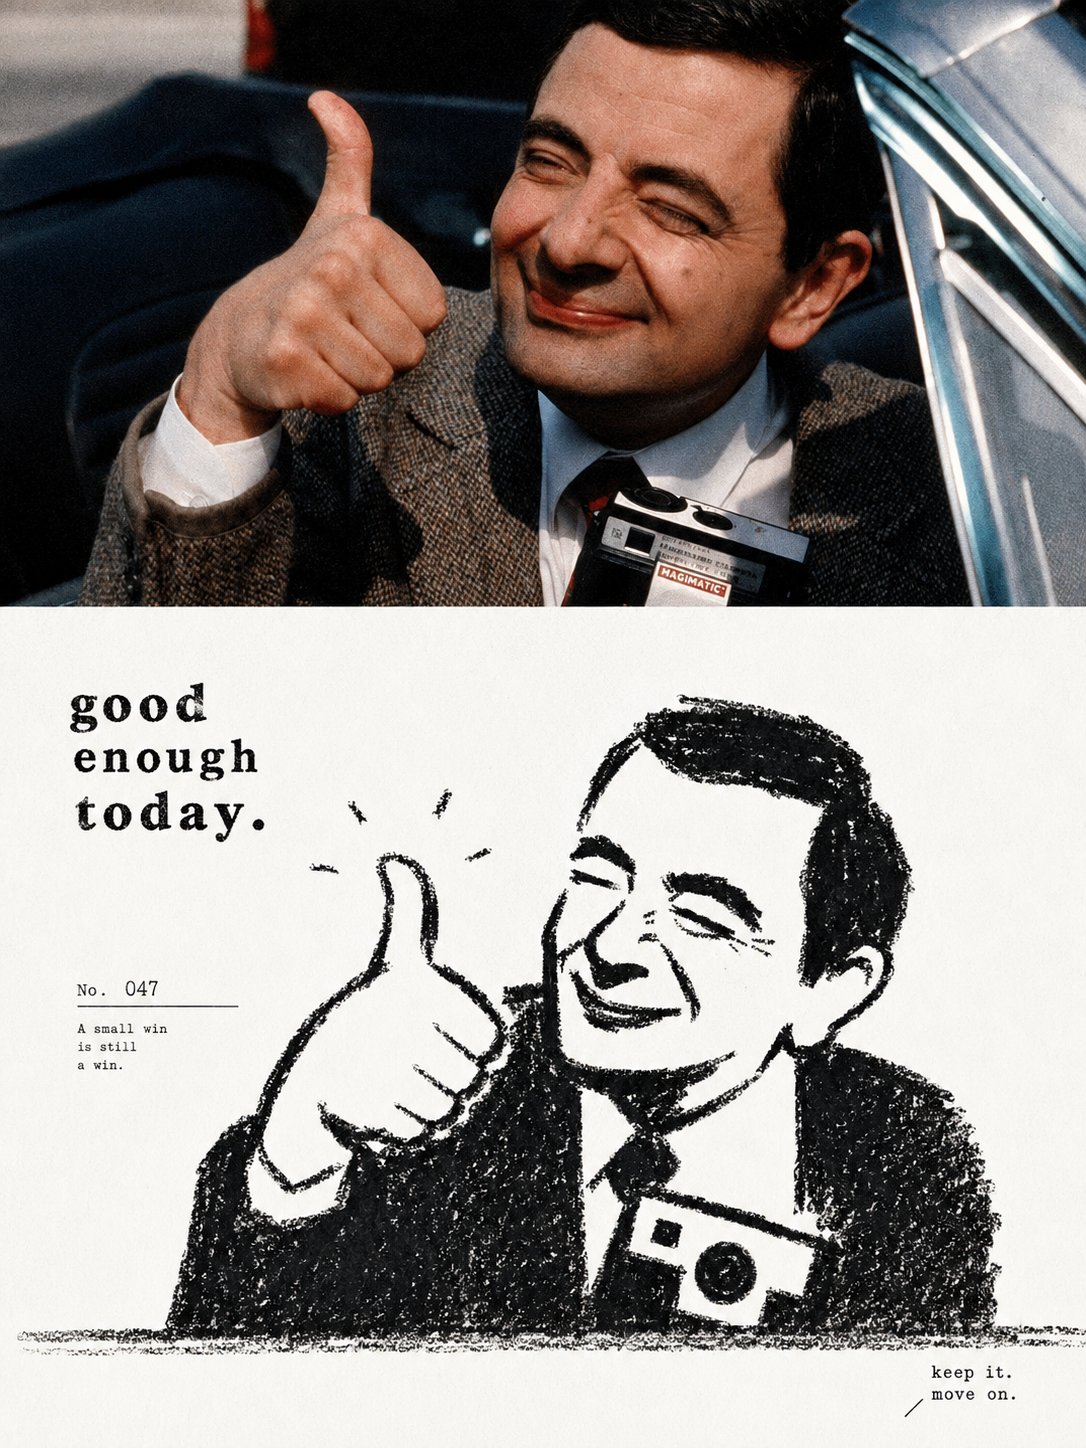
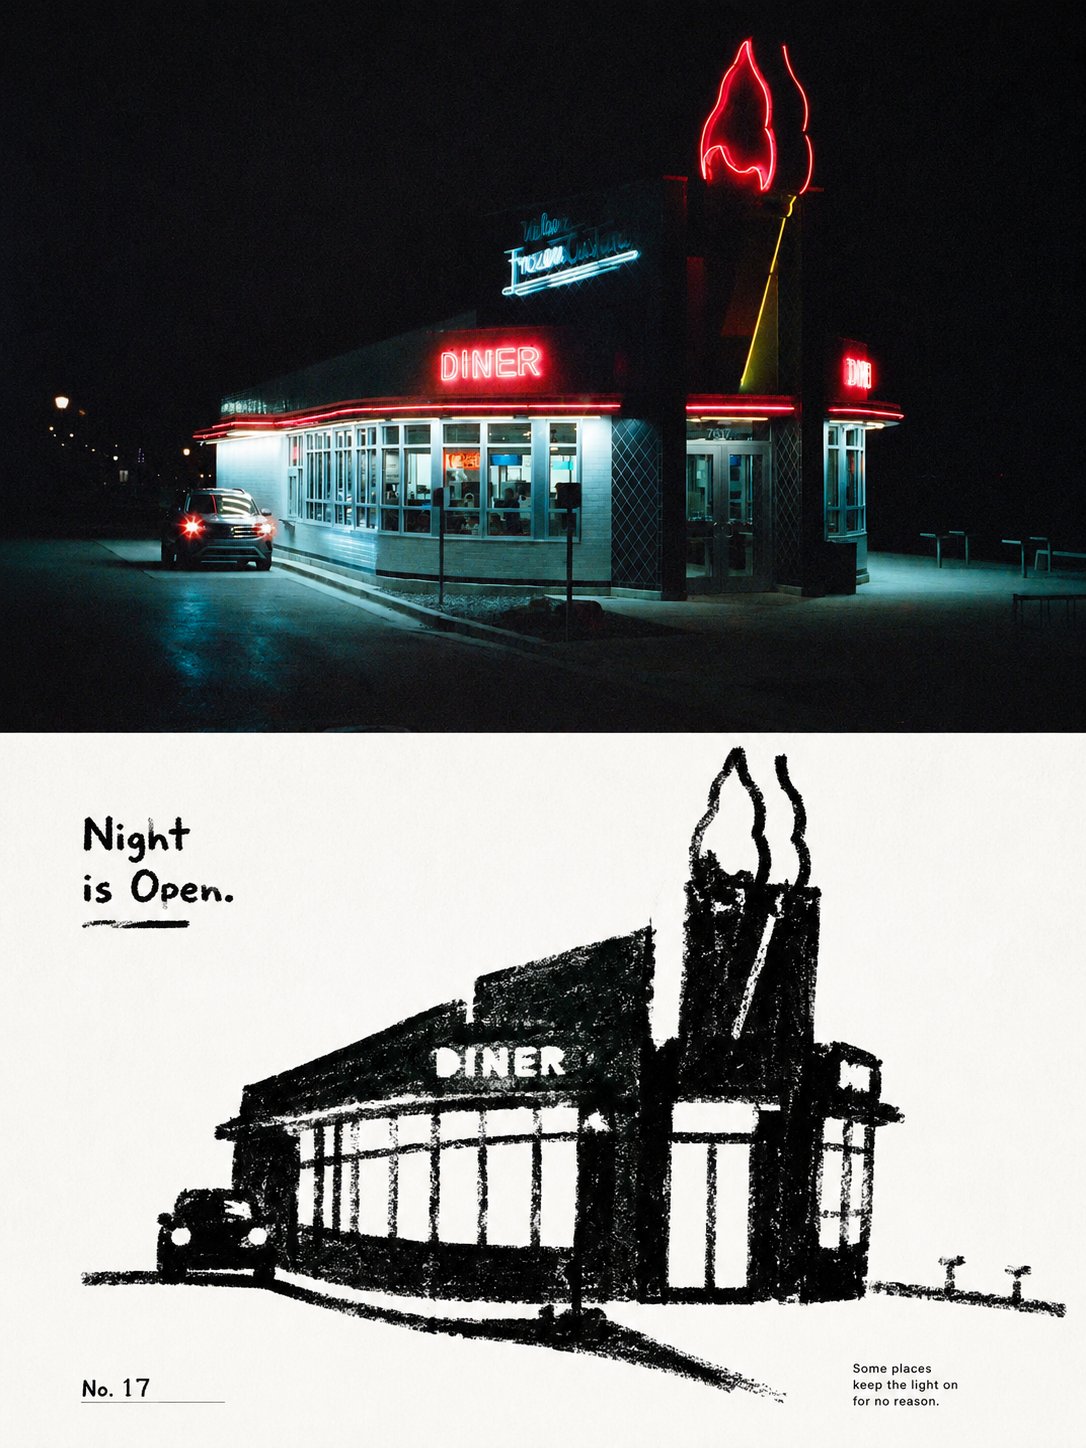
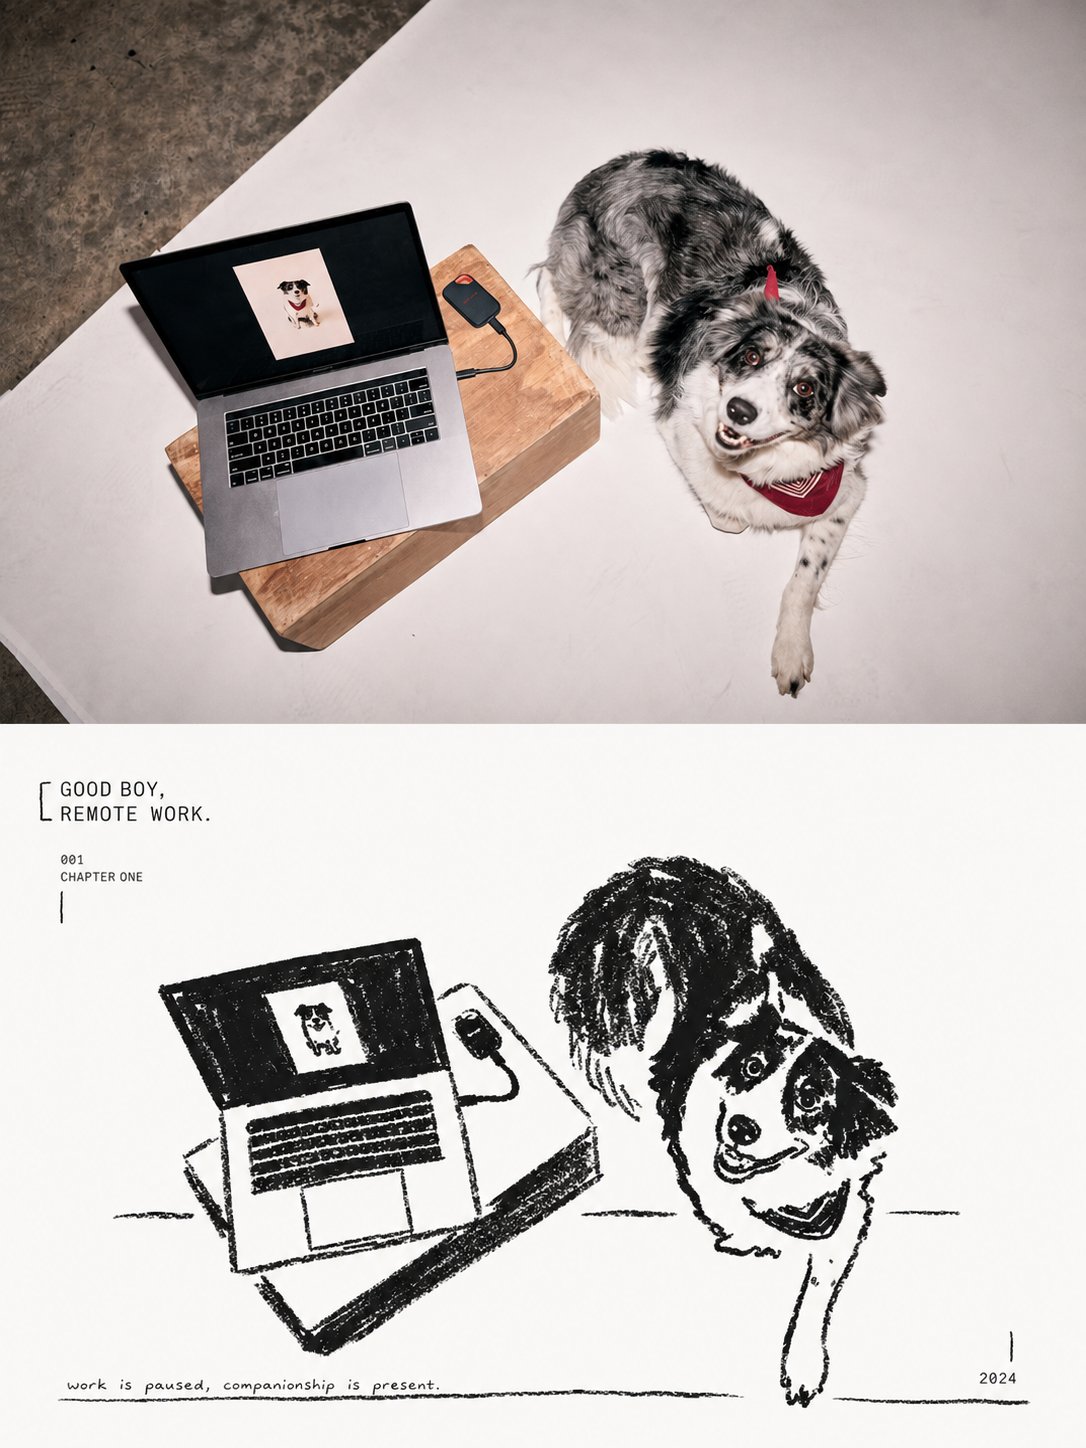
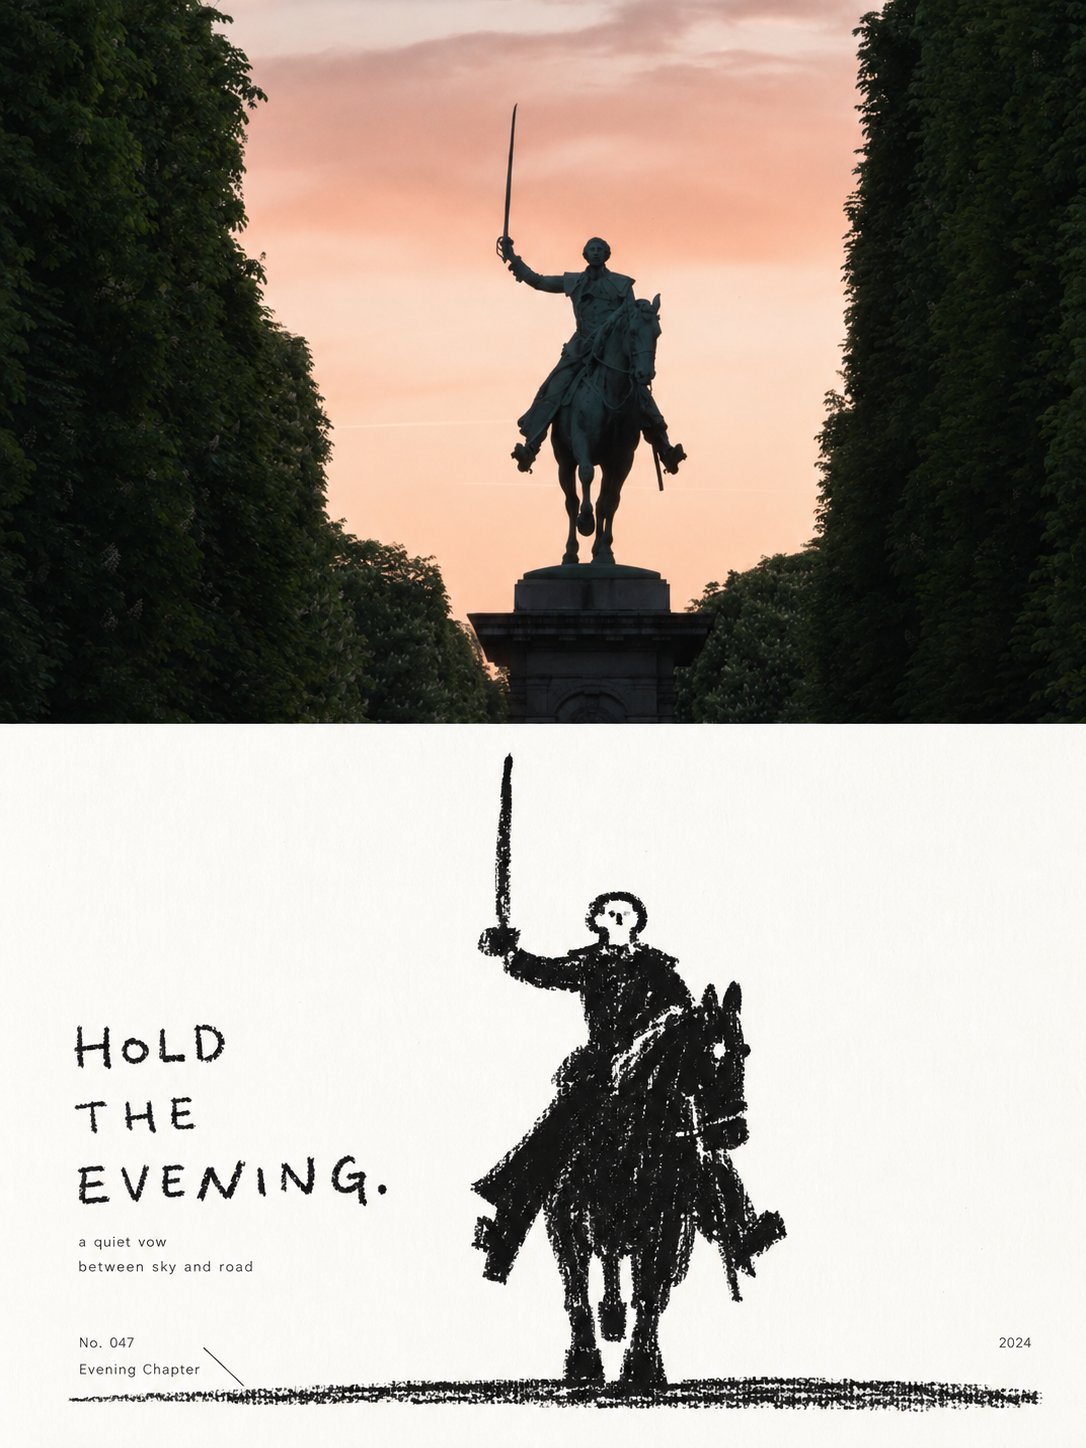
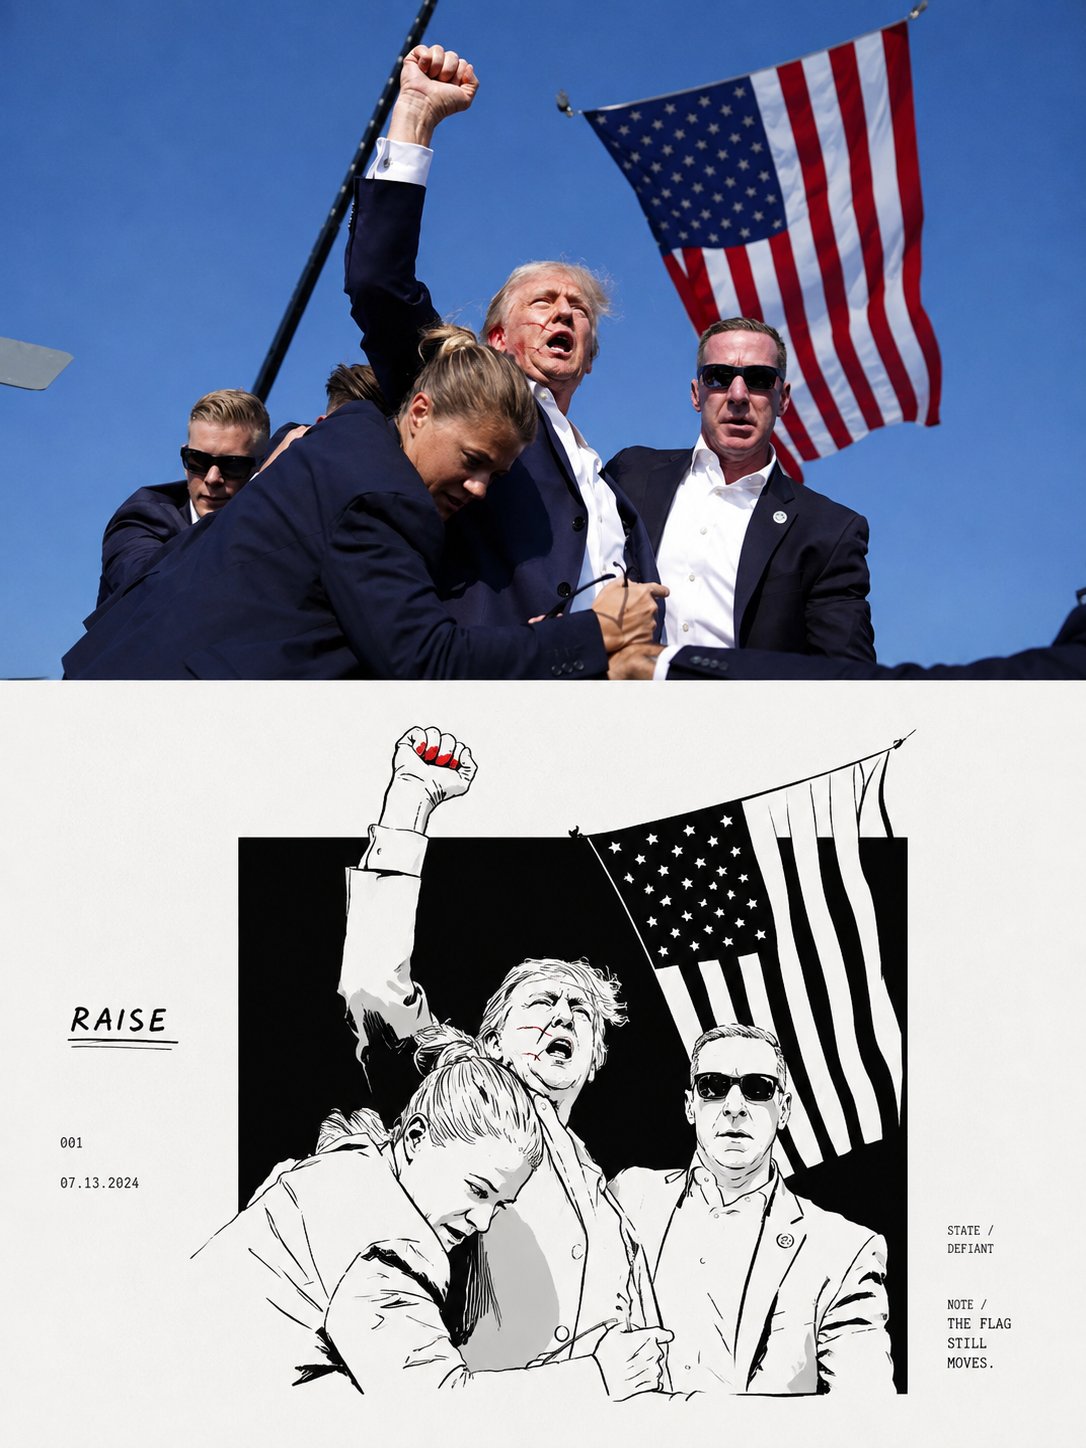
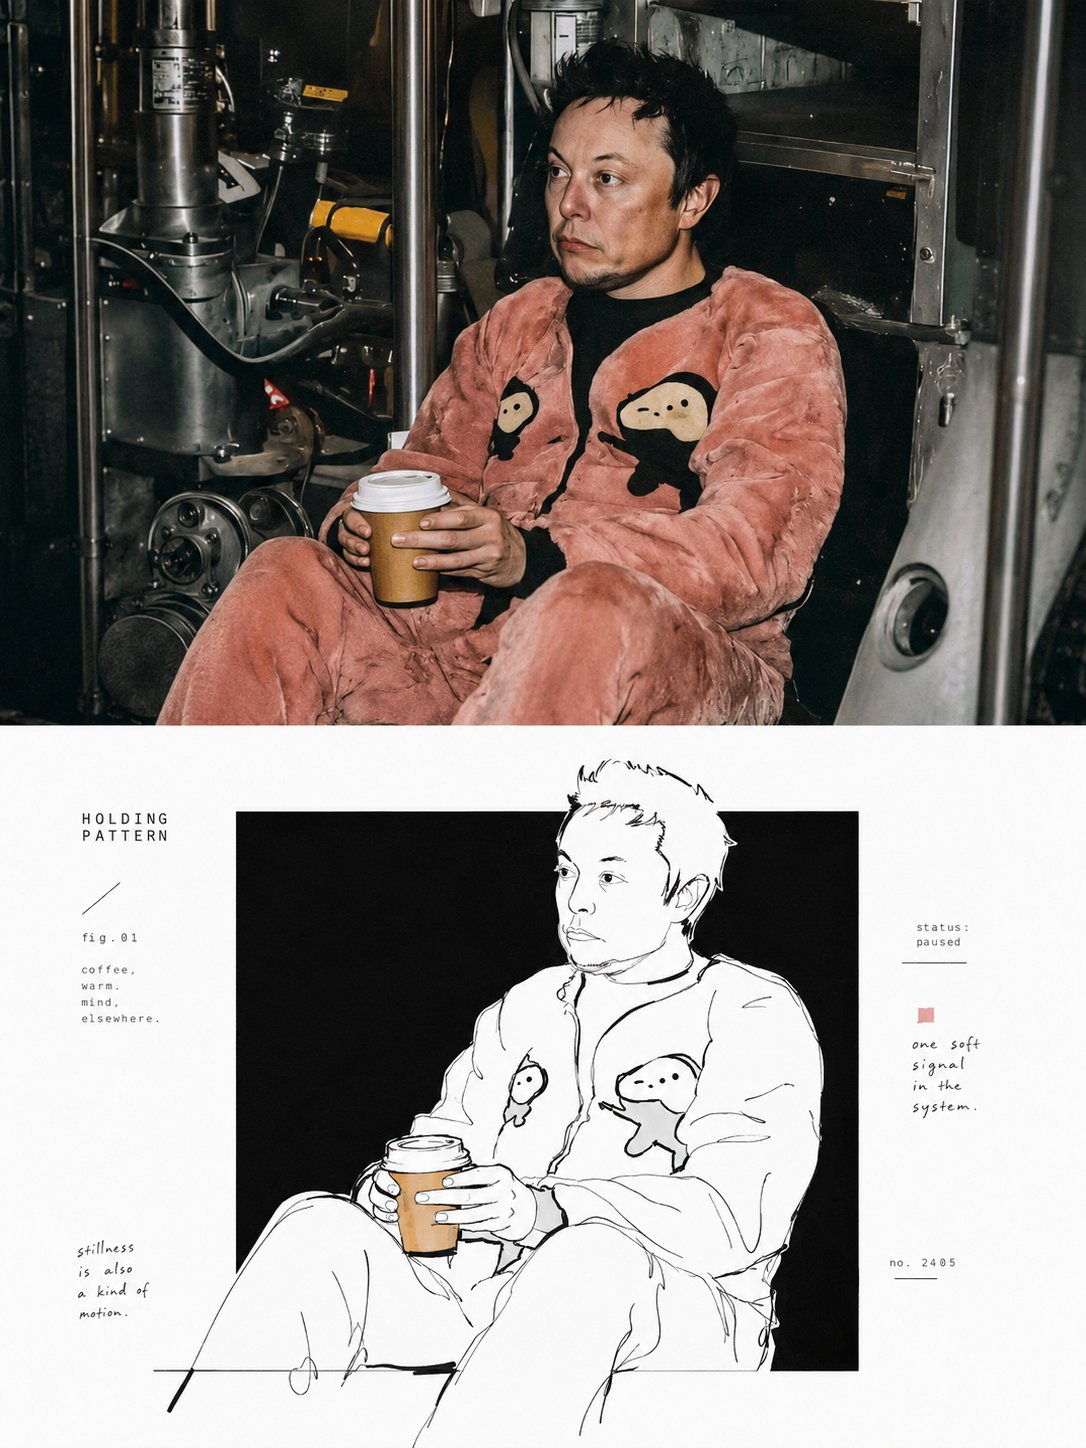
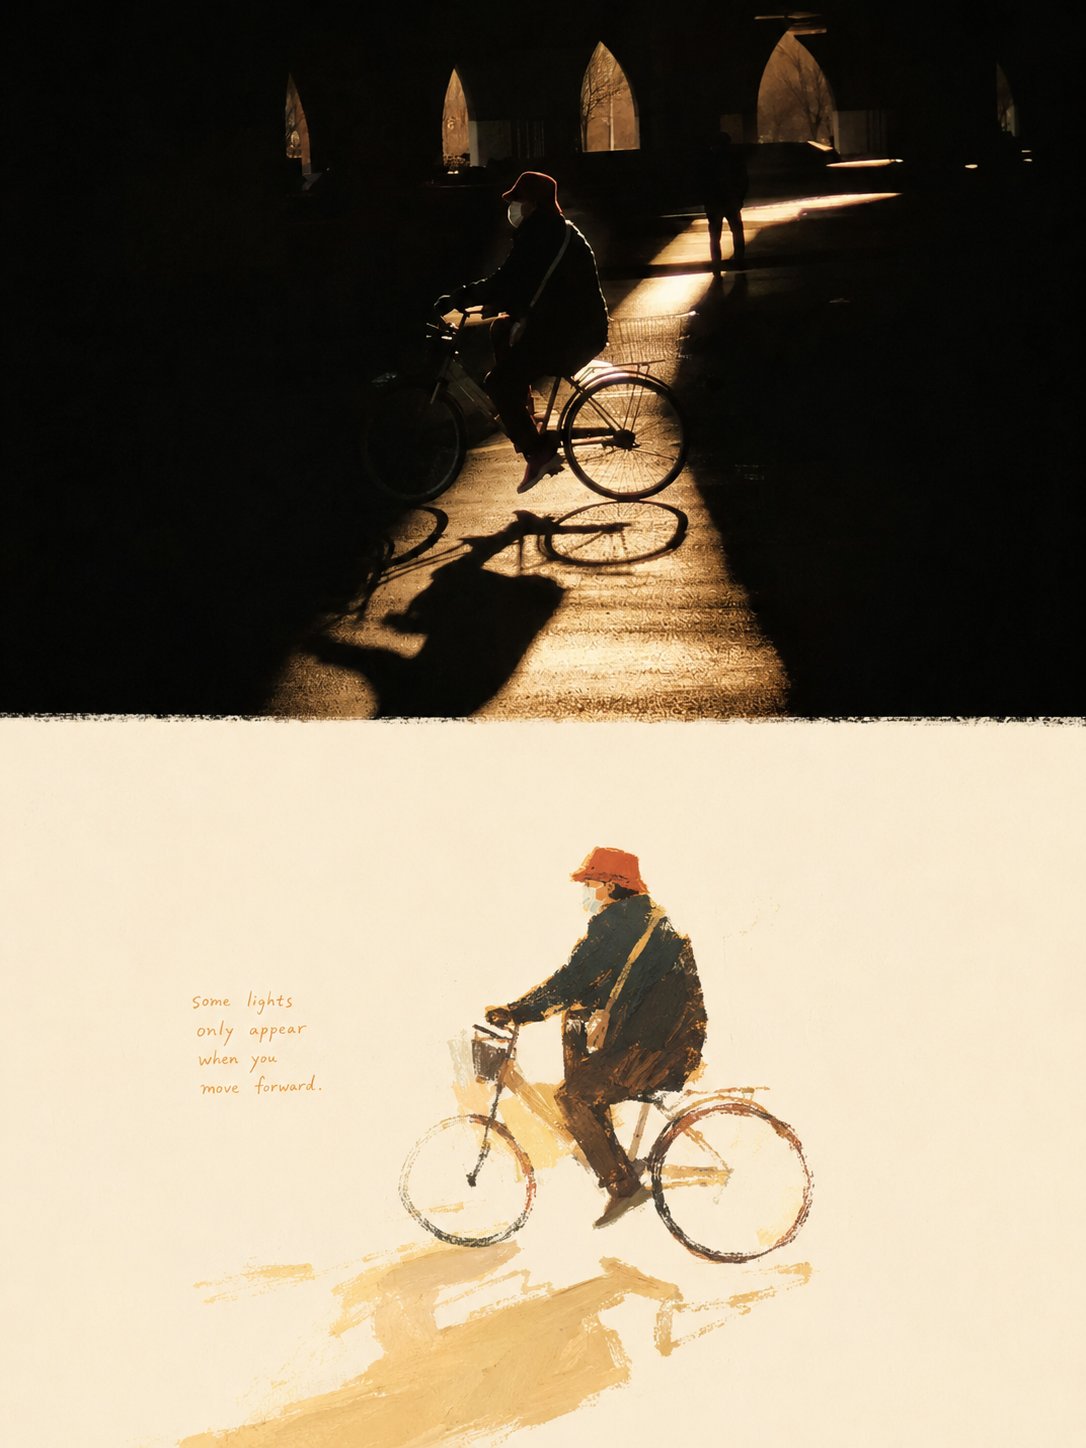
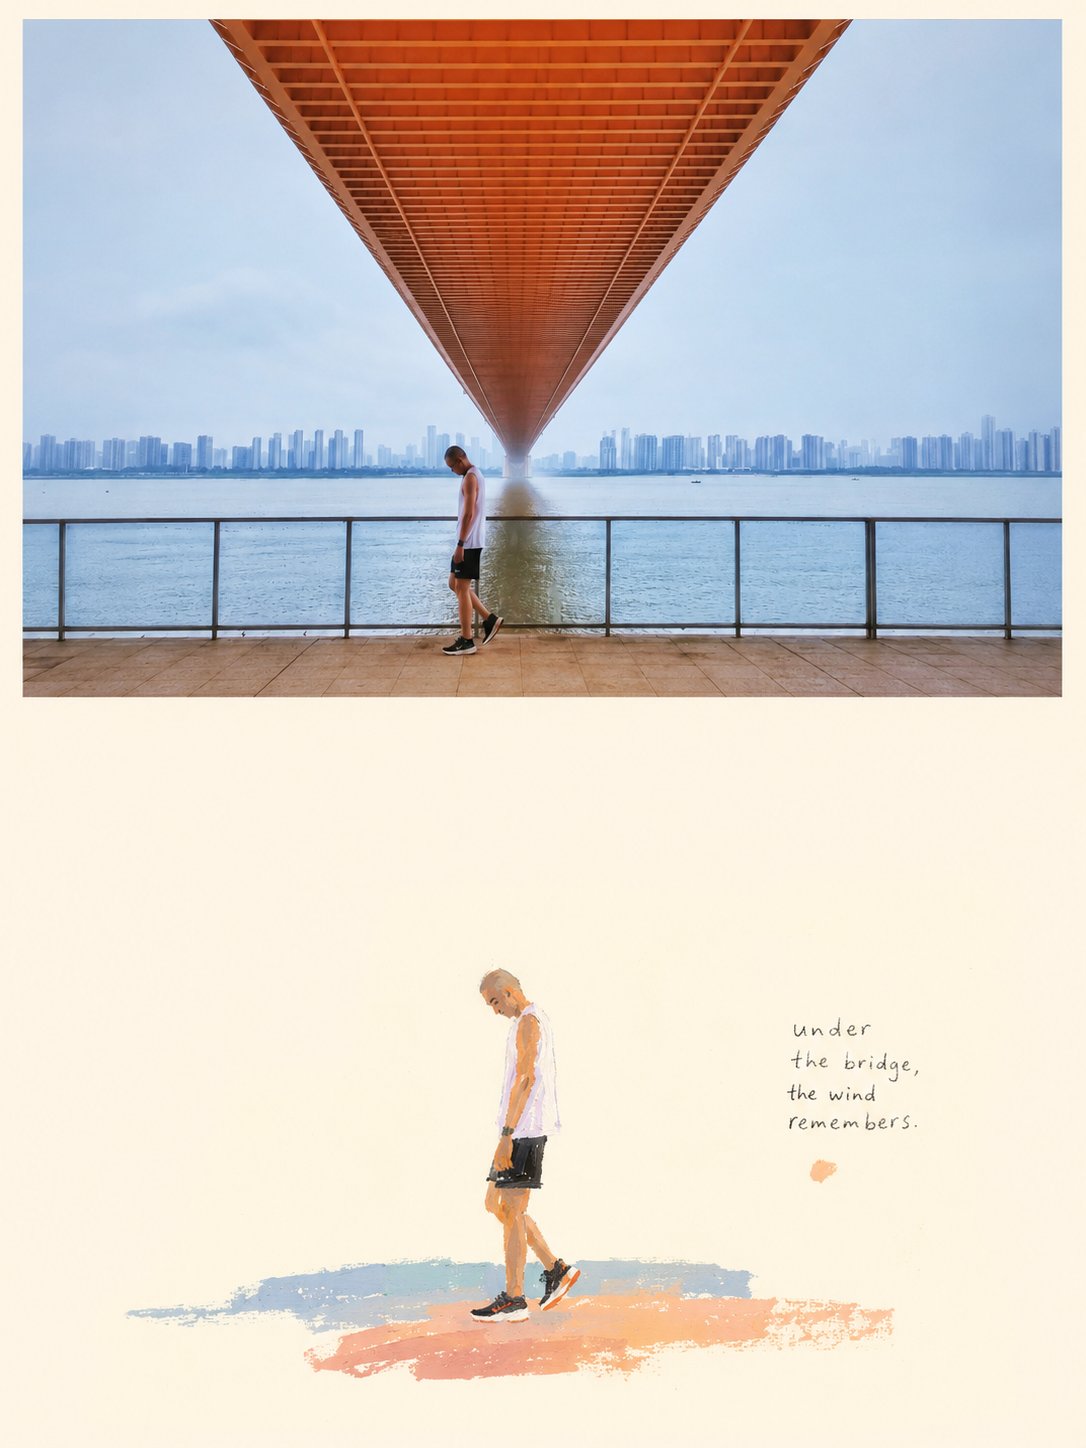
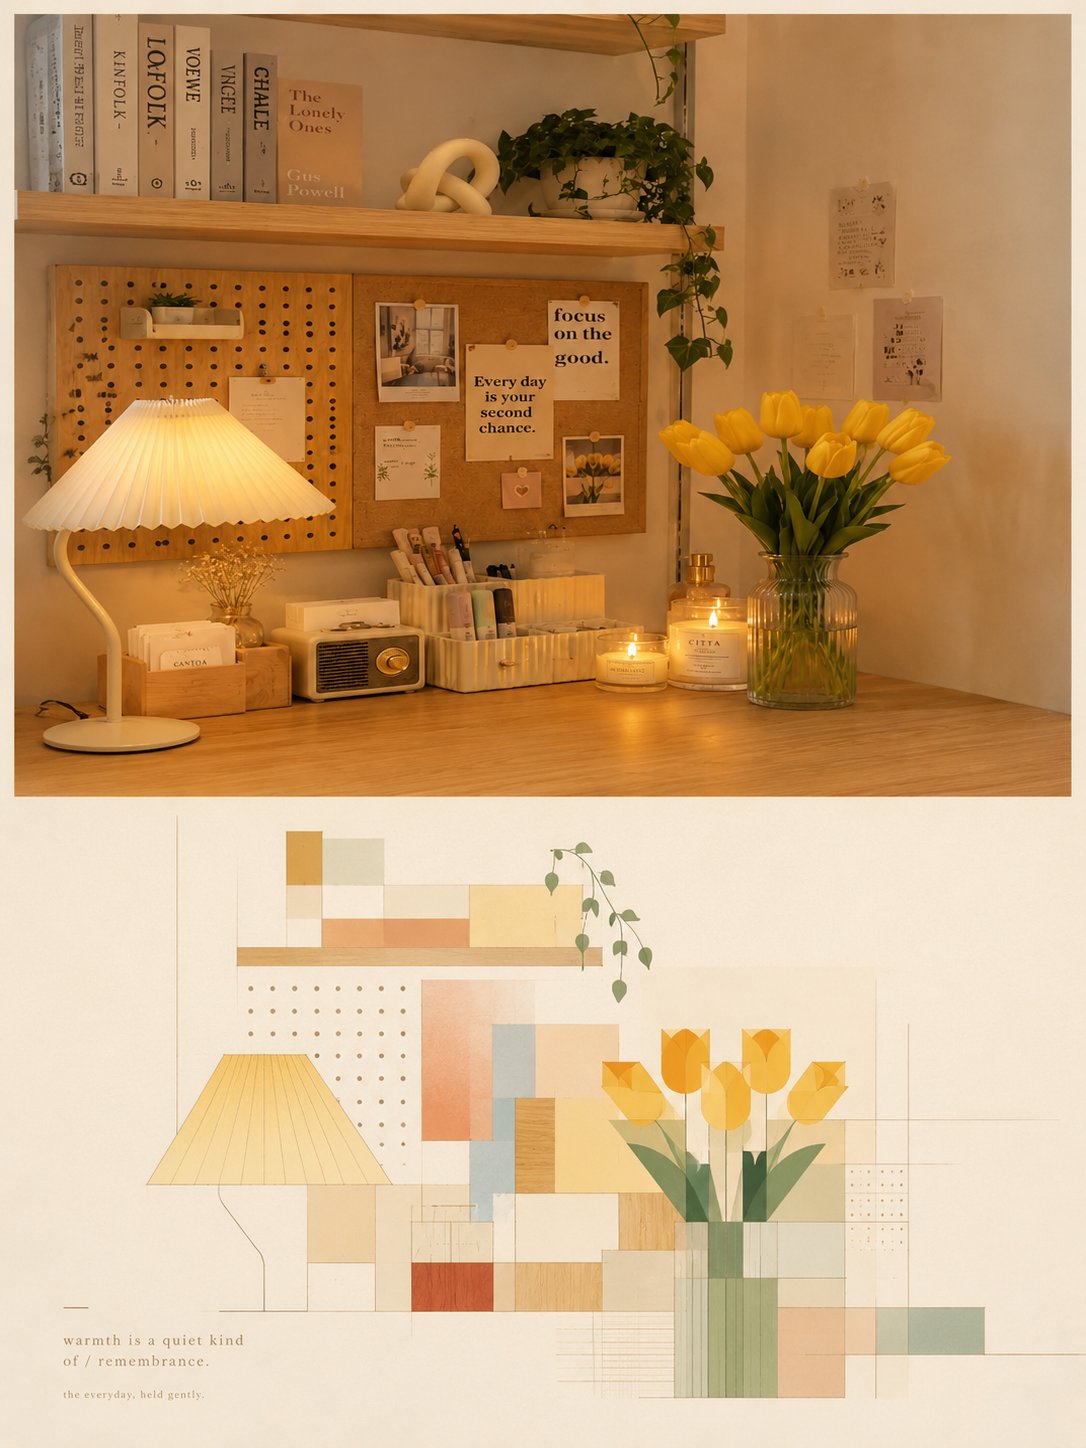
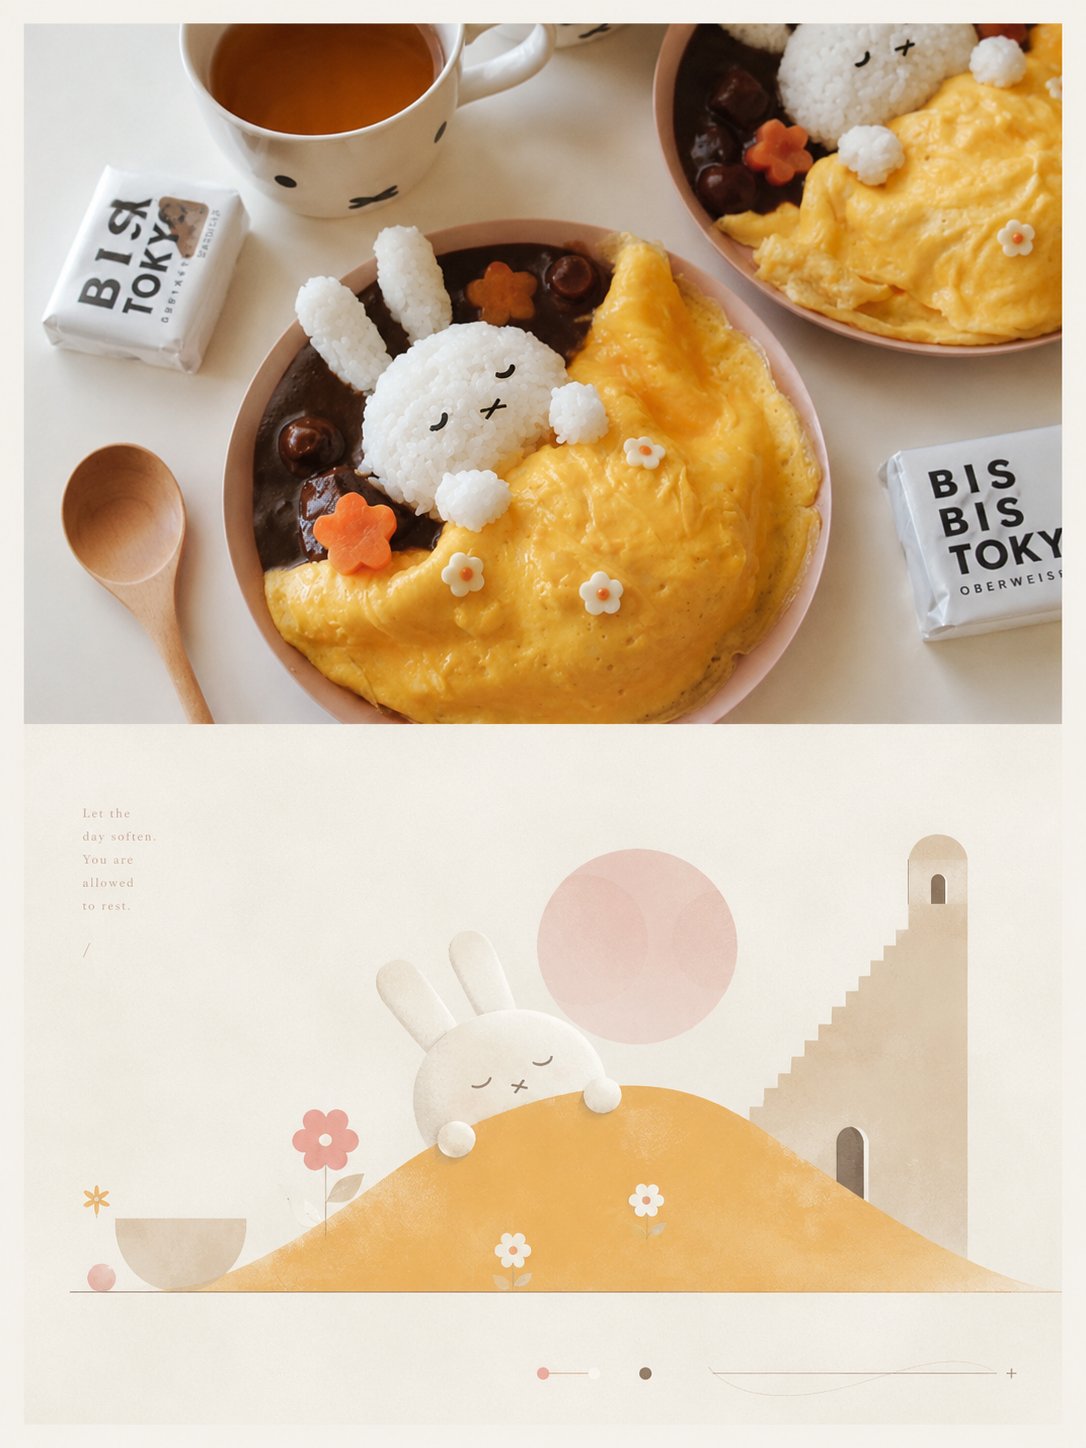
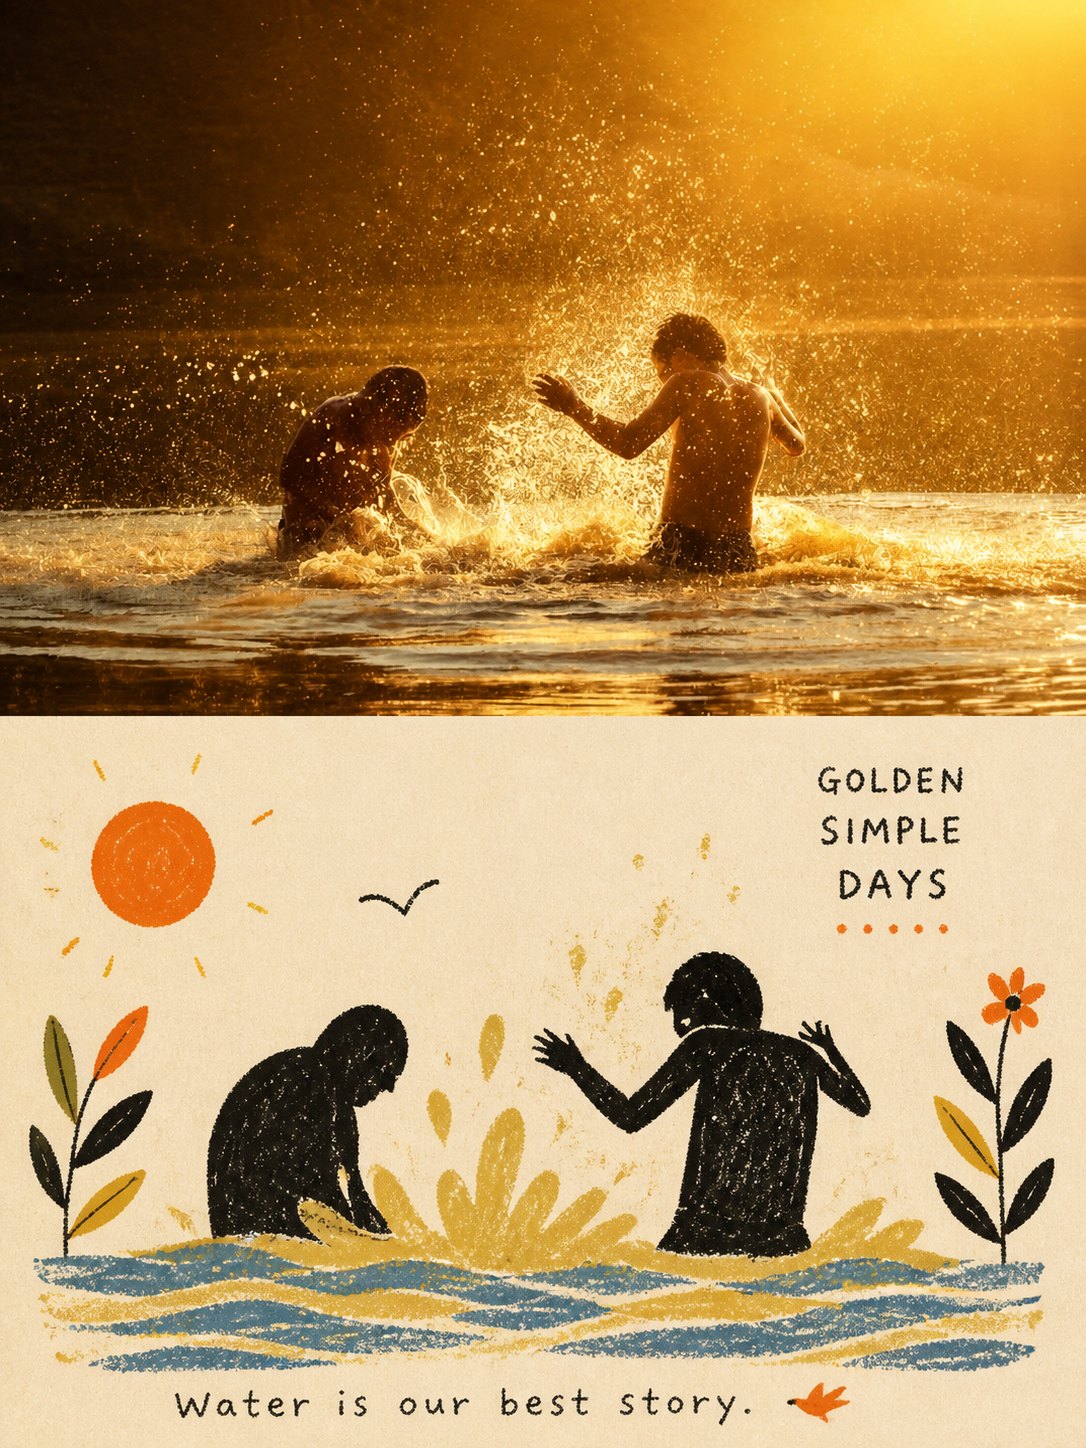
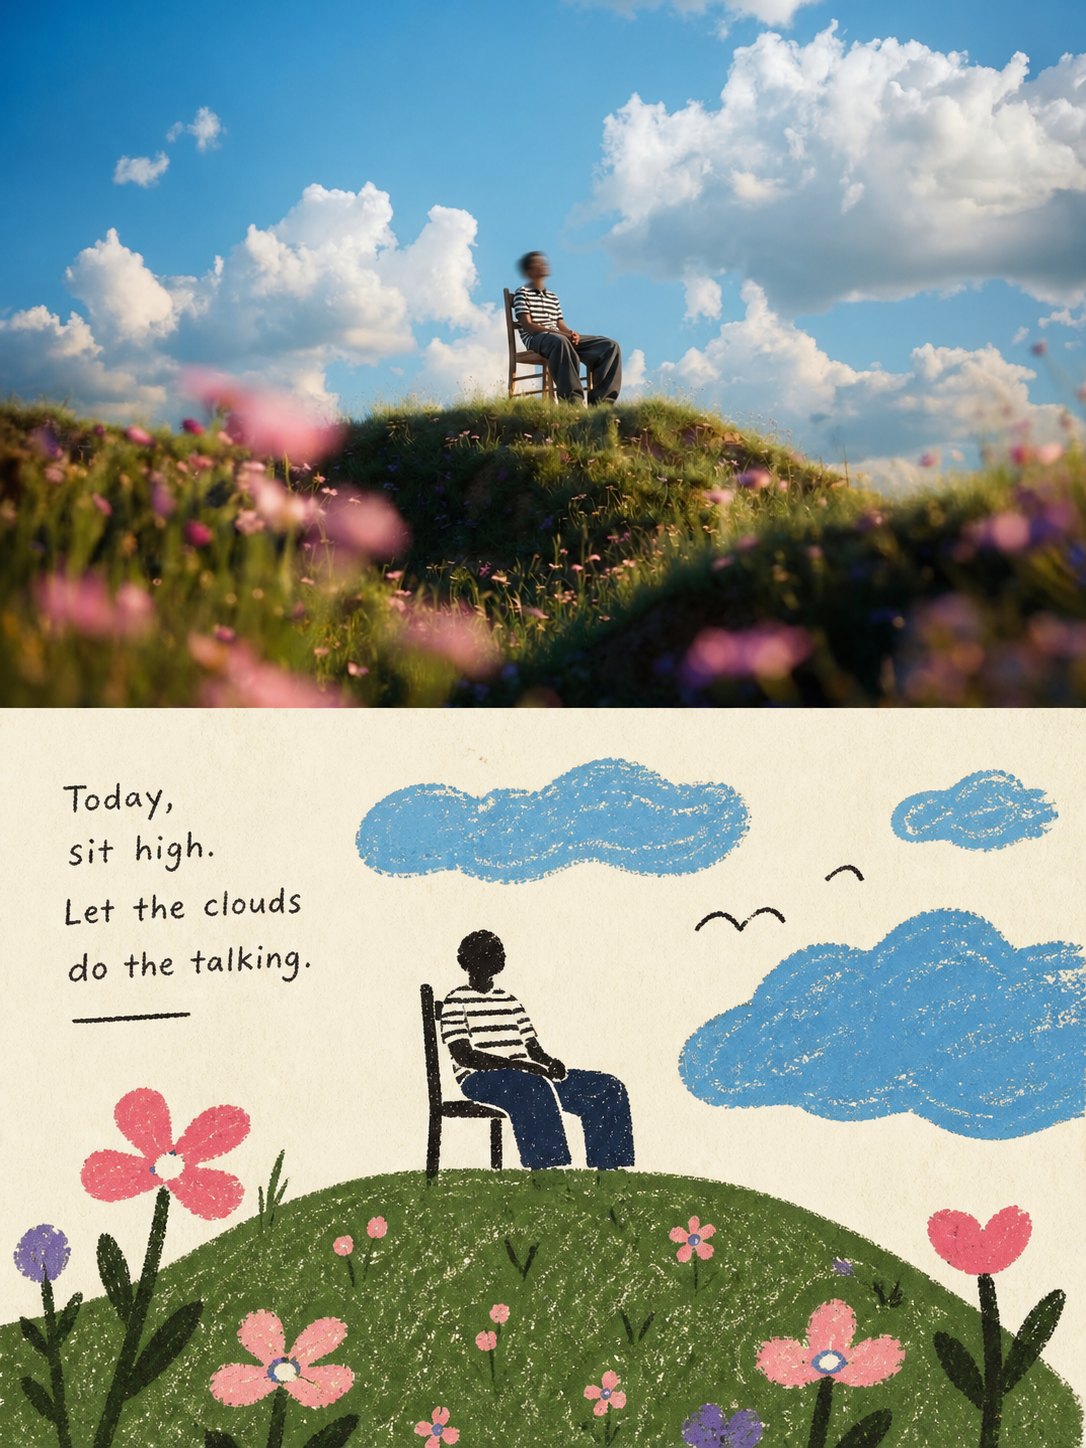
1 / 4Bold marker portrait
paintillustration
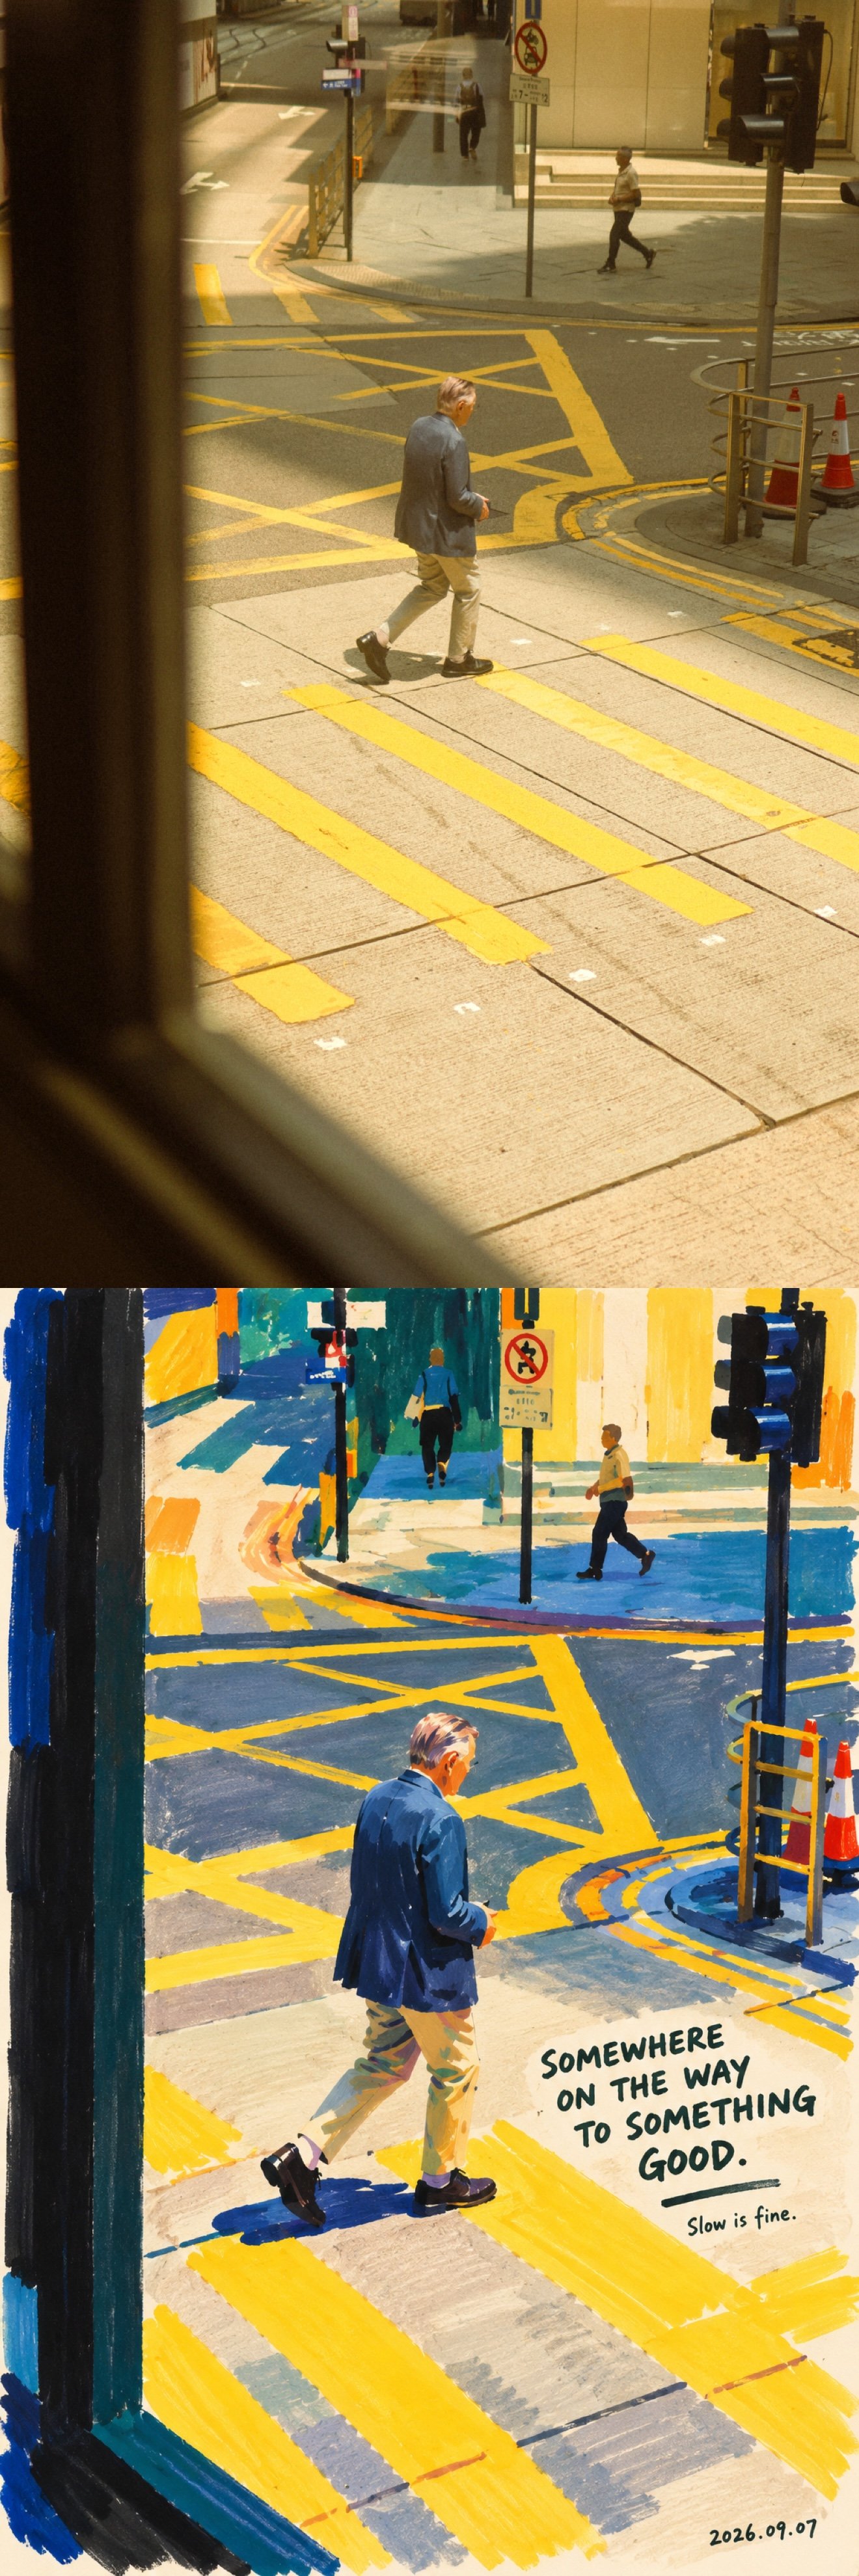
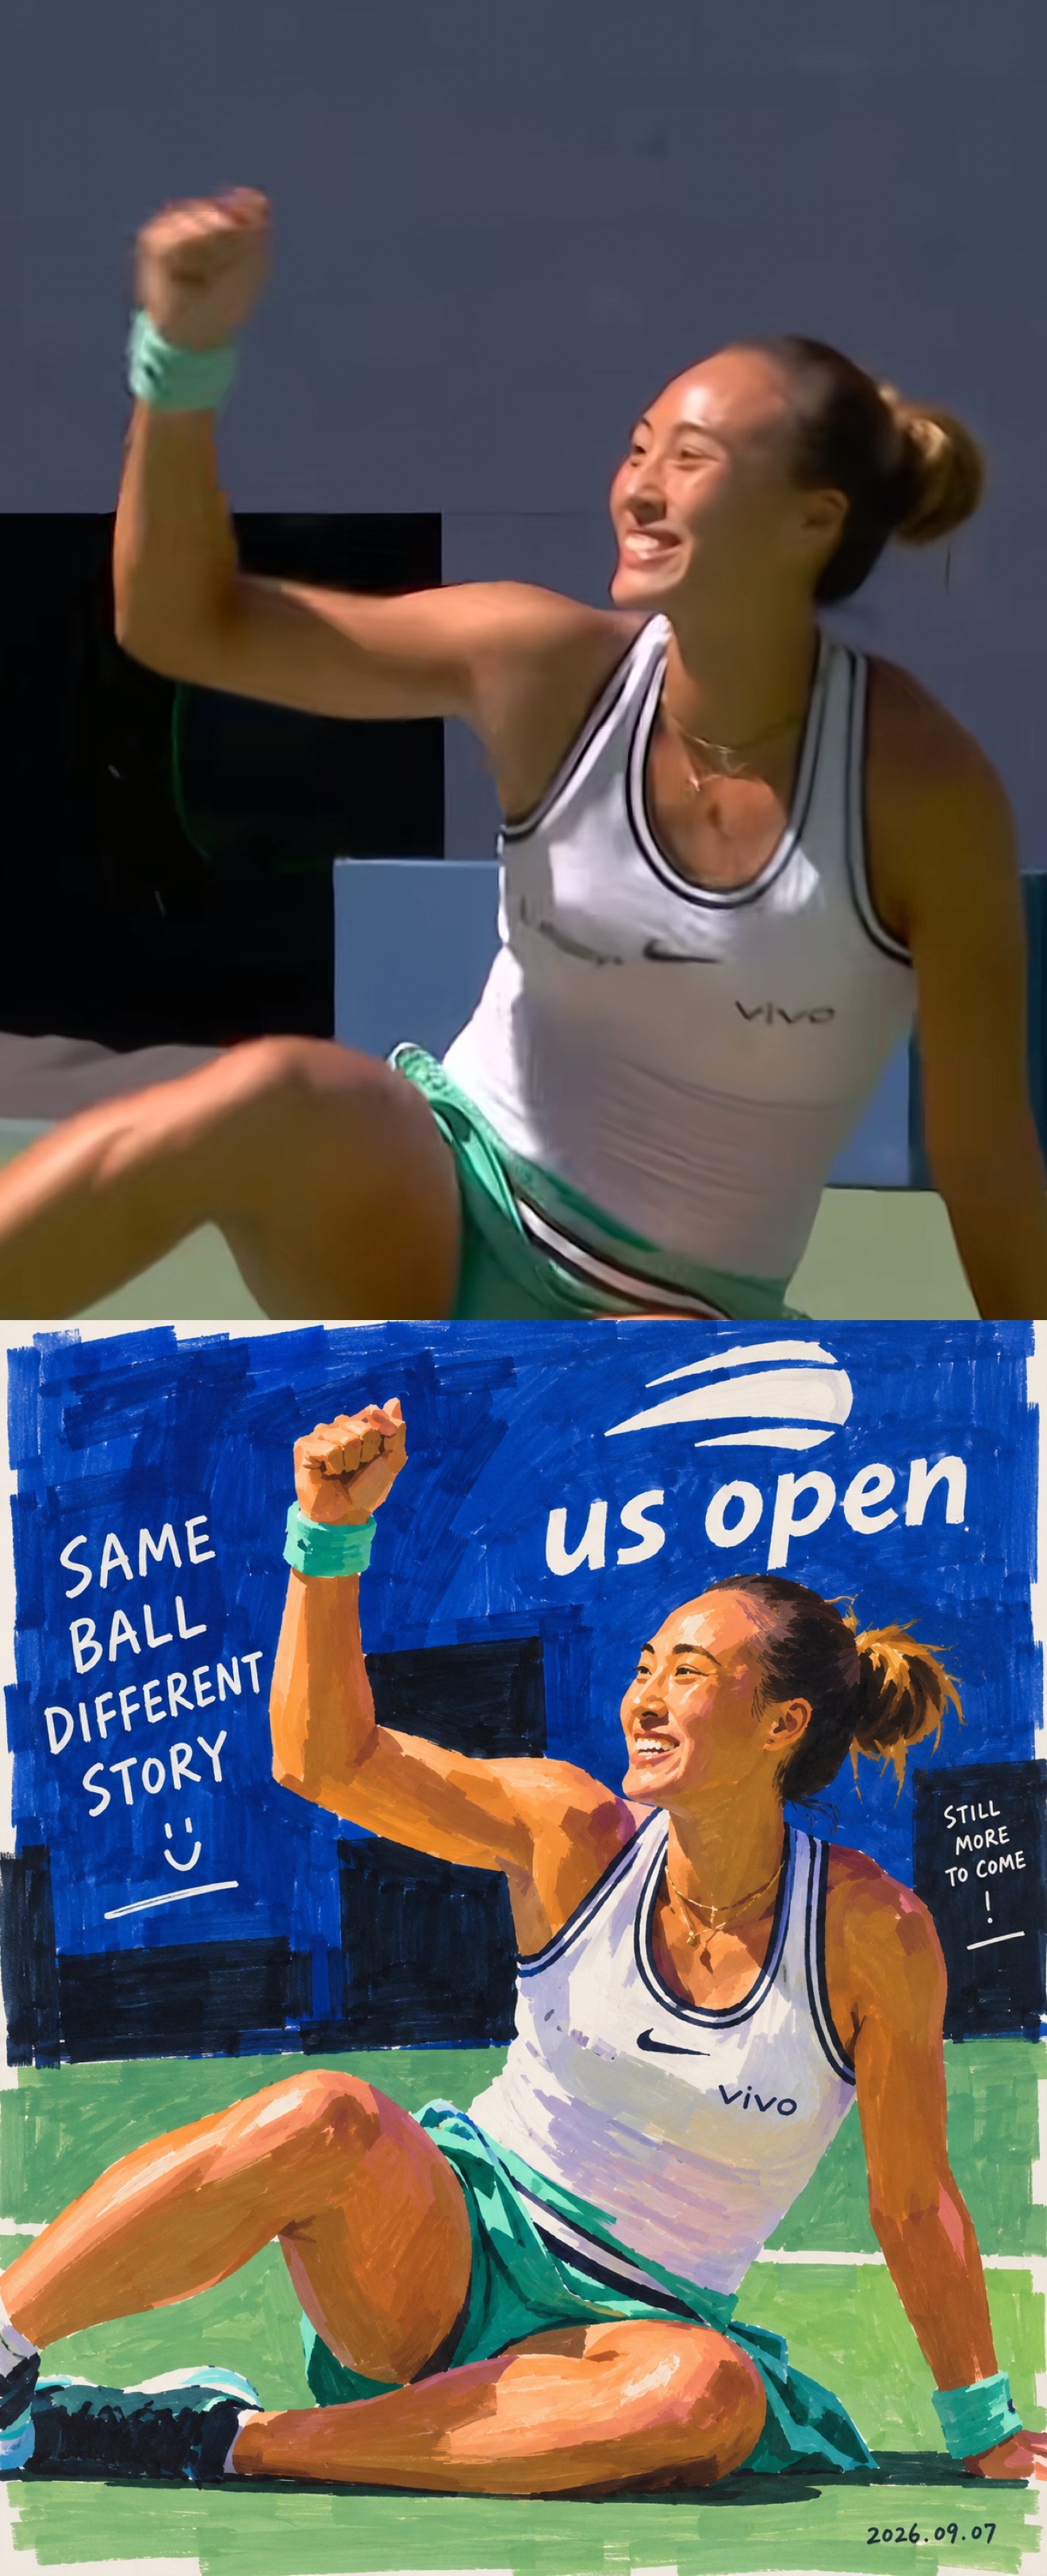
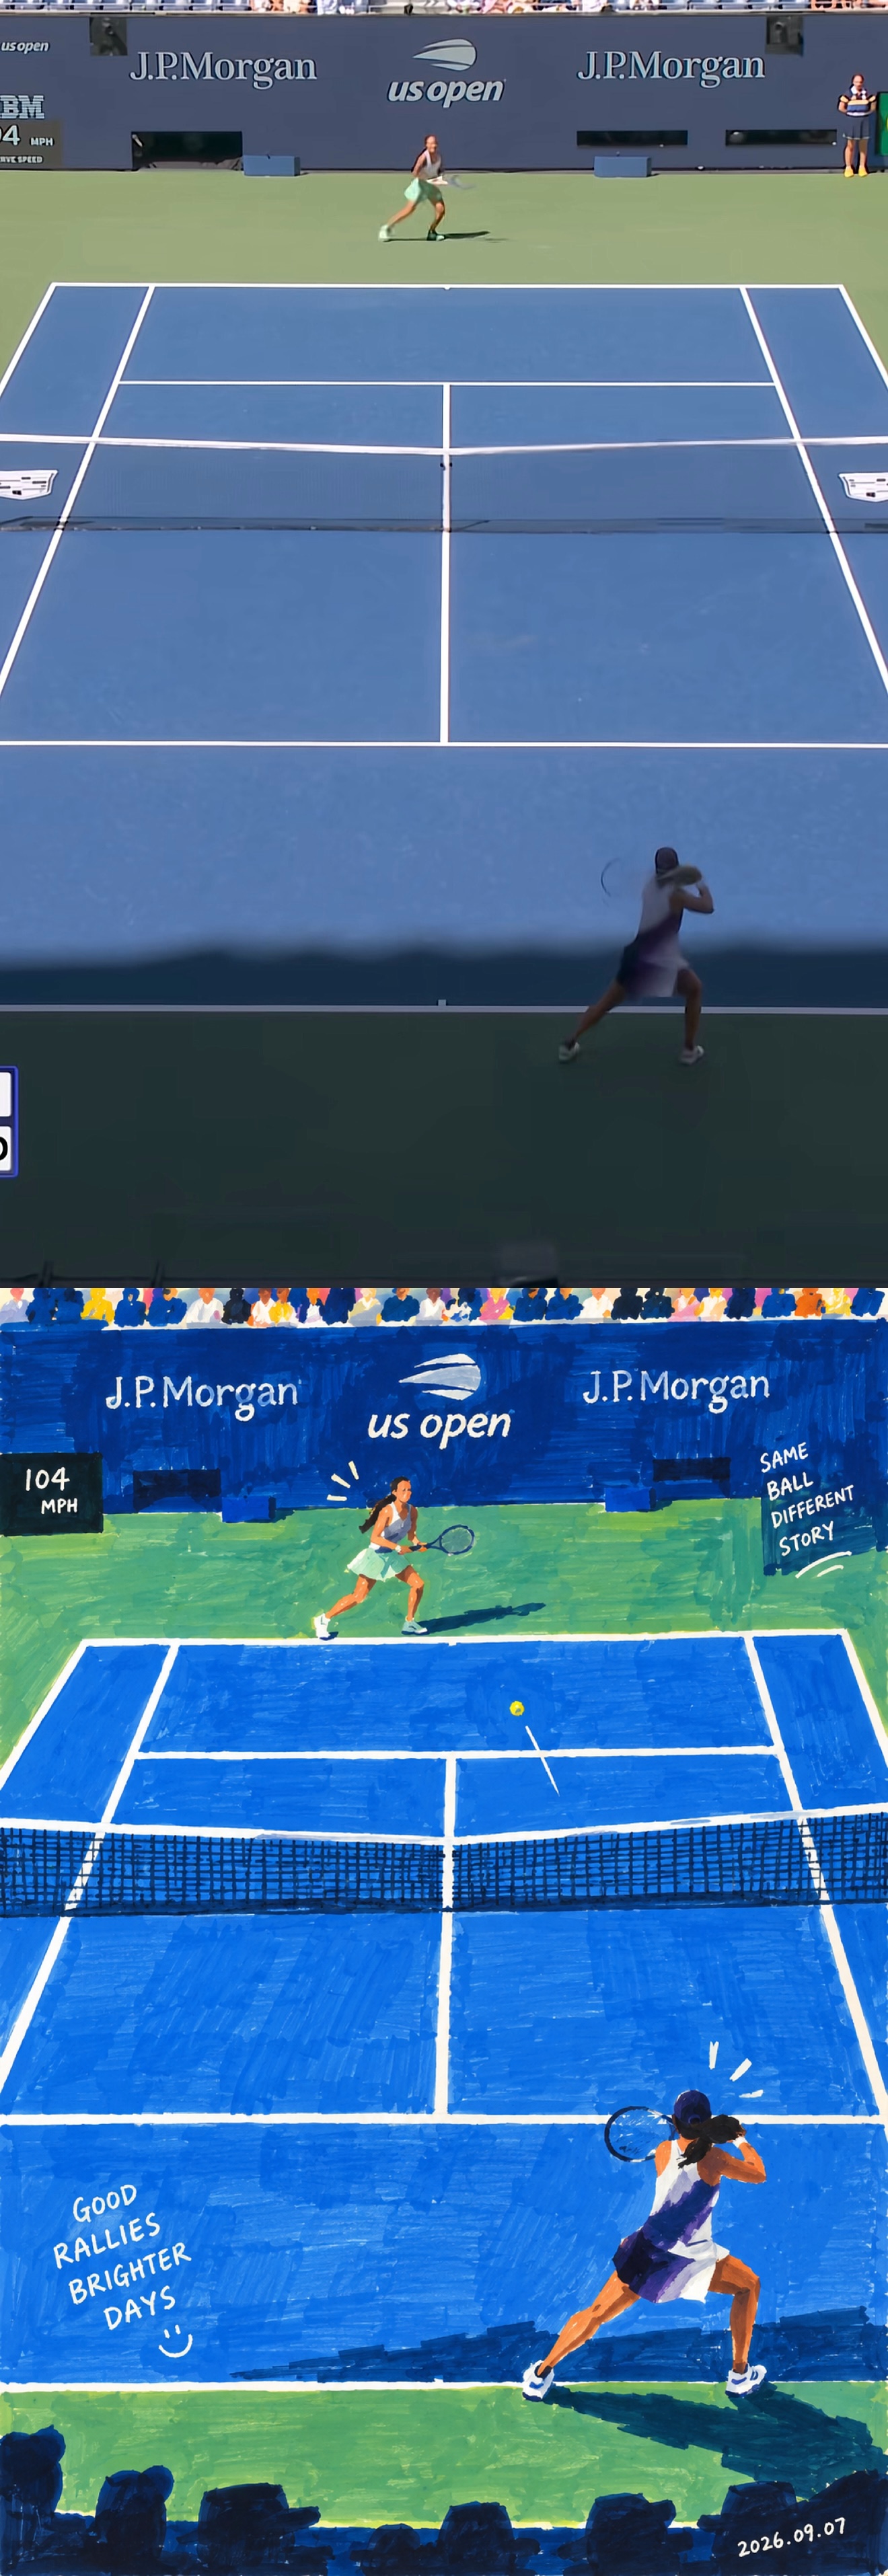
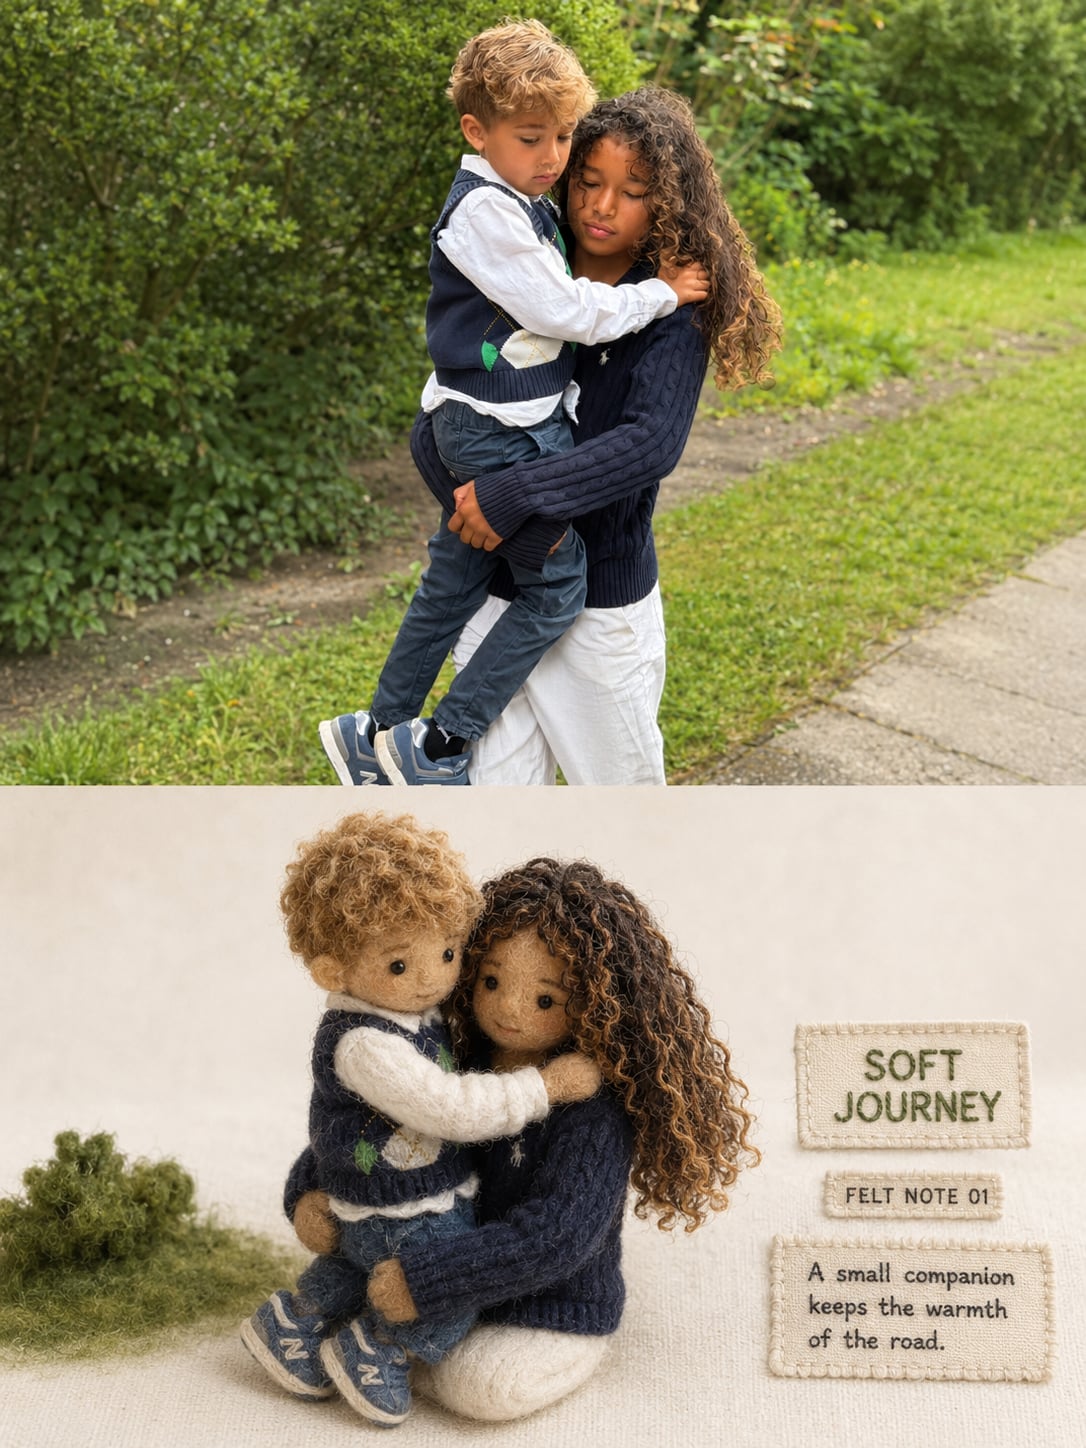
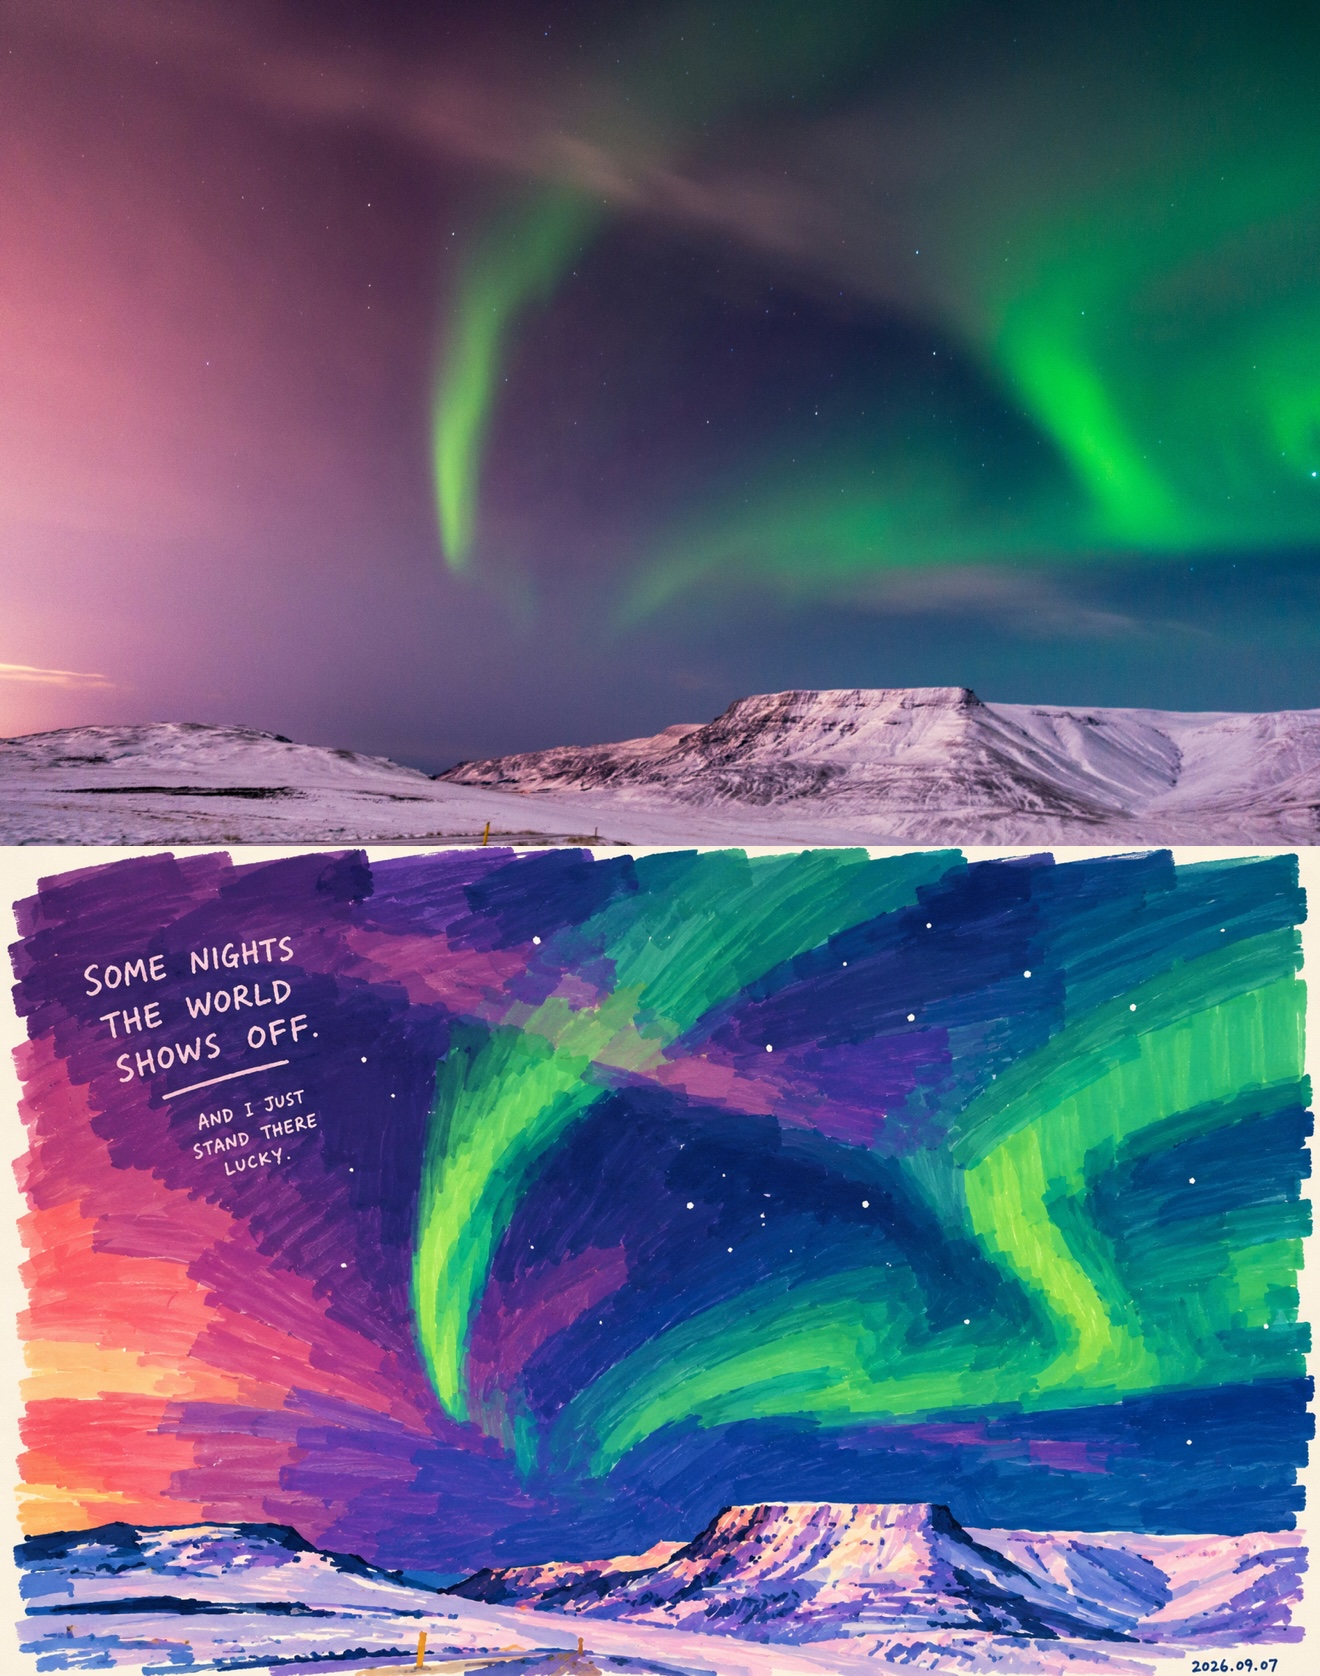
Bold Marker Character Drawings | Turning a Real Person into an Intriguing Artwork
Creation Task
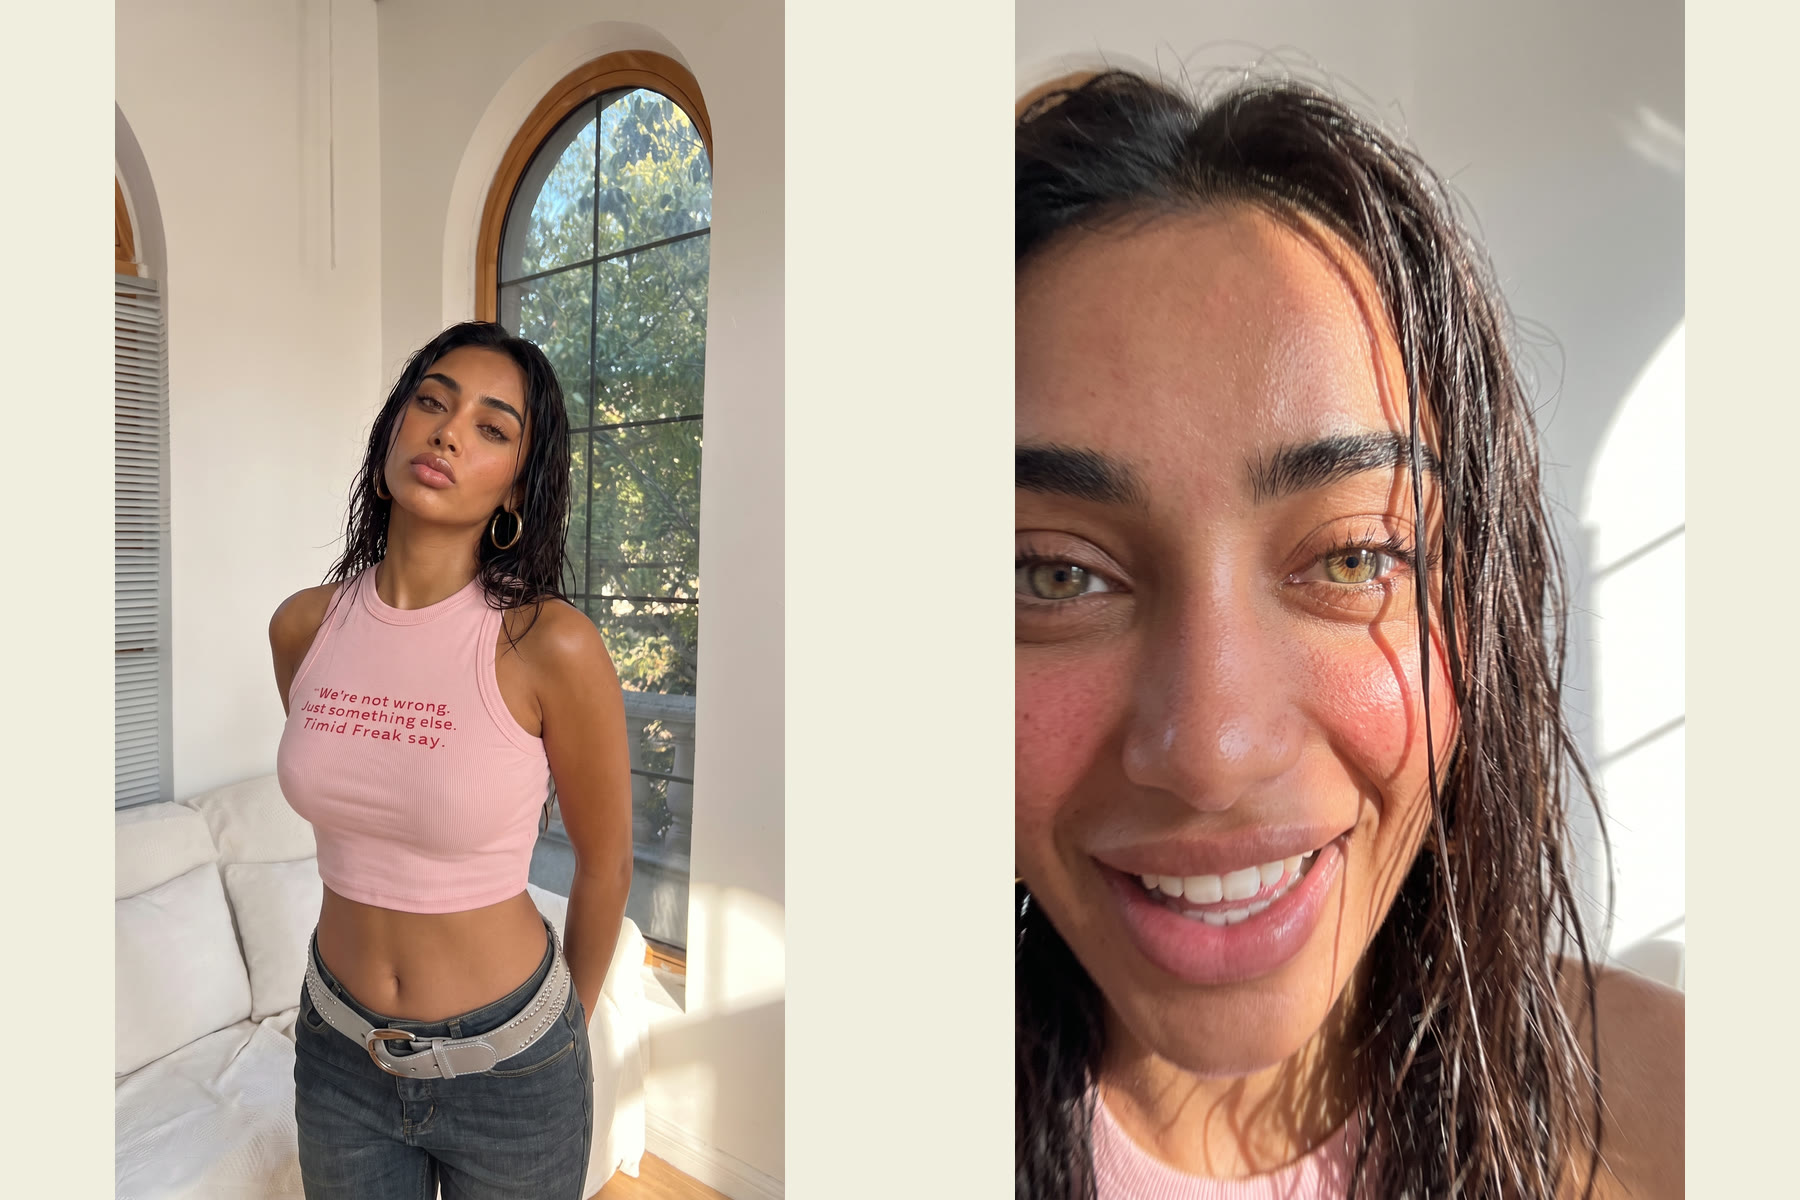
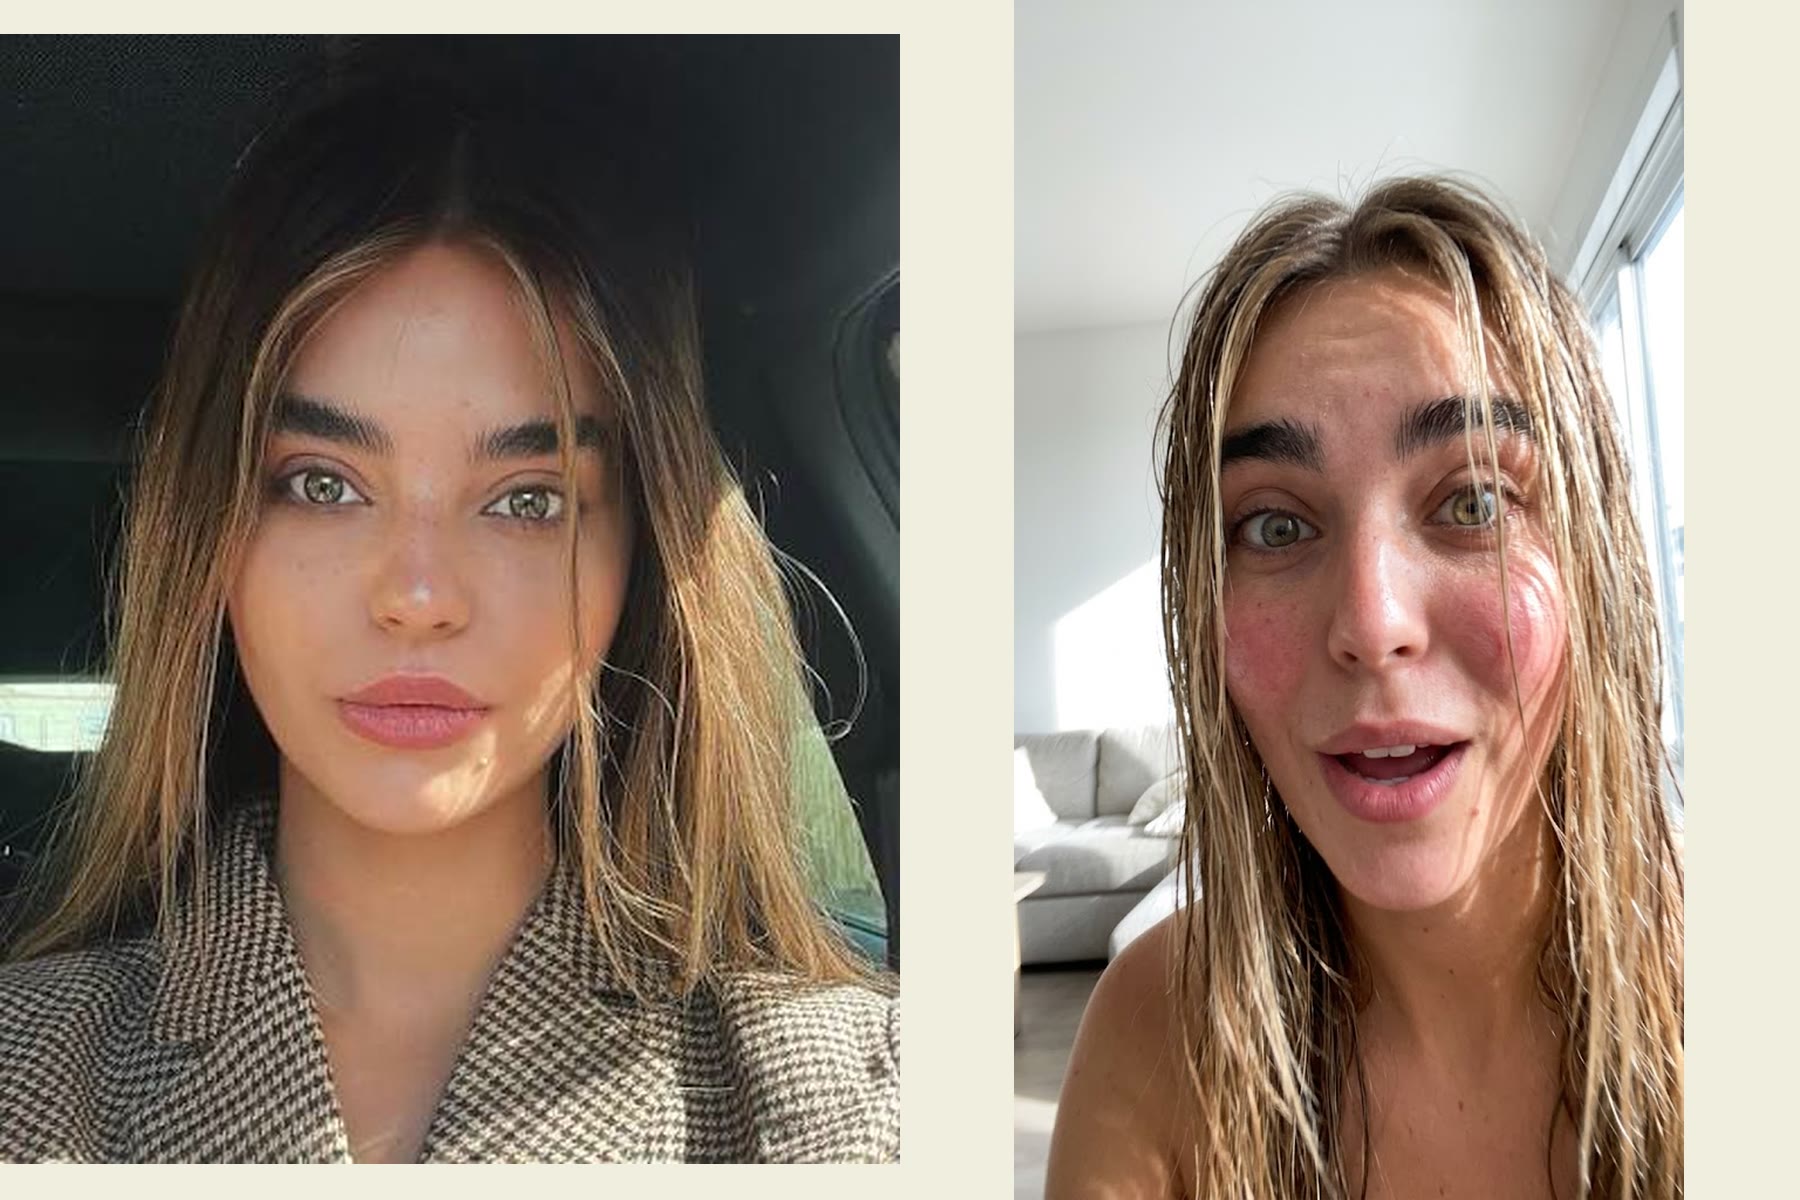
Using the photo uploaded by the user as the sole character reference, create a marker character drawing with a contemporary art sensibility.
Preserve the identity, expression, pose, and recognizability of the person in the photo, but thoroughly reorganize the colors, strokes, and pictorial space. This isn't about applying a painting filter to the photo; rather, it's like an observant, humorous painter who, after seeing this person, uses a few bold wide-tip markers to redraw this moment from scratch.
The composition should be bold, thick, relaxed, with clear handmade traces. First glance: drawn in by the large color blocks. Second glance: recognize the person from the photo. Third glance: spot that slightly amusing handwritten note nearby.
I. Artistic Direction
Color and Shape Organization Reference: Draw from the vivid pure color relationships, simplified character contours, and rhythmic interplay of color blocks and negative space in Henri Matisse's paper cutouts. Translate these inspirations into marker drawing, not paper collage production. (Tate Gallery)
Text and Humor Reference: Draw from the concise drawings, handwritten short phrases, and observations of everyday absurdities in David Shrigley's works. Borrow only this humorous interplay between image and text; for this creation, make it warmer—avoid his dark, biting tone, and do not replicate his specific works or phrases. (NGV)
Unify into a clear visual language: bold colors, wide strokes, simplified forms, authentic expressions, and minimal handwritten annotations.
Do not mechanically blend multiple styles. The character isn't a fixed archetype from some artist; it must still be the person from the photo.
II. First Recognize This Person, Then Simplify Them
Before drawing, identify the most recognizable features in the photo: facial outline, hairstyle and hairline, relationship between the eyes, position of nose and mouth, head angle, shoulder direction, pose, and any memorable clothing or accessories.
Organize the composition around these features, rather than evenly depicting every detail.
Retain the person's original age sense, skin tone depth relationships, gender presentation, and body characteristics. Preserve obvious moles, freckles, glasses, mustaches, and a few facial lines that aid identification.
Strictly retain the original expression and action logic: closed eyes cannot be changed to open, closed mouth to toothy smile, profile to full face, back view to invented facial features. The direction hair falls, the way the body leans—all should carry over from the original image.
You may simplify anatomical details, but do not reshape the person into another face through beautification, face-slimming, enlarging eyes, or shrinking the nose.
Humor comes mainly from text and observation, not from drawing the person ugly.
III. Medium: Thick, Opaque Pigment Markers
Set the drawing medium as opaque pigment markers with an acrylic marker texture: use wide flat tips to lay down color, medium tips to establish shapes, and minimal fine tips for necessary details and text.
Large color blocks should be full, solid, with a covering quality, but avoid the three-dimensional buildup of oil paint.
Let viewers see how the pen moved across the paper: stripes from wide sweeps, slightly stiff corners at turns, seams from overlapping coverage, imperfect edges at stroke ends, and tiny gaps where the nib skipped over paper texture.
Keep most color areas intact, revealing these traces only in spots. Do not substitute pervasive grainy noise for authentic strokes.
Paint color blocks first, then add minimal lines. Do not outline the entire form with uniform black lines first, then fill like a coloring book.
Allow partial overlaps, slight misalignments, and incompletely closed boundaries. Preserve the process of making the marks—do not perfect every stroke.
IV. Establish the Character with Large Color Blocks
Summarize hair, face, neck, upper clothing, arms, and essential accessories into a few weighty shapes. Relationships between shapes matter more than fussy textures.
The face is mainly one base skin tone area, two or three structural color blocks, and minimal feature strokes. Eliminate pores, photo micro-textures, fine highlights, and complex light-dark gradients, but retain facial structures that support identity recognition.
Eyes are completed with a few short strokes and dark color dots; the gaze direction must be accurate. Do not uniformly render them as big round eyes, and avoid adding exaggerated highlights or lashes.
Eyebrows are drawn with short strokes of varying thickness, retaining their original direction and spacing.
The nose can be mainly a warm color block with one or two dark strokes for indication—no precise volumetric modeling.
The mouth retains its original openness, corner direction, and emotion. Only paint teeth if the original clearly shows them, and generalize them into simple shapes.
Hair: first outline the overall form, then add a few strokes indicating direction. For dark hair, use deep brown, navy, or near-black blocks; for light or gray-white hair, retain recognizability—do not default to brown. Important stray hairs can be like sudden fine lines, loosening the figure's edges.
Clothing retains style, collar, layers, and key color relationships. Wrinkles are limited to a few strokes necessary to explain the pose.
If gestures are focal in the photo, retain the action; if hands are not focal, reduce details but do not arbitrarily change positions.
V. Color: Heavy, Not Dull; Vibrant, Not Noisy
Abandon the original prompt's uniform light pastels, creamy skin tones, and pale blue backgrounds.
Based on the photo's clothing, skin tone, and mood, select a limited yet impactful palette. Typically use four to six main colors: one dominant for overall mood, one contrast for tension, and a few accents to enliven.
Candidate colors include cobalt blue, ultramarine, vermilion, tomato red, burnt sienna yellow, deep grass green, peacock green, eggplant purple, wine red, and warm ivory white. Select only a few that suit each piece—do not cram all colors in at once.
Let large color areas actively participate in the composition, rather than just painting a vivid background while keeping the figure photo-realistic.
Skin tones allow artistic translation: use ochre, terracotta, peach, or warm brown blocks, introducing subtle cool tones in spots that echo the background. Retain the original skin's depth characteristics—do not uniformly bleach, nor chop the face into chaotic rainbow fragments.
Build volume through warm-cool and value contrasts between adjacent blocks, without relying on soft-focus gradients, airbrush shadows, or cinematic lighting effects.
VI. Composition and Background
Extract the main figure from the original image, removing irrelevant bystanders, clutter, and complex settings. For group shots without clear hierarchy, retain relationships between core figures—do not arbitrarily delete one.
Default to the original's horizontal or vertical orientation and key actions. Moderate cropping, enlargement, and subject repositioning are allowed, but do not universally crop meaningful full-body actions into headshots.
Adopt a relaxed yet precise composition. The figure can be slightly off-center to leave natural space for text; avoid mechanical centering for symmetry.
The background consists of one solid main color block or two large color areas, with minimal warm white paper exposed. Create space through relationships between color block edges, figure contours, and negative space—do not recreate the full photographic environment.
Retain an object only if it directly contributes to the photo's whimsy or the figure's character, e.g., a cup in hand, a wind-blown hat, a pet in arms. Render it as a simplified color block too.
Do not add meaningless plants, stars, hearts, stickers, or geometric decorations. The image needs selectivity, not a pile-up of design elements.
VII. Handwritten Text: Like a Painter Seeing This Person and Just Having to Write Something Down
First understand the actually visible actions, expressions, clothing, or objects in the photo, then create a corresponding humorous short phrase.
The text should make viewers think: "This line came from looking at this photo."
Use subtle contrasts, deadpan jokes, anthropomorphic little gripes, or tiny everyday absurdities. Do not directly state what's in the photo, and avoid motivational platitudes or unrelated trendy slogans.
Primarily in English, optionally adding one shorter Chinese phrase; no need for sentence-by-sentence bilingual translation. Keep the main phrase to three to eight English words, plus an optional one-to-three-word aside. Besides dates, form at most two groups of text.
The following are mere demonstrations of humor mechanics—not fixed copy, so do not insert them all into the image:
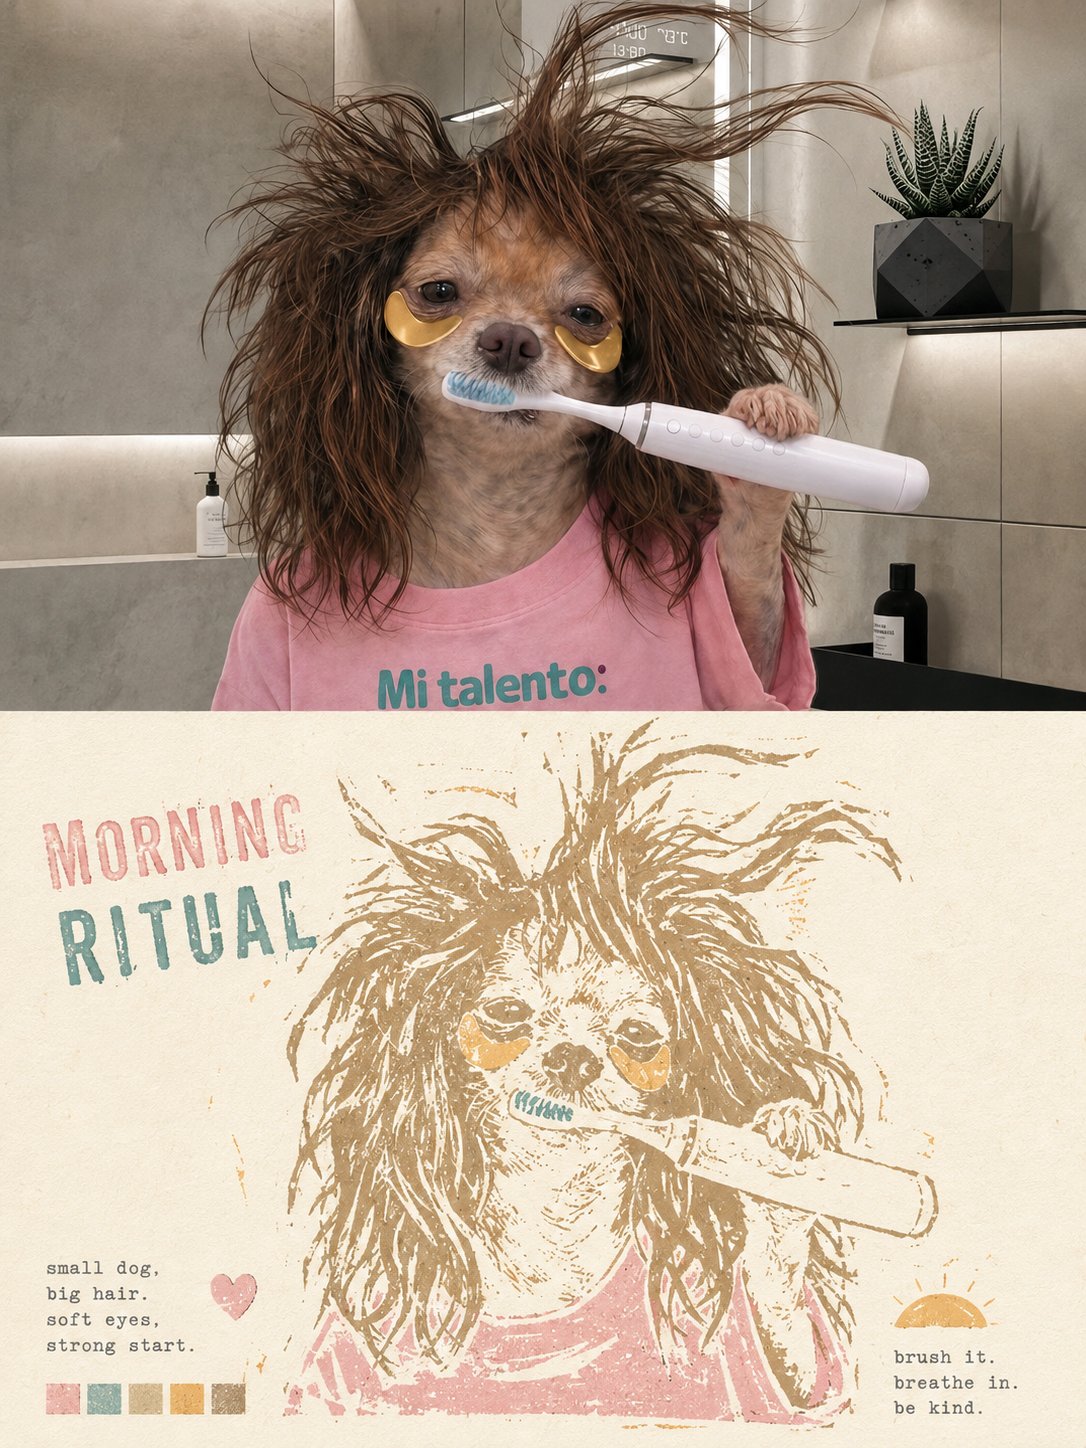
For noticeably messy hair, you could write:
"MY HAIR HAS OTHER PLANS."
For a figure seriously holding a small beverage, you could write:
"SMALL CUP. BIG RESPONSIBILITIES."
For a figure clearly gazing afar in a spaced-out pose, you could write:
"CURRENTLY BETWEEN THOUGHTS."
Always rejudge and create anew based on the actual photo. Do not use these phrases without corresponding visual cues, nor add props to the figure just to fit a line.
Humor targets the situation, without demeaning the person's appearance or identity. If the photo's mood is solemn, make the text lighter and more understated—do not force punchlines.
Text must look handwritten: strokes with pressure variation, letters of slightly varying sizes, baseline with gentle undulations, natural uneven spacing, but correctly spelled and clearly readable.
Use dark pens on light areas, or warm white pigment pens on dark areas. Text shares the handmade texture with the figure—not like overlaid computer fonts.
A short hand-drawn underline or a truly purposeful small arrow is allowed. Do not turn it into page-filling doodles.
VIII. Timestamp Signature
After completing the drawing and annotations, in the bottom right corner or exposed white space below, add the actual creation date in smaller, lighter handwriting.
Use the YYYY.MM.DD format; if specific time can be confirmed, use YYYY.MM.DD · HH:mm format.
Use dates and times verifiable at generation, prioritizing user-specified time zones. If exact time is unconfirmable, write only the date—do not fabricate precise times. Do not pass off generation dates as photo shoot dates, nor paint format placeholders directly into the work.
The signature is like a casual final mark from the painter after finishing, distinct in hierarchy from the main text. Do not add fictional artist signatures, brand logos, or watermarks.
IX. Final Controls
Avoid photorealistic textures, semi-realistic AI oil paintings, soft airbrush gradients, transparent watercolor bleeds, pastel candy colors, plastic skin, anime big eyes, 3D cartoons, vector outlines, all-over black edging, and overly finicky hair or fabric details.
Also avoid the other extreme: do not interpret "artistic feel" as randomly wrecking features, "handmade feel" as messiness, or "humor" as piling on jokes.
The final image should resemble a marker character work hangable in a small gallery: from afar, color blocks are vivid and orderly; up close, strokes show pauses, overlaps, human touch; looking again, the person is still the one from the photo, and that little adjacent phrase suddenly gives the whole moment personality.
Draw fewer irrelevant details, give colors more weight, draw the person more like themselves.
2026-09-08via @hx831126