Visuele inspiratie
Promptbibliotheek
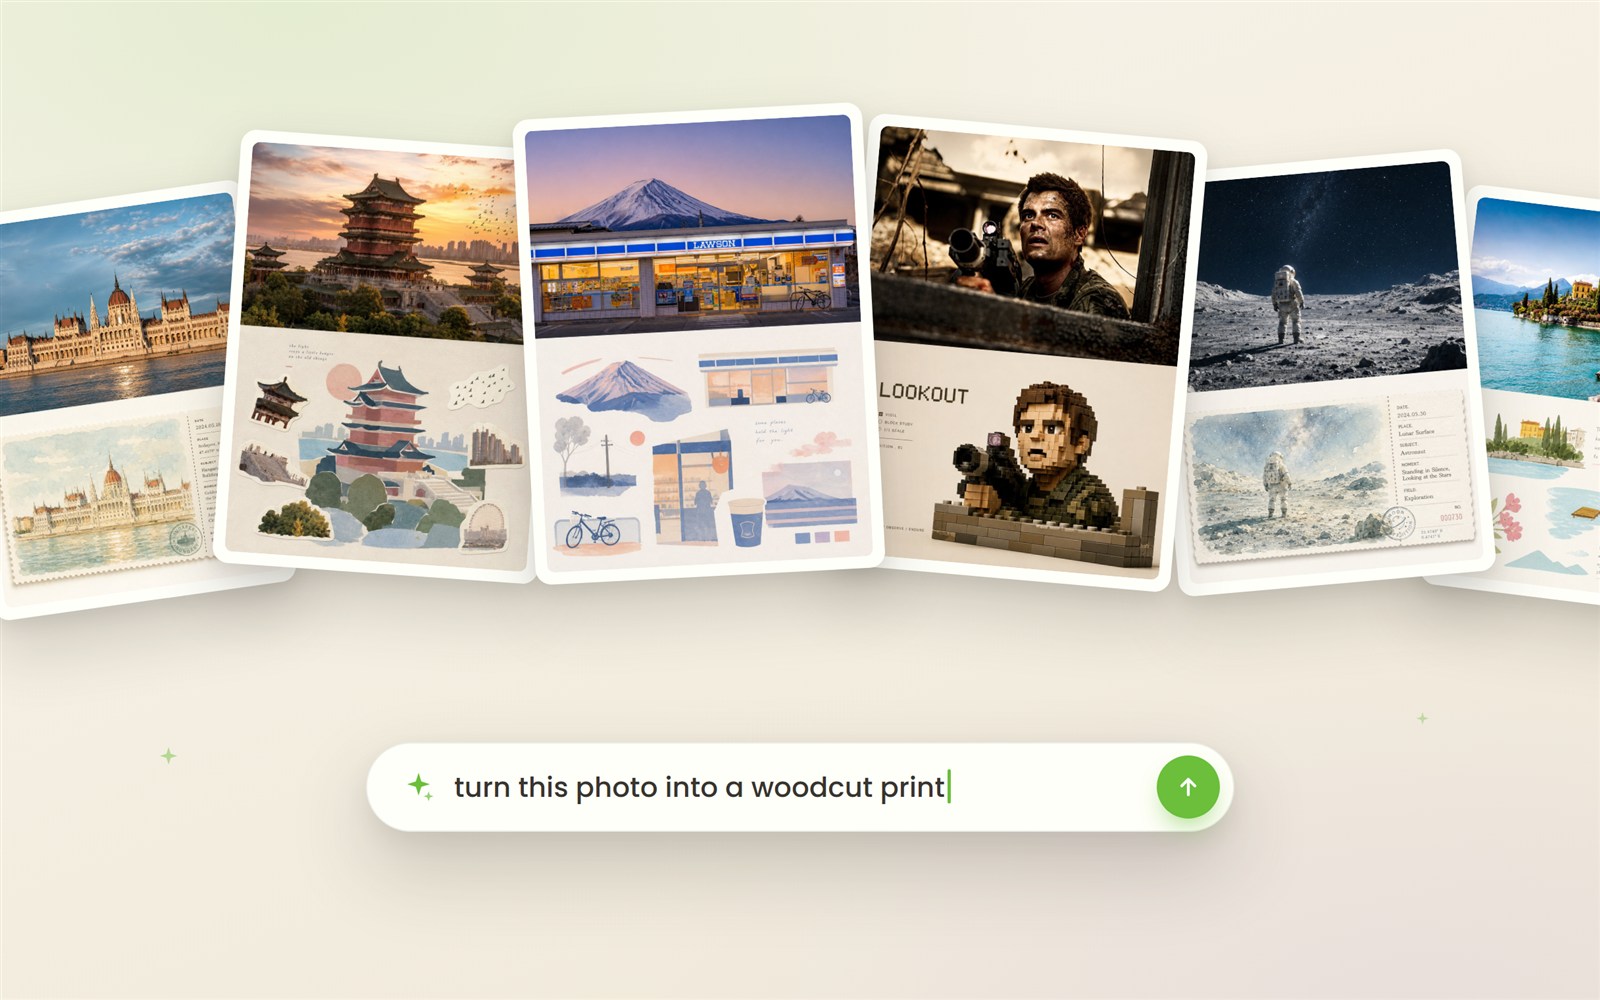
Sterke AI-resultaten uit het wild, mét de prompt erbij. Klik op een beeld, kopieer de prompt en maak er iets eigens van.
Krijg de prompts die indruk maken

Krijg de prompts die indruk maken
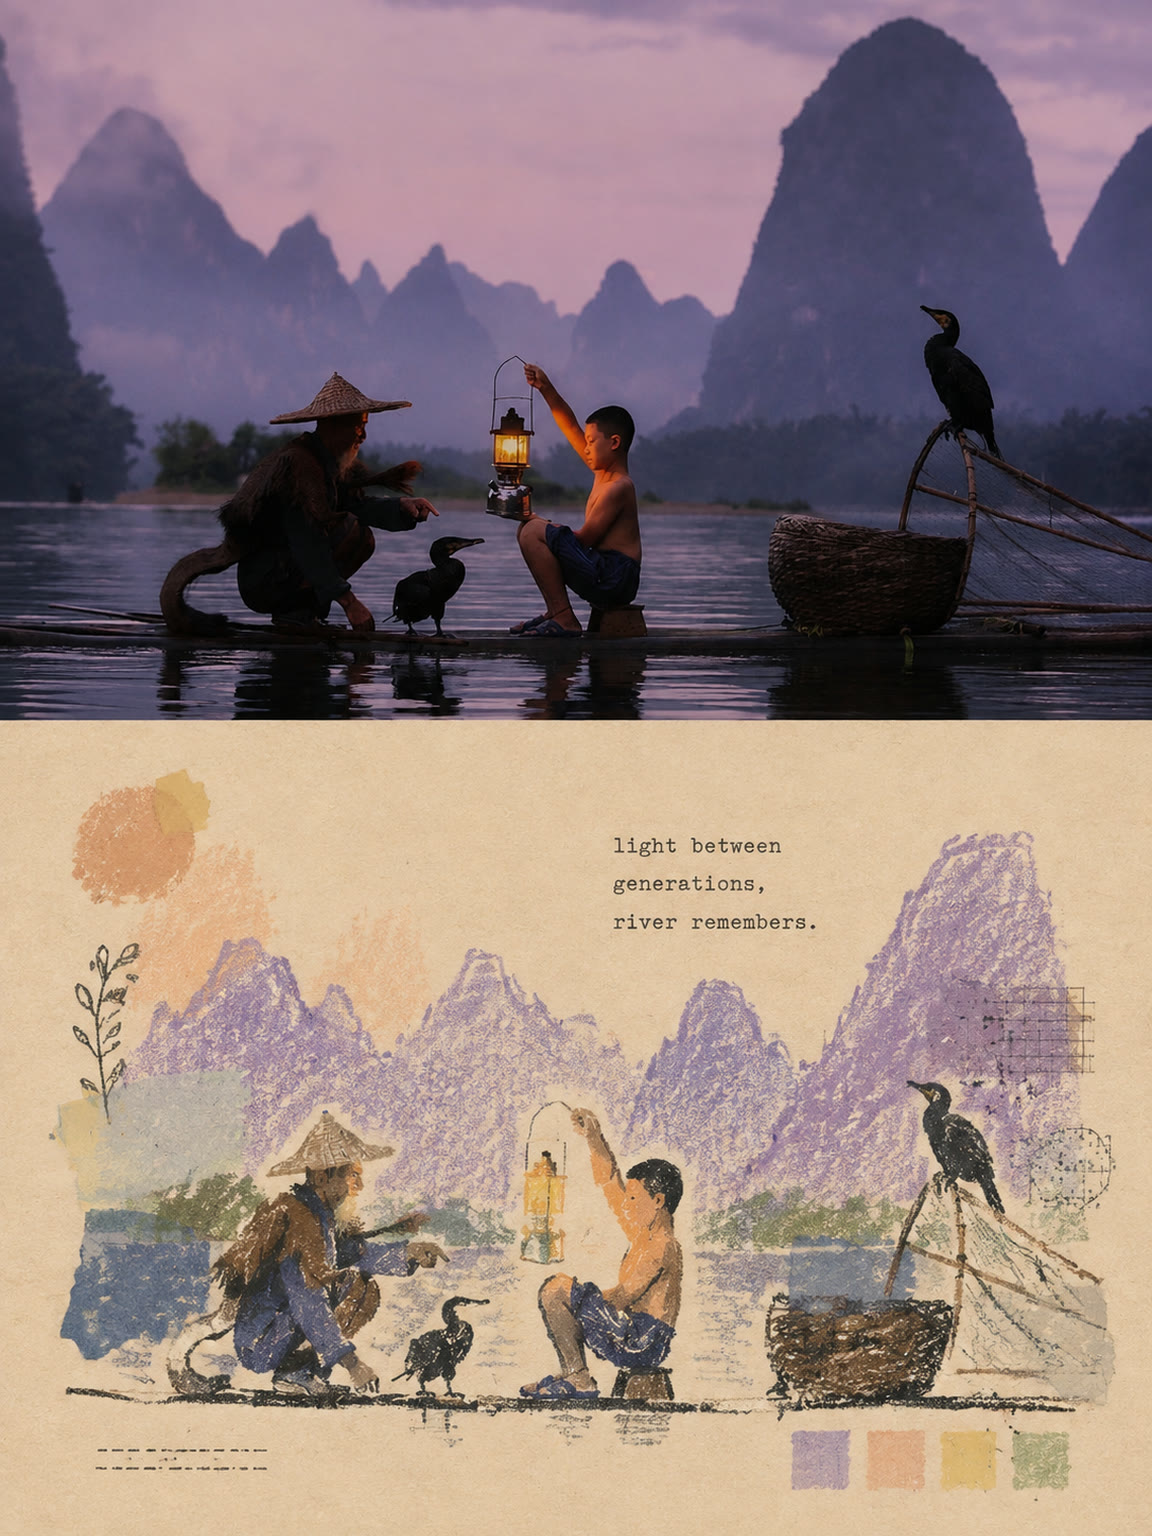
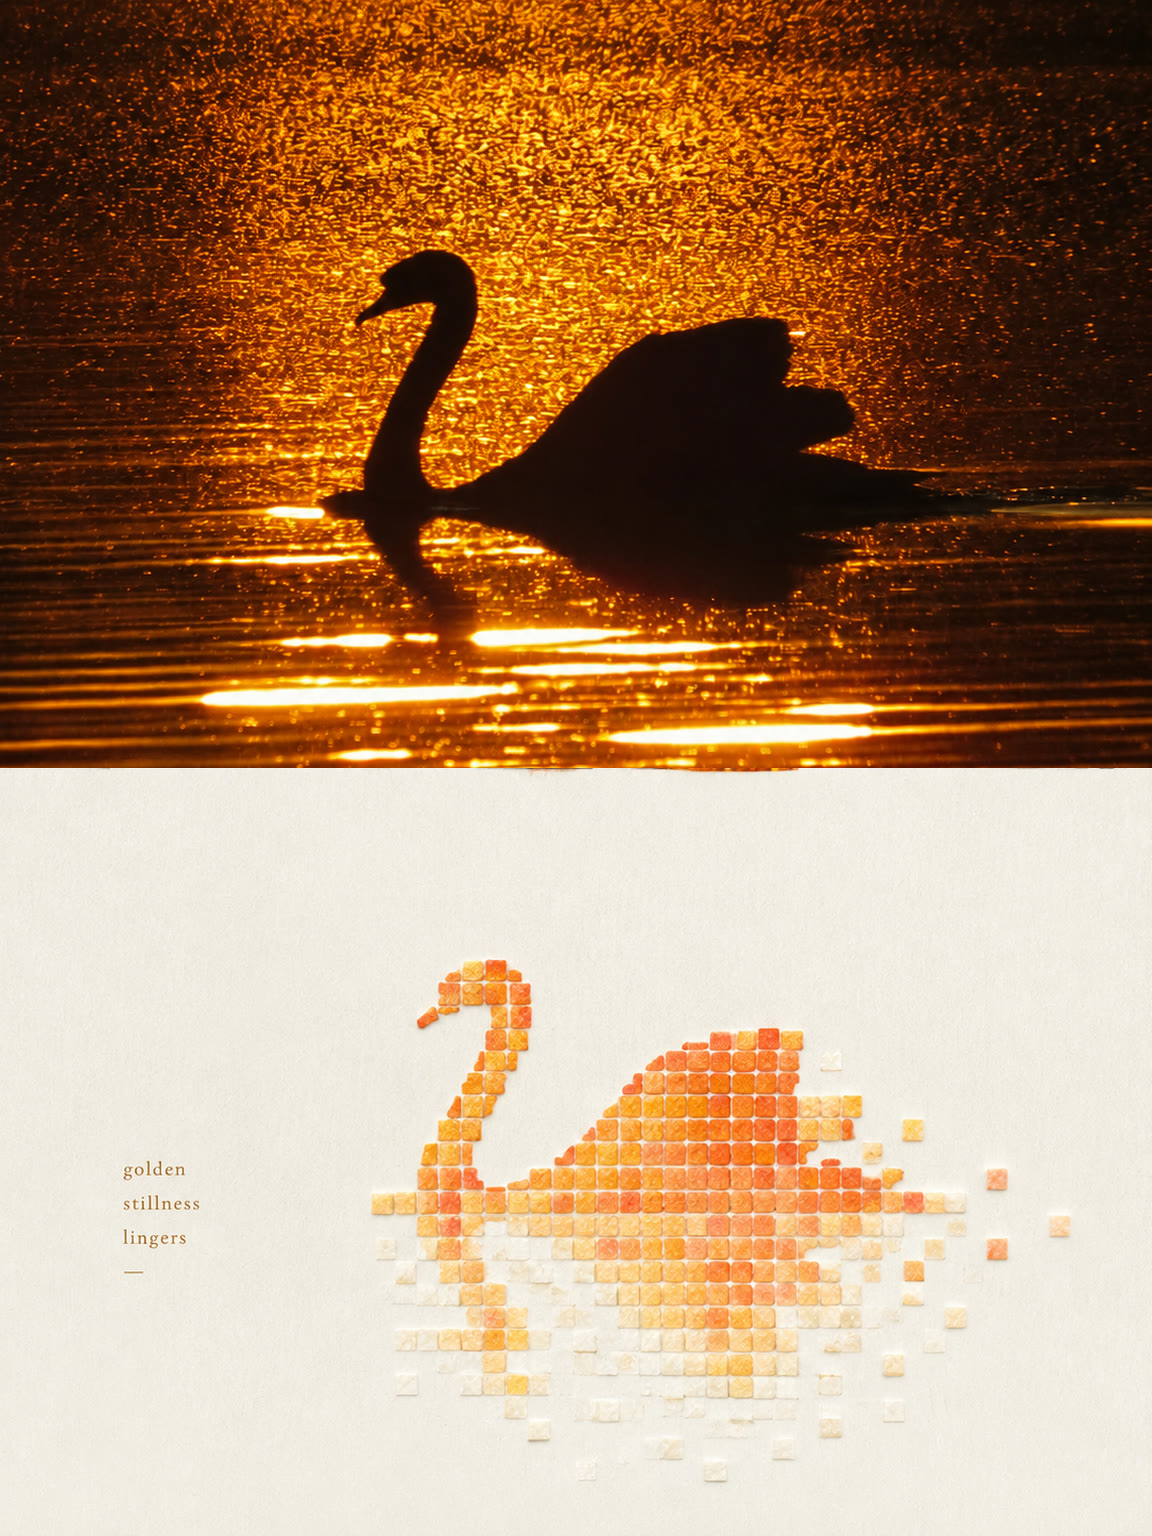
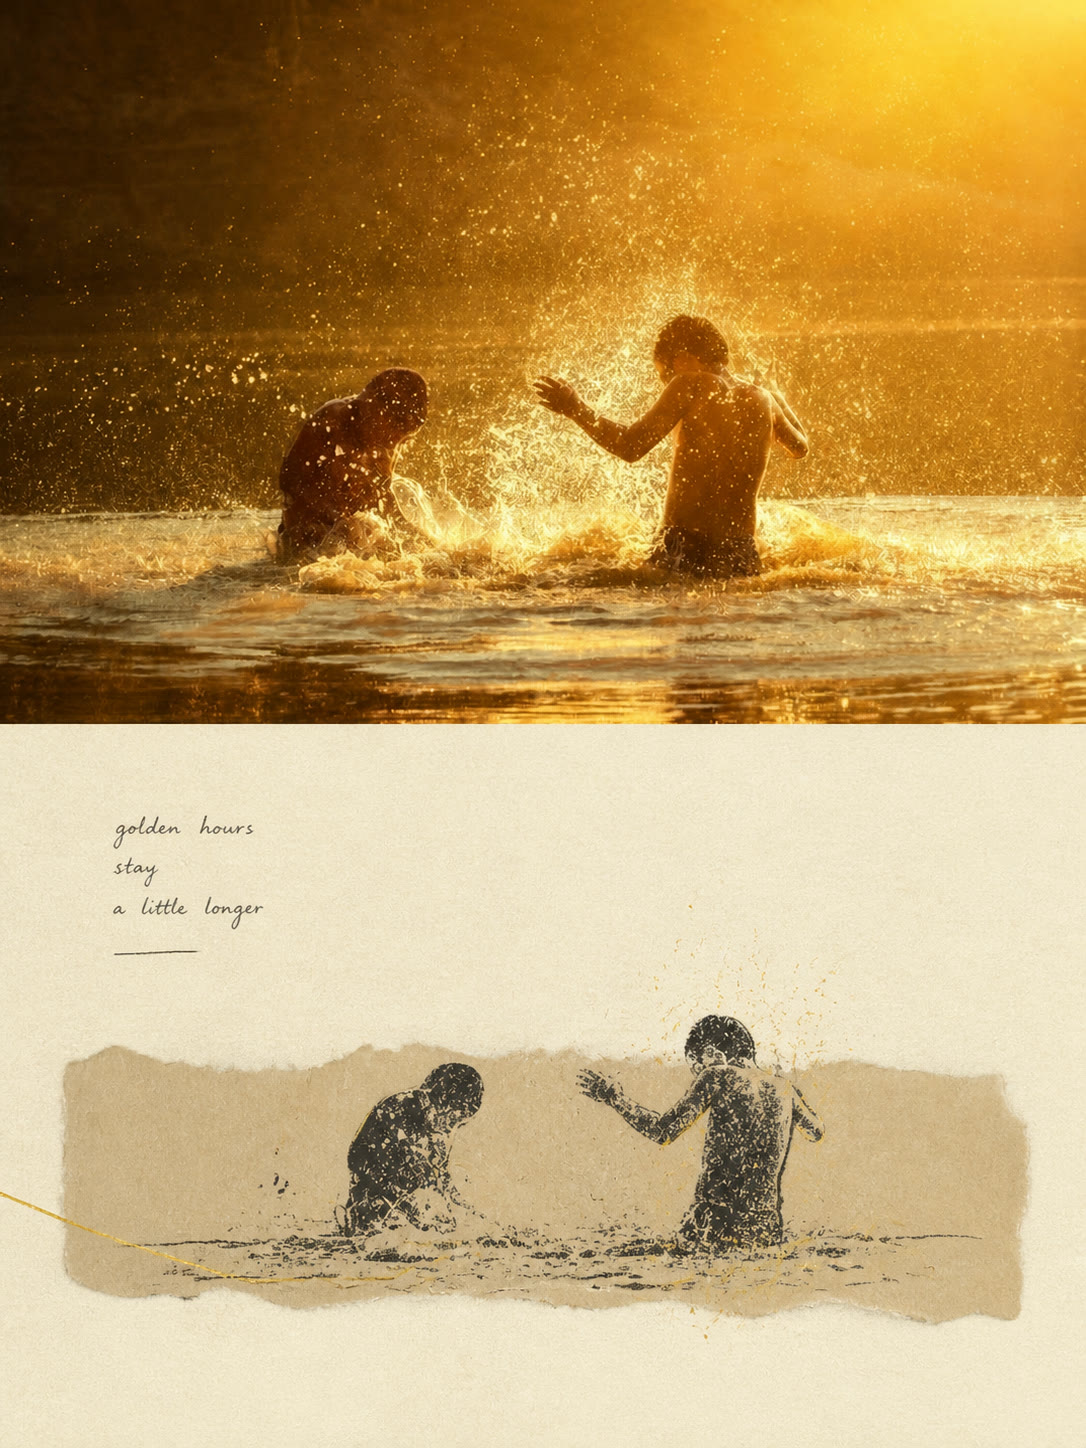
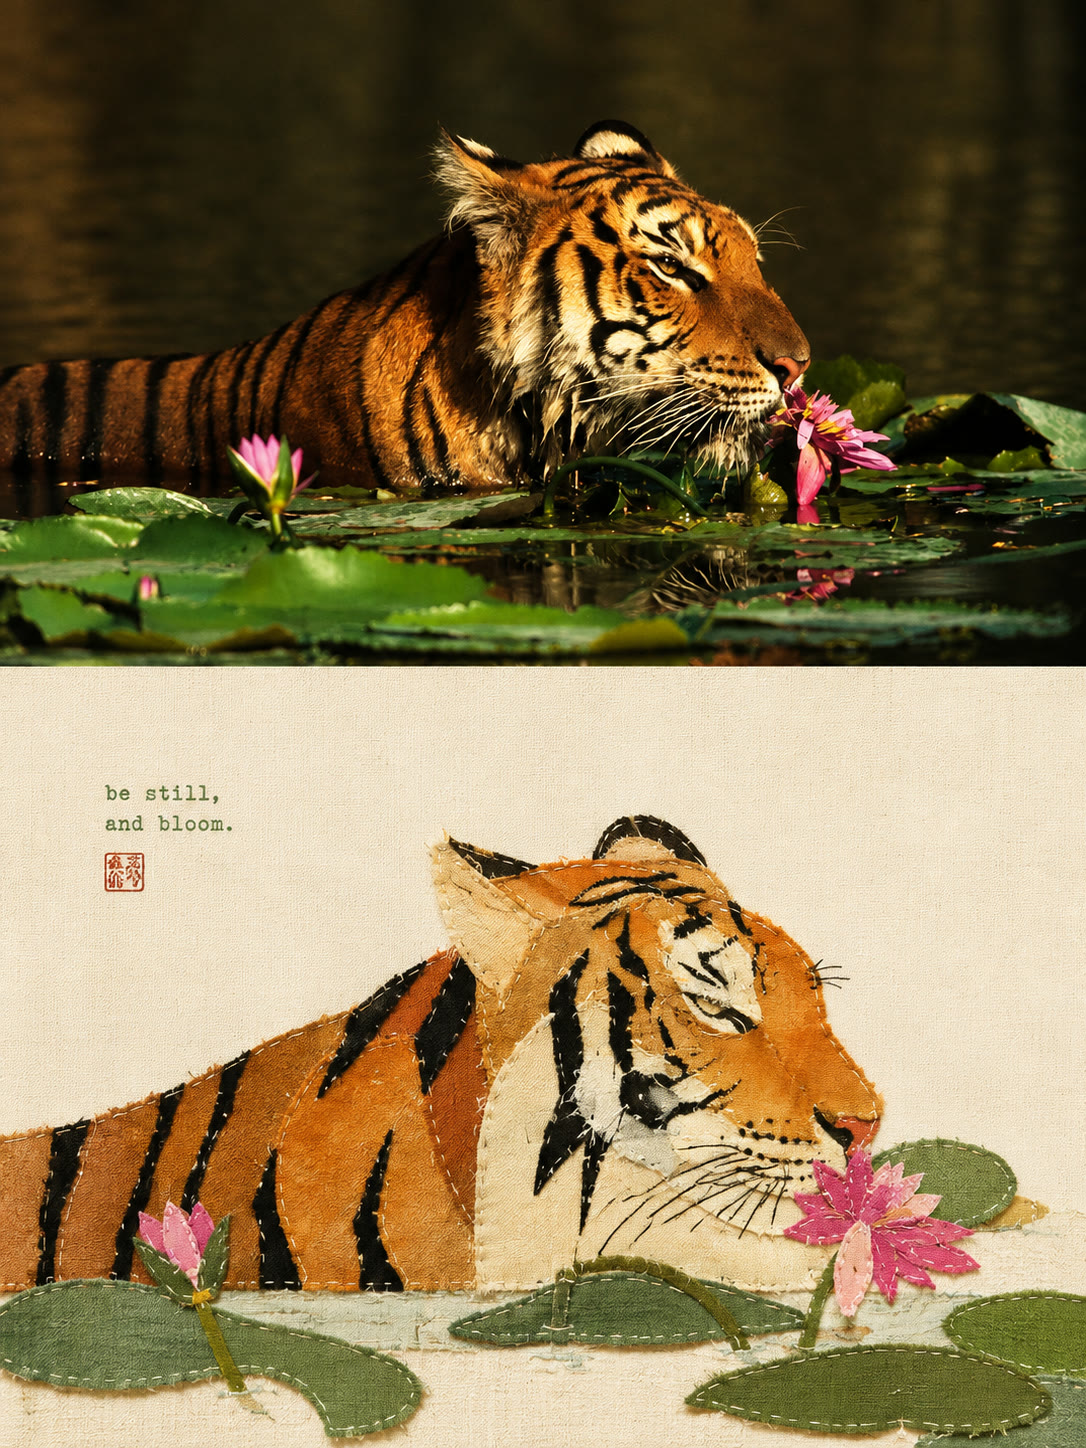
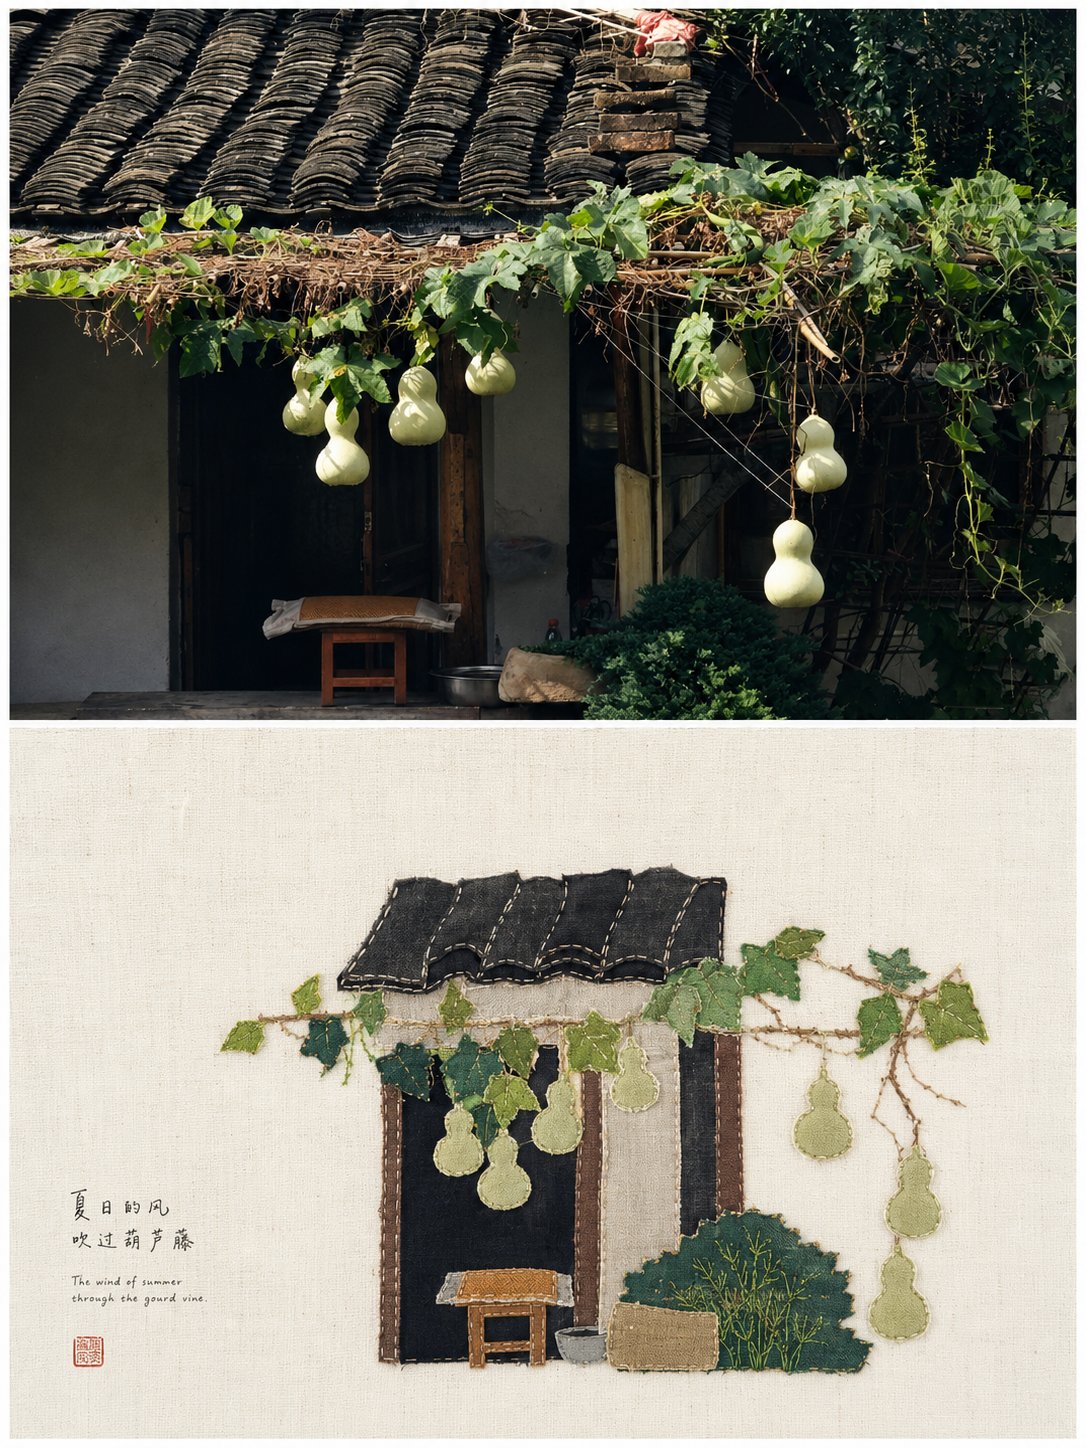
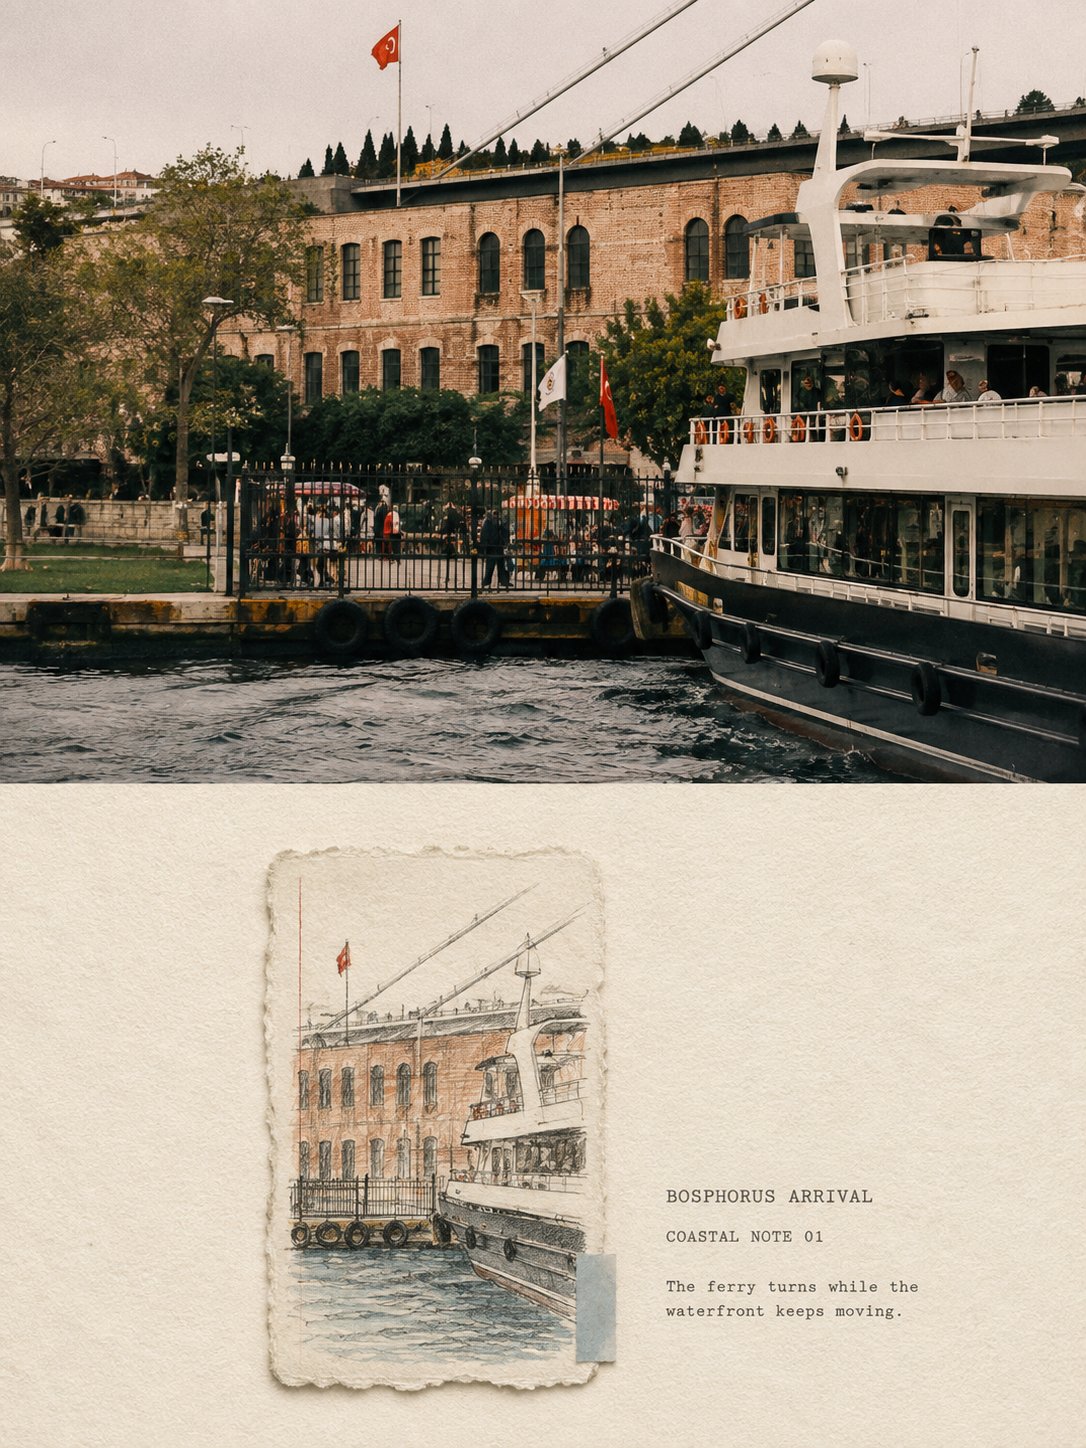
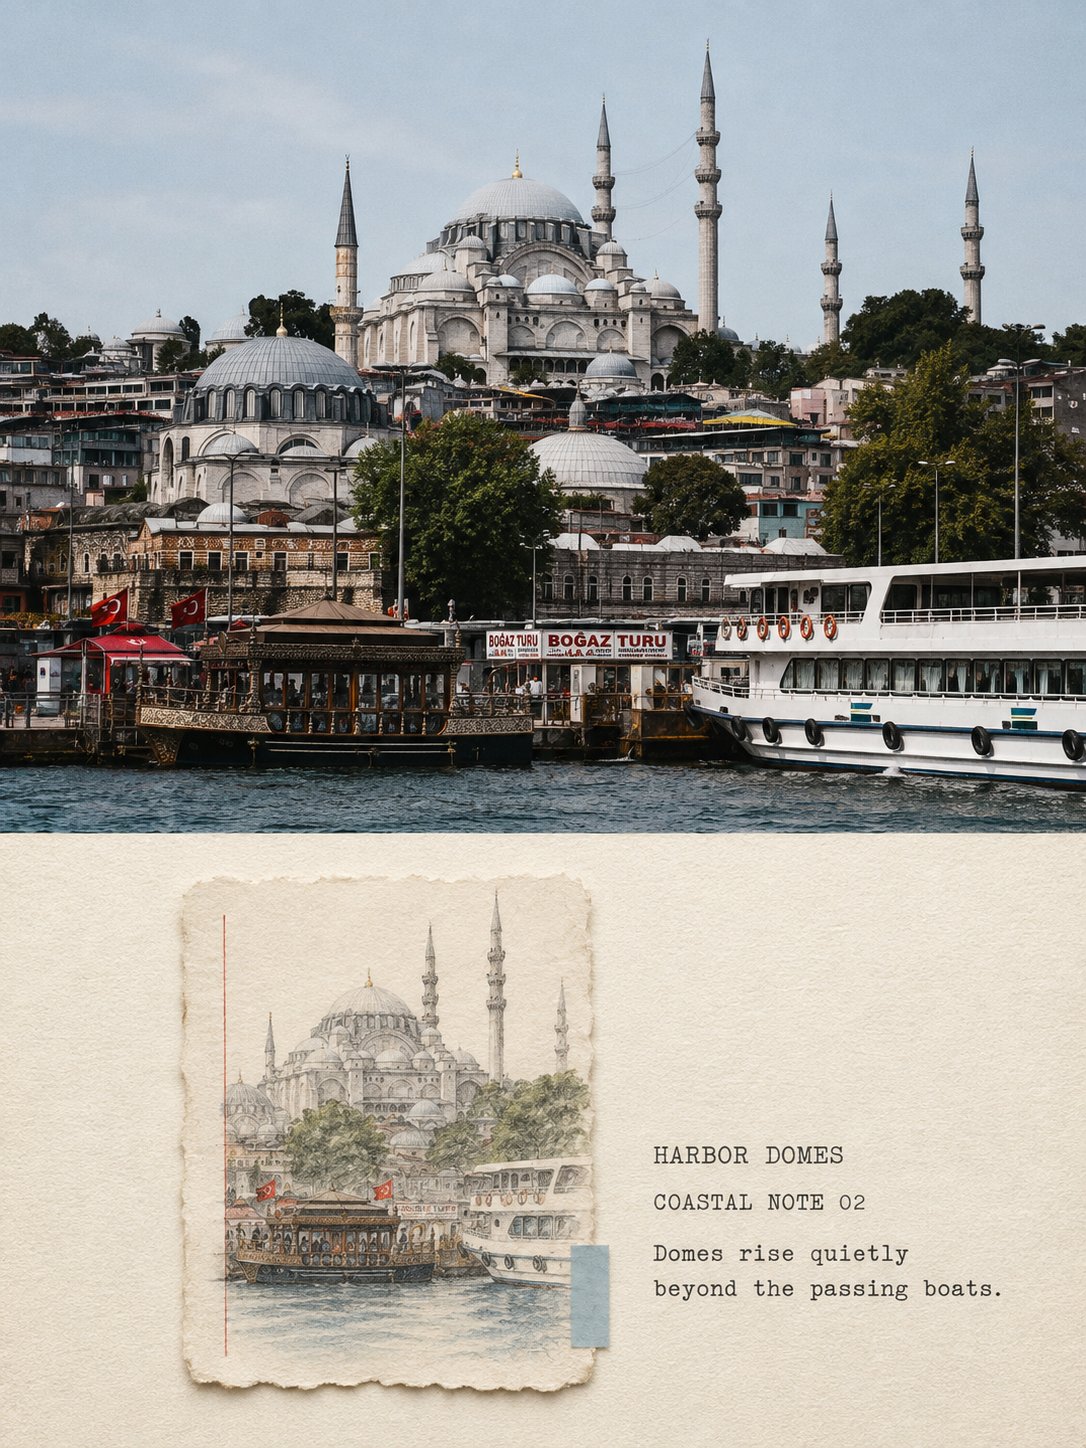
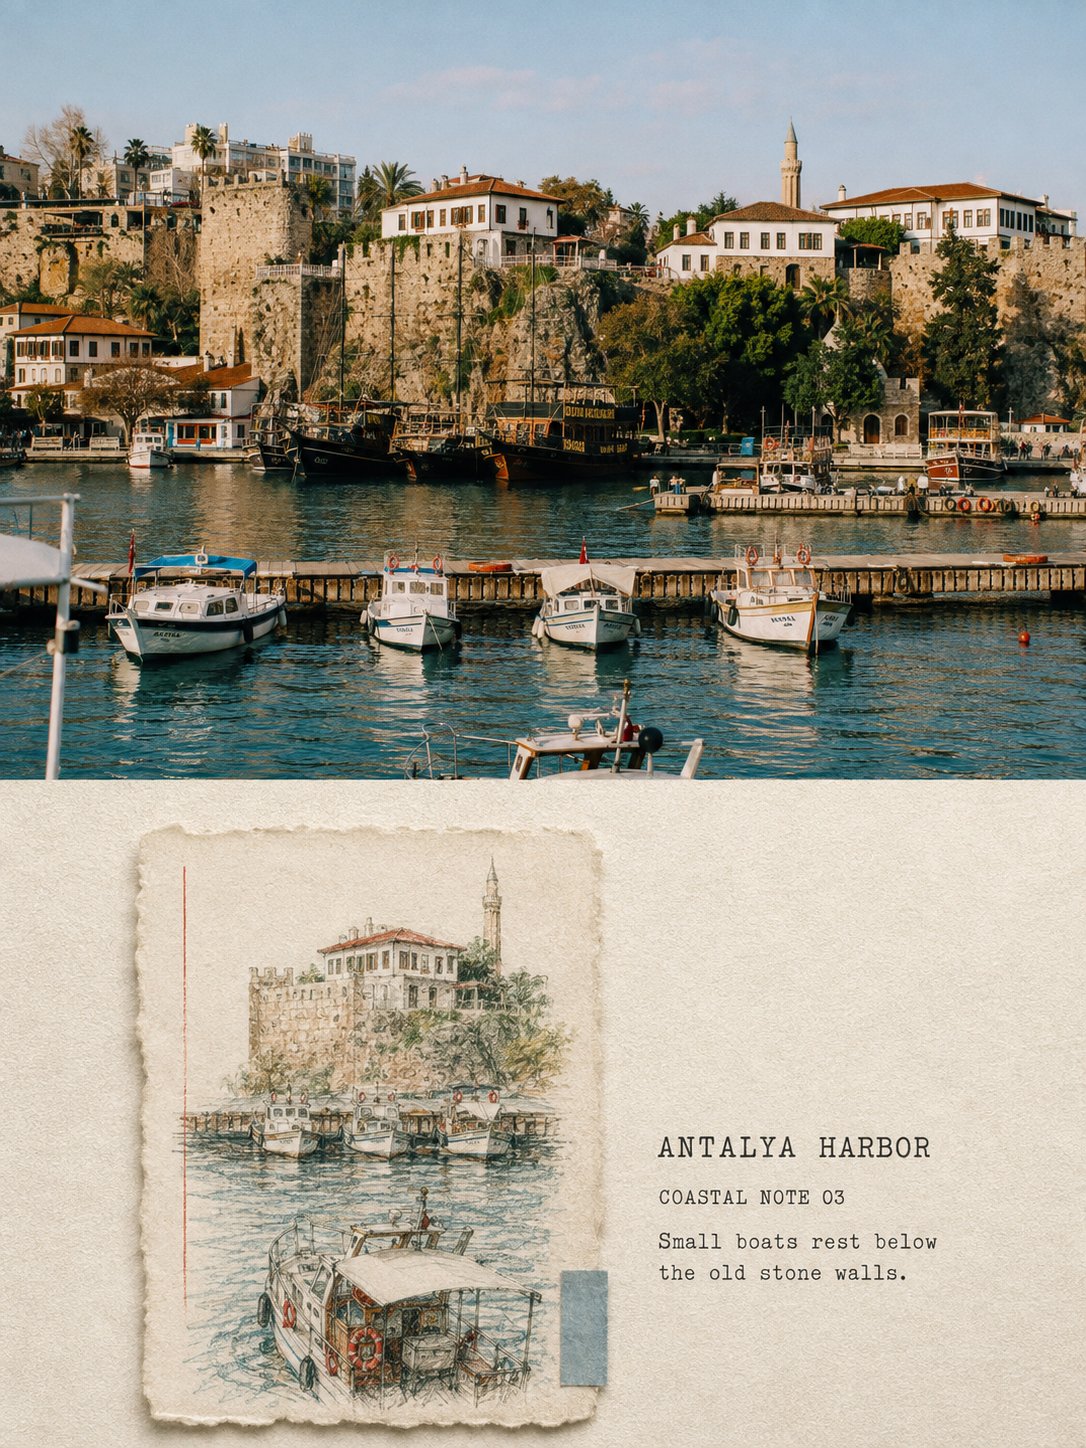
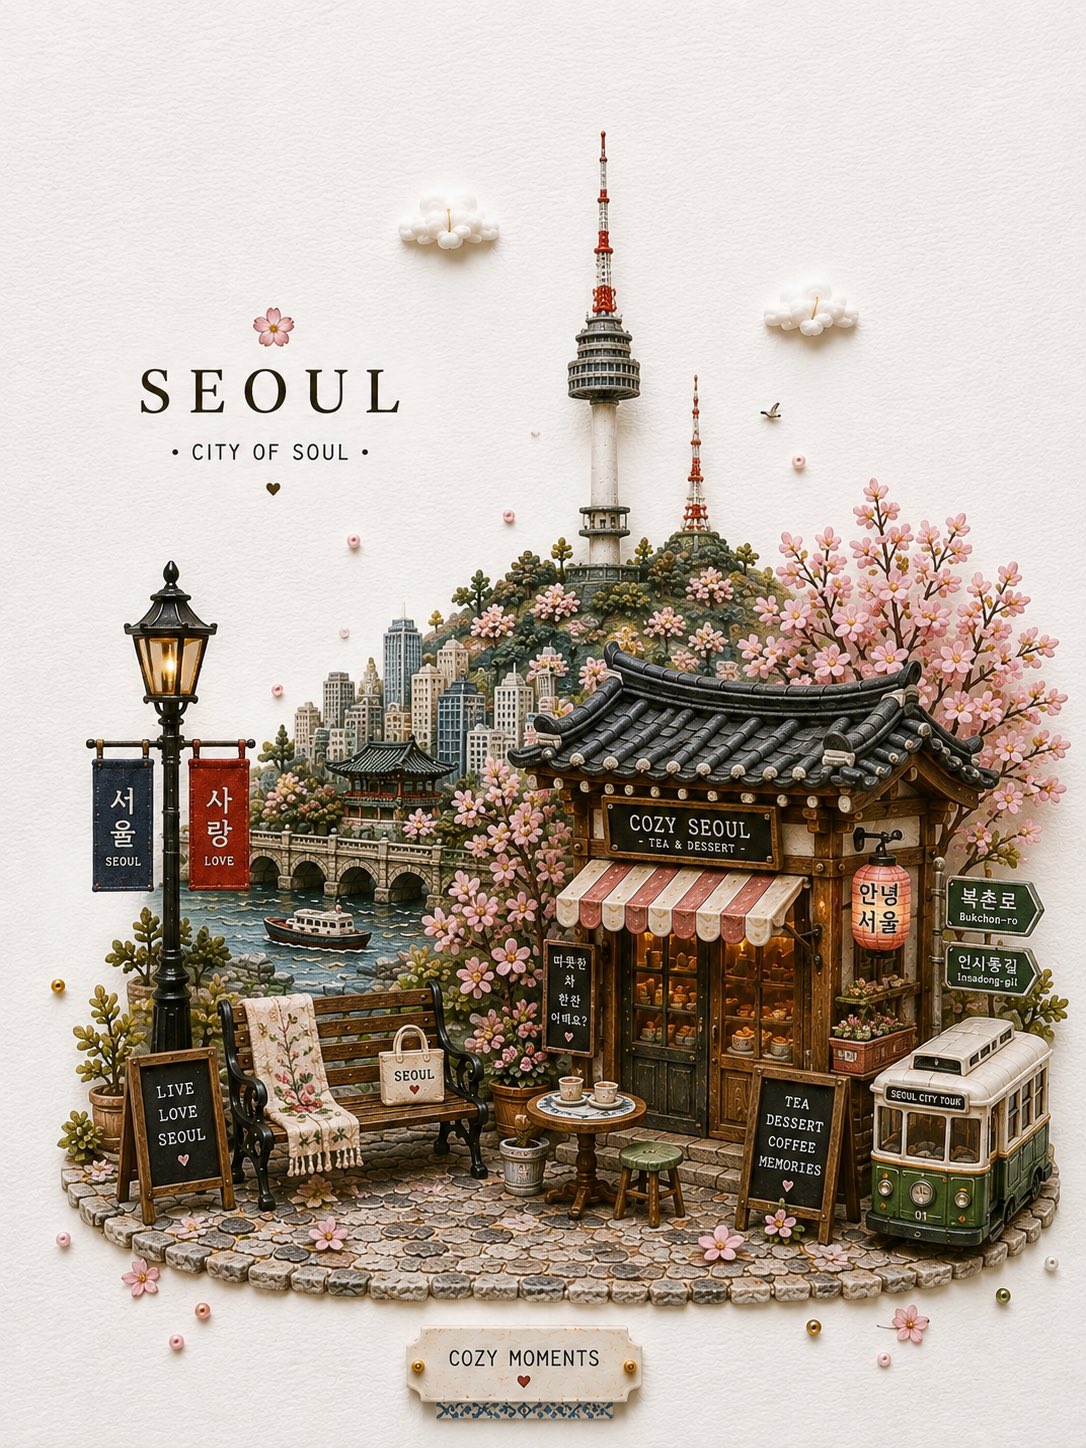
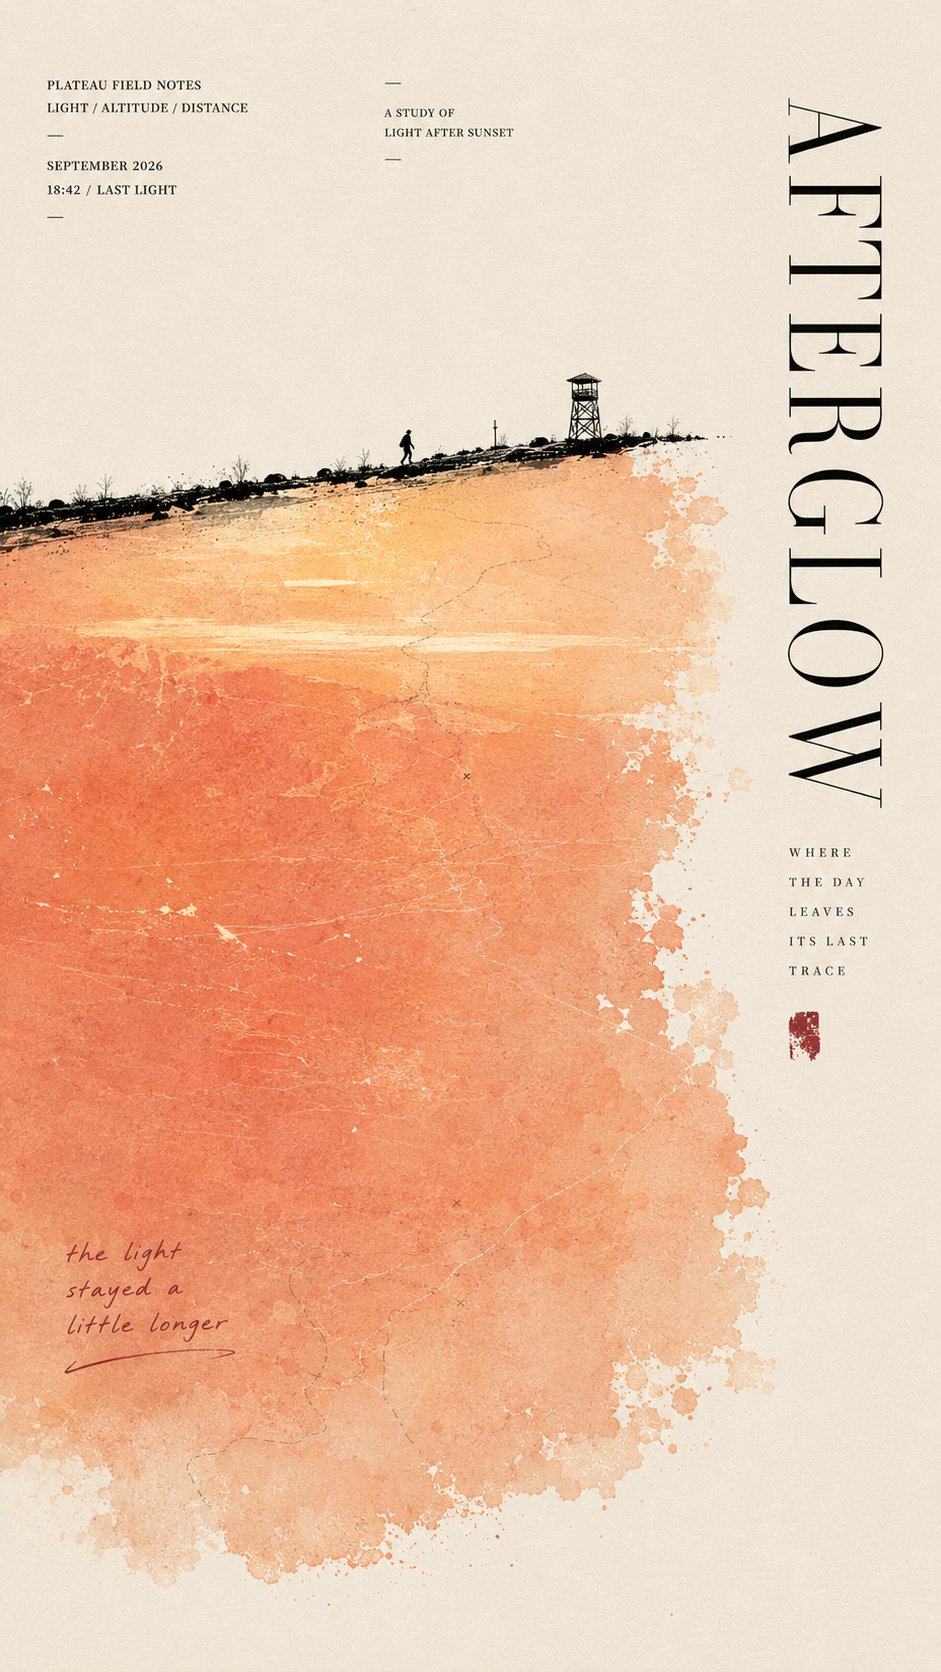
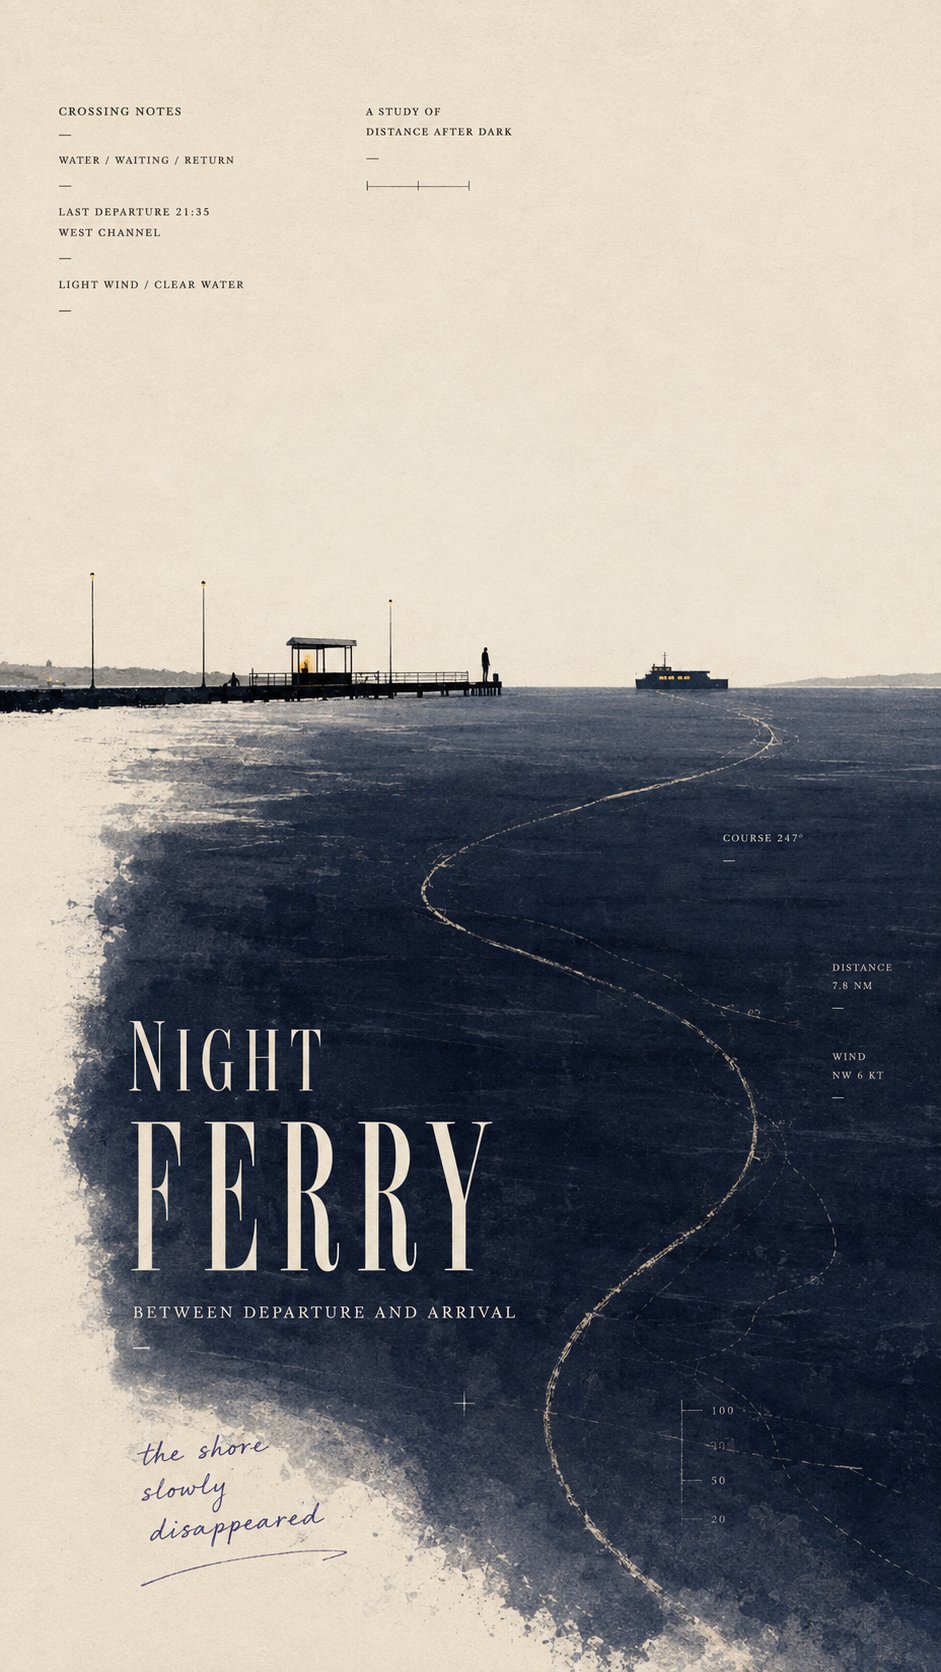
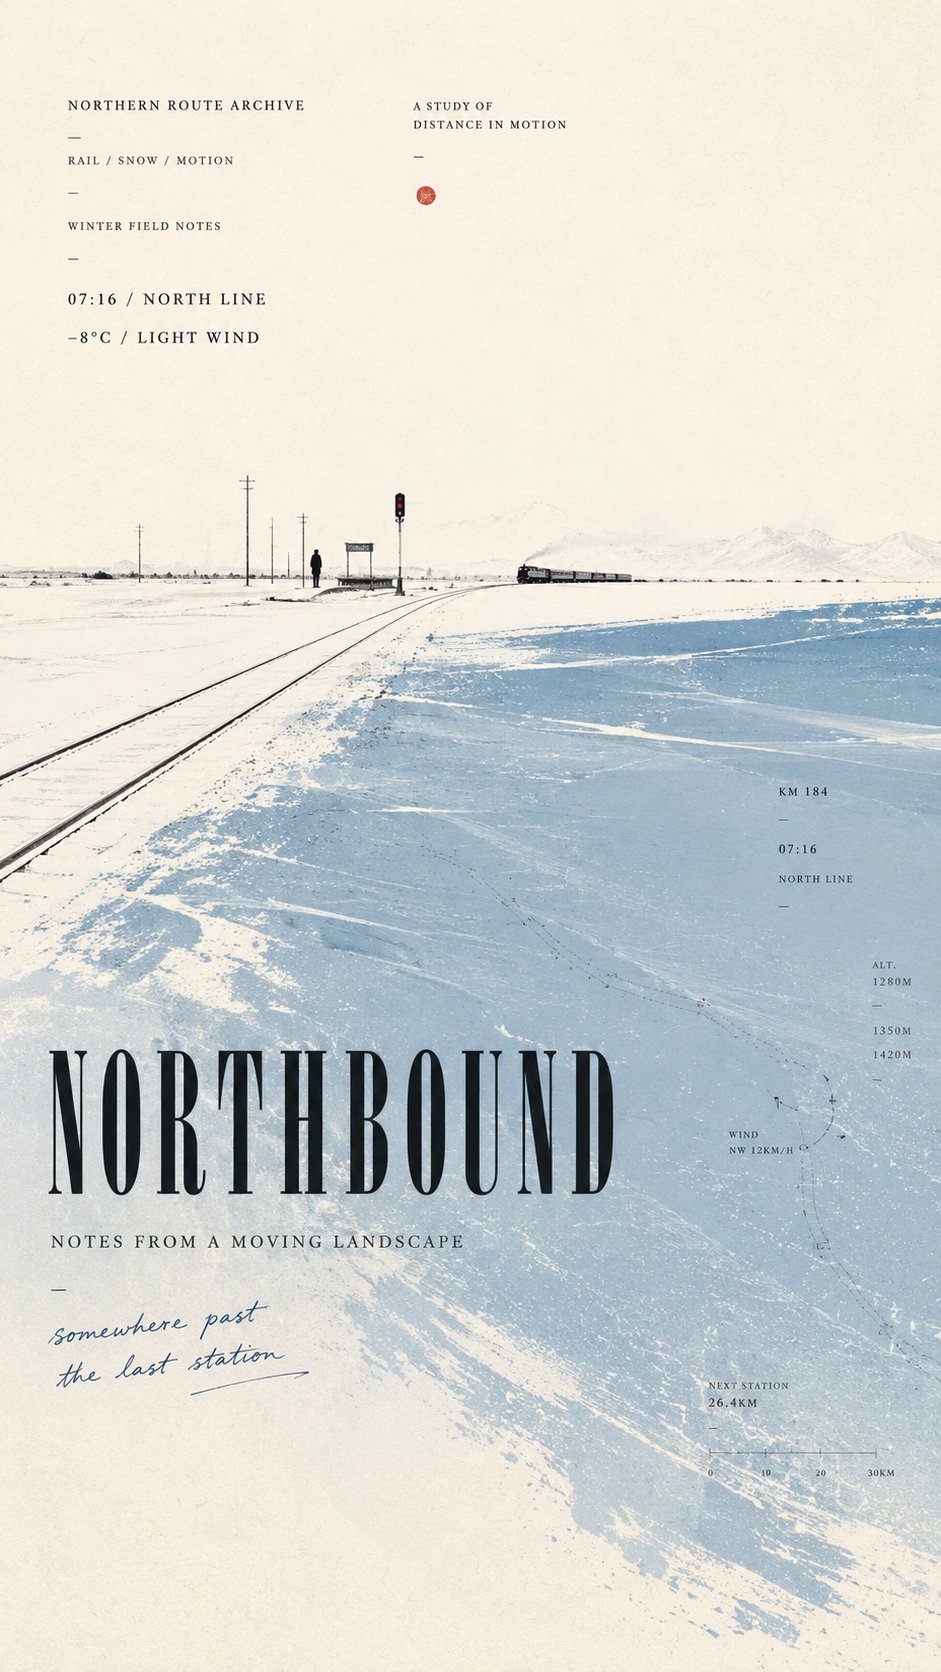
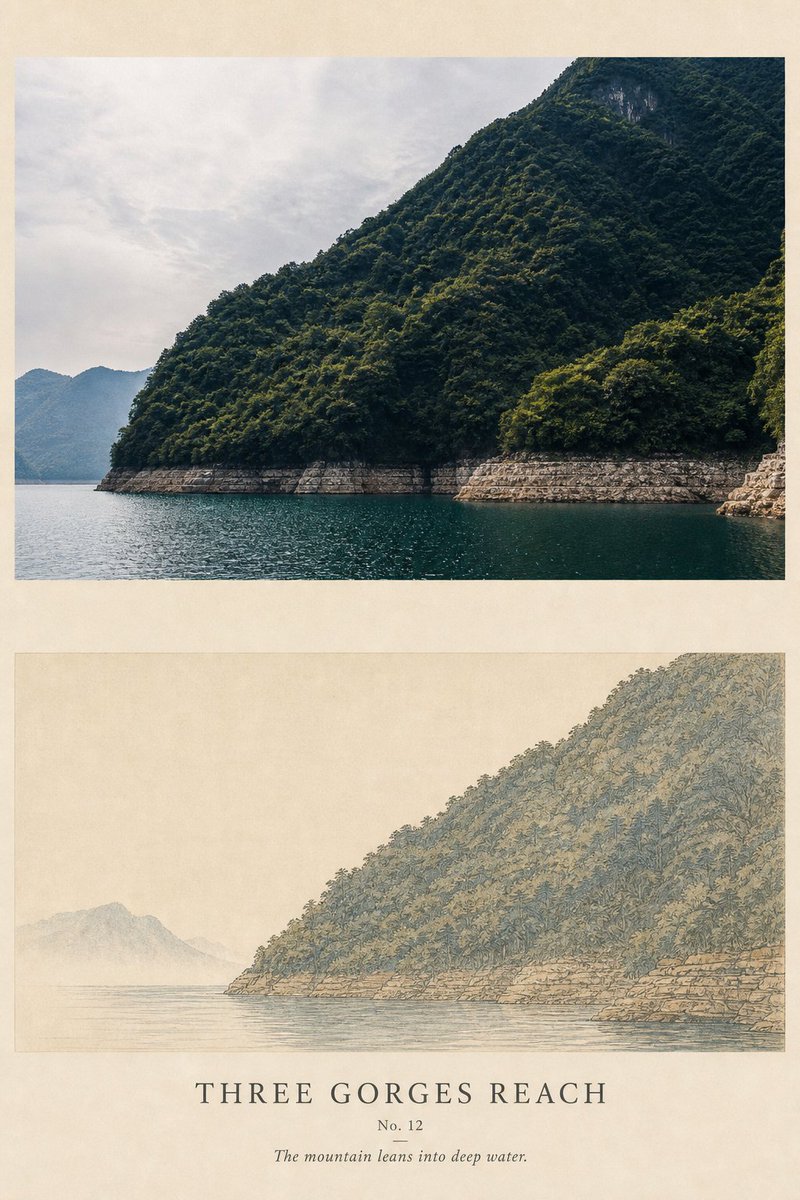
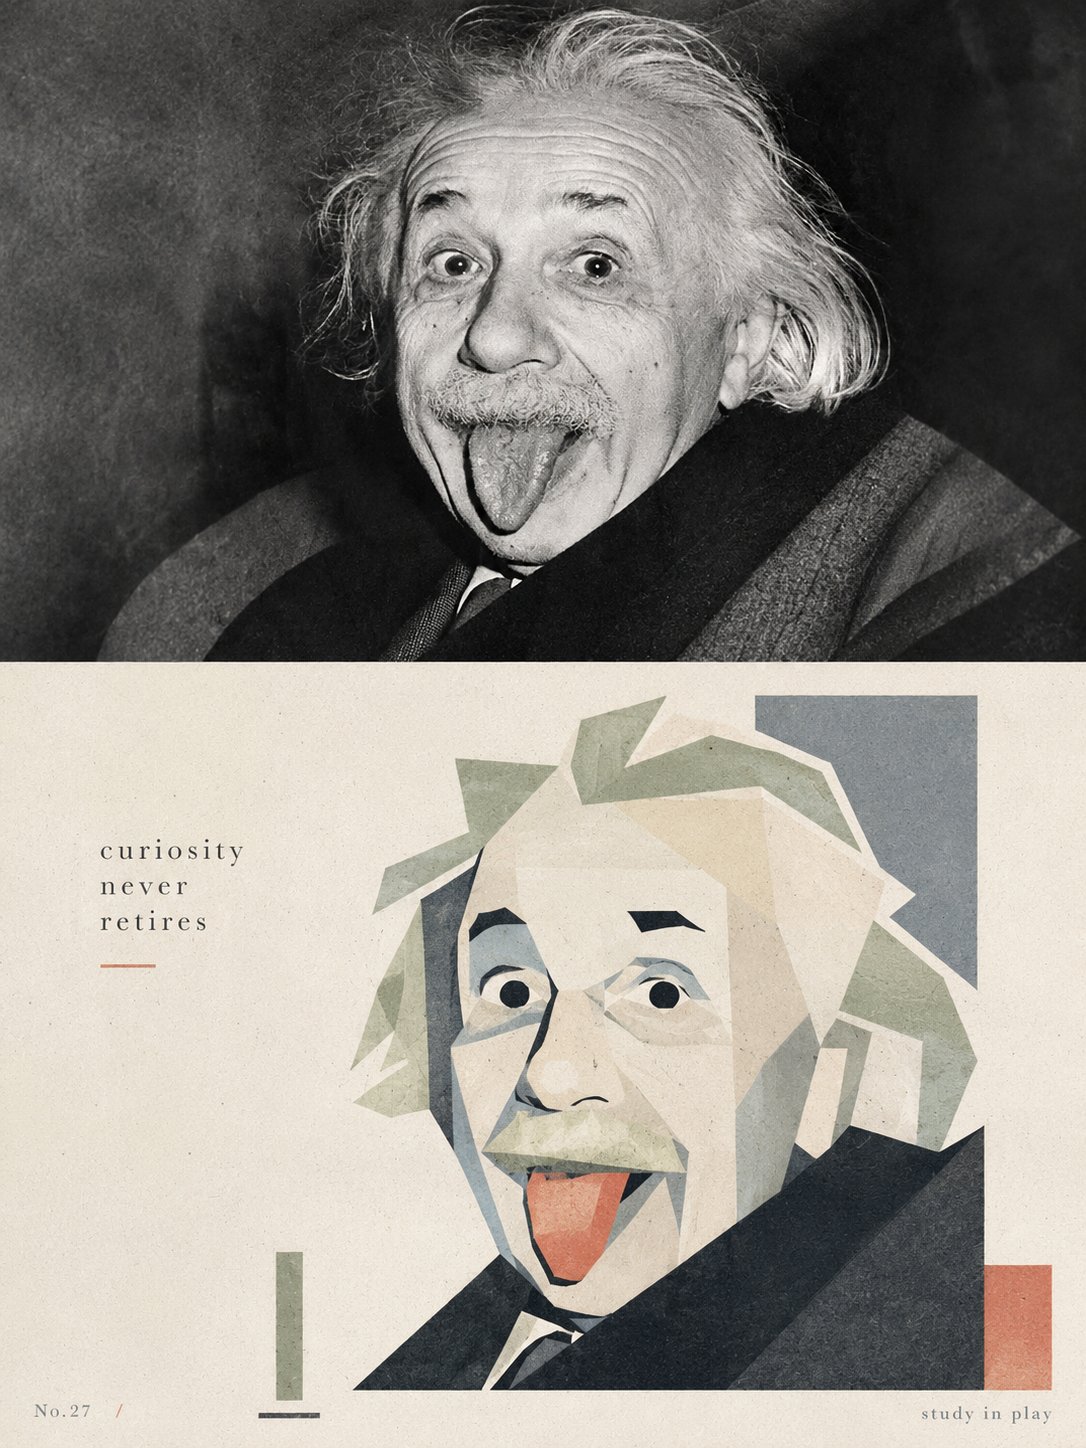
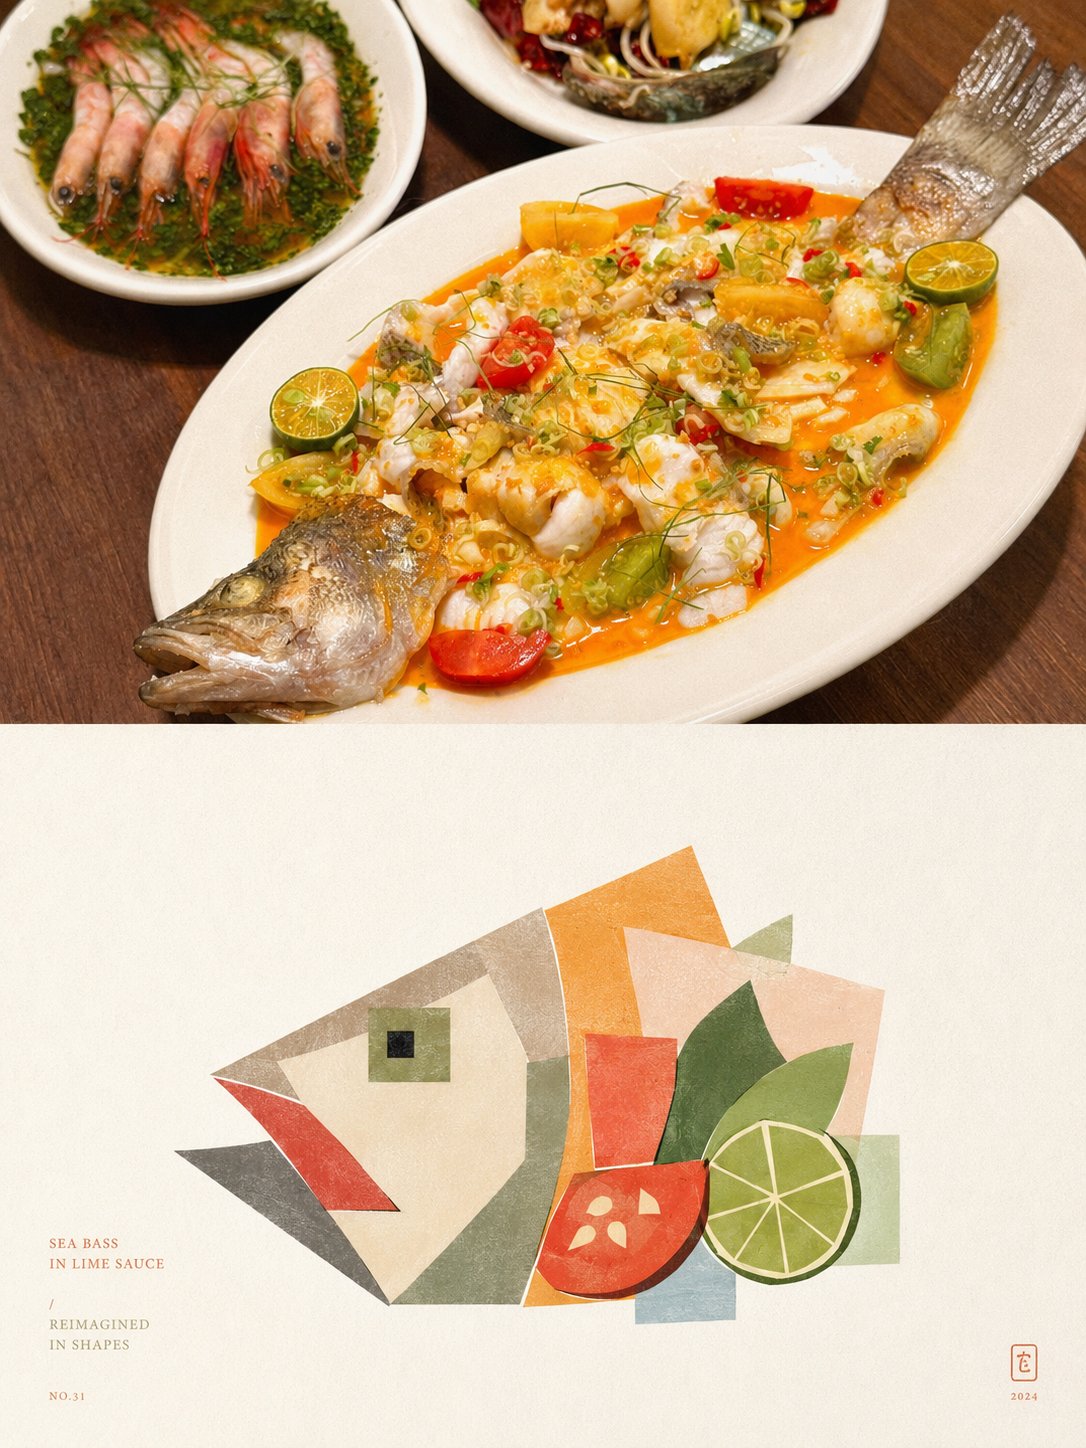
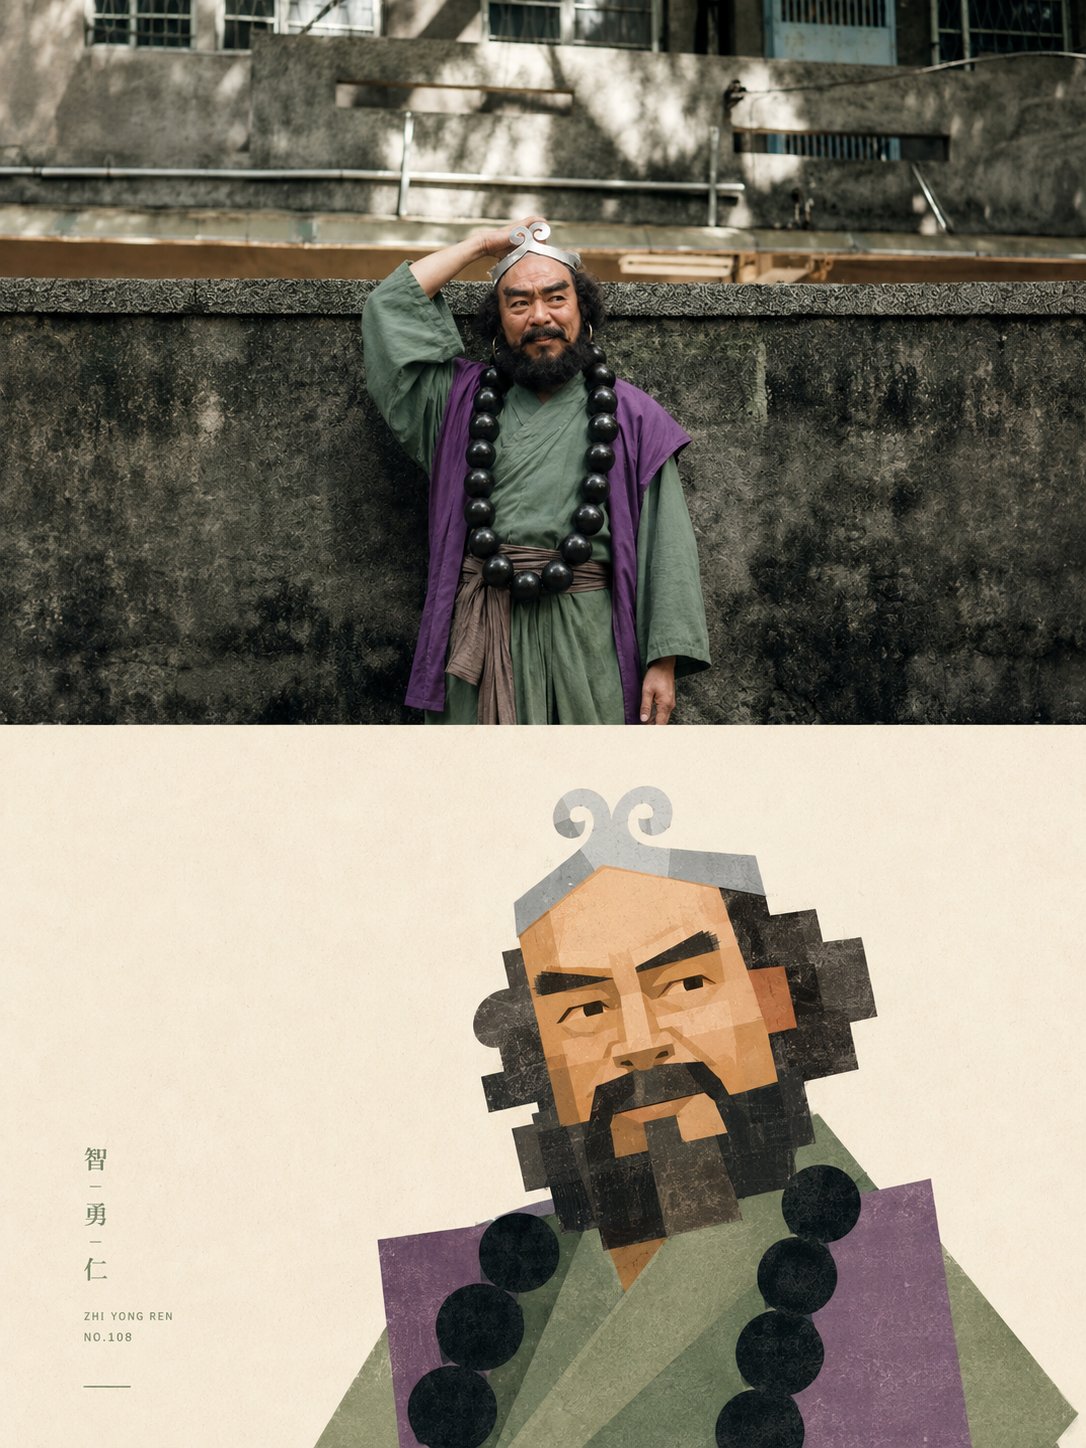
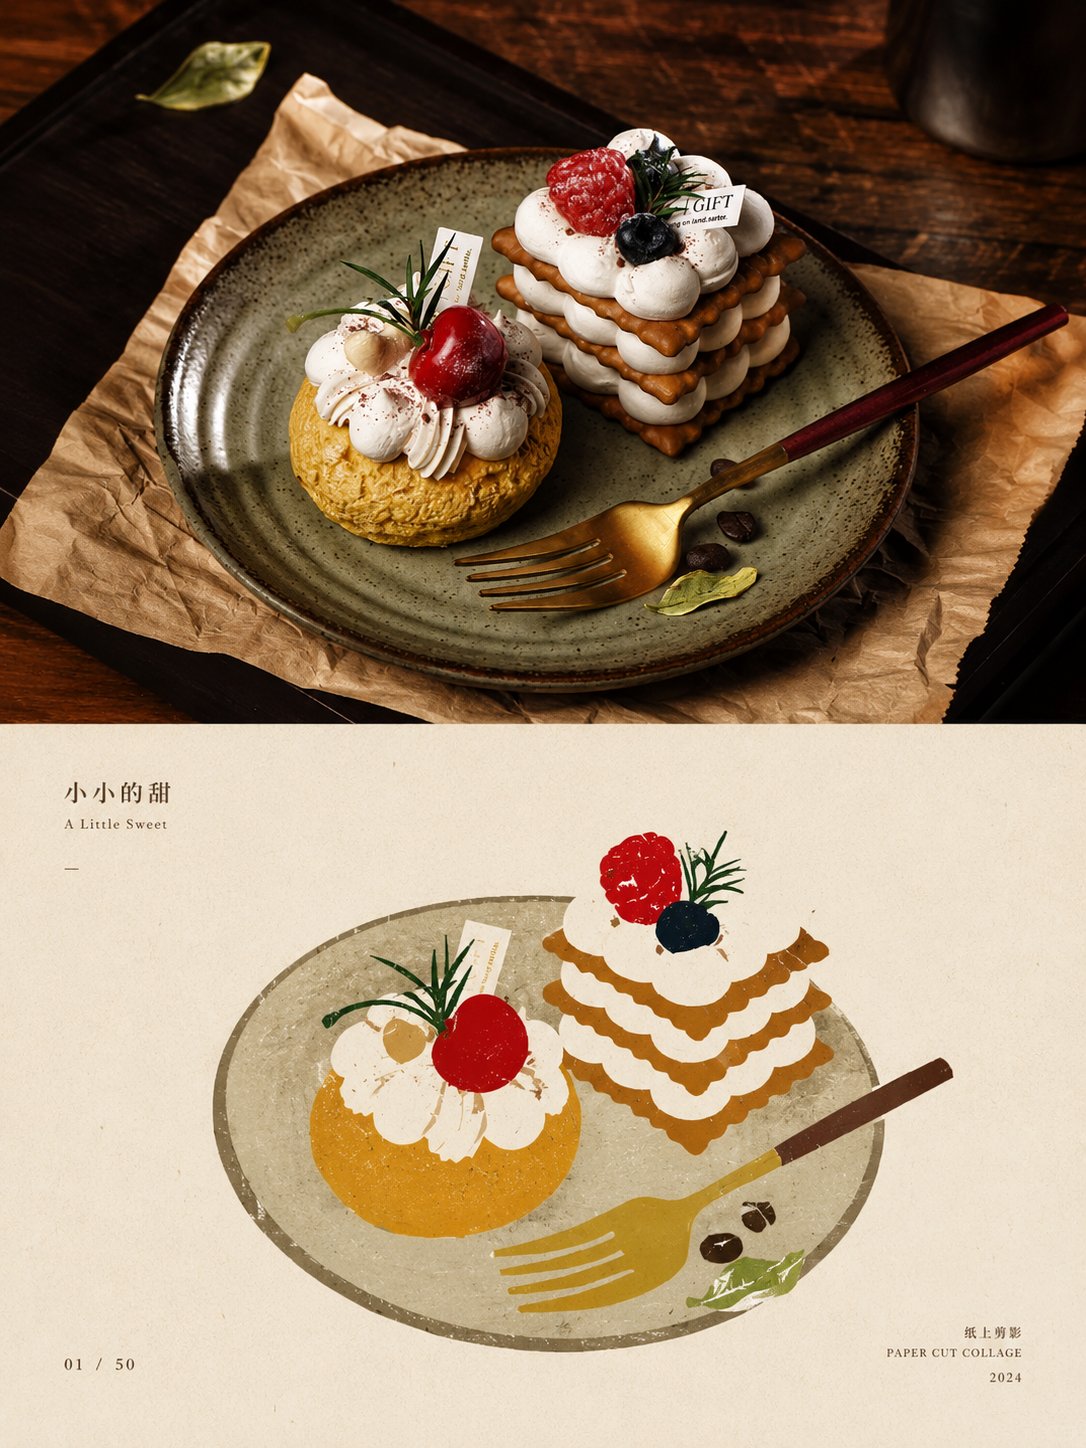
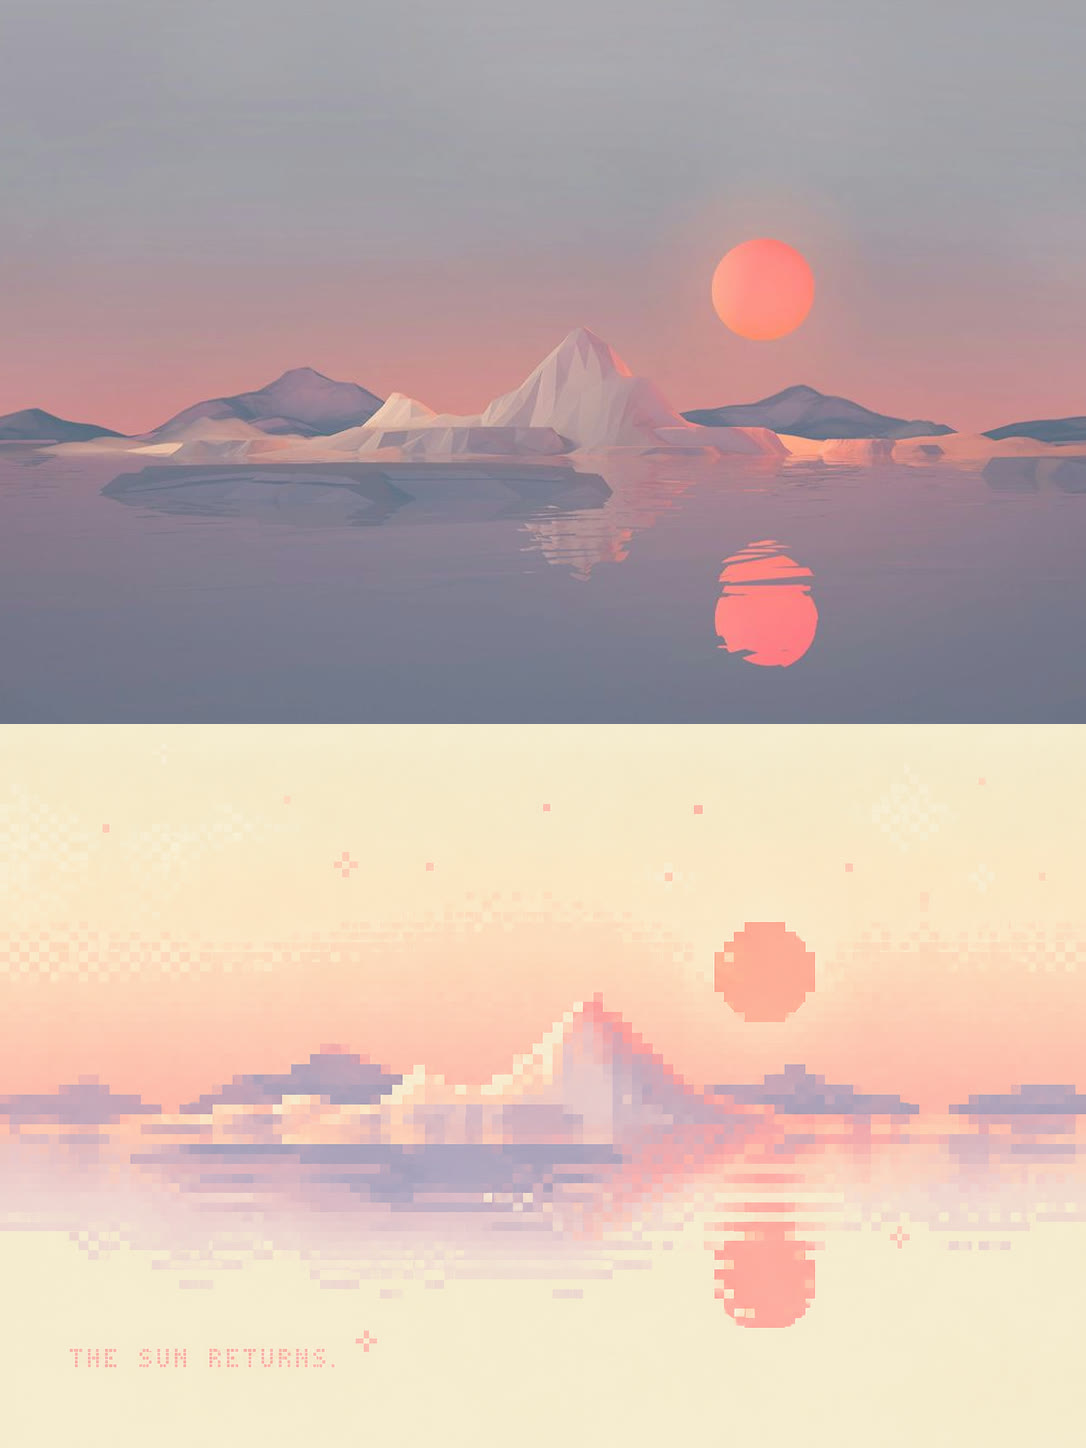
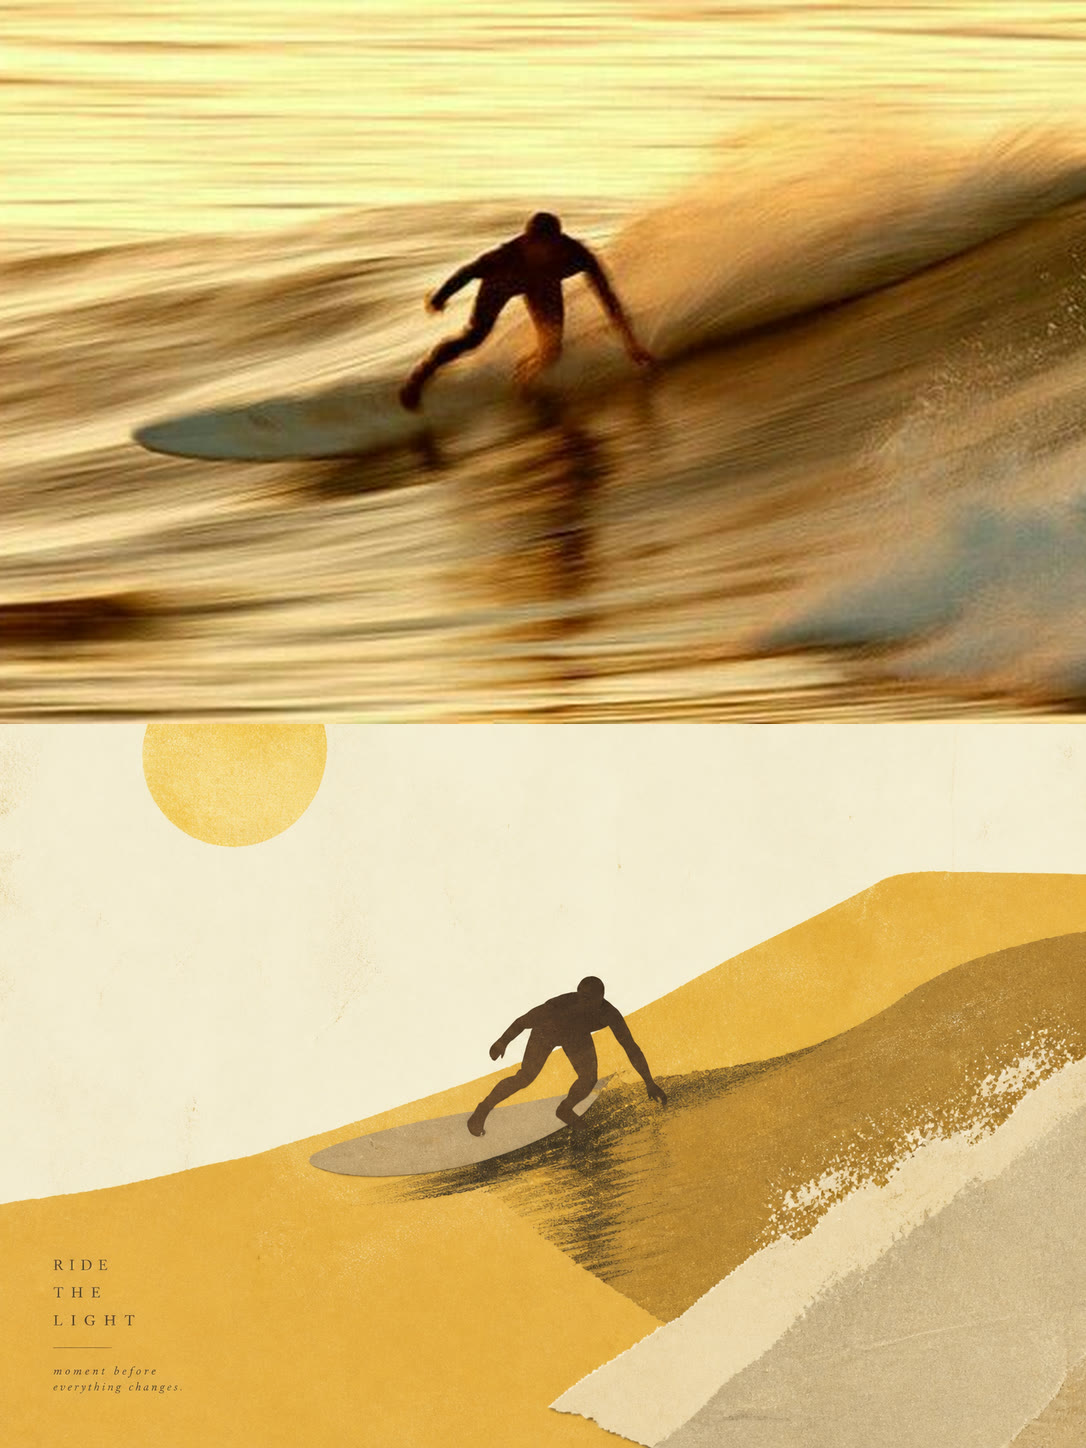
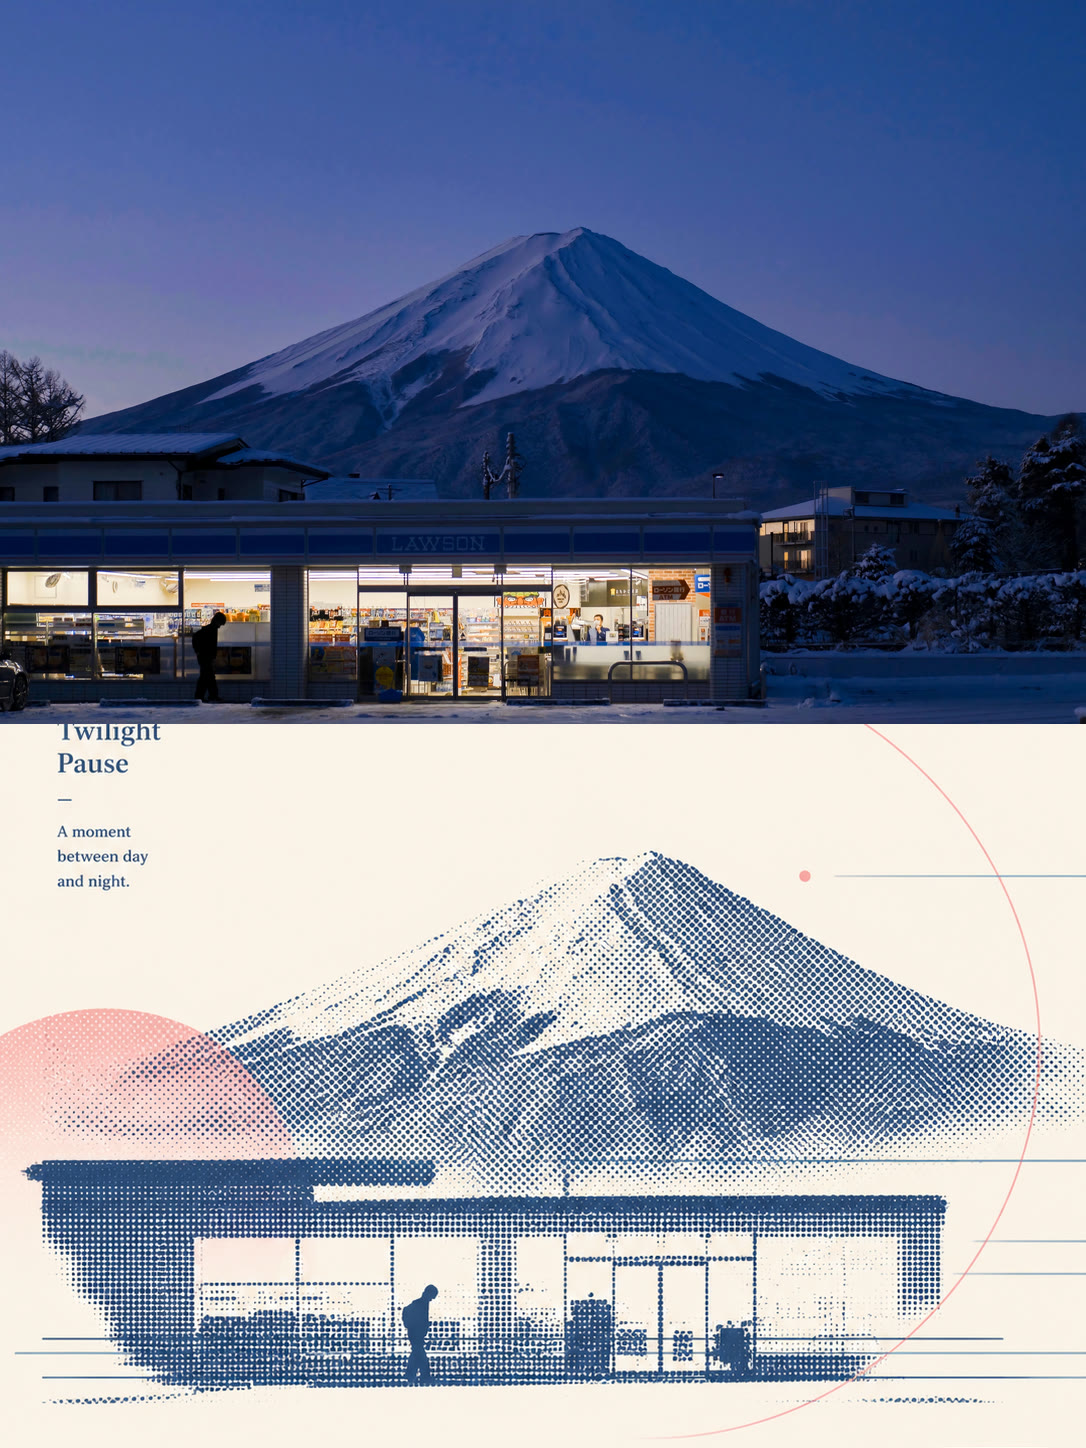
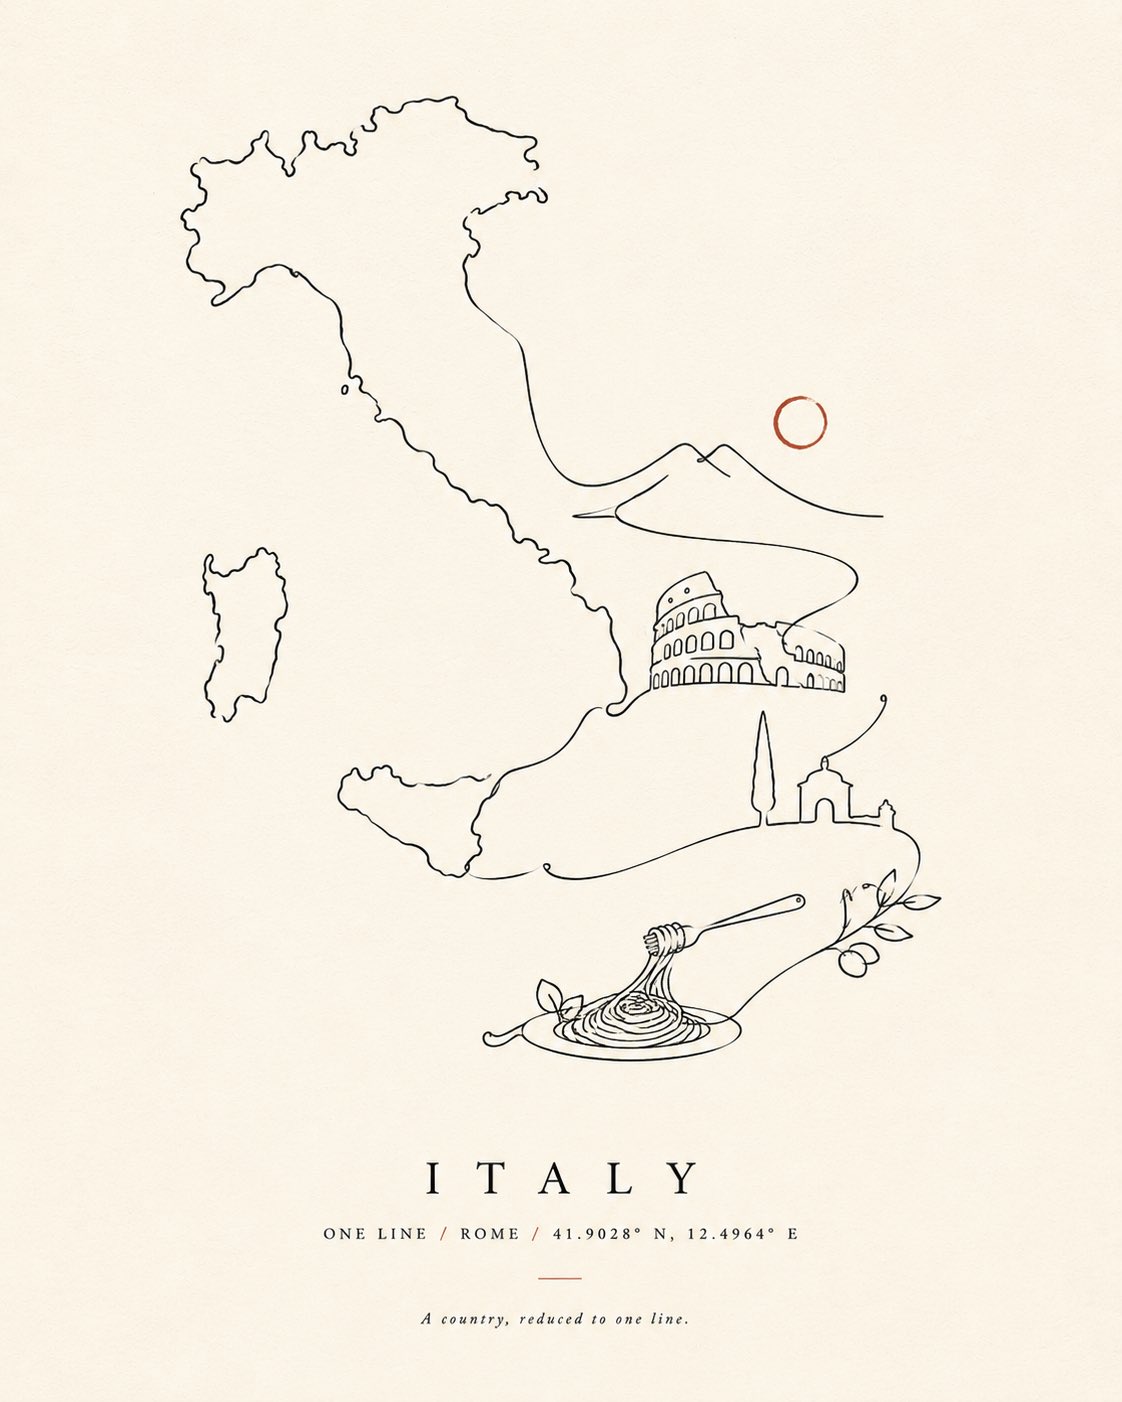
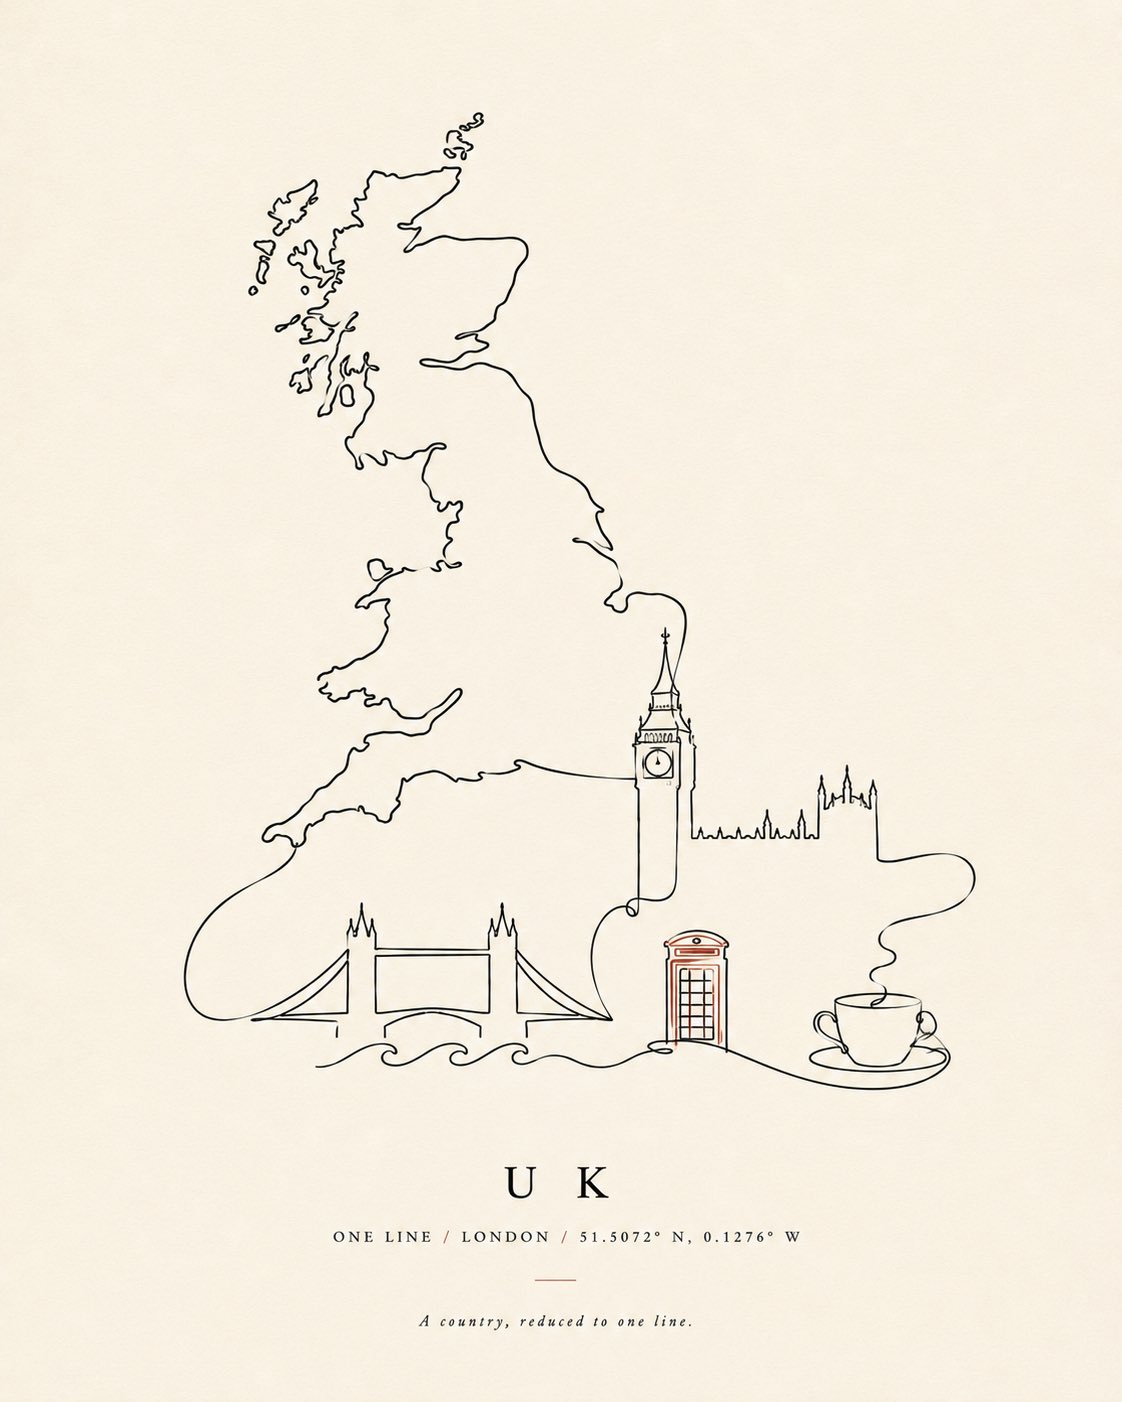
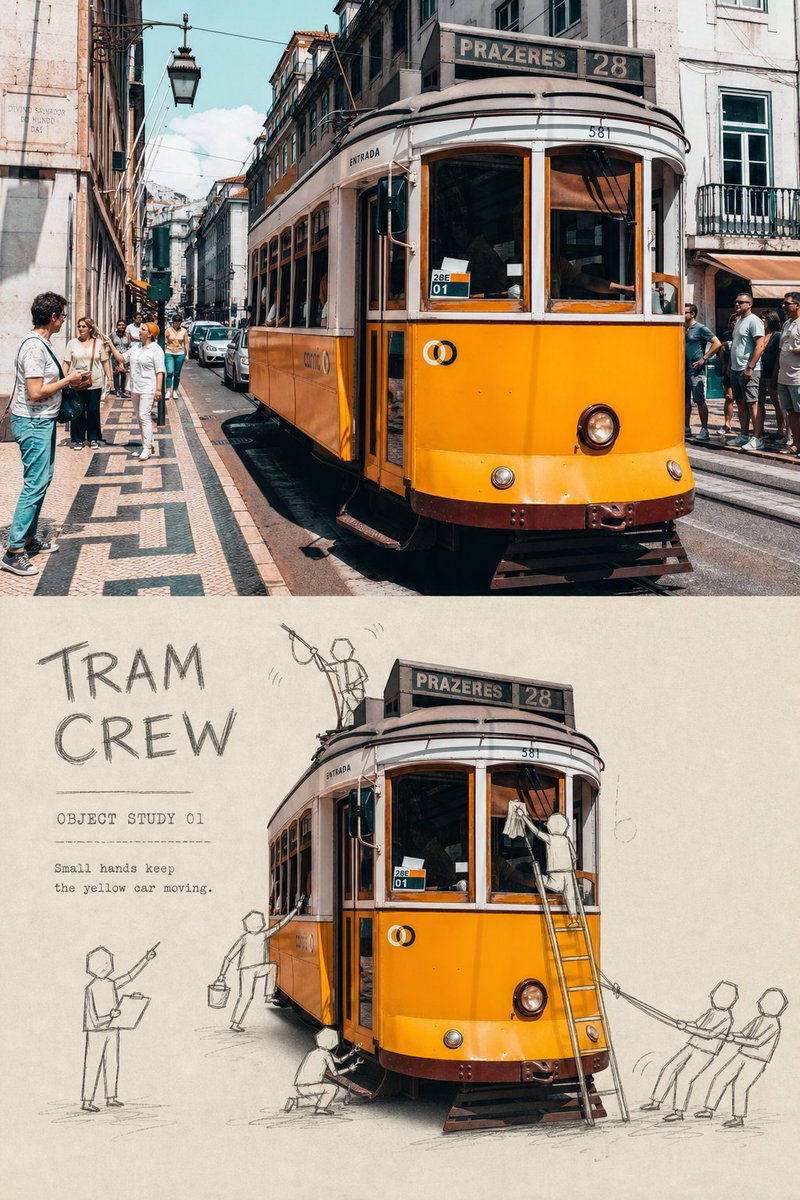
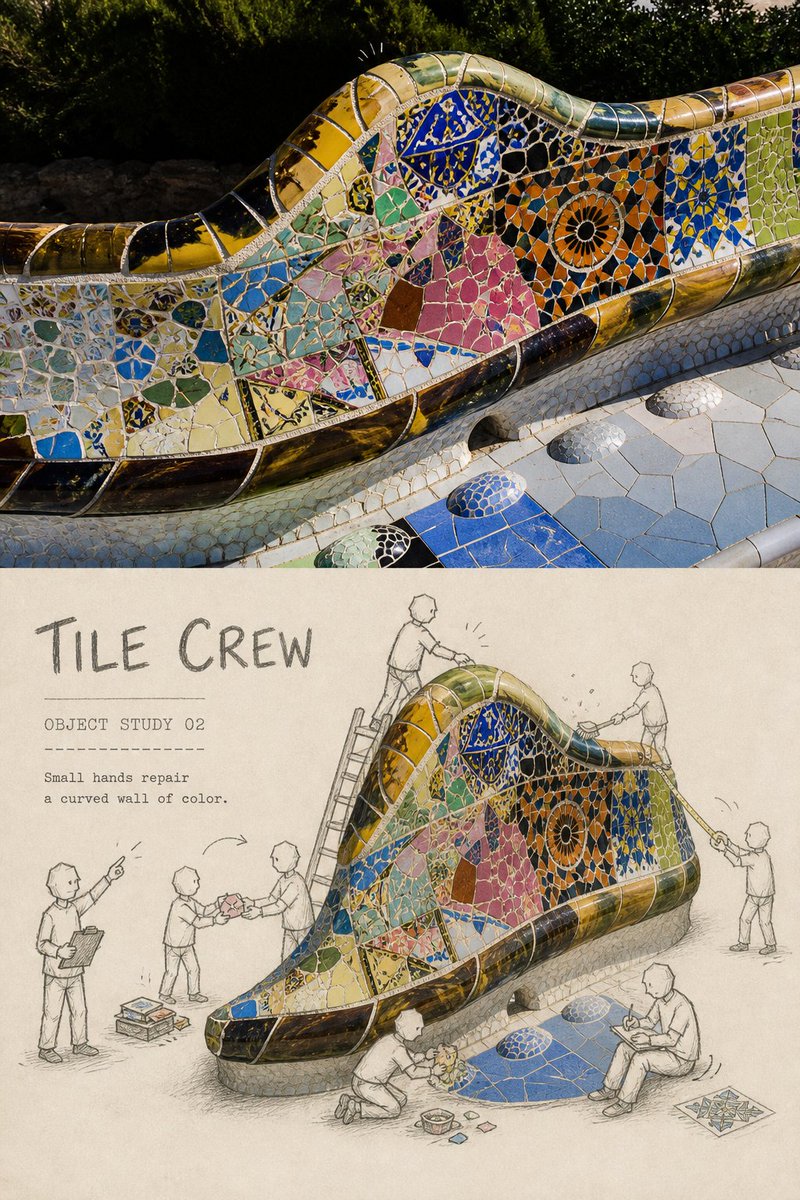
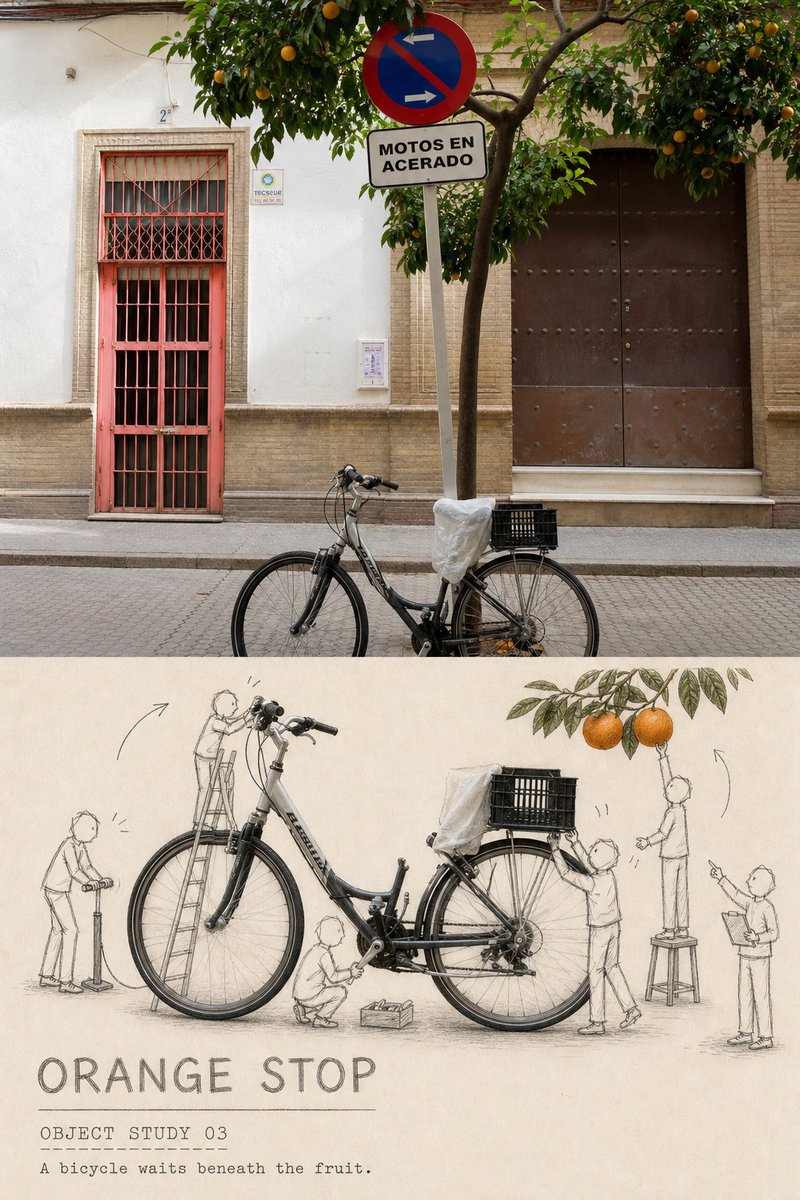
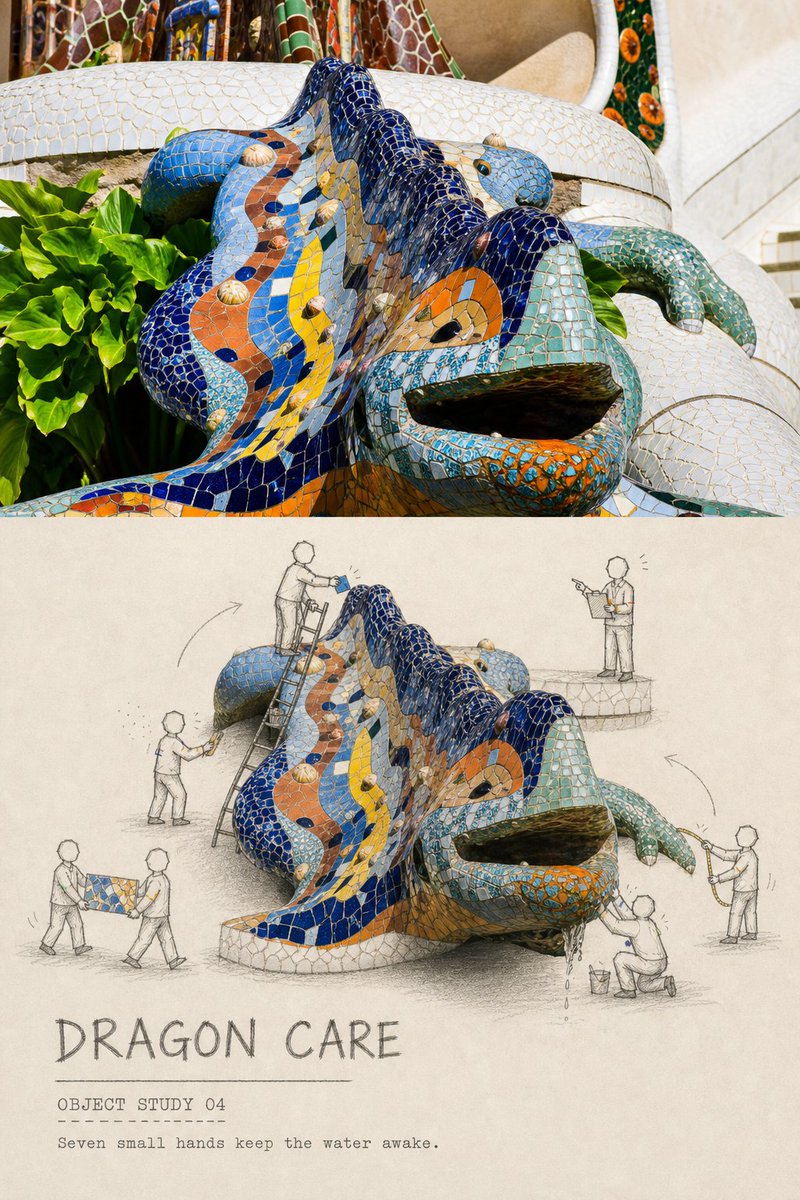
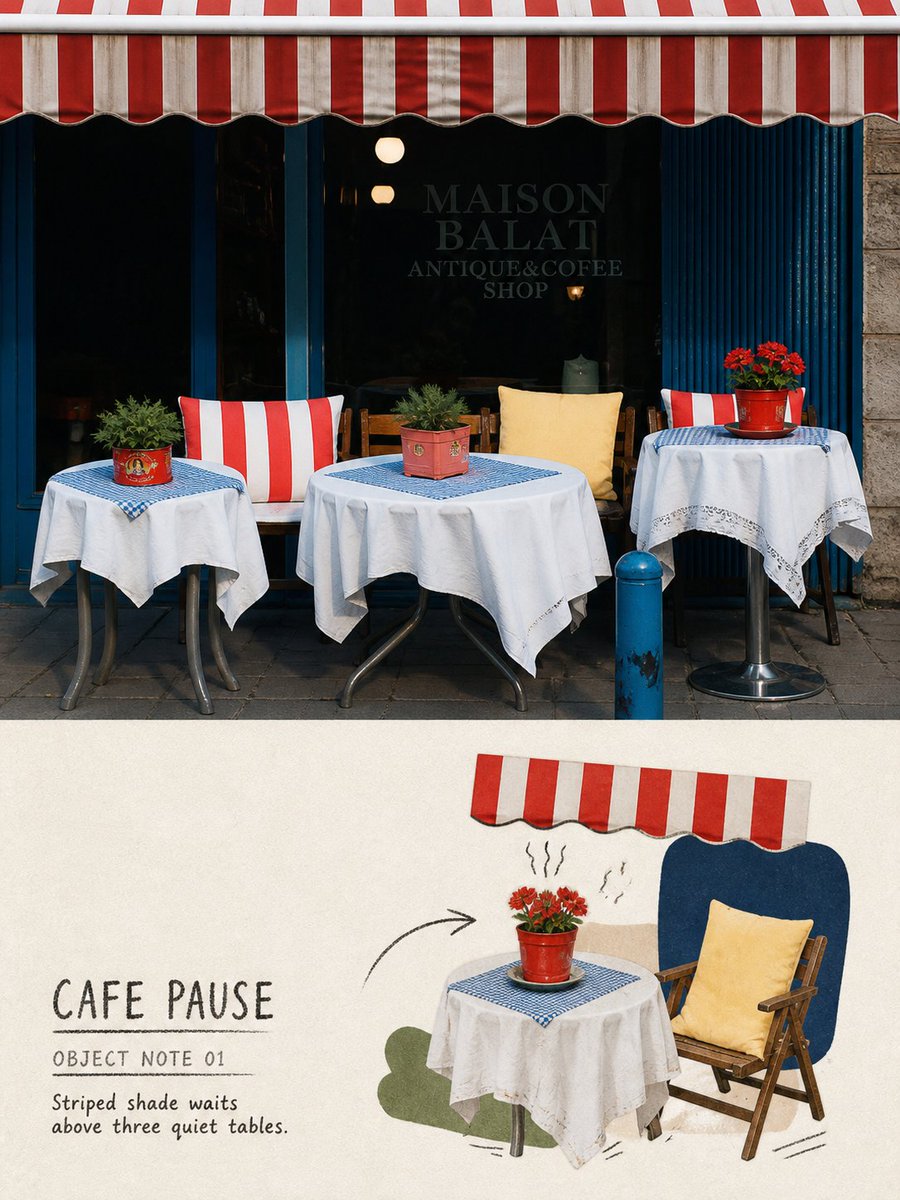
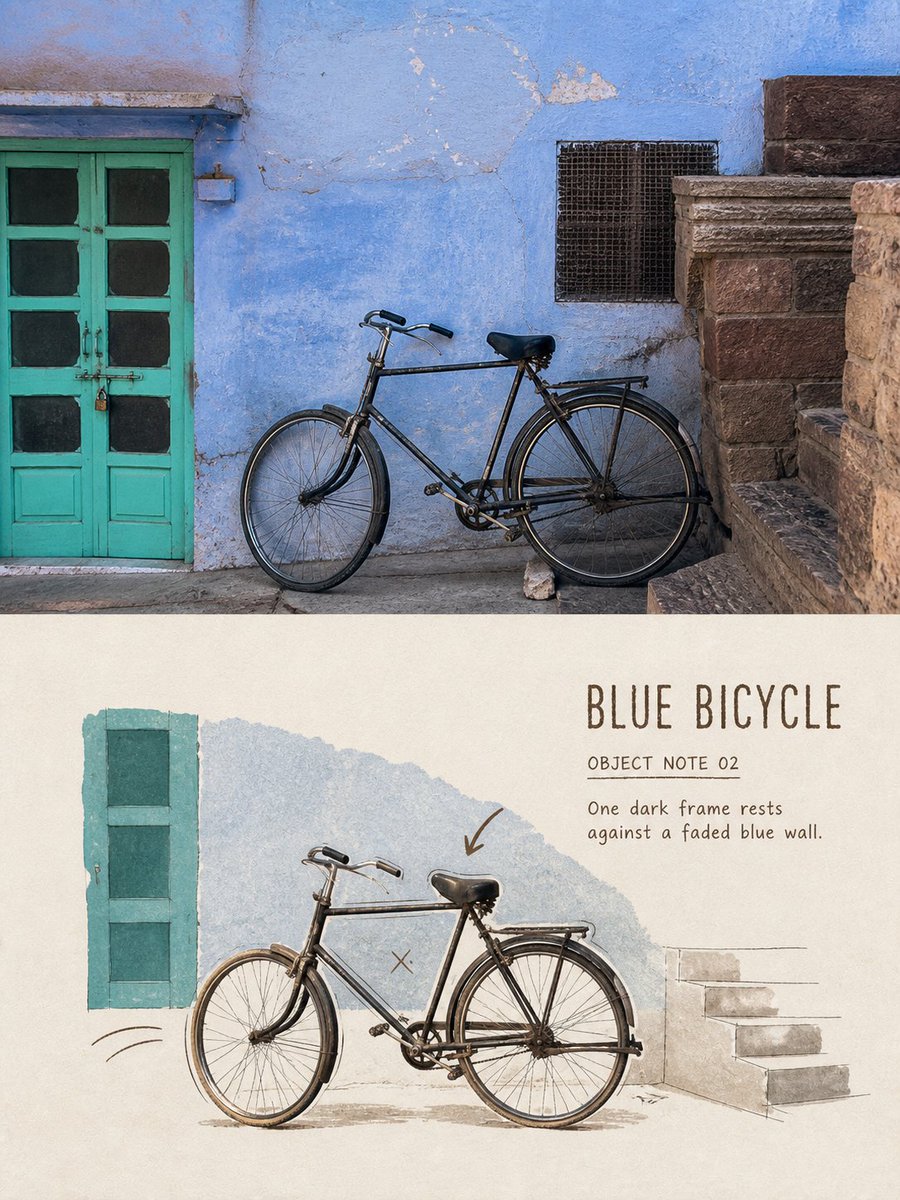
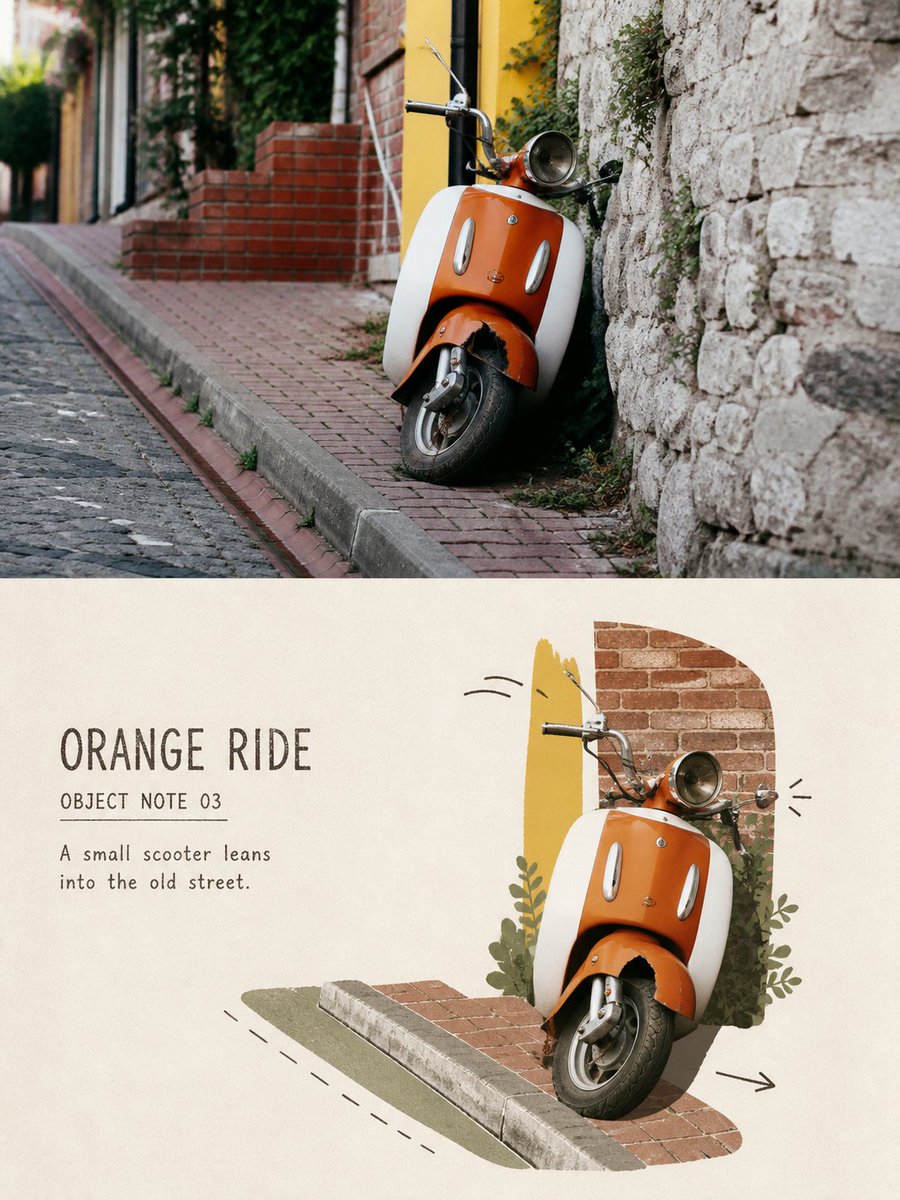
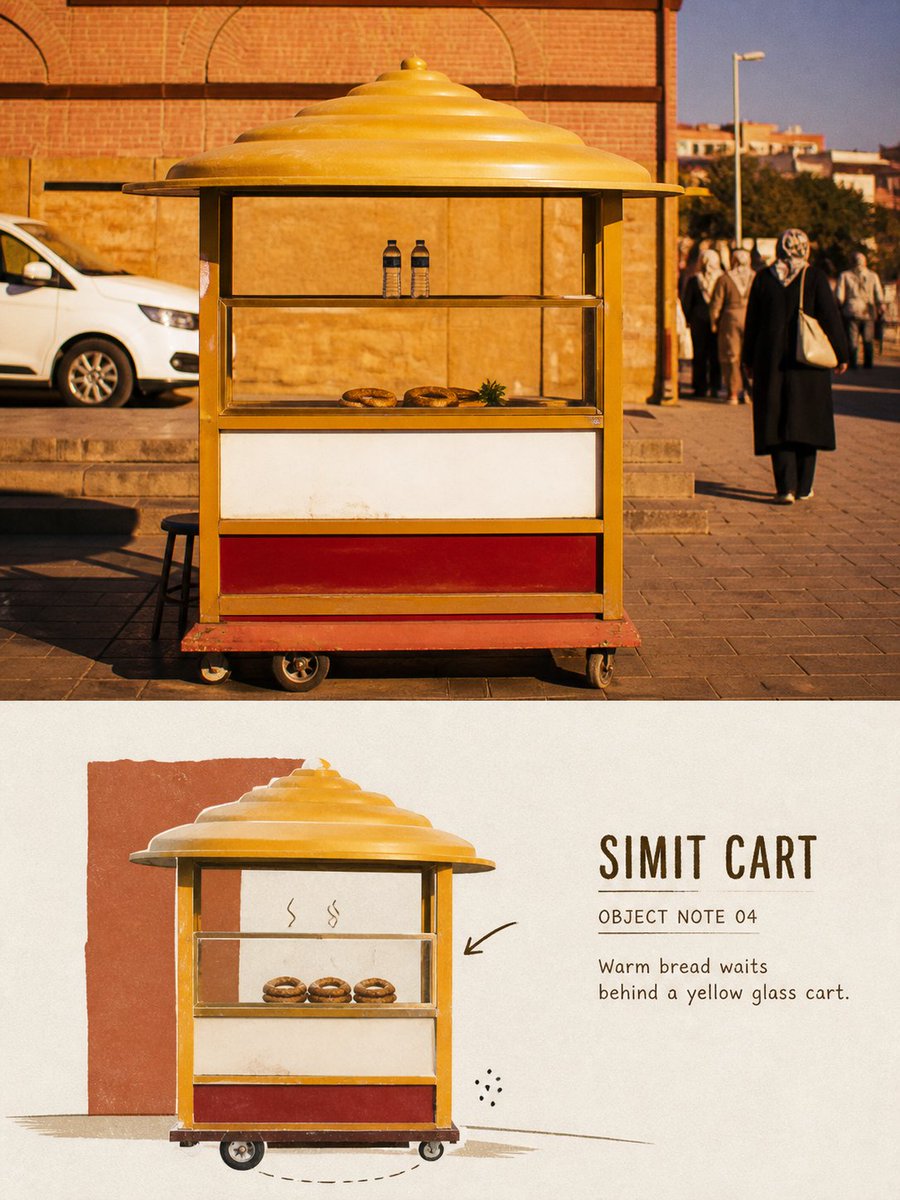


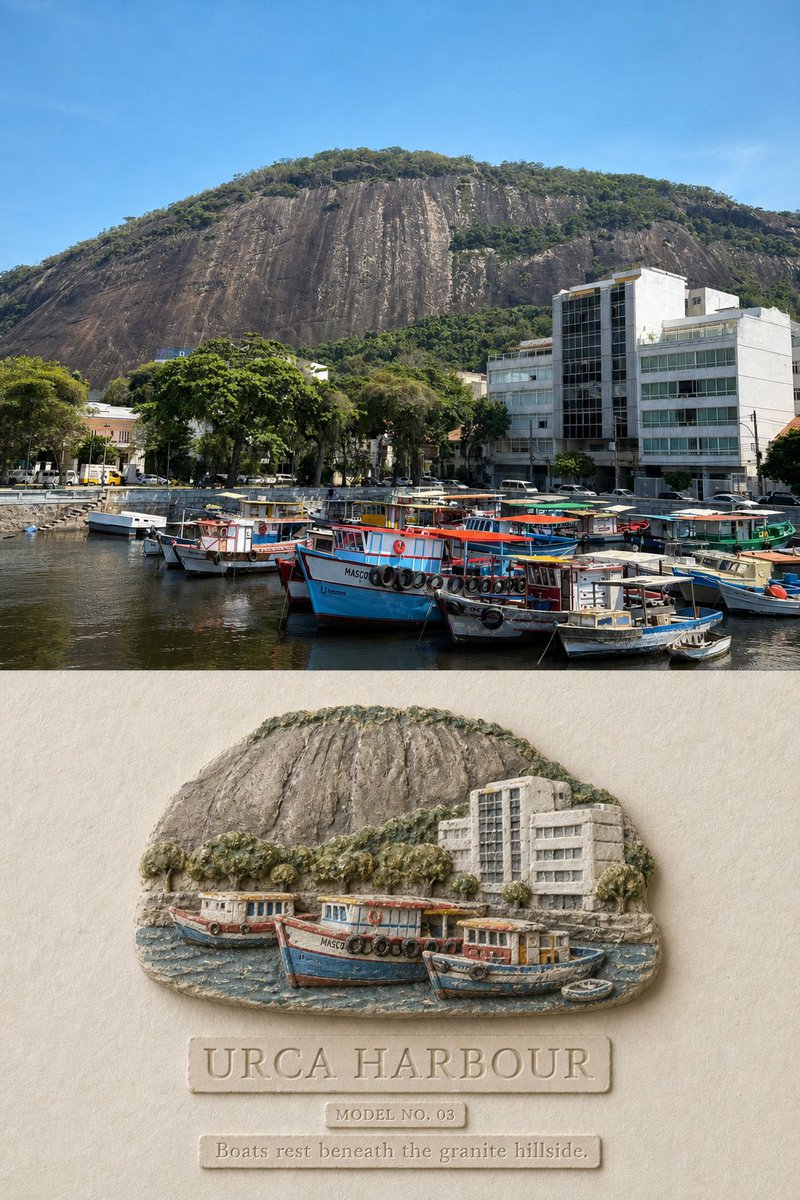
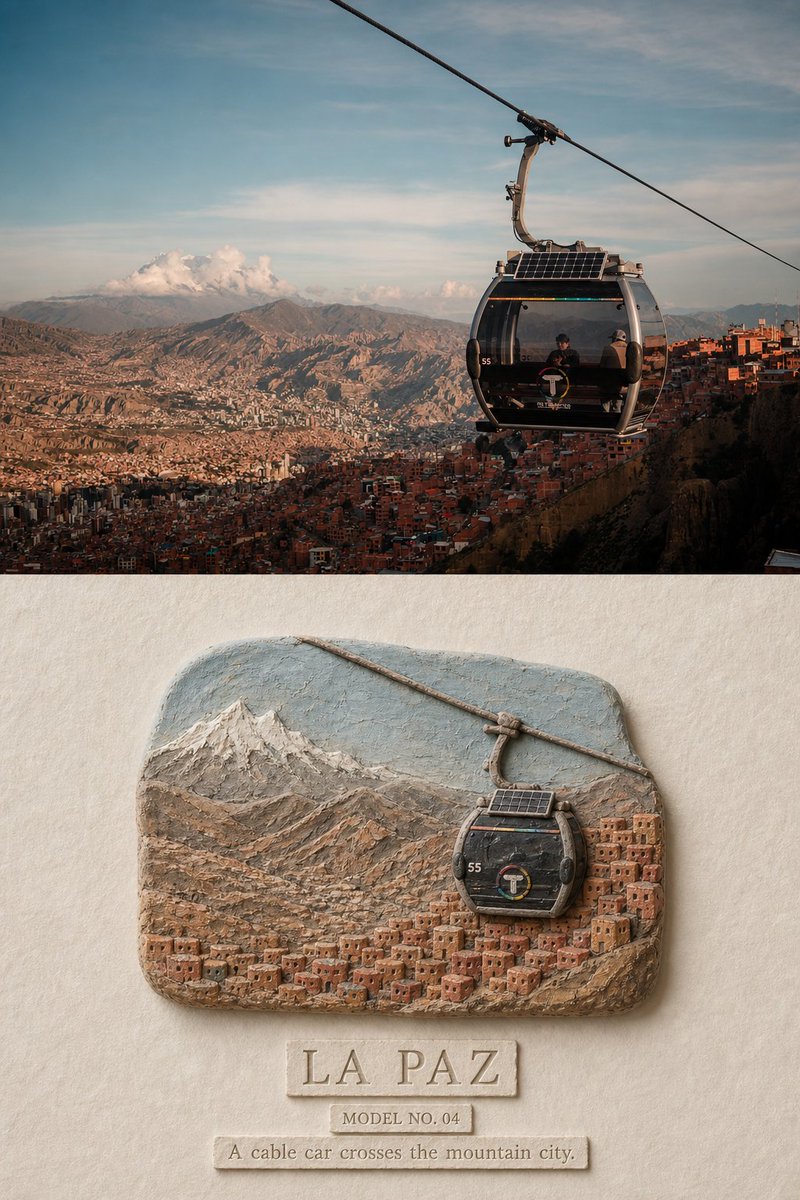
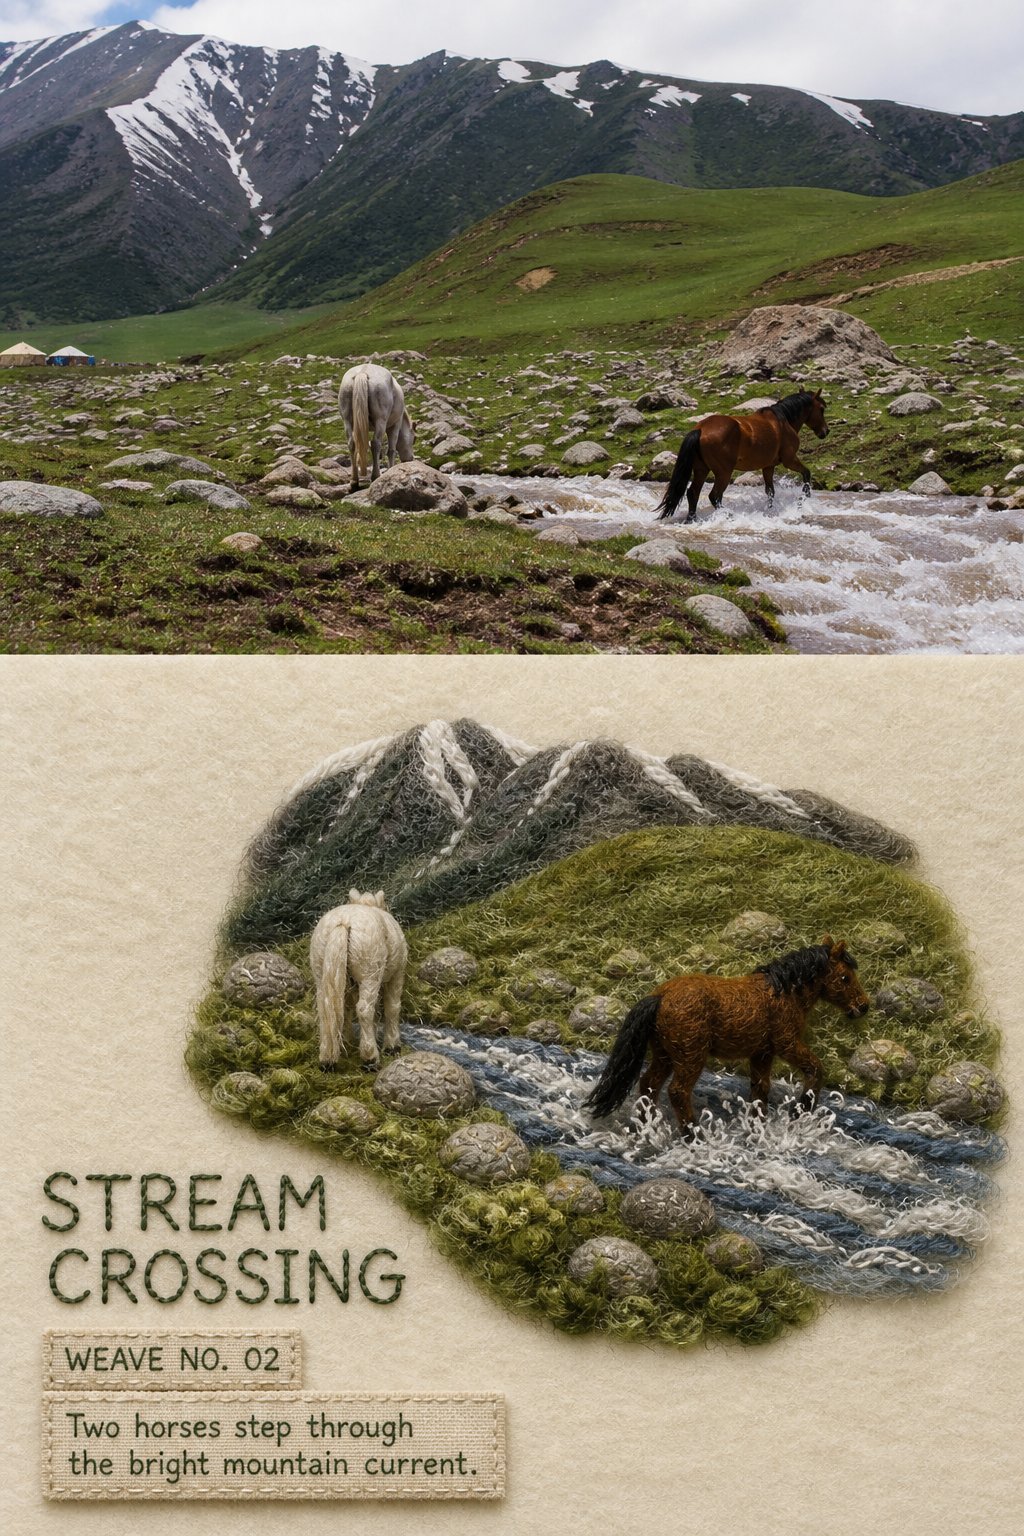
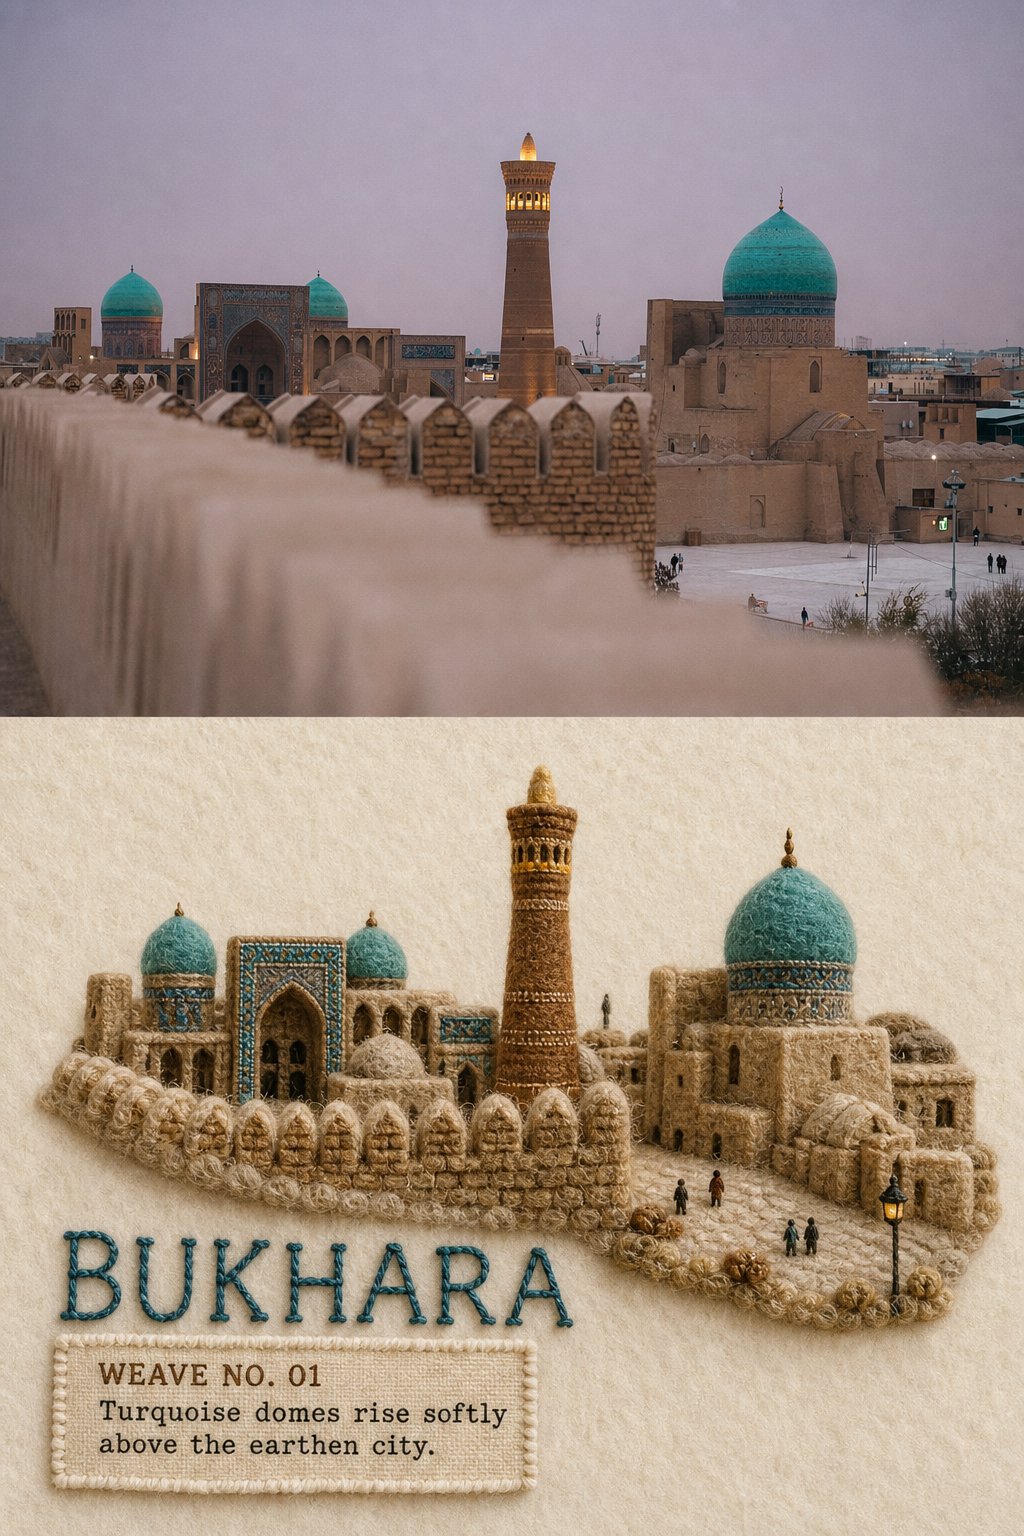
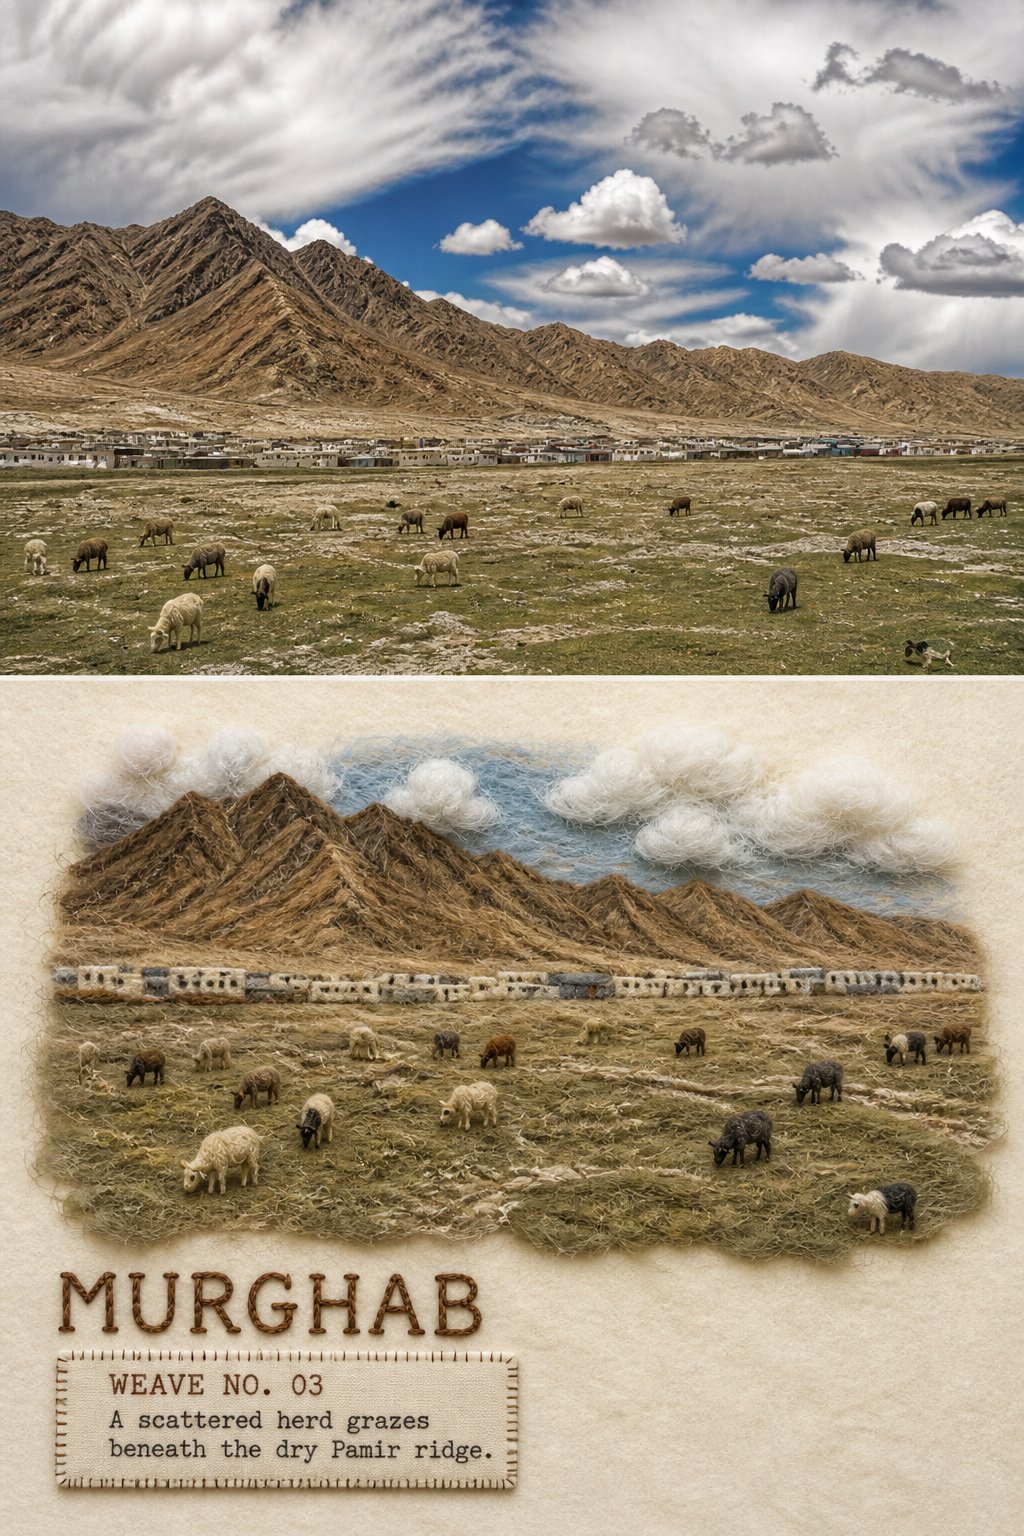
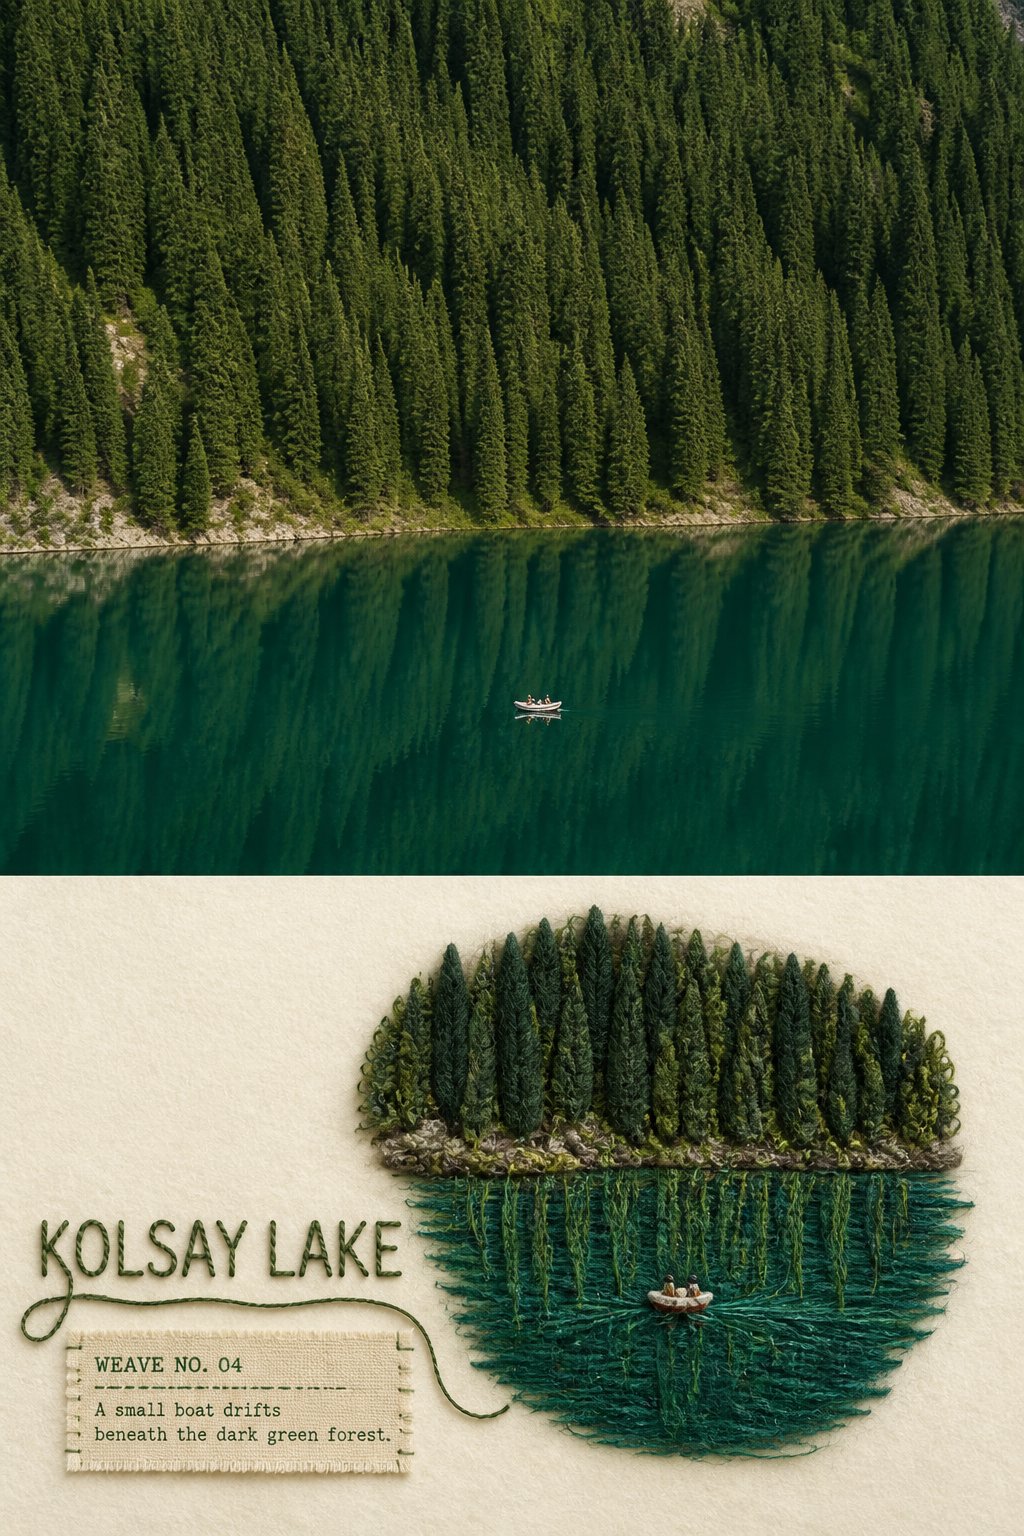
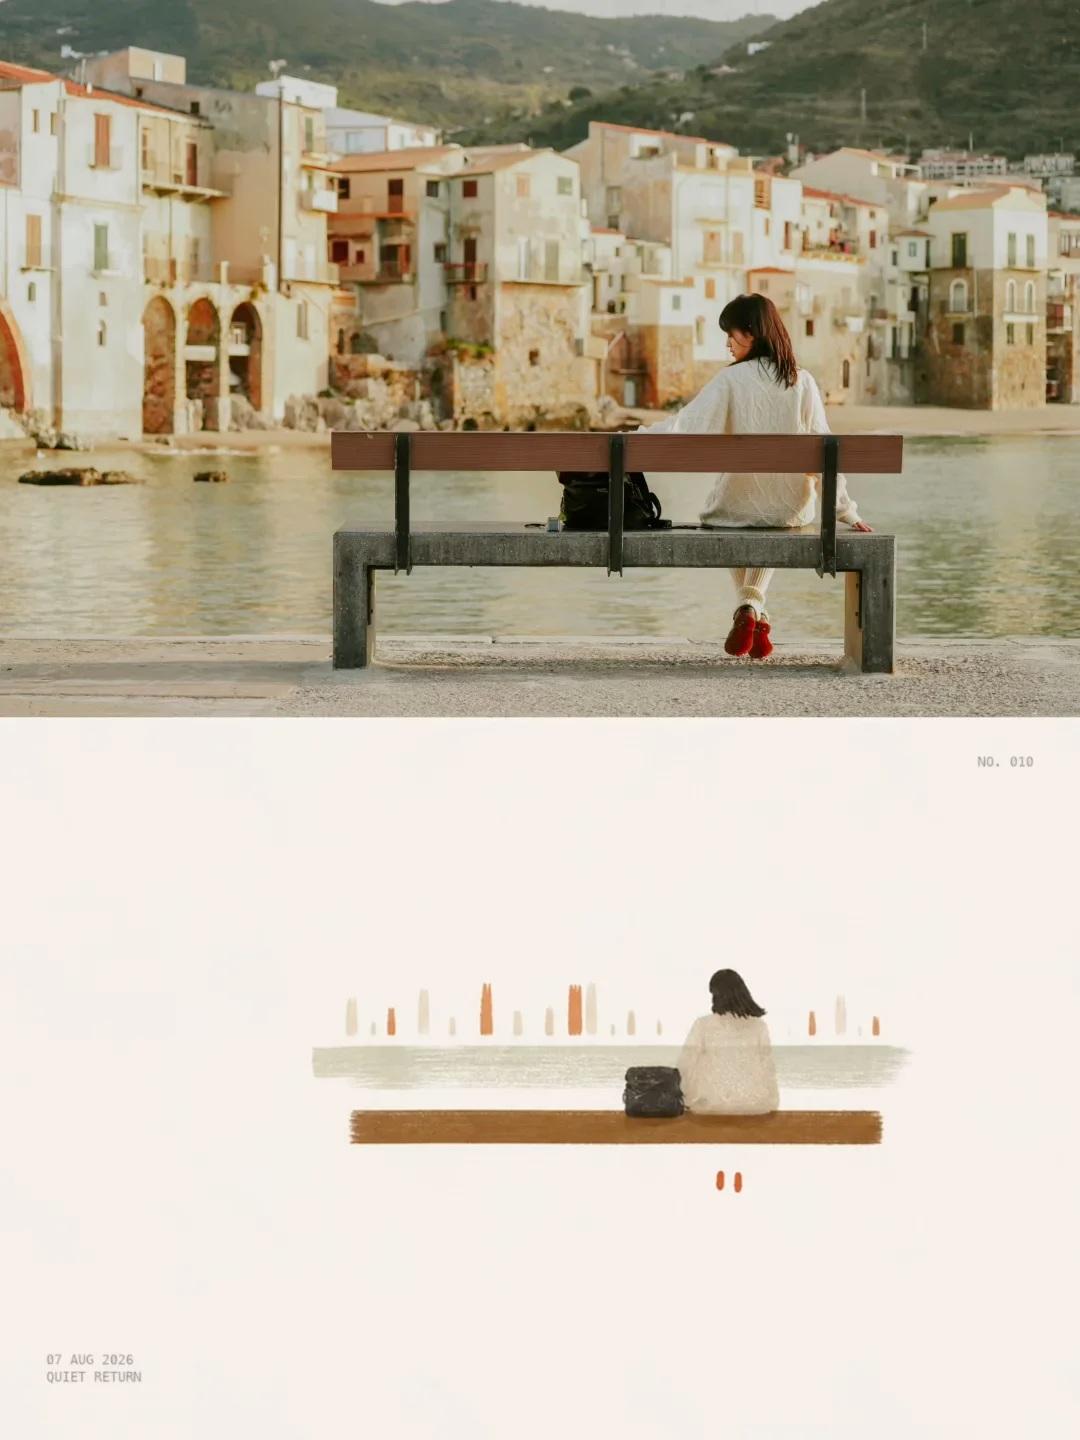
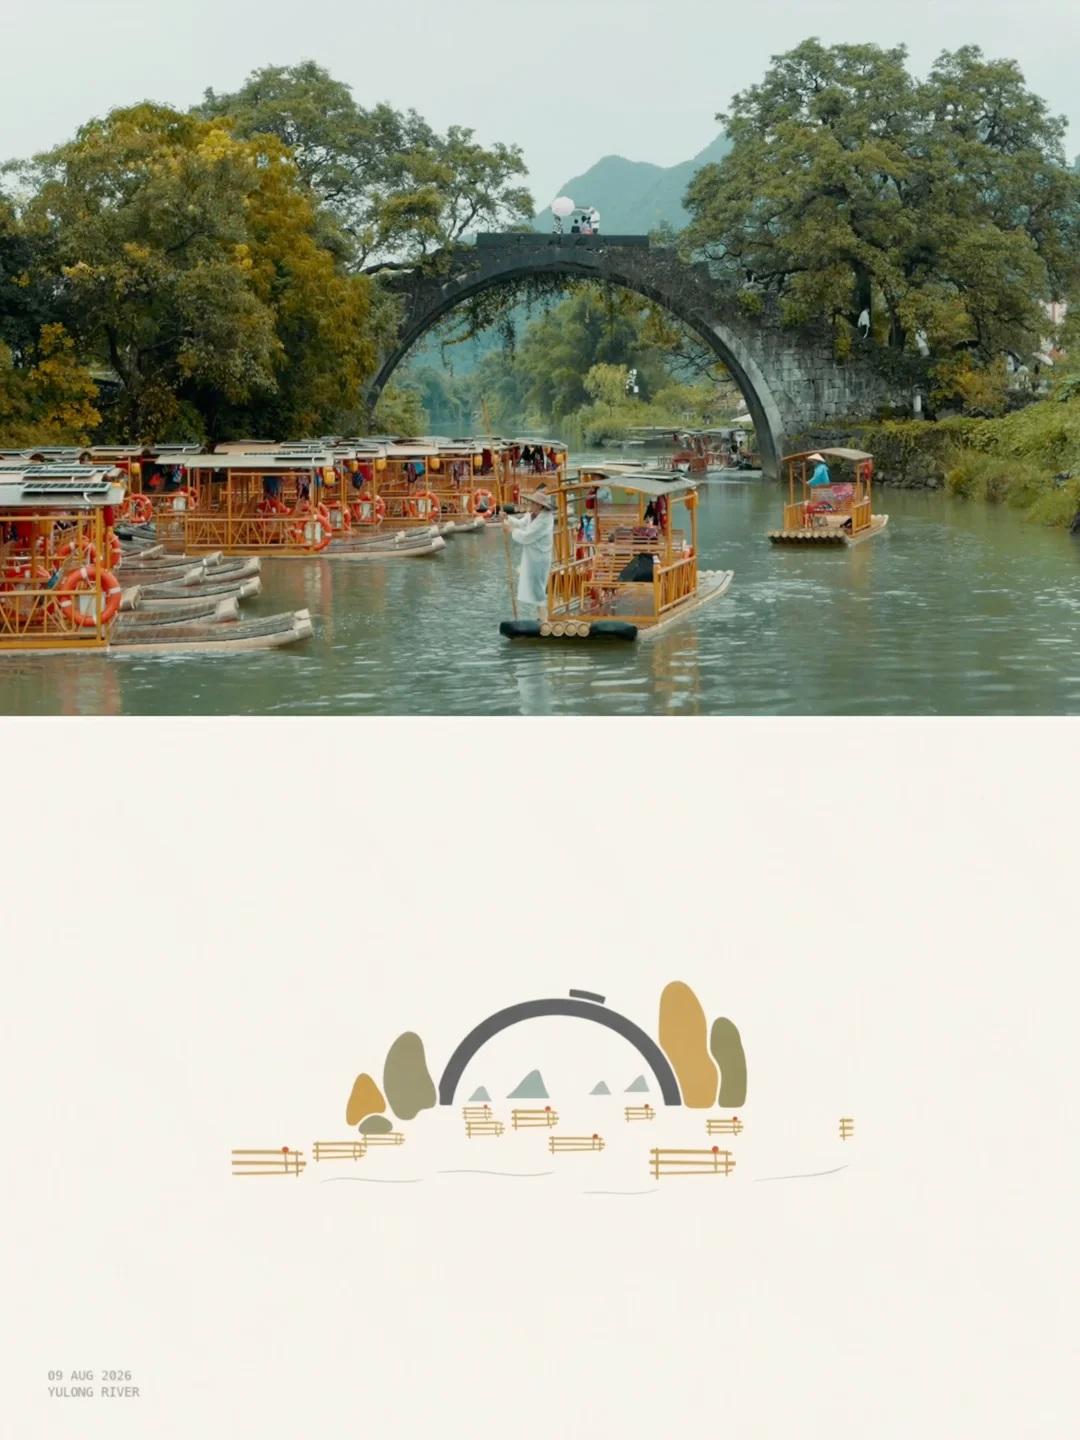
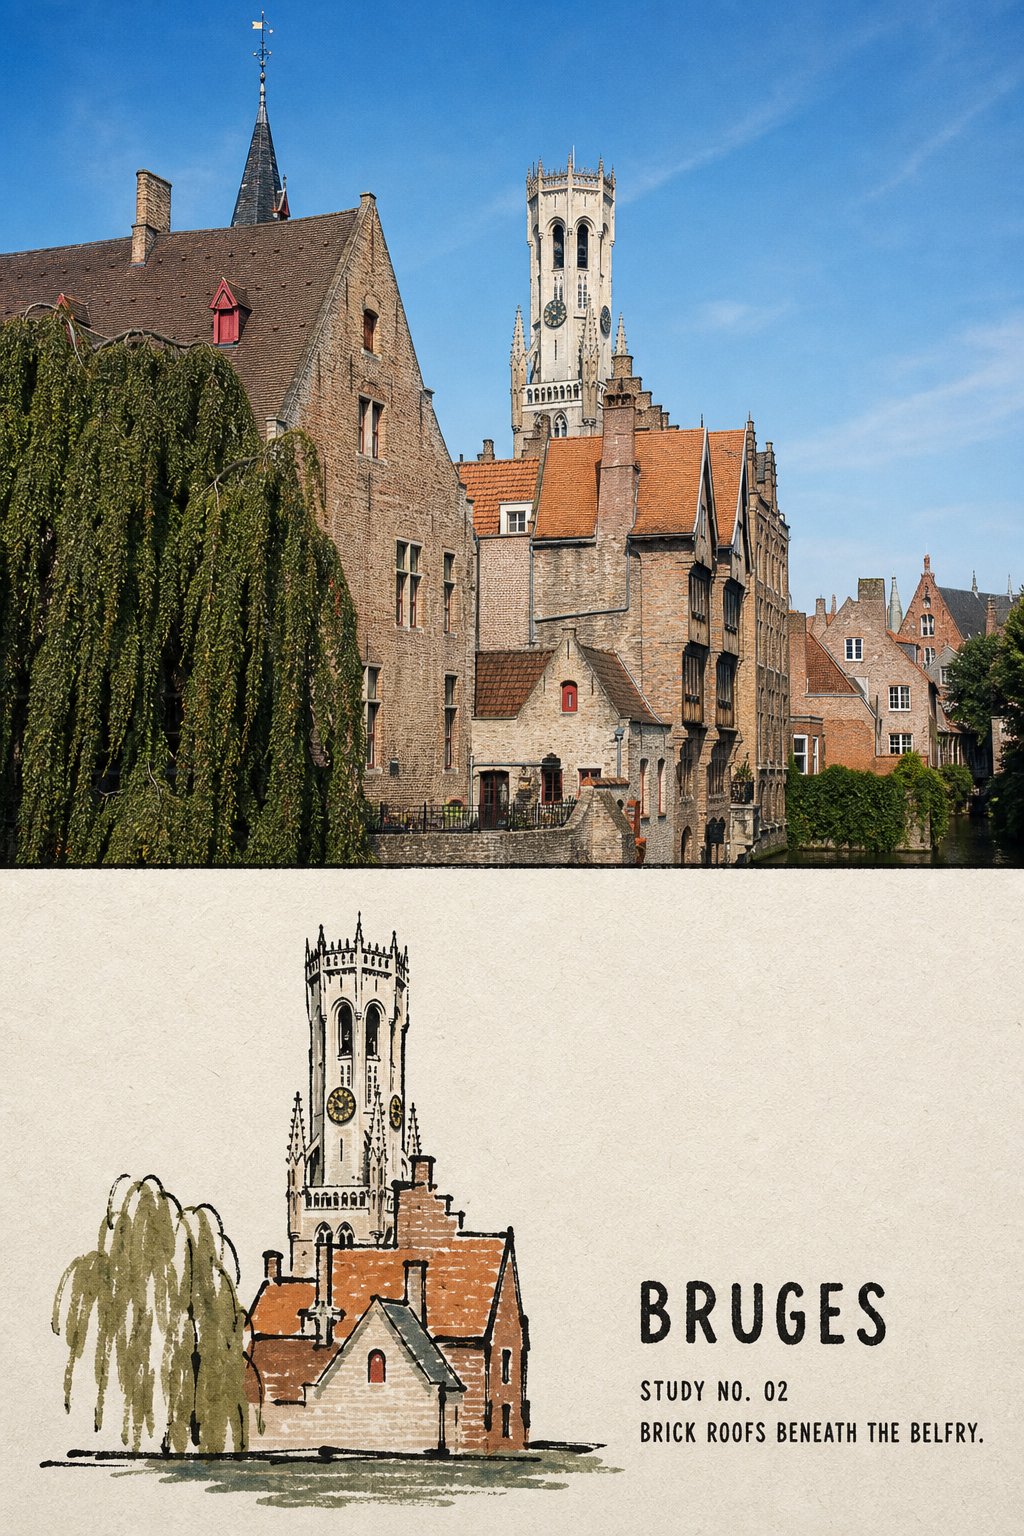
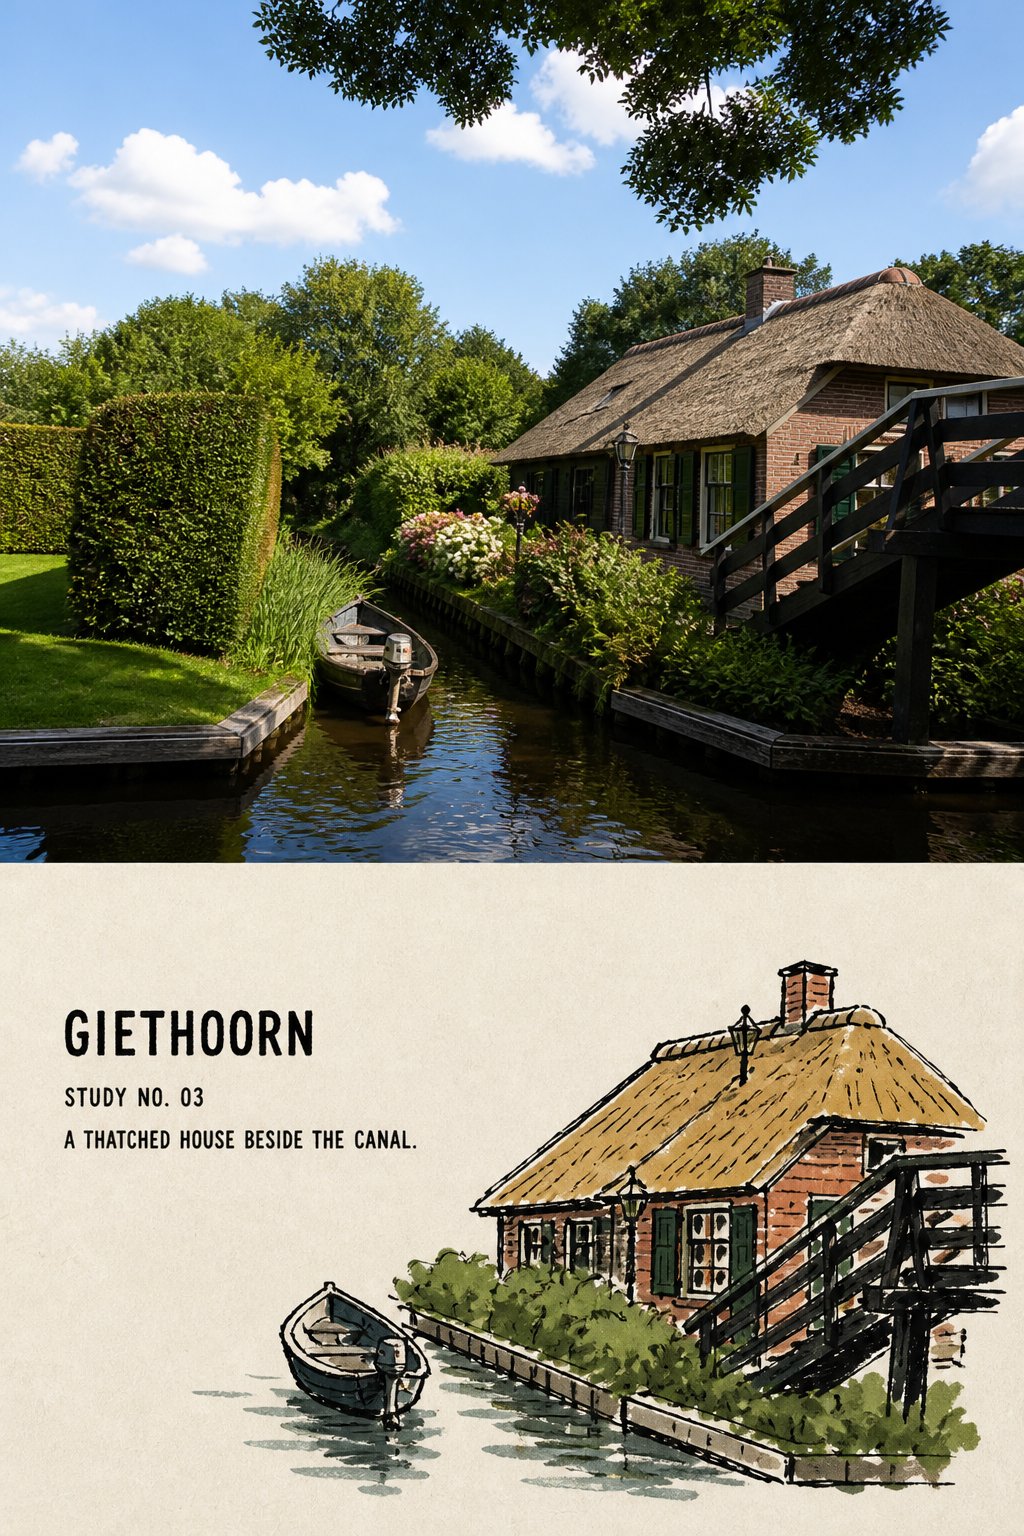
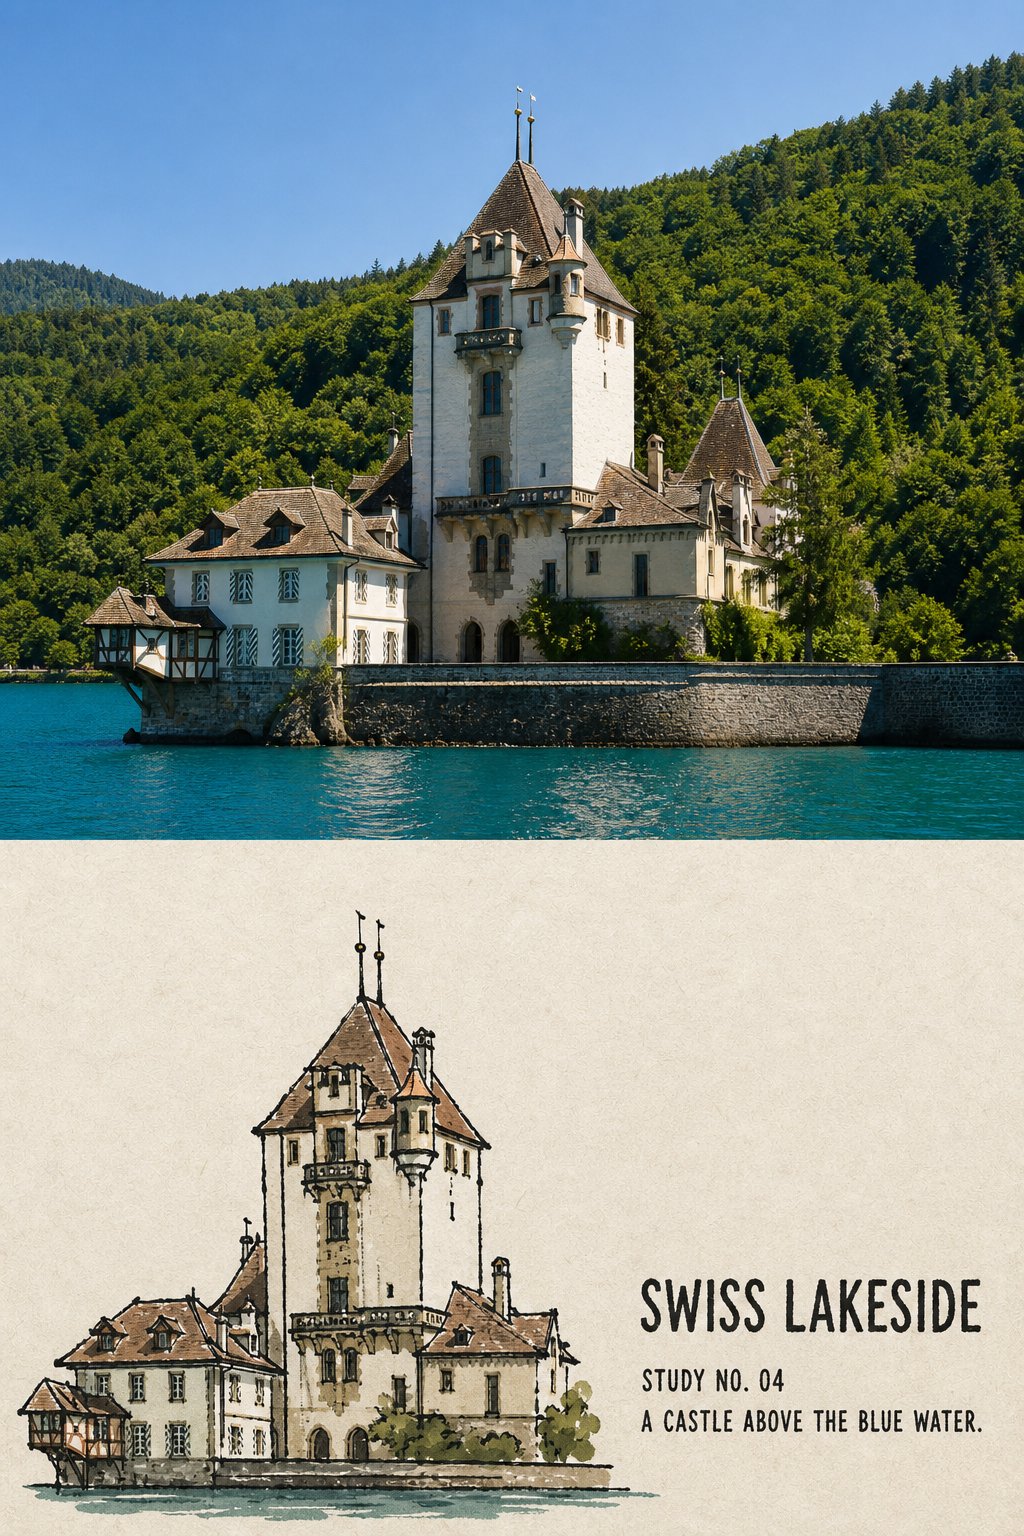
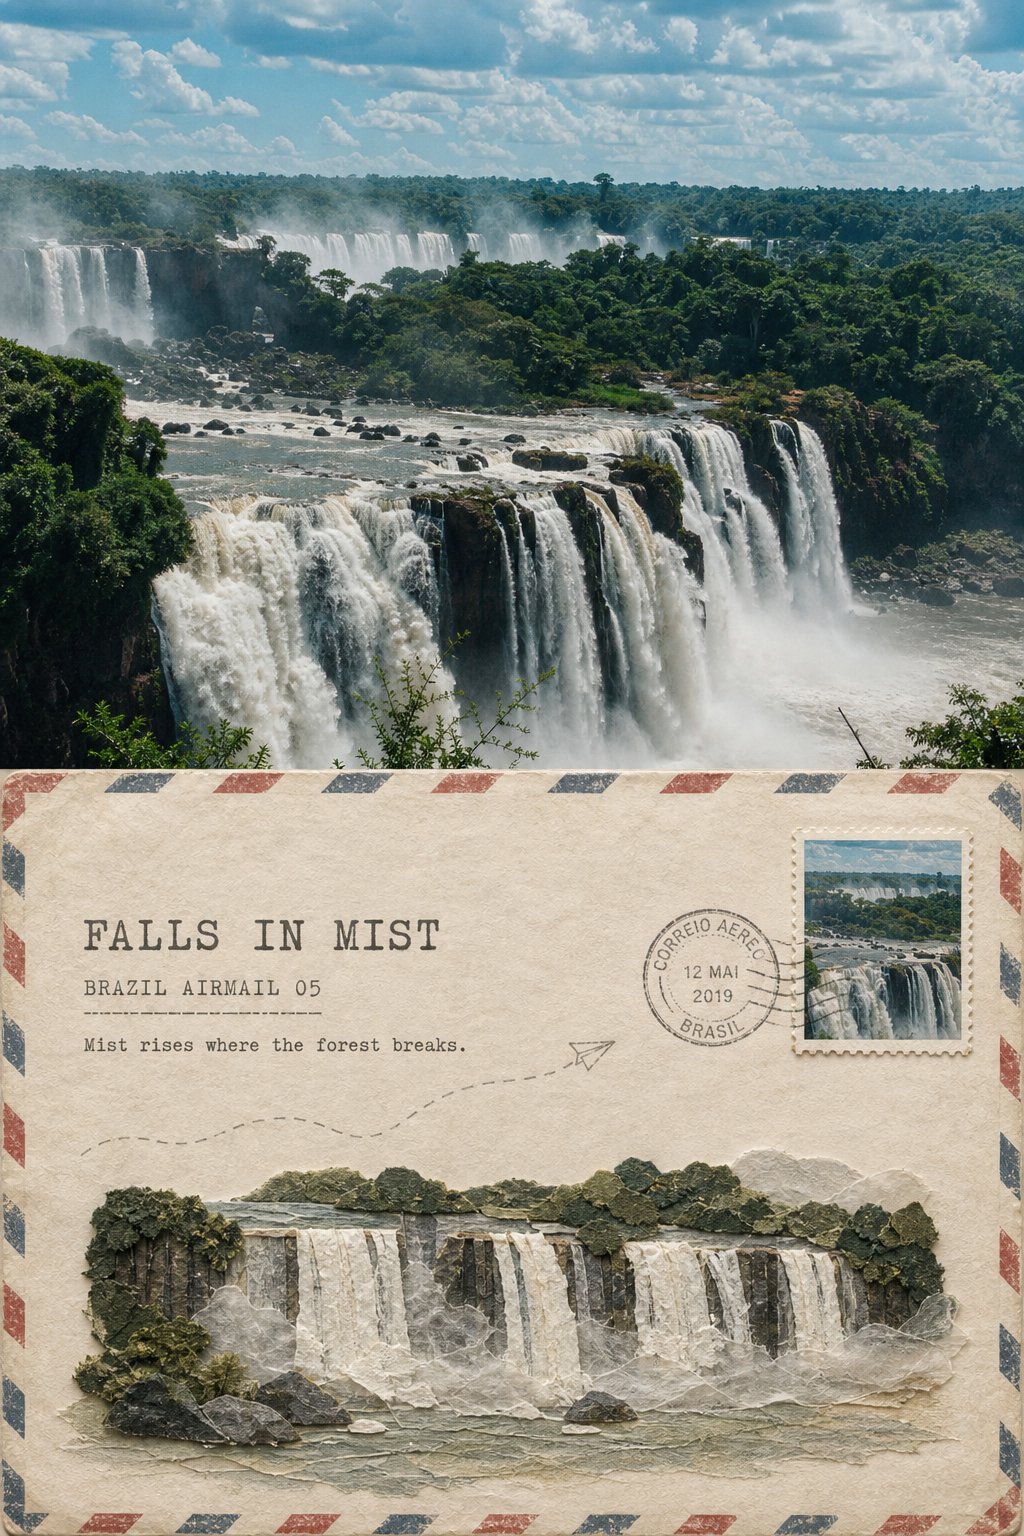
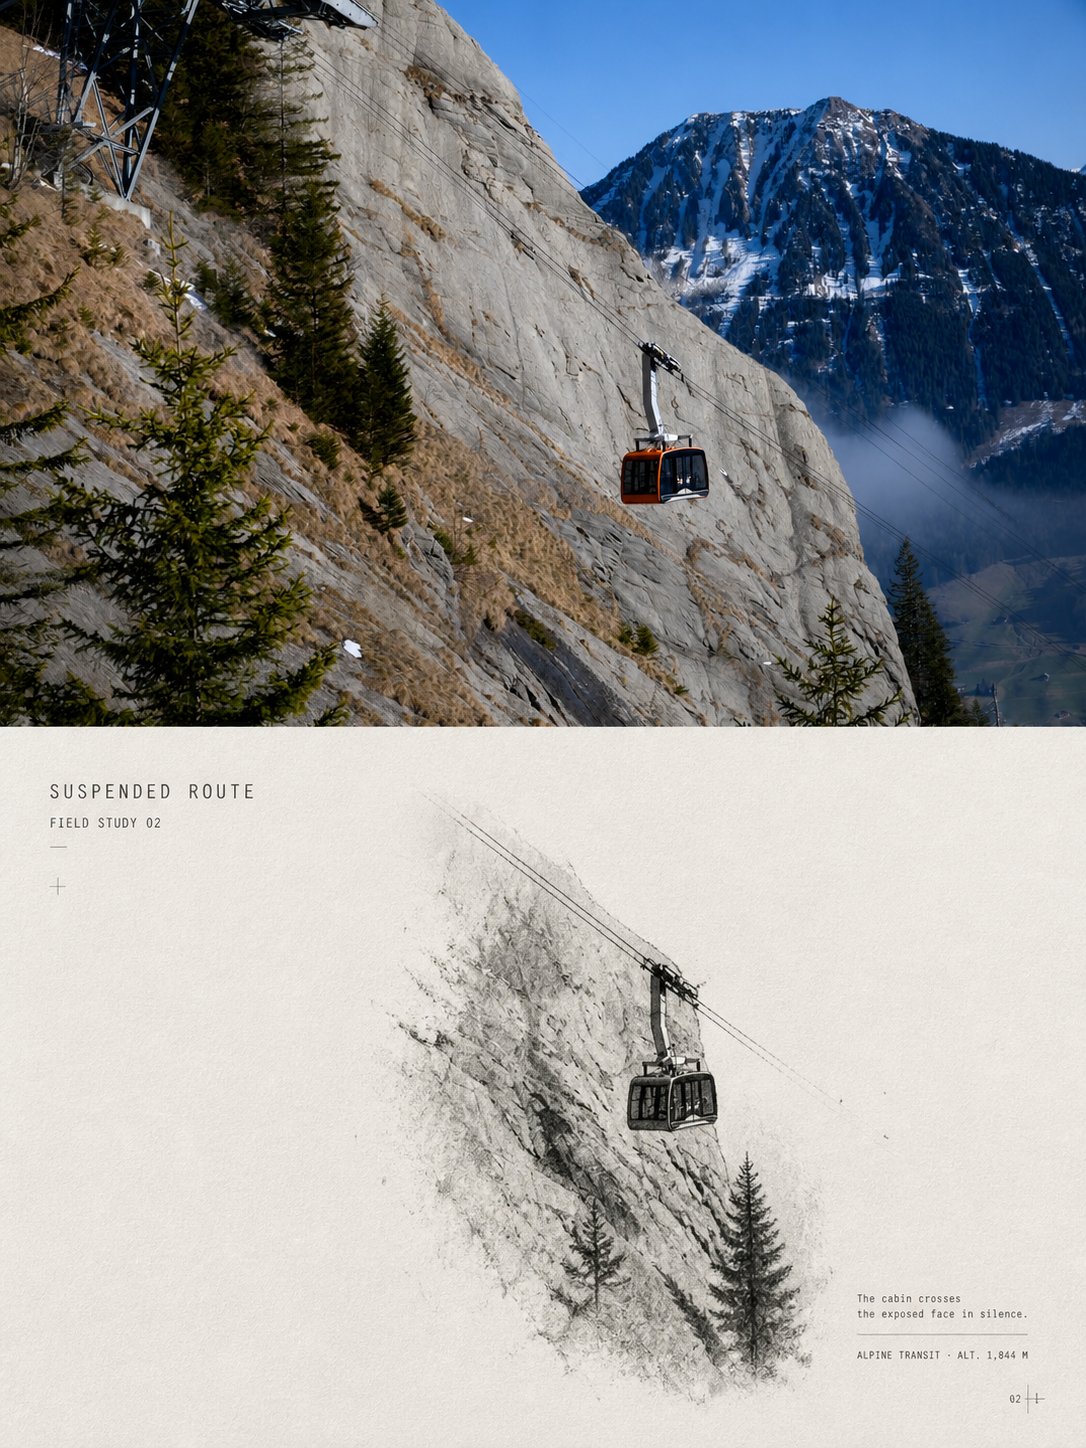
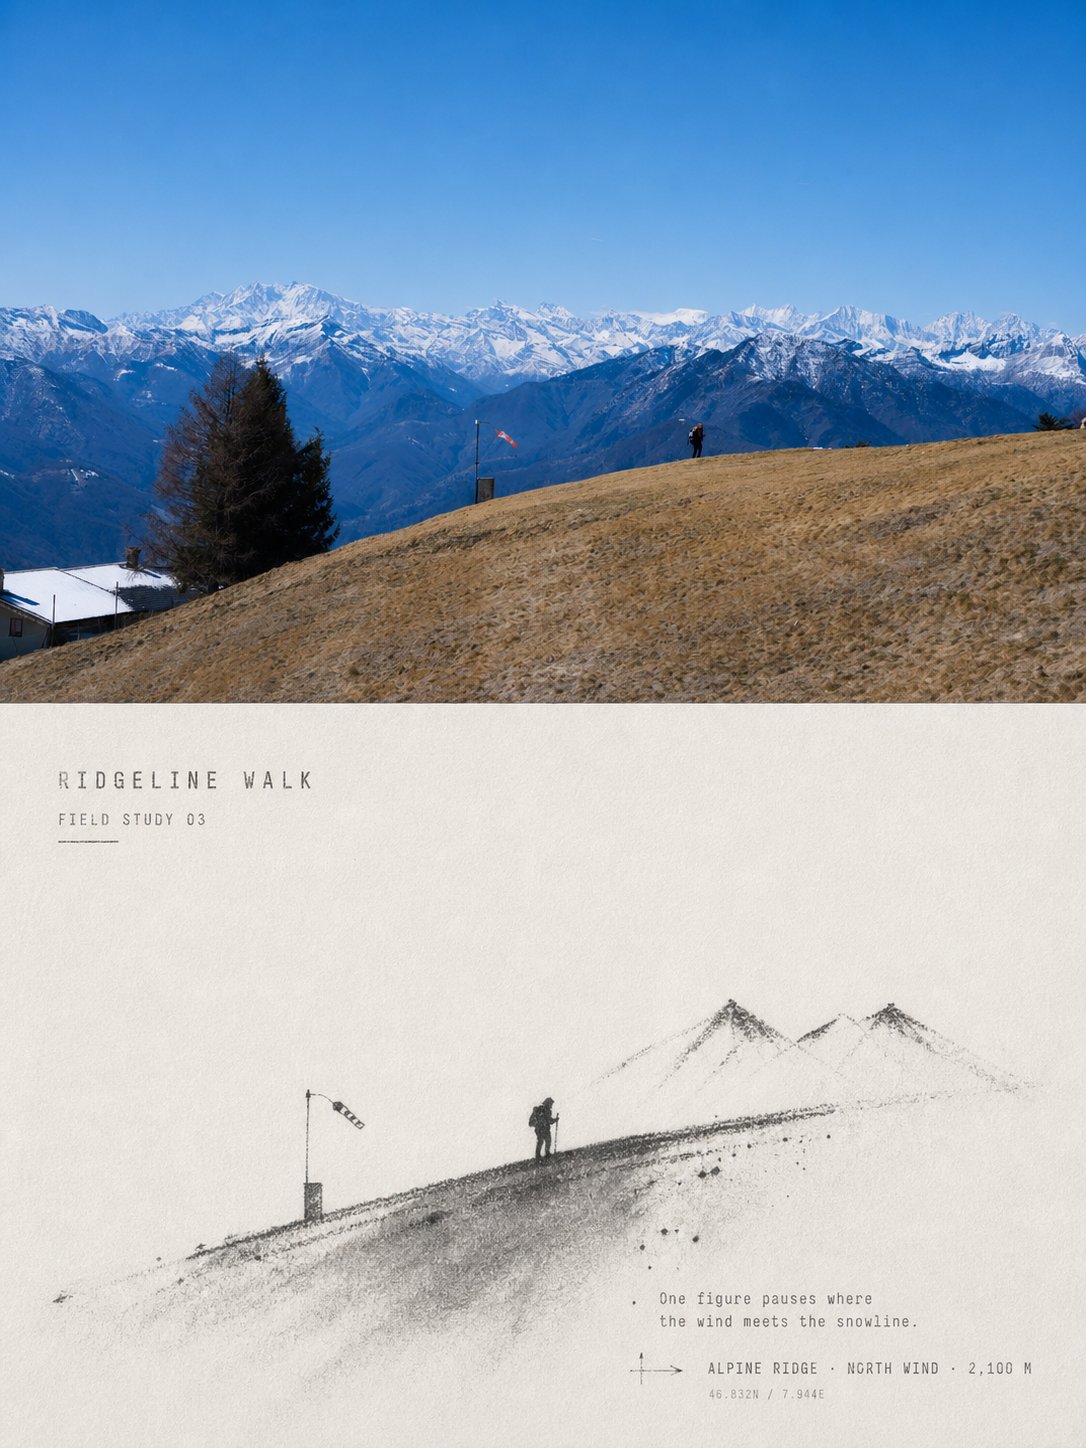
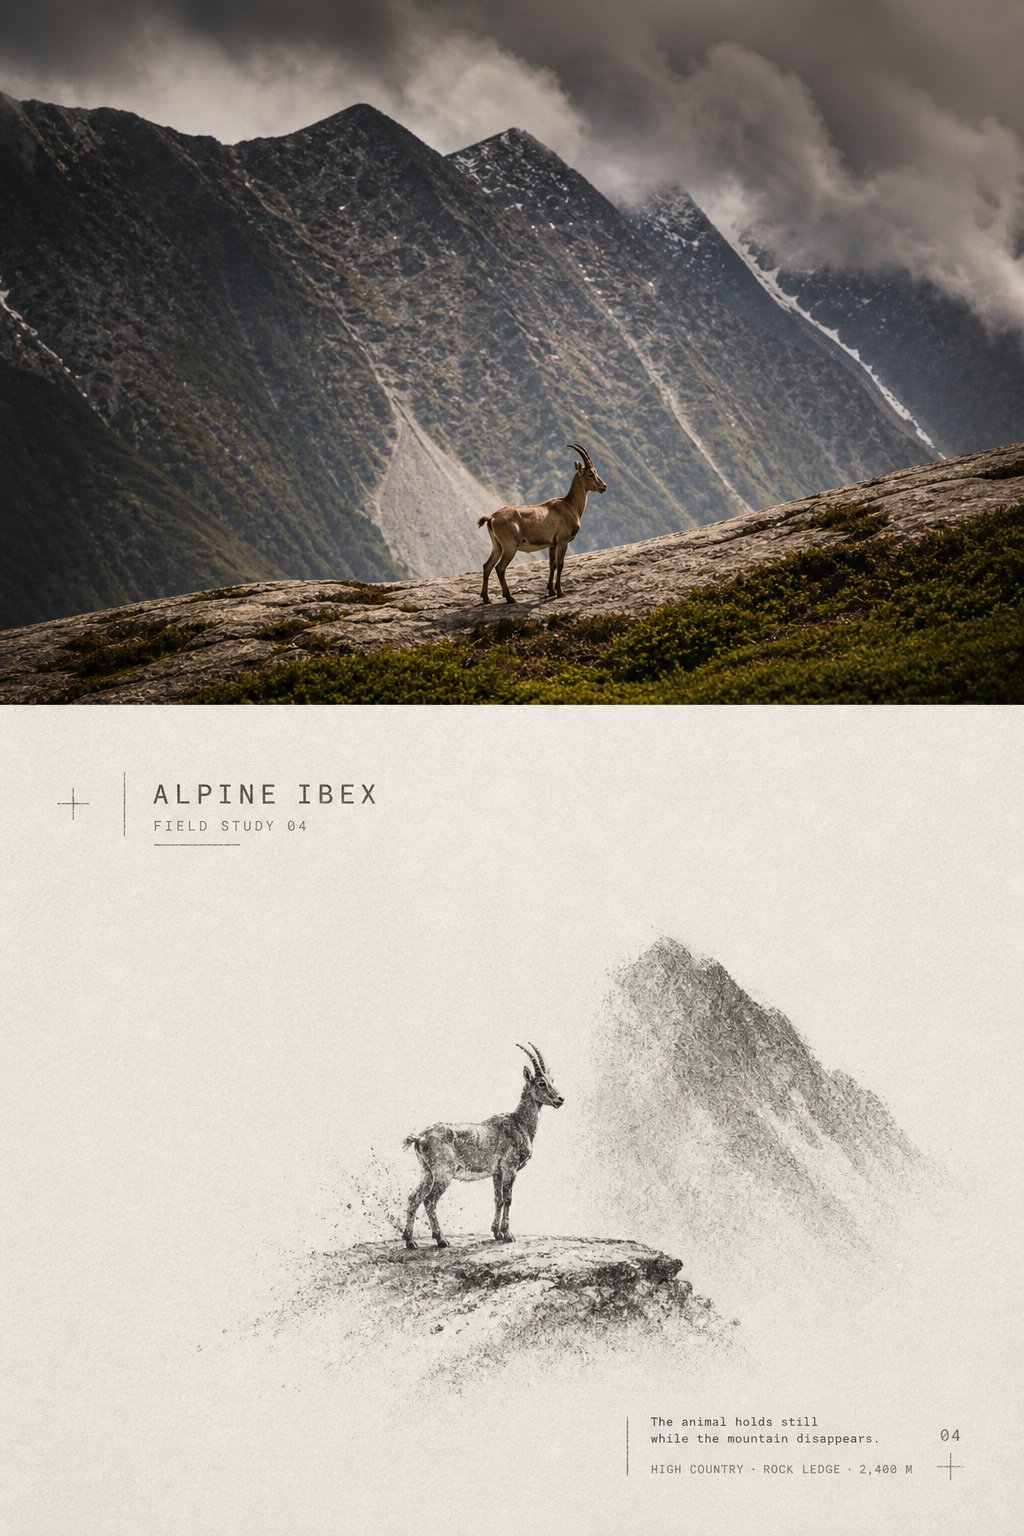
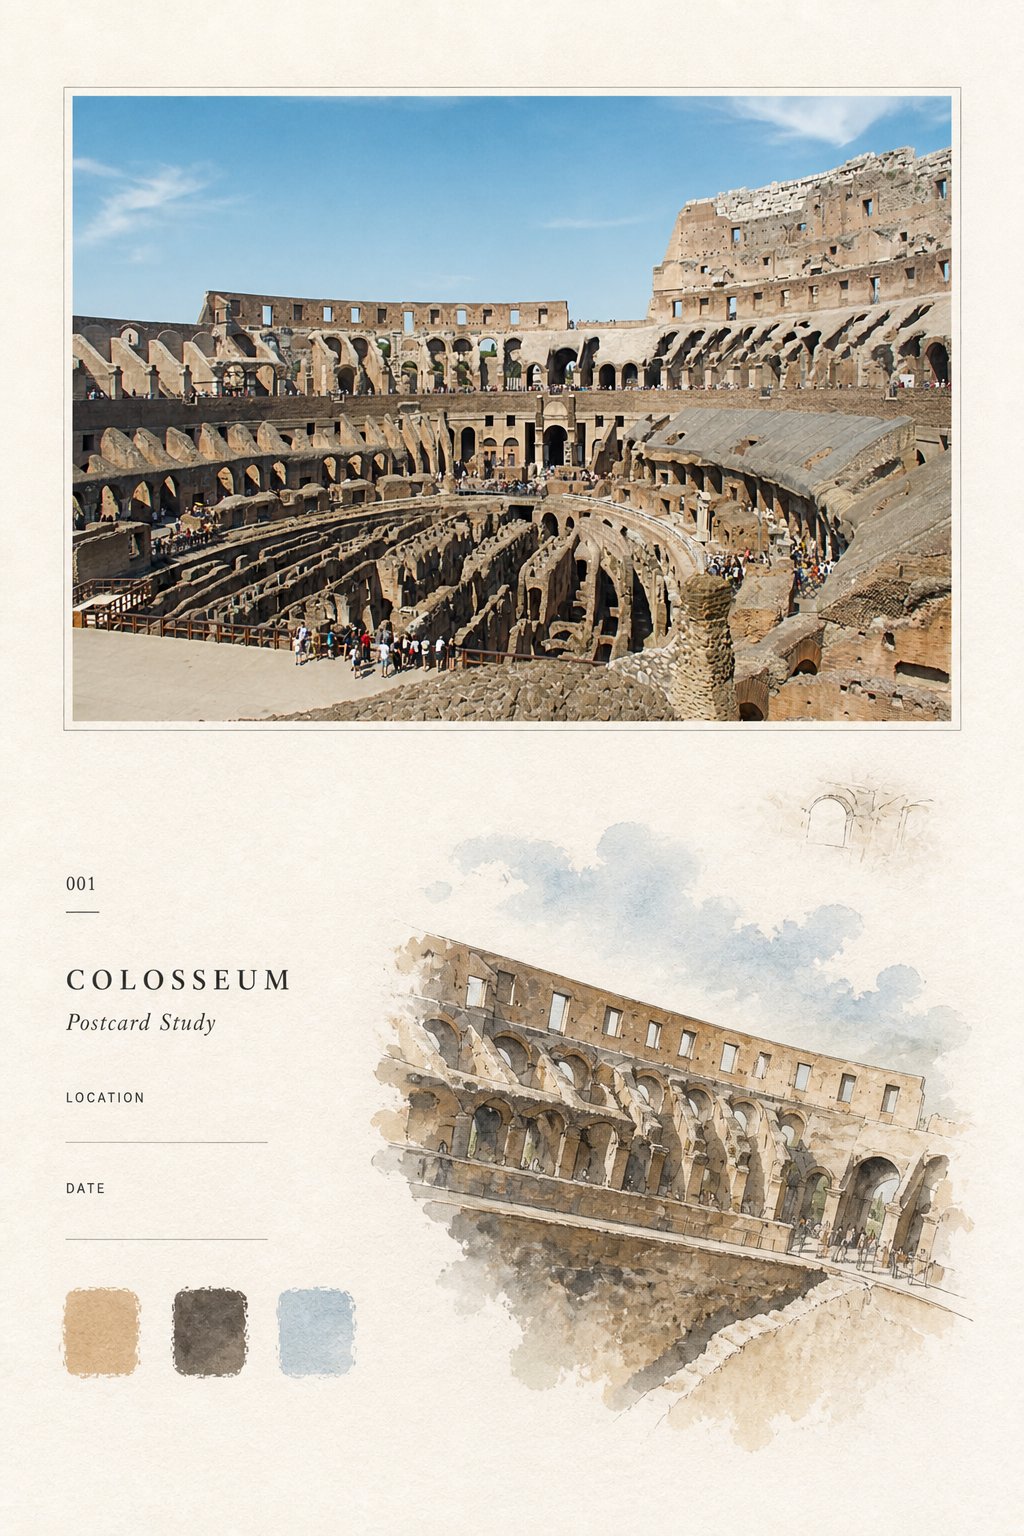
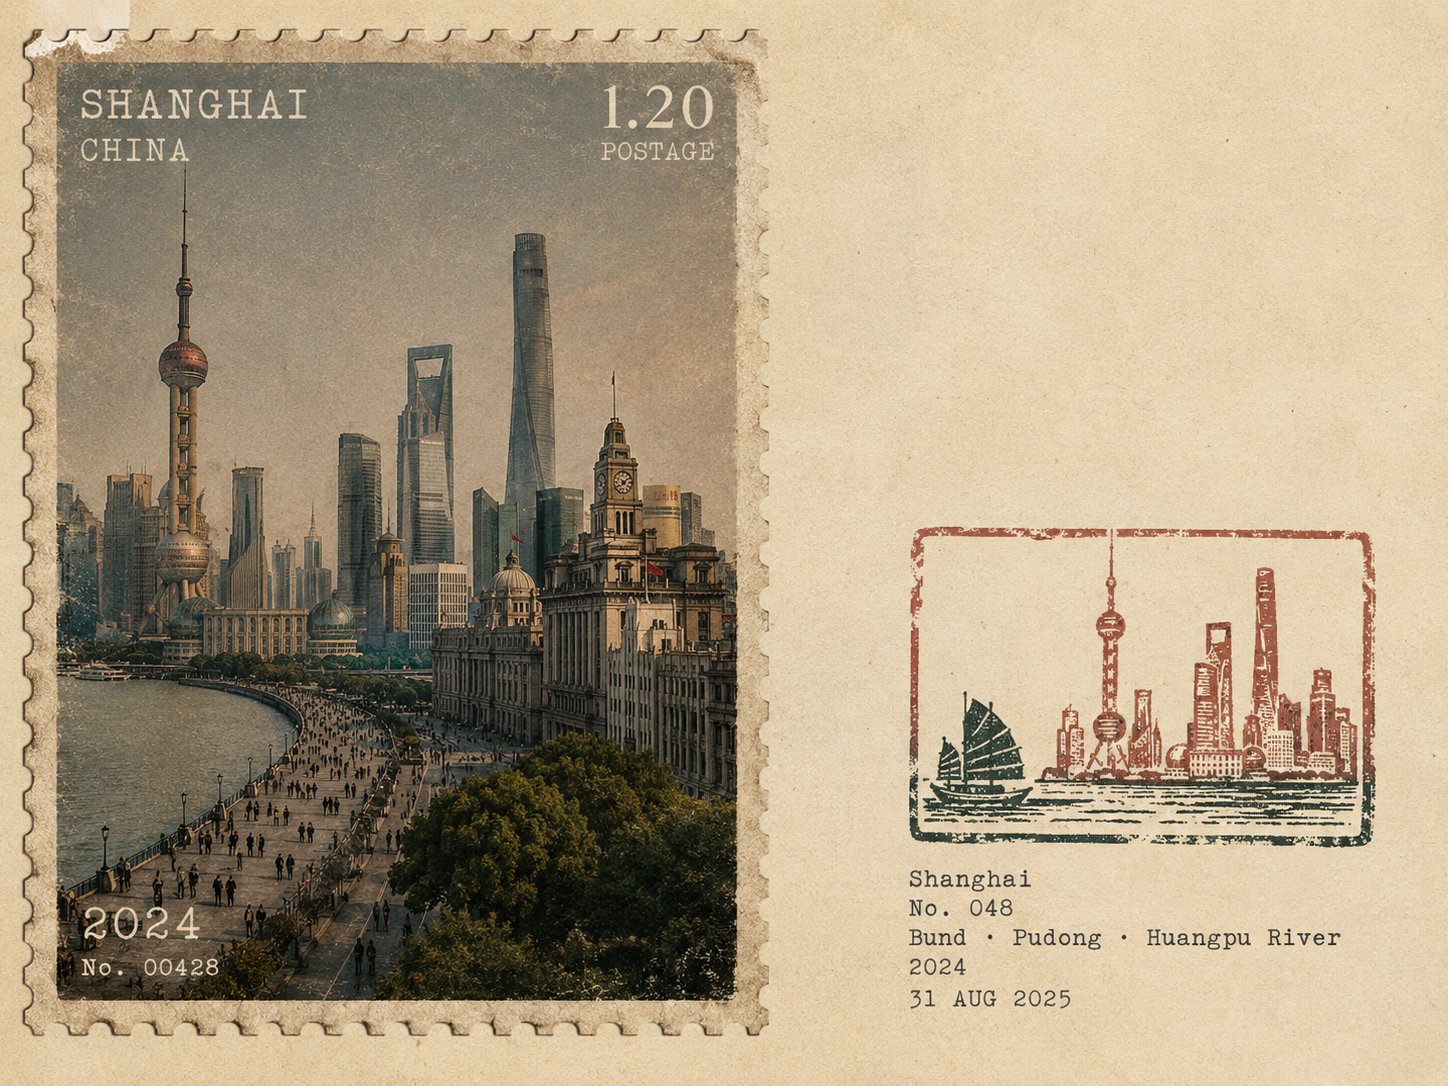
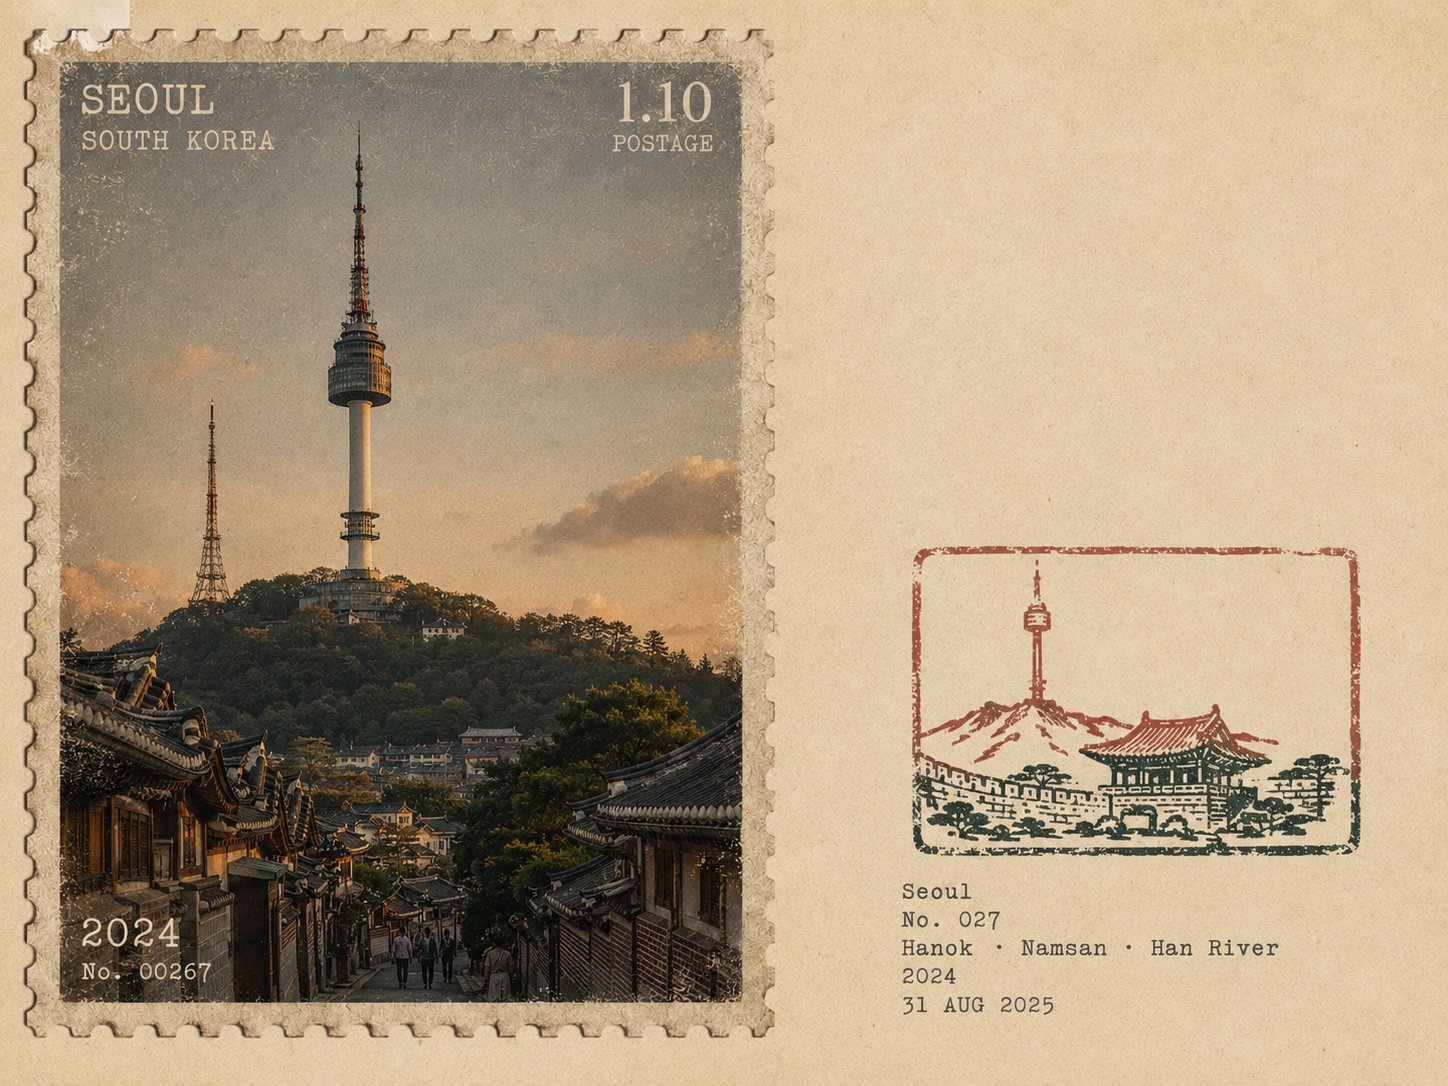
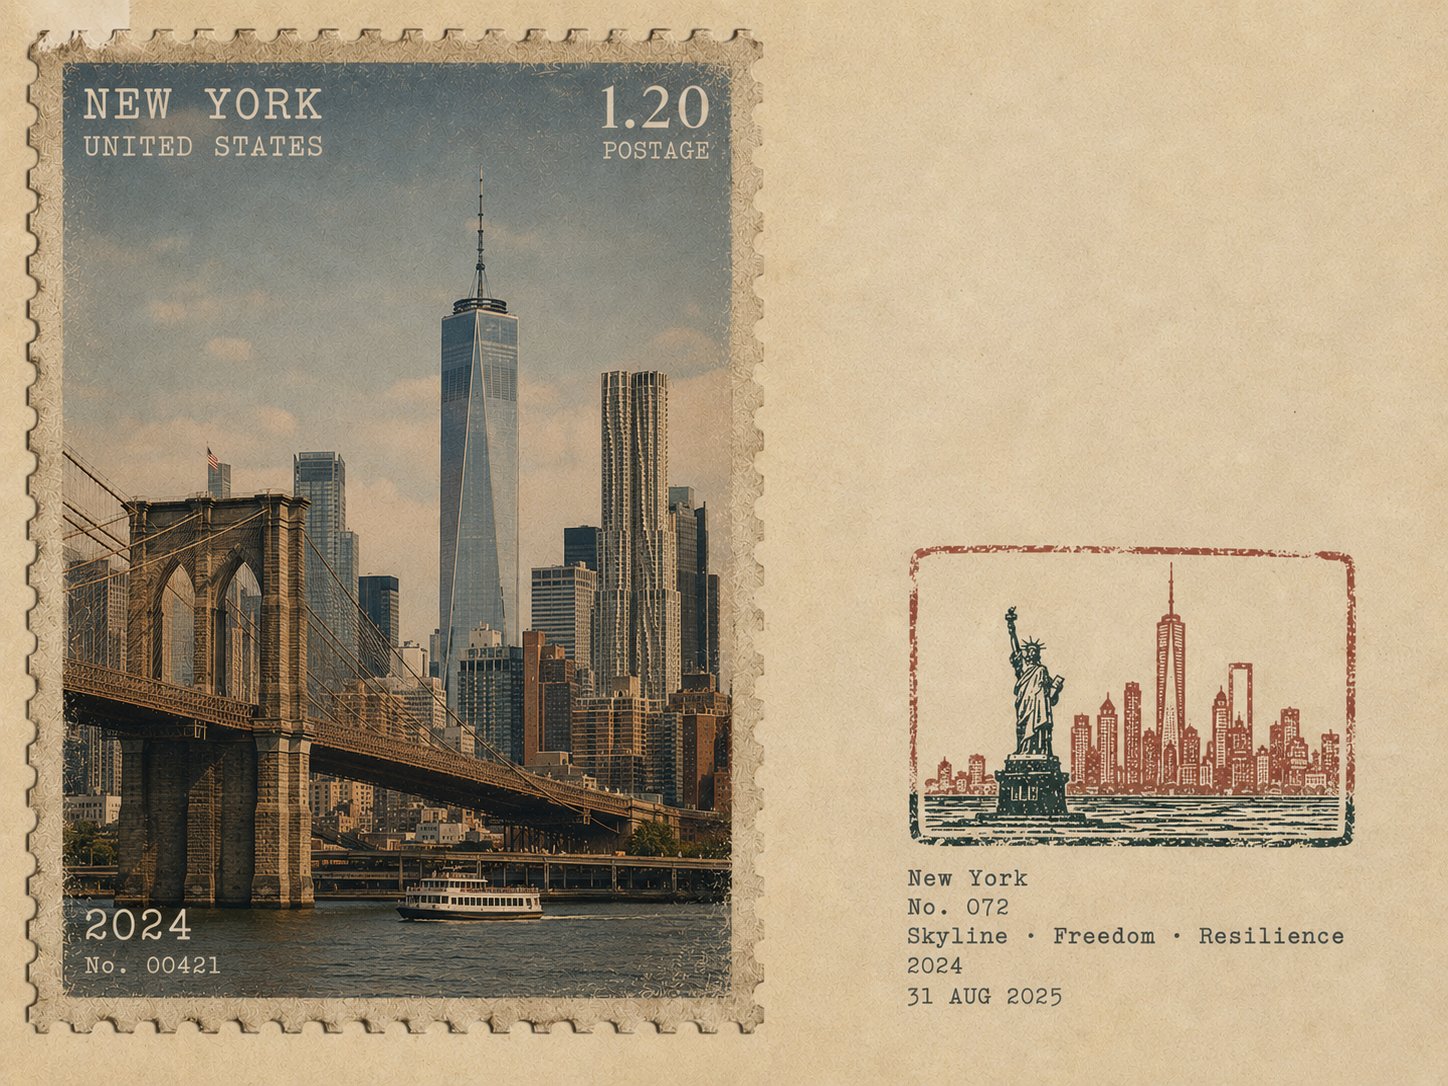
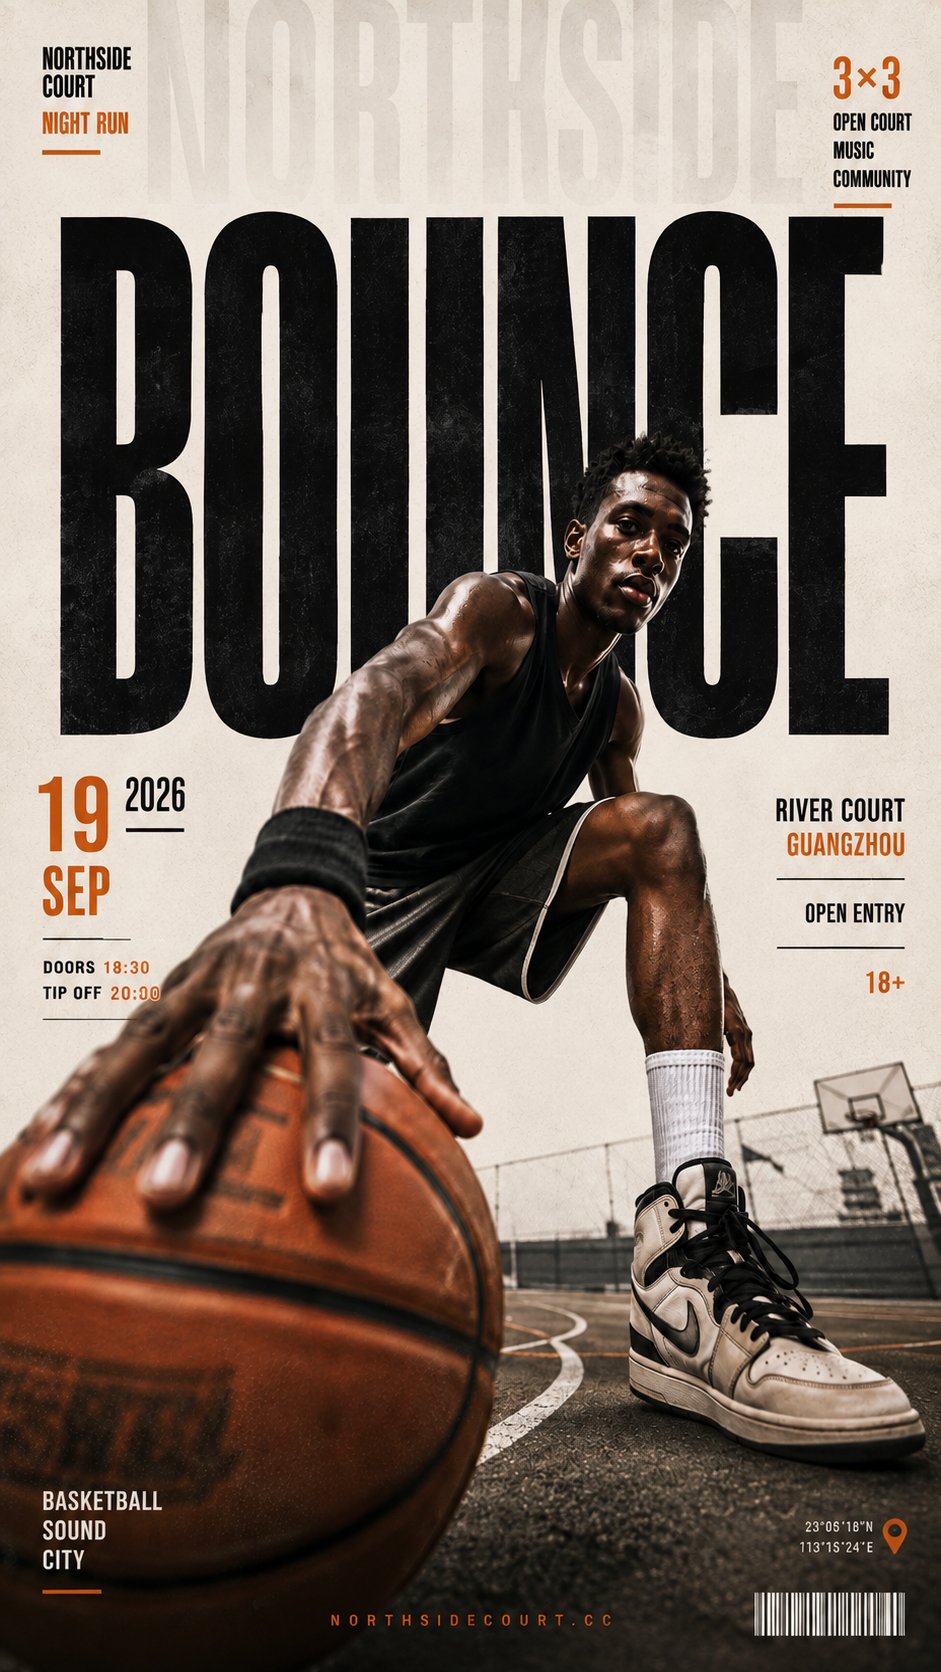

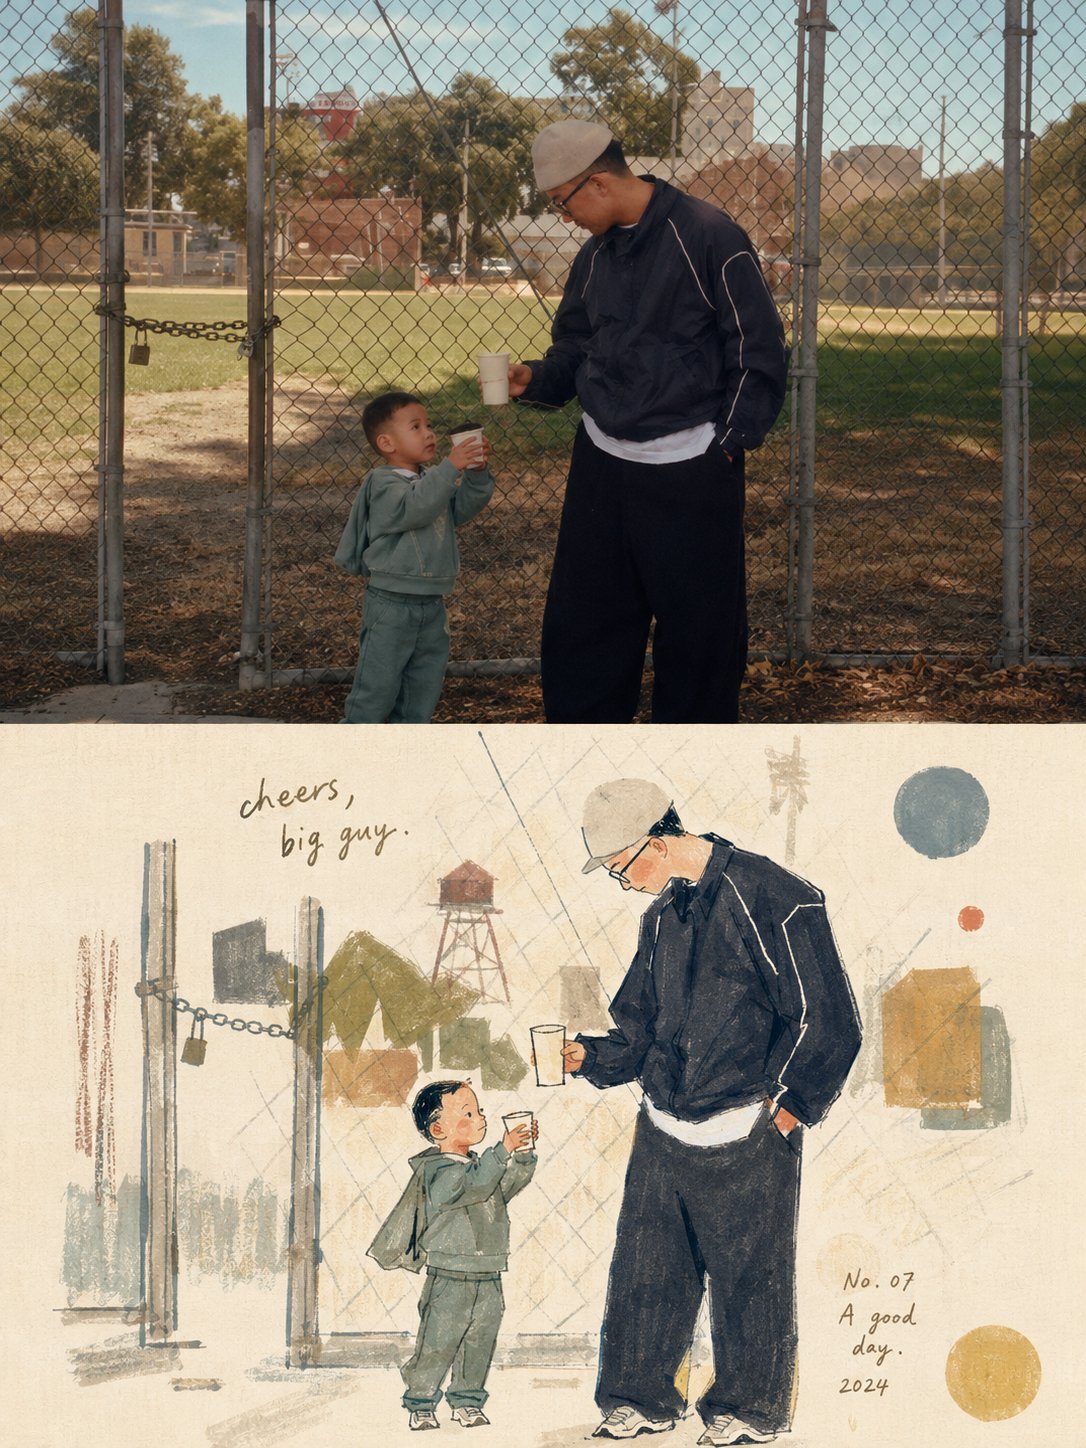
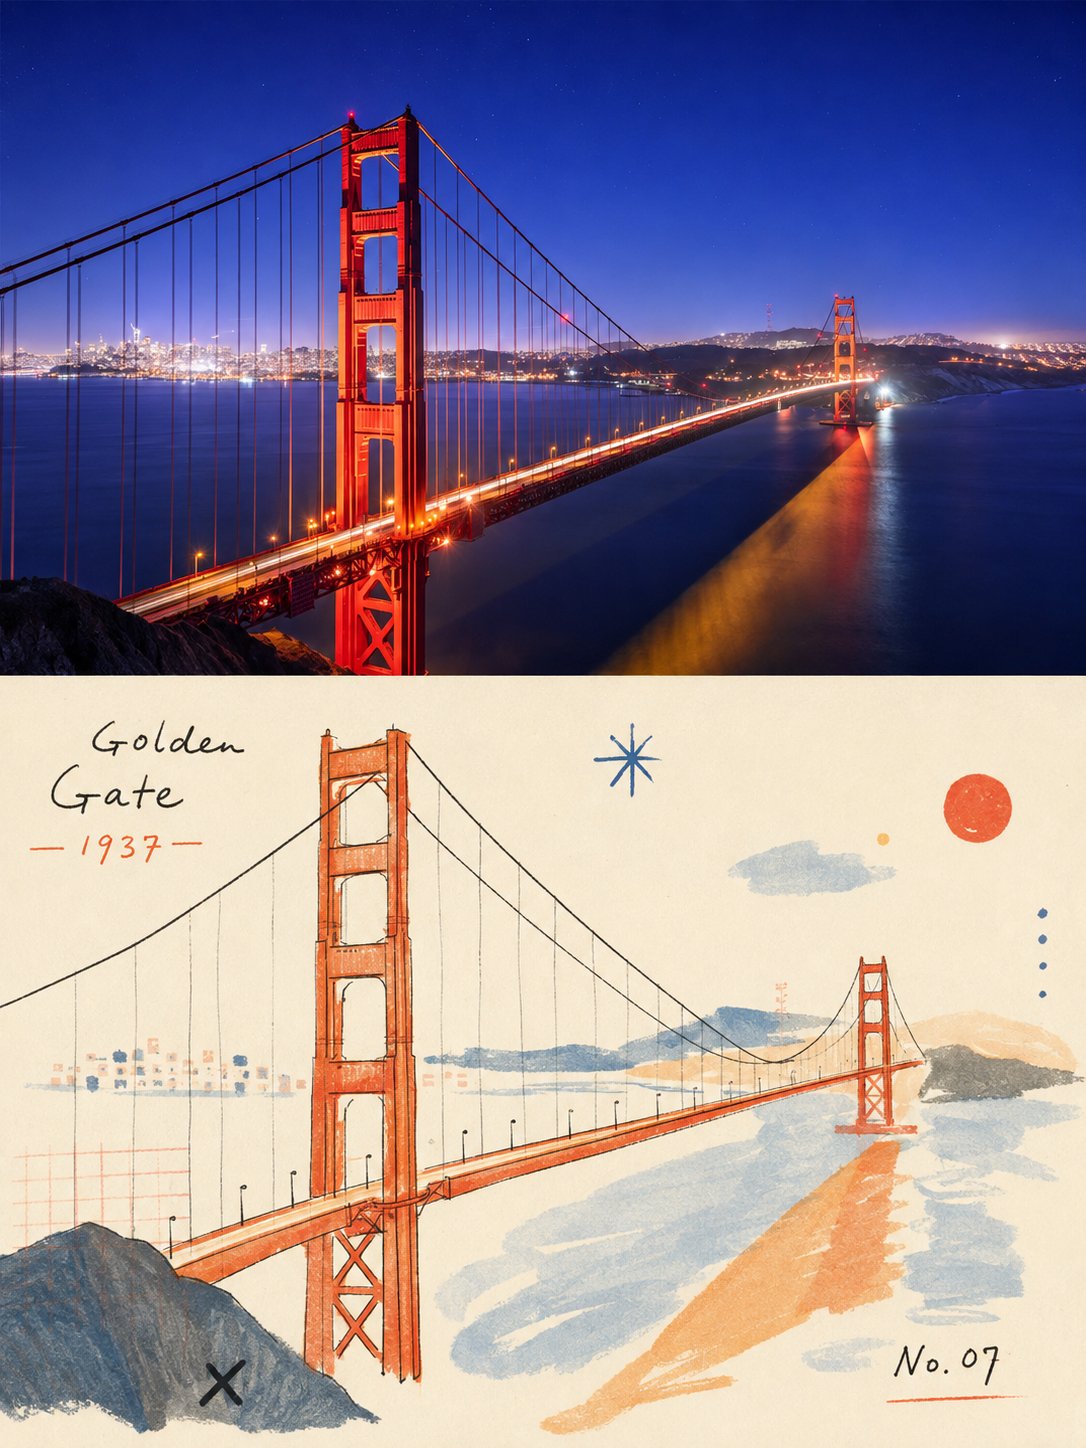
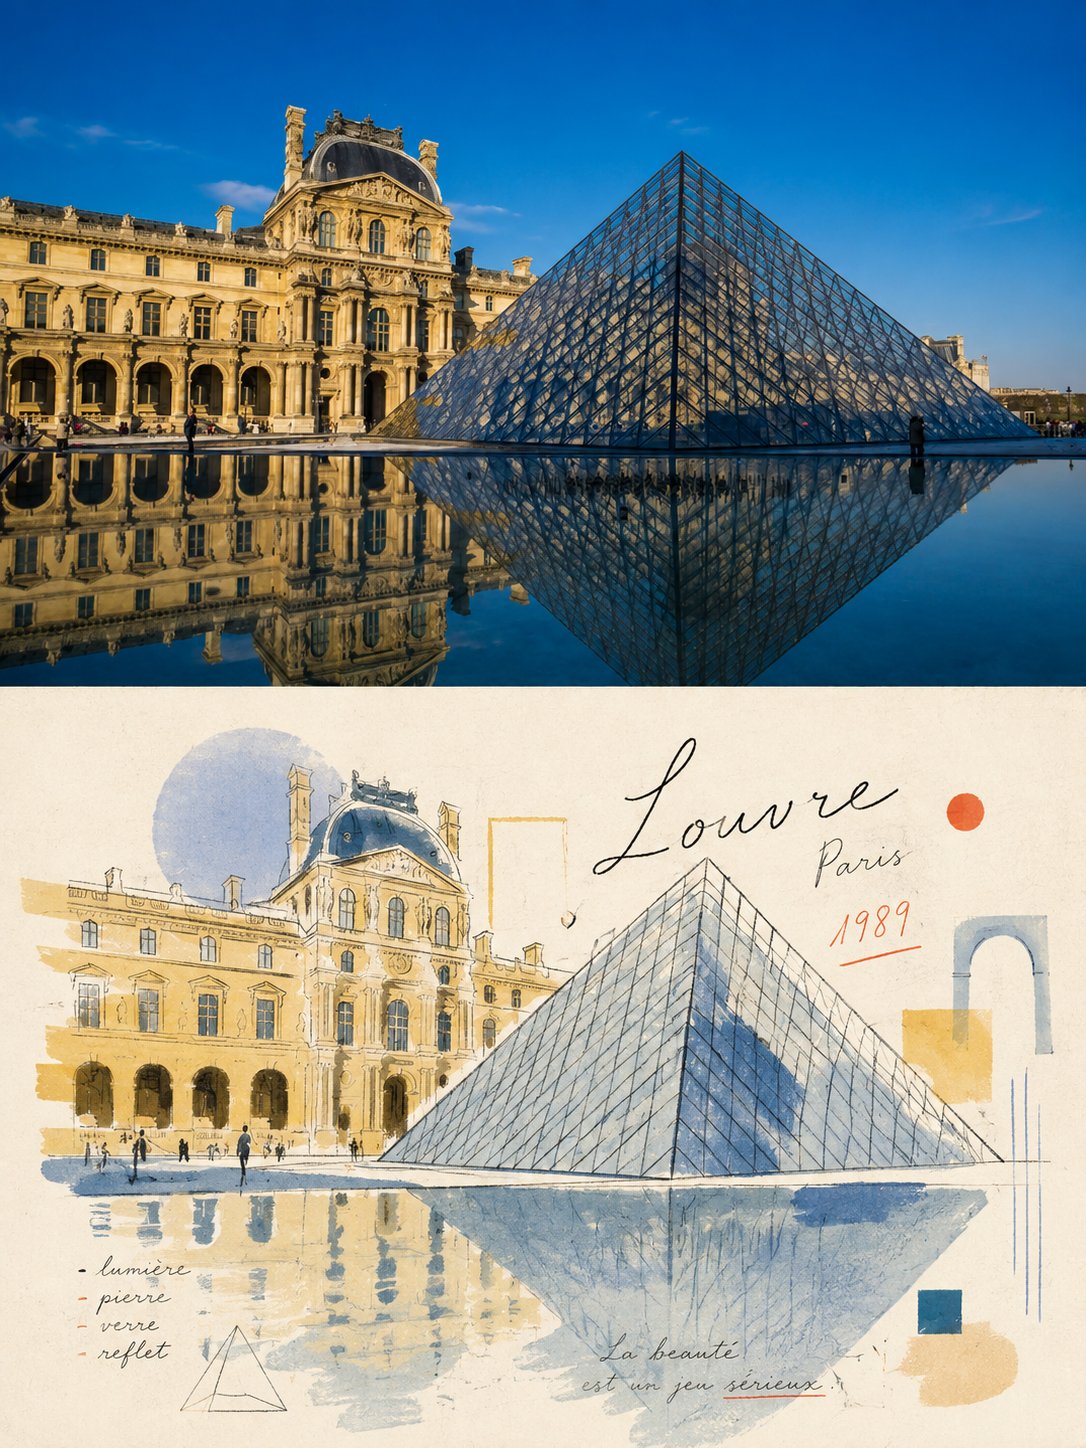
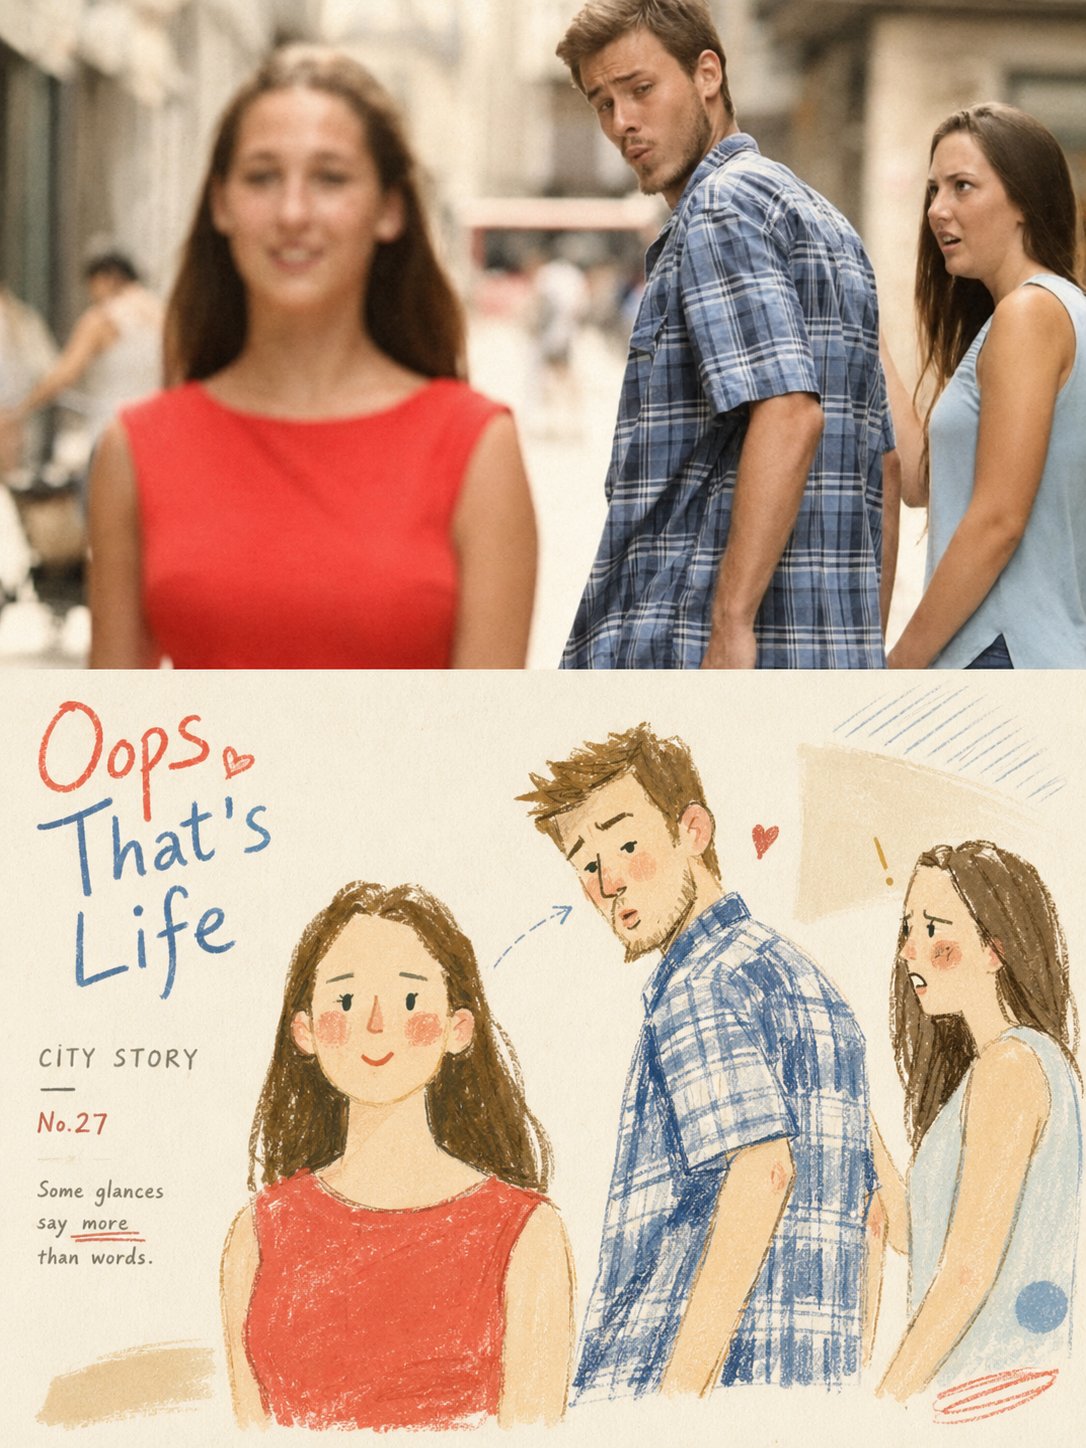
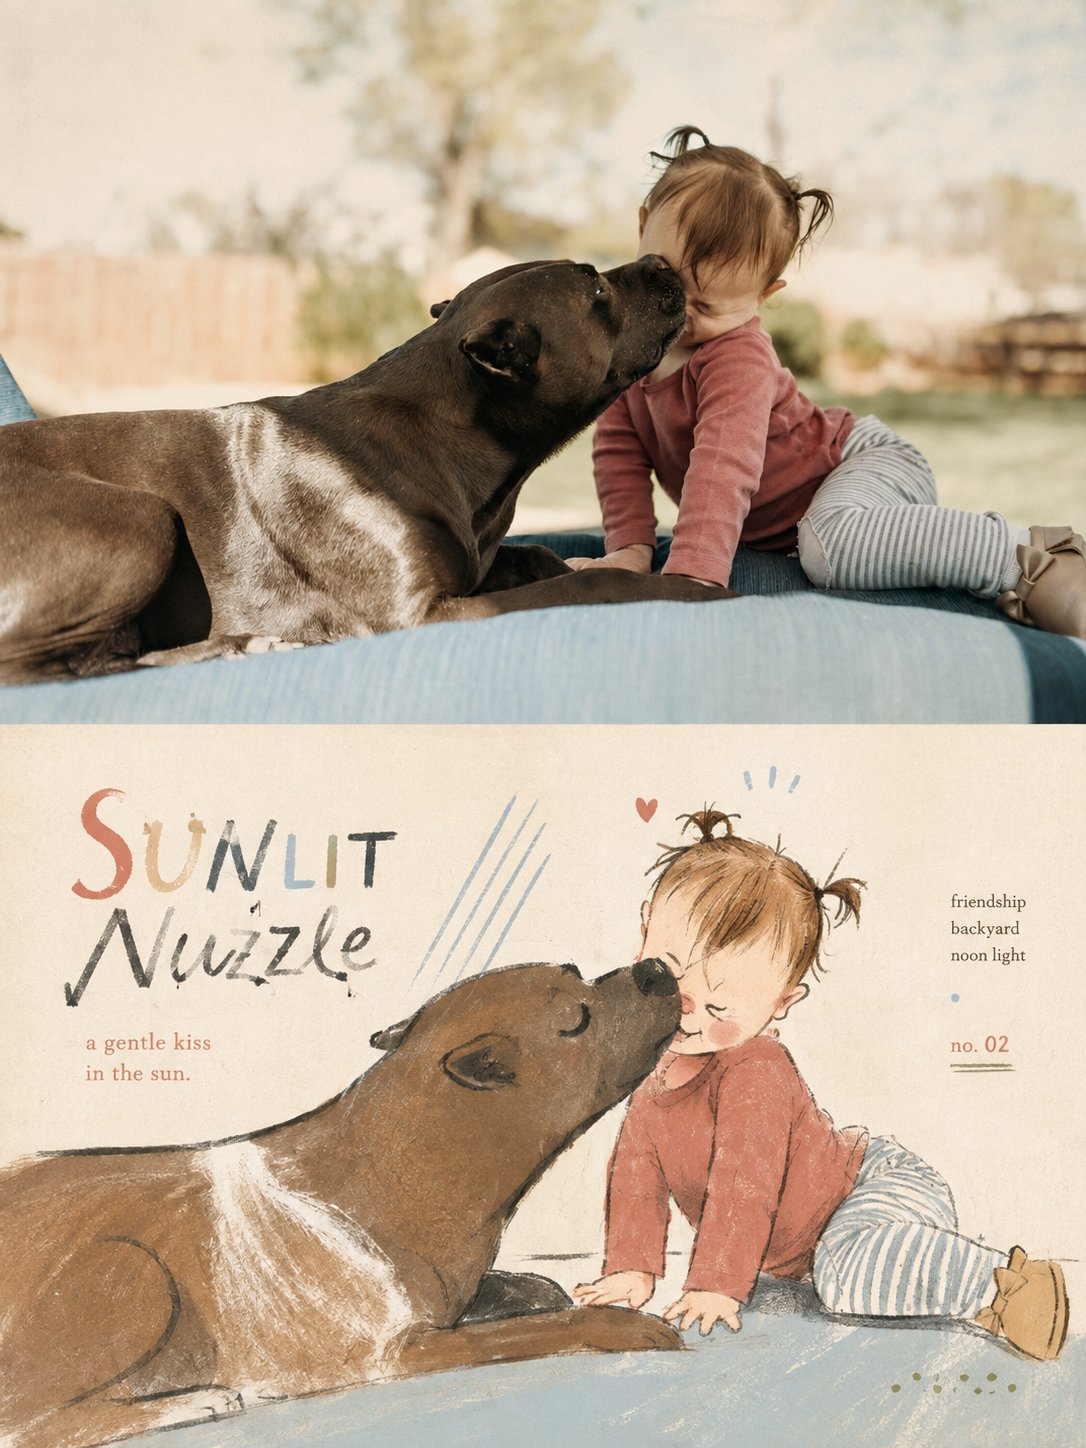
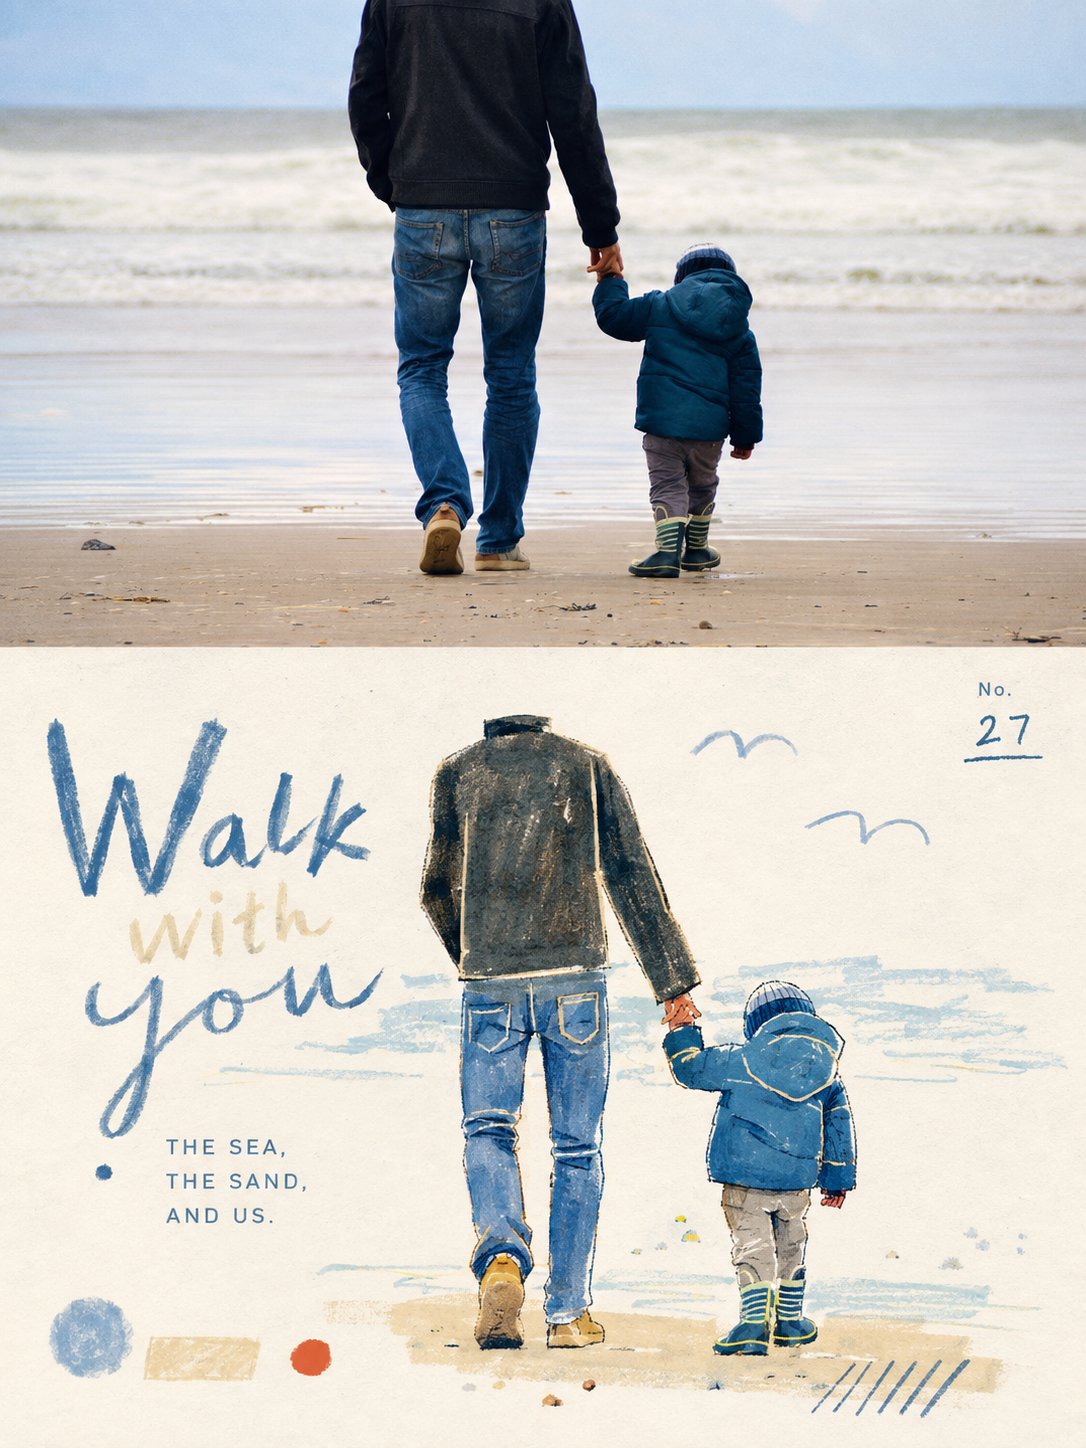
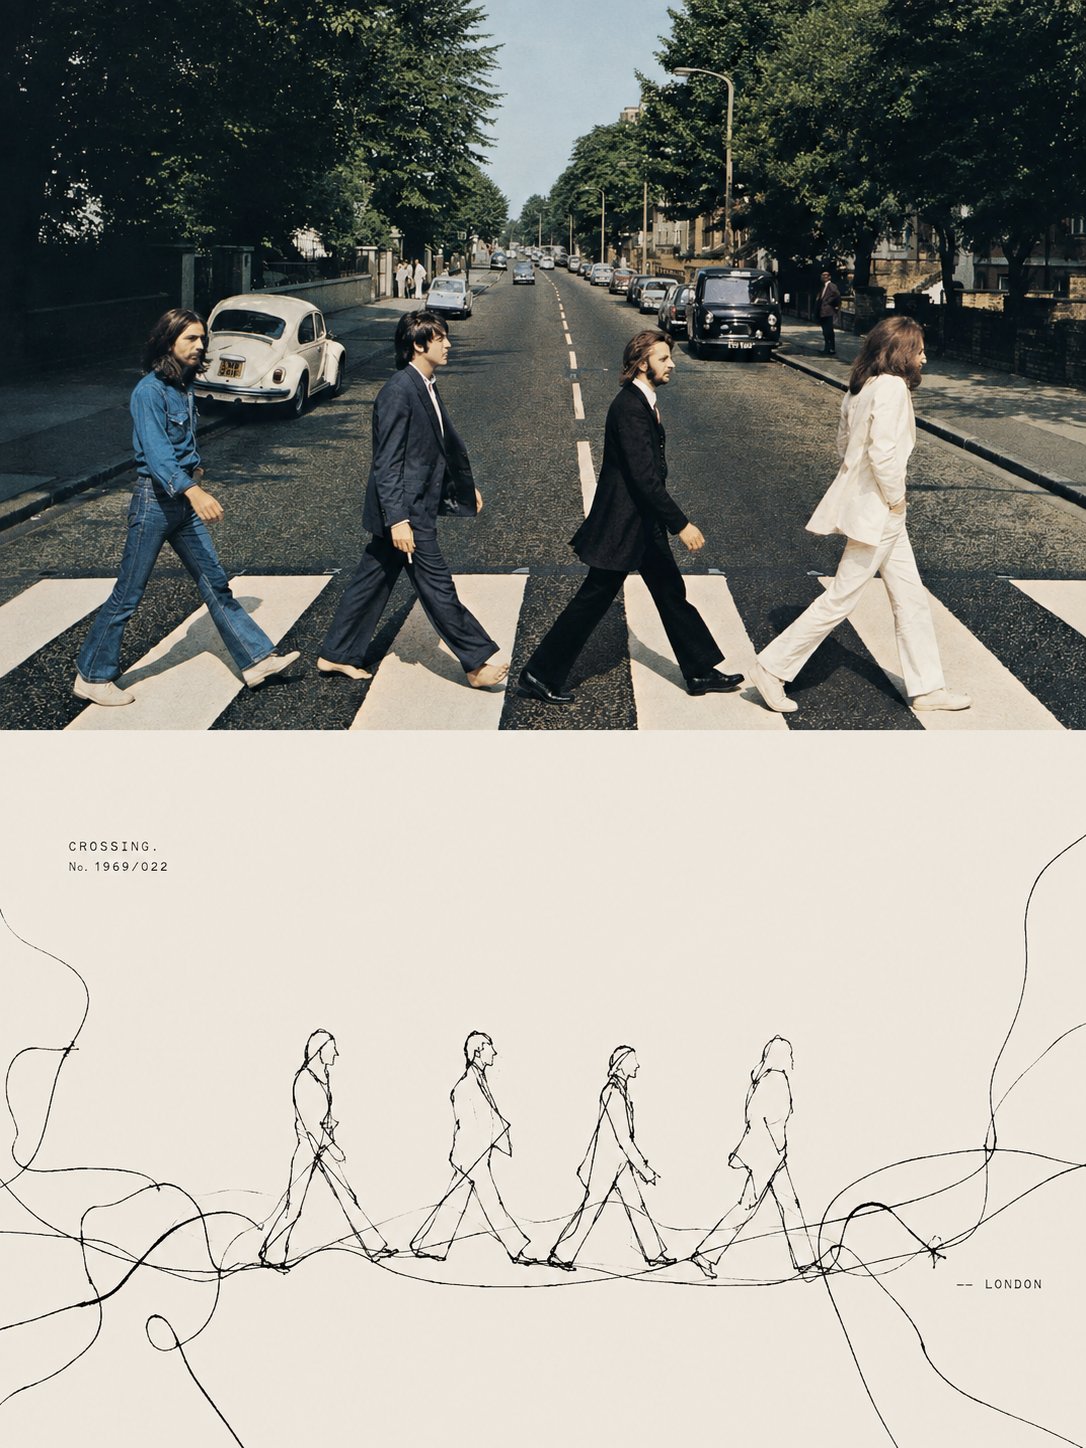
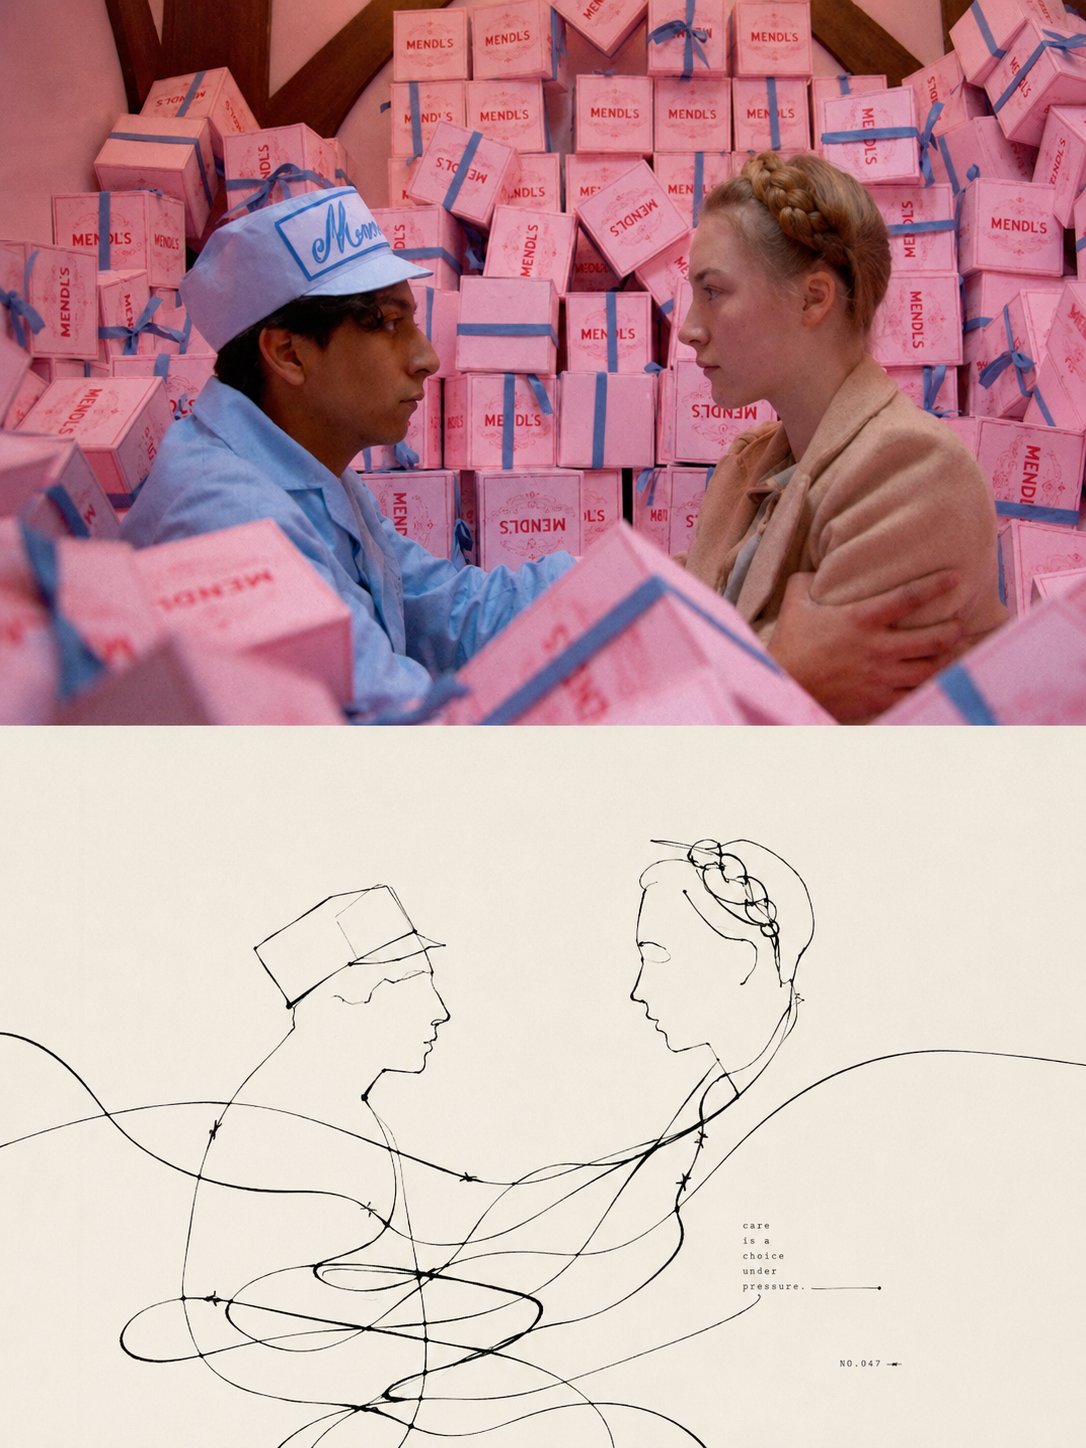
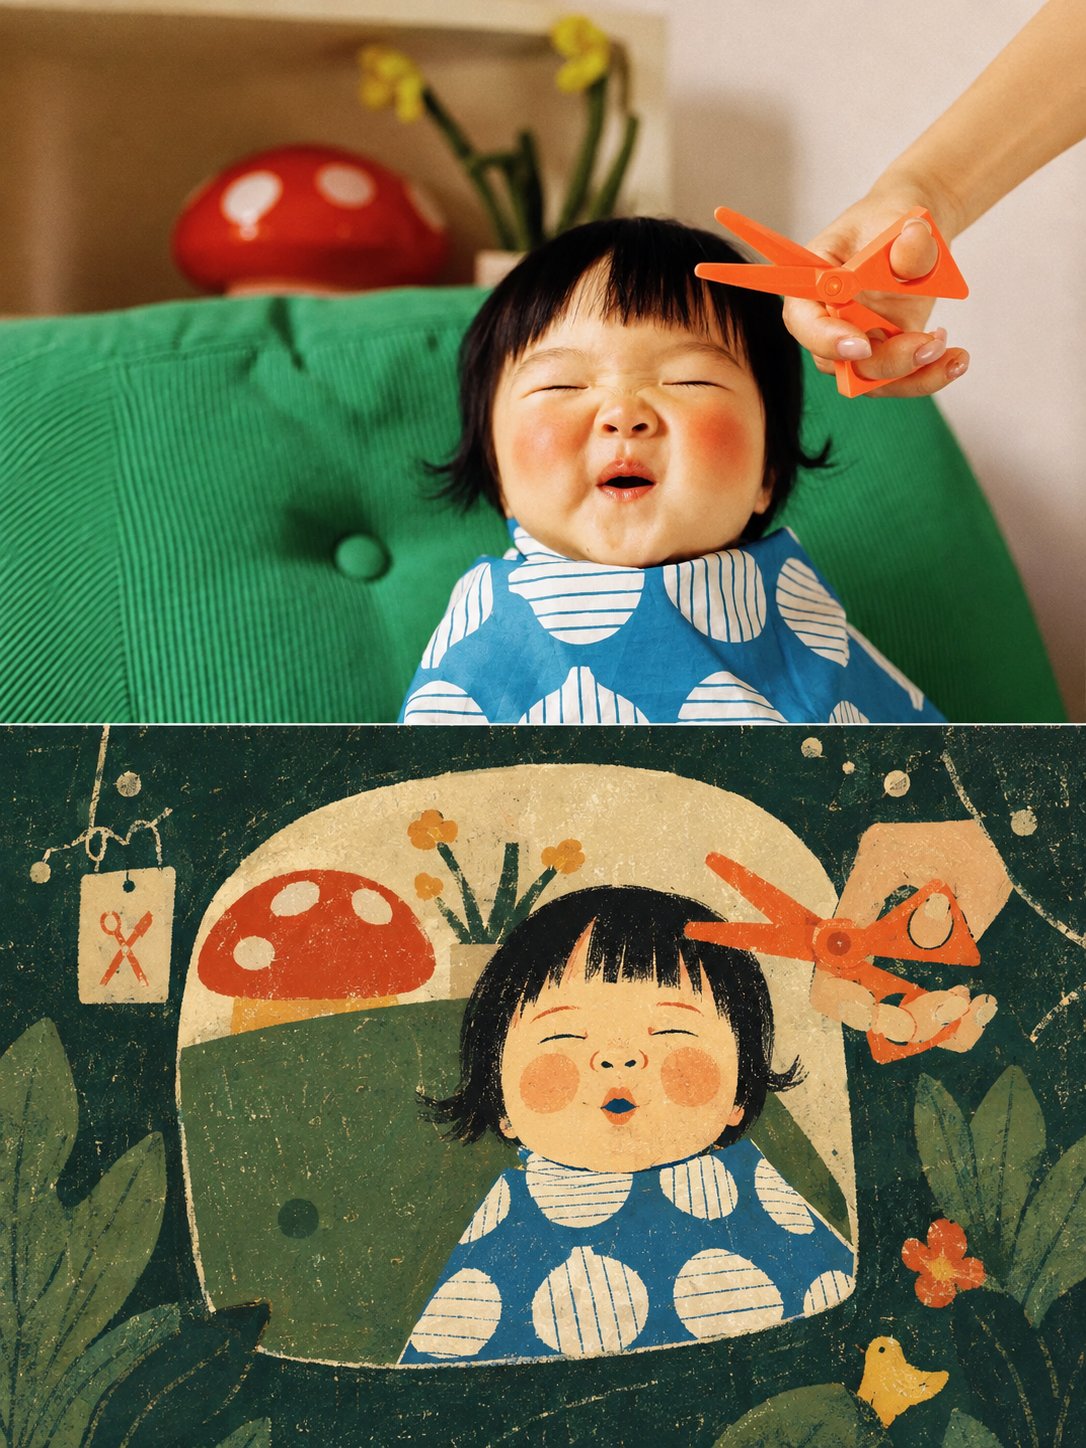
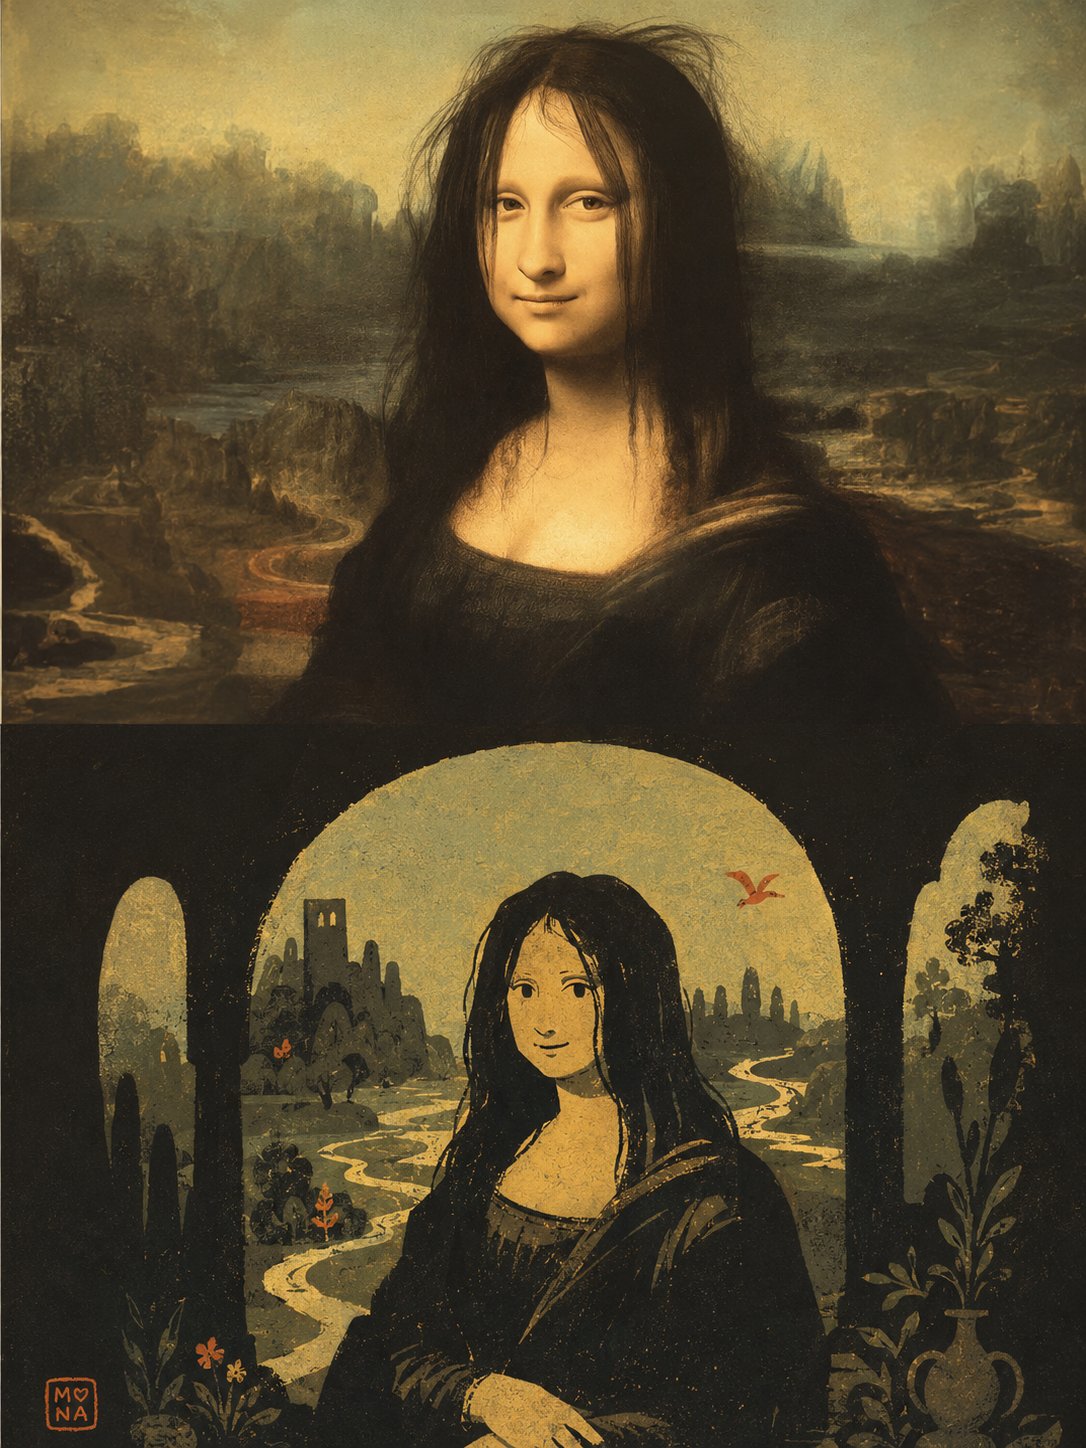
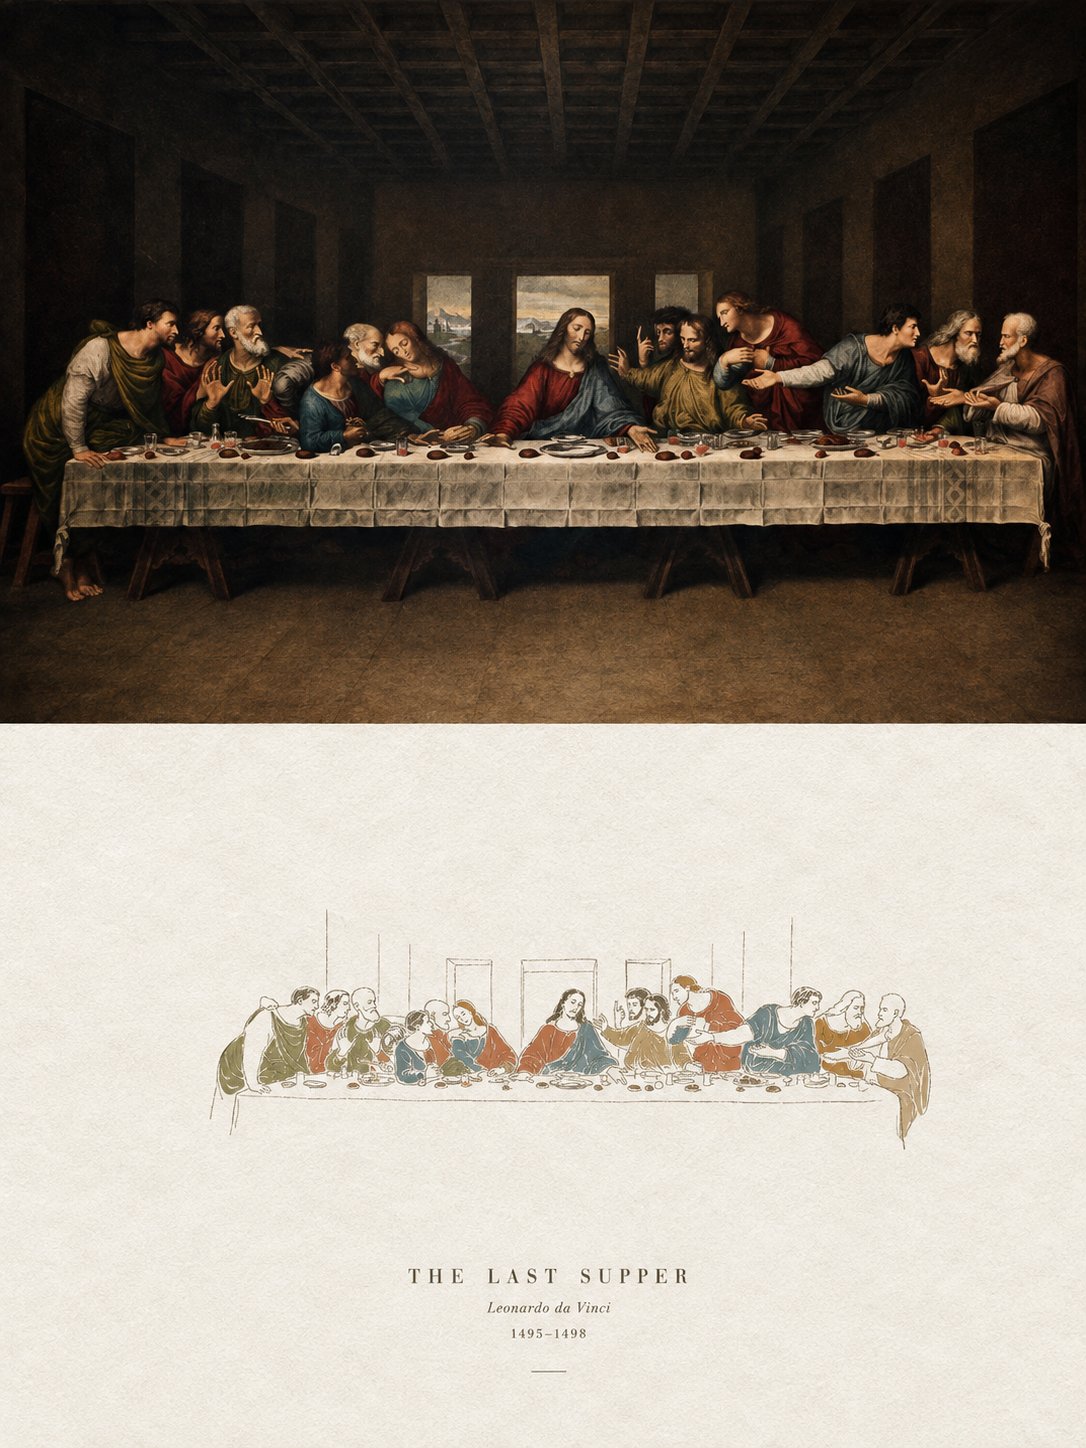
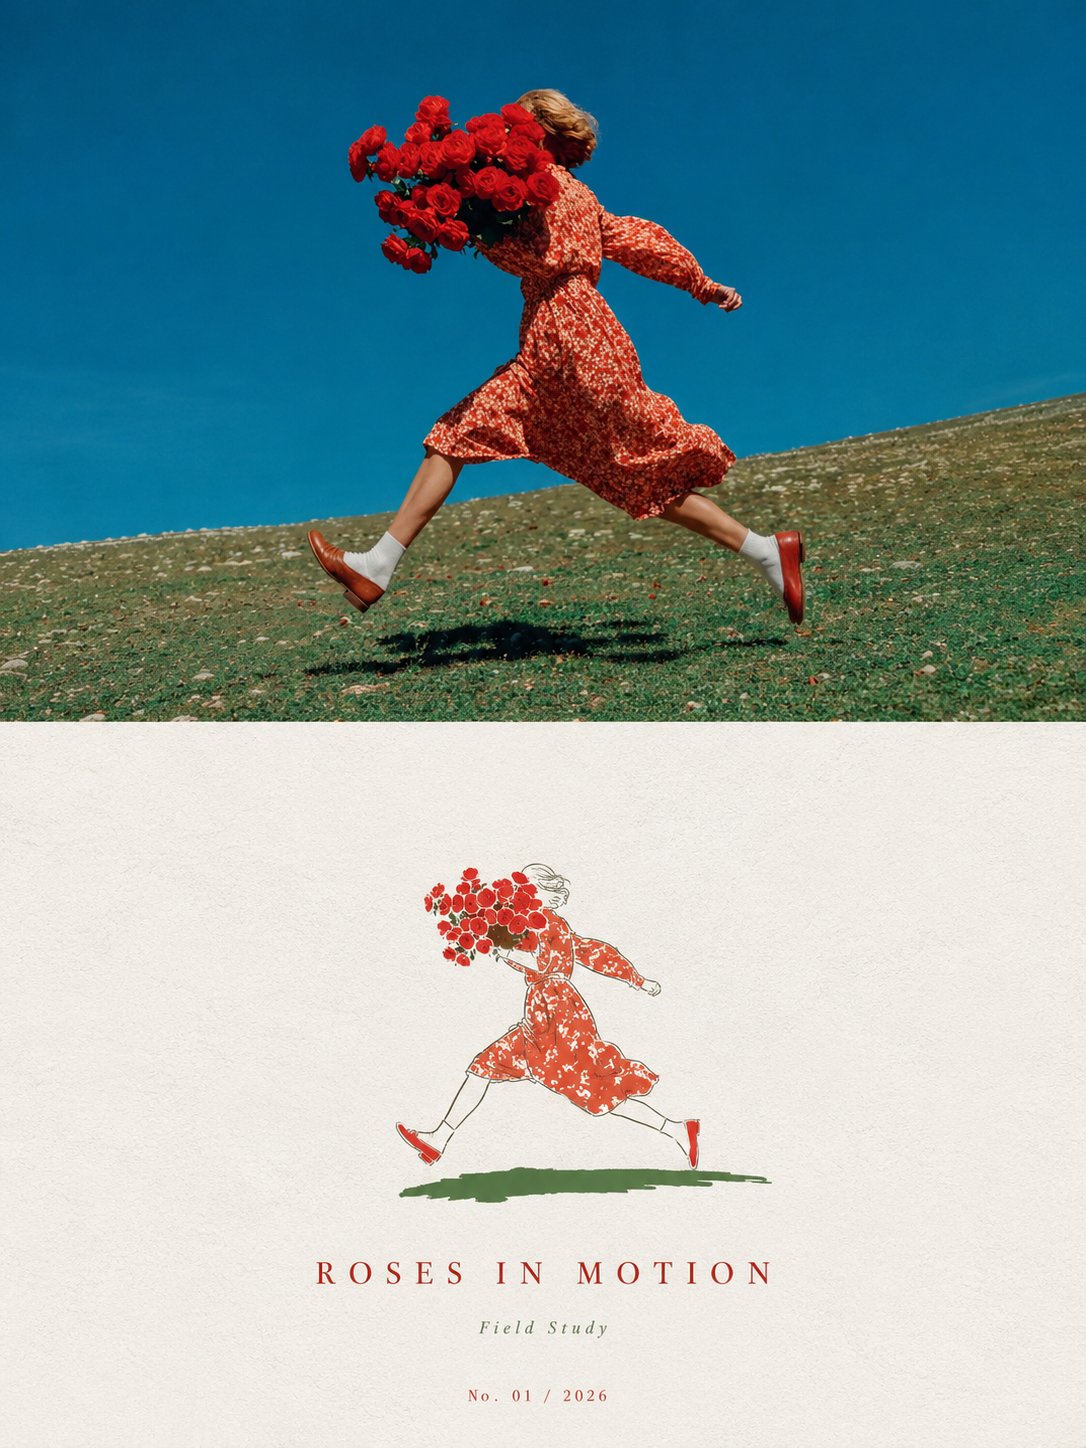
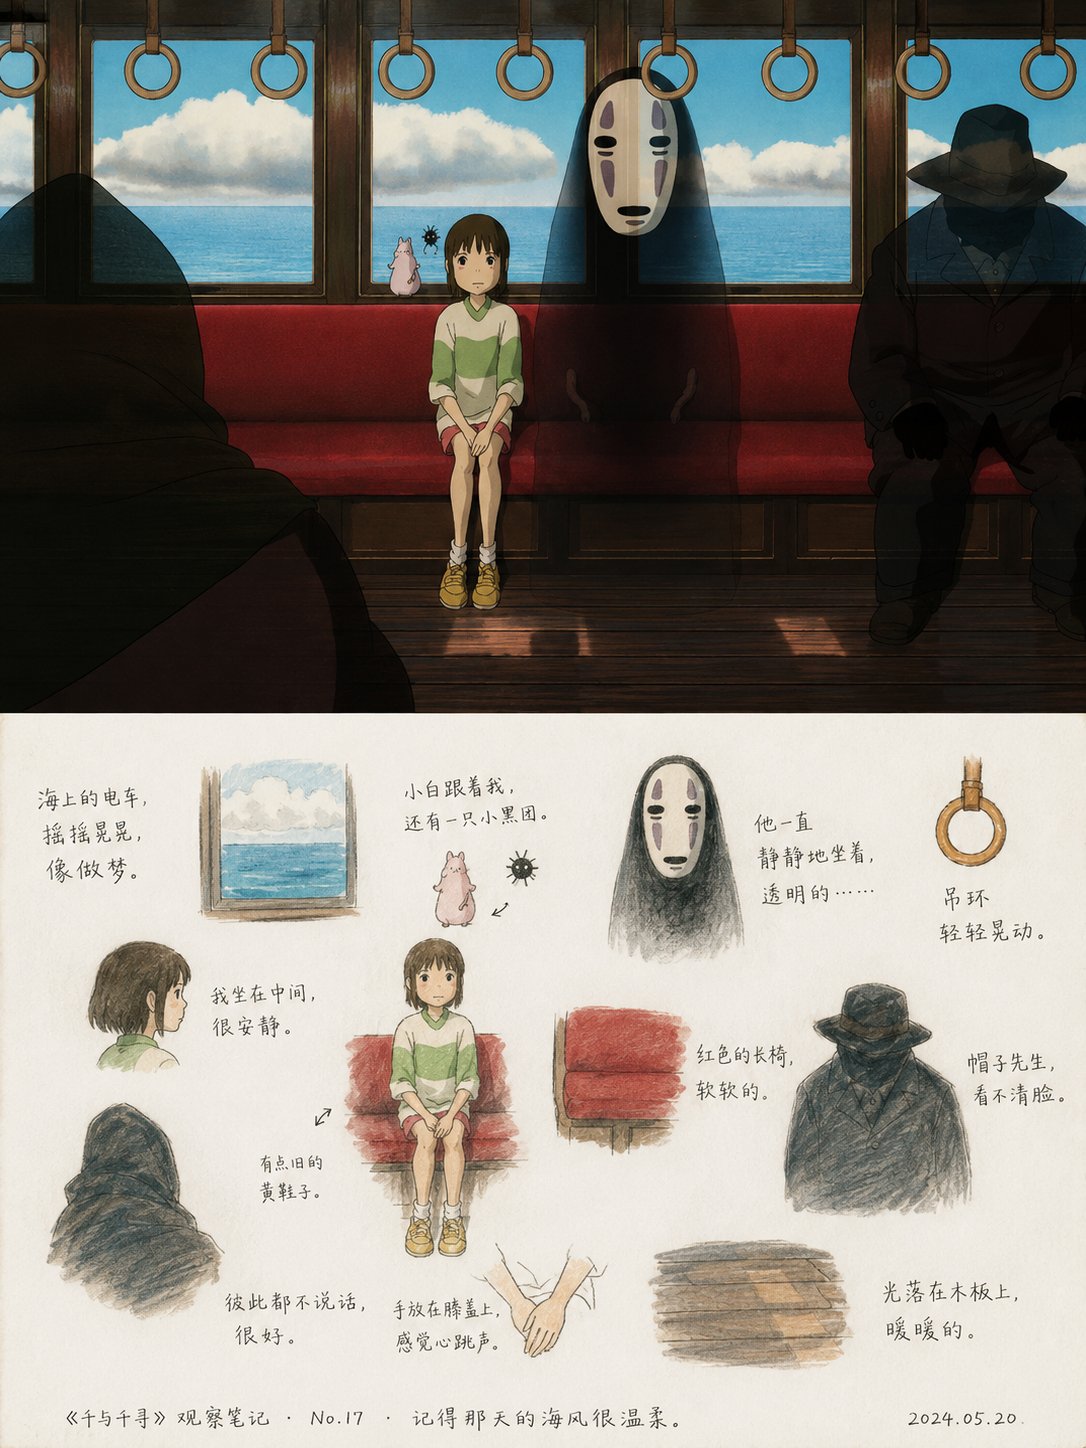
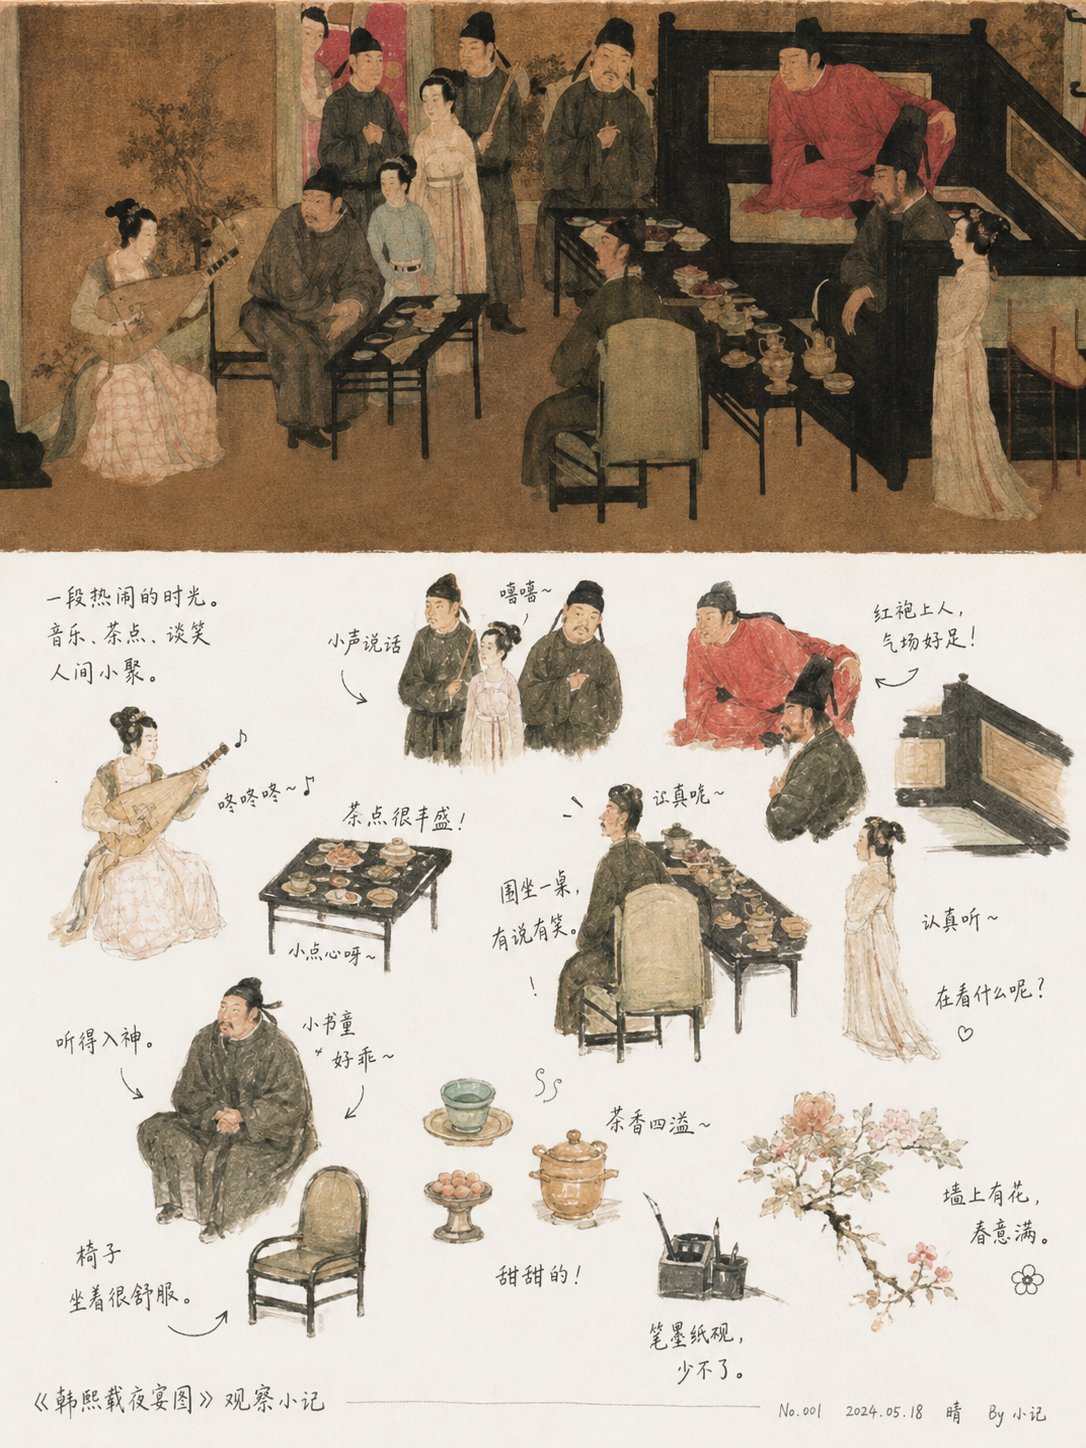
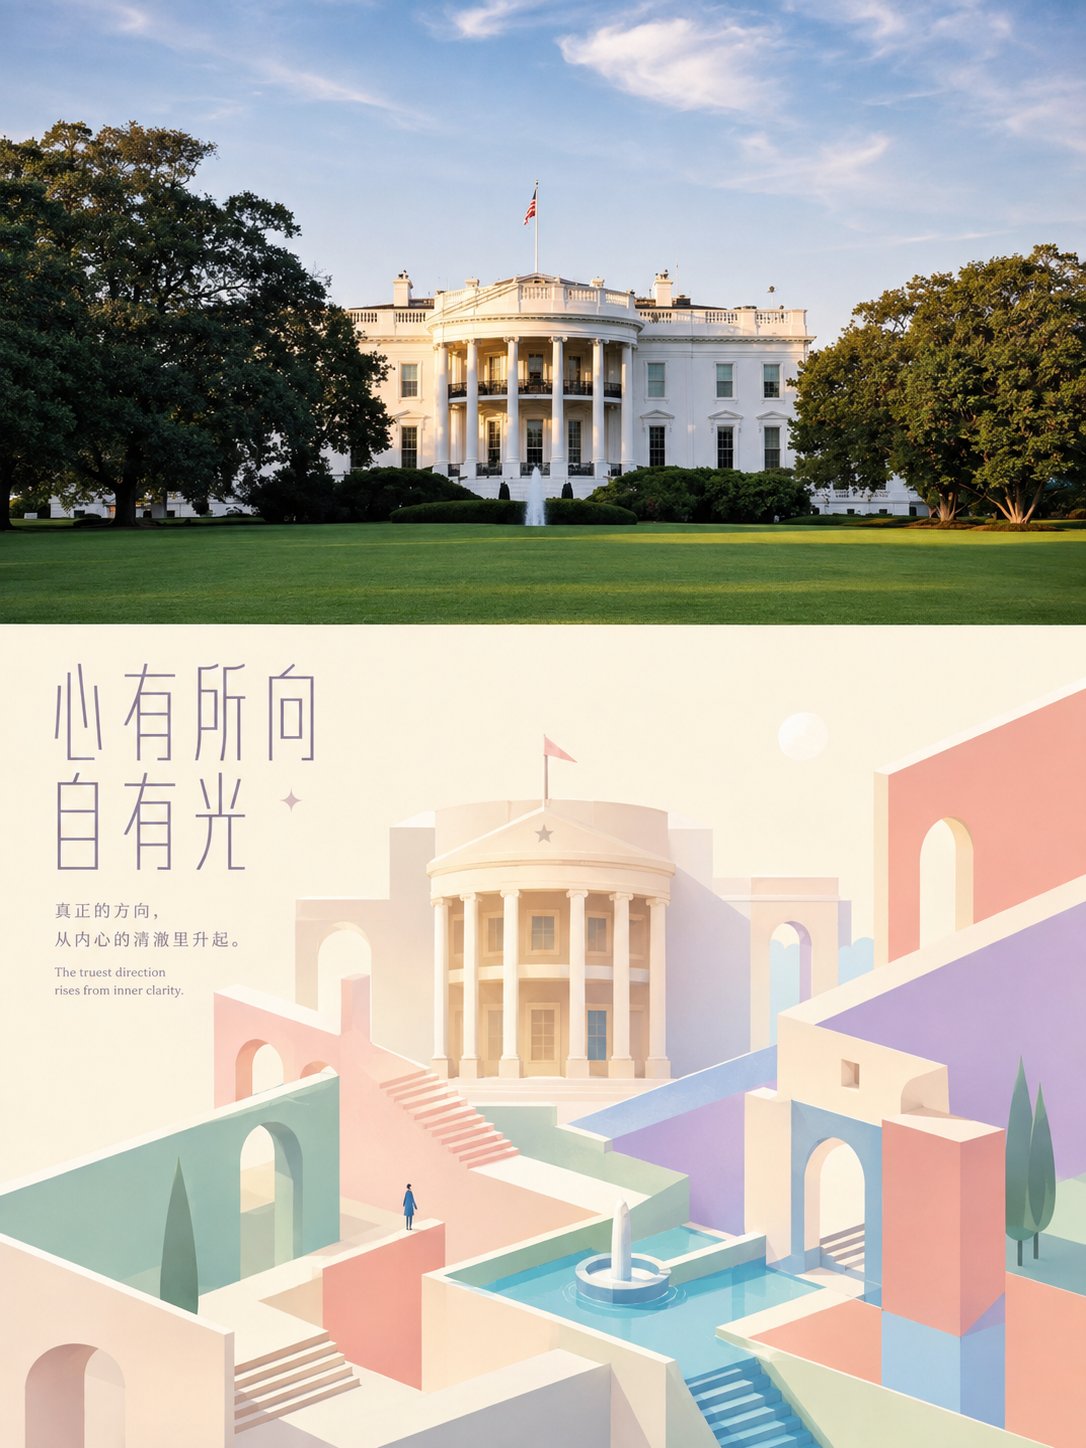
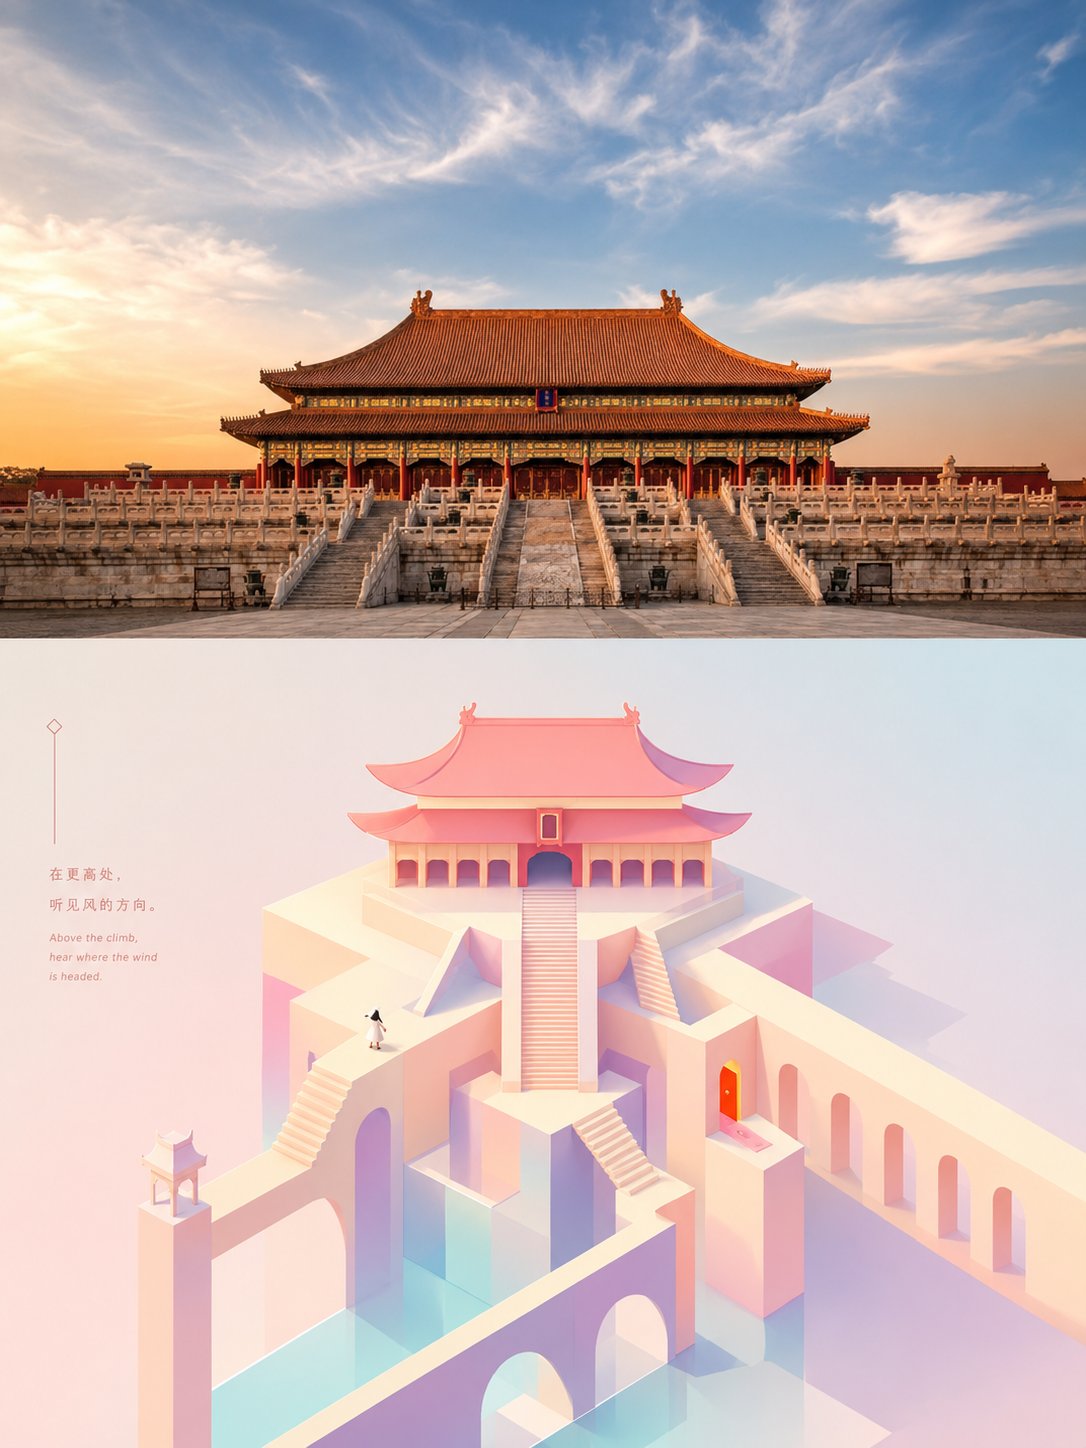
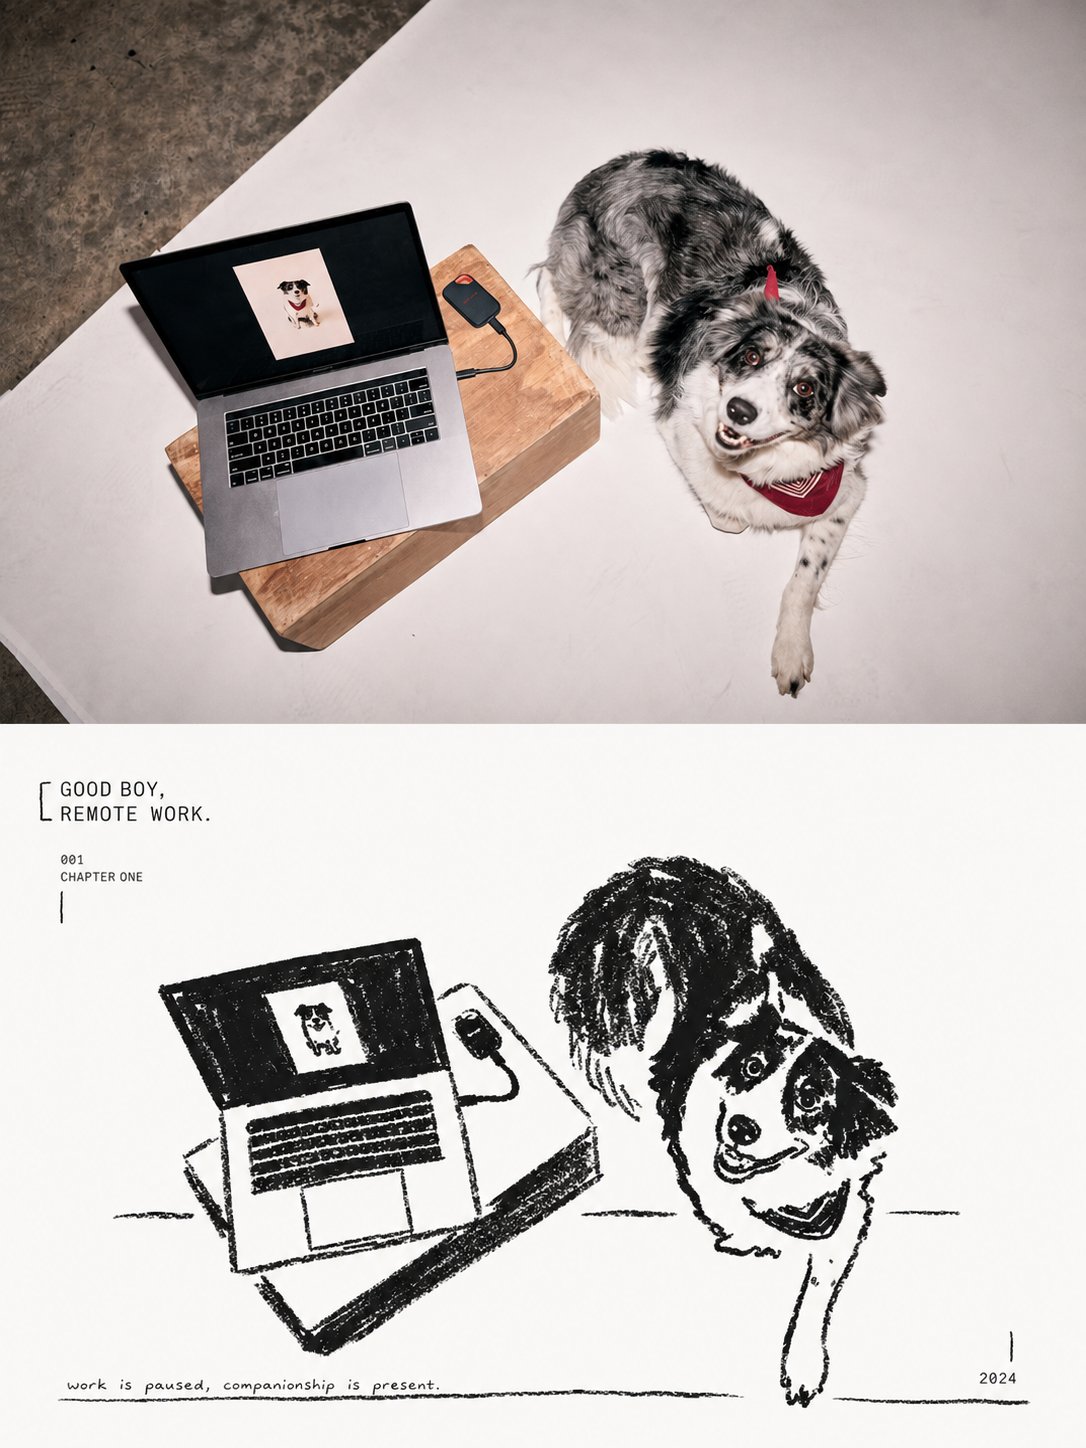
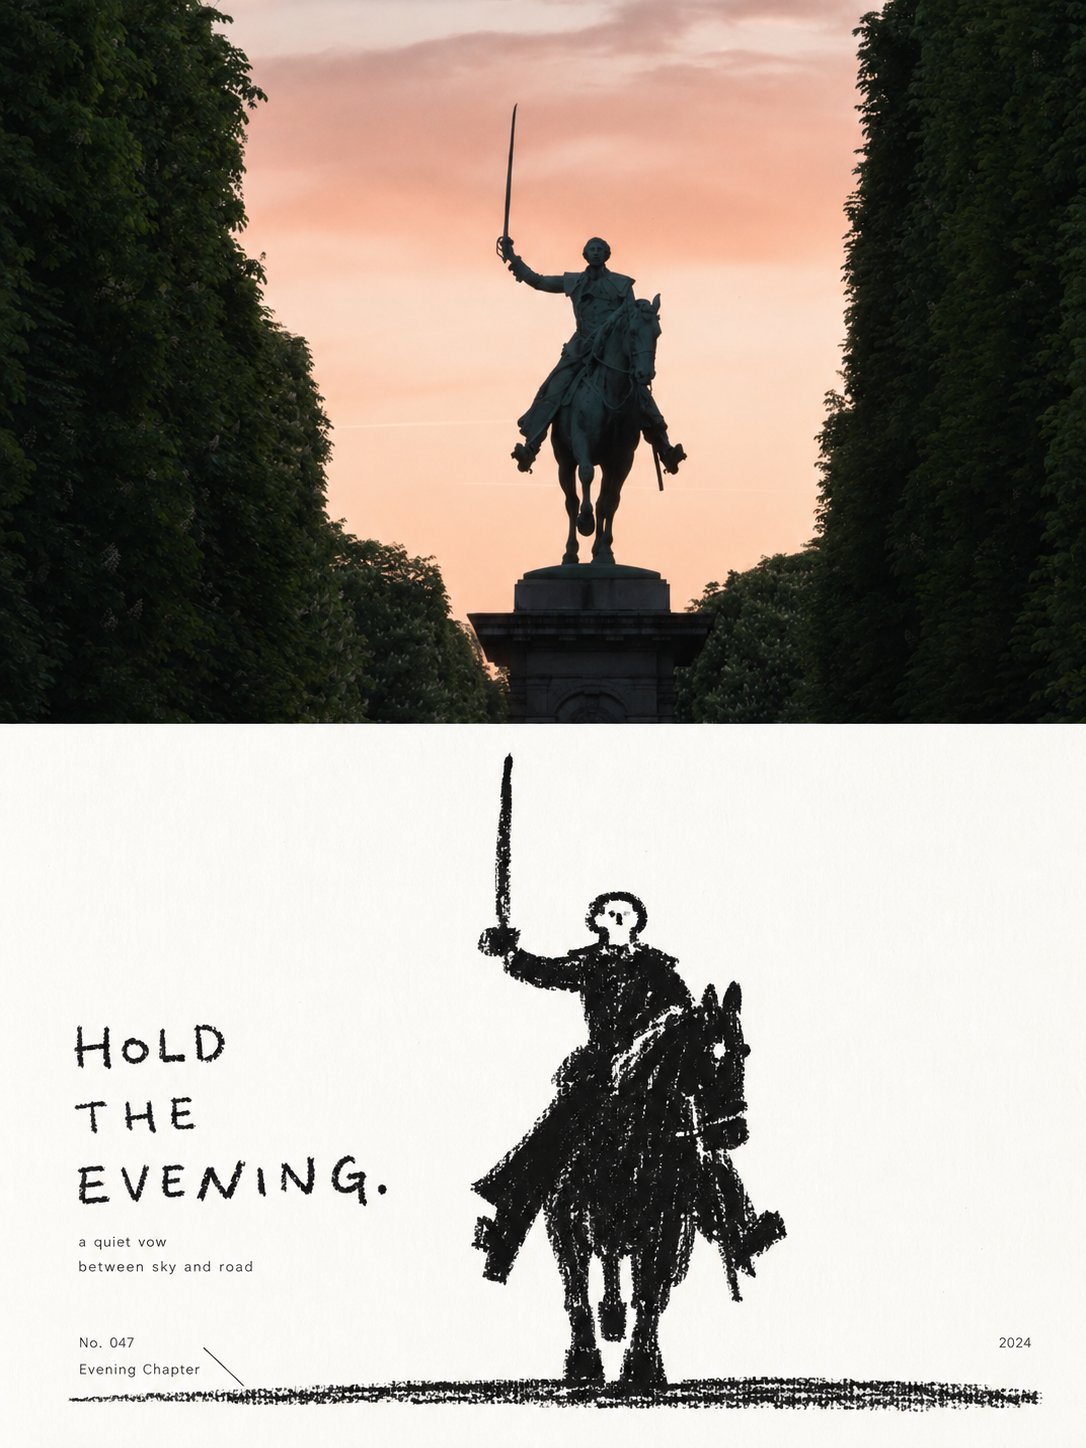
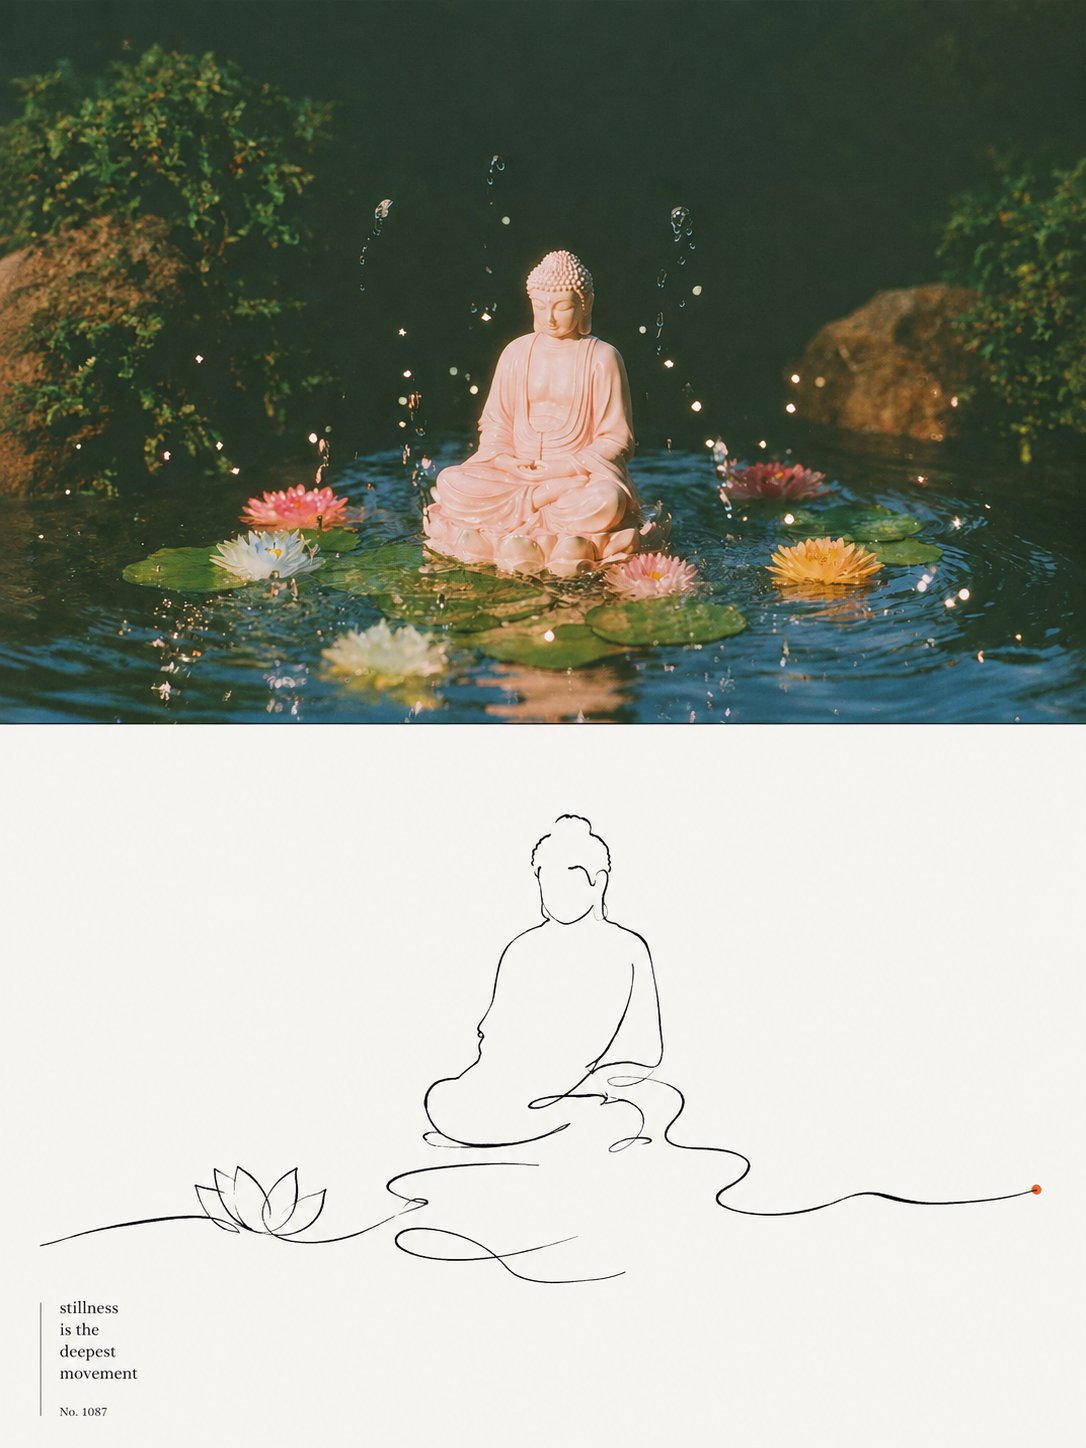
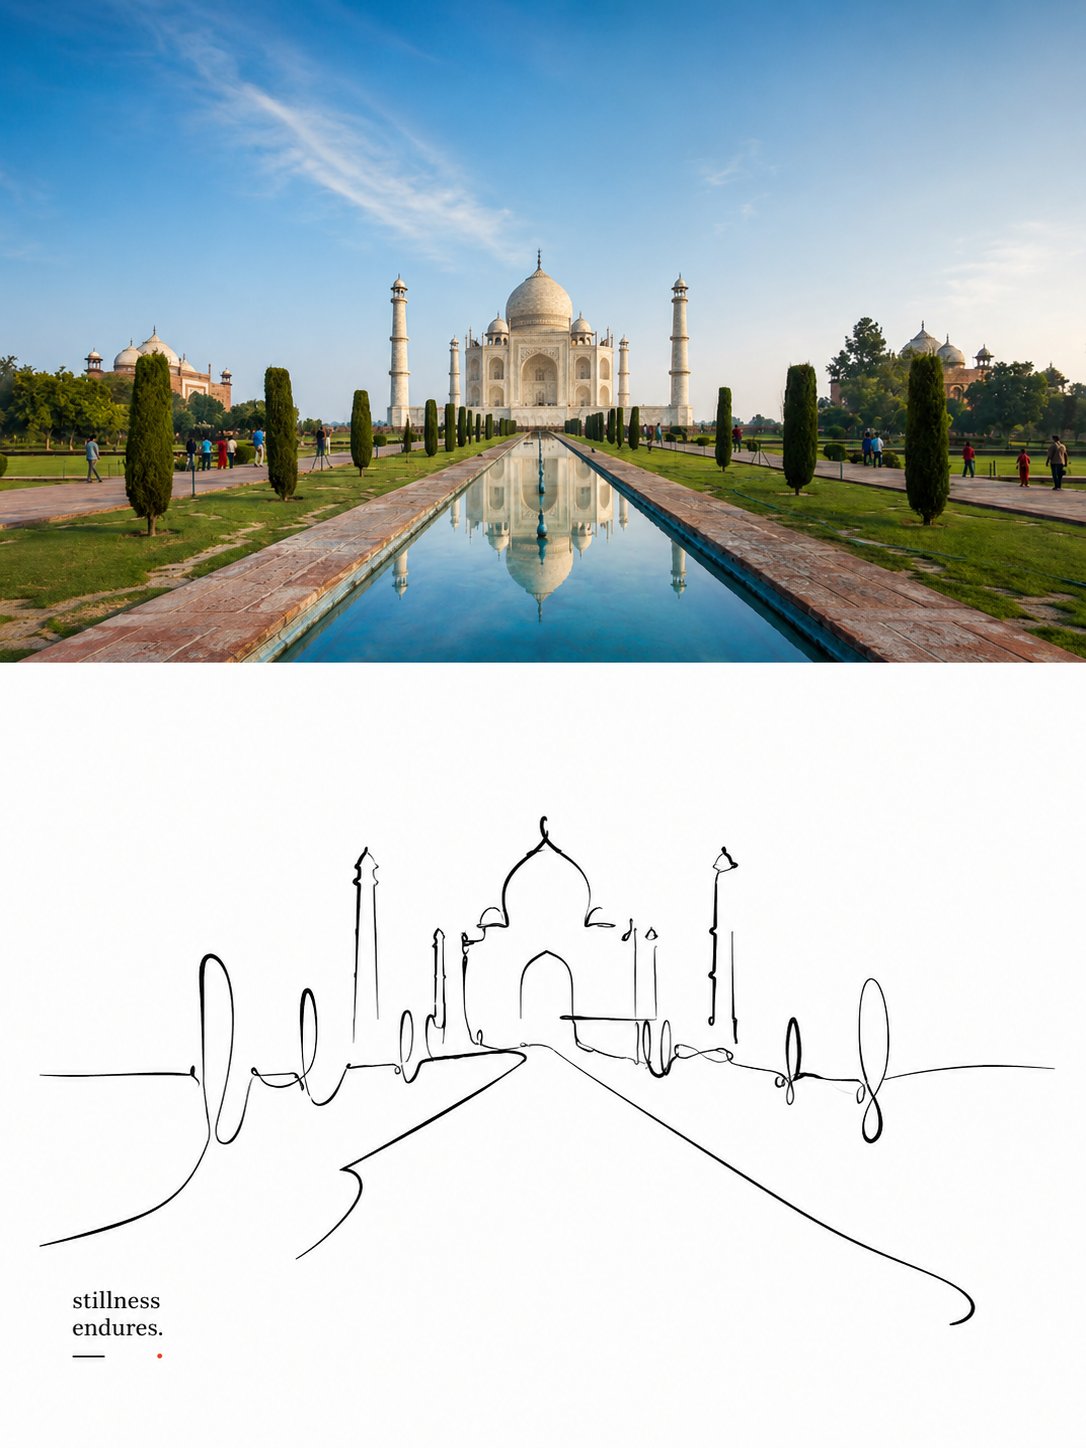
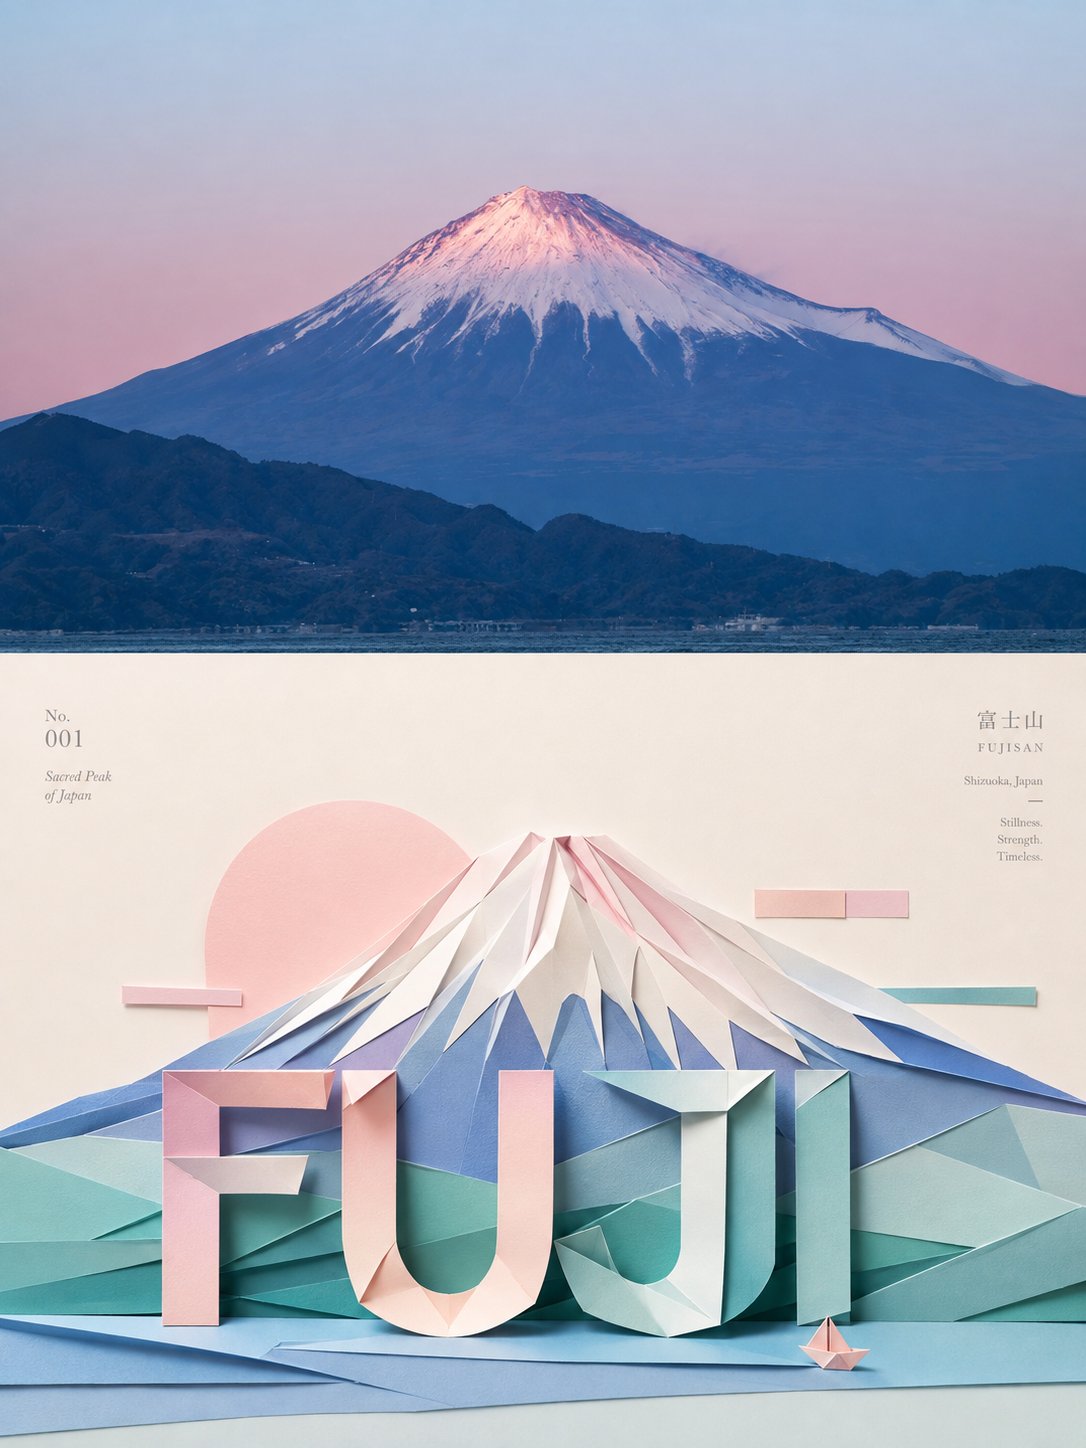
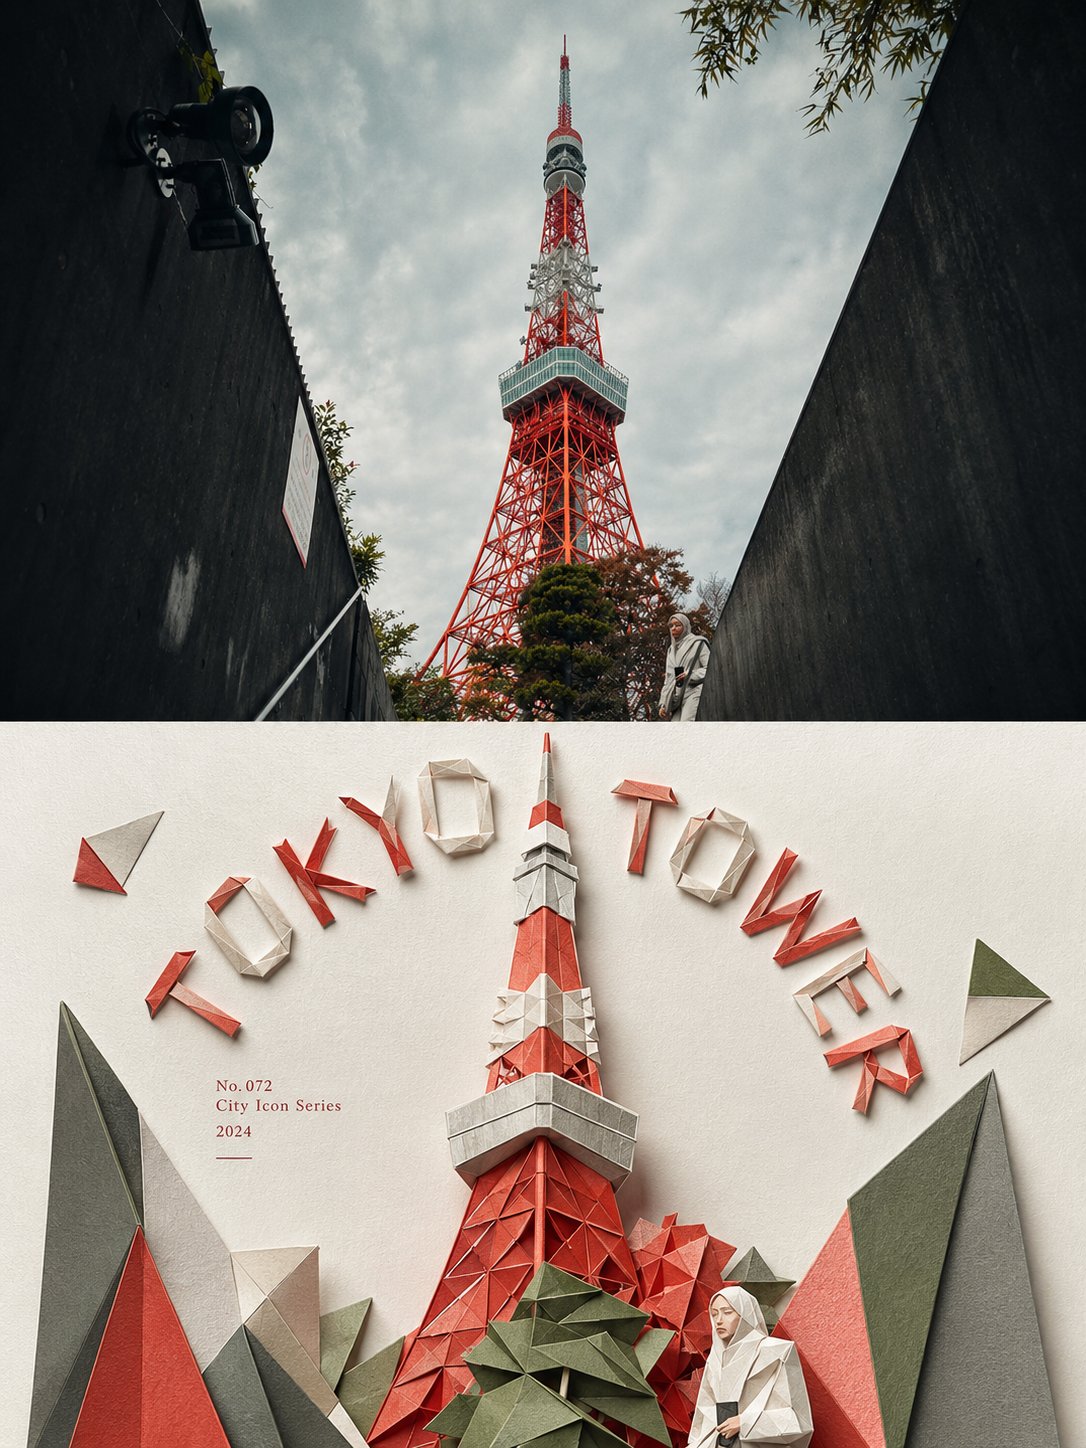
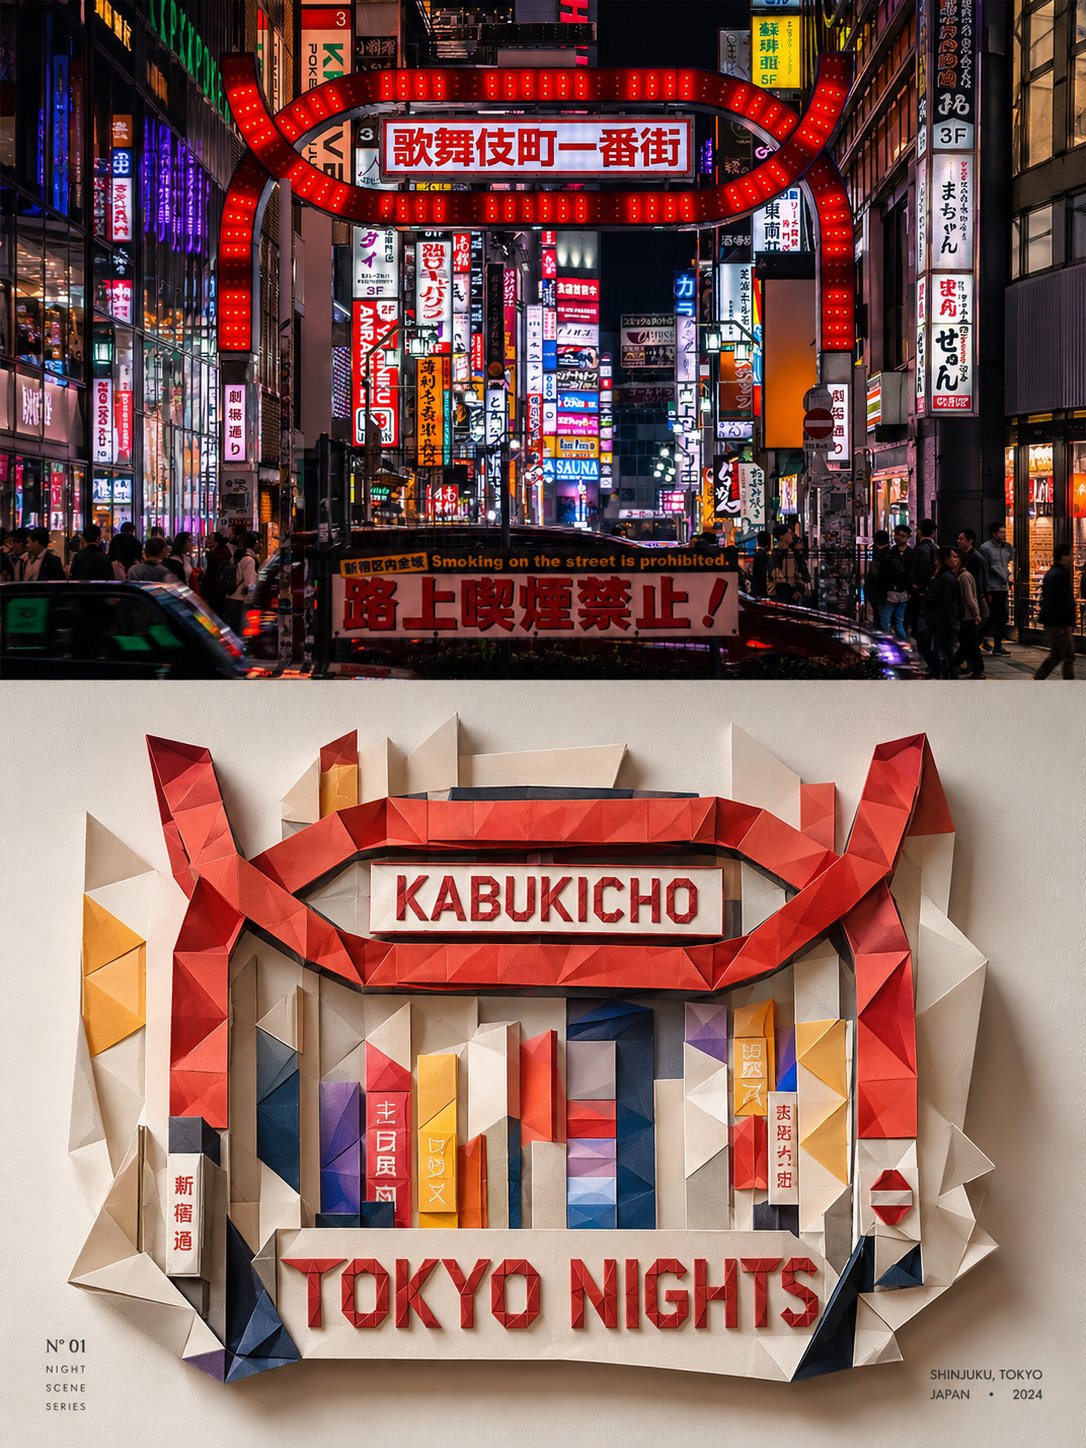
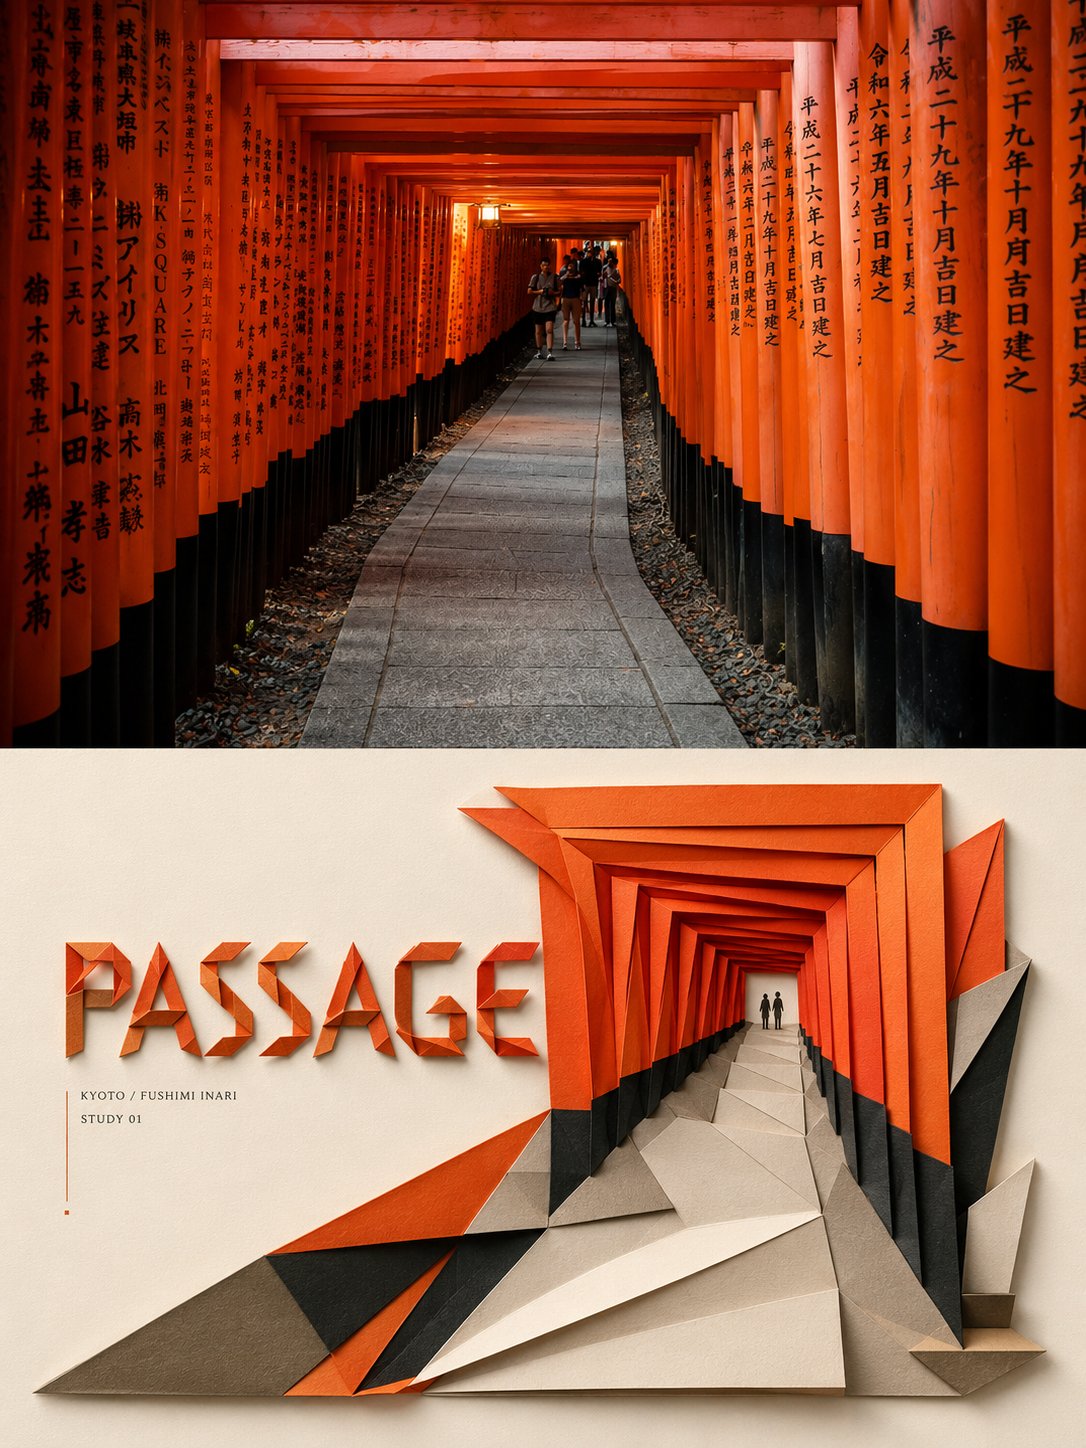
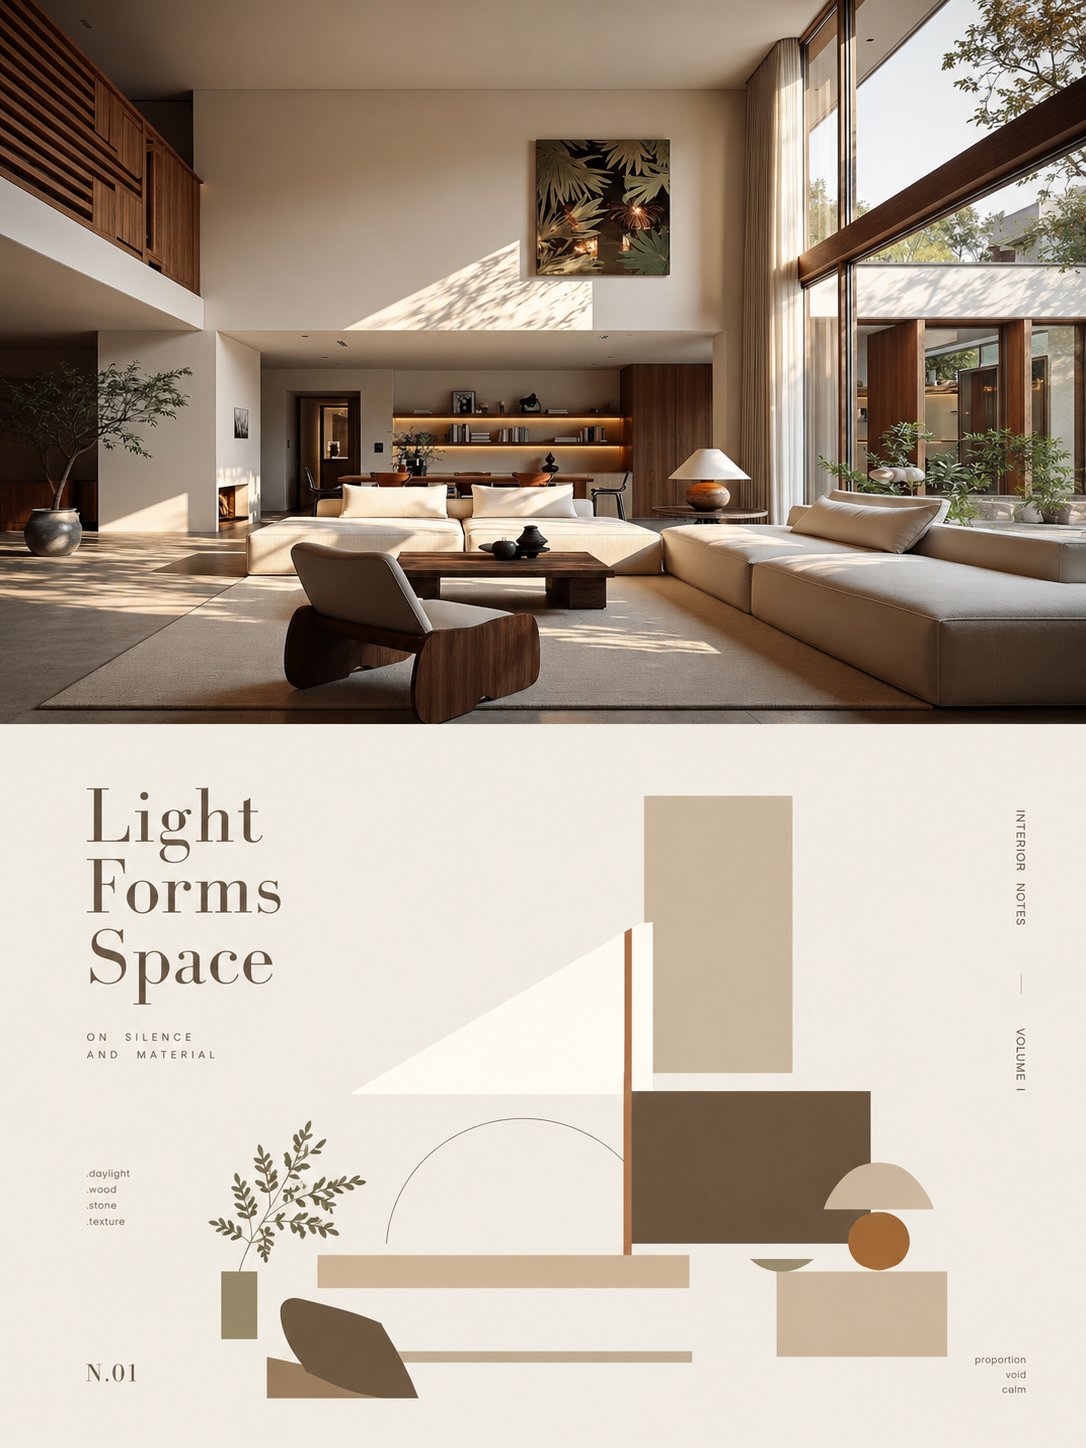
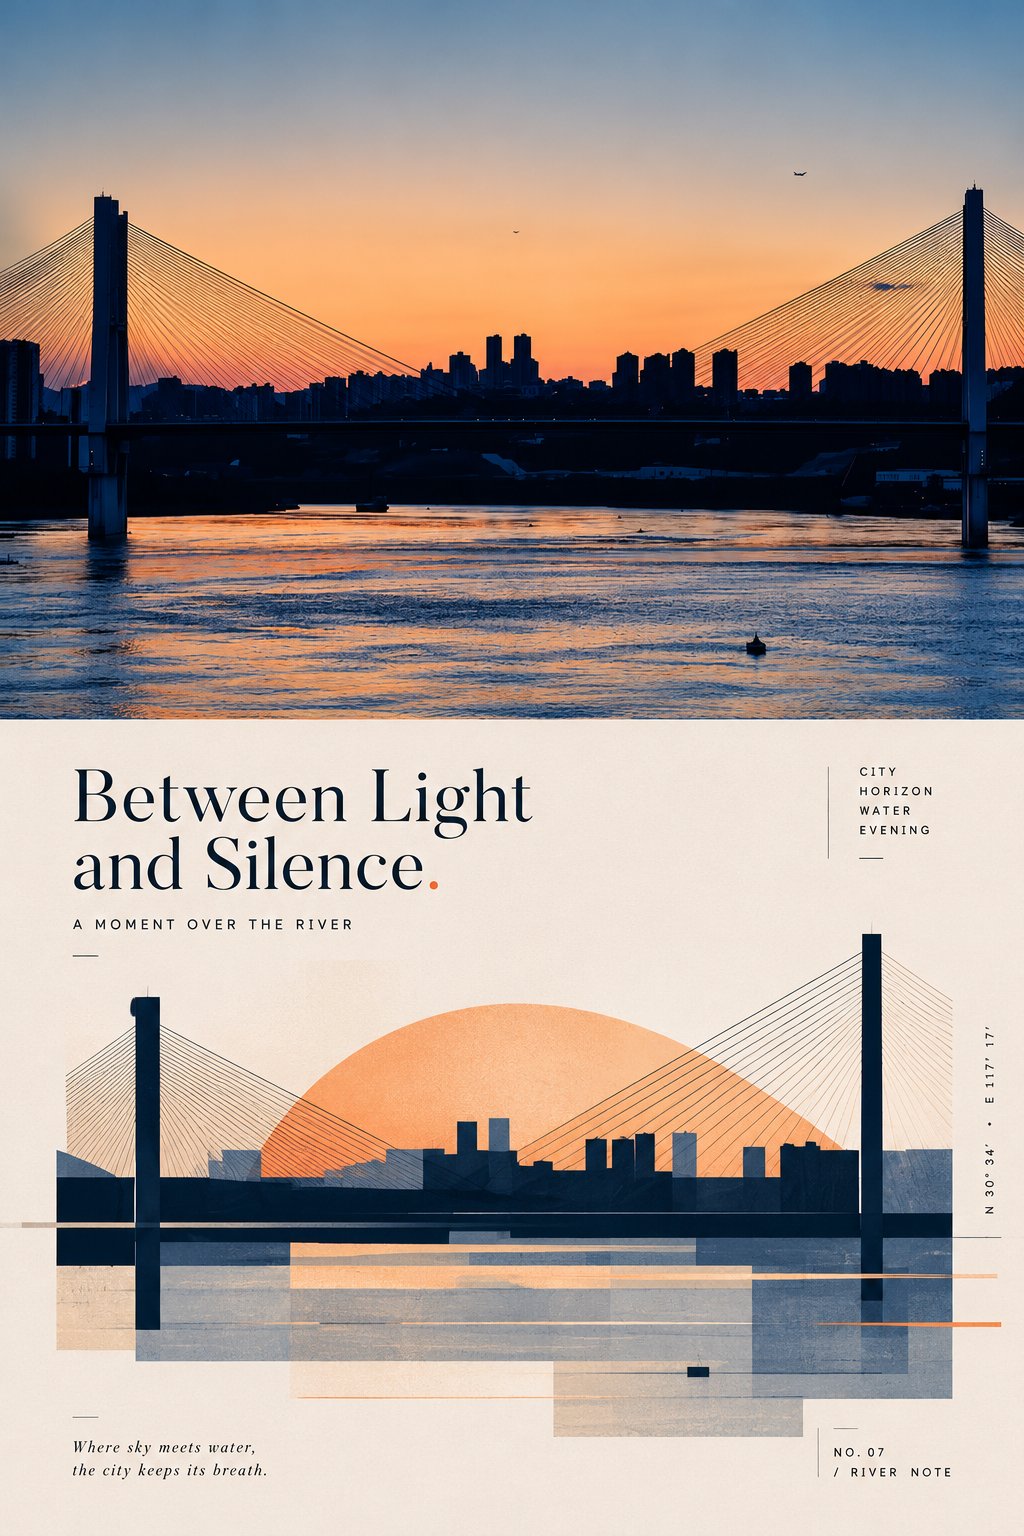
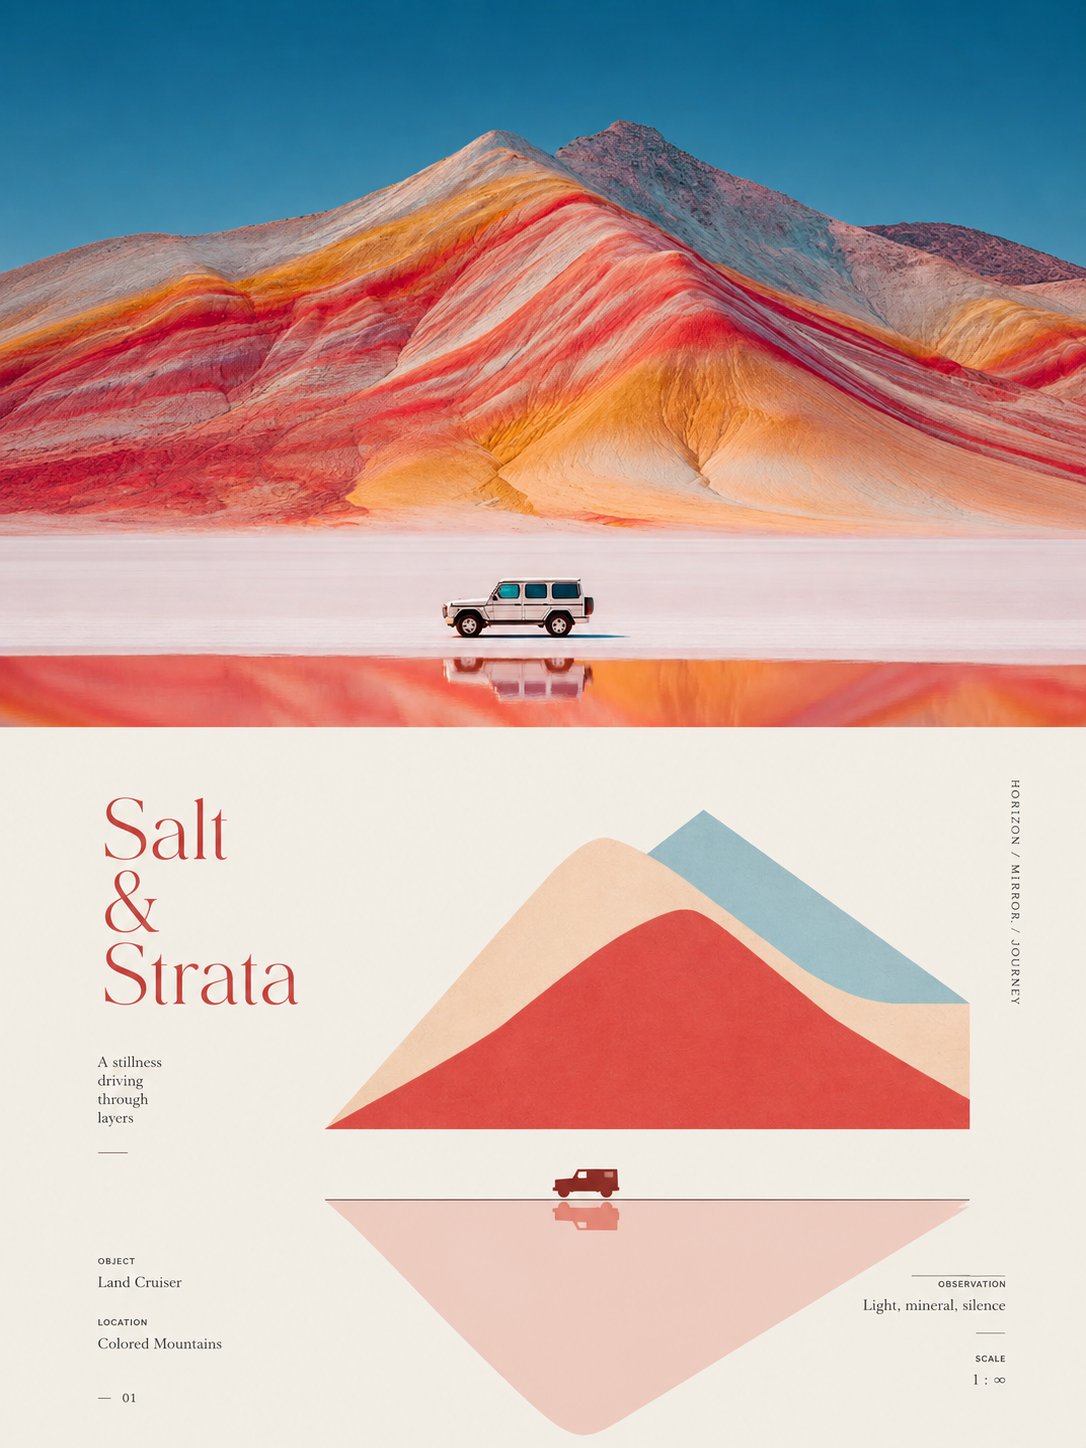
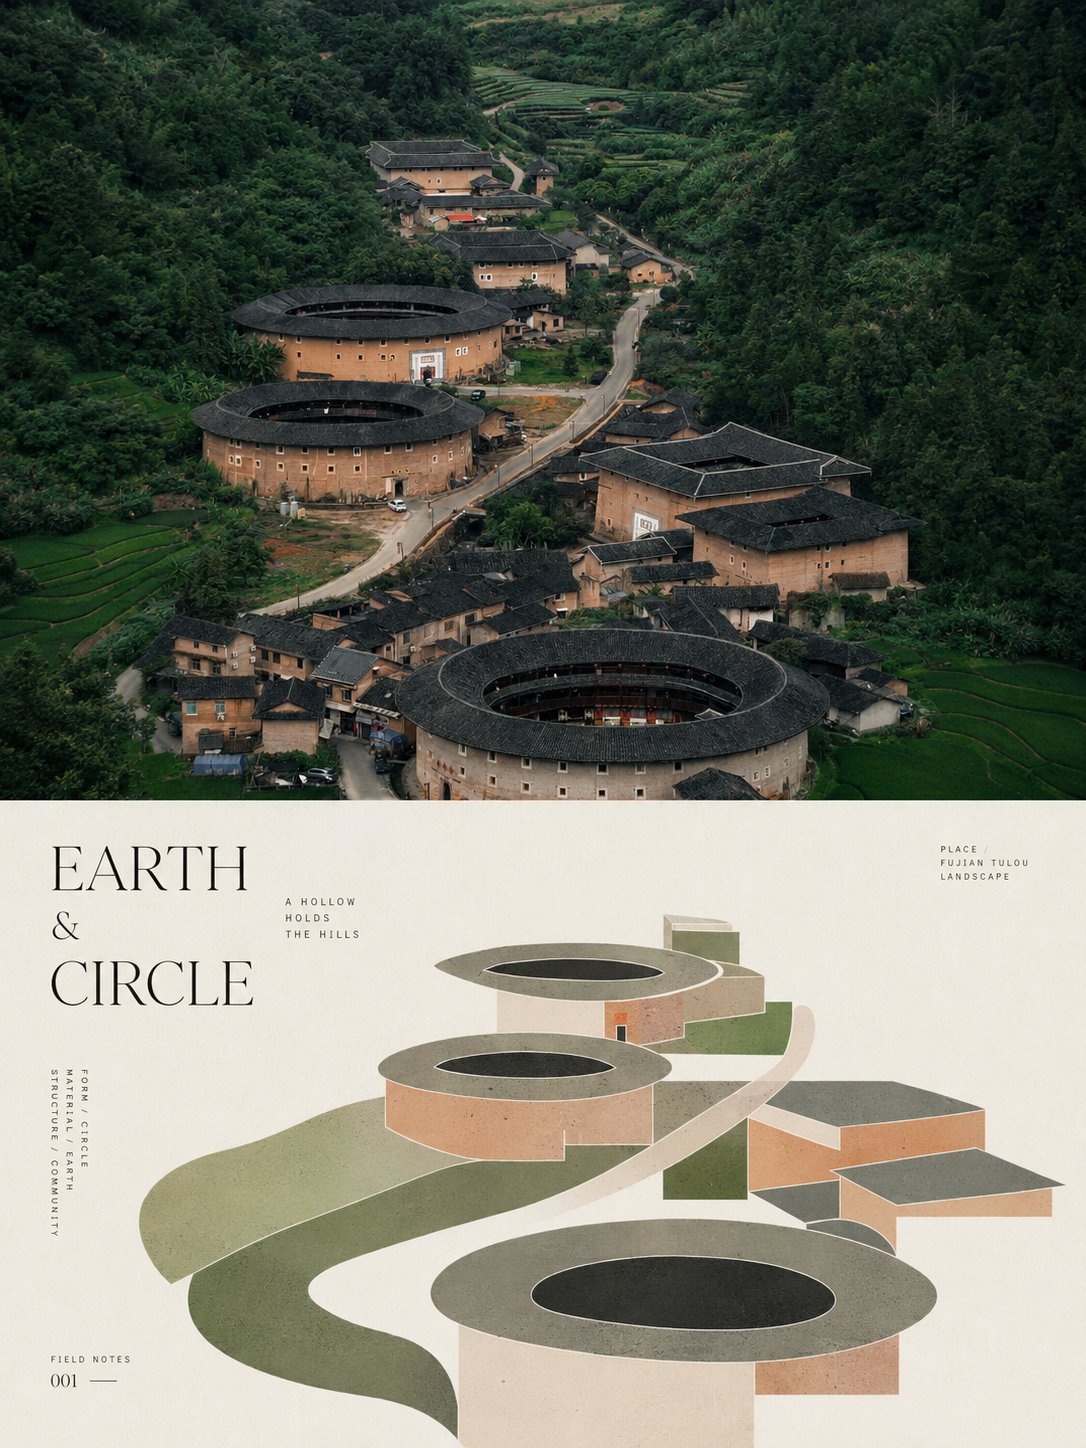
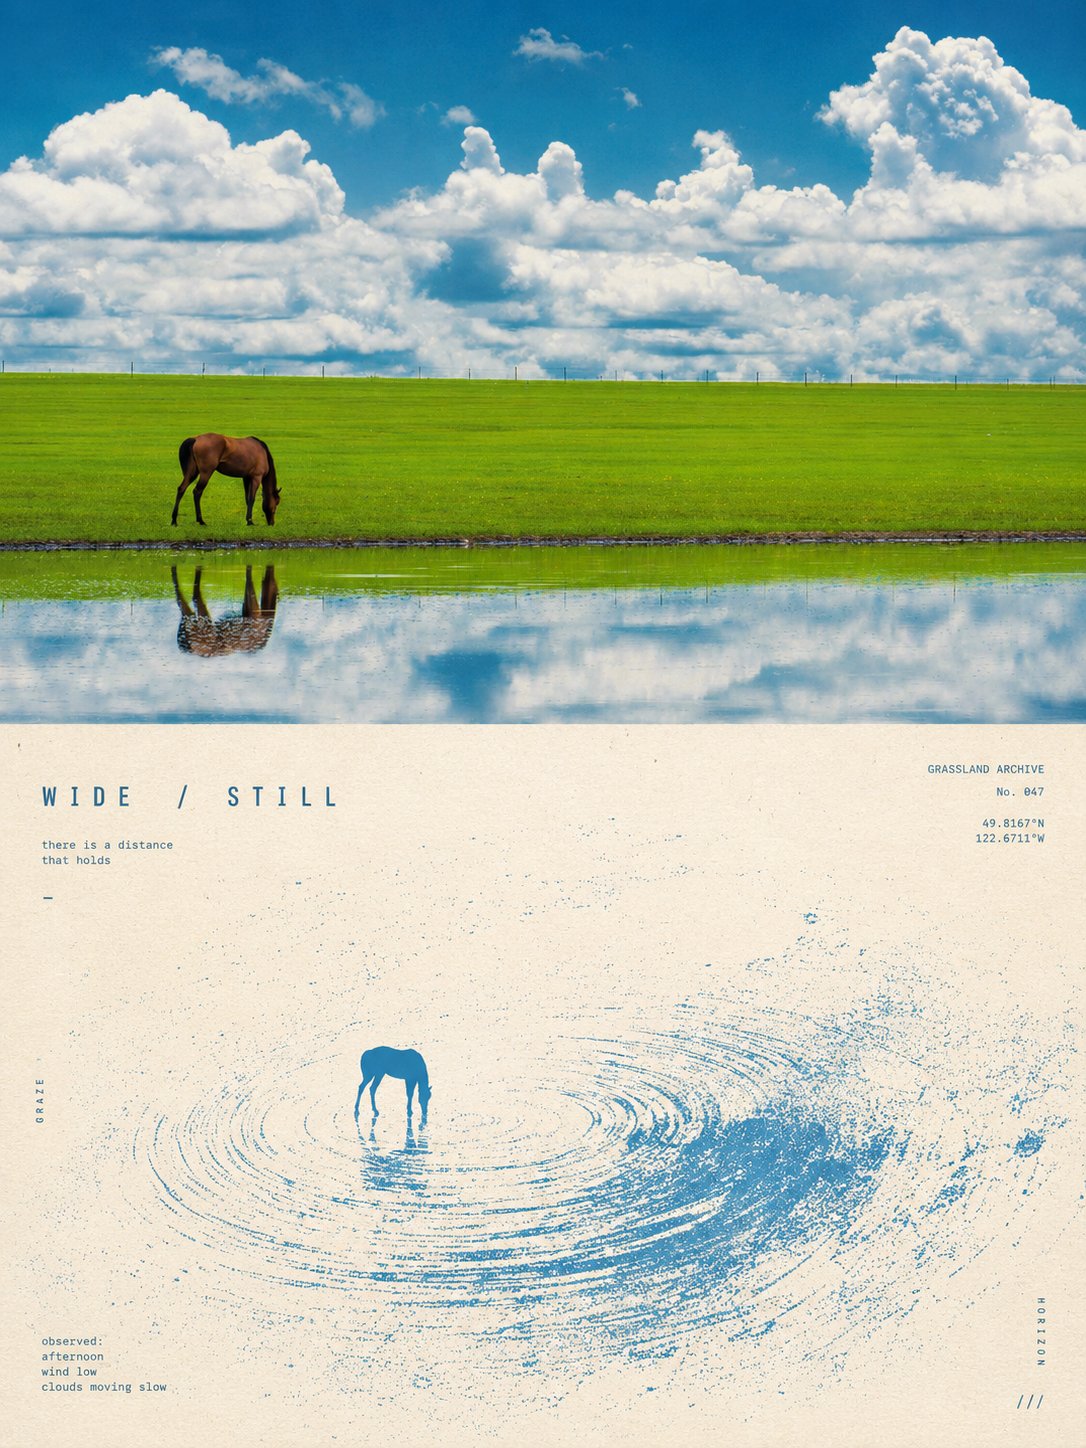
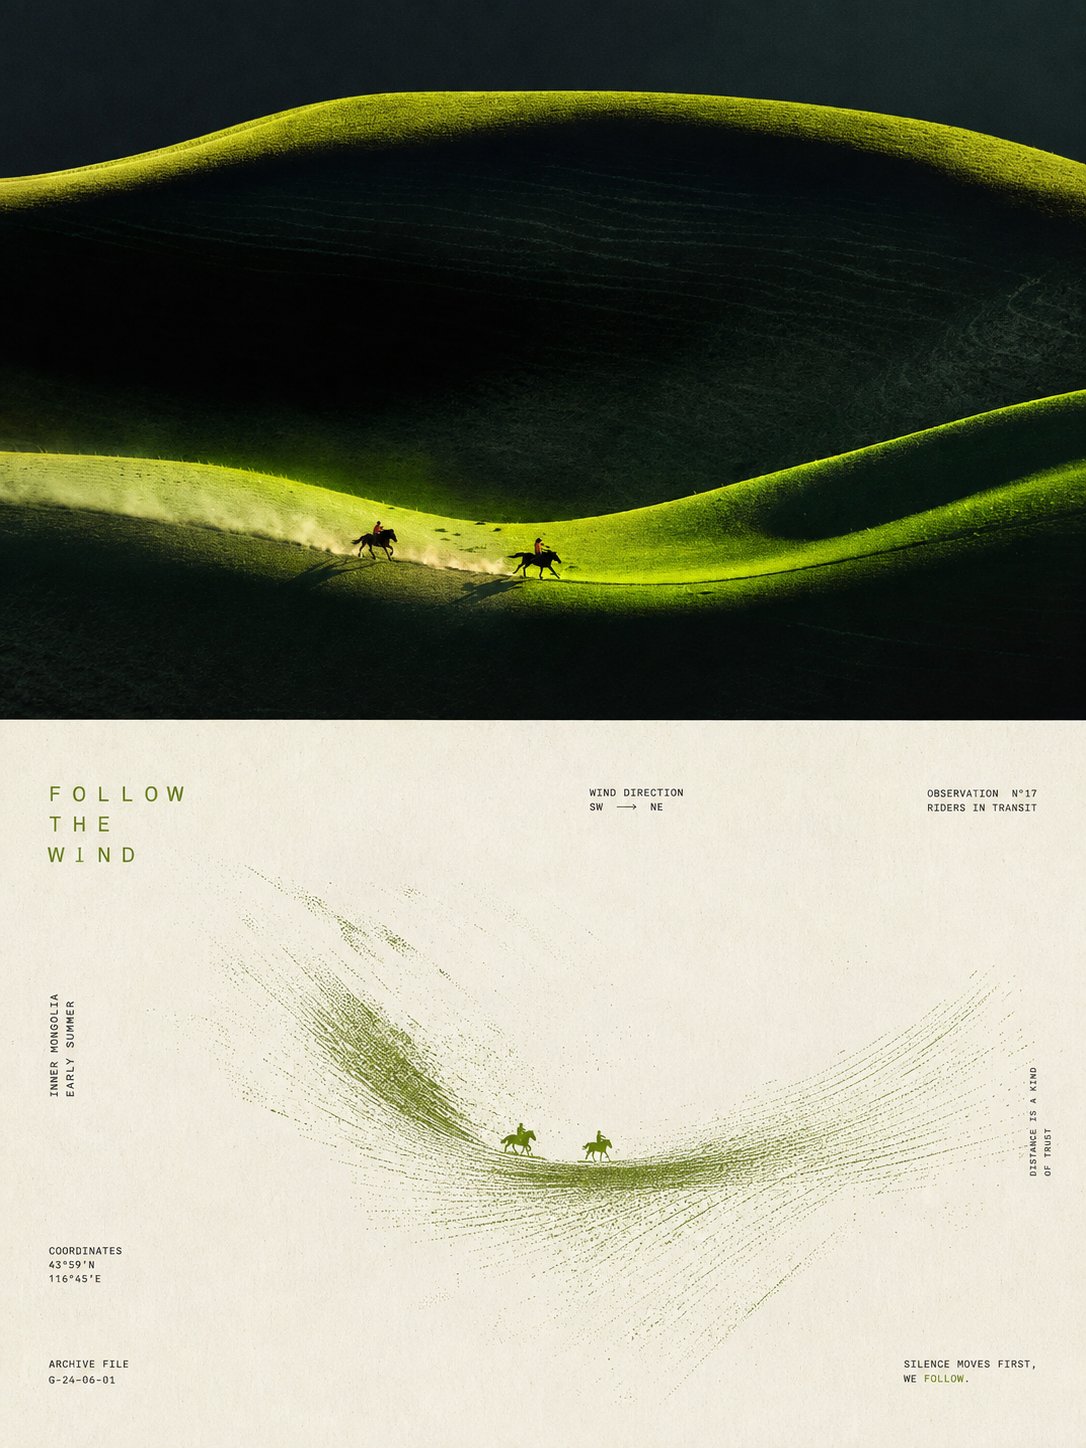
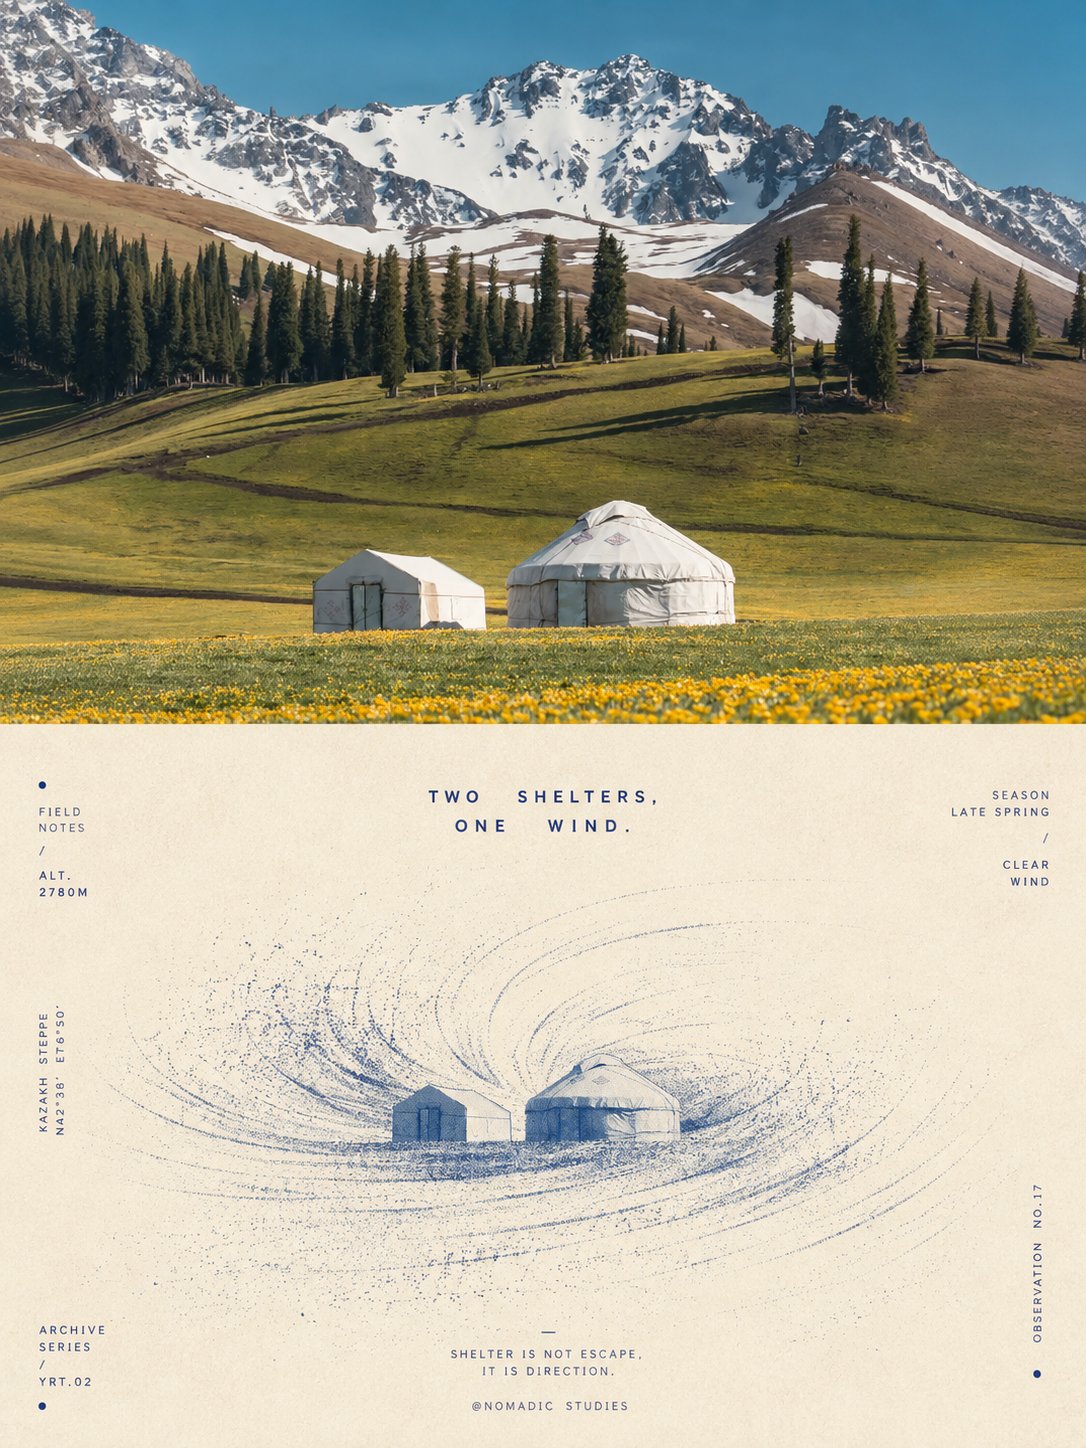
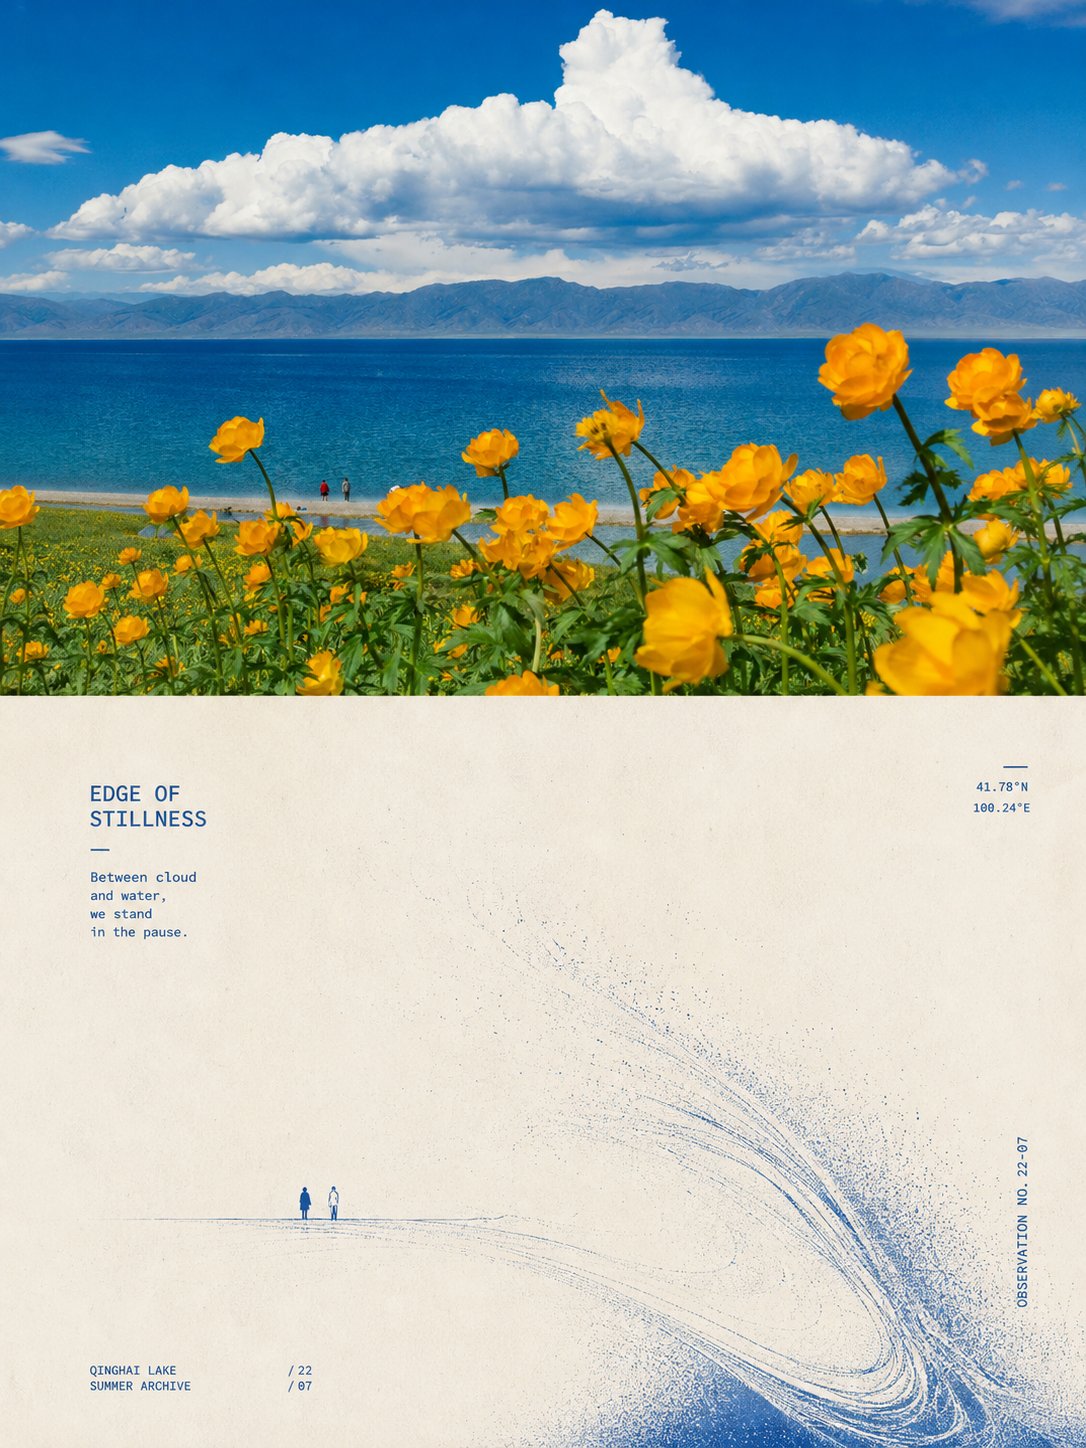

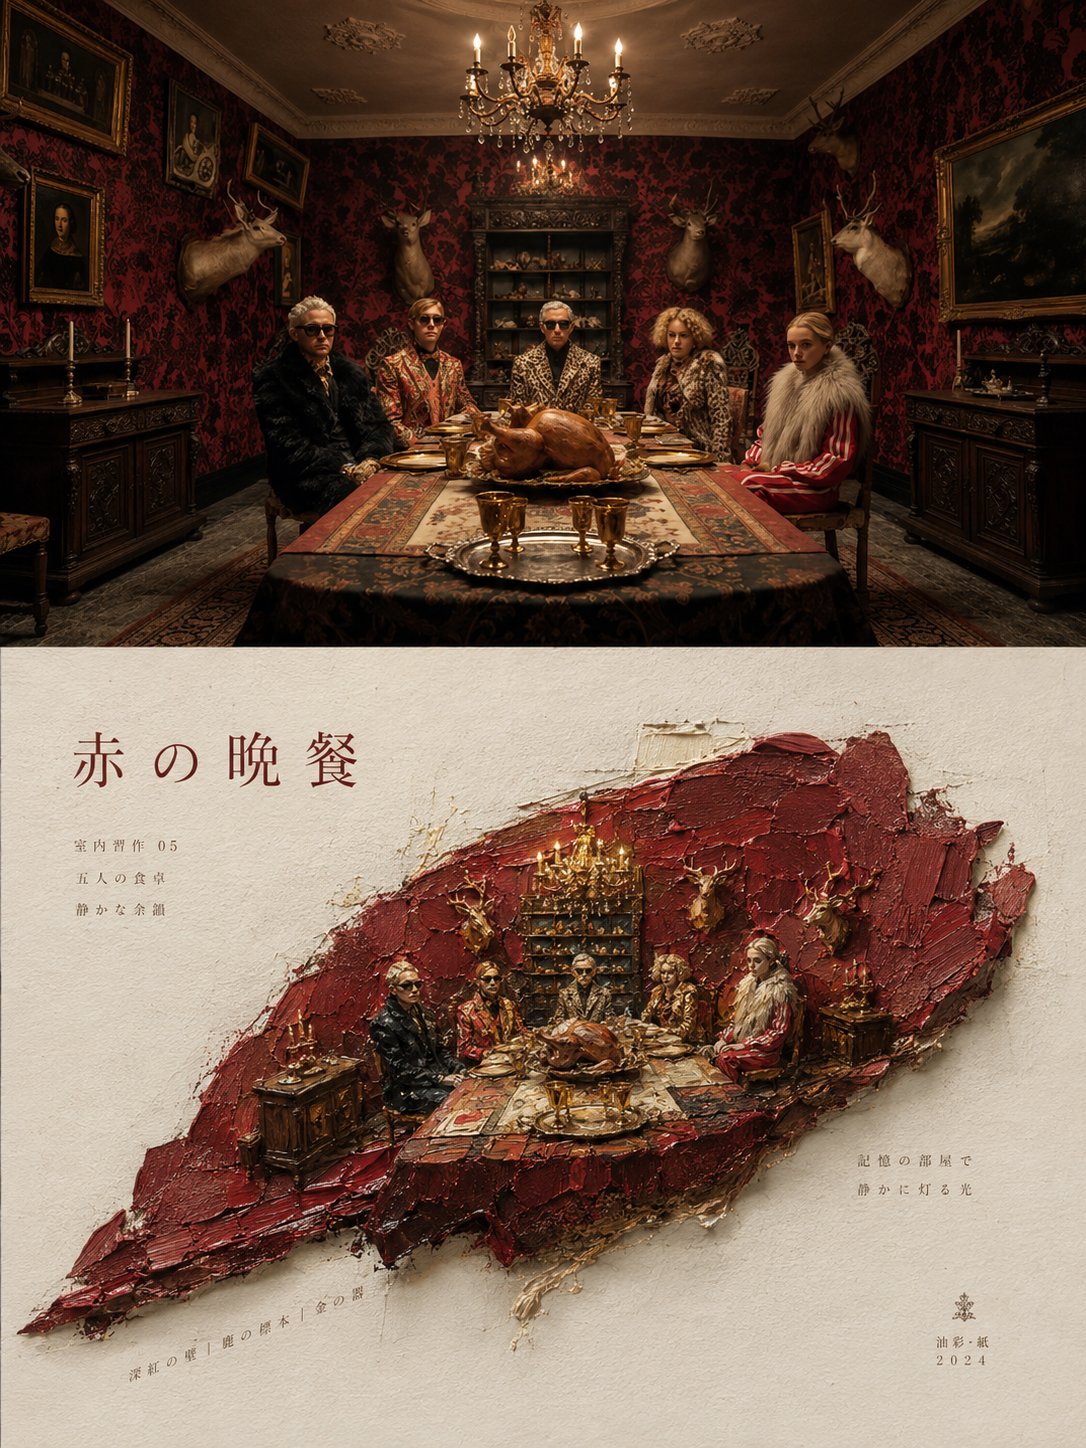
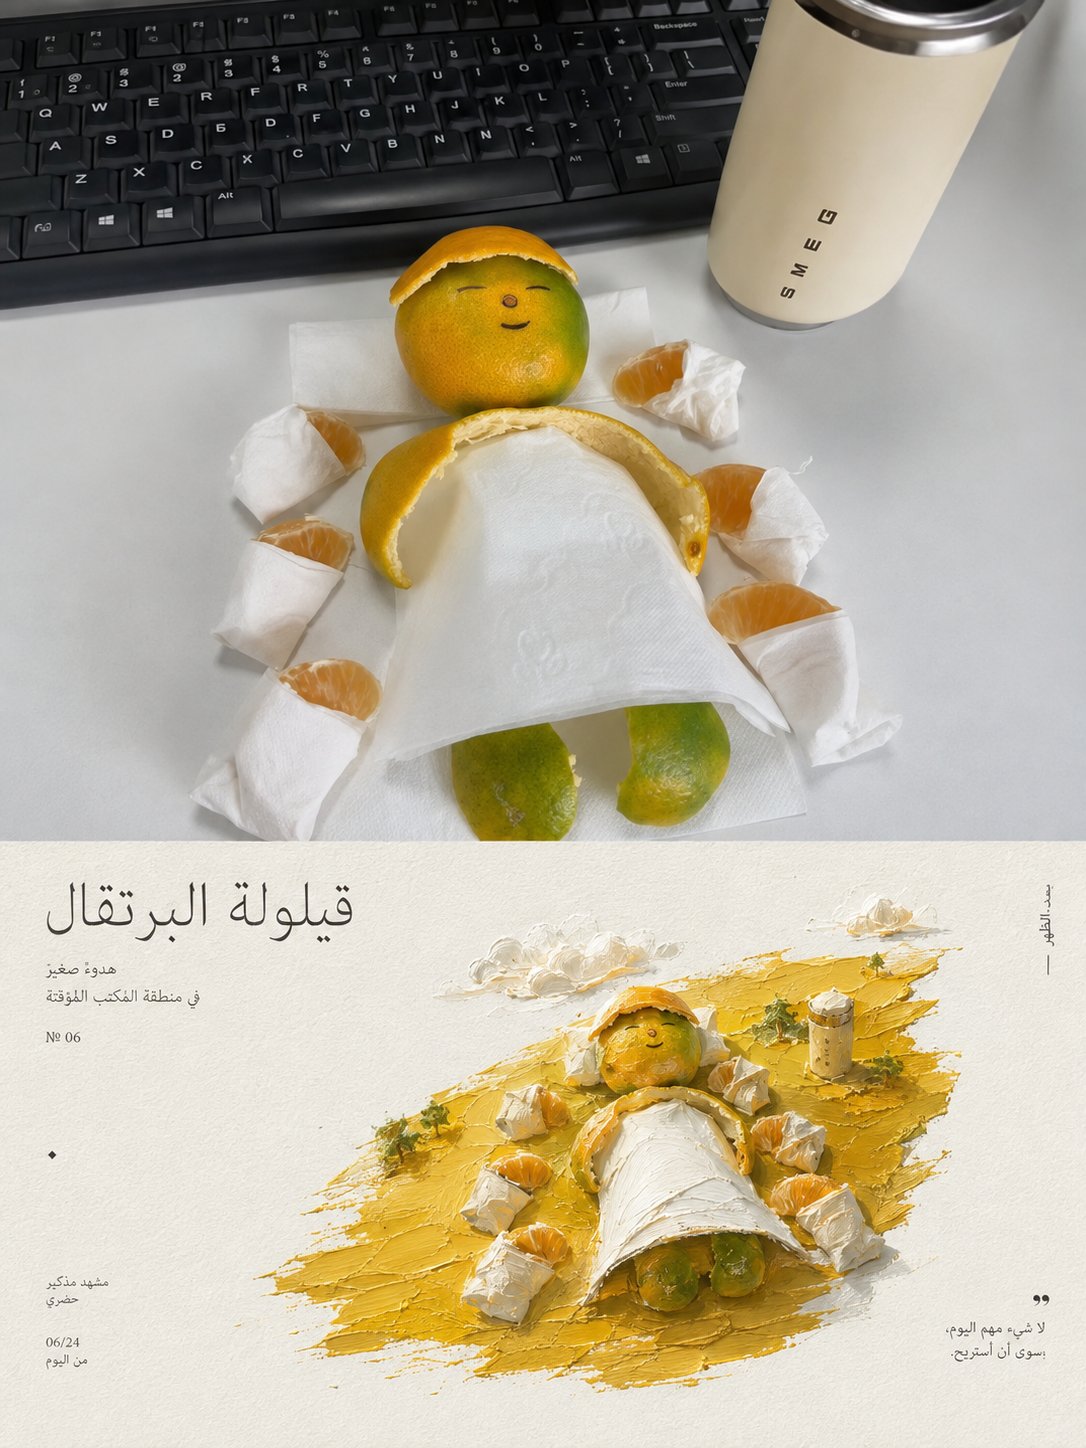
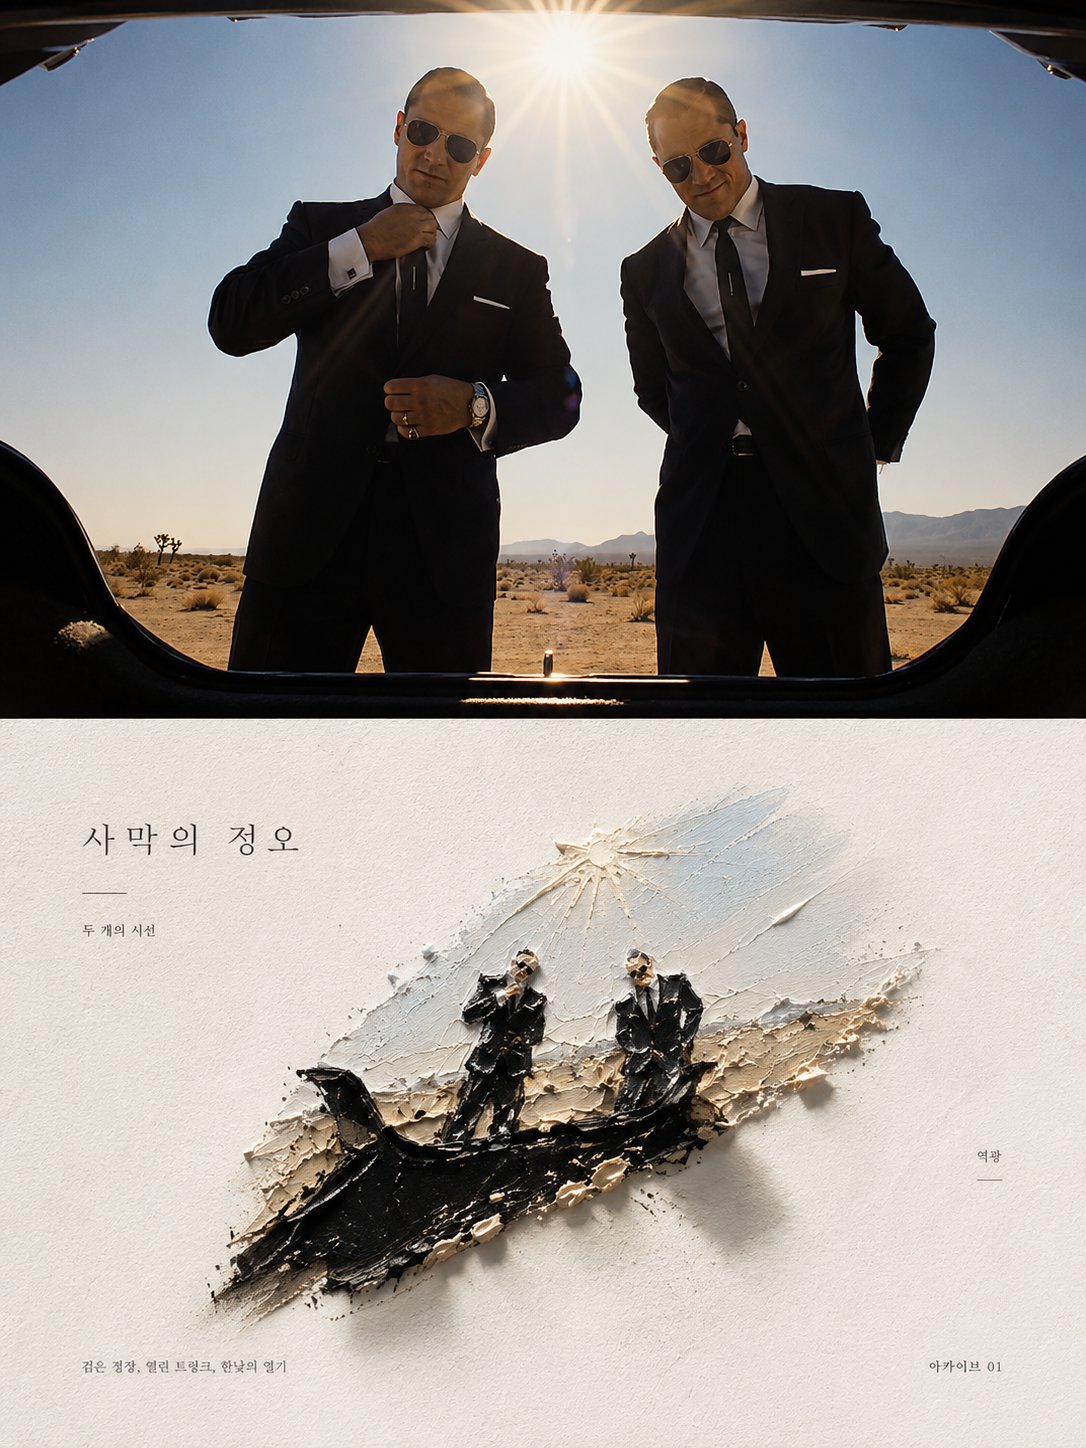
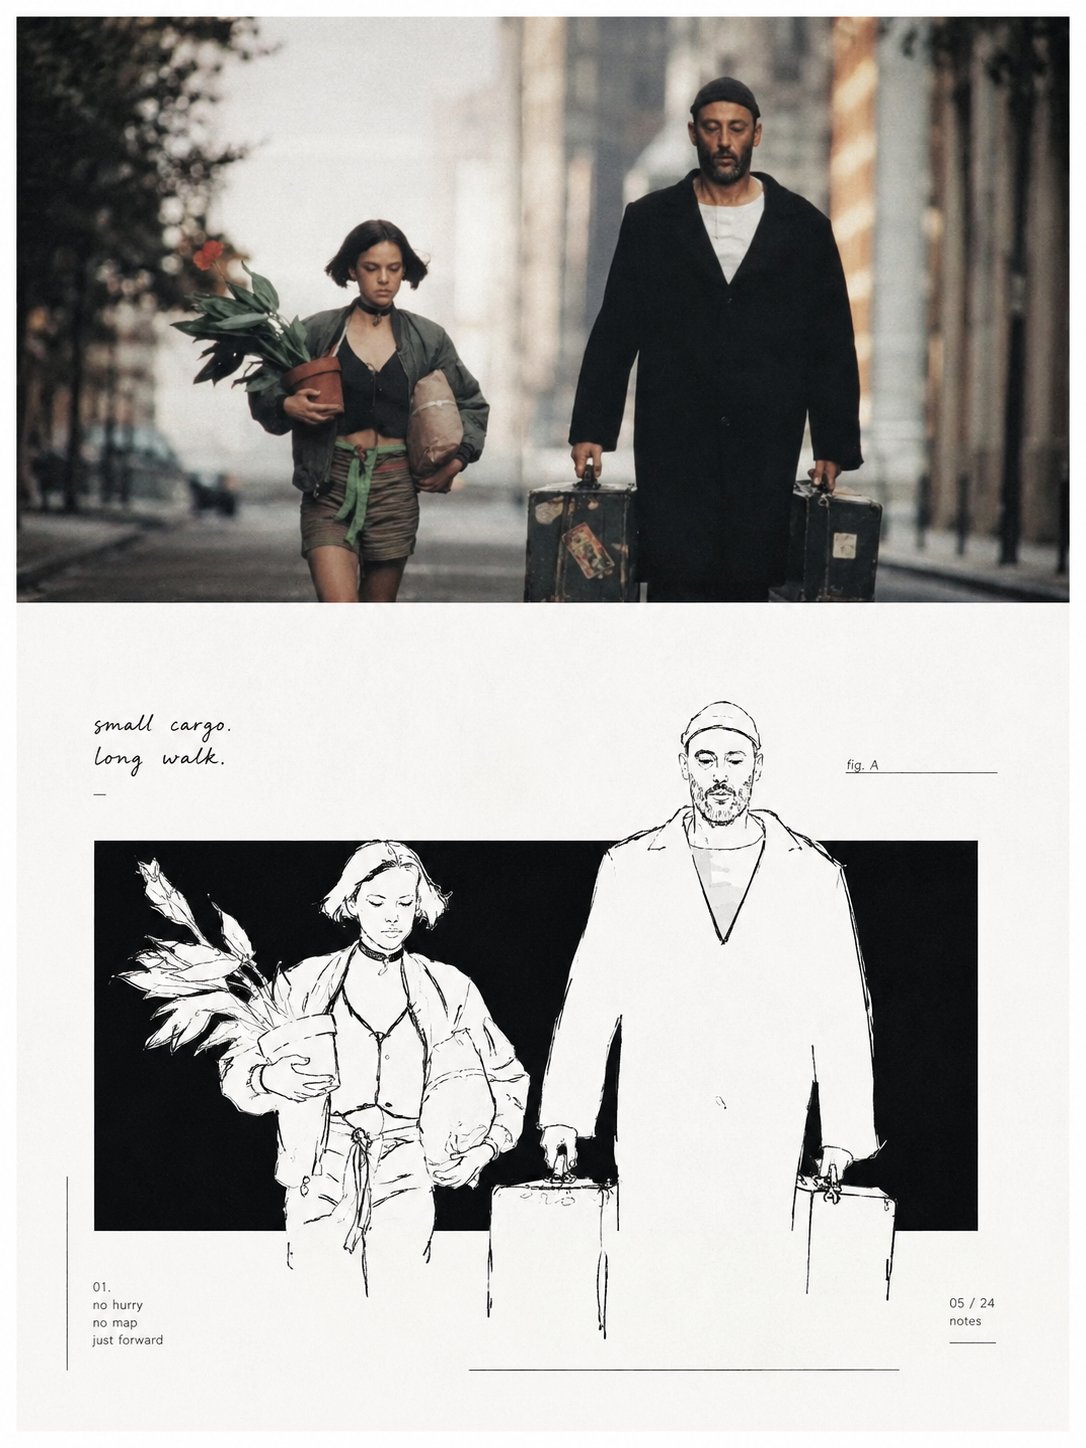
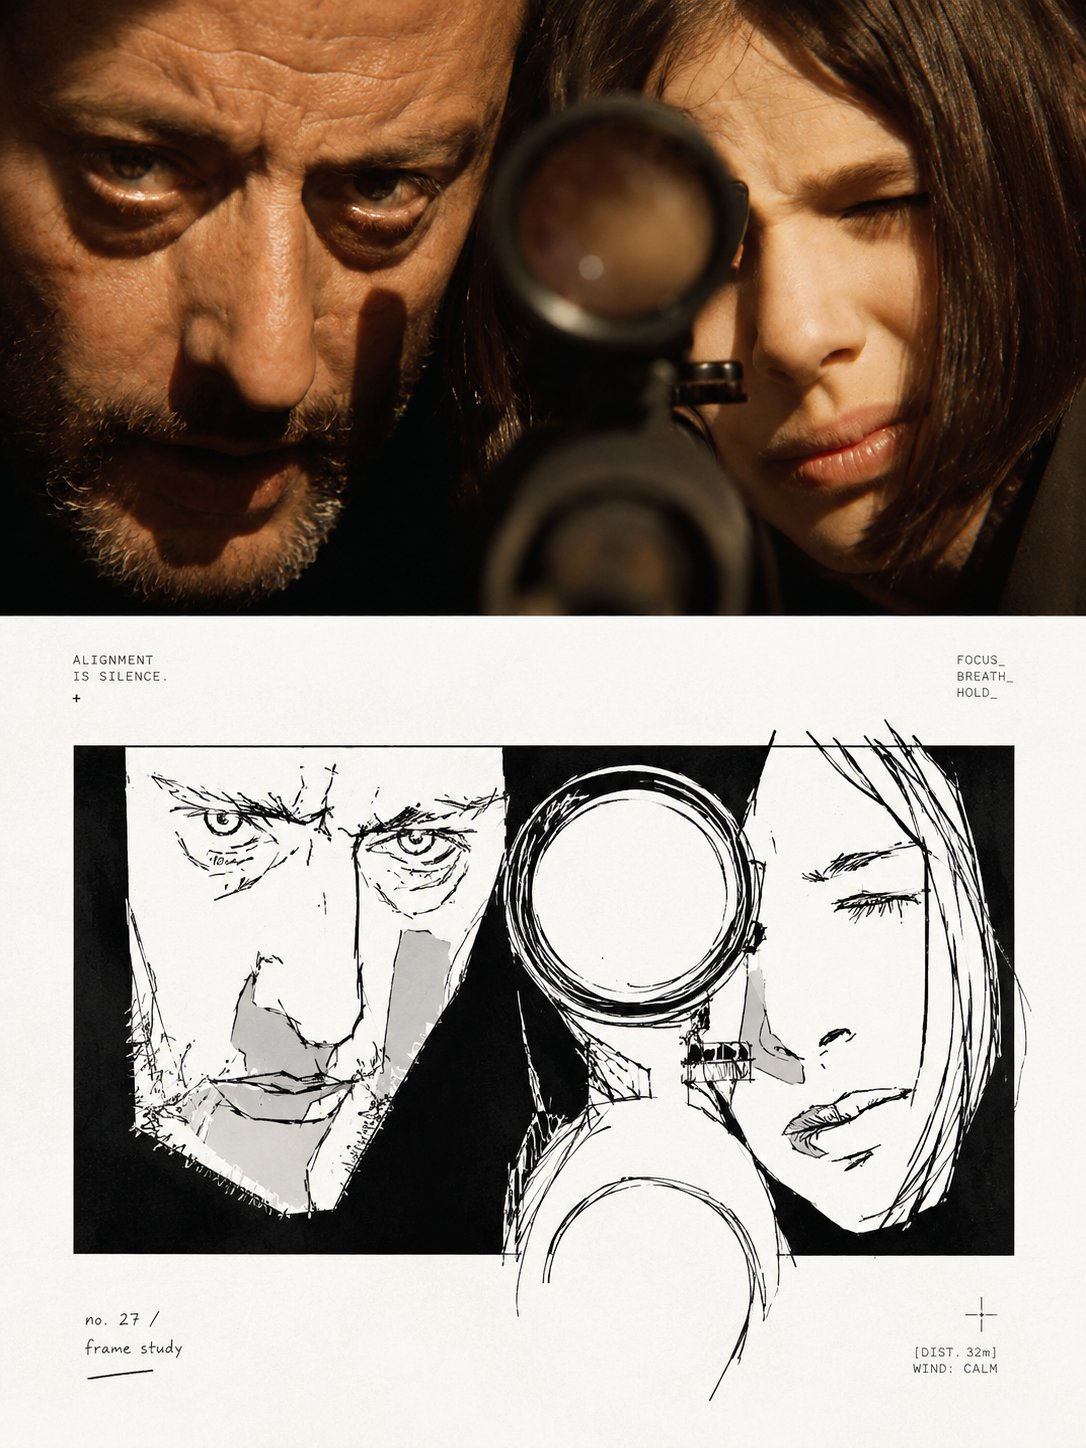
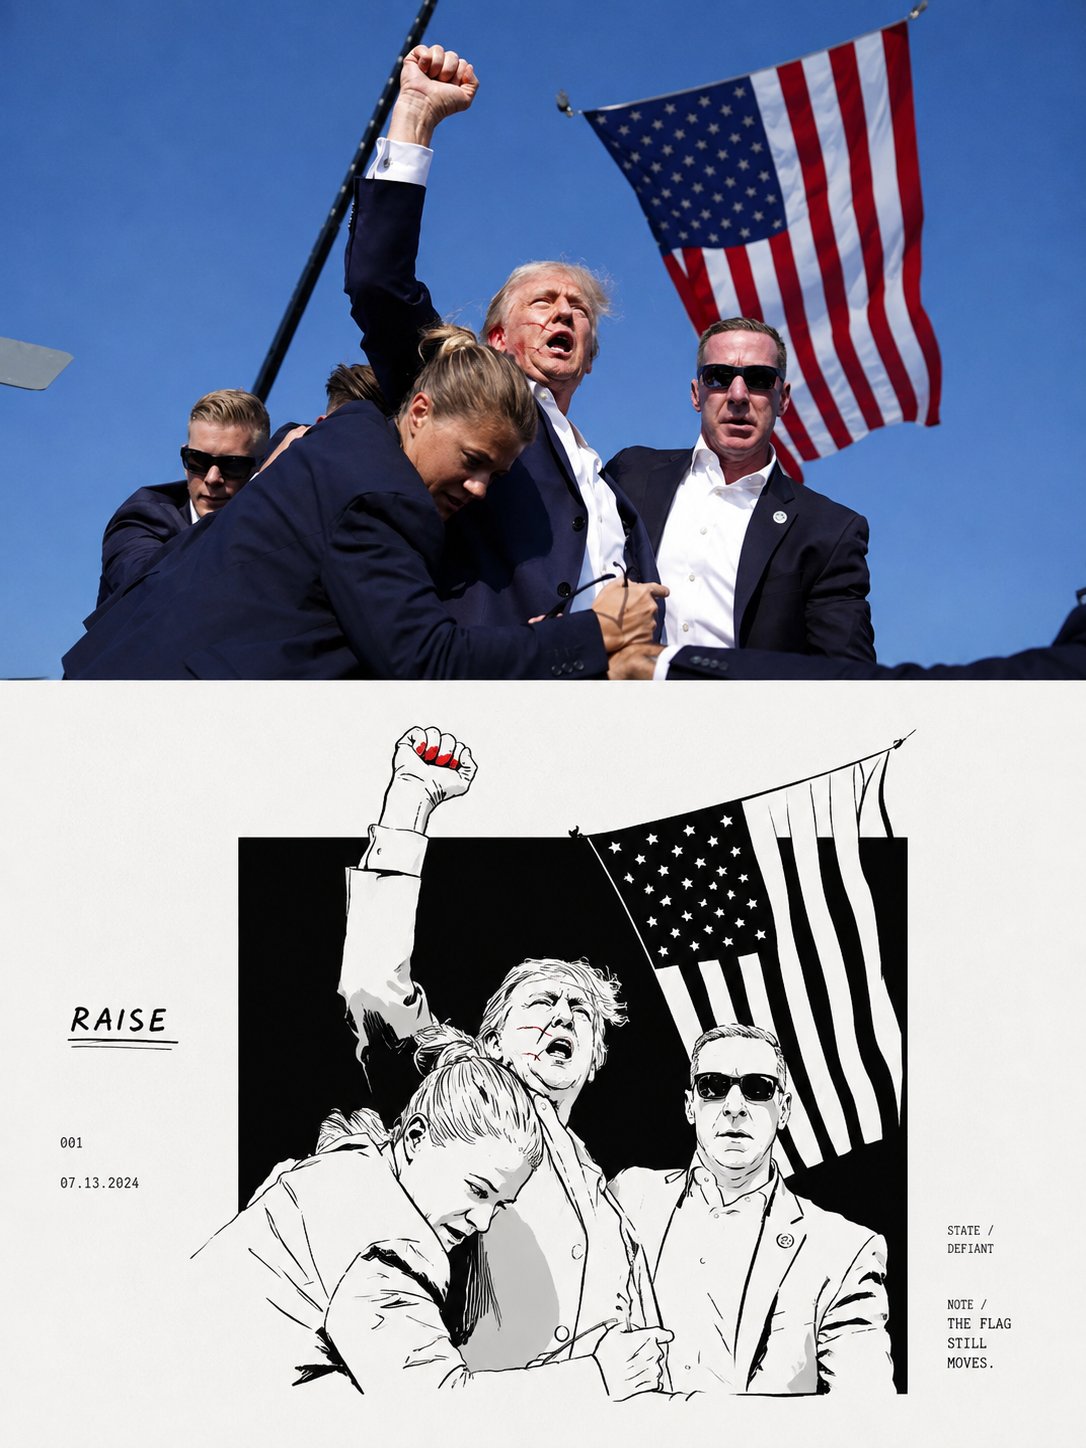
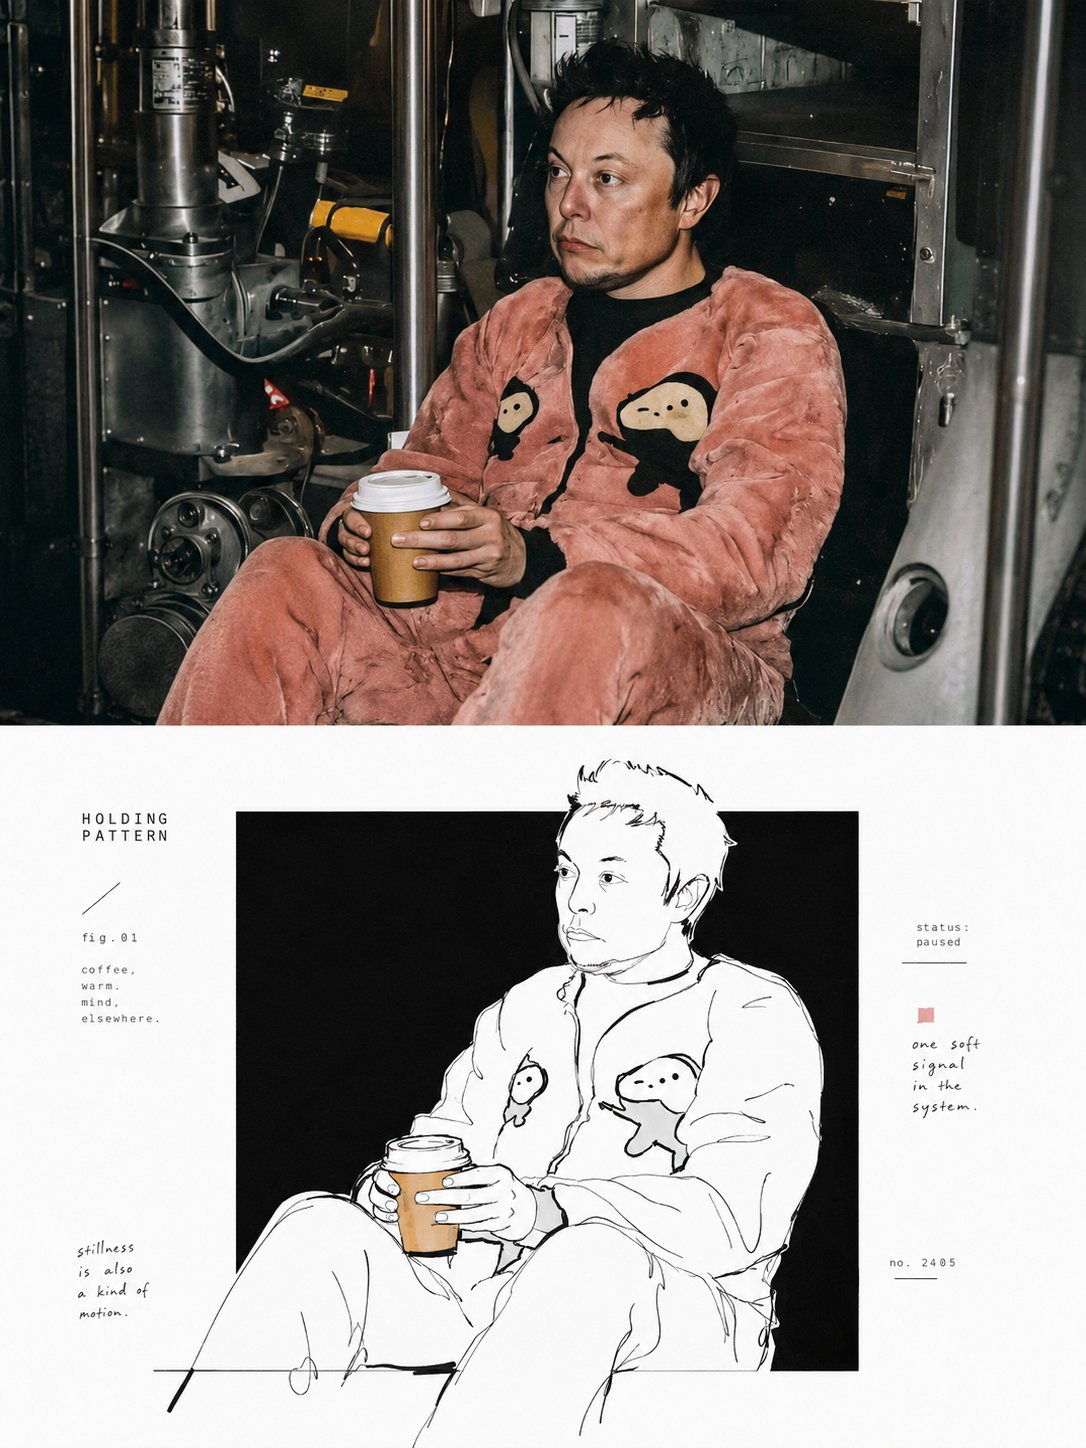
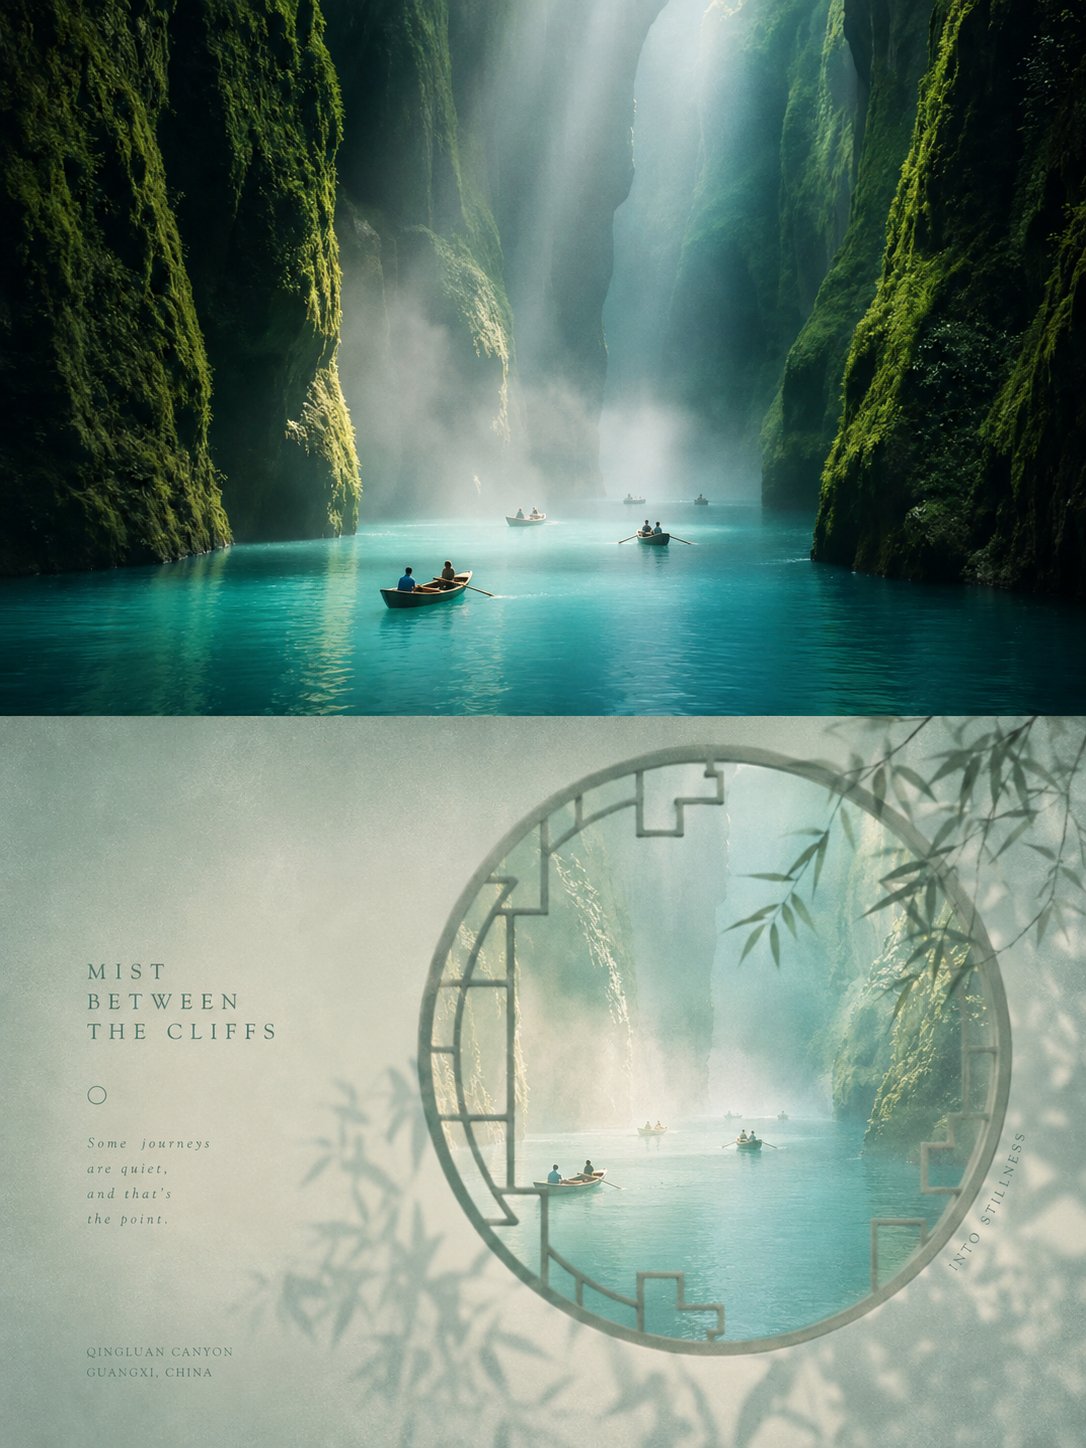
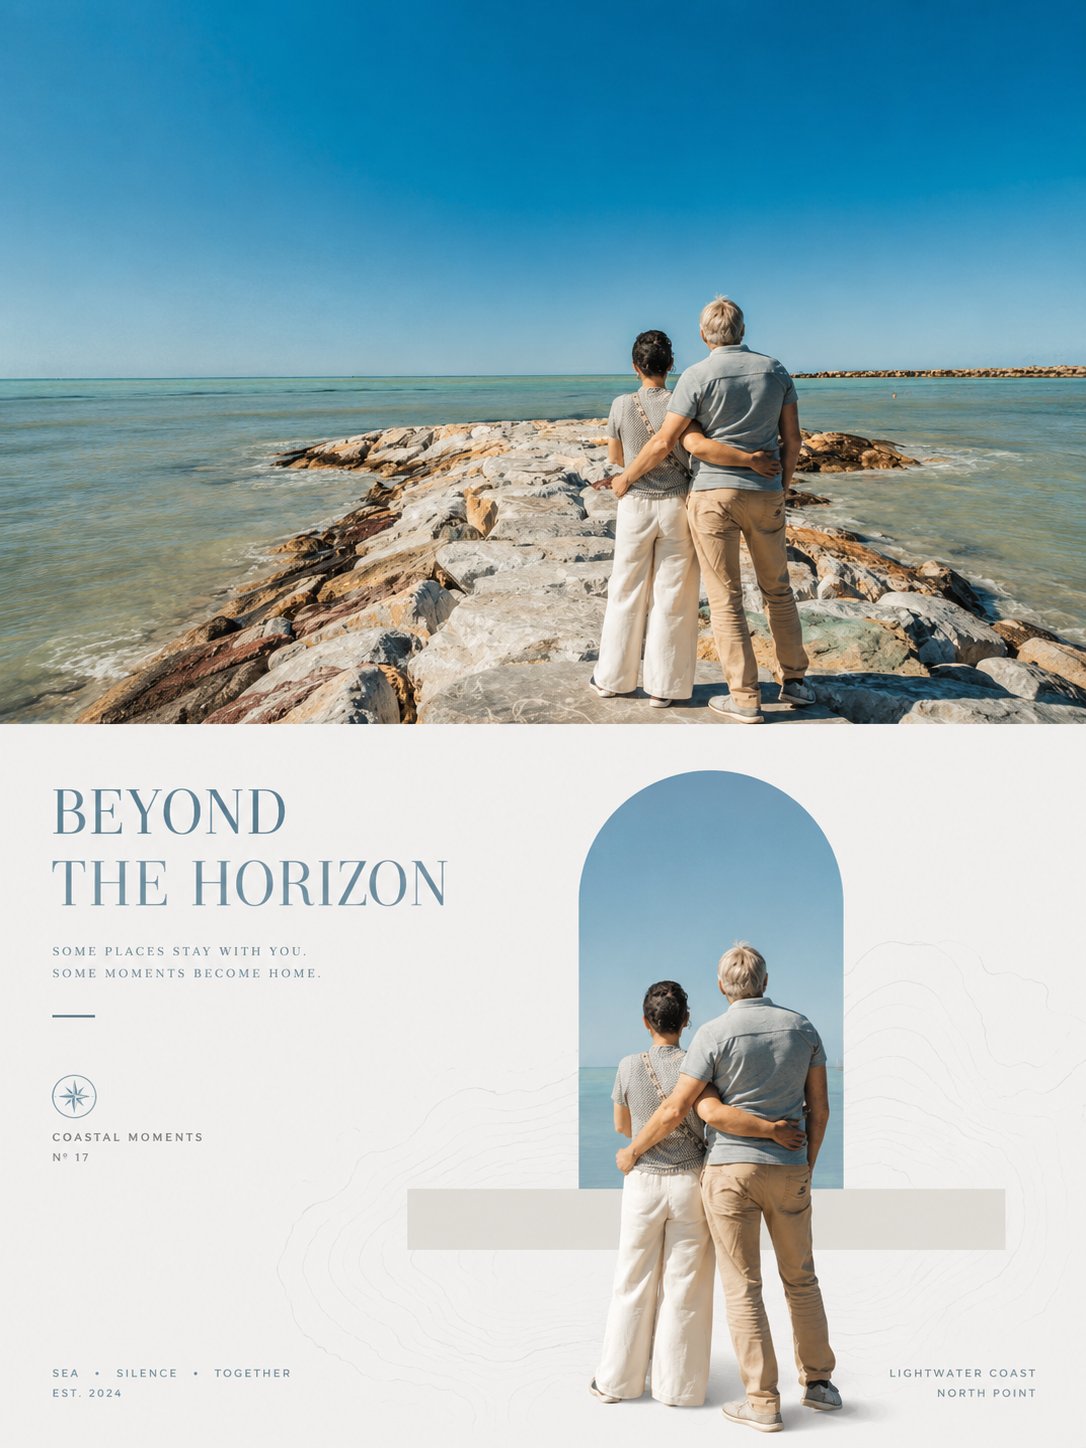
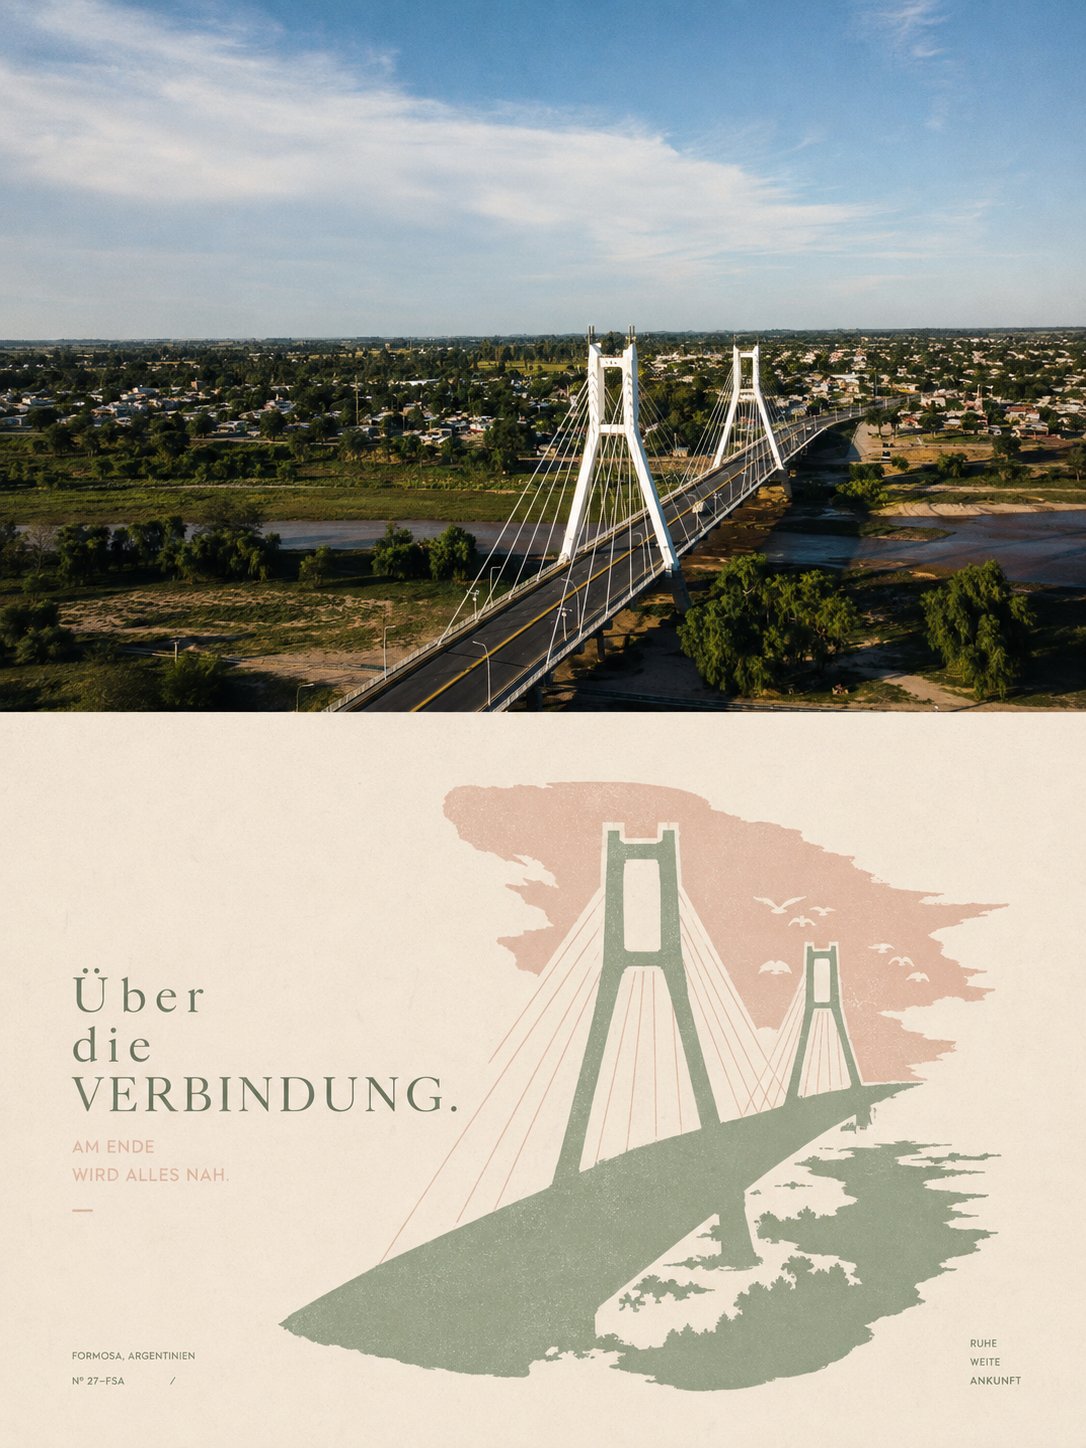
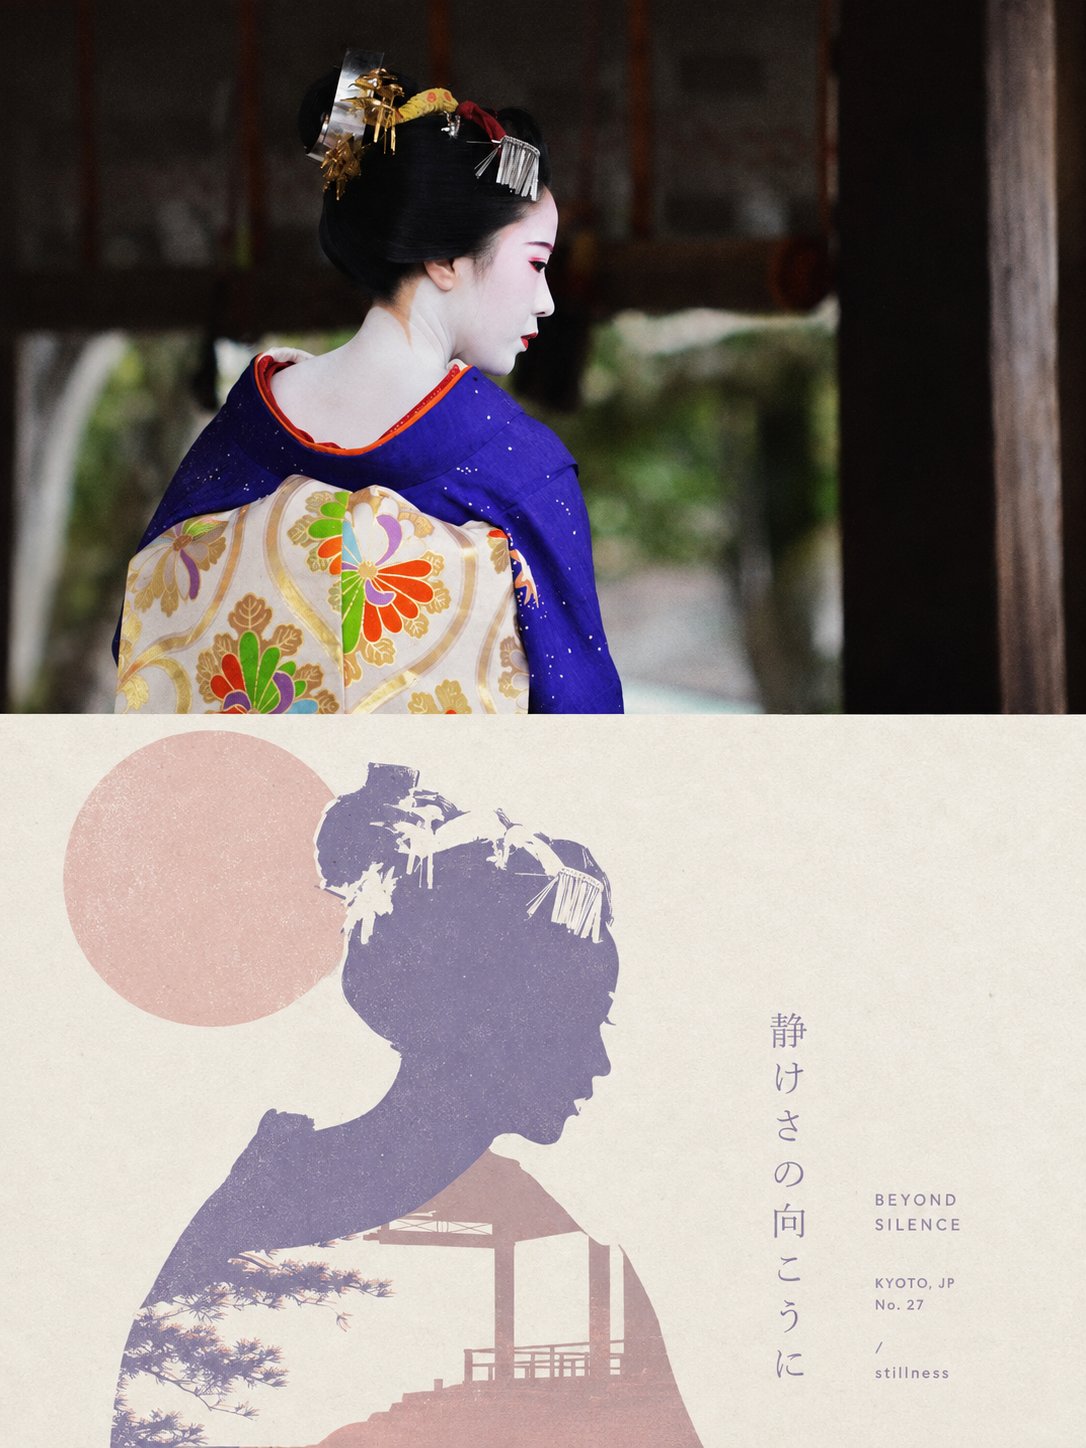
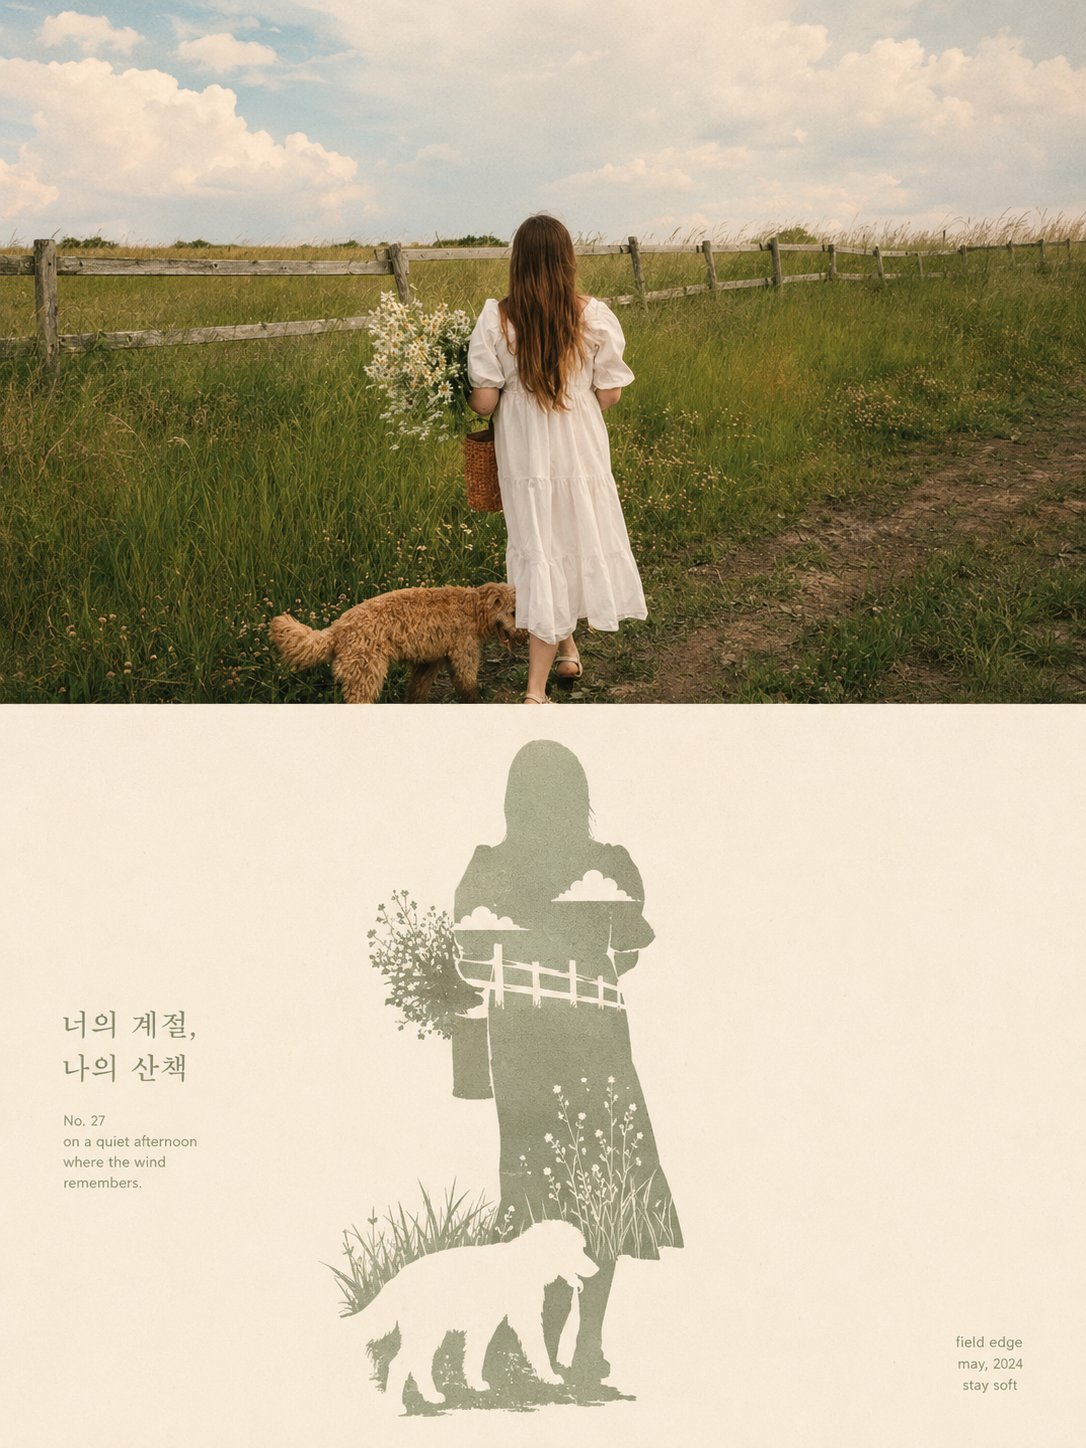
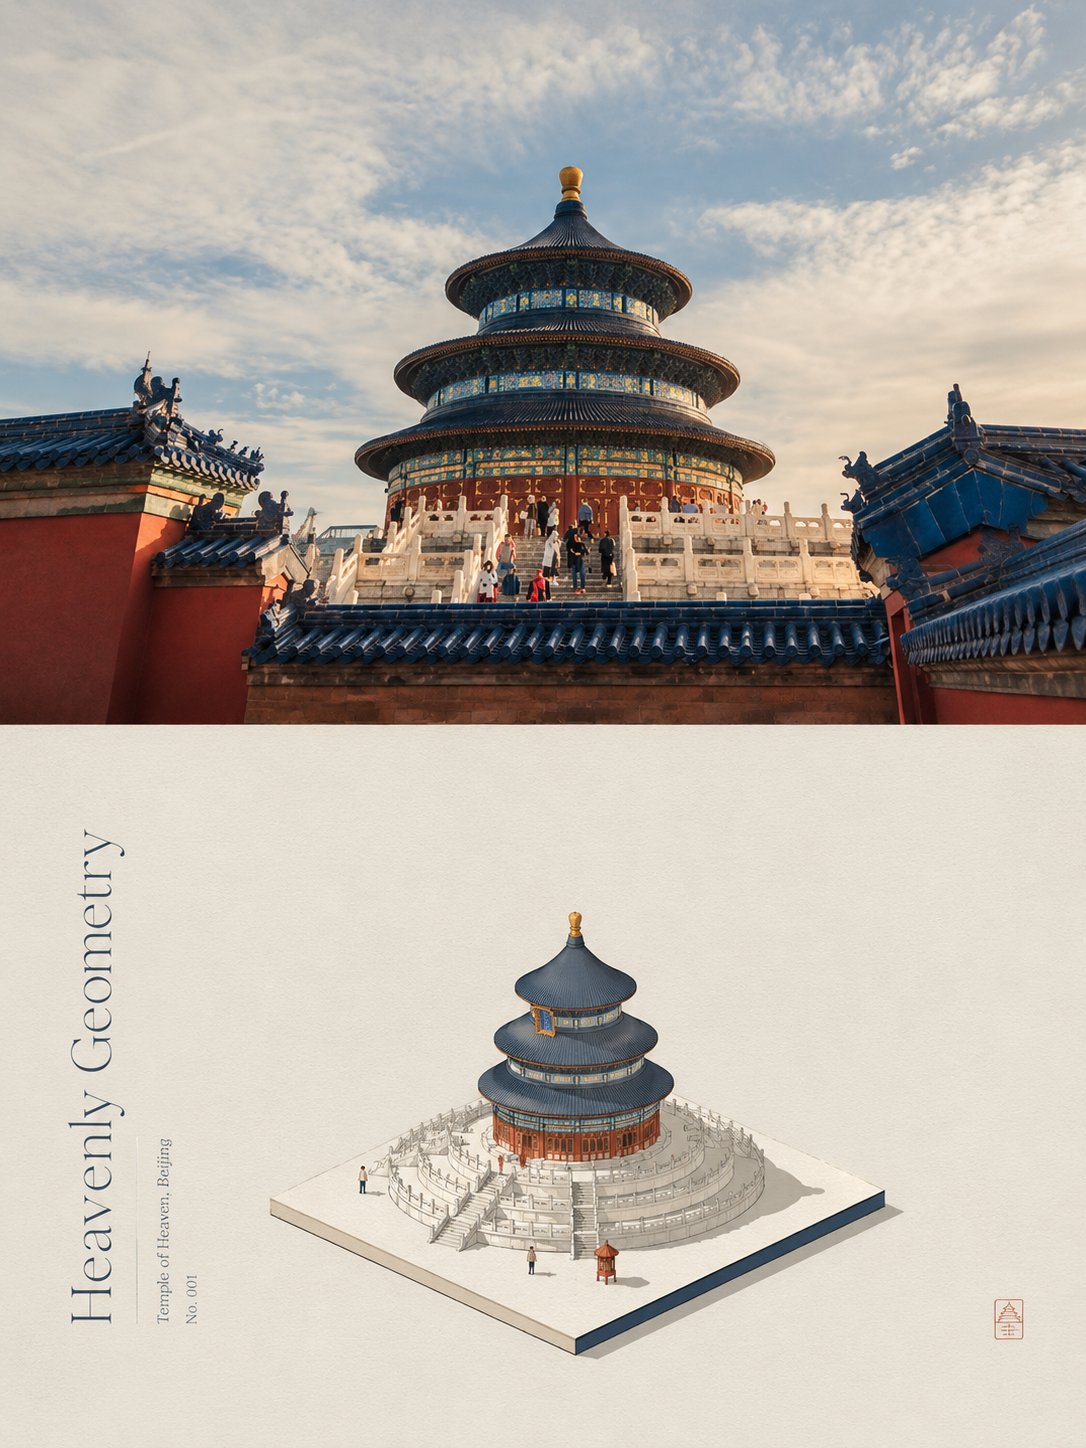
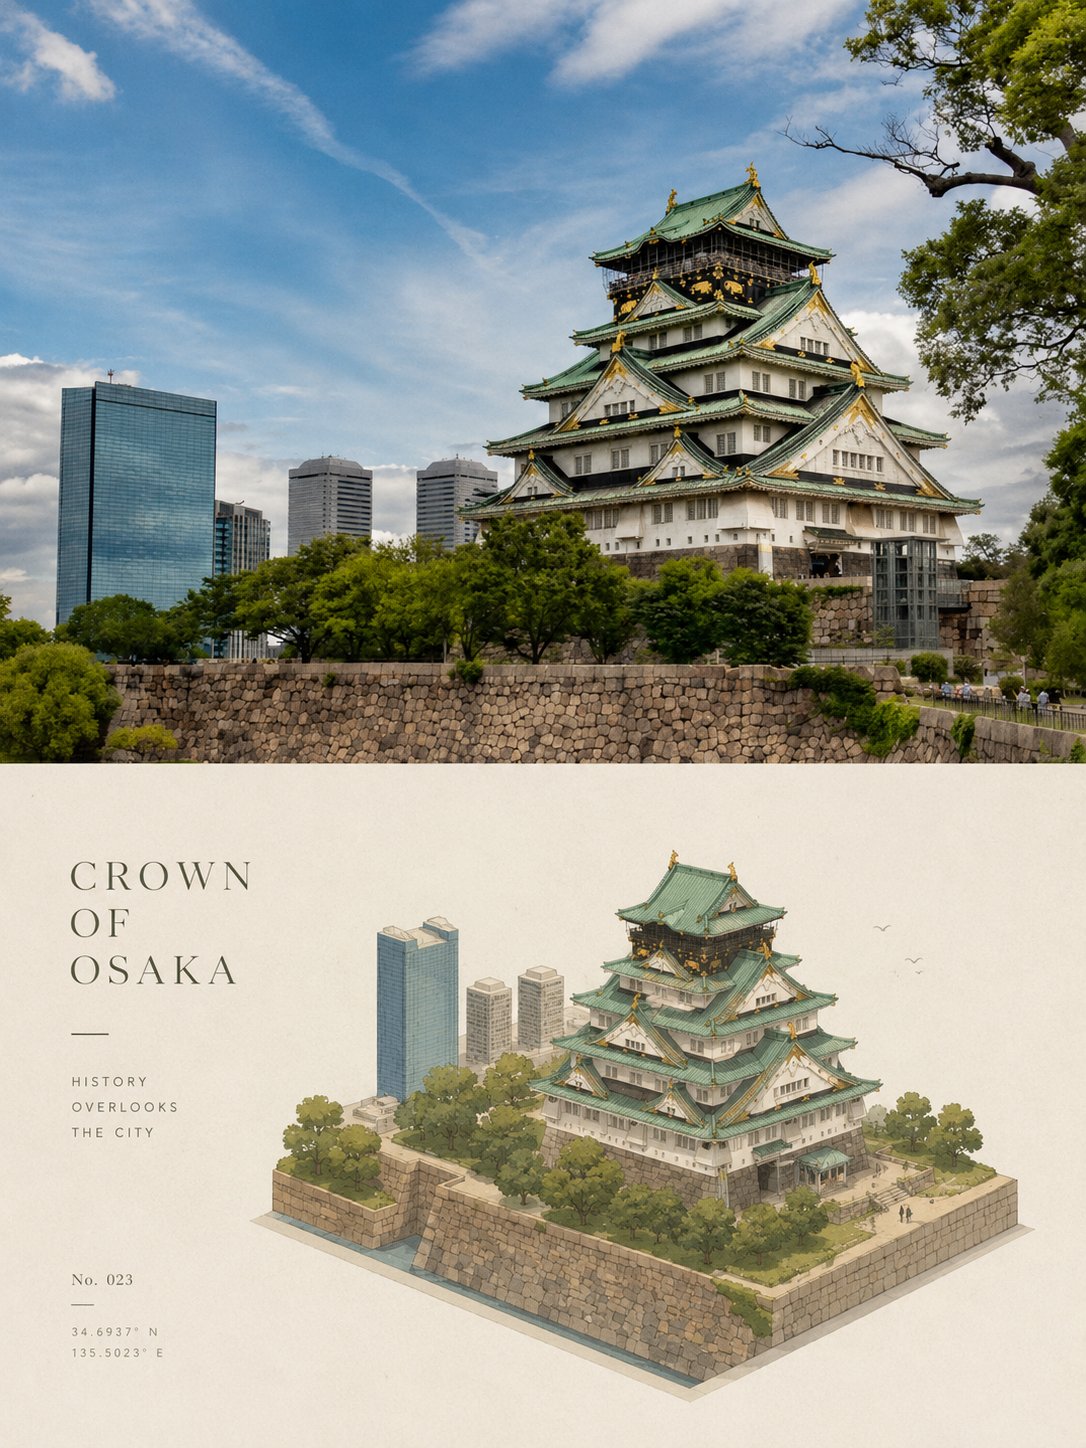
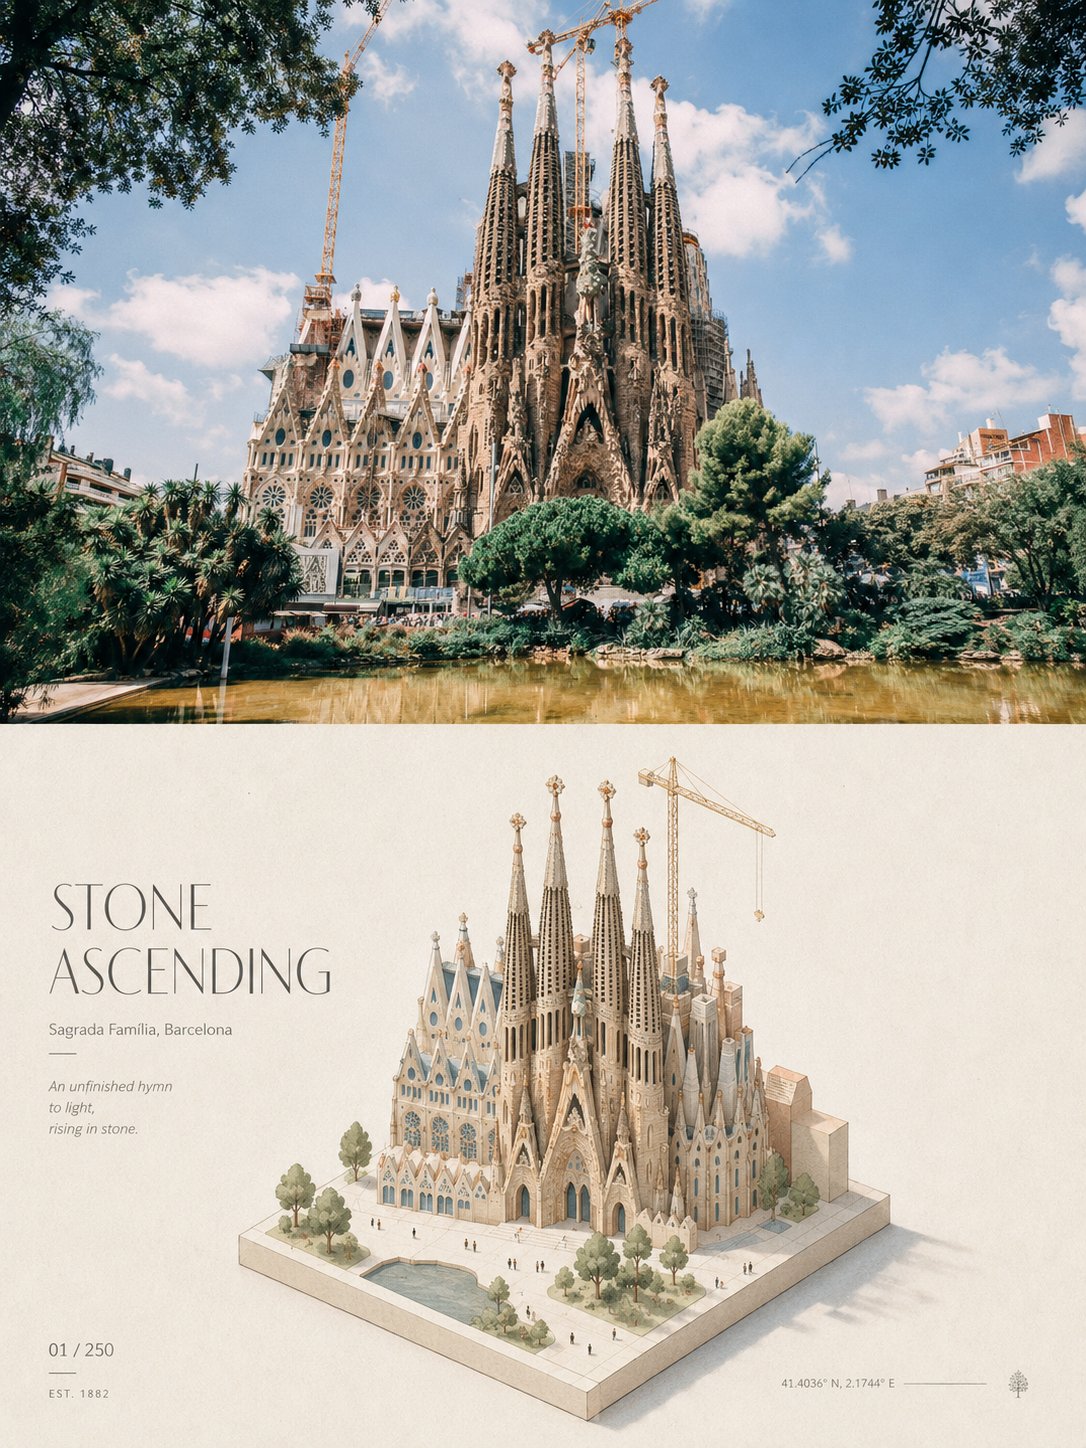
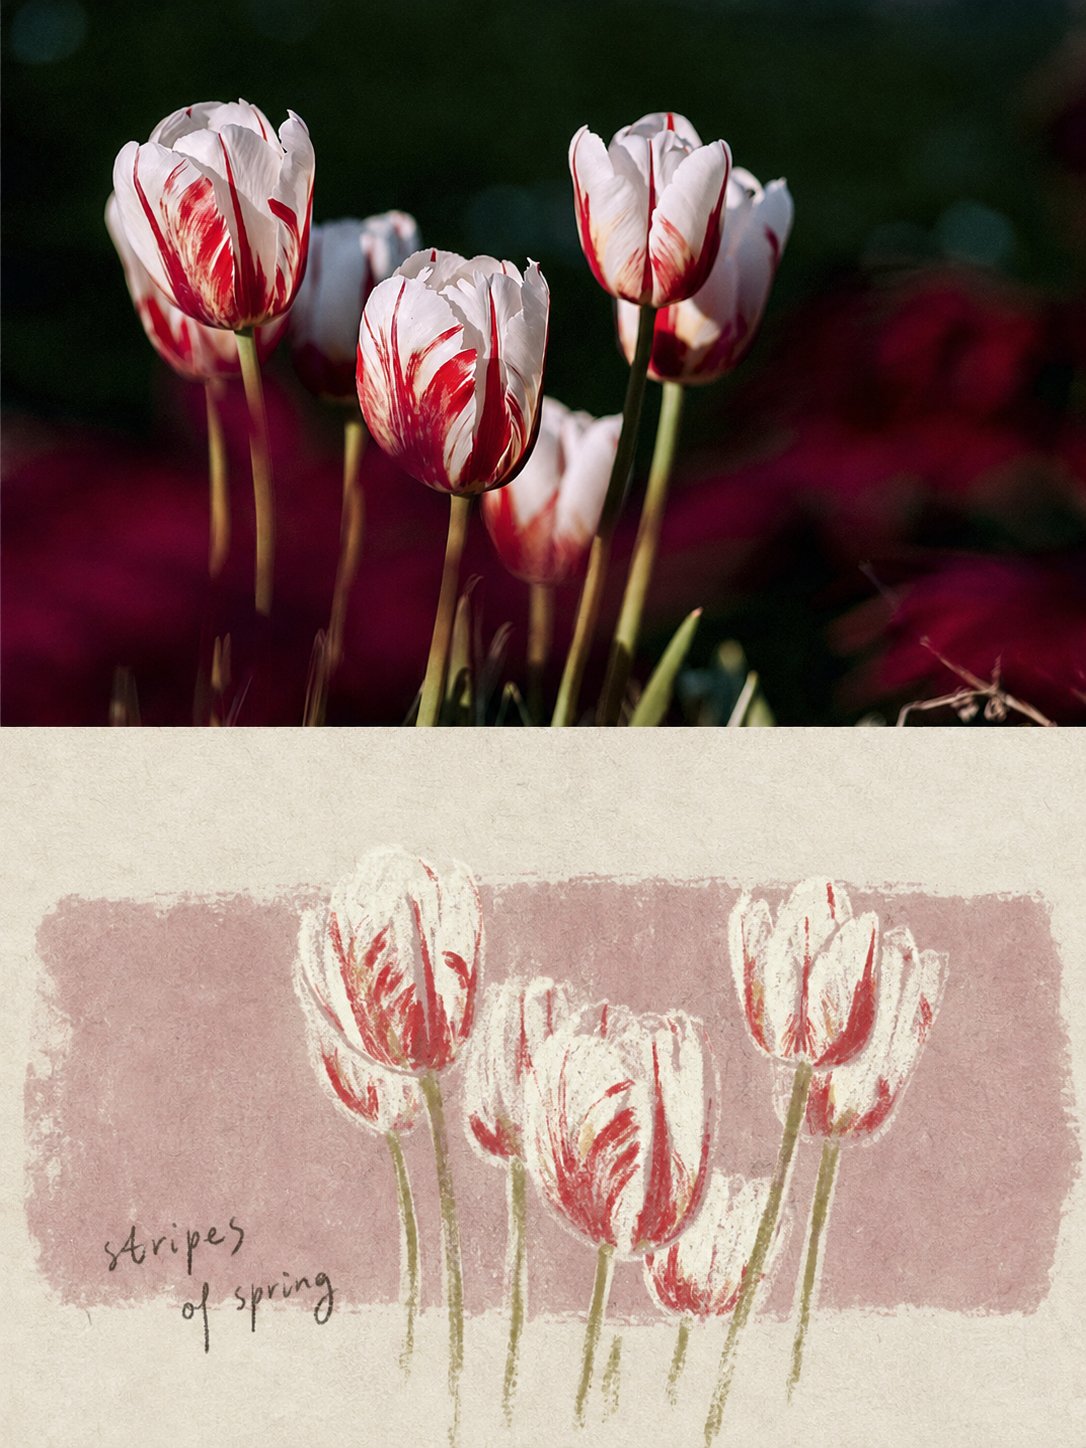
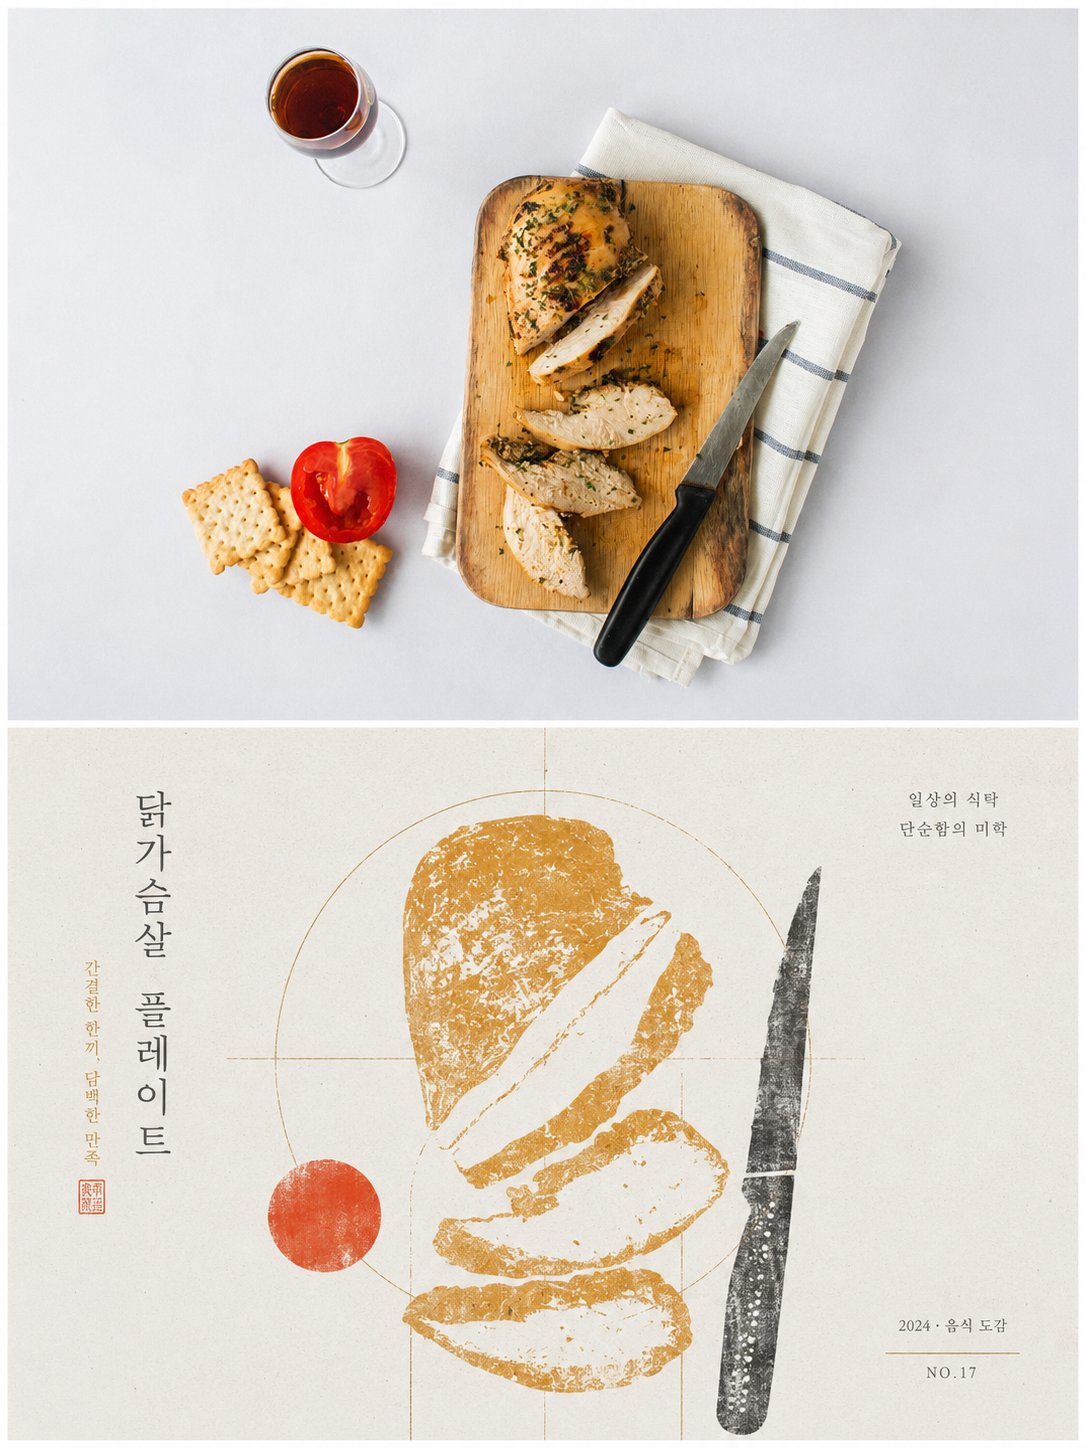
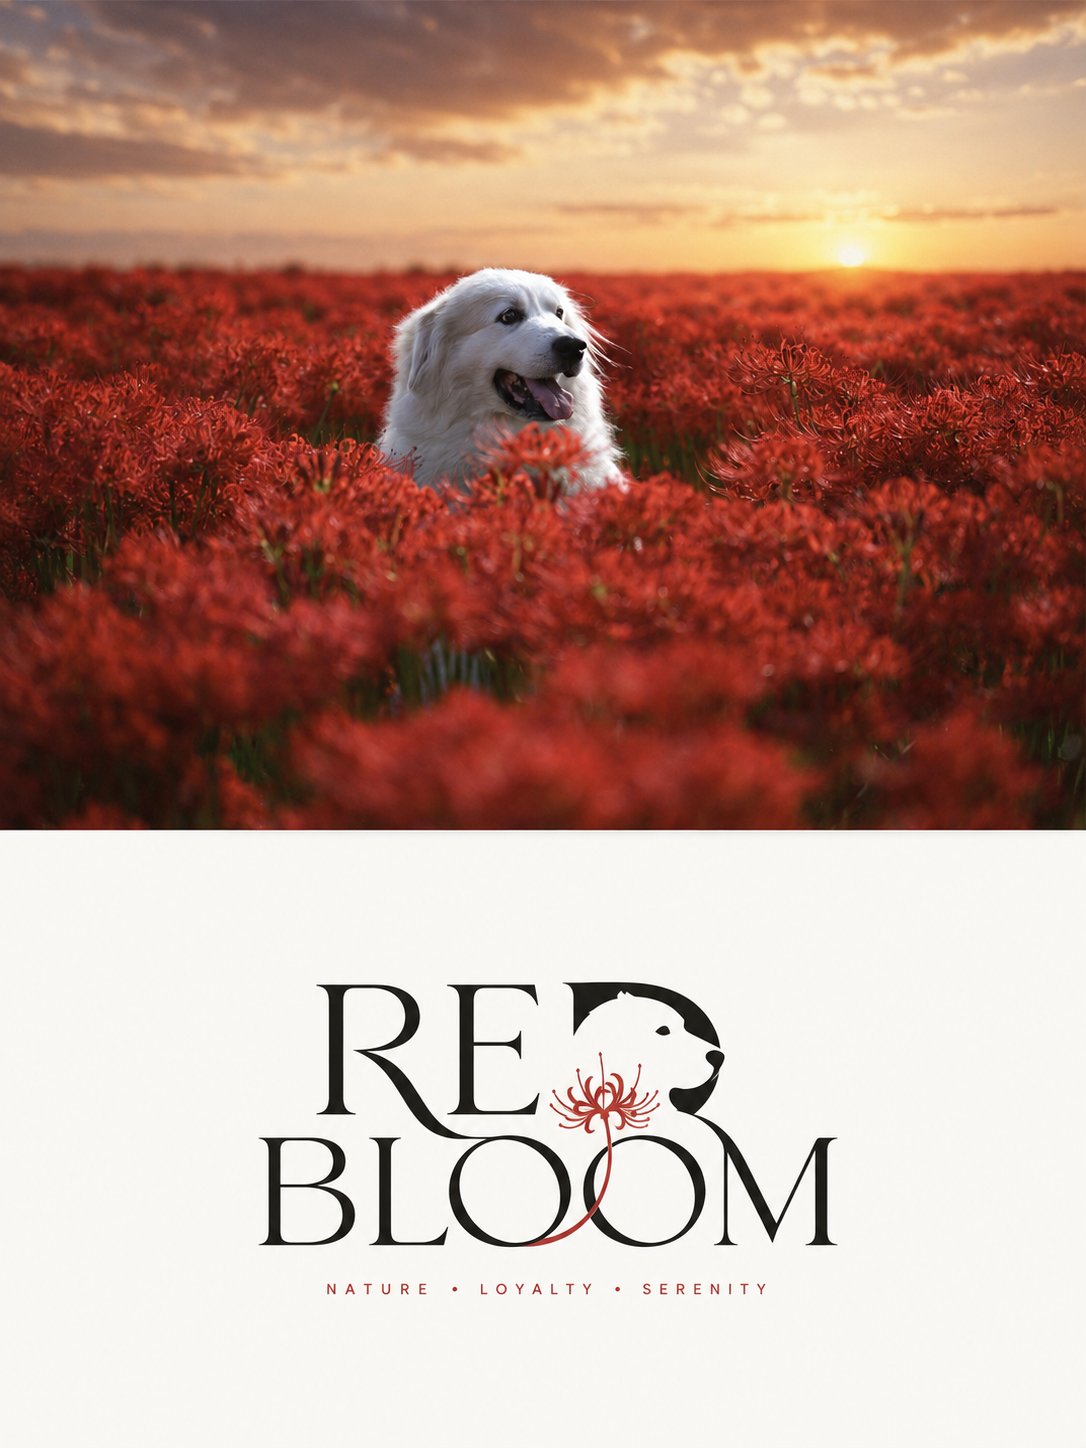

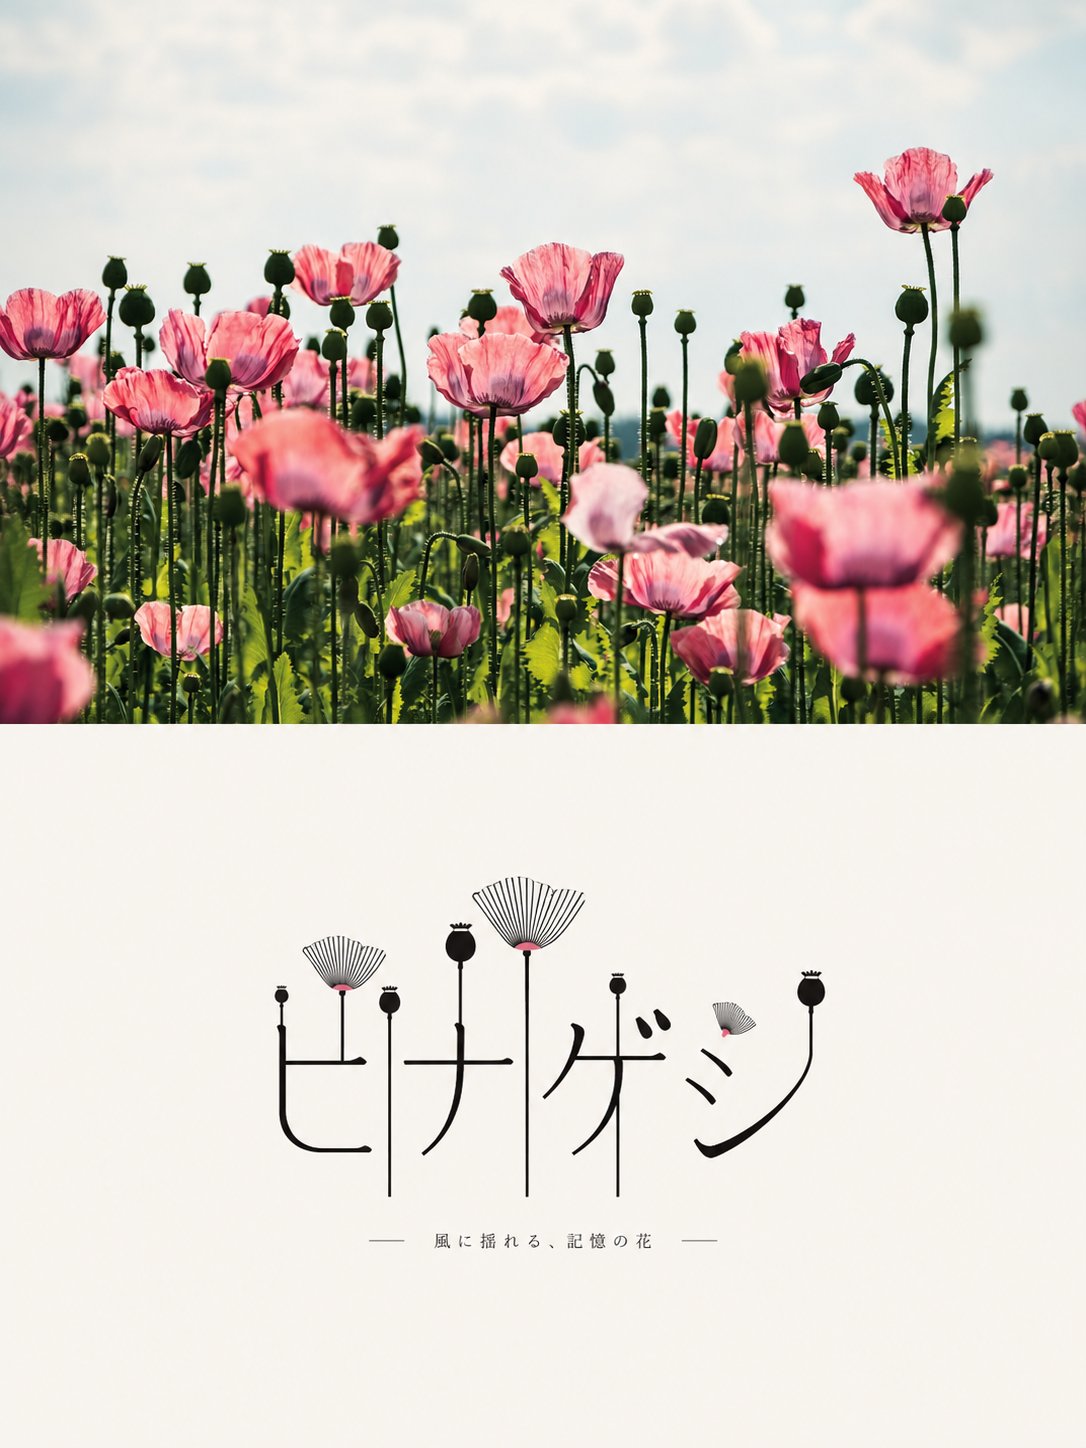
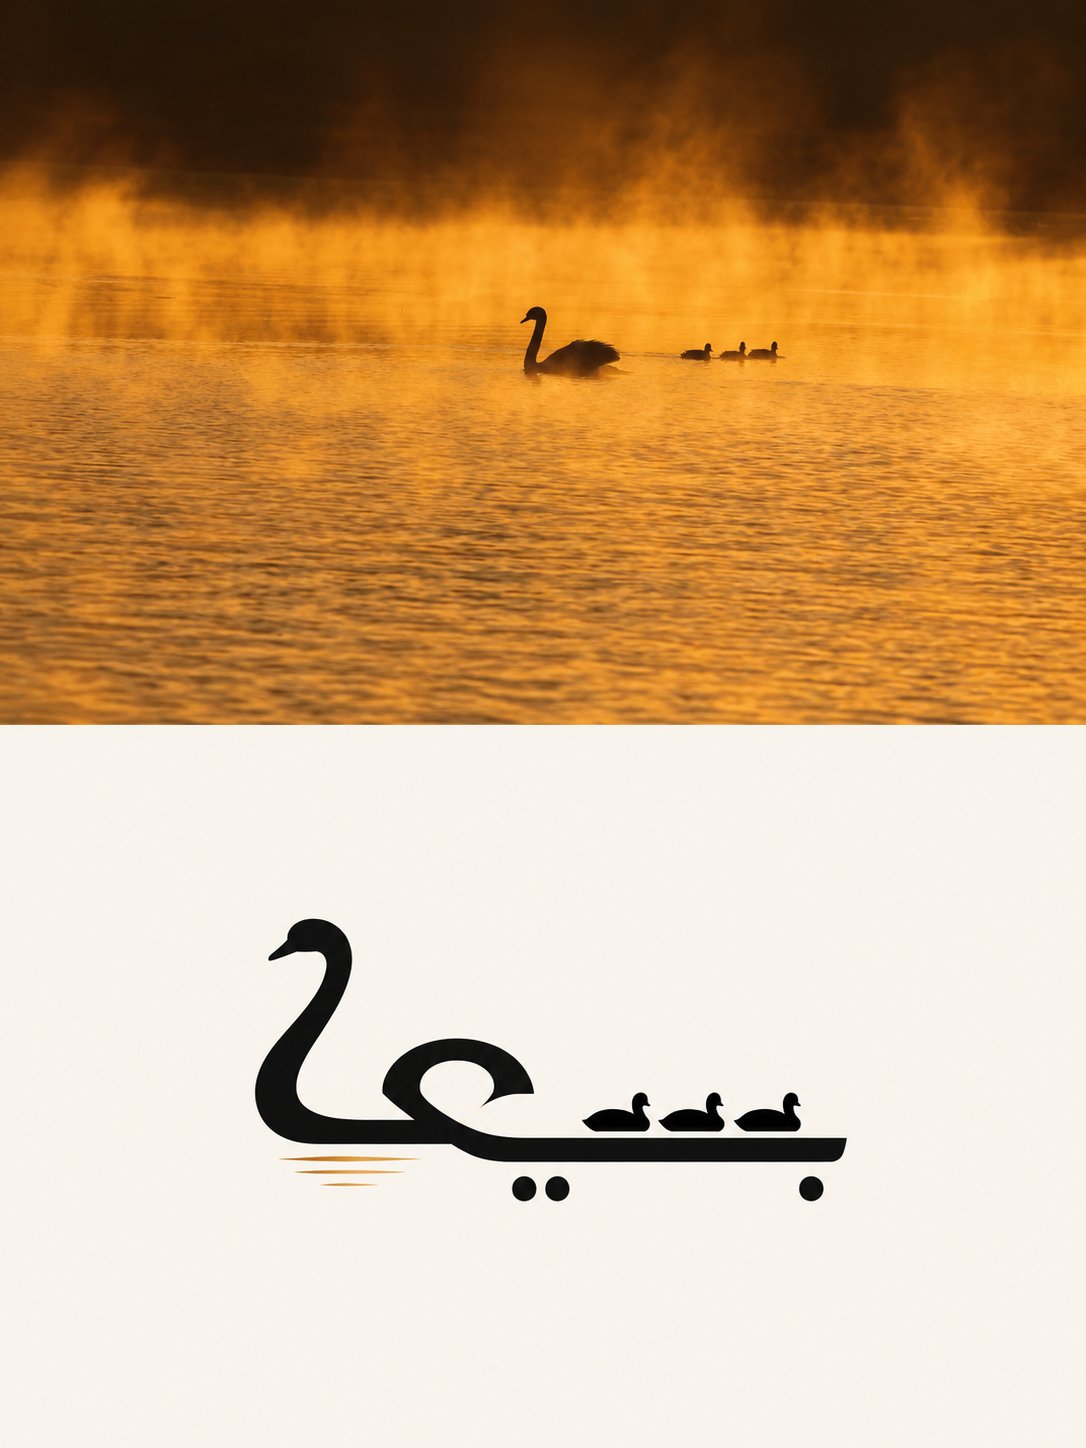
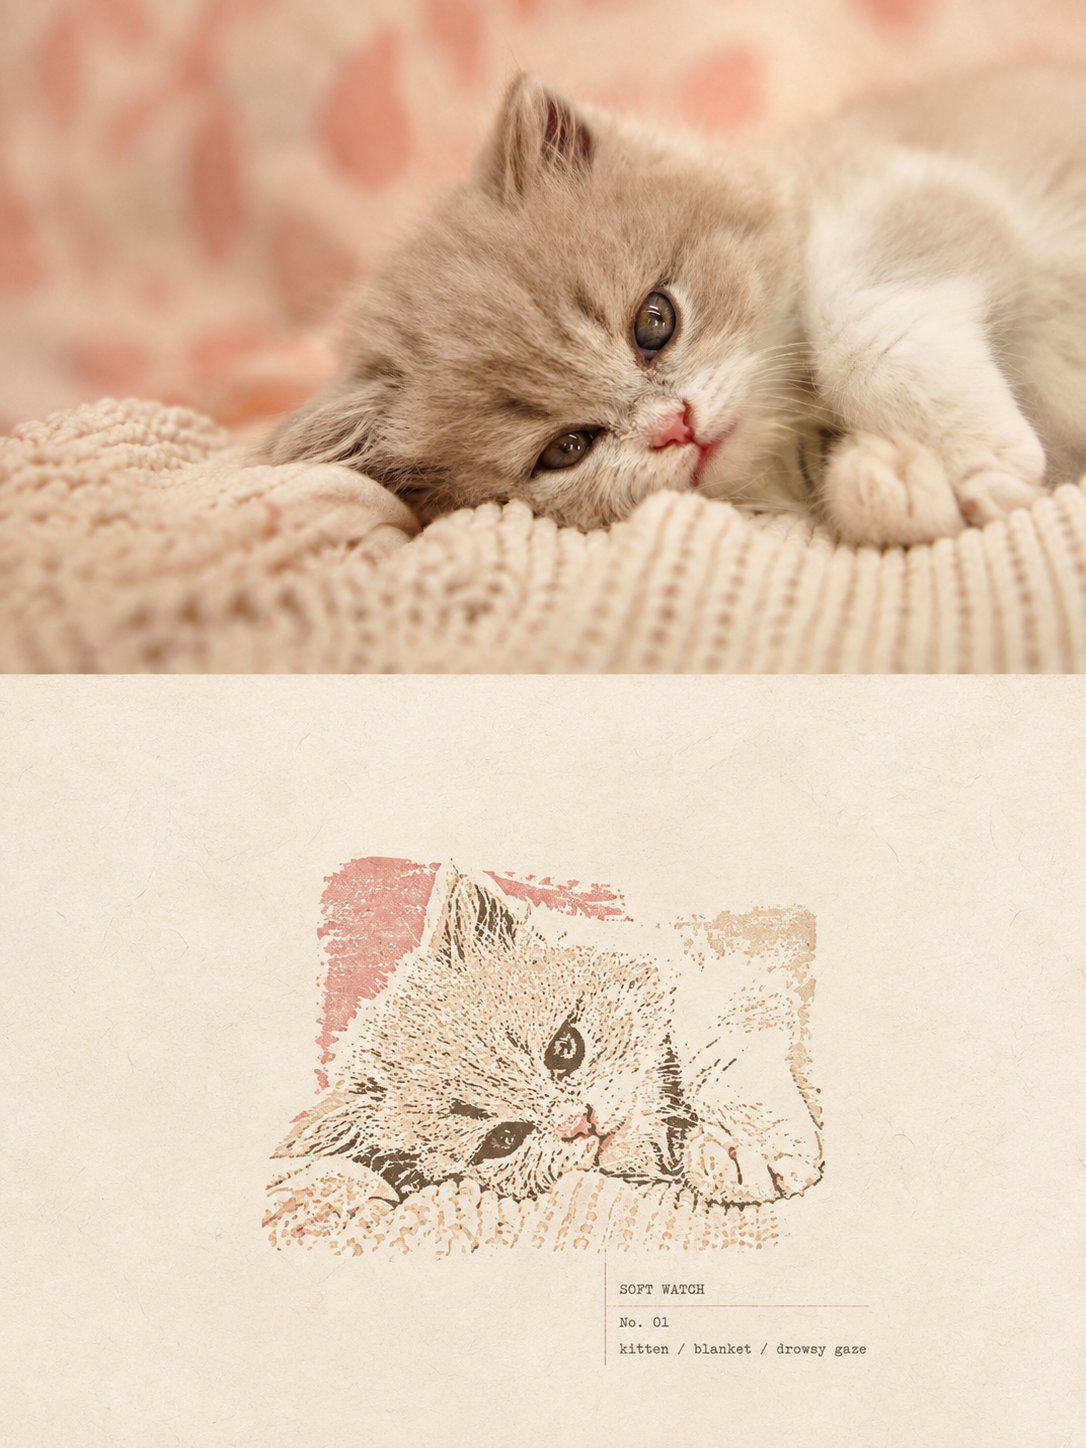
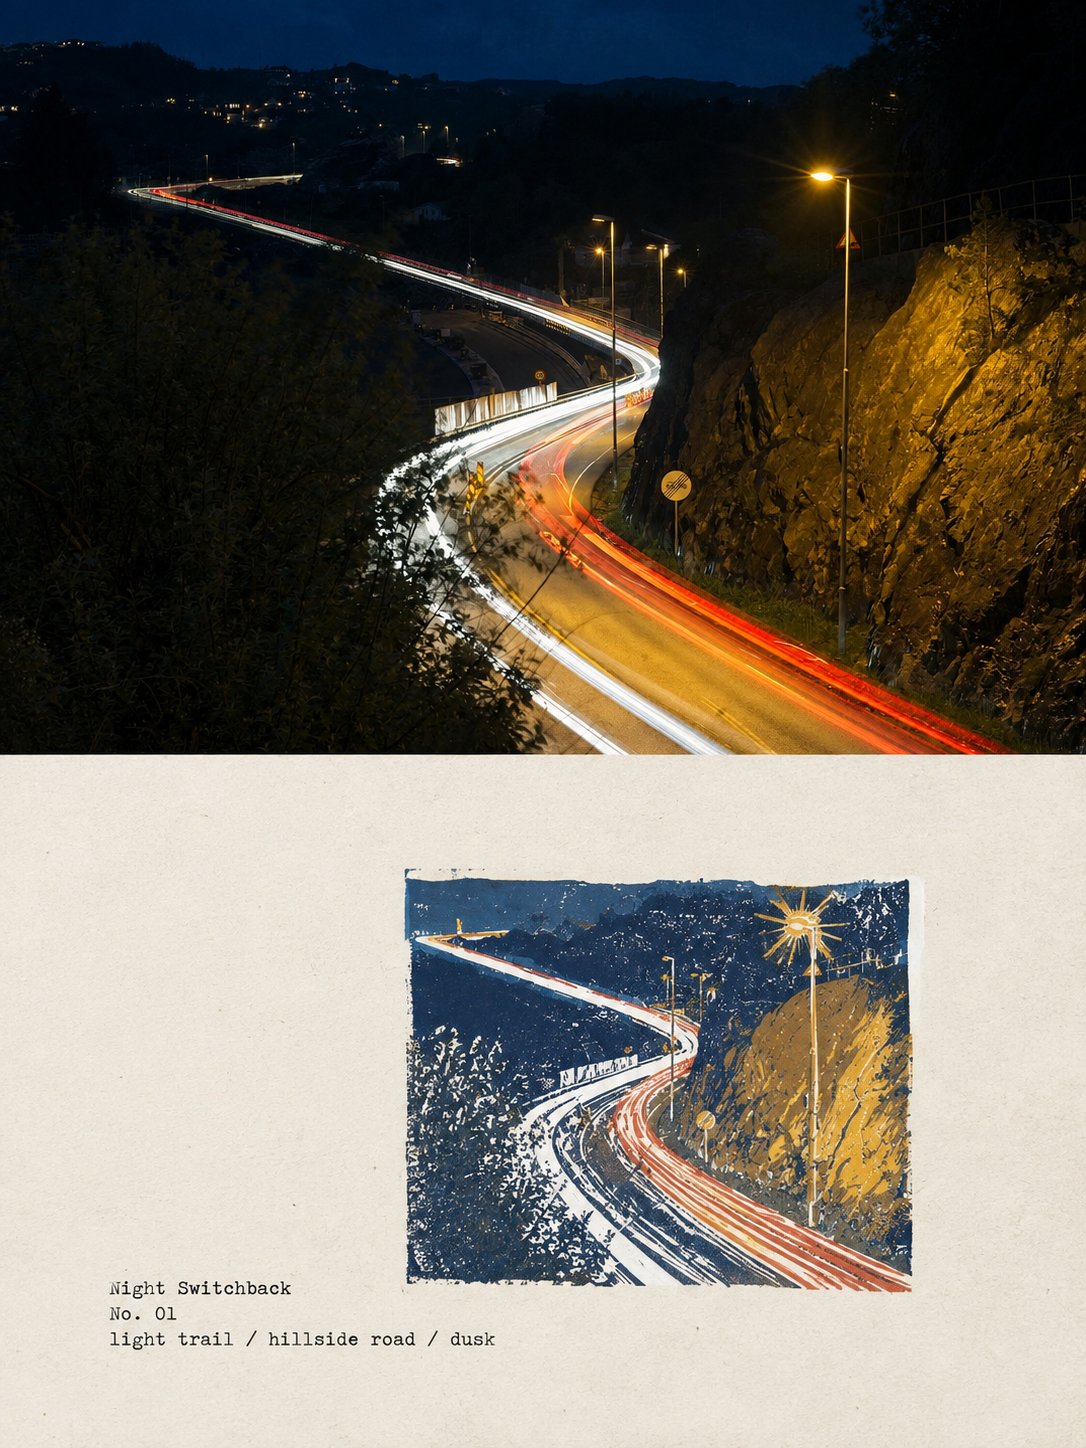
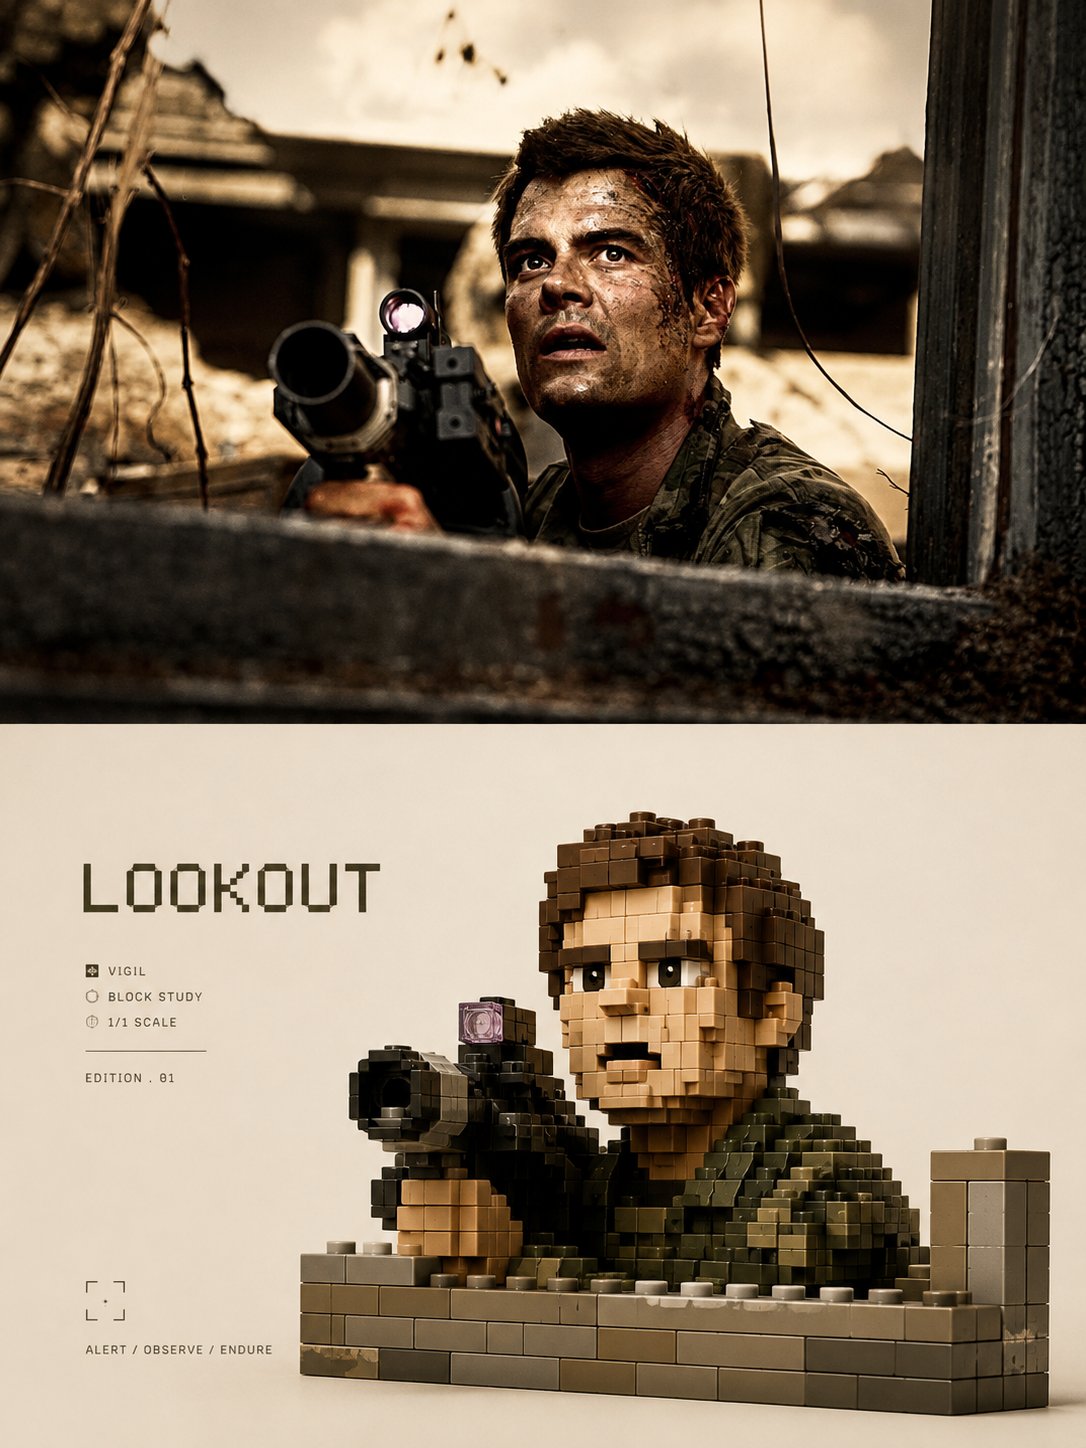
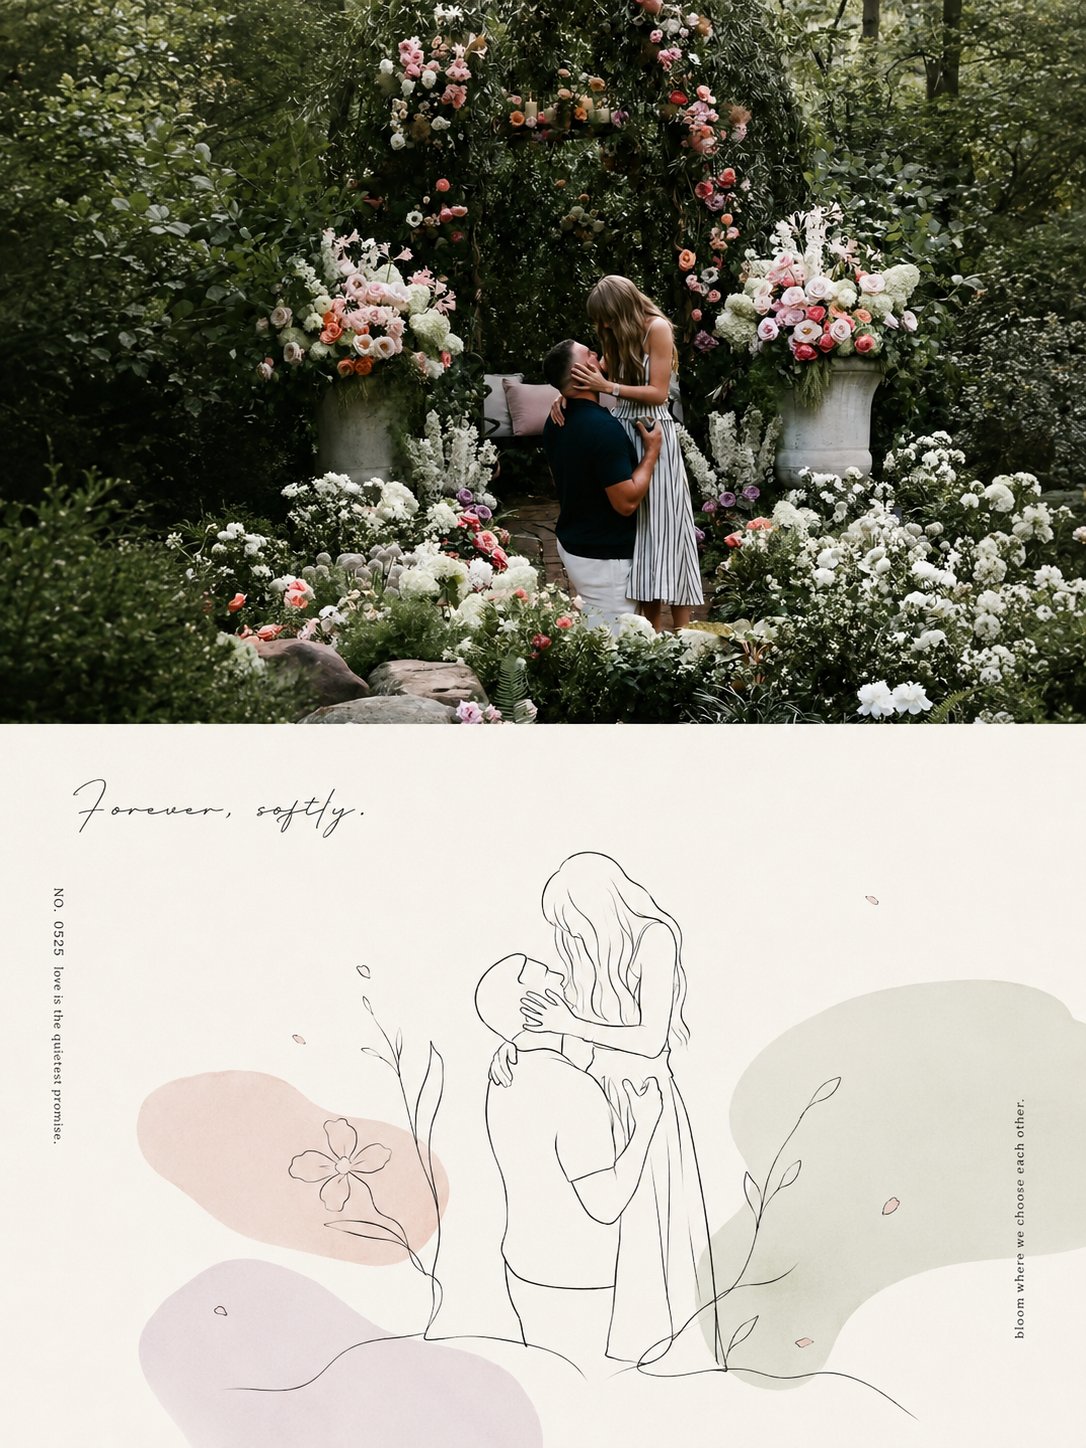
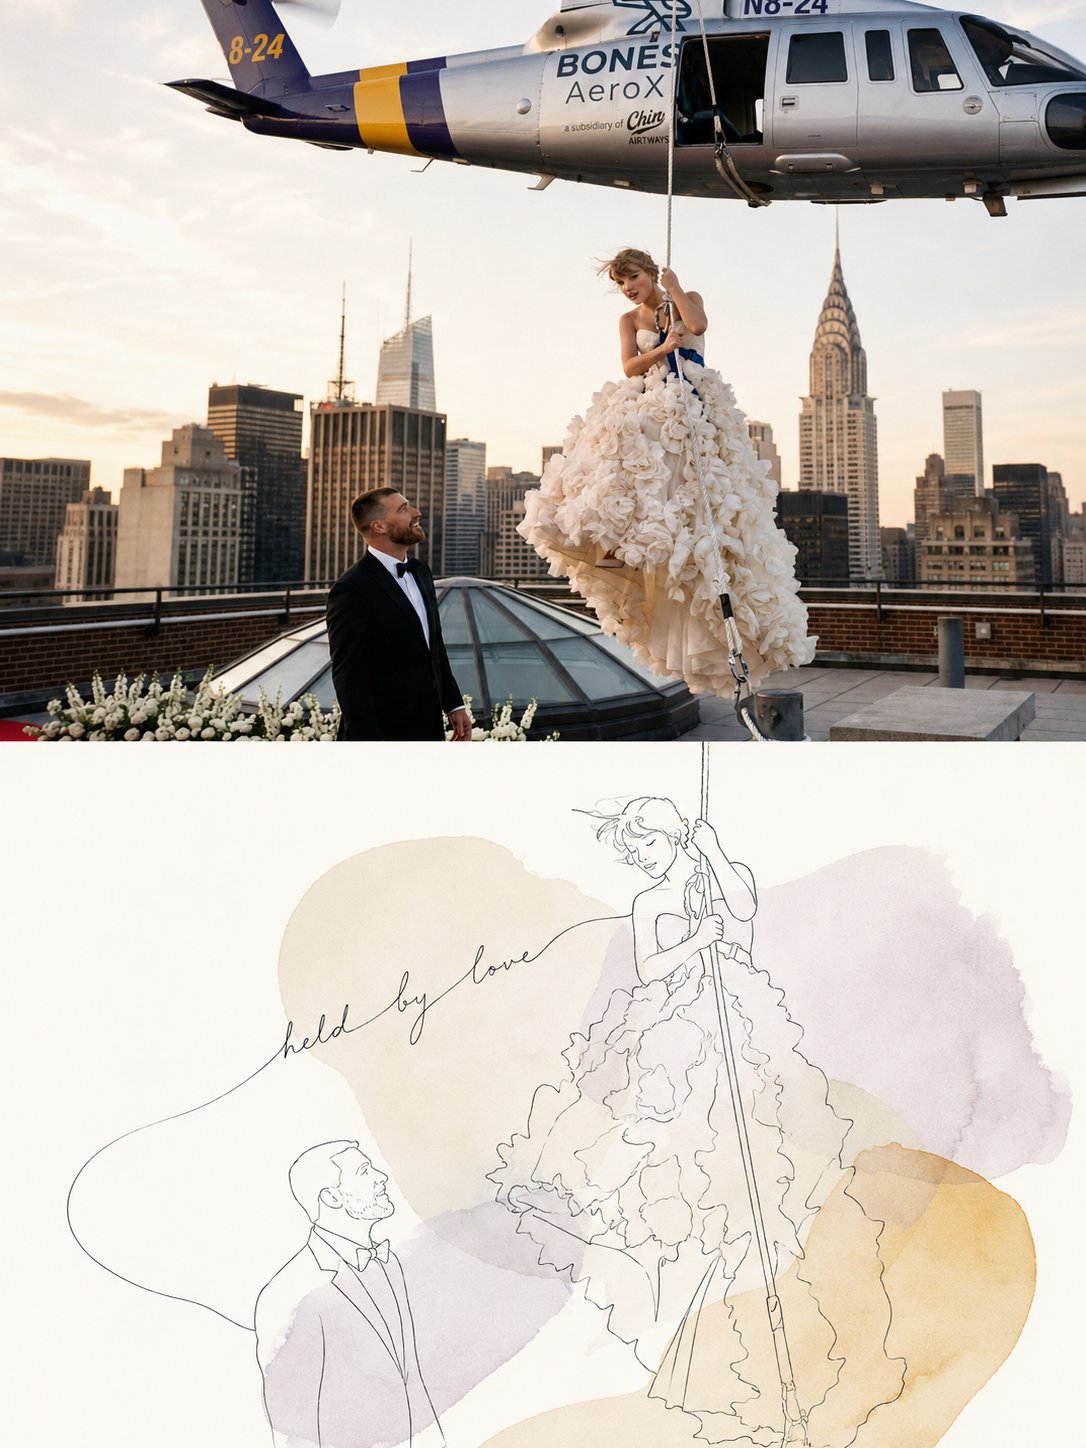
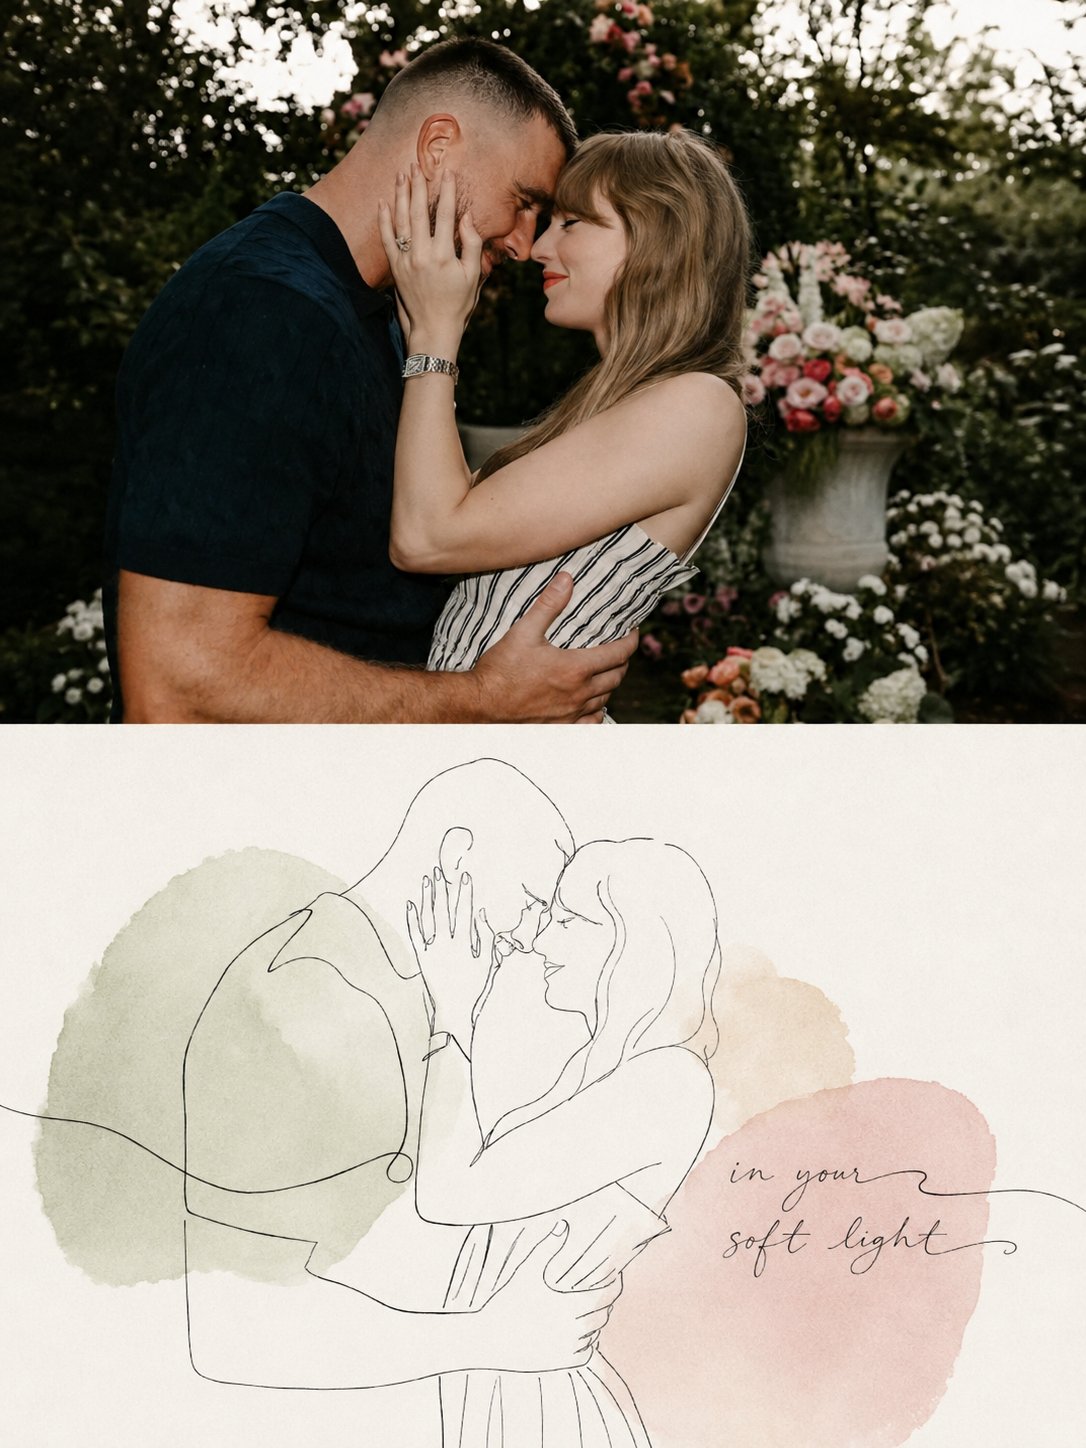
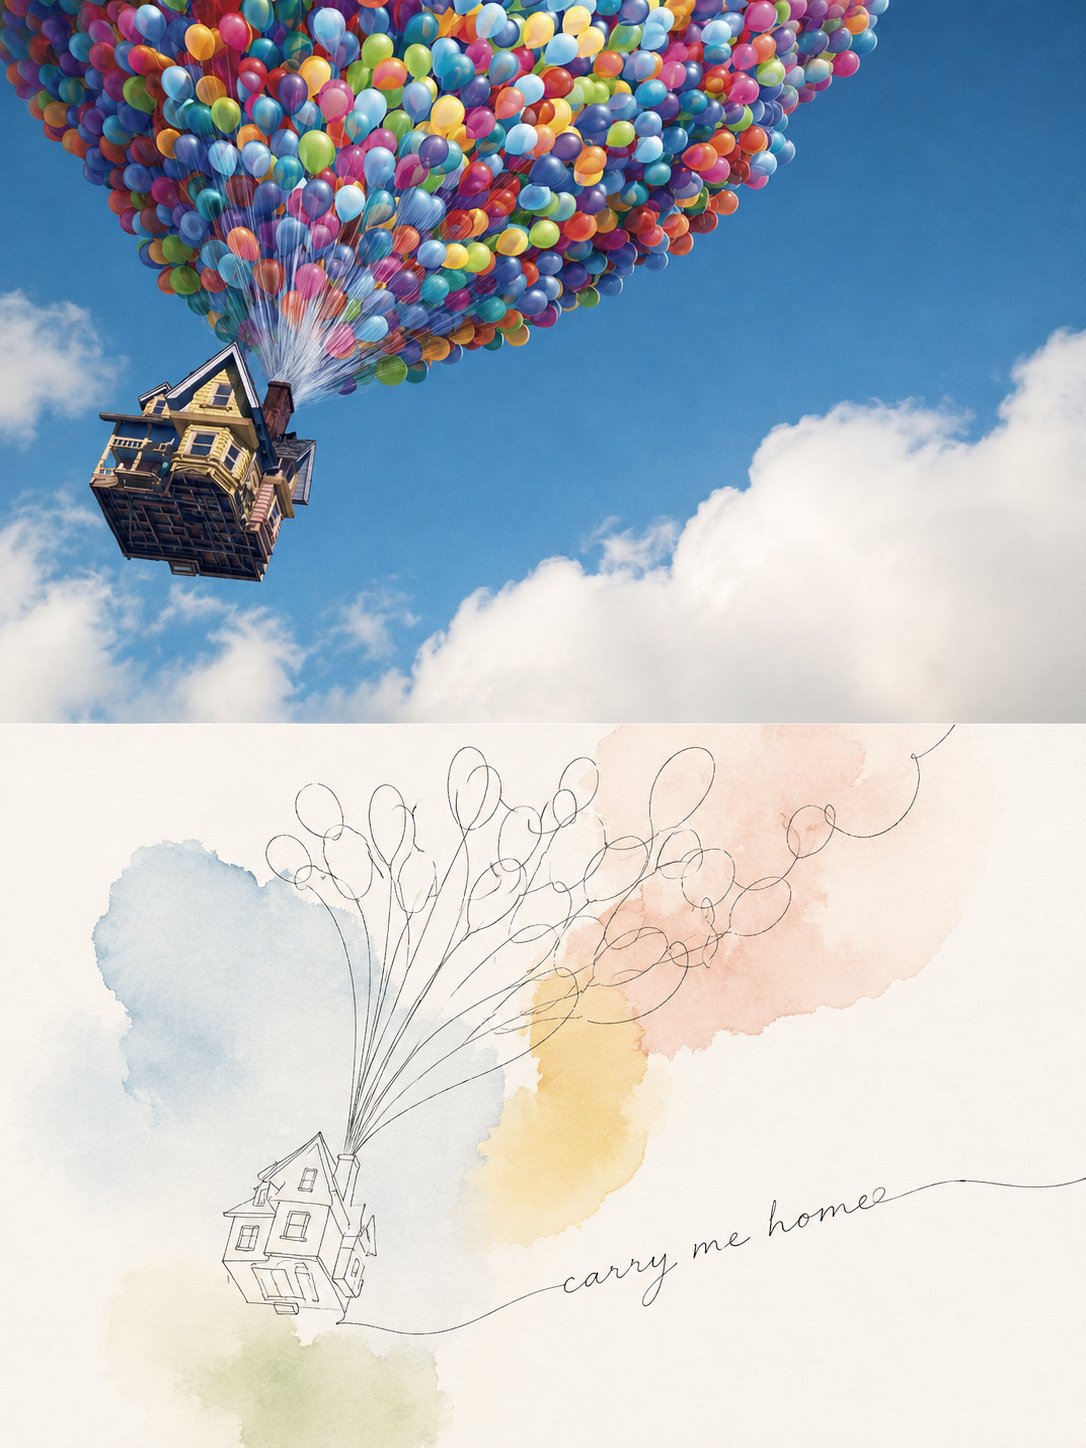

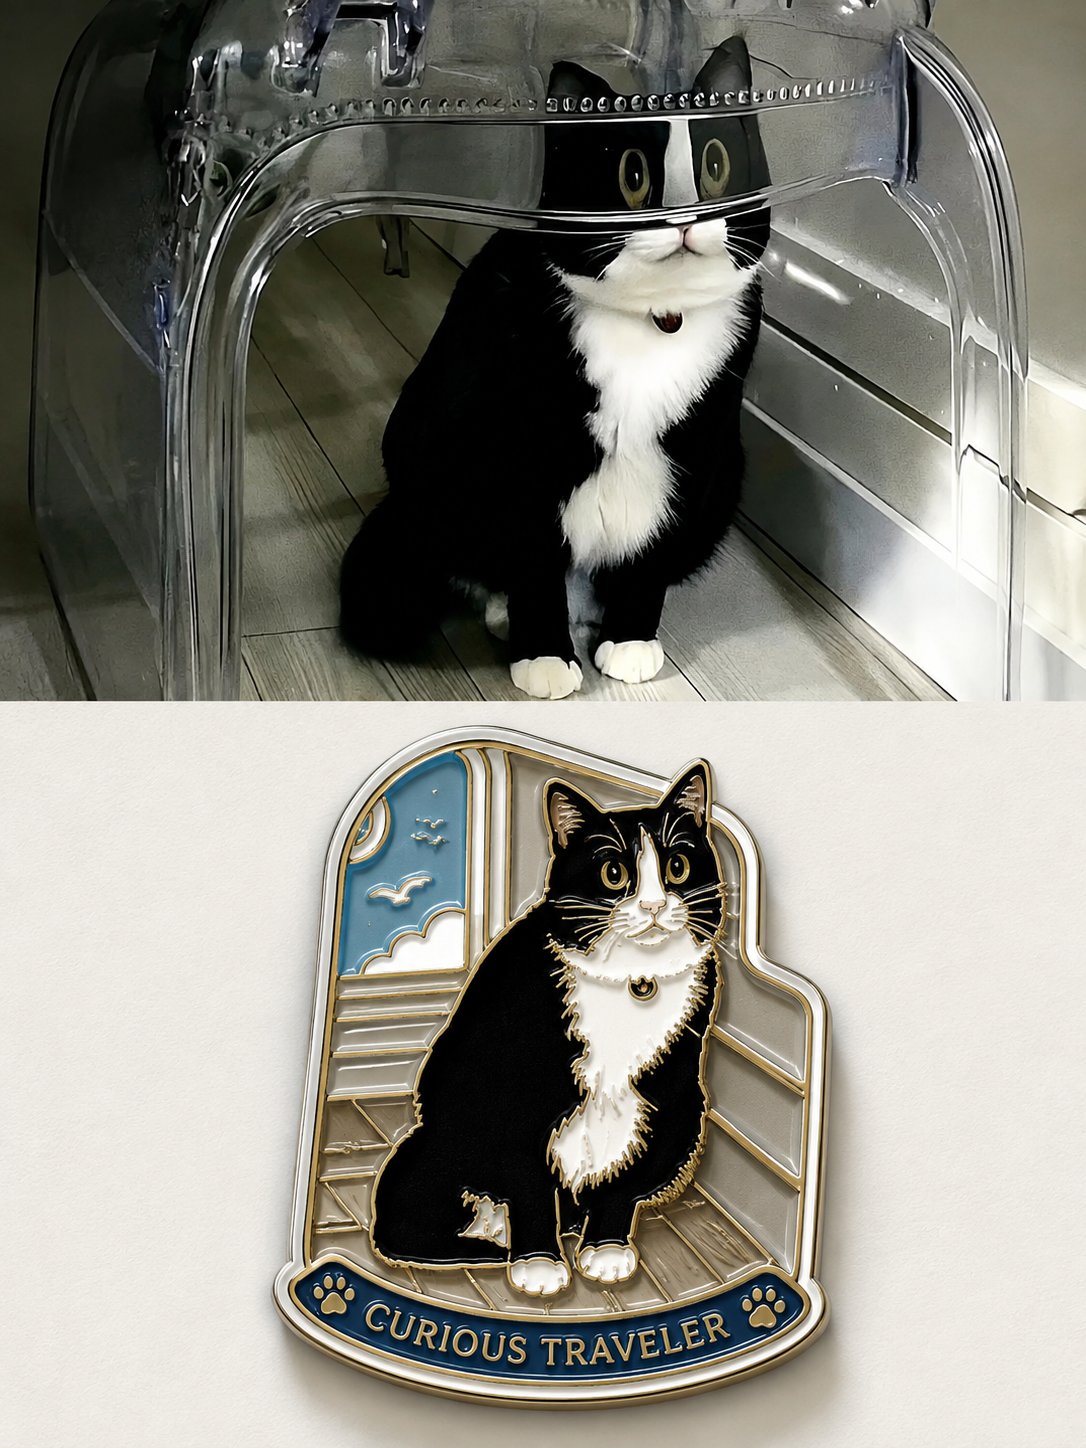
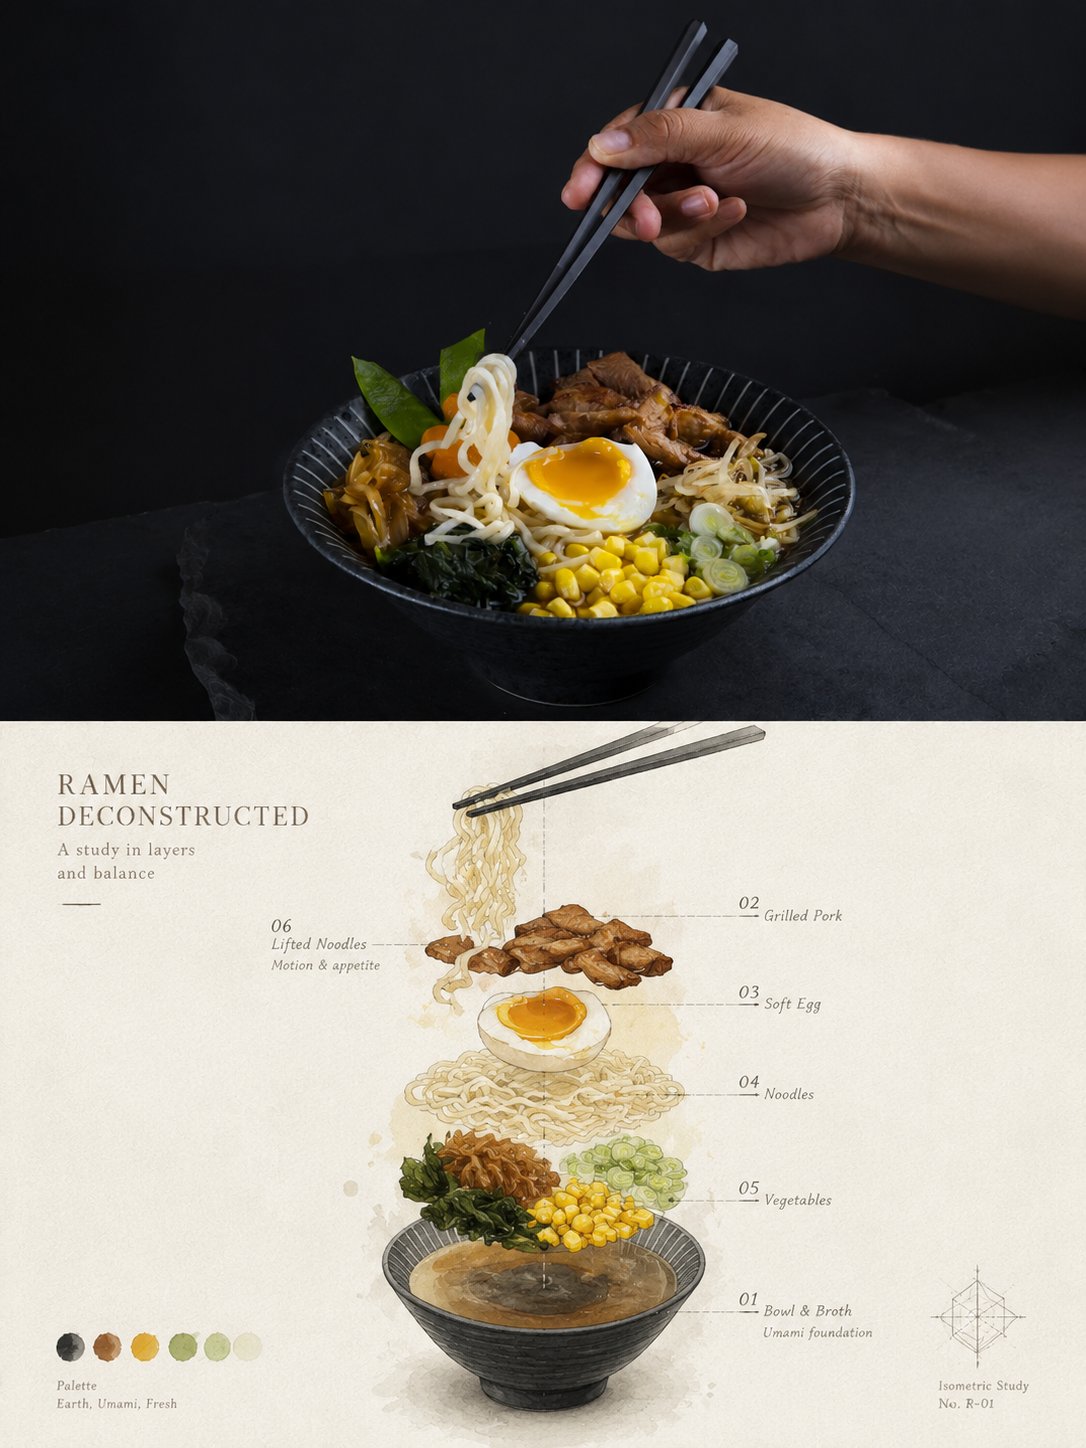
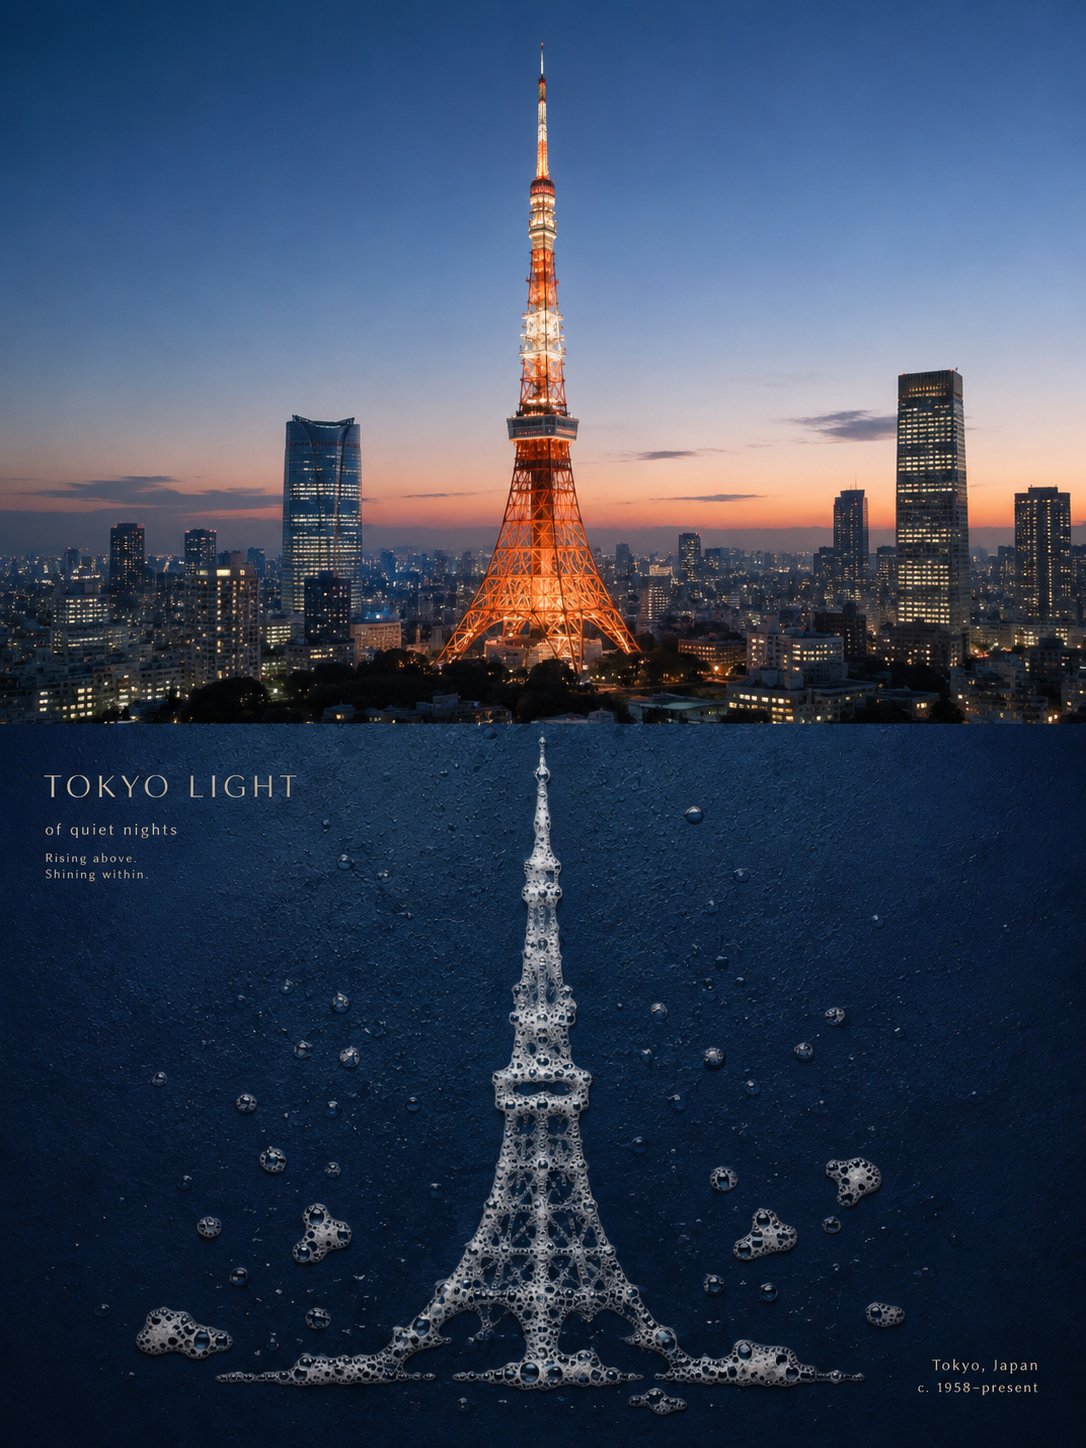
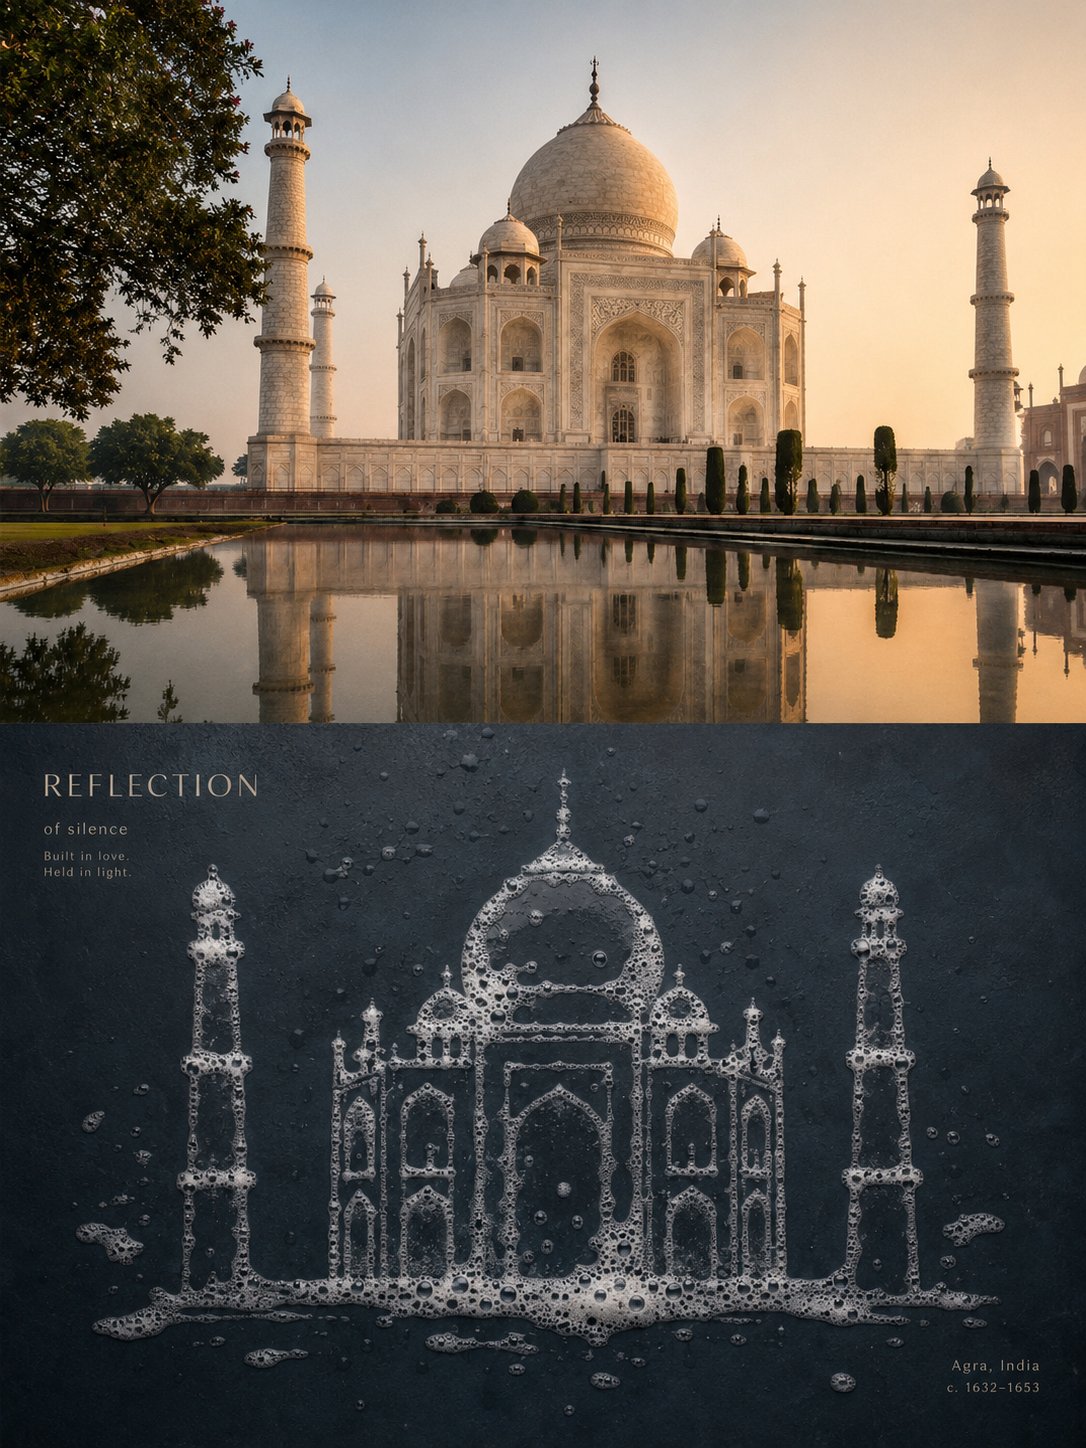
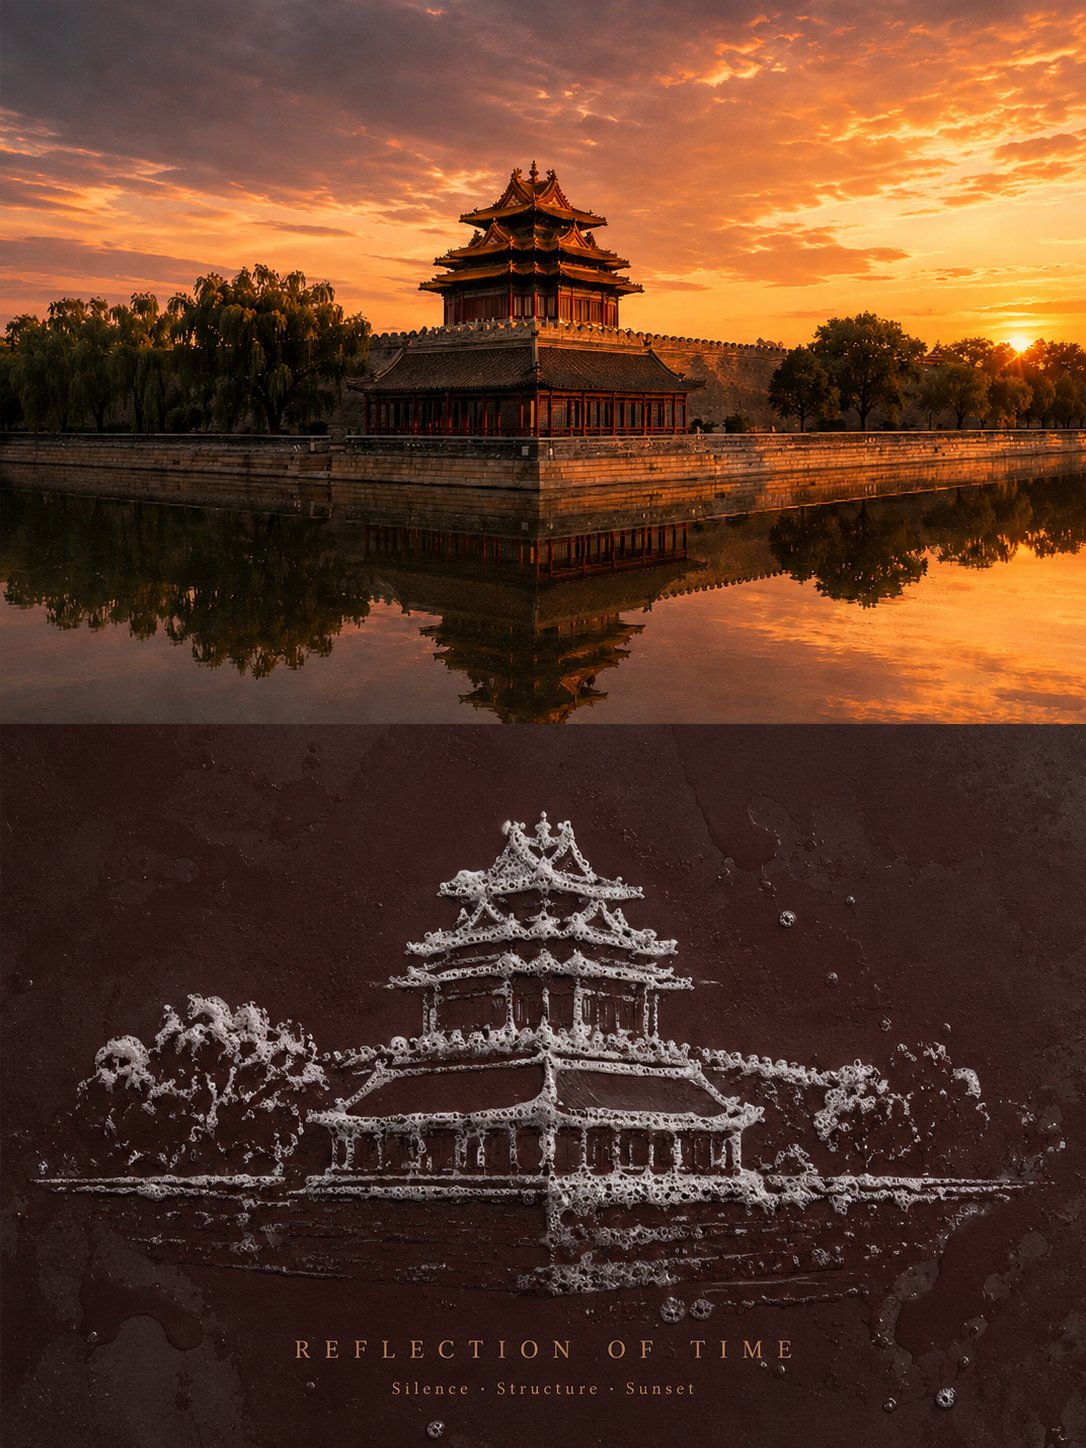
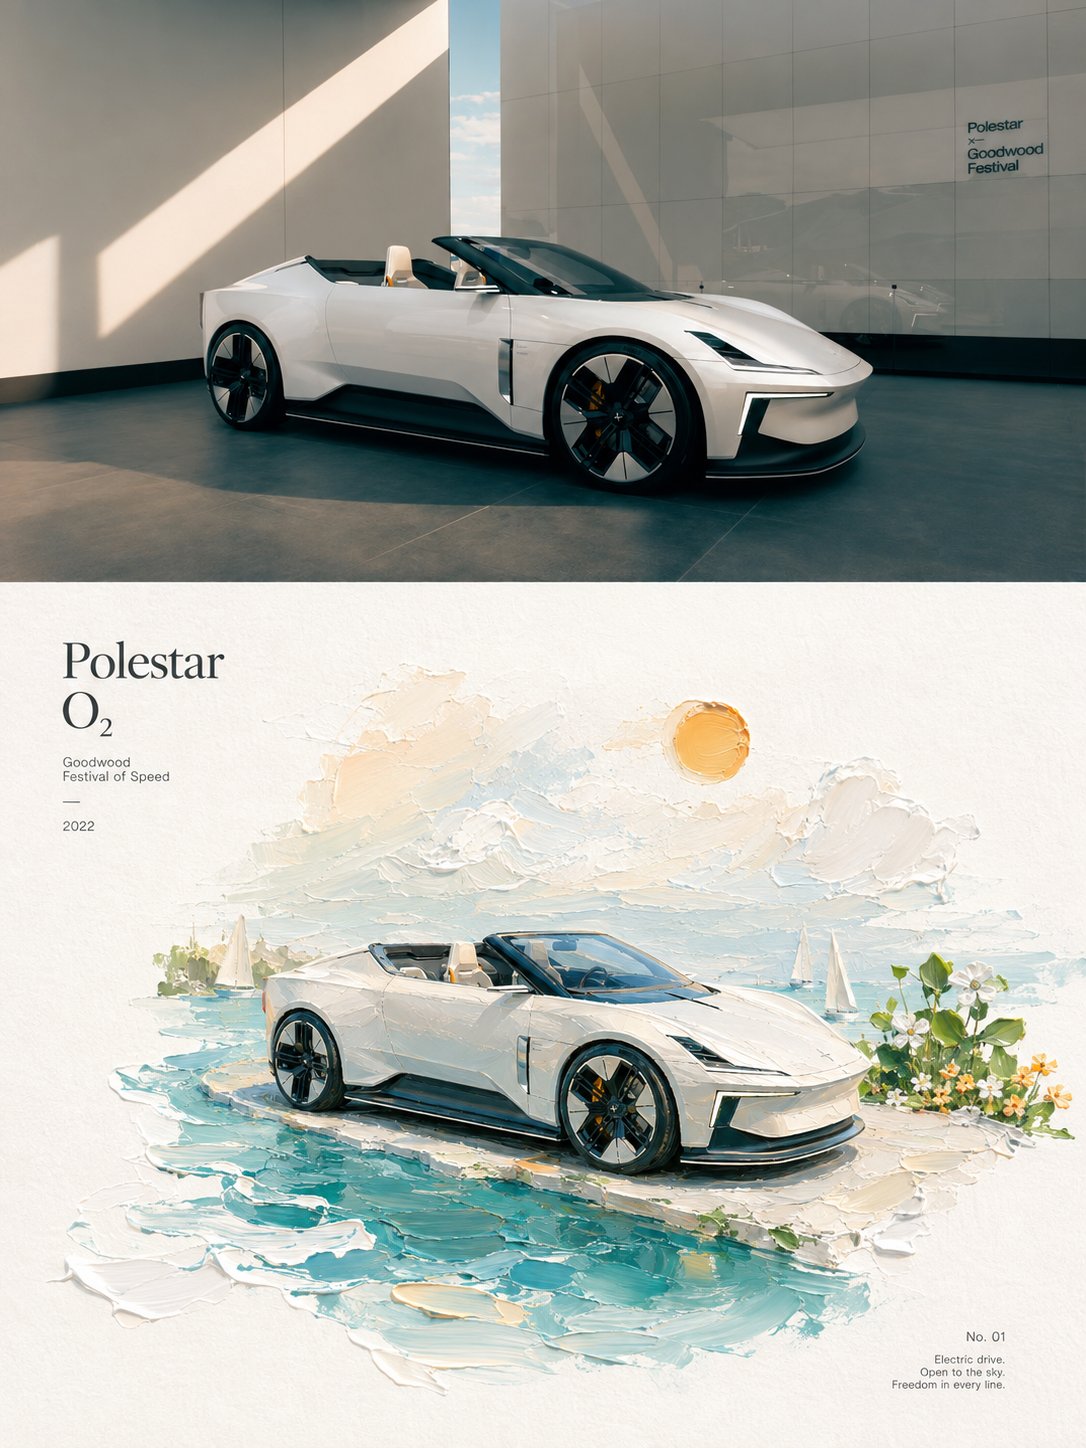
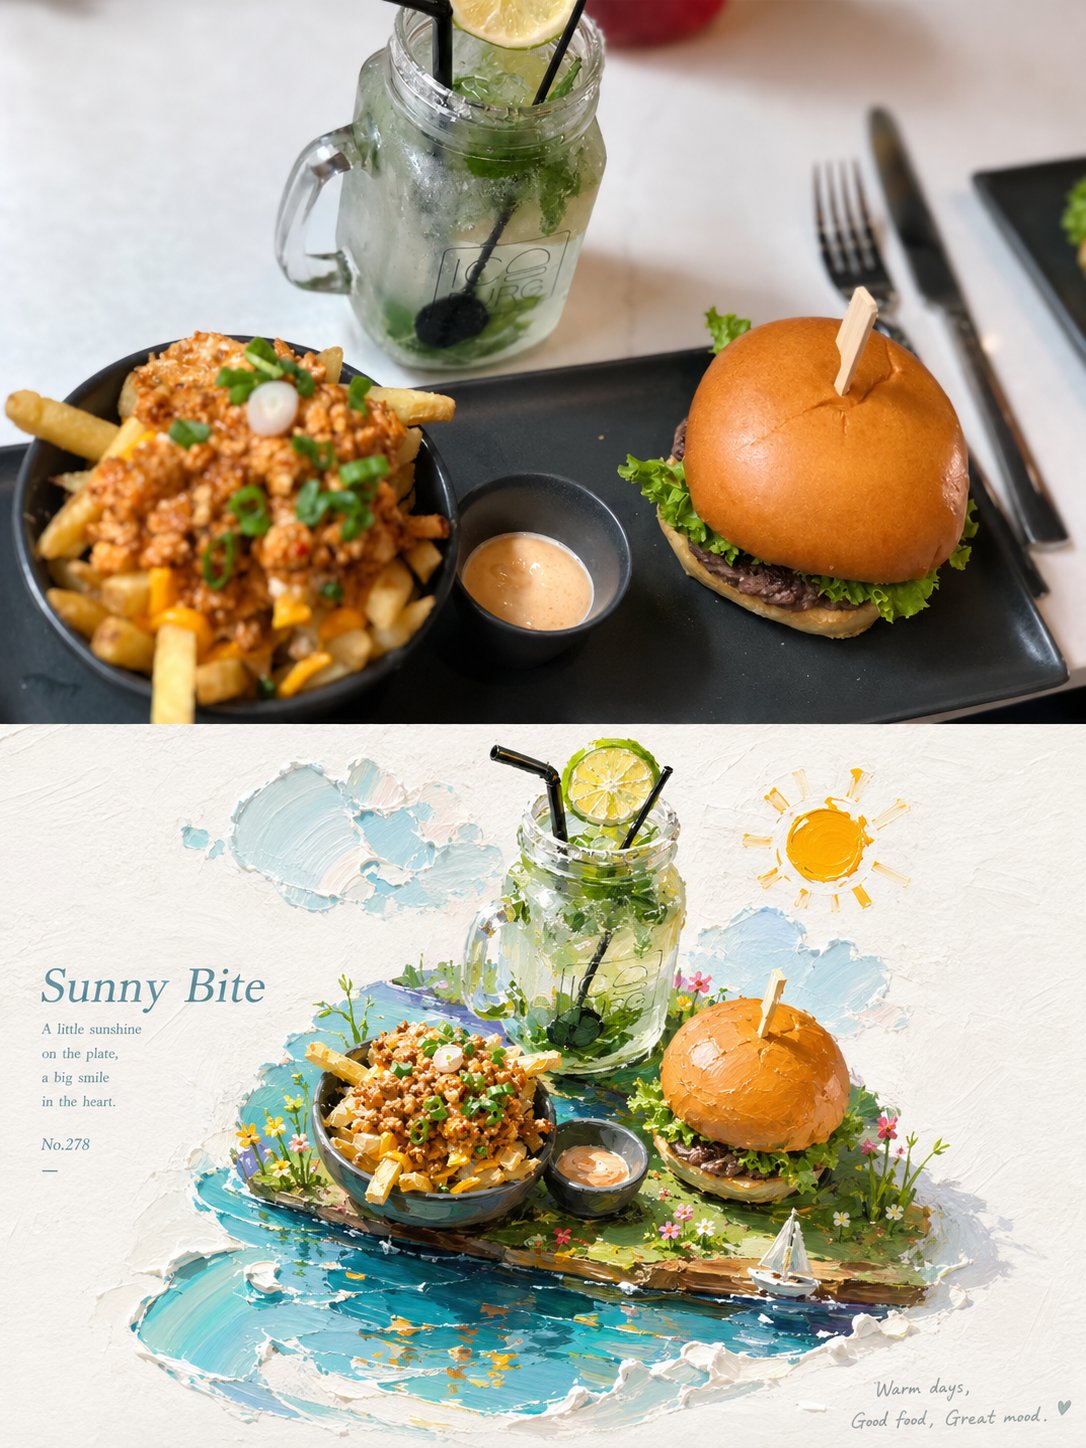
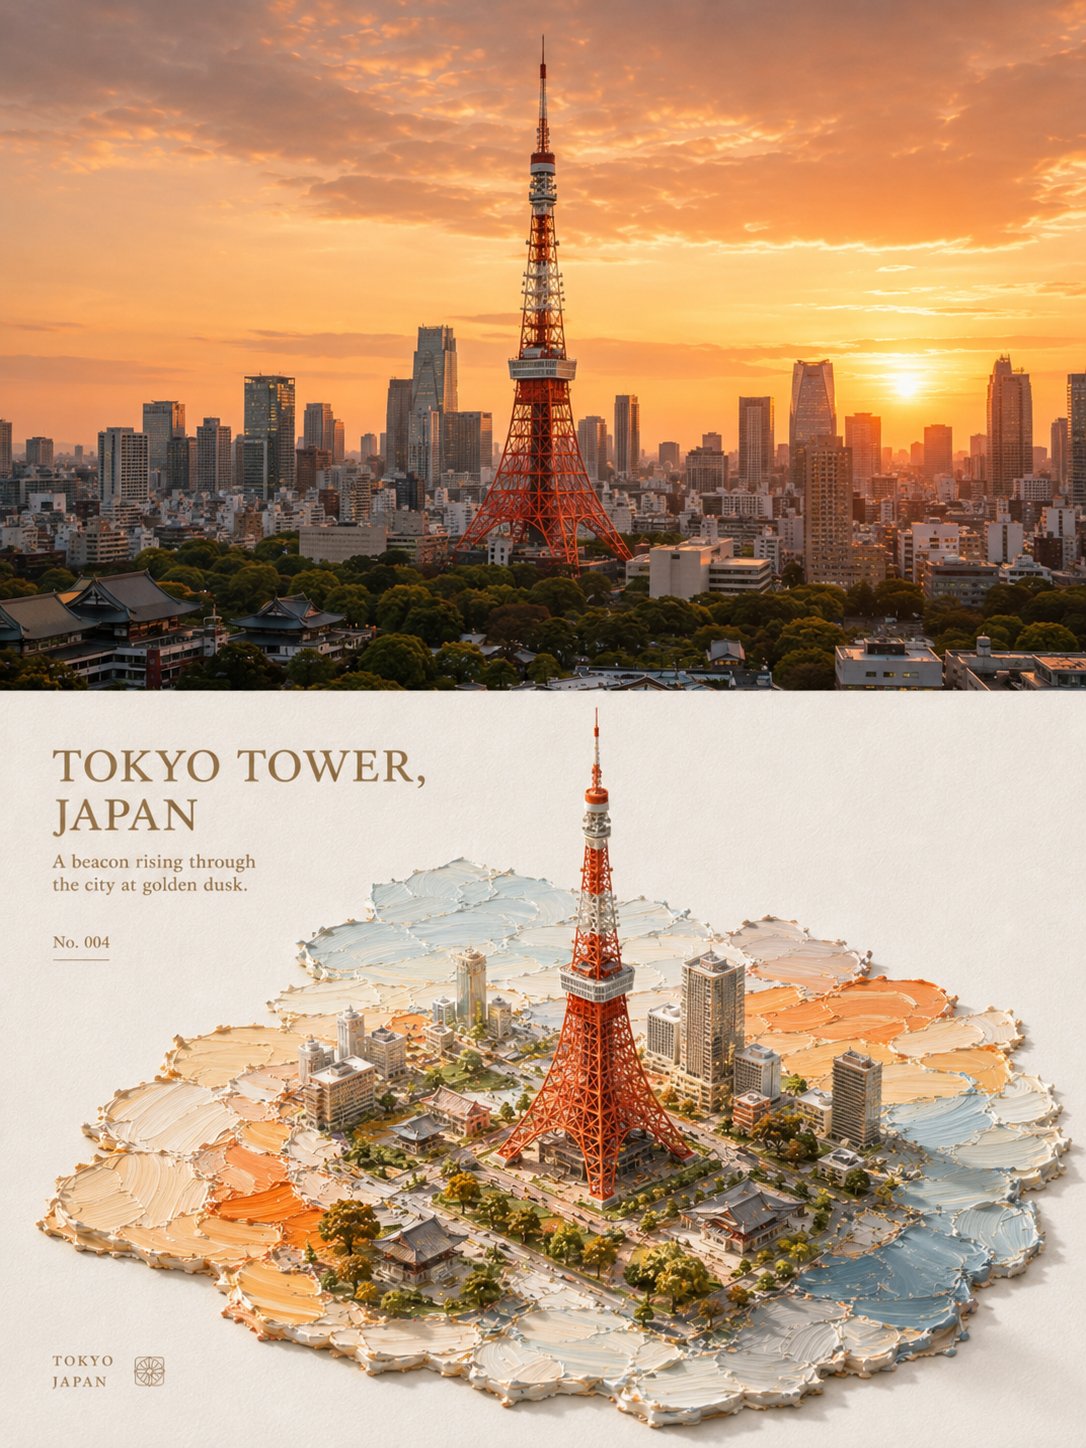
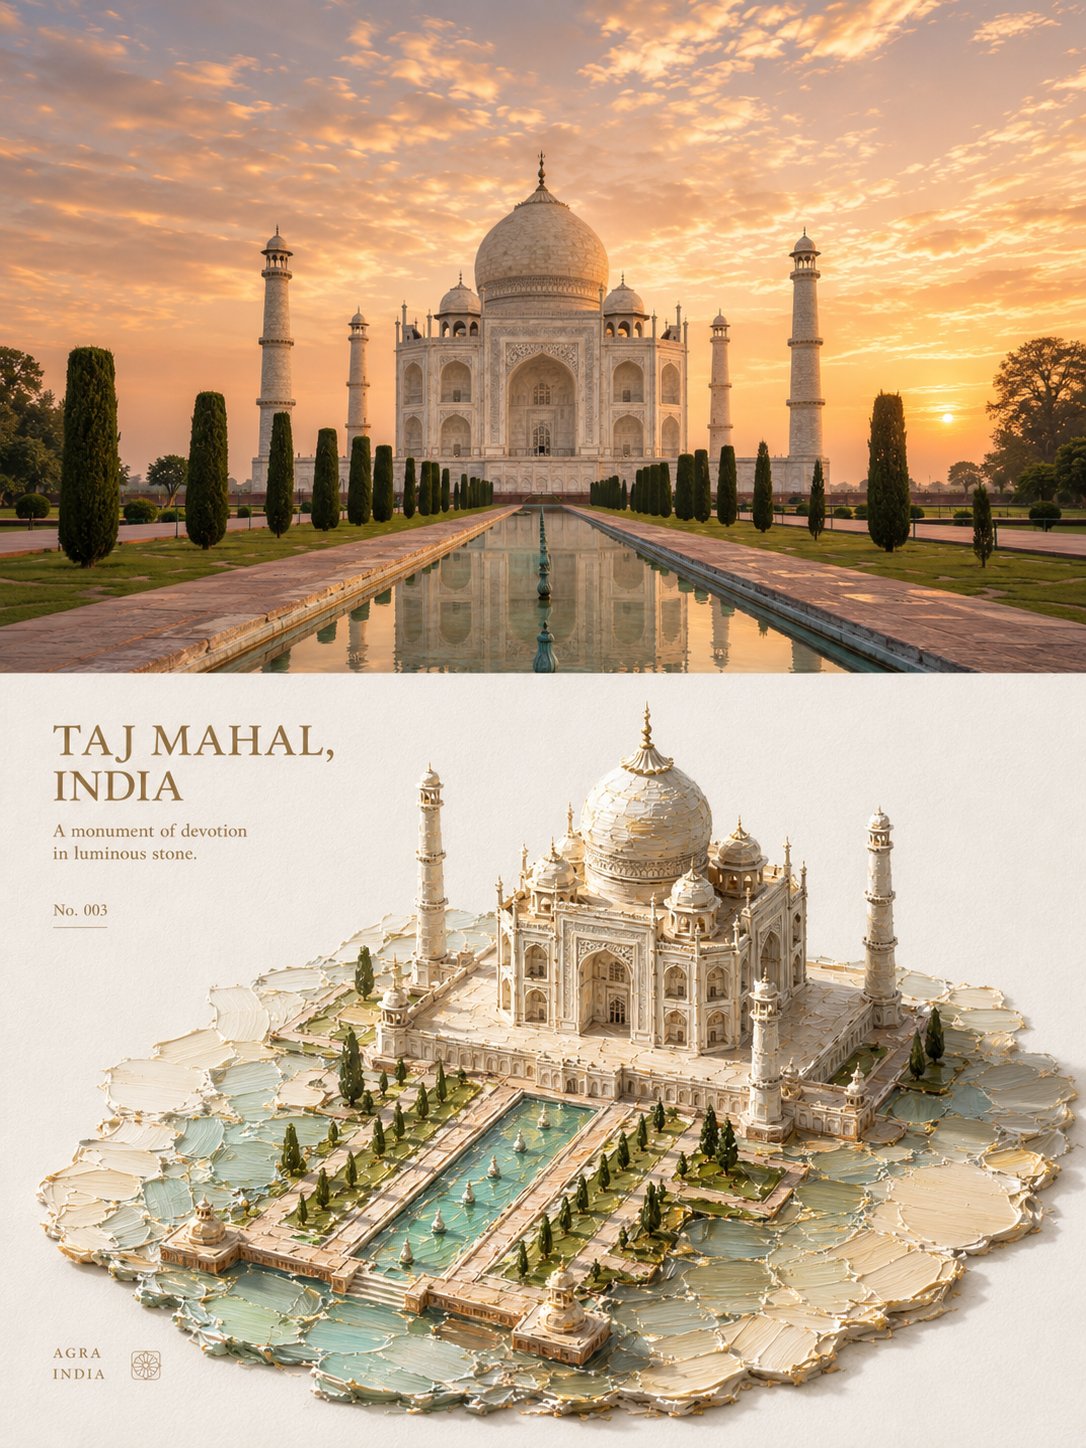


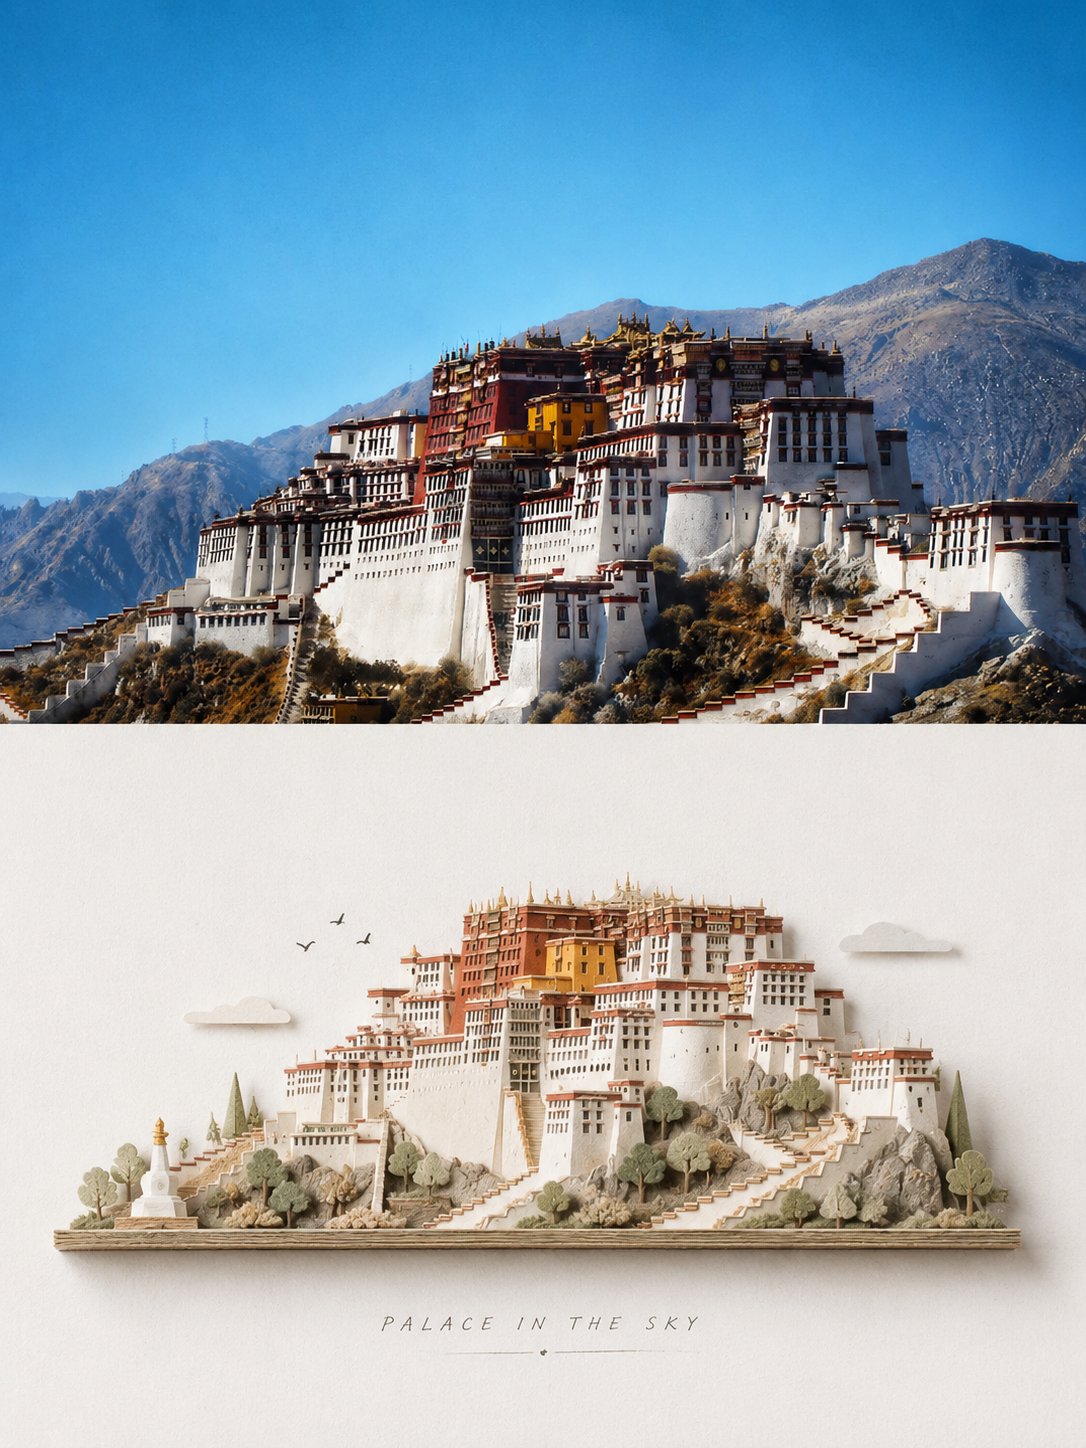
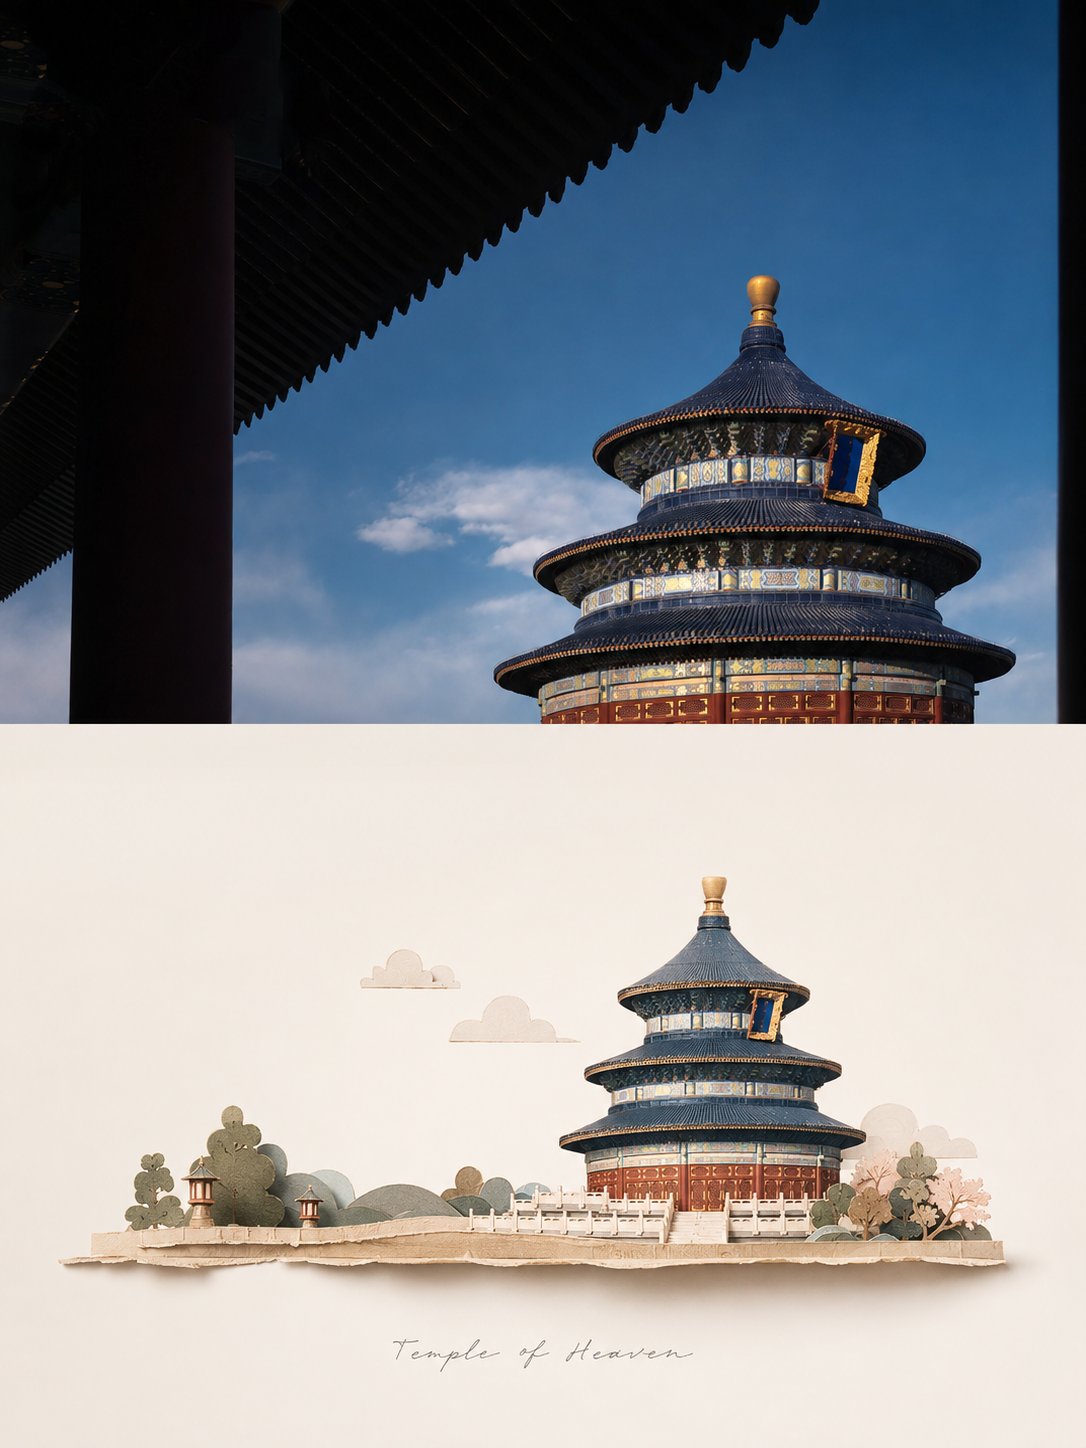
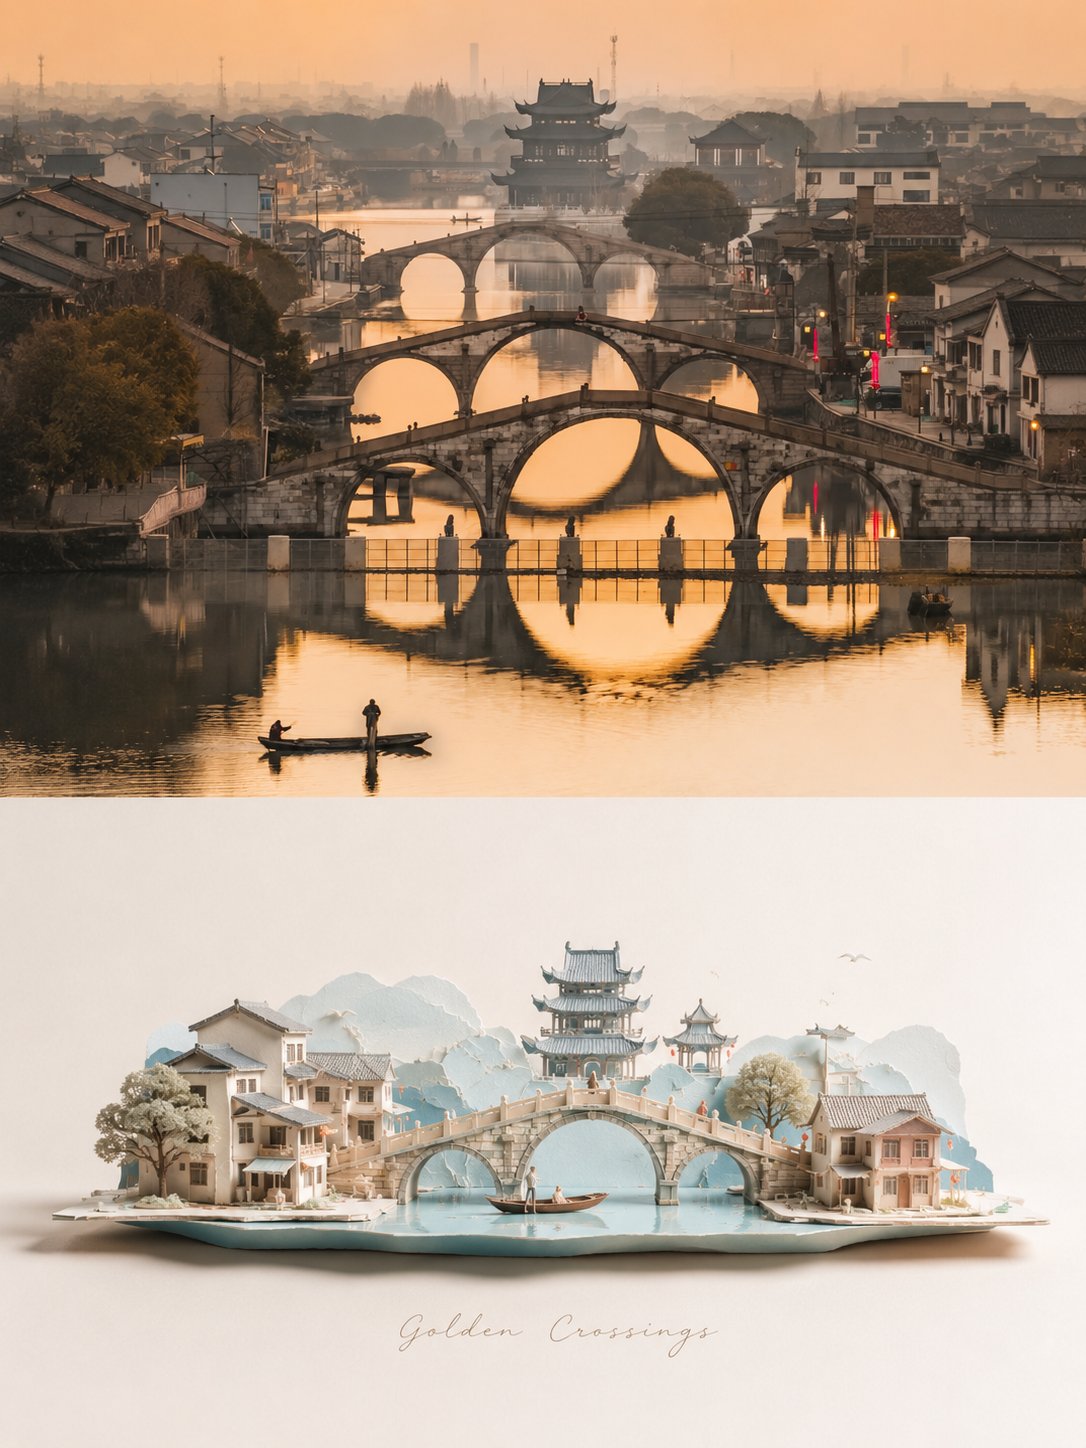
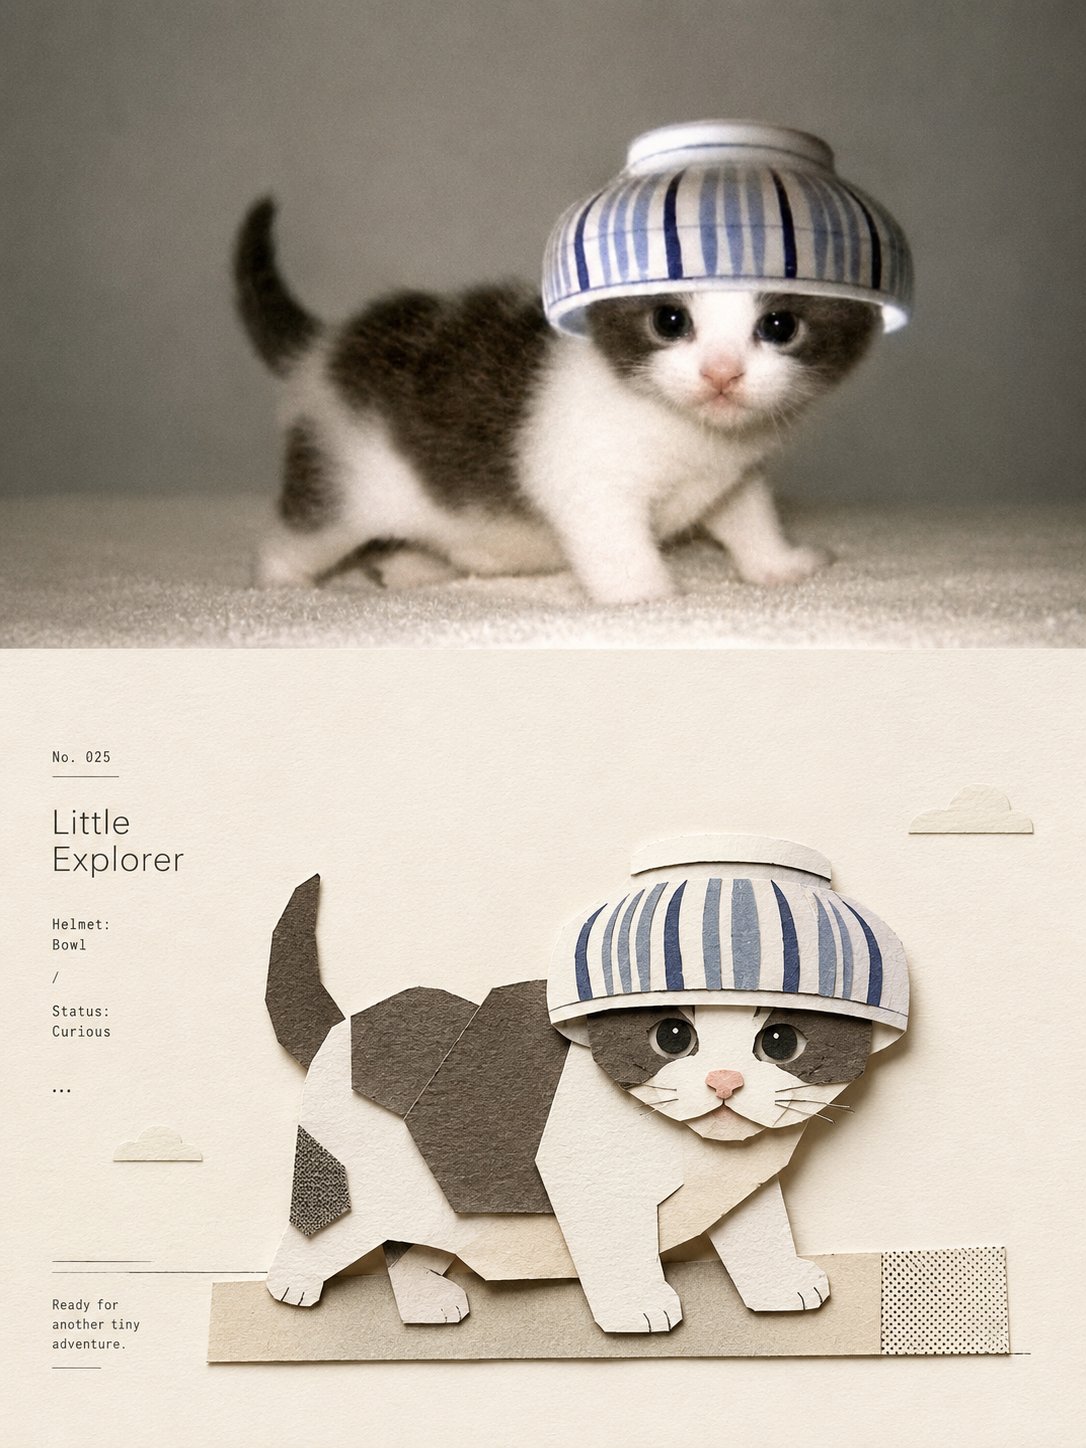
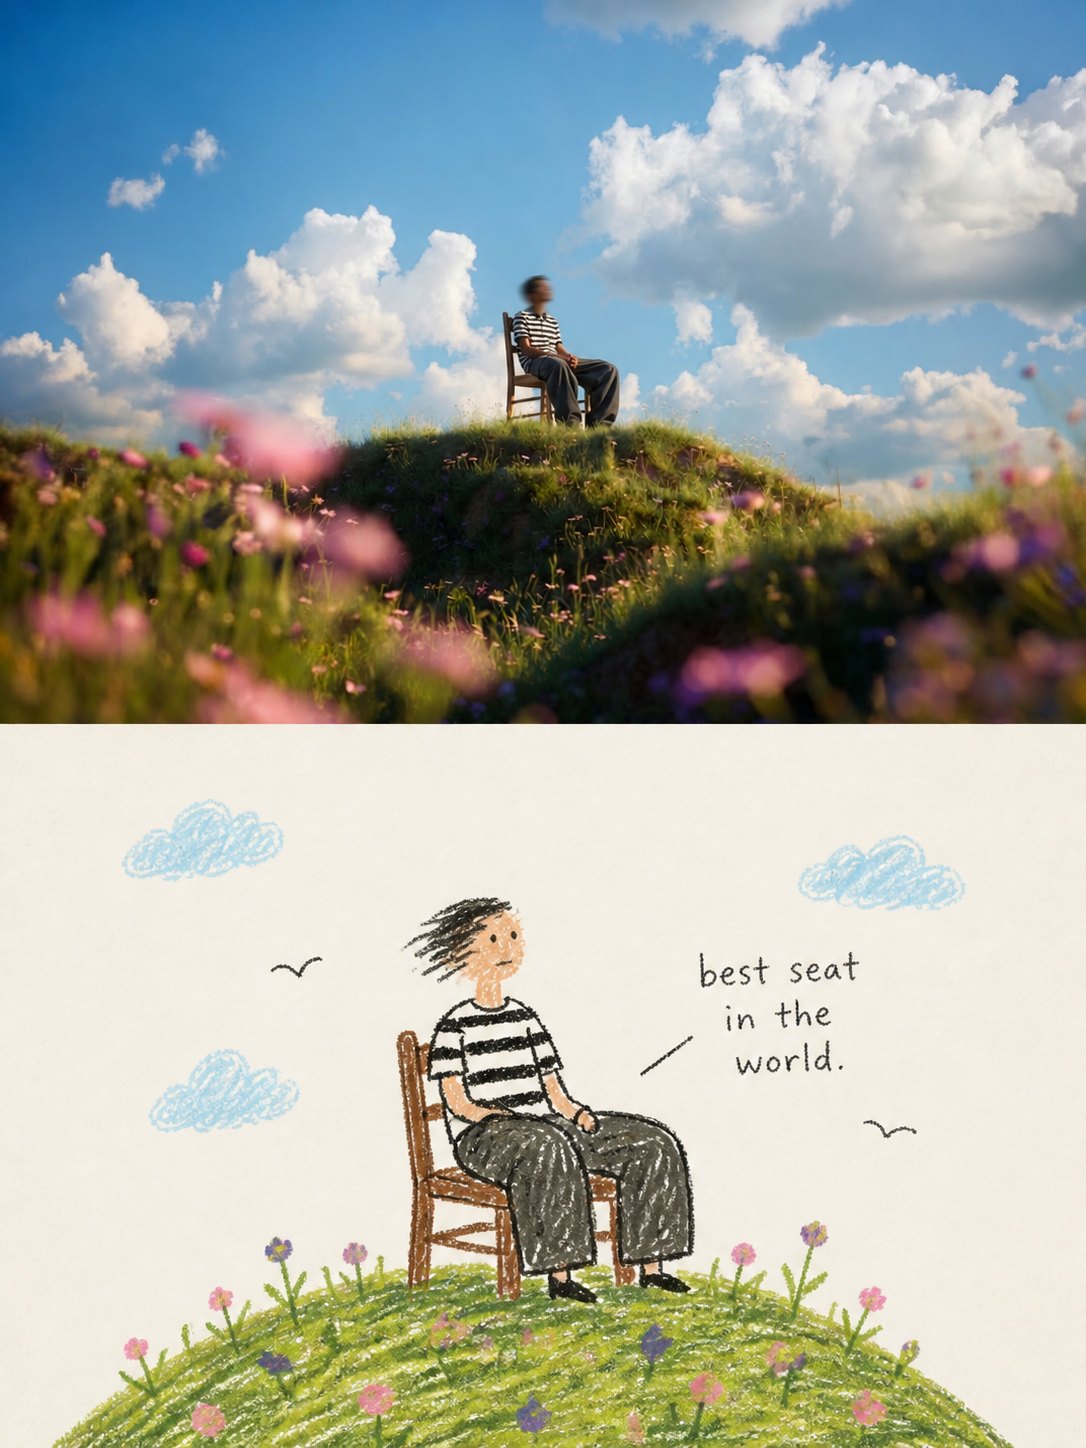
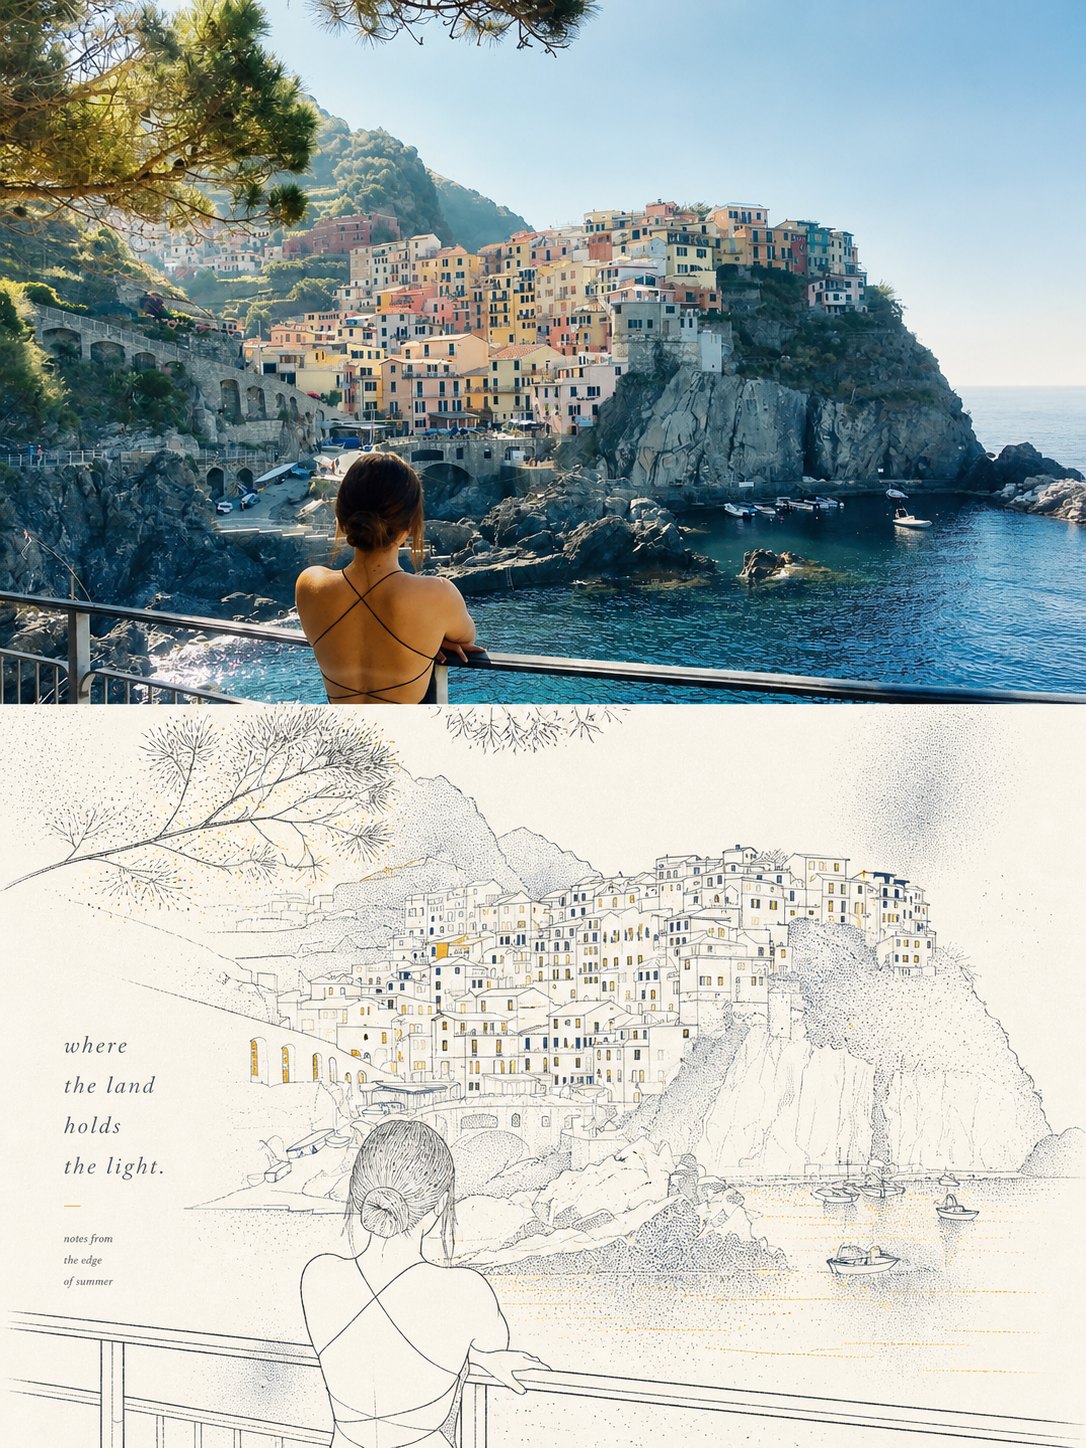
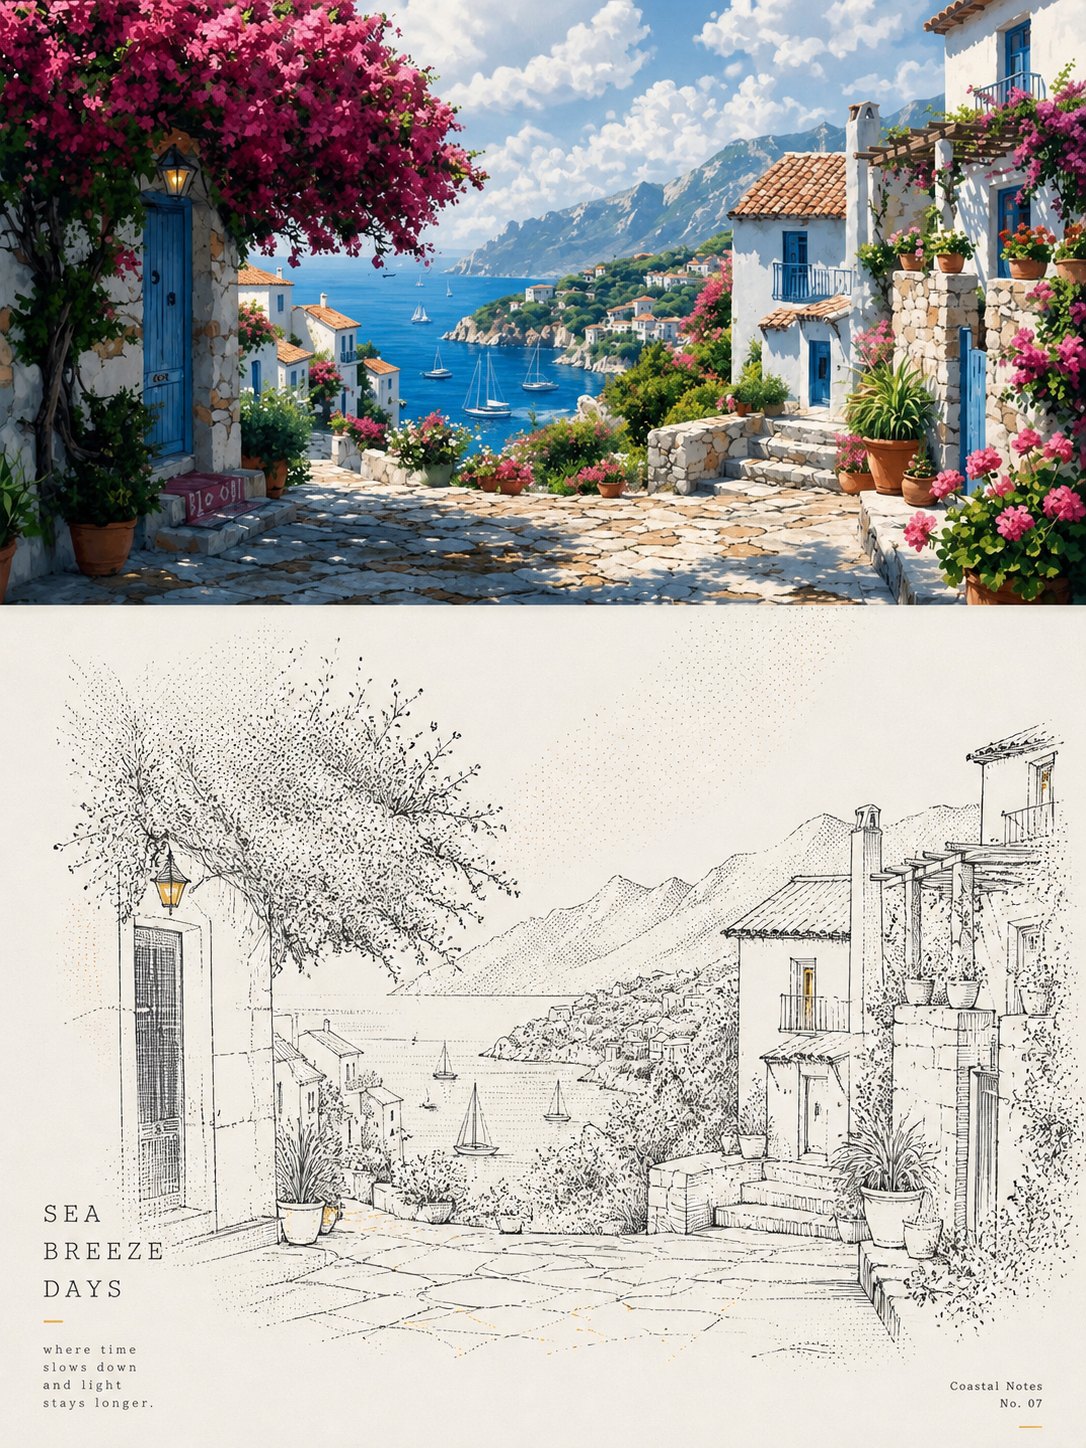
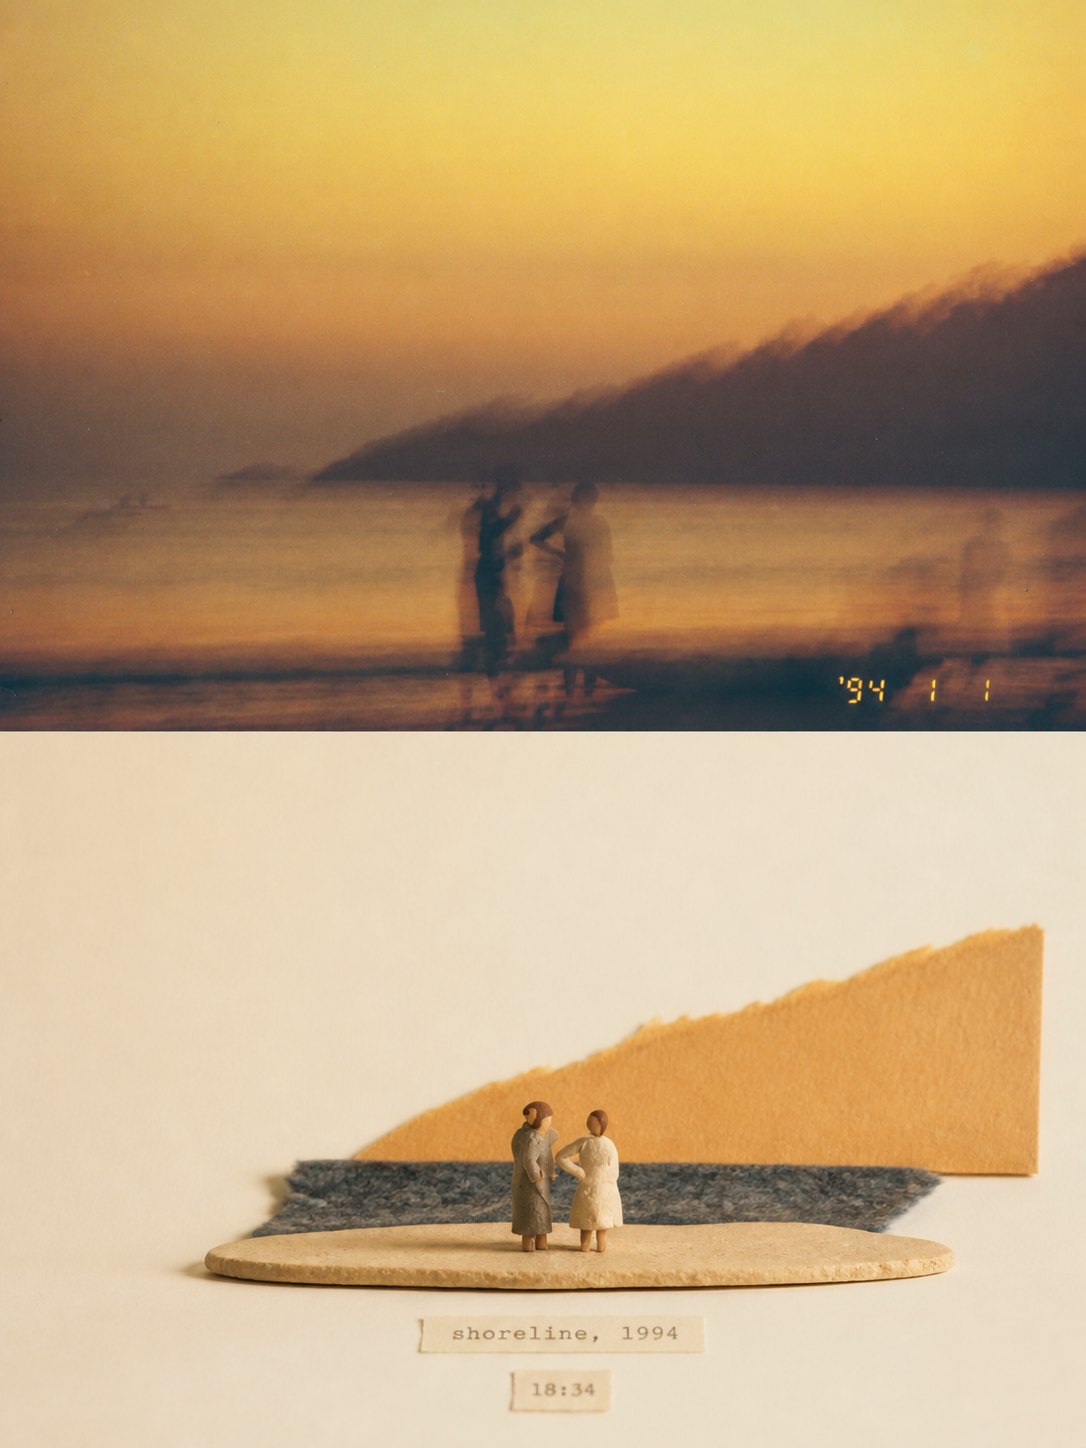
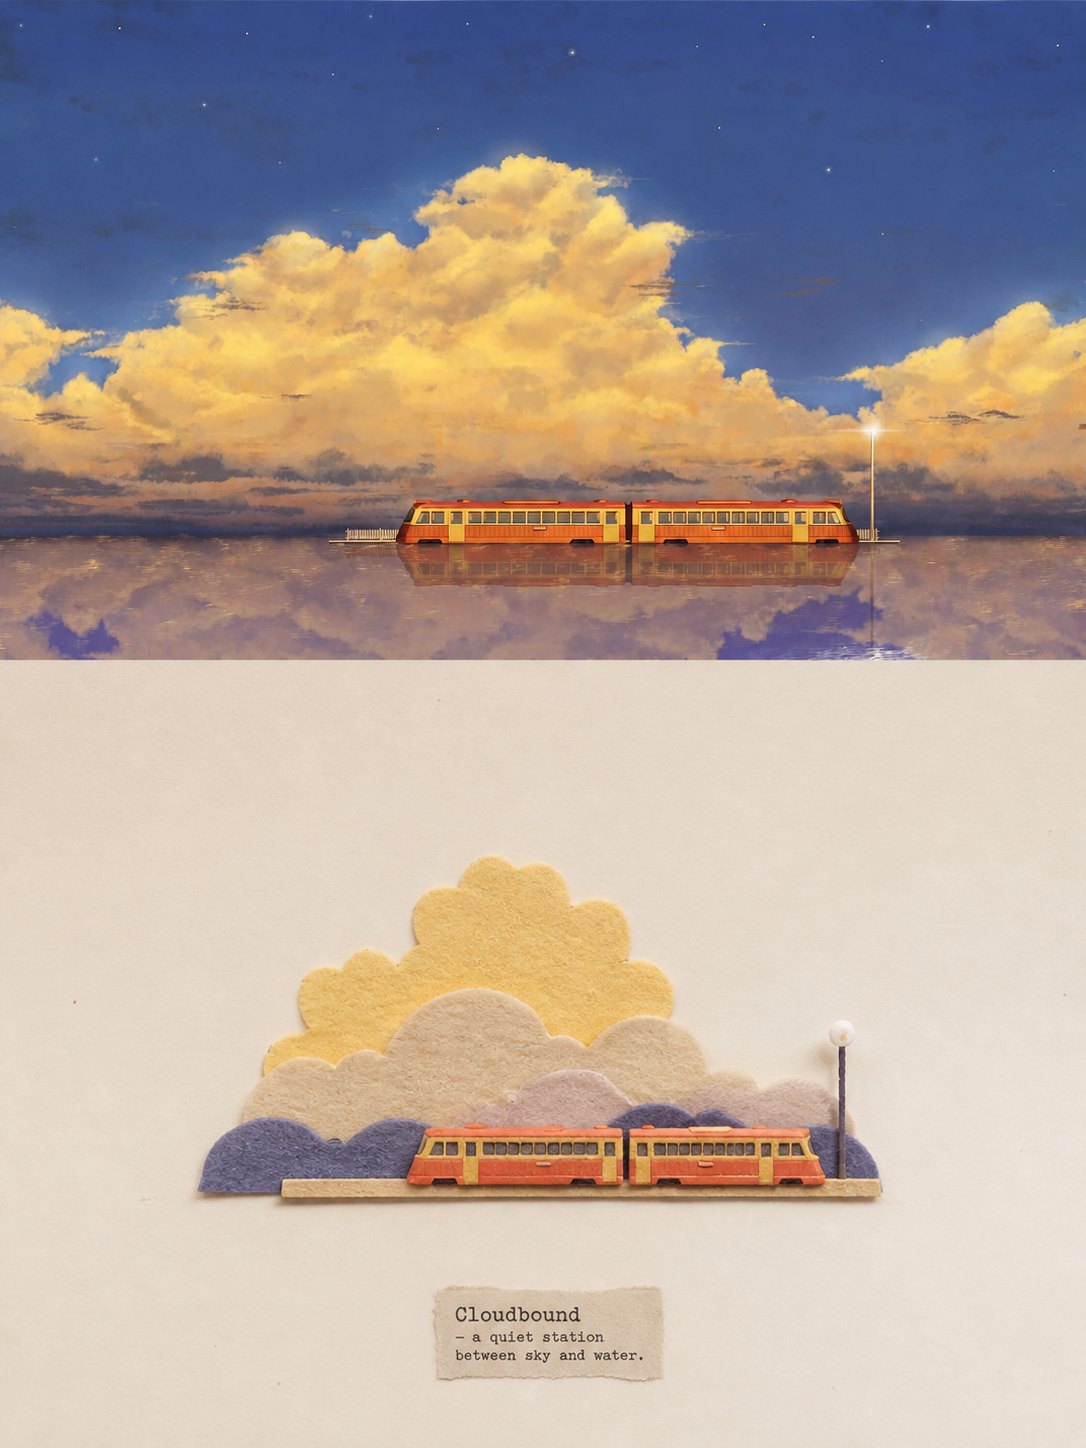
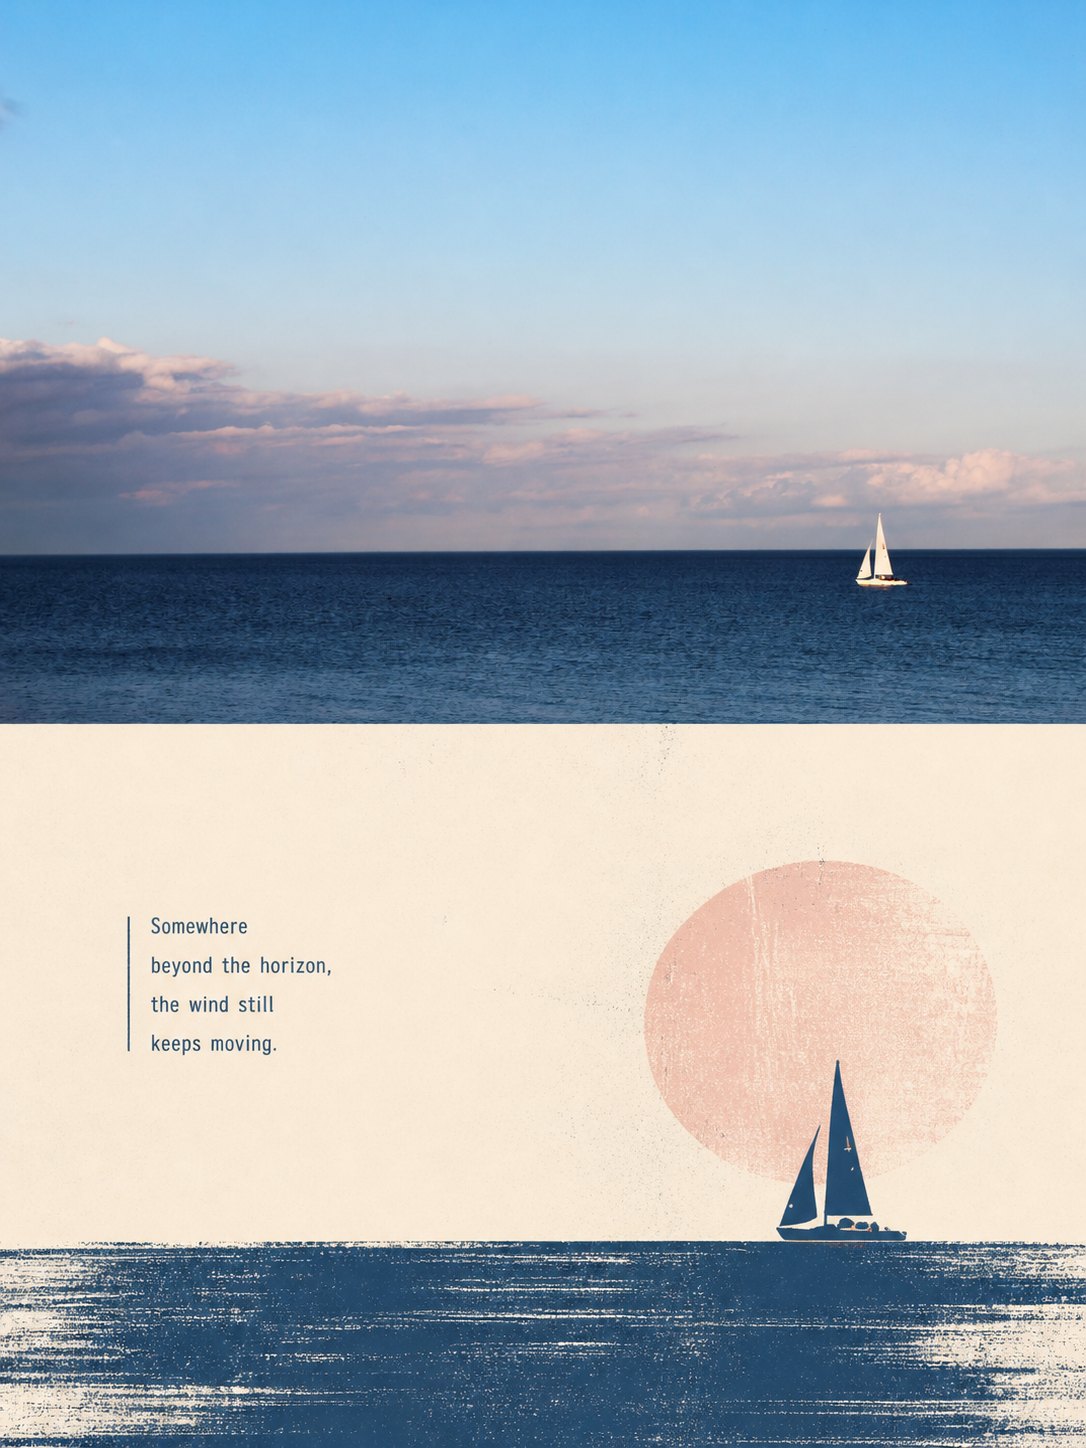
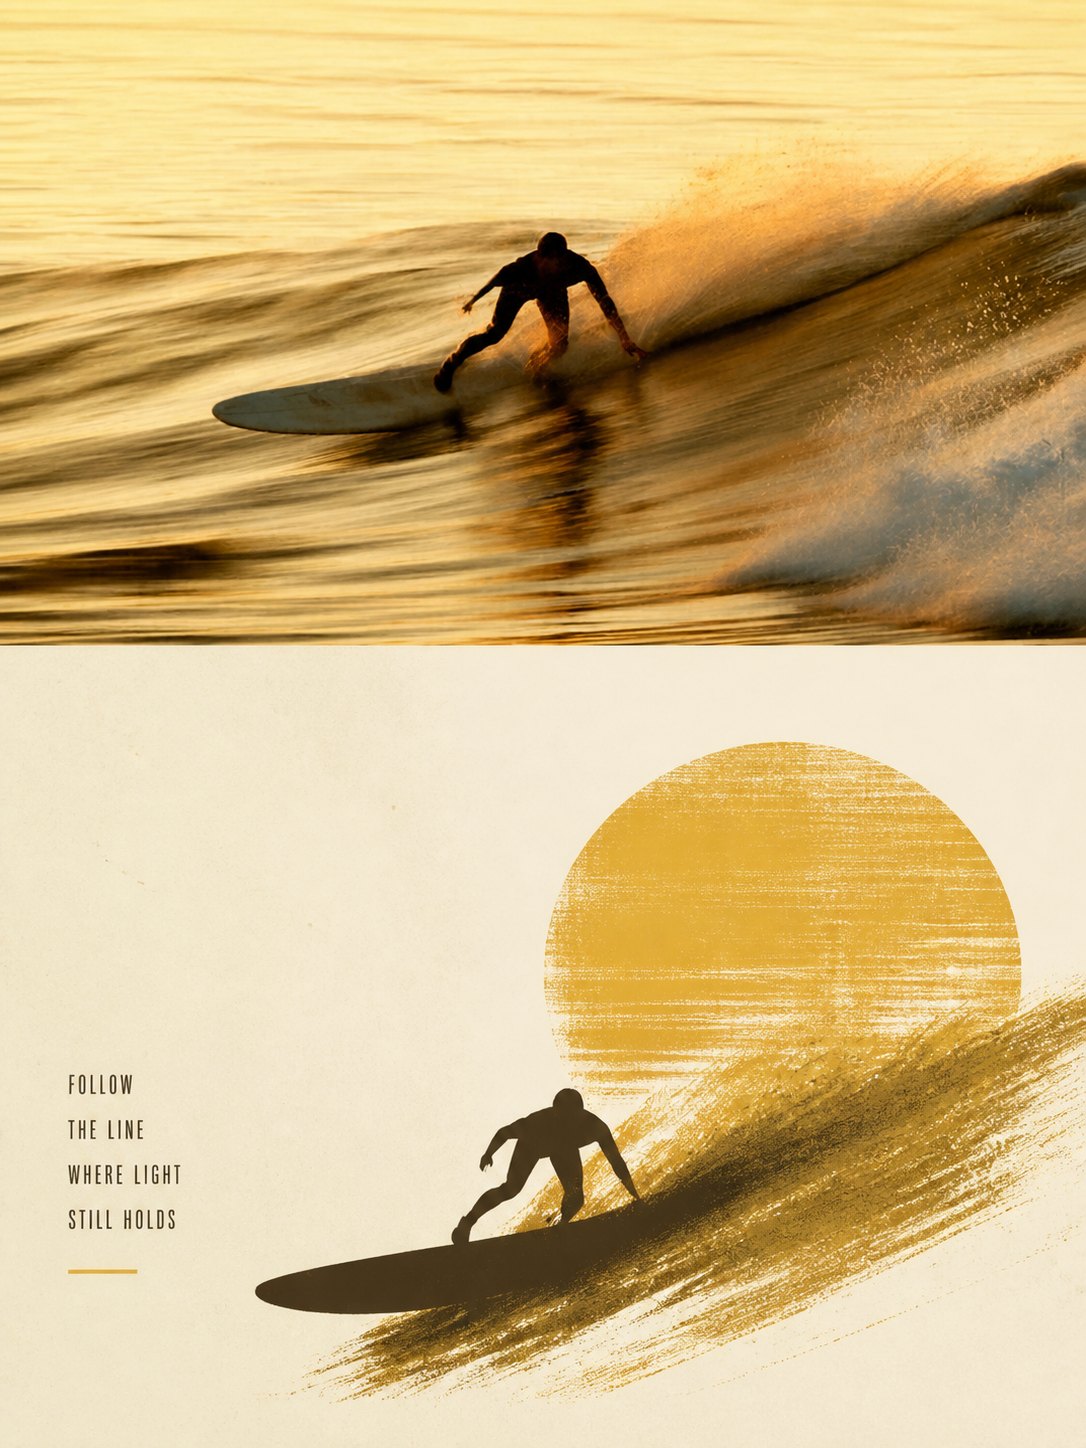
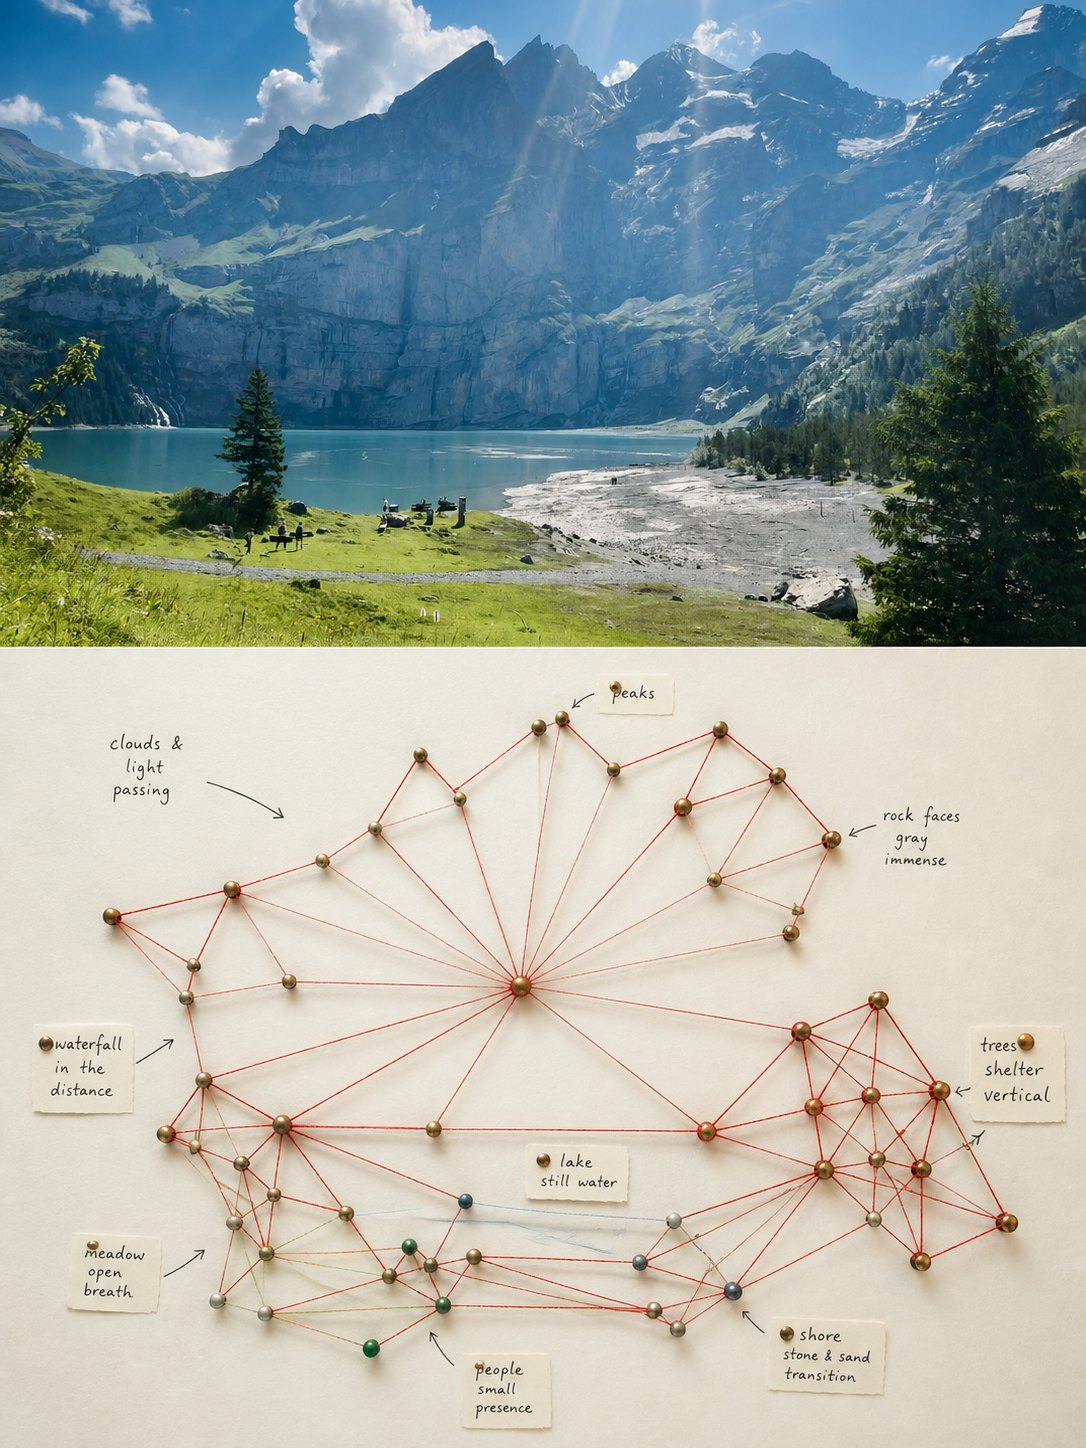
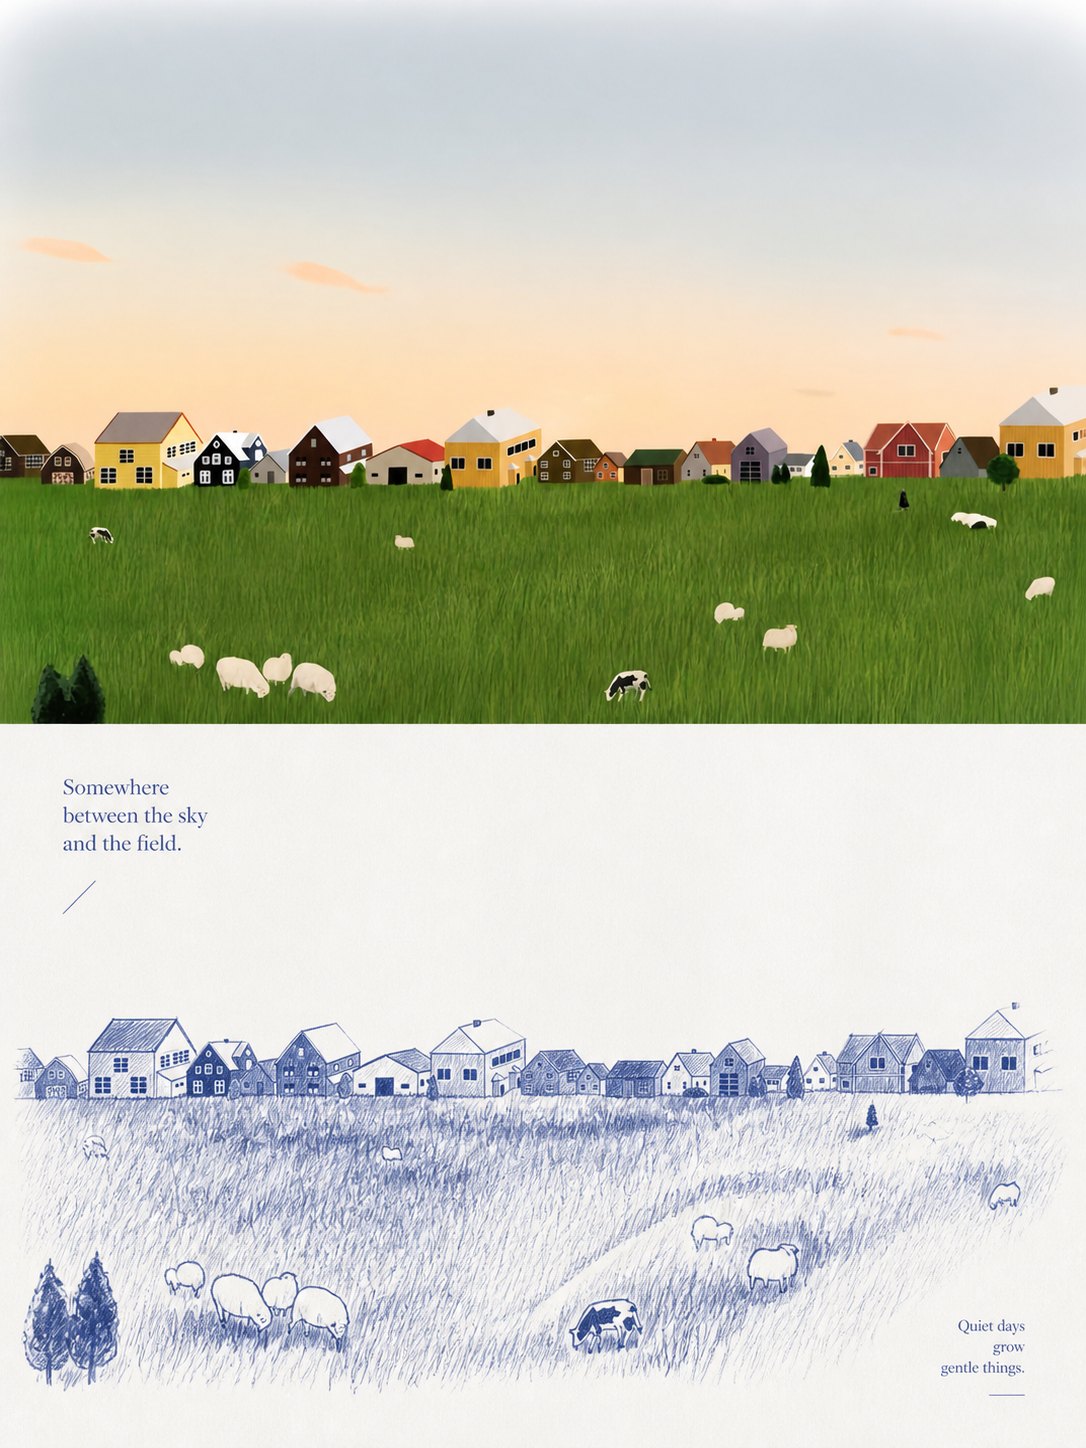
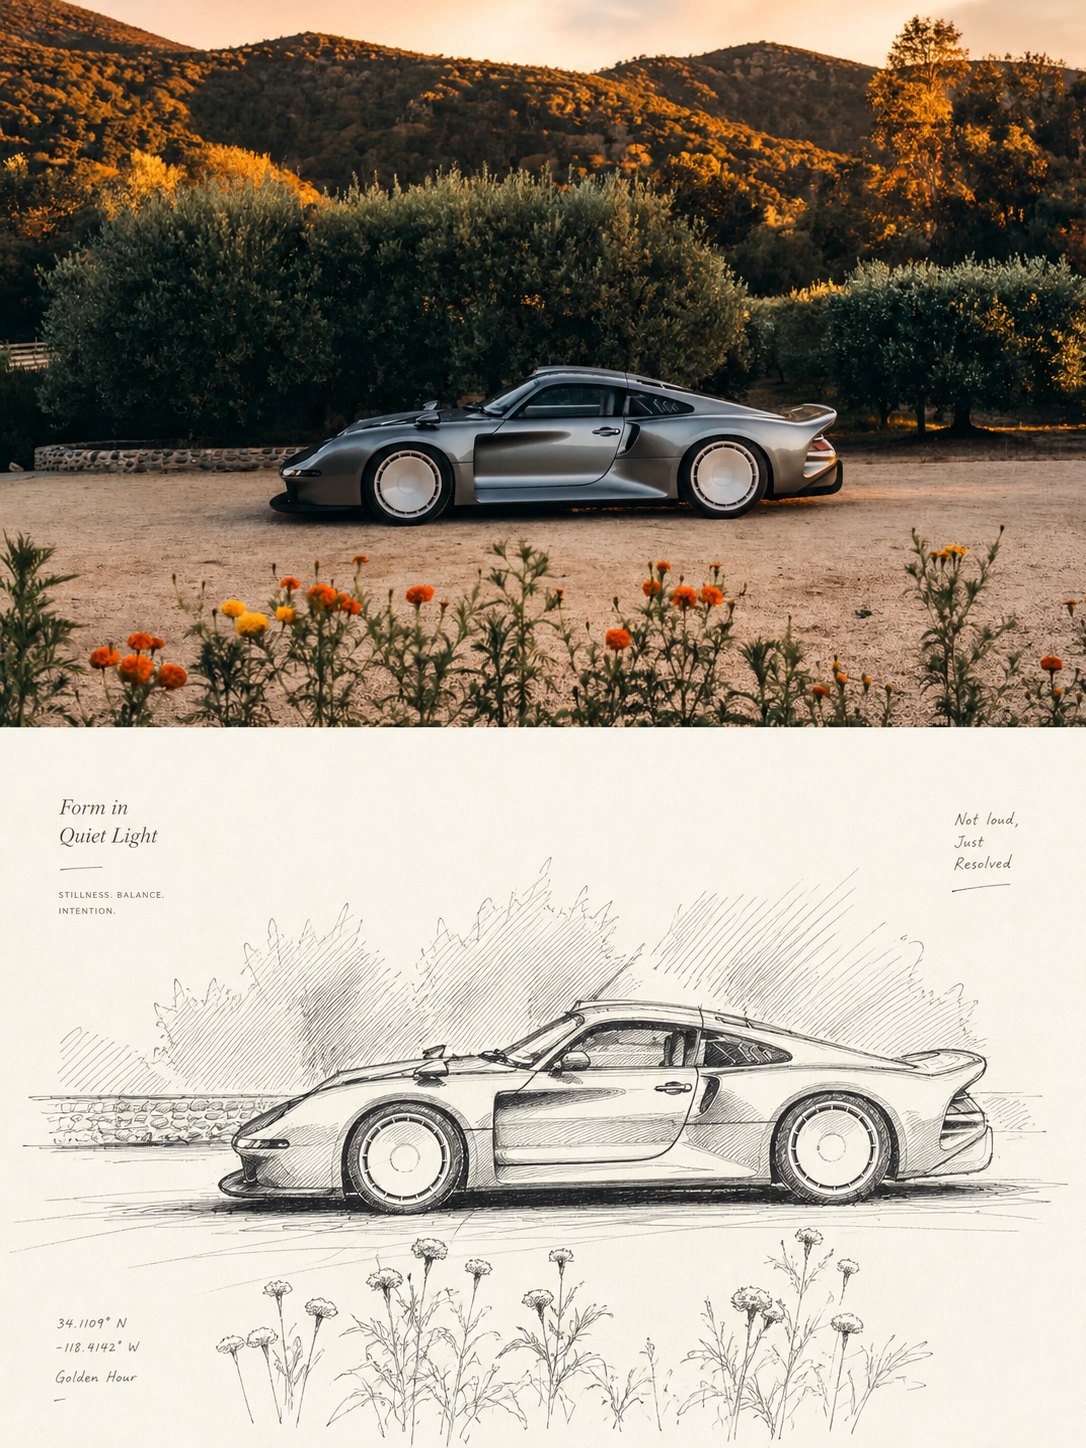
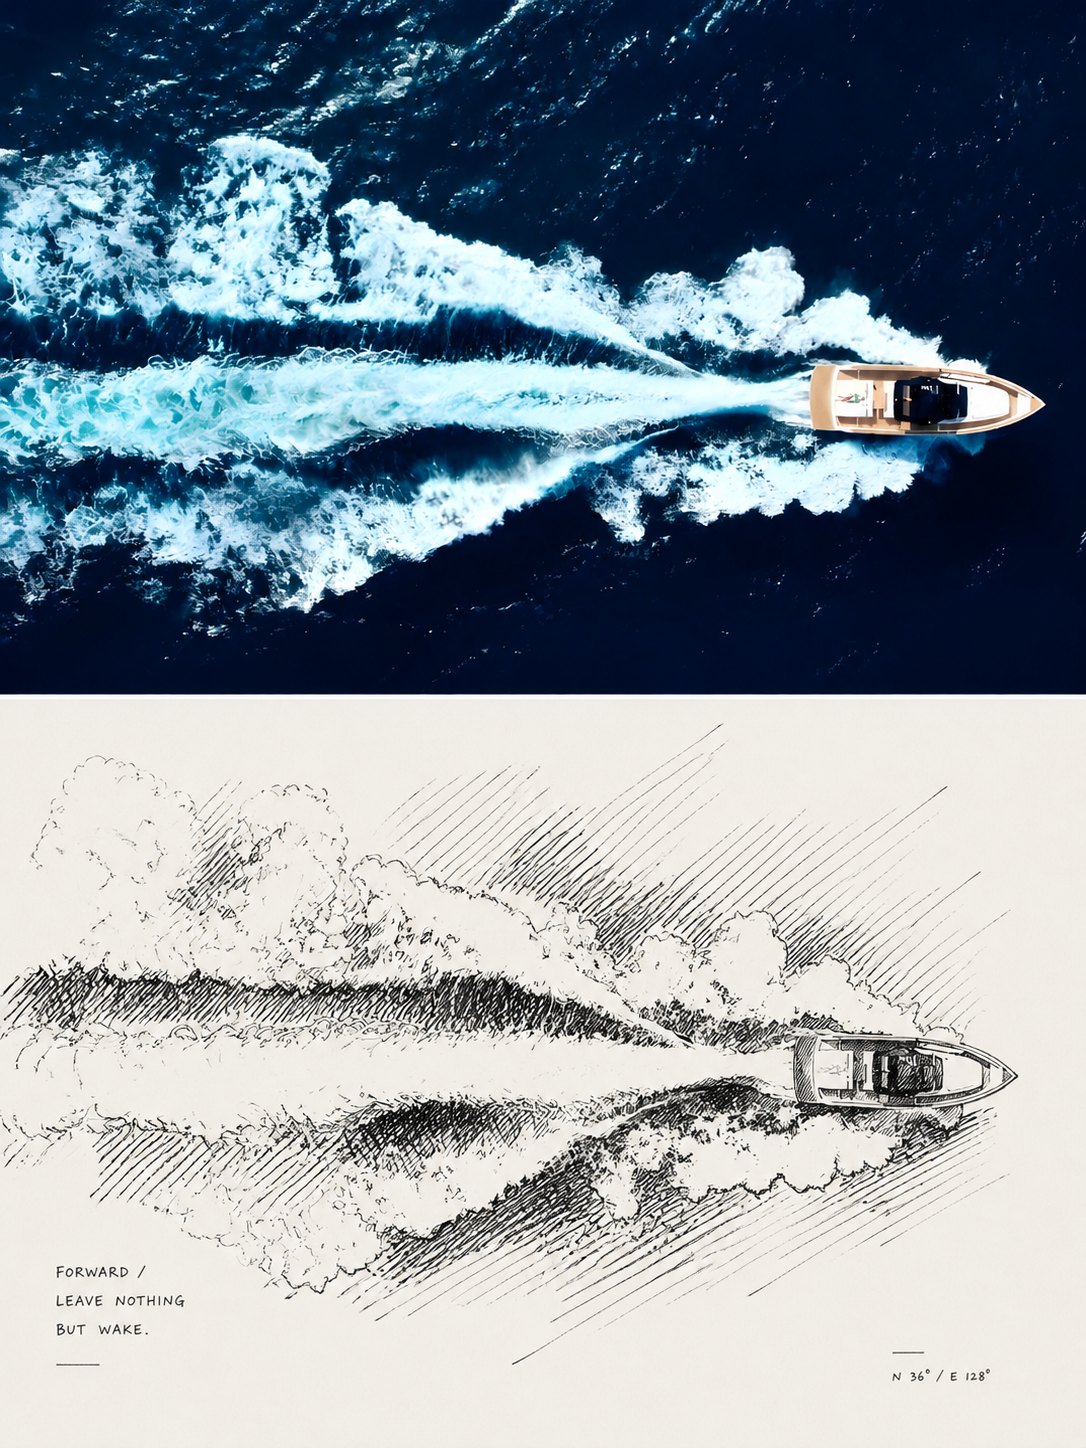
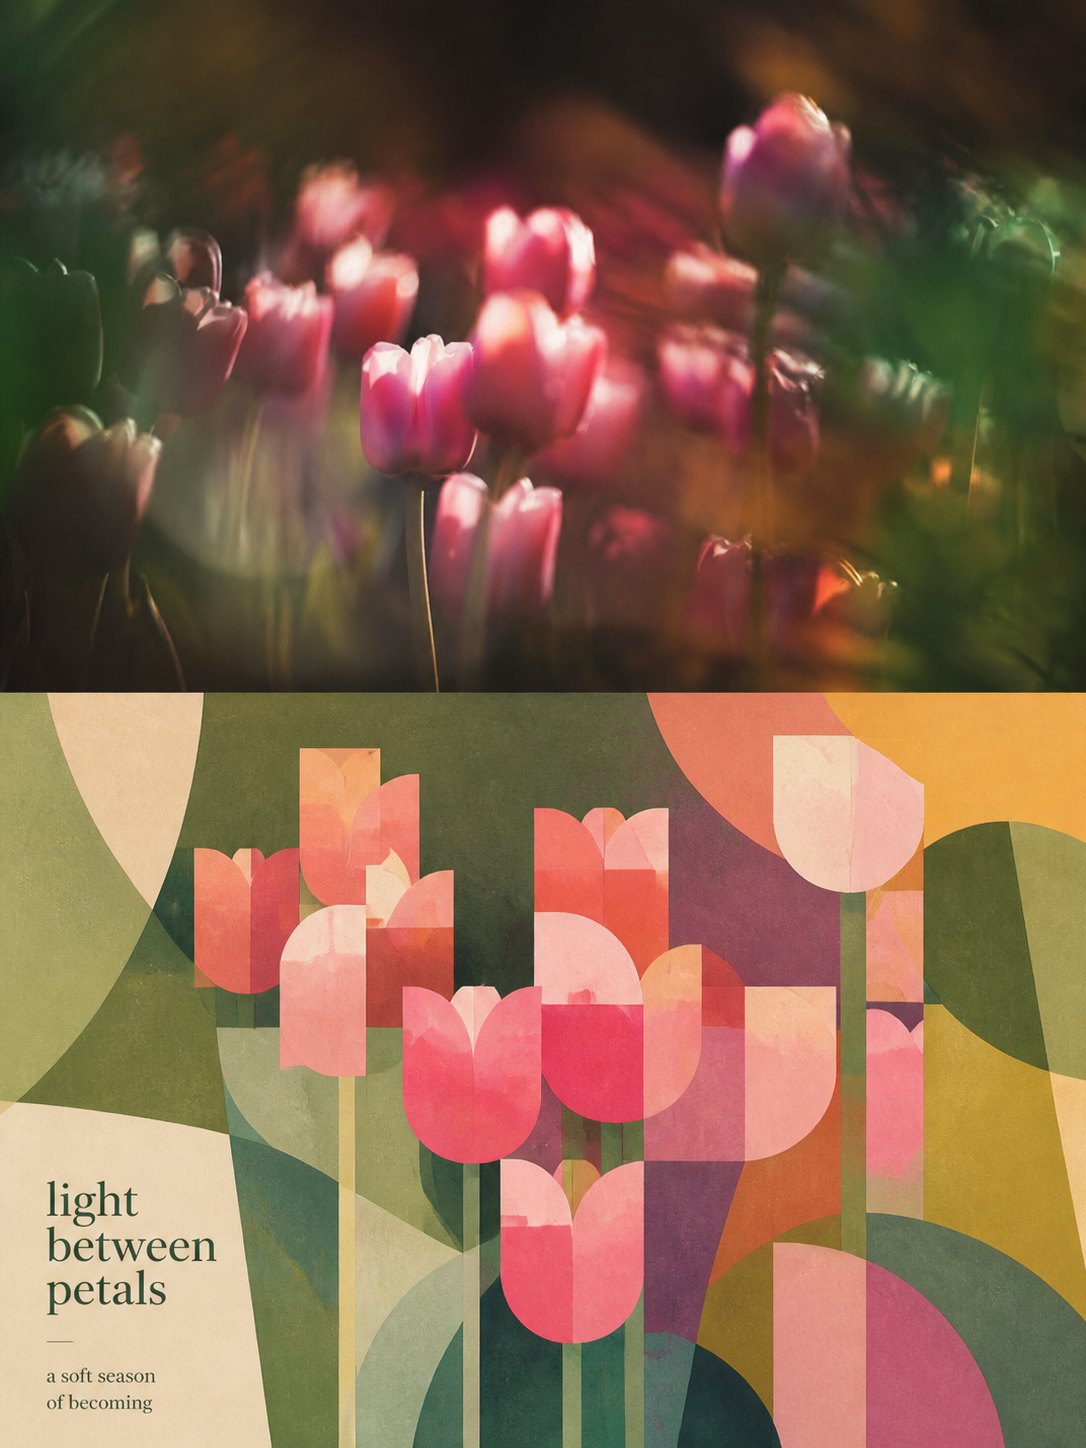
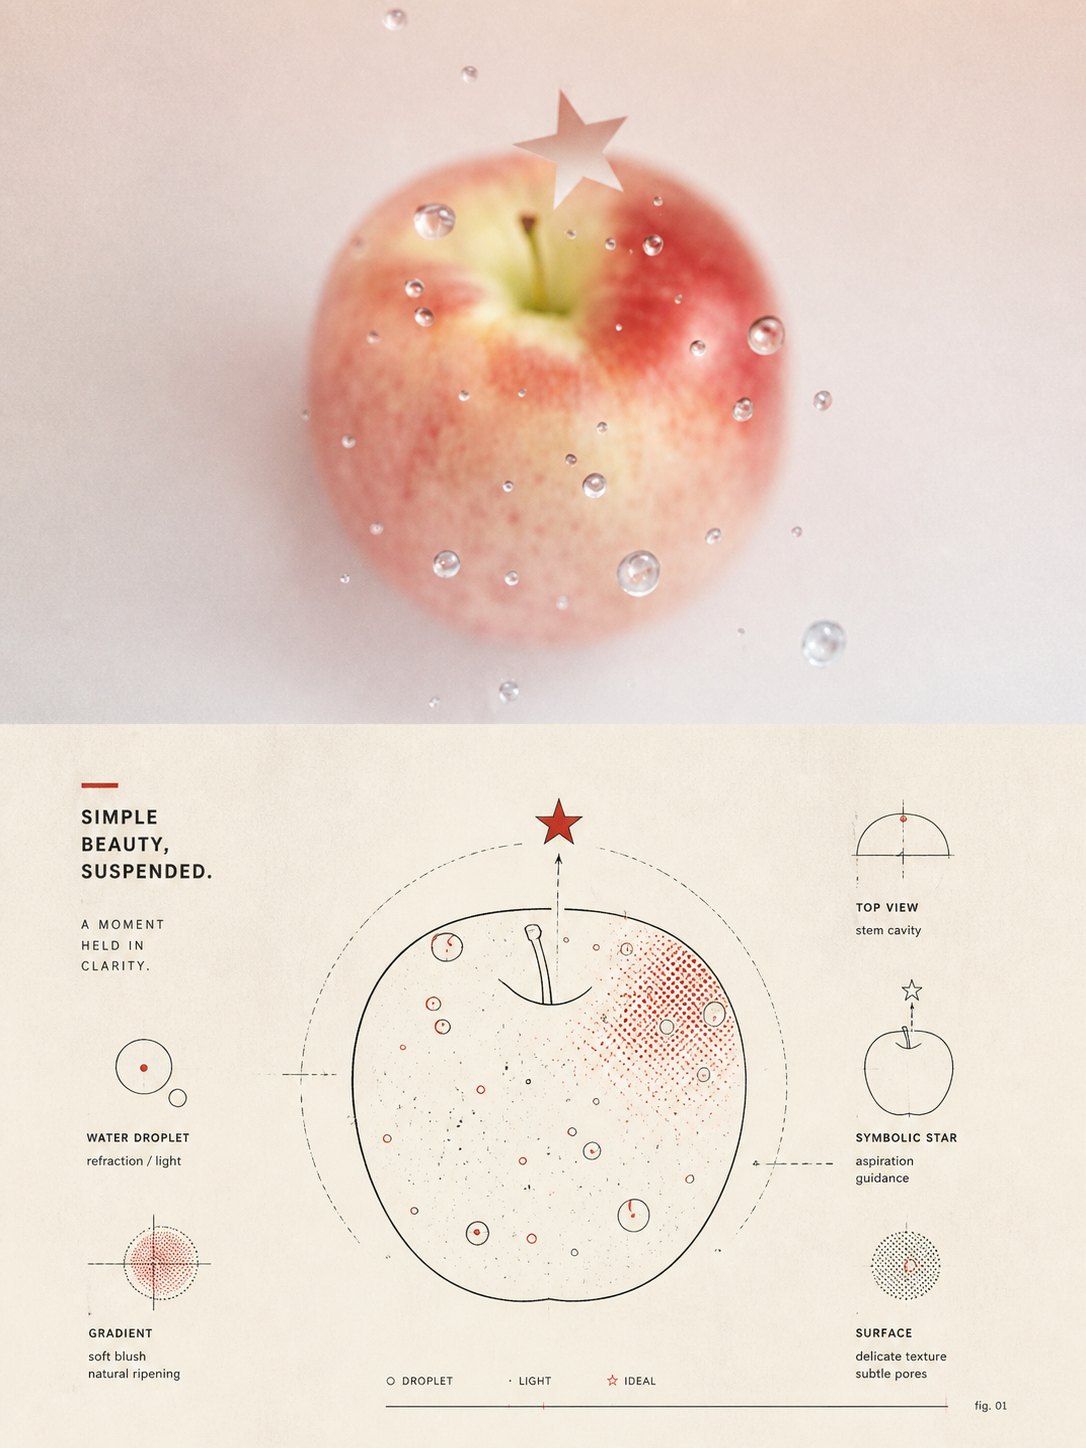
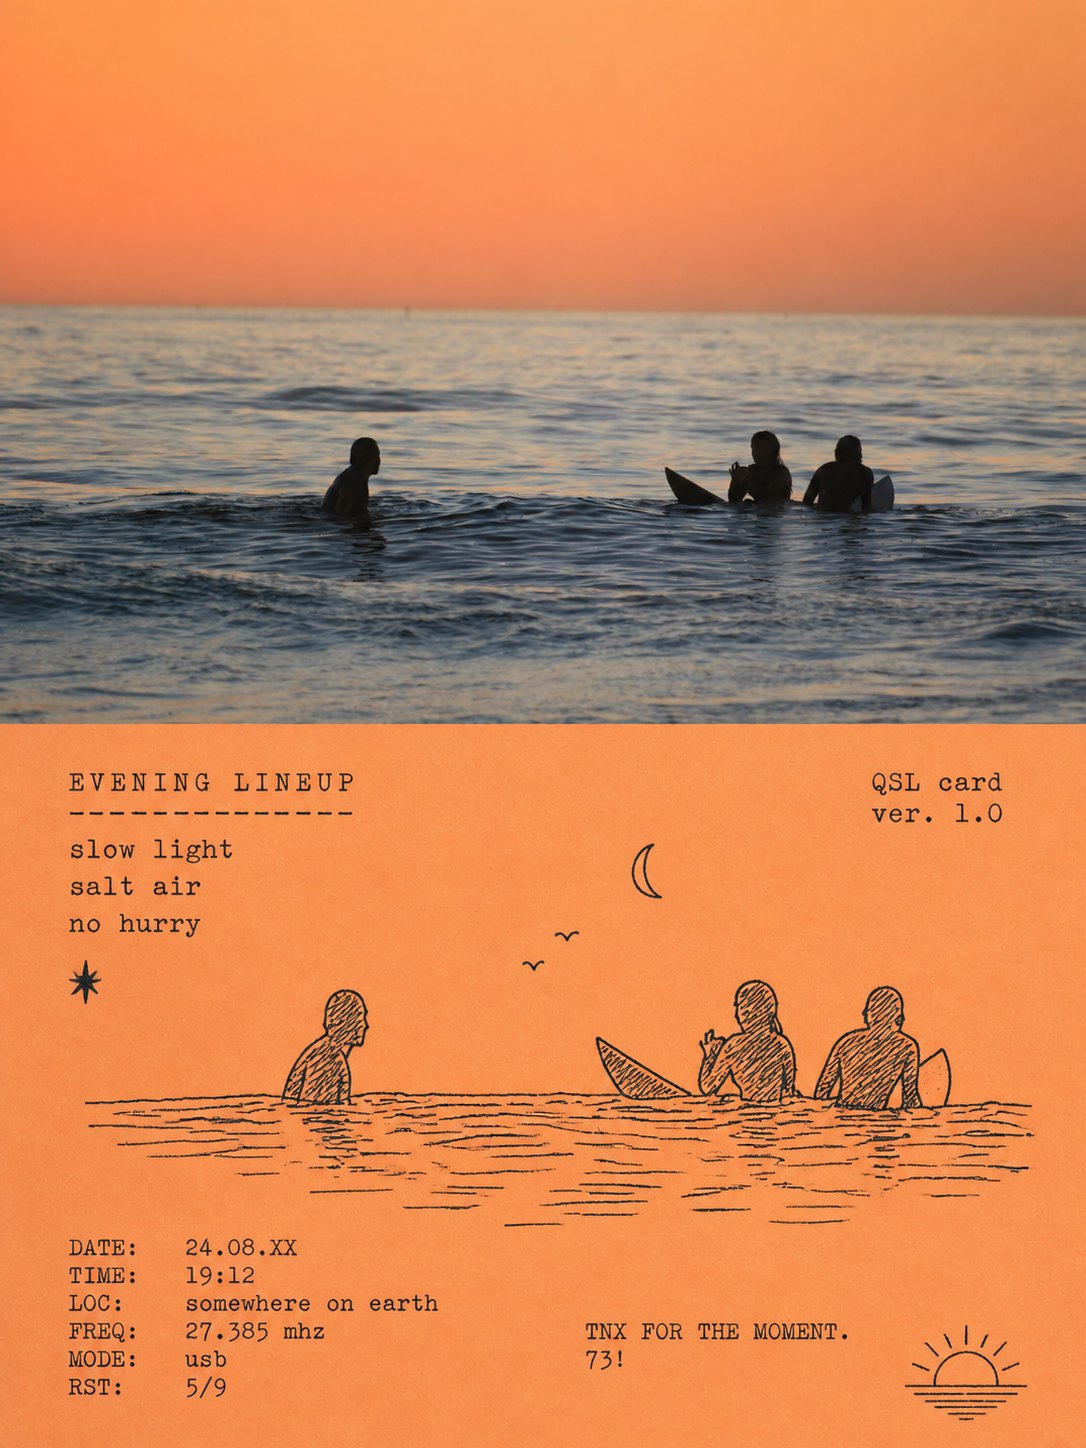
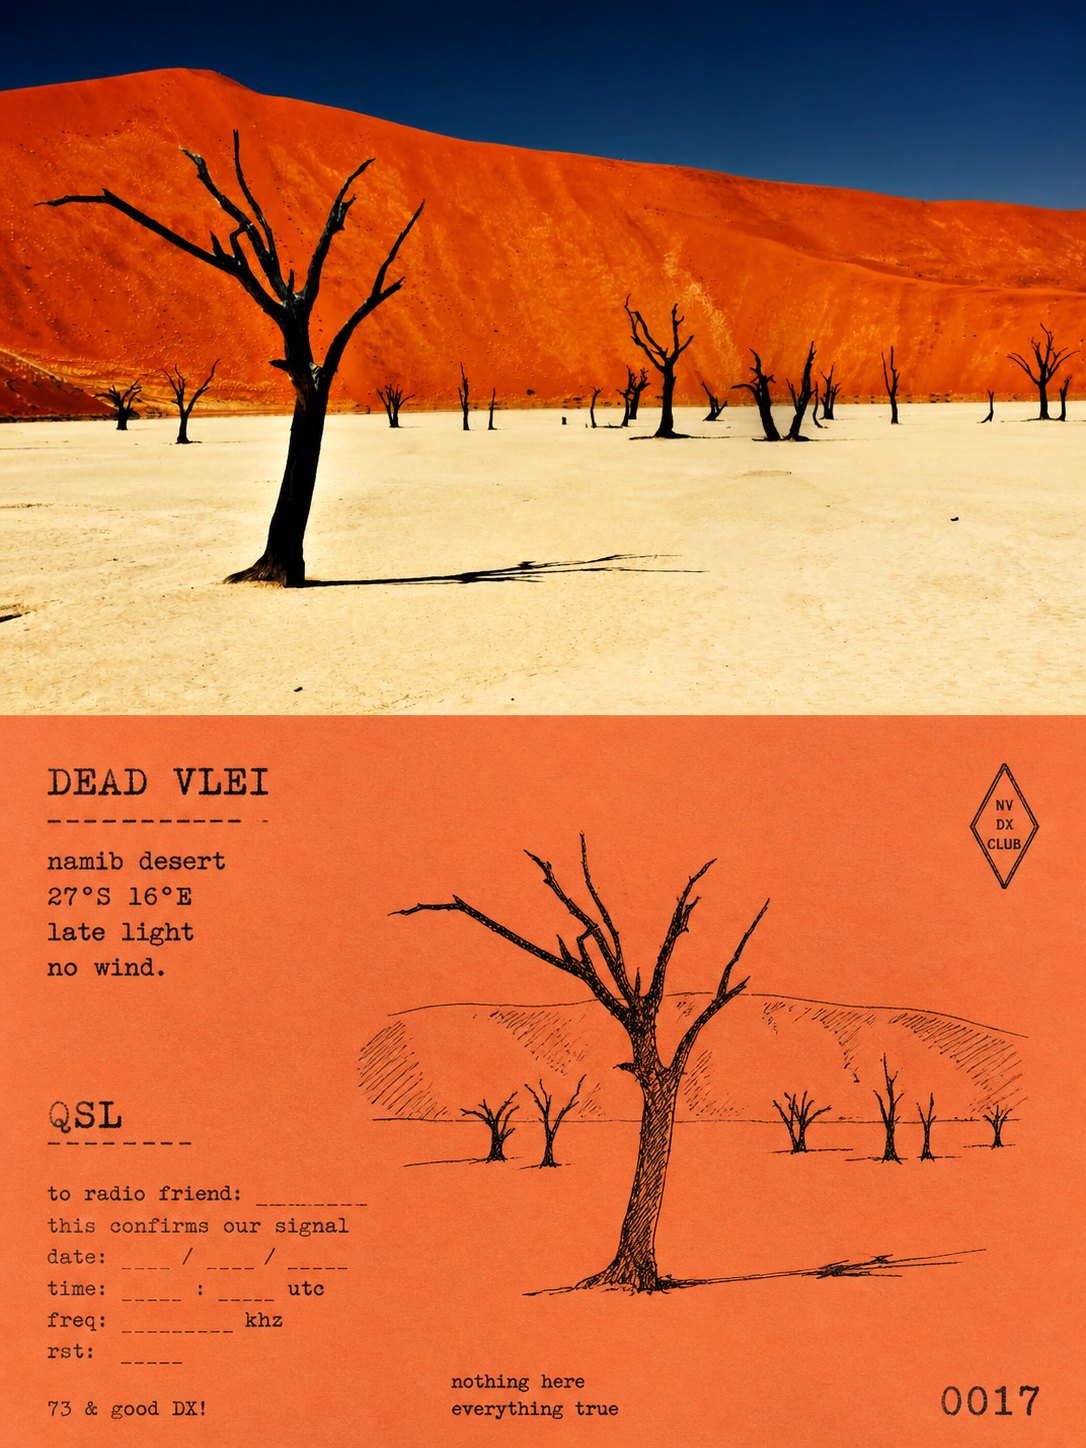
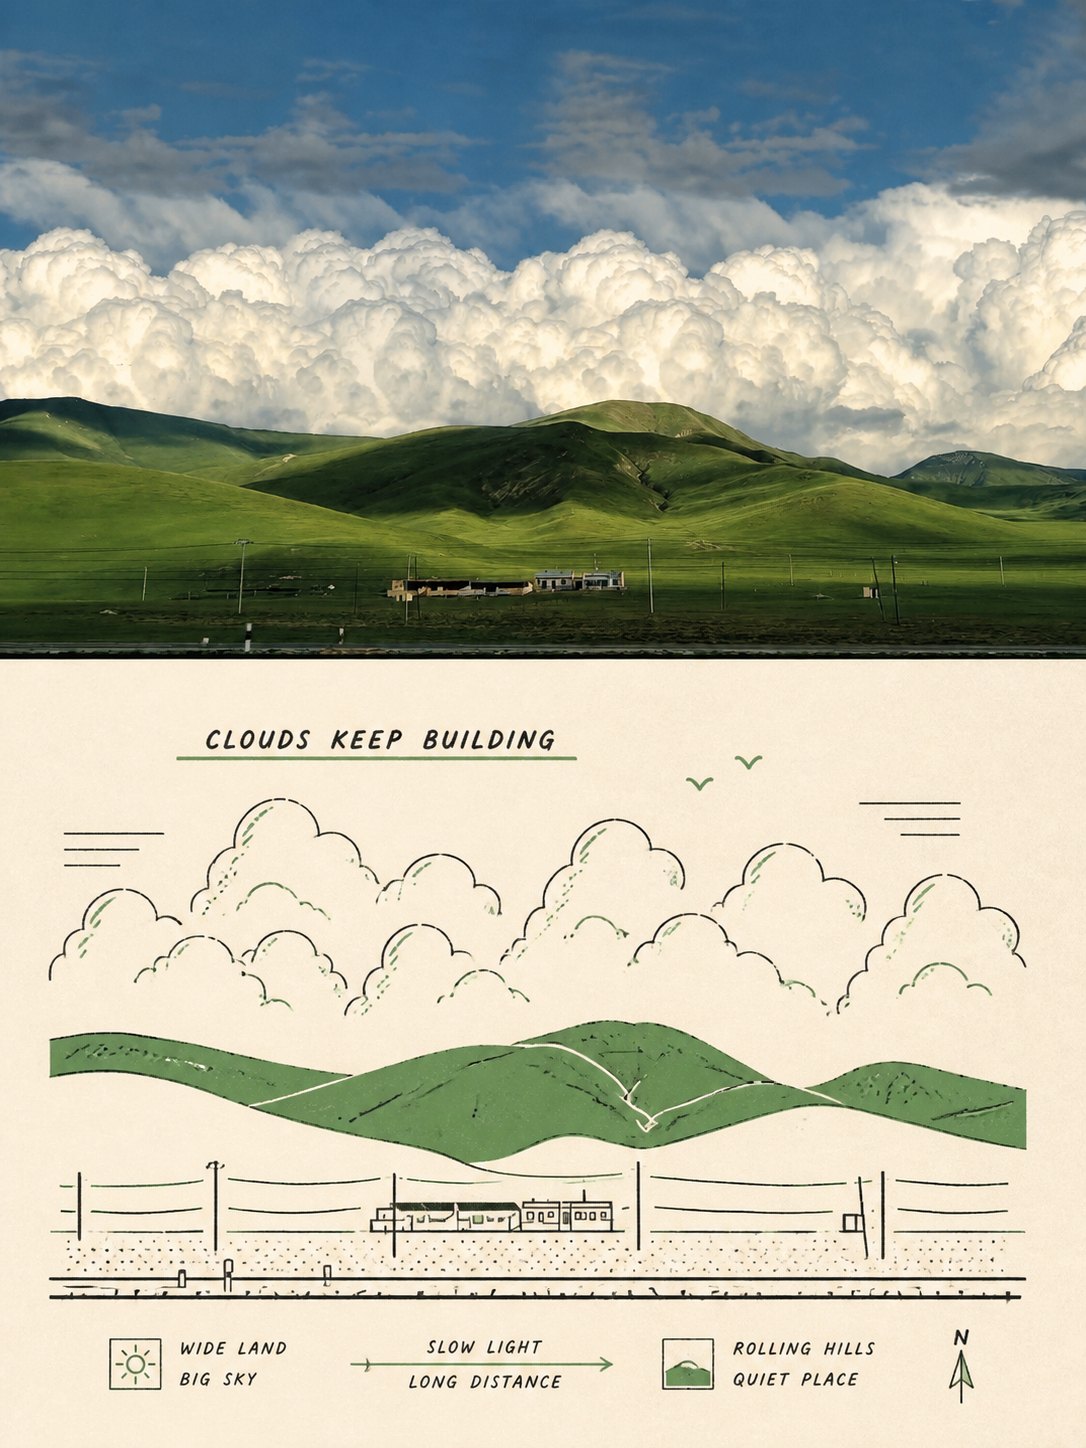
 1 / 4
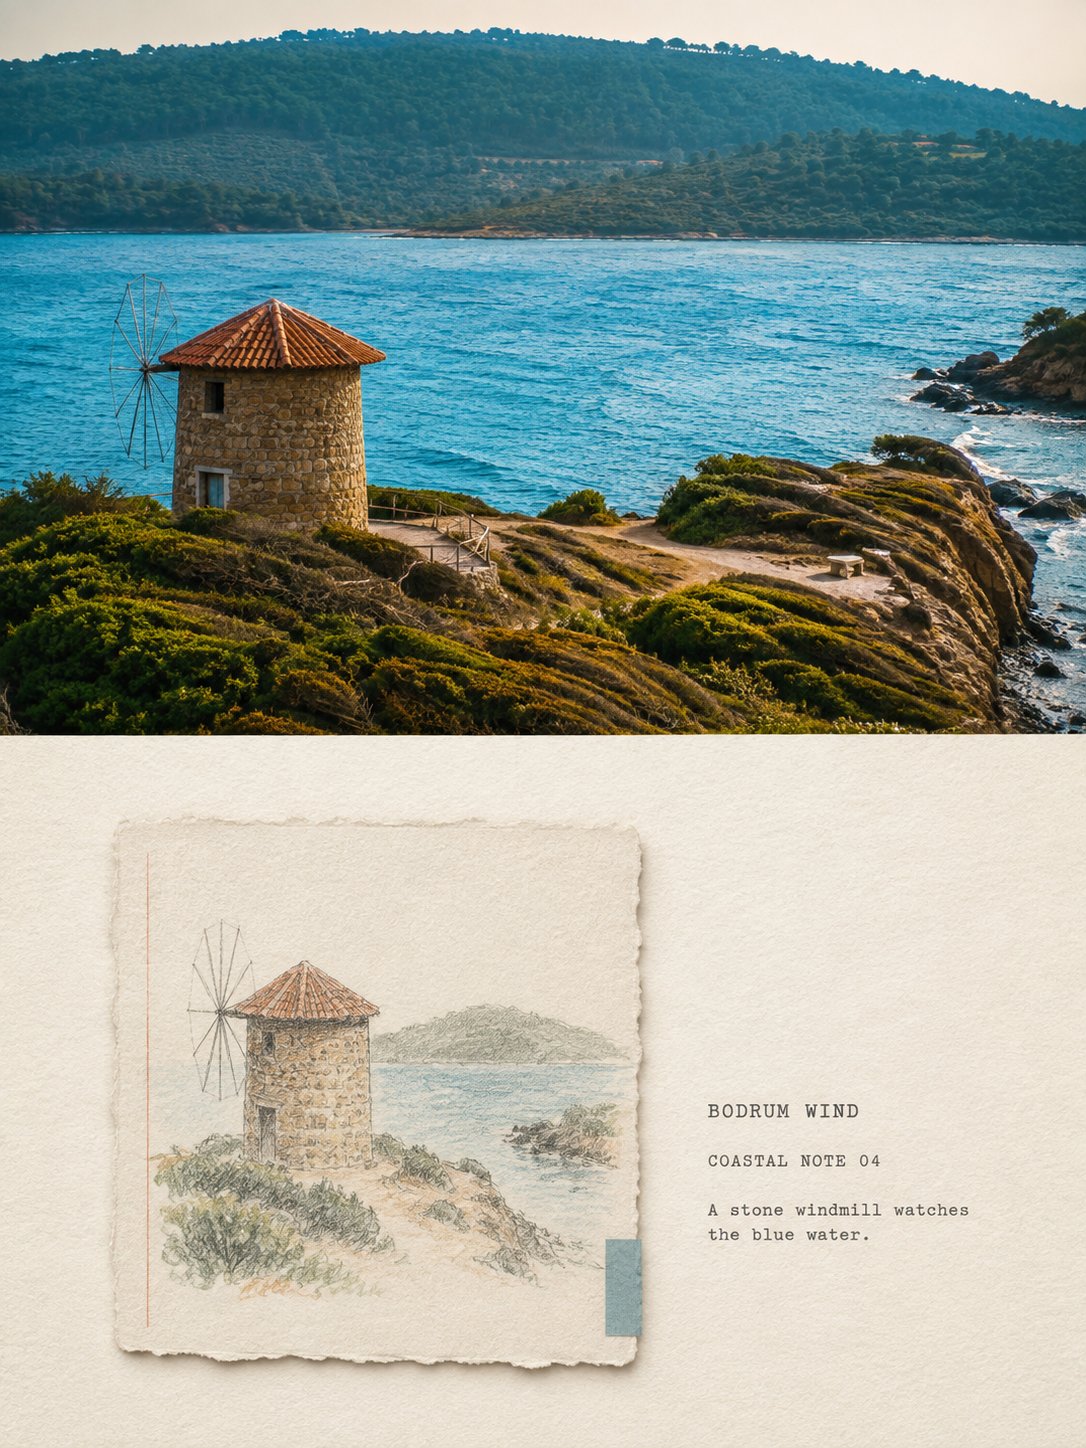
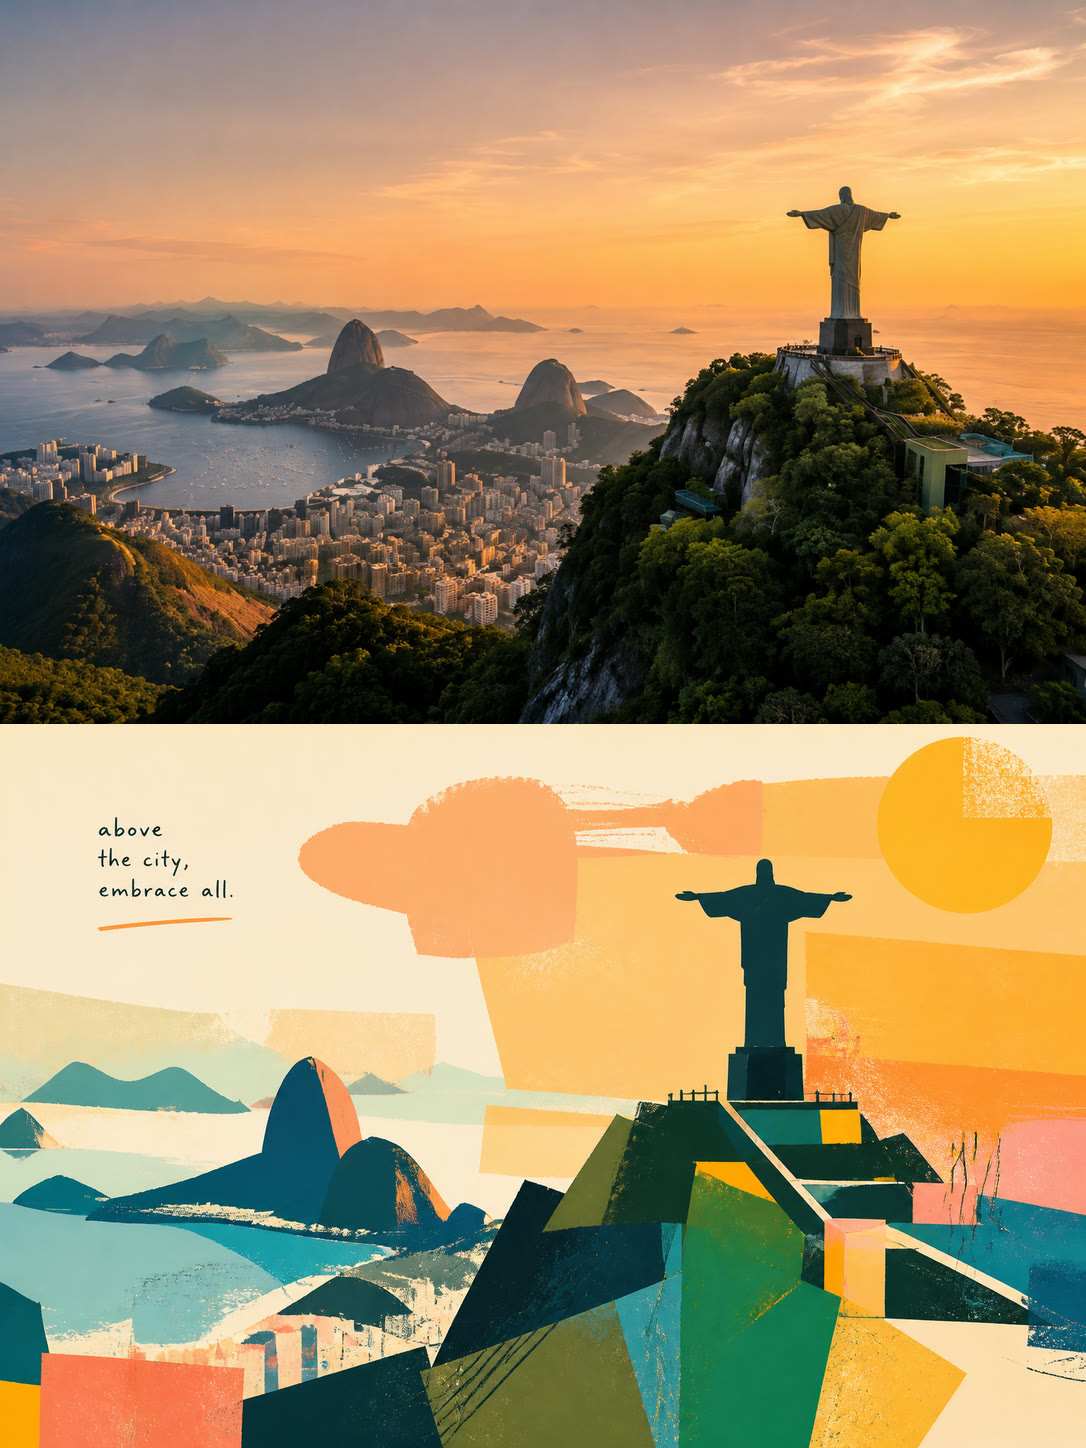
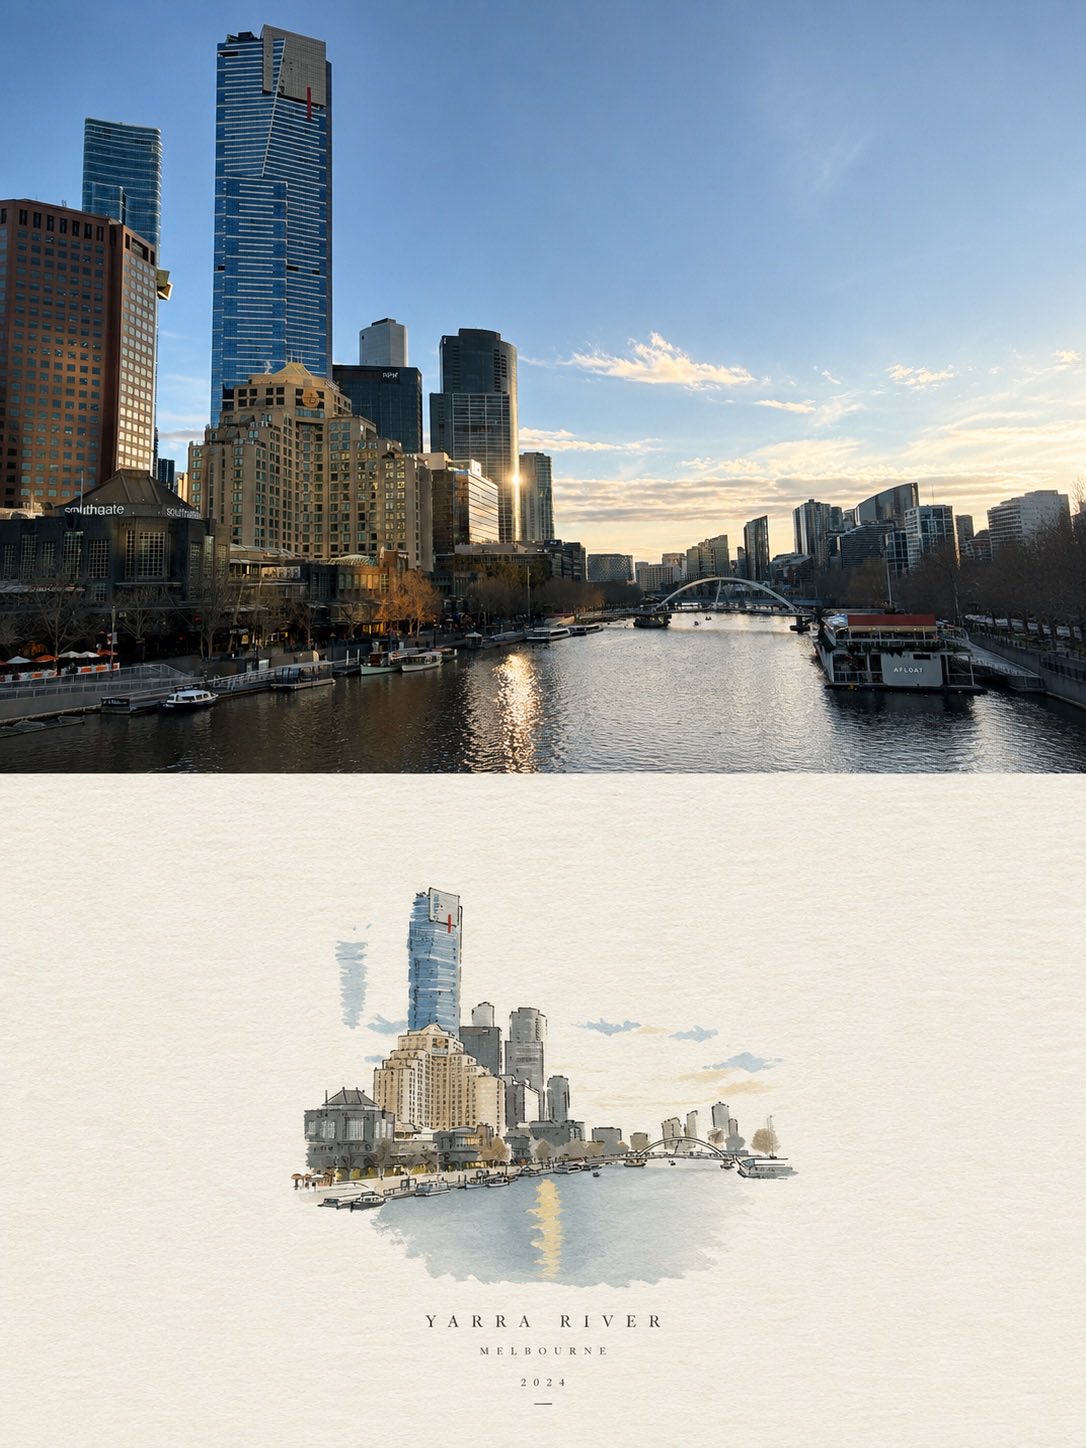
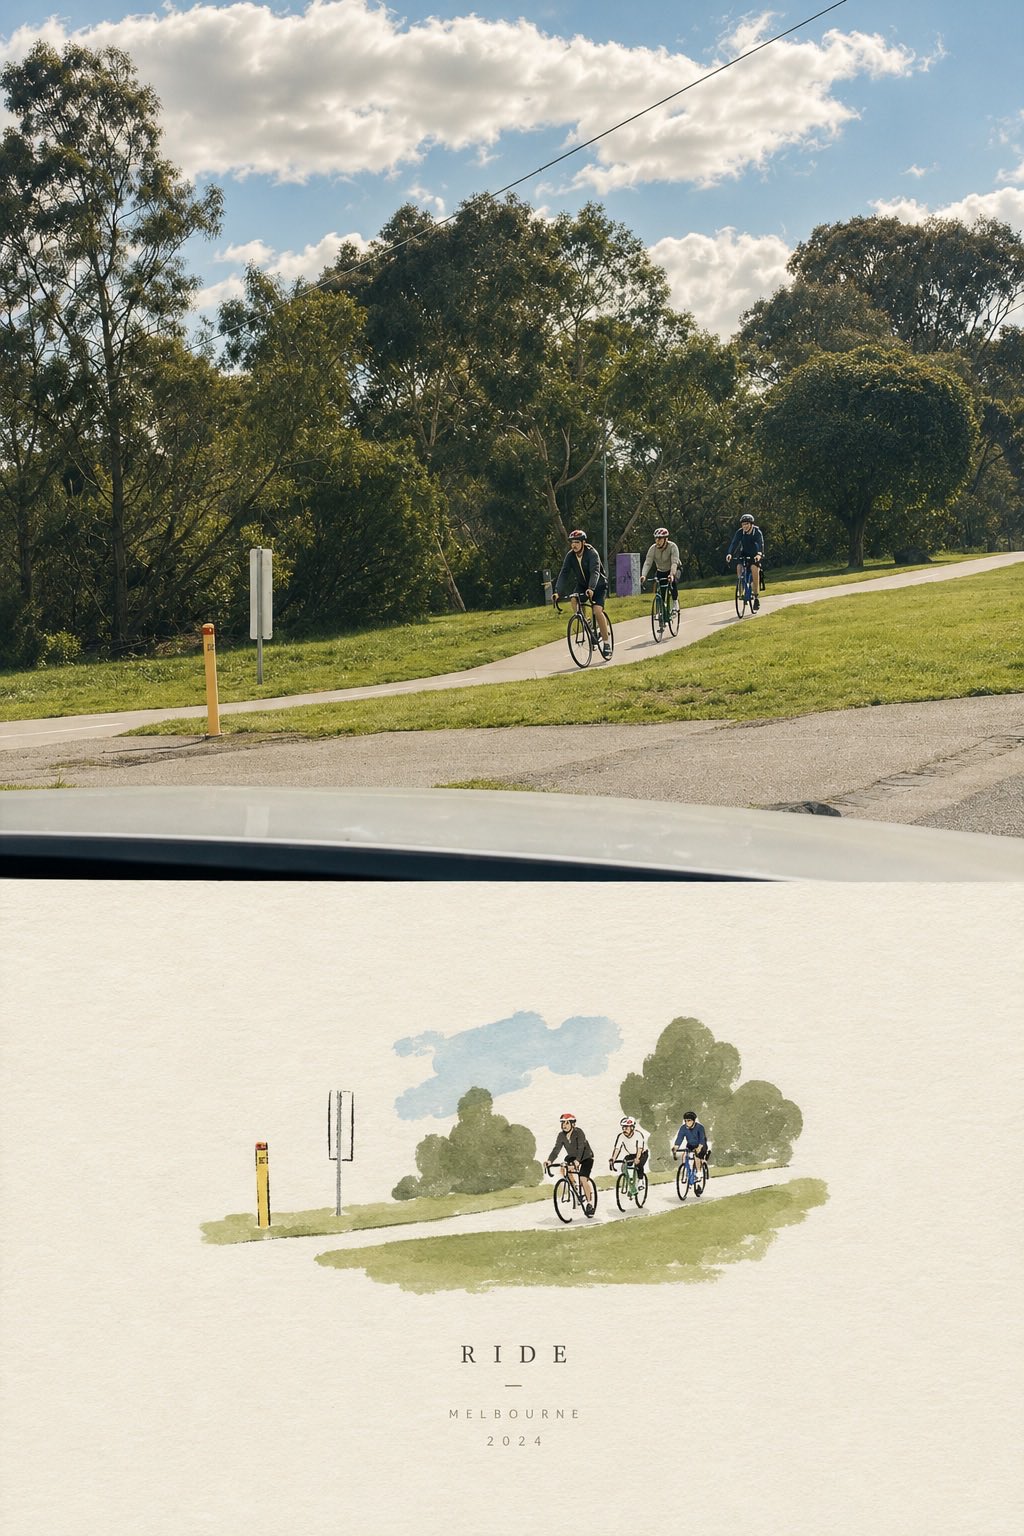
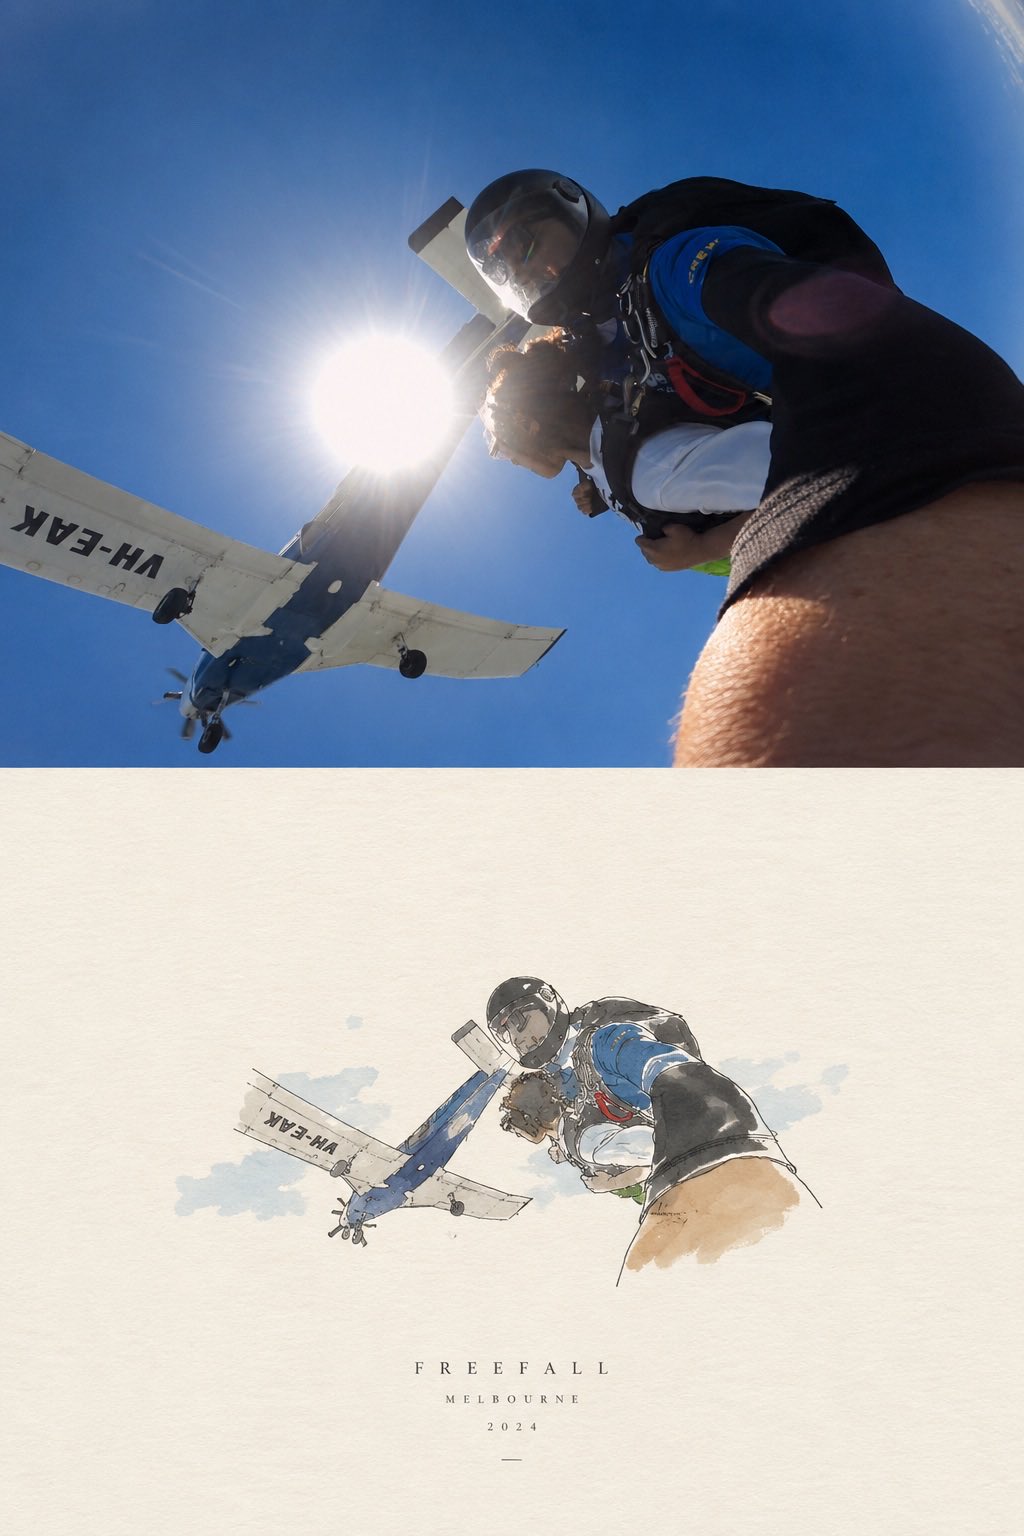
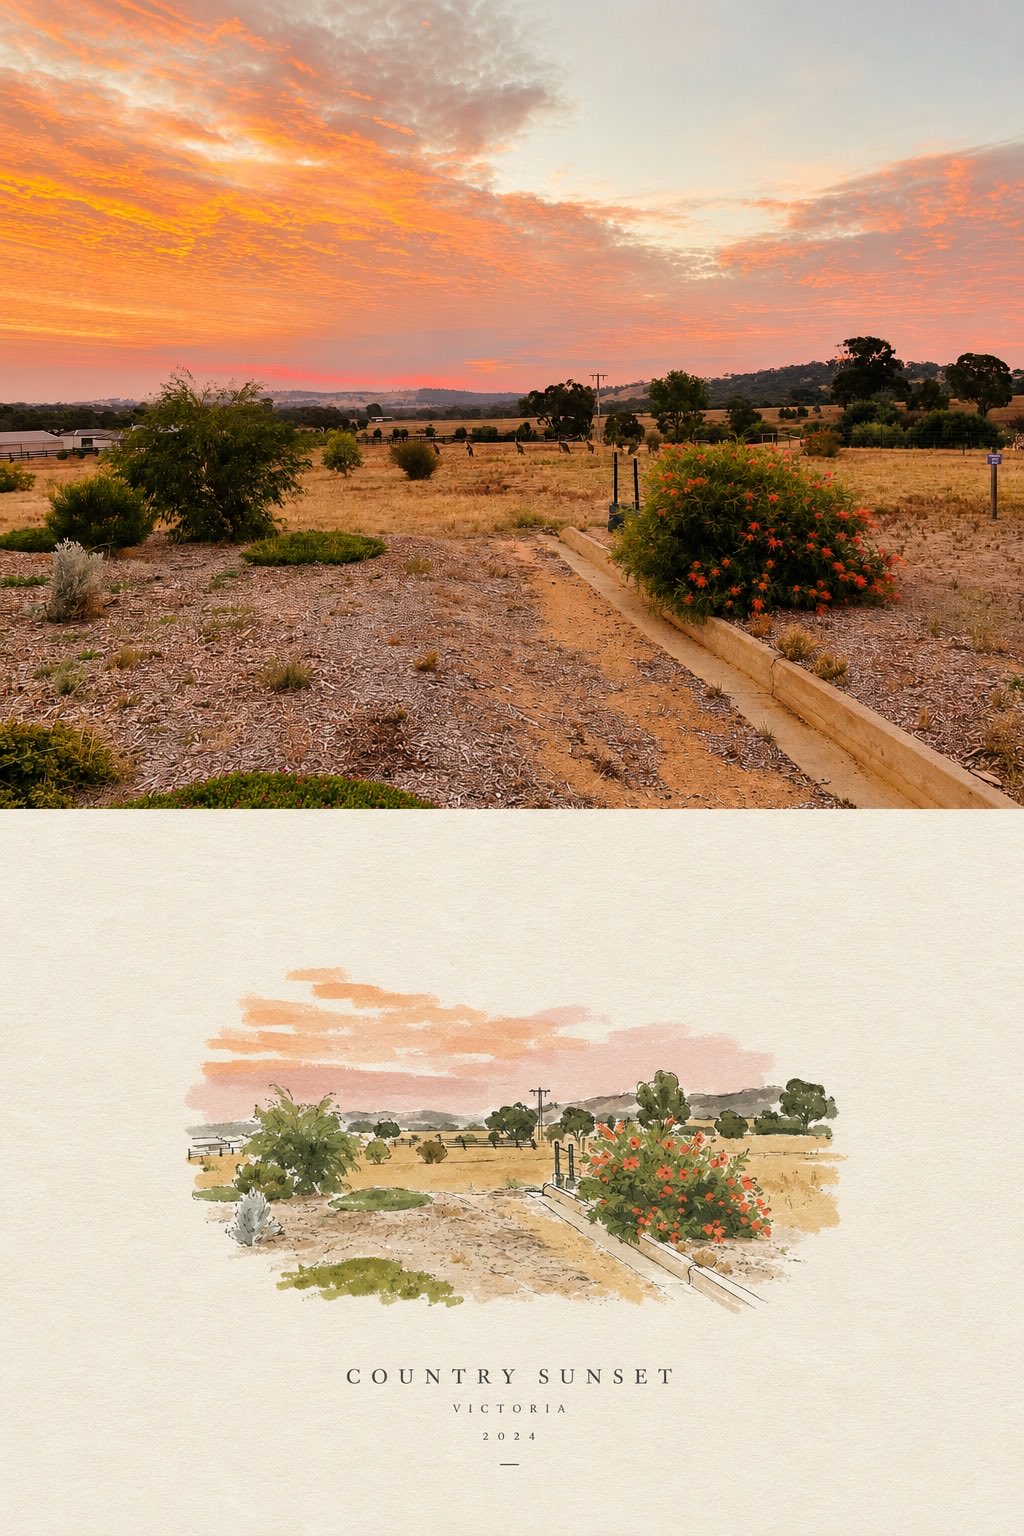
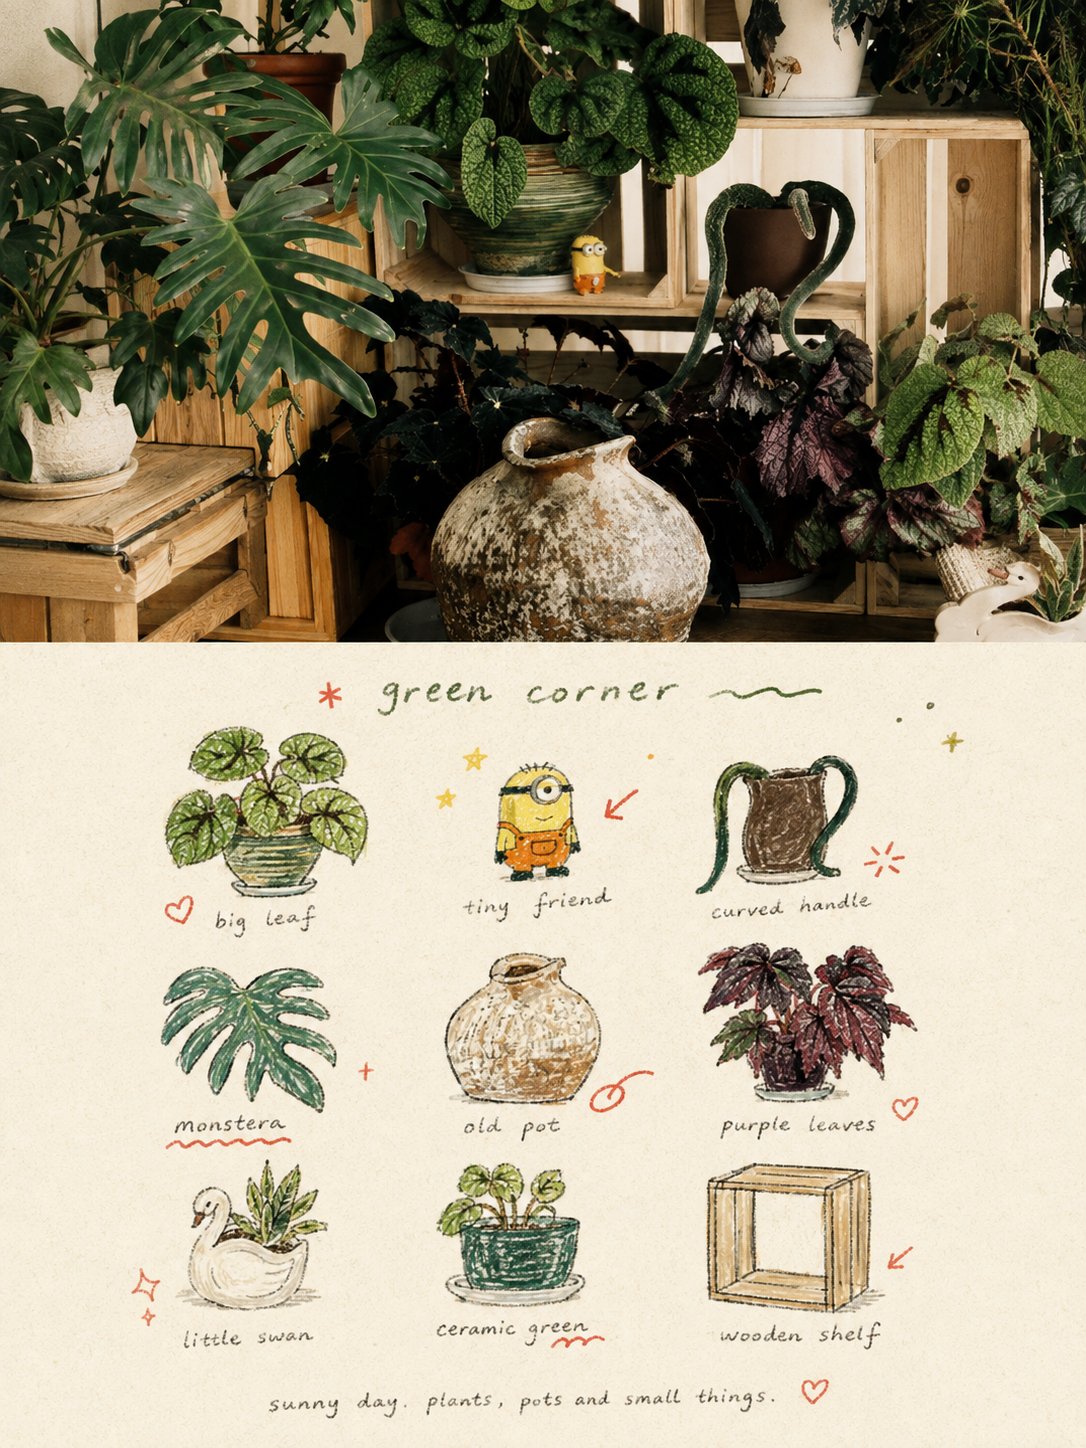
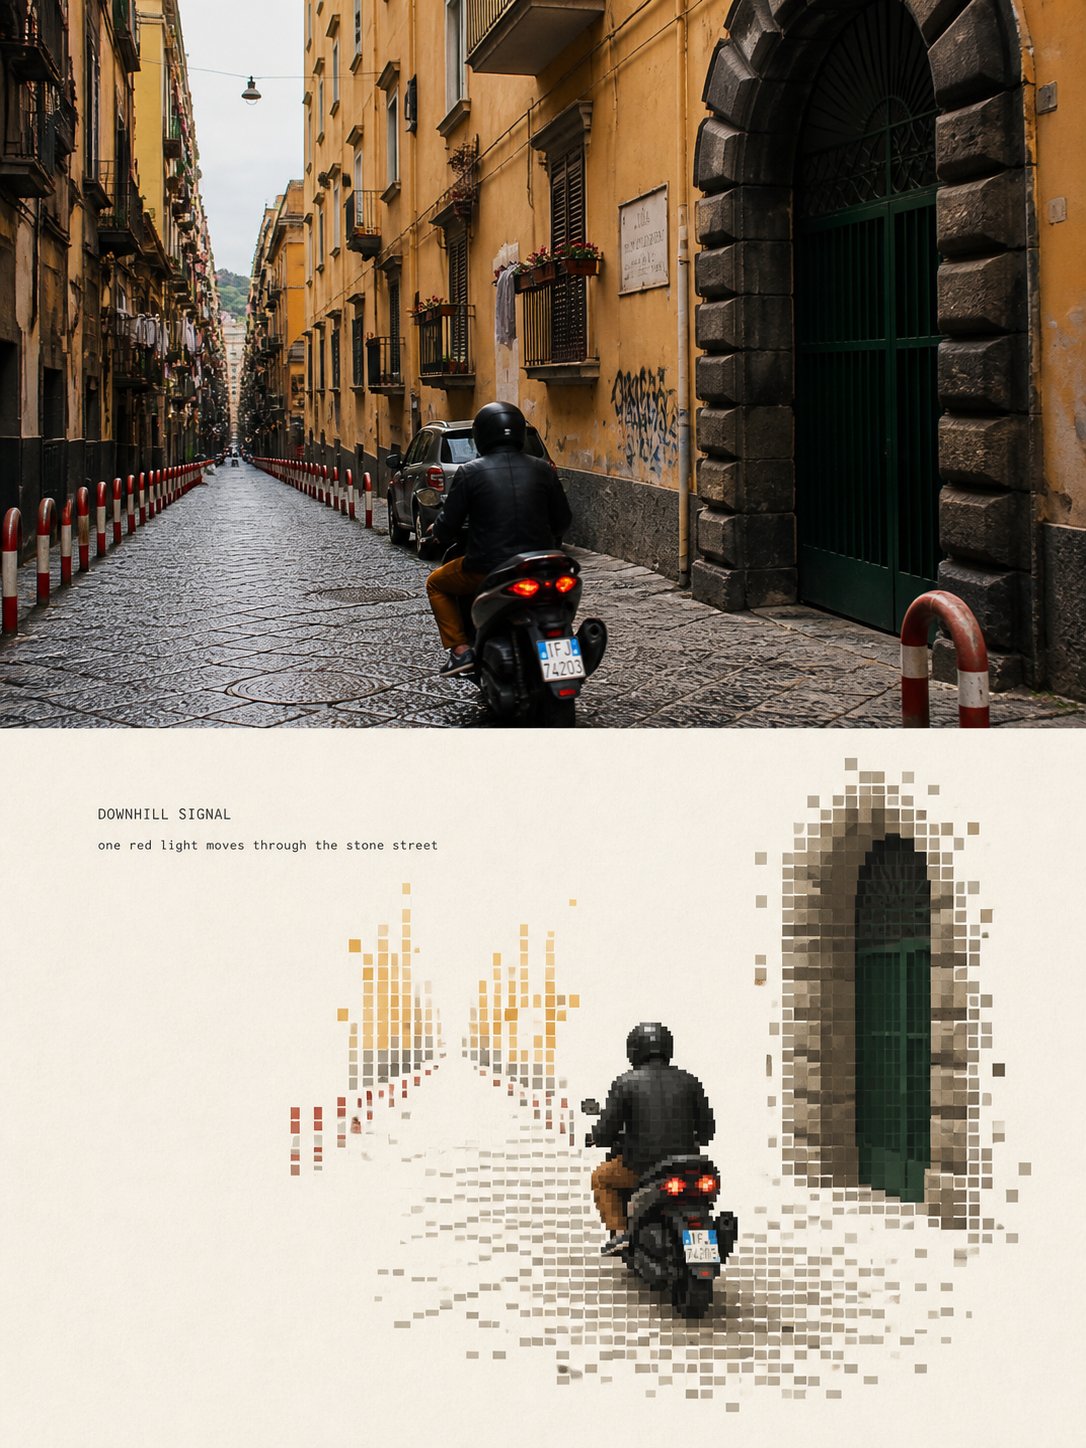
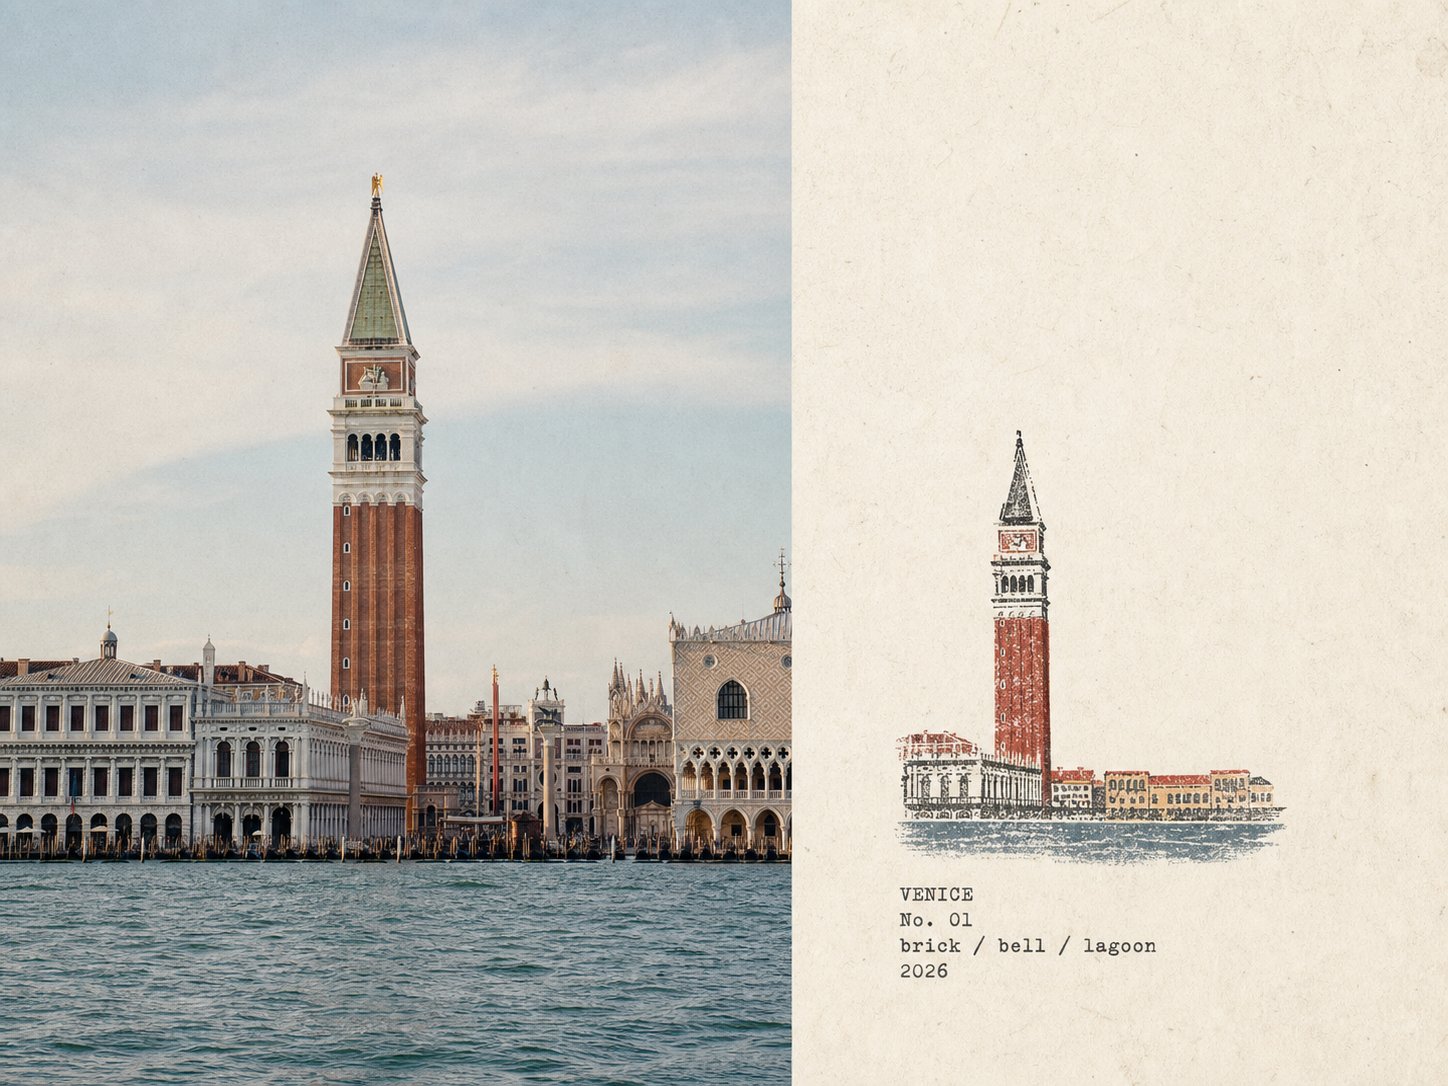
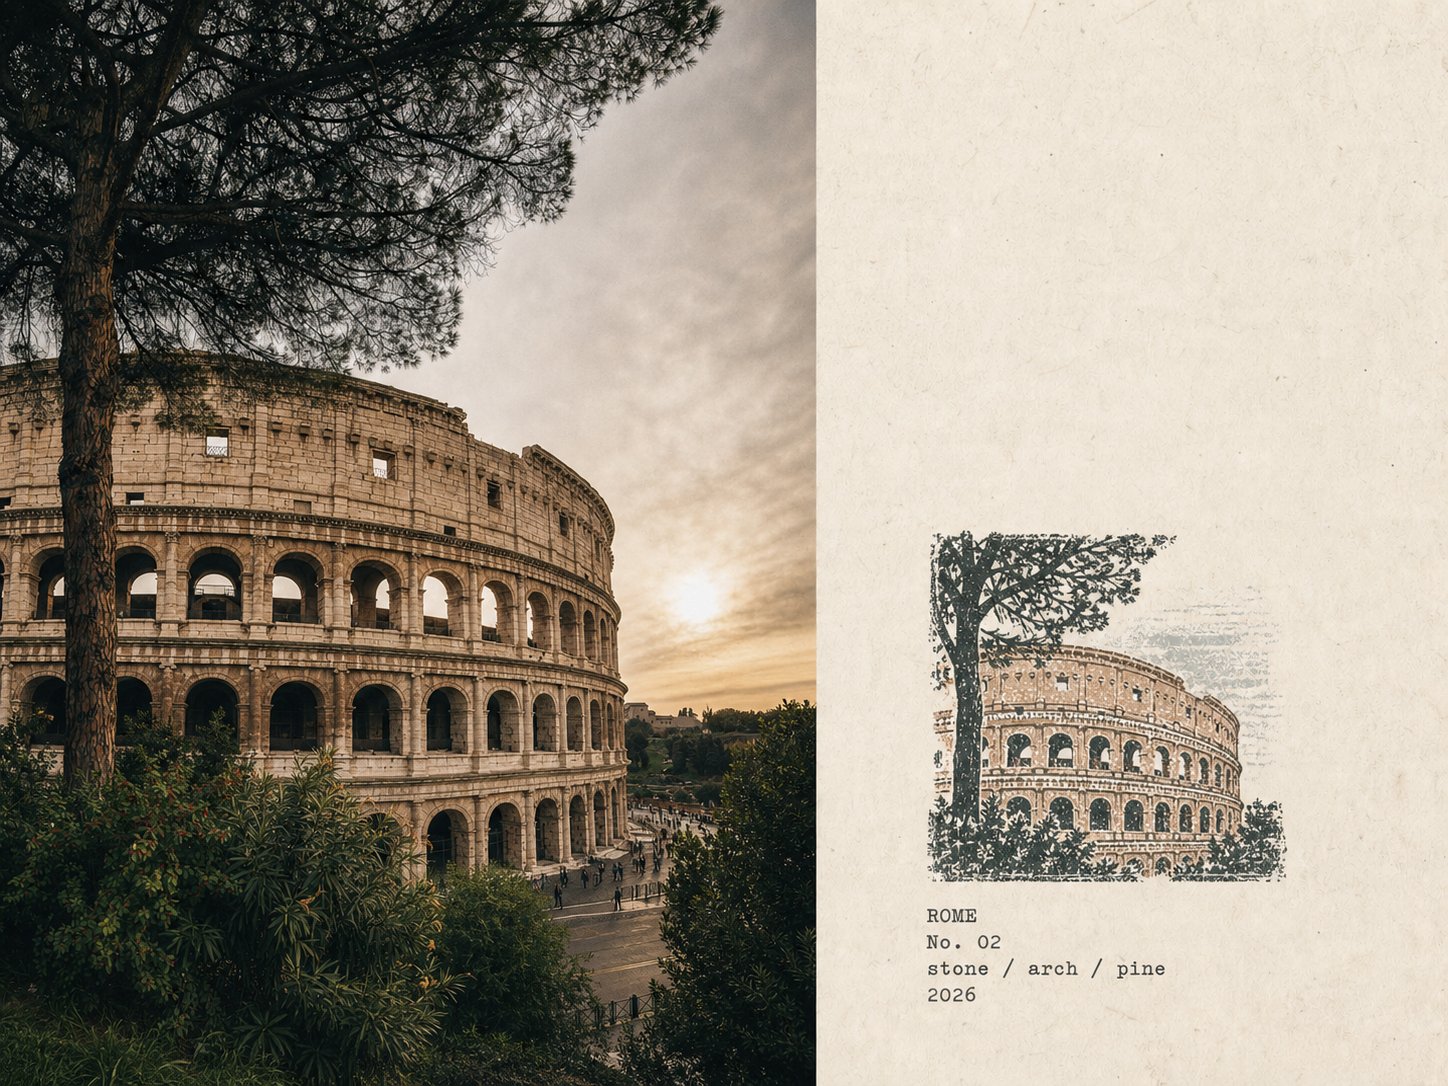
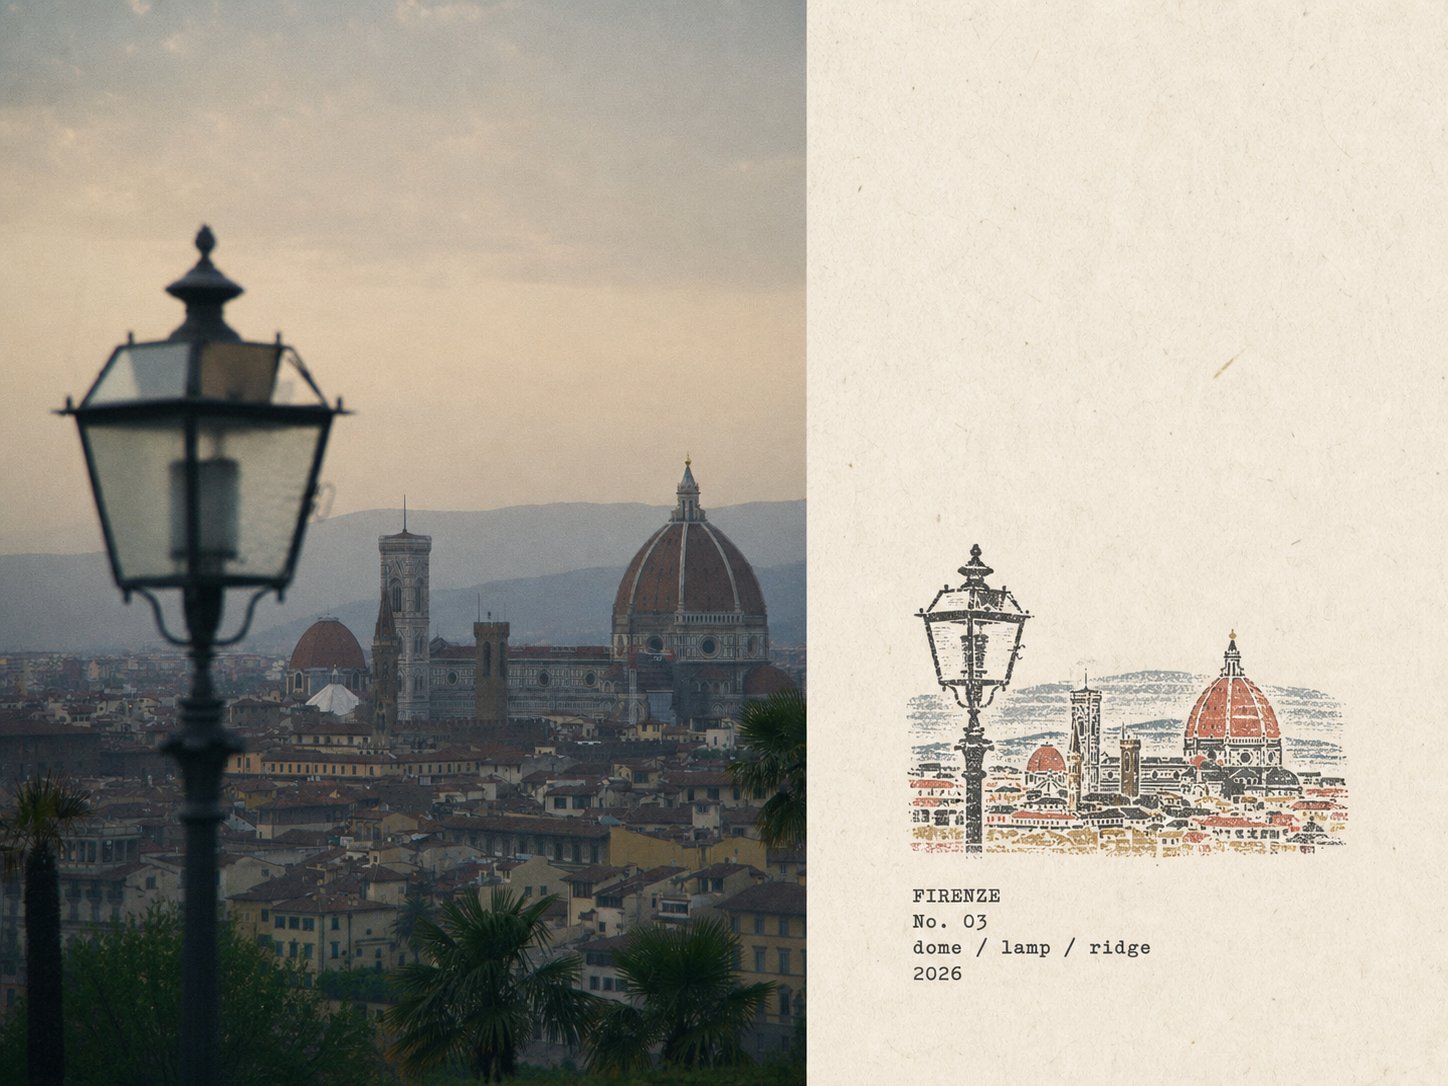
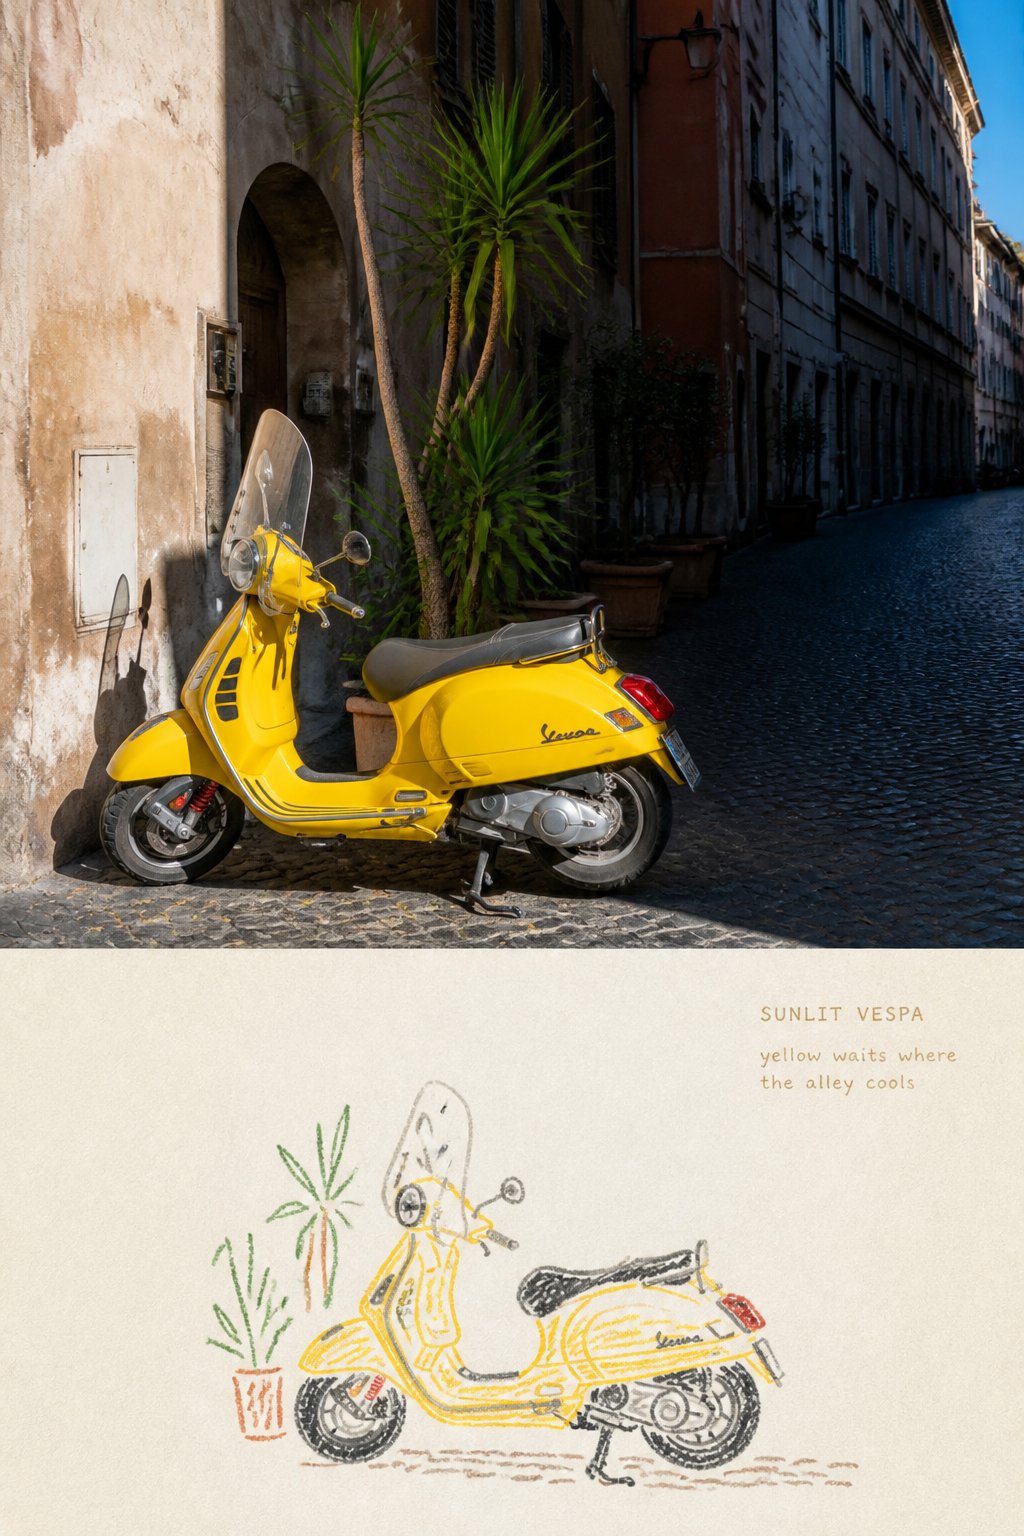
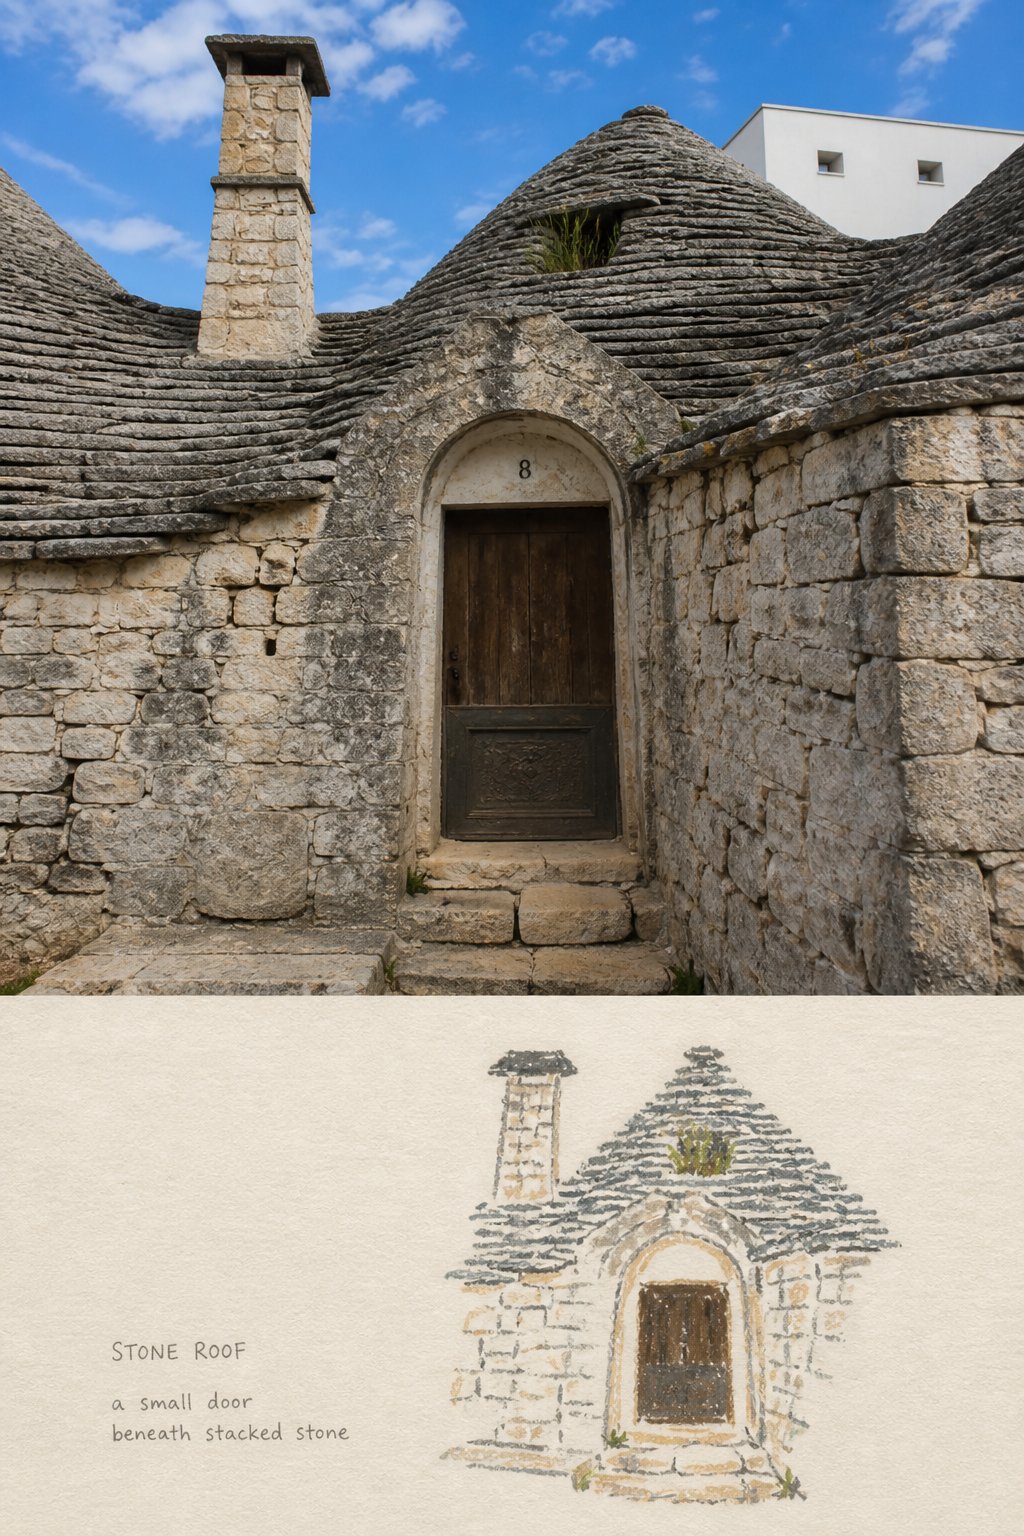
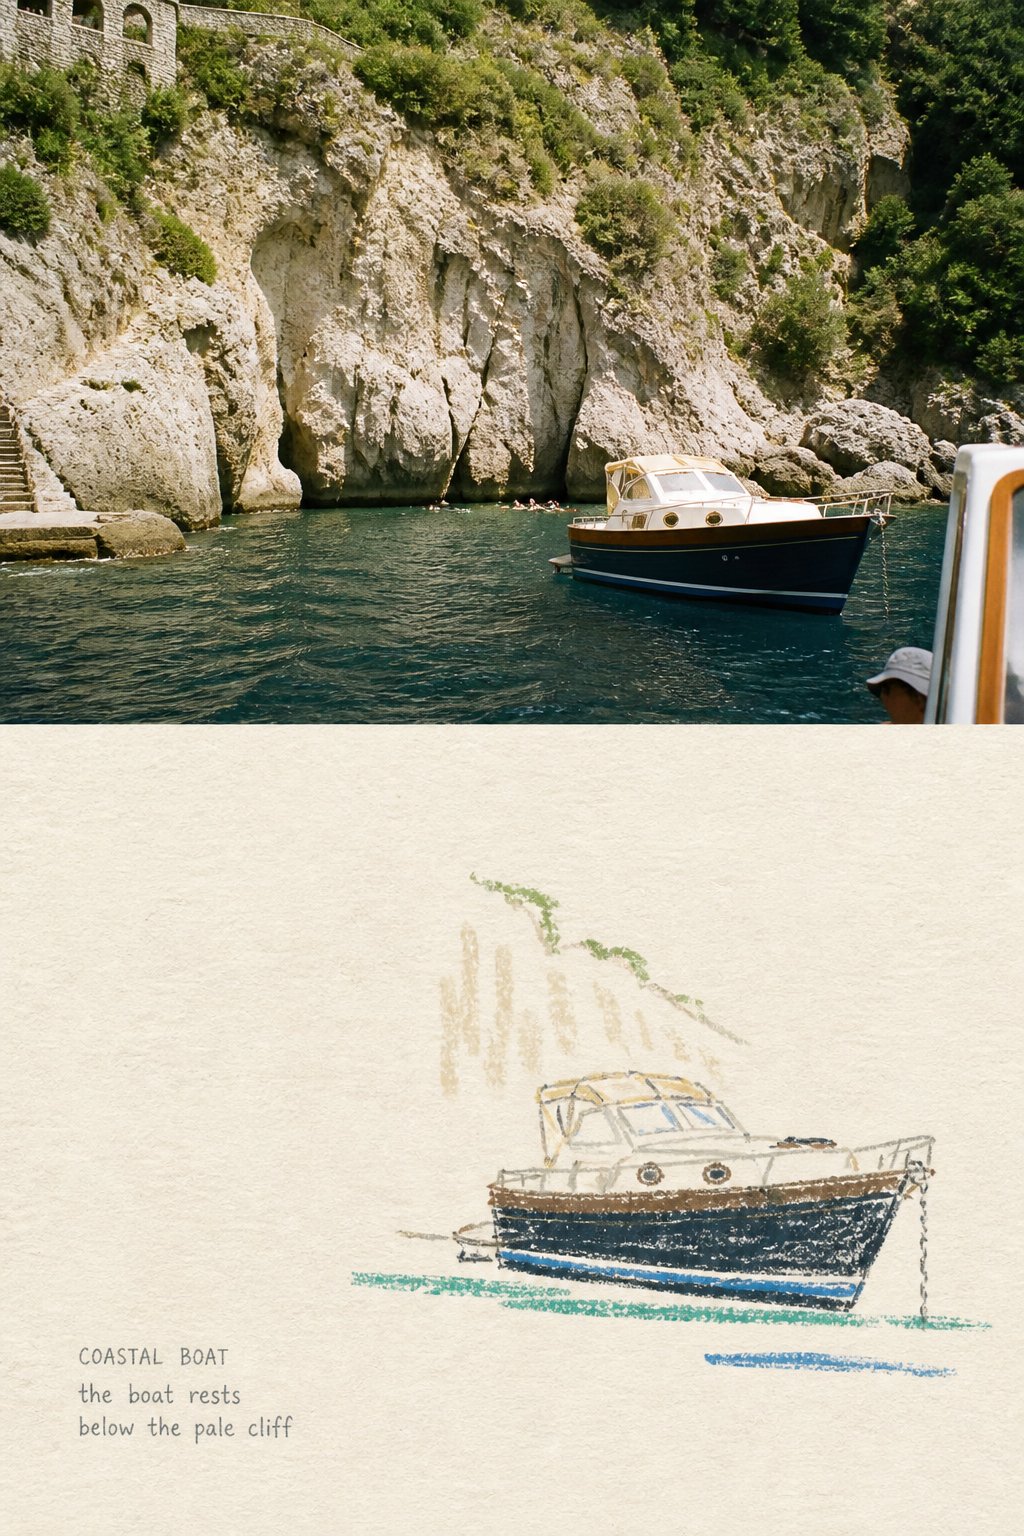
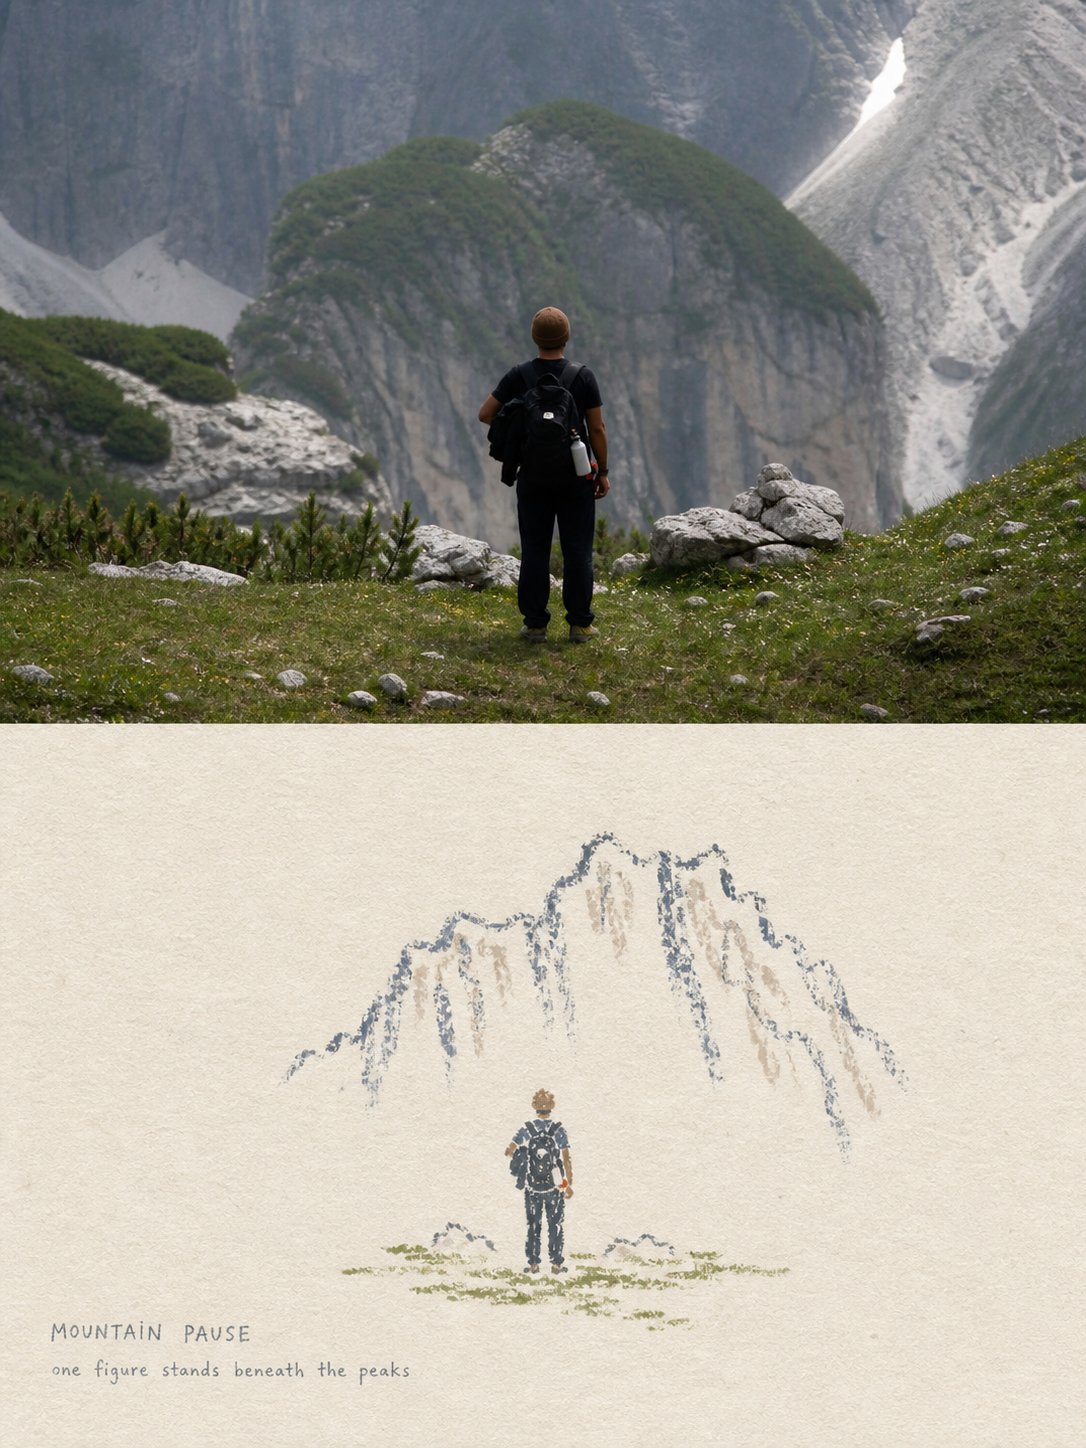
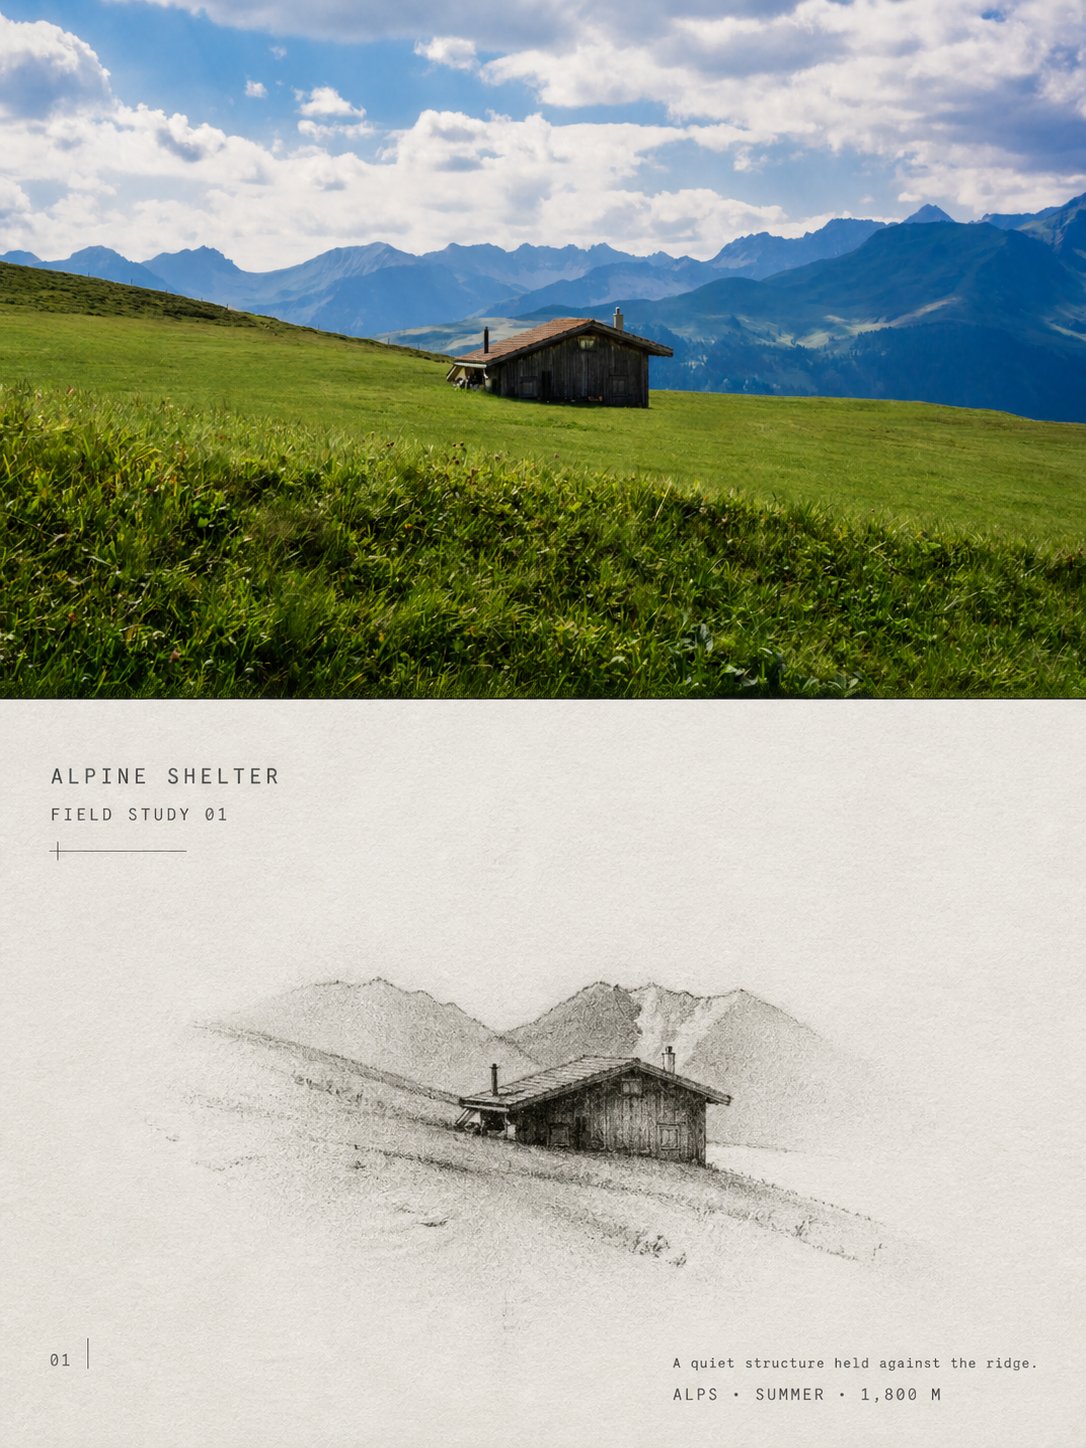
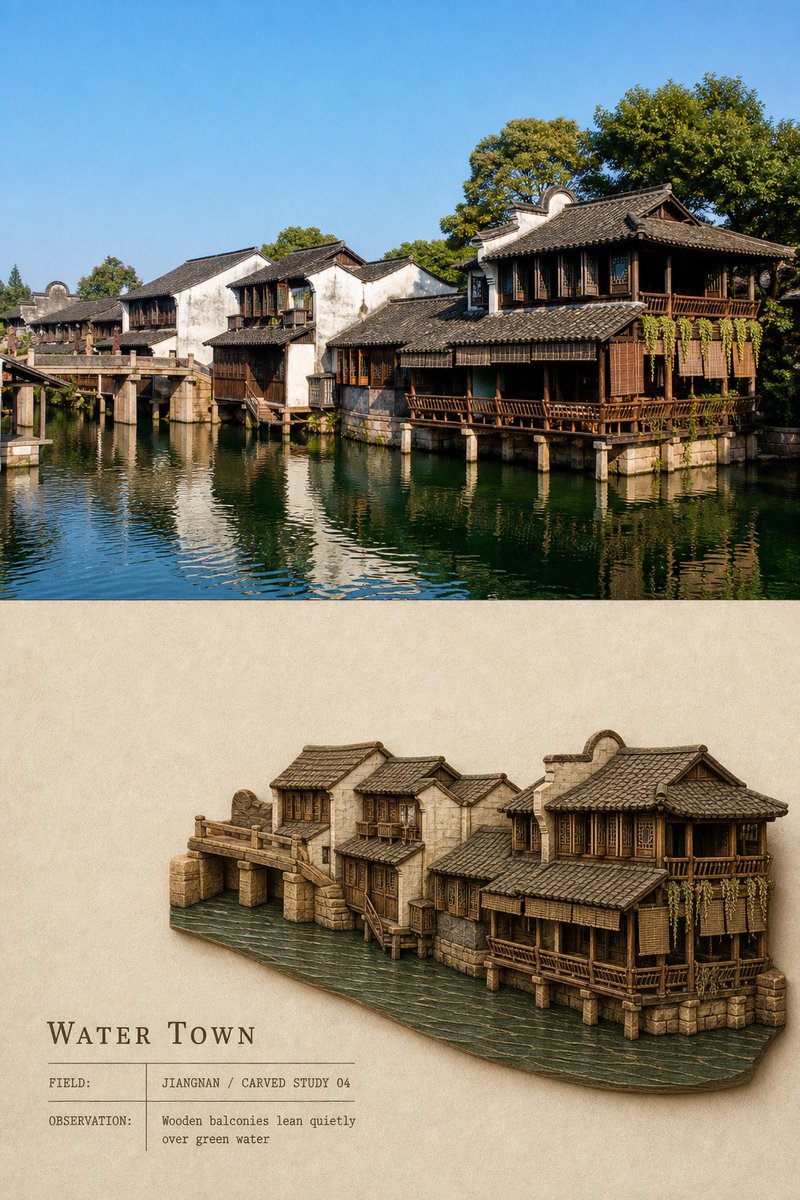
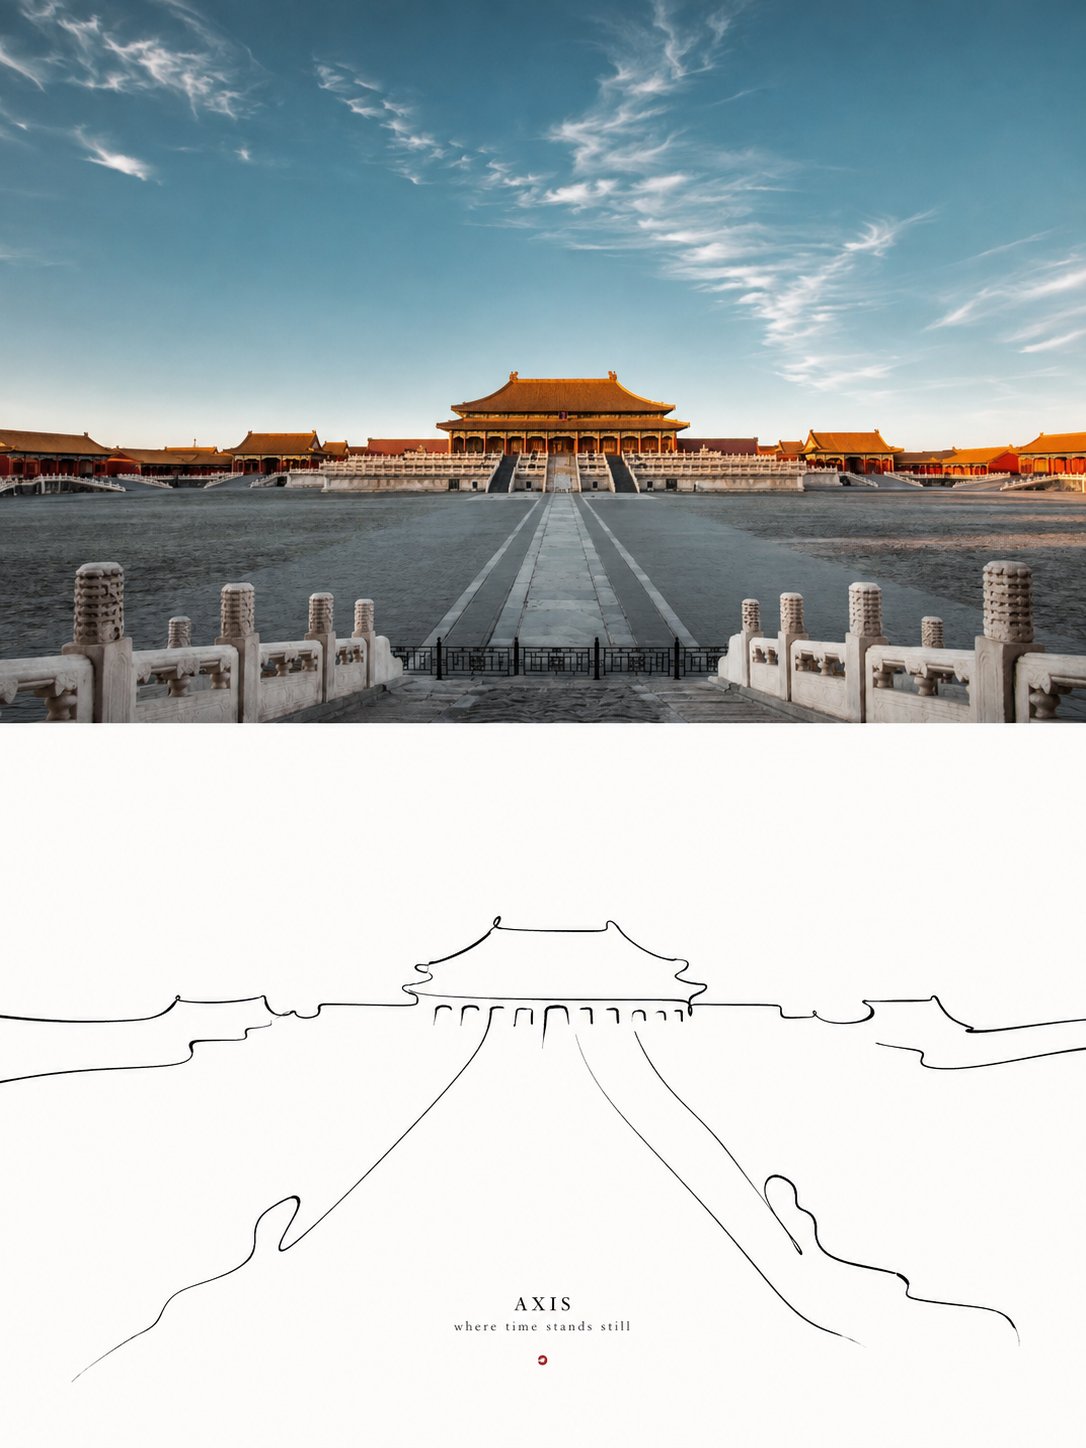
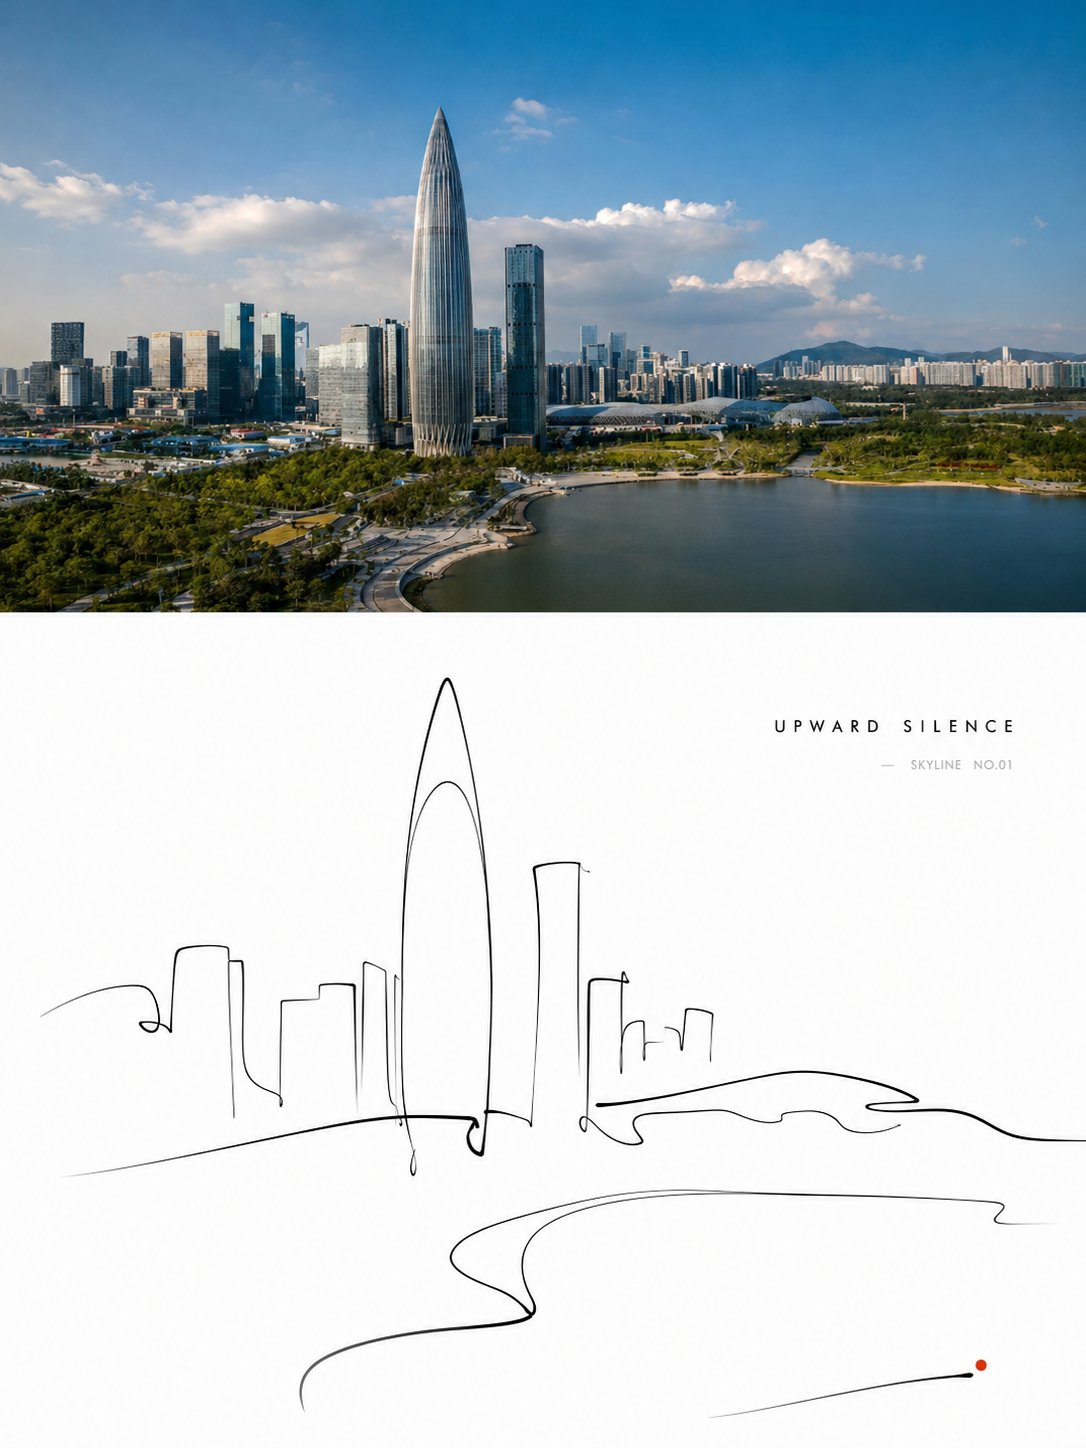
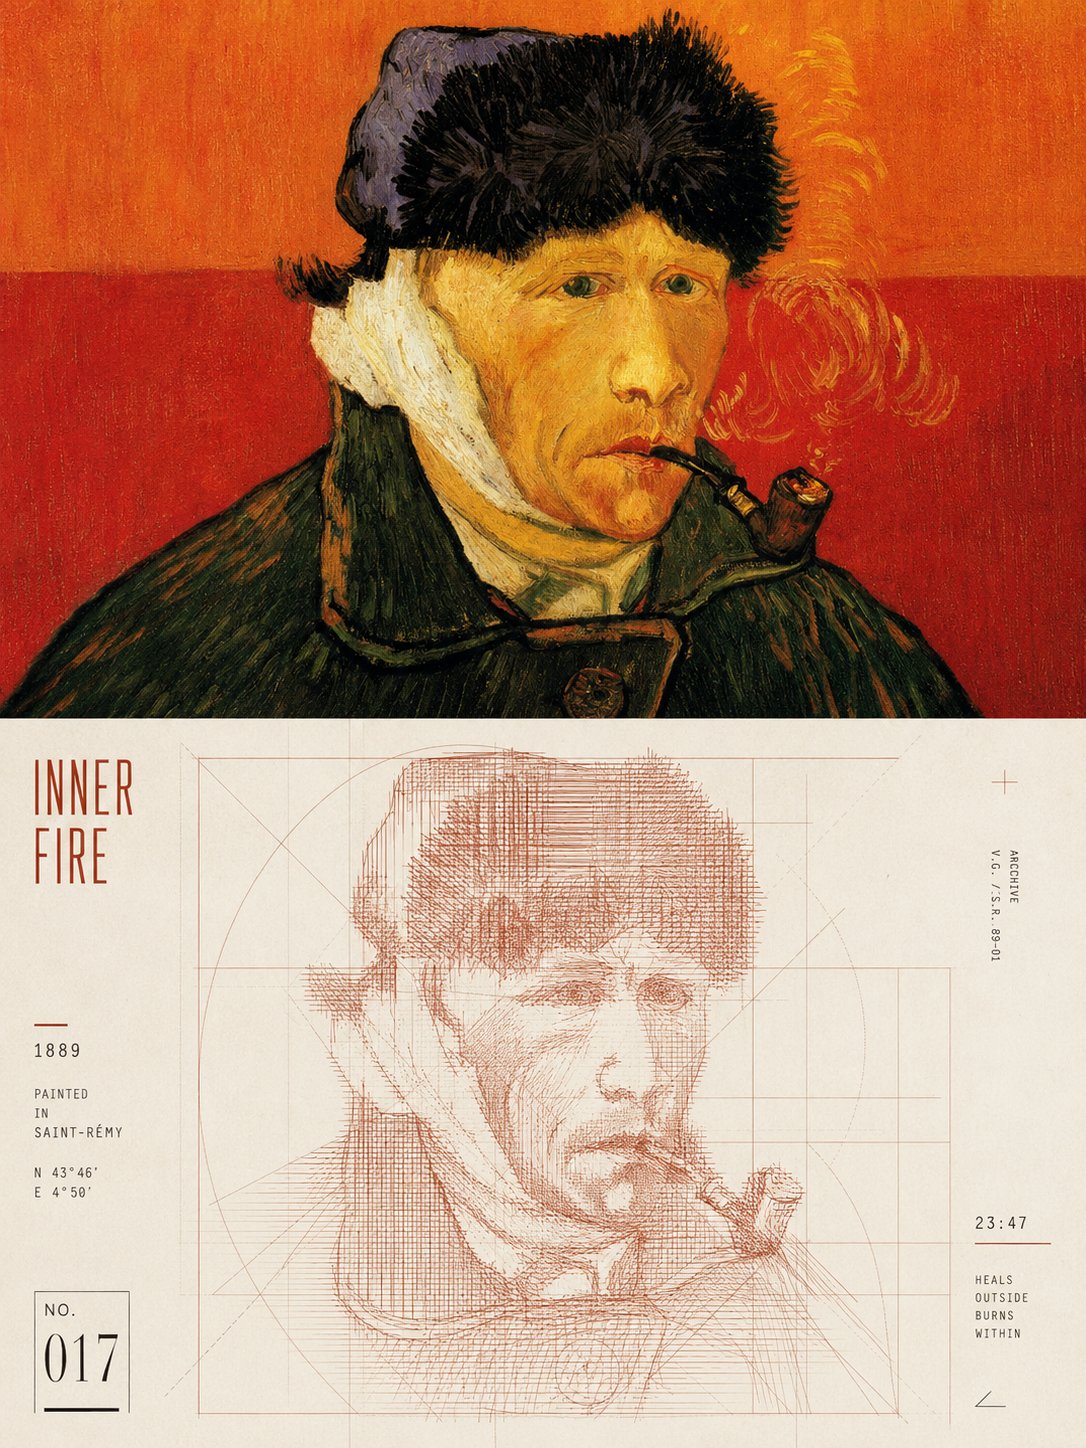
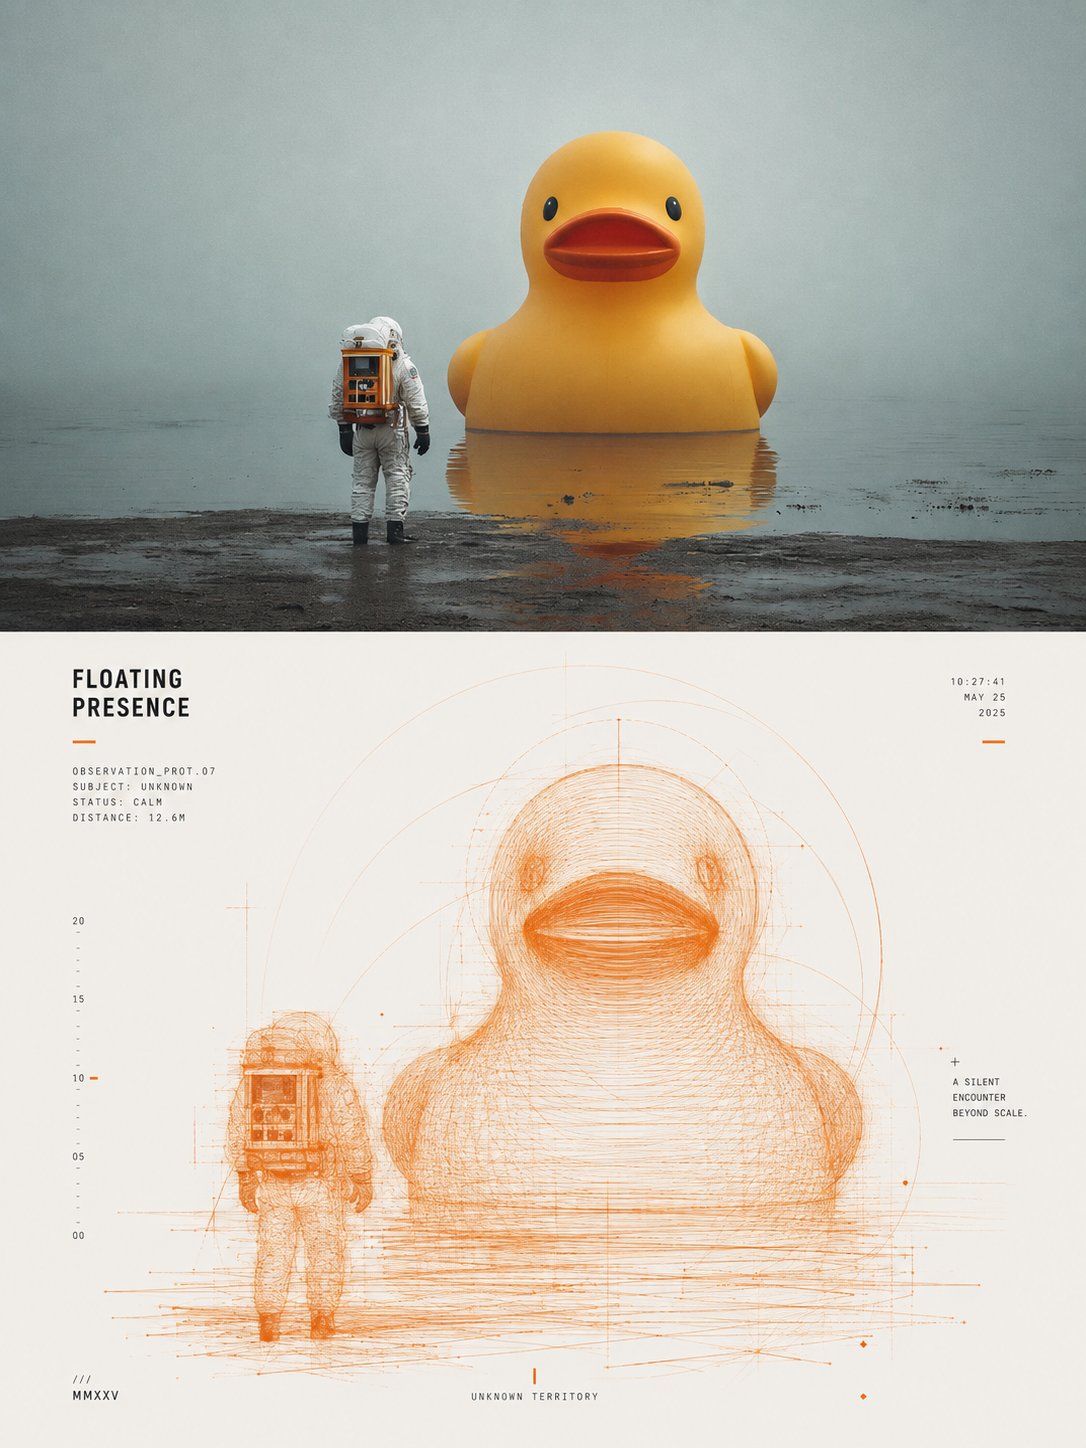
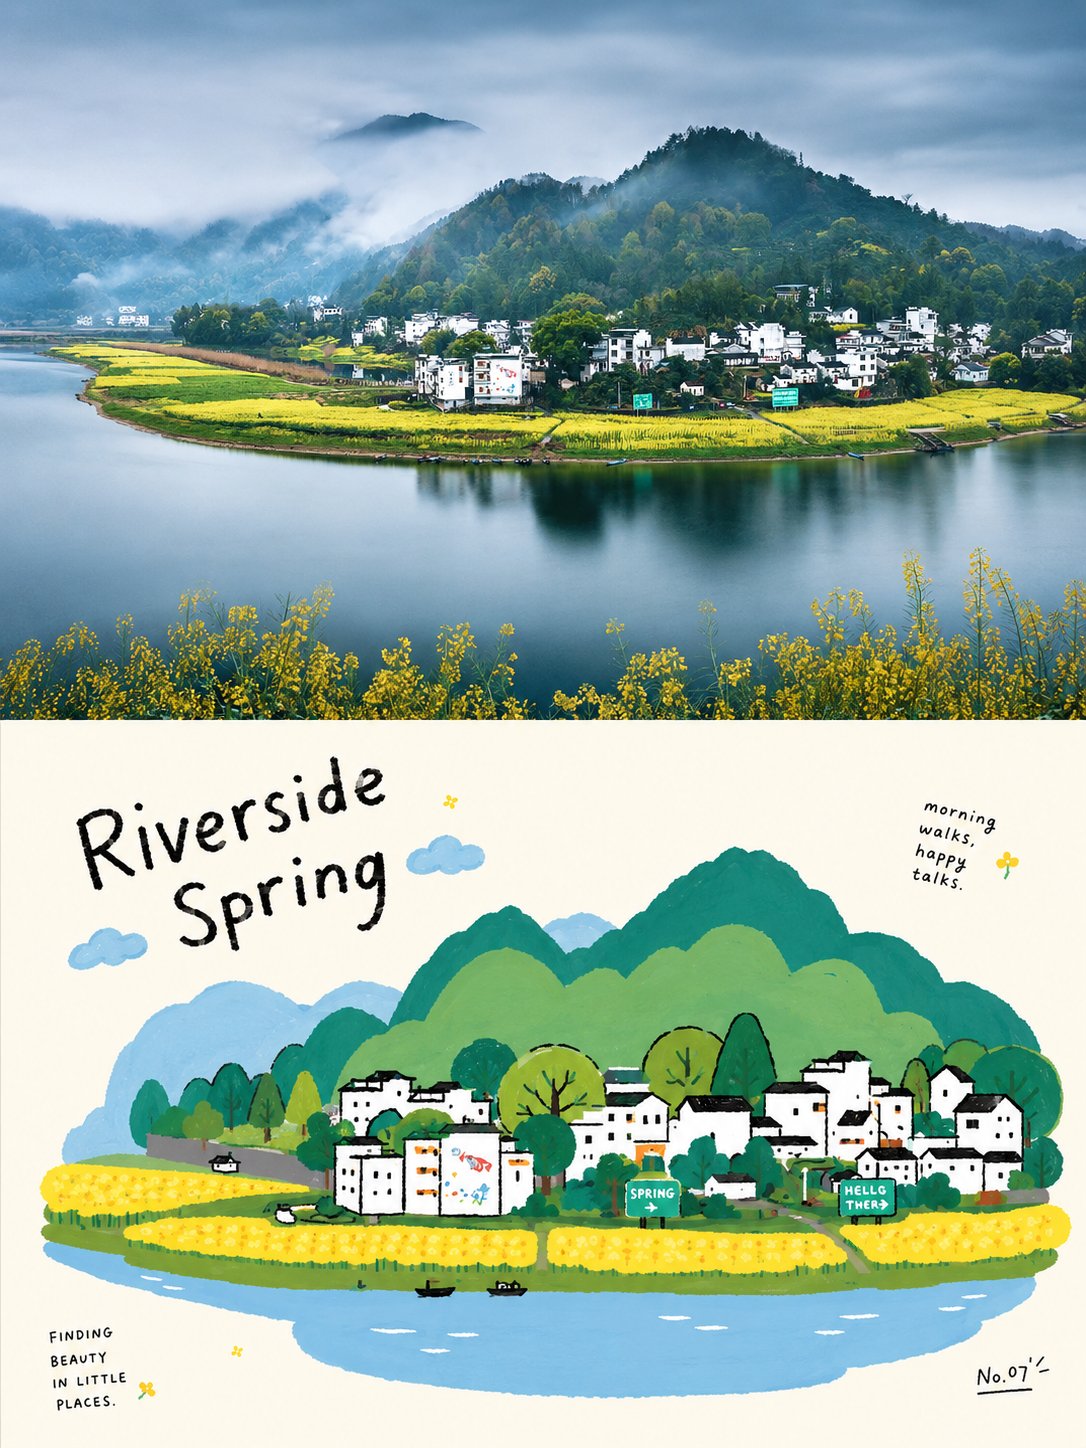
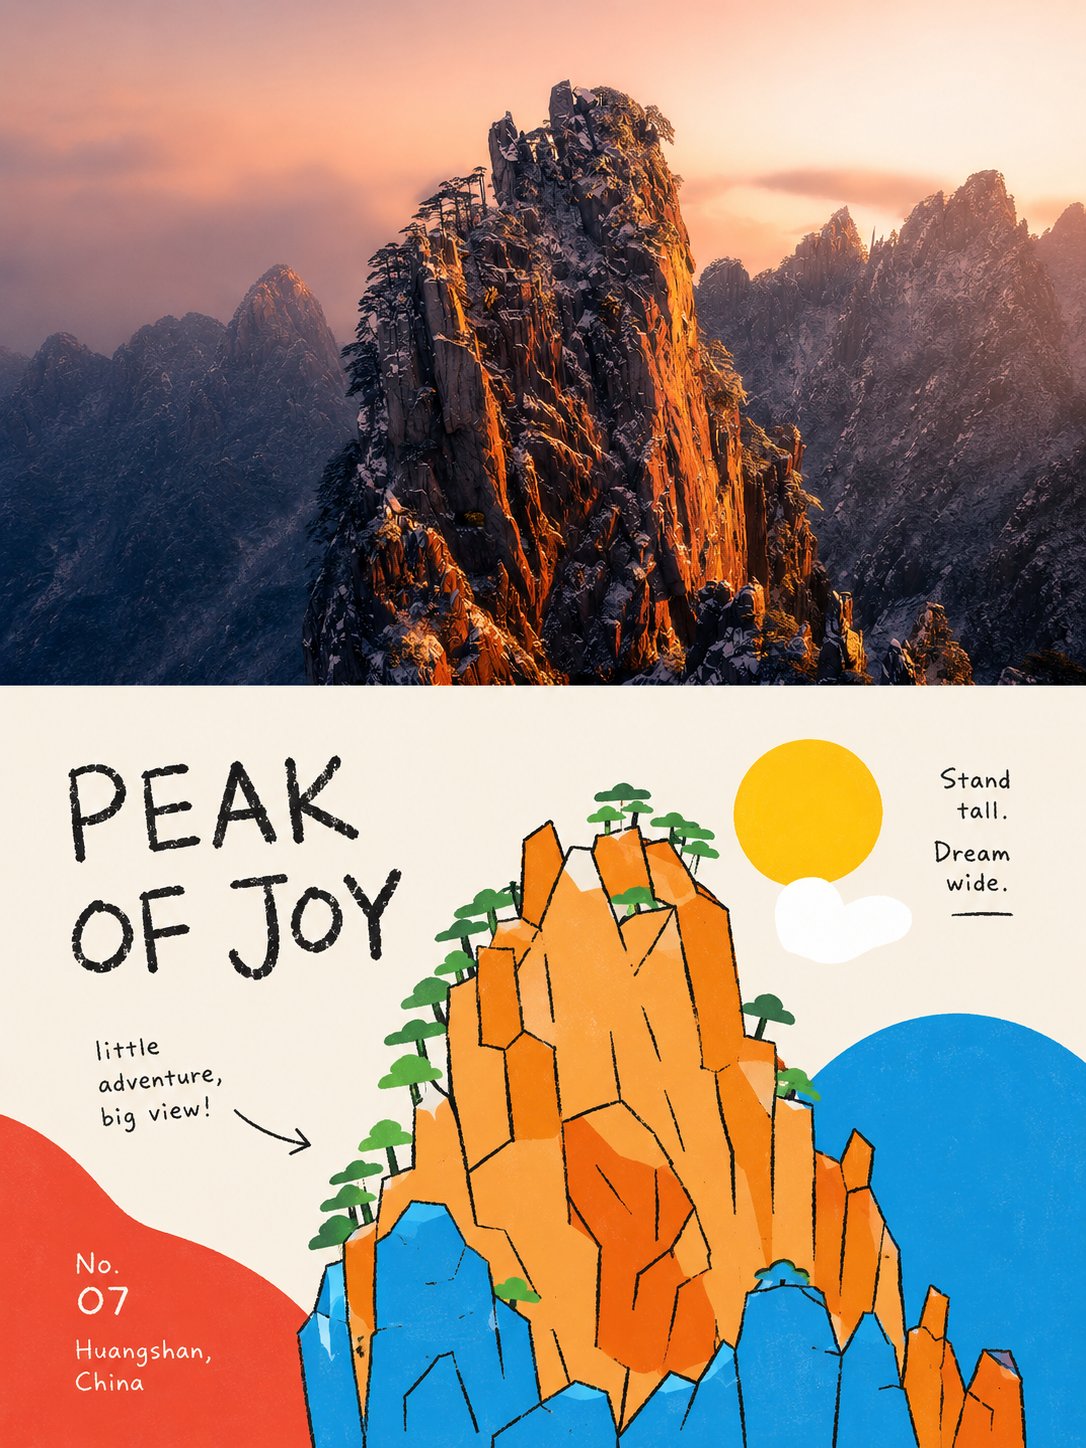
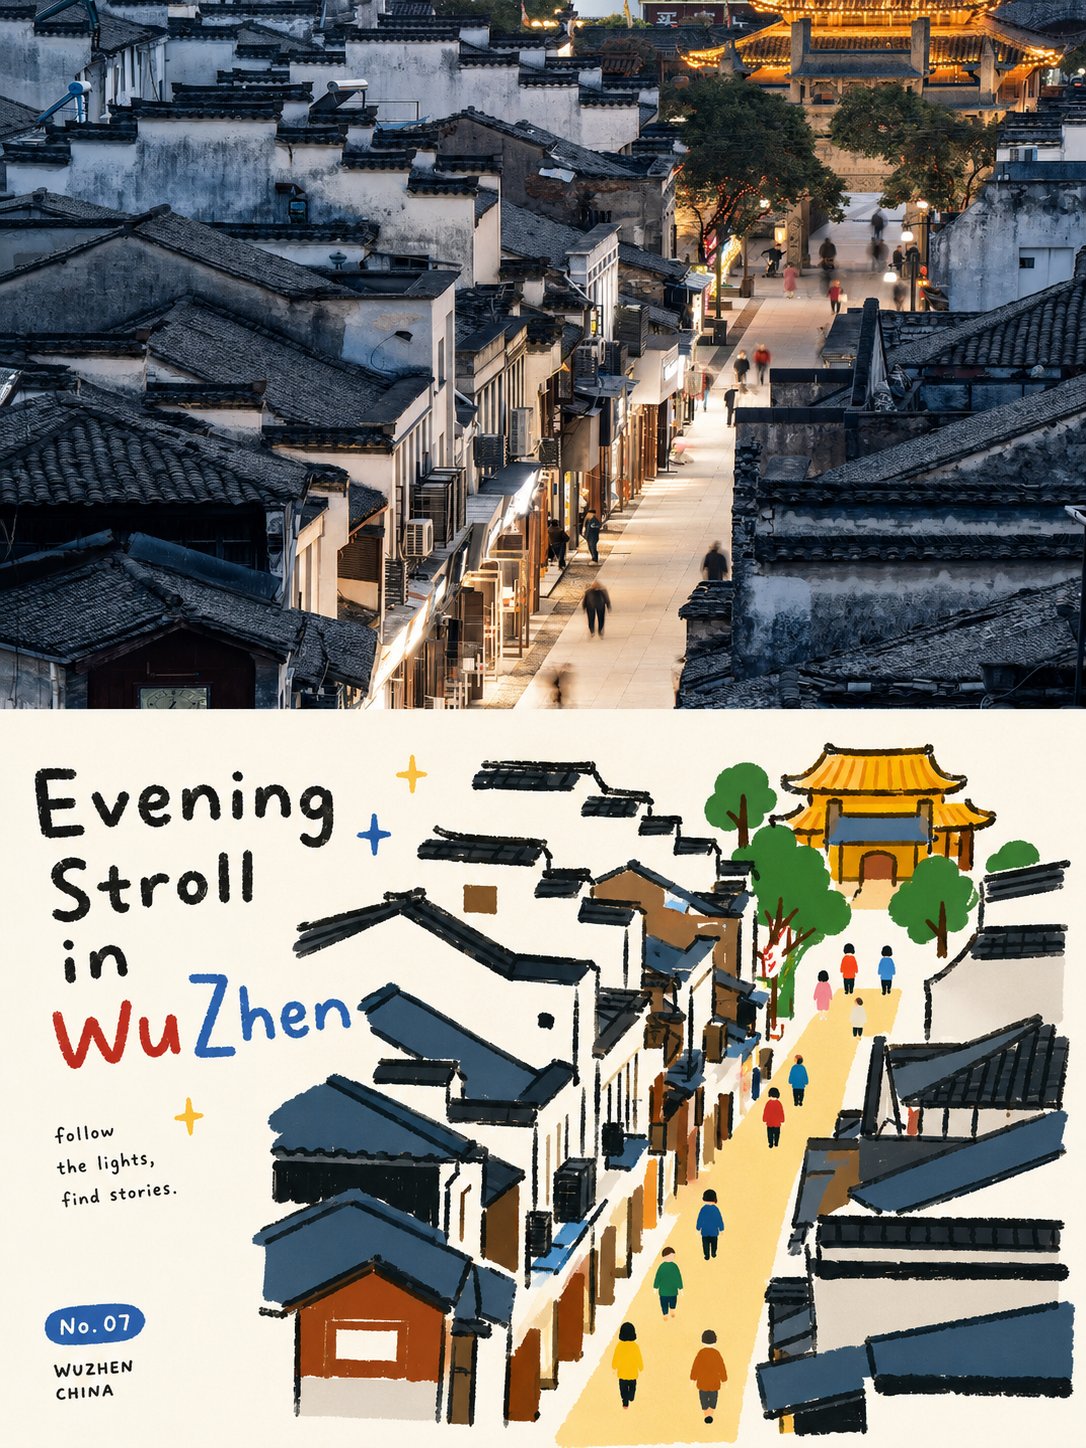
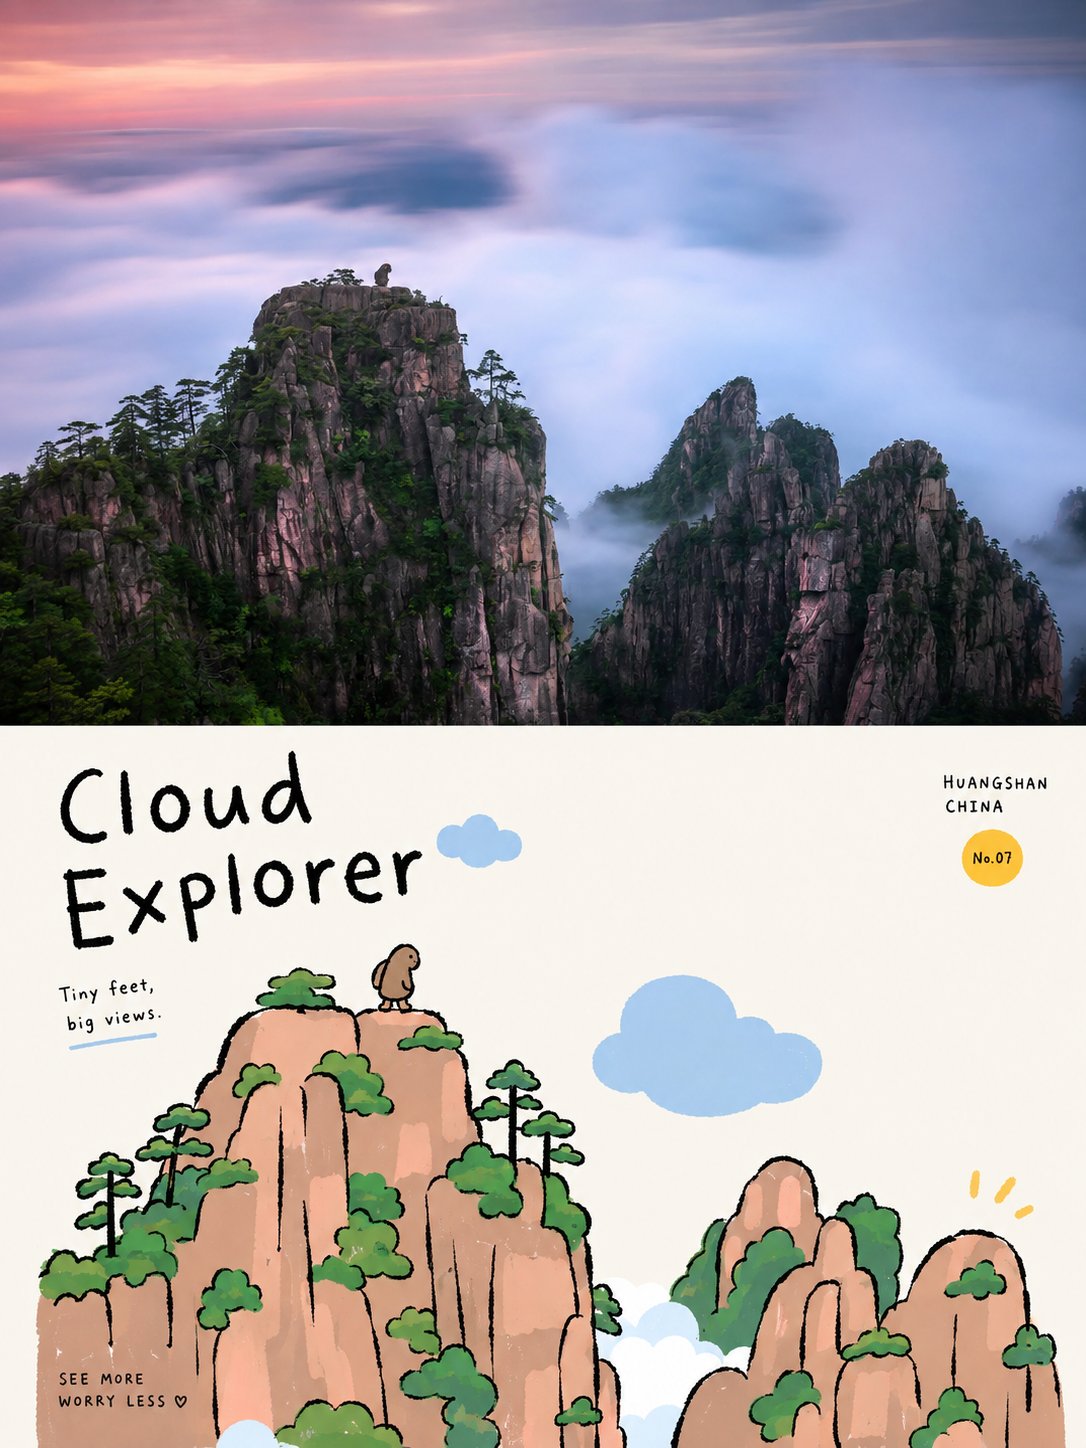
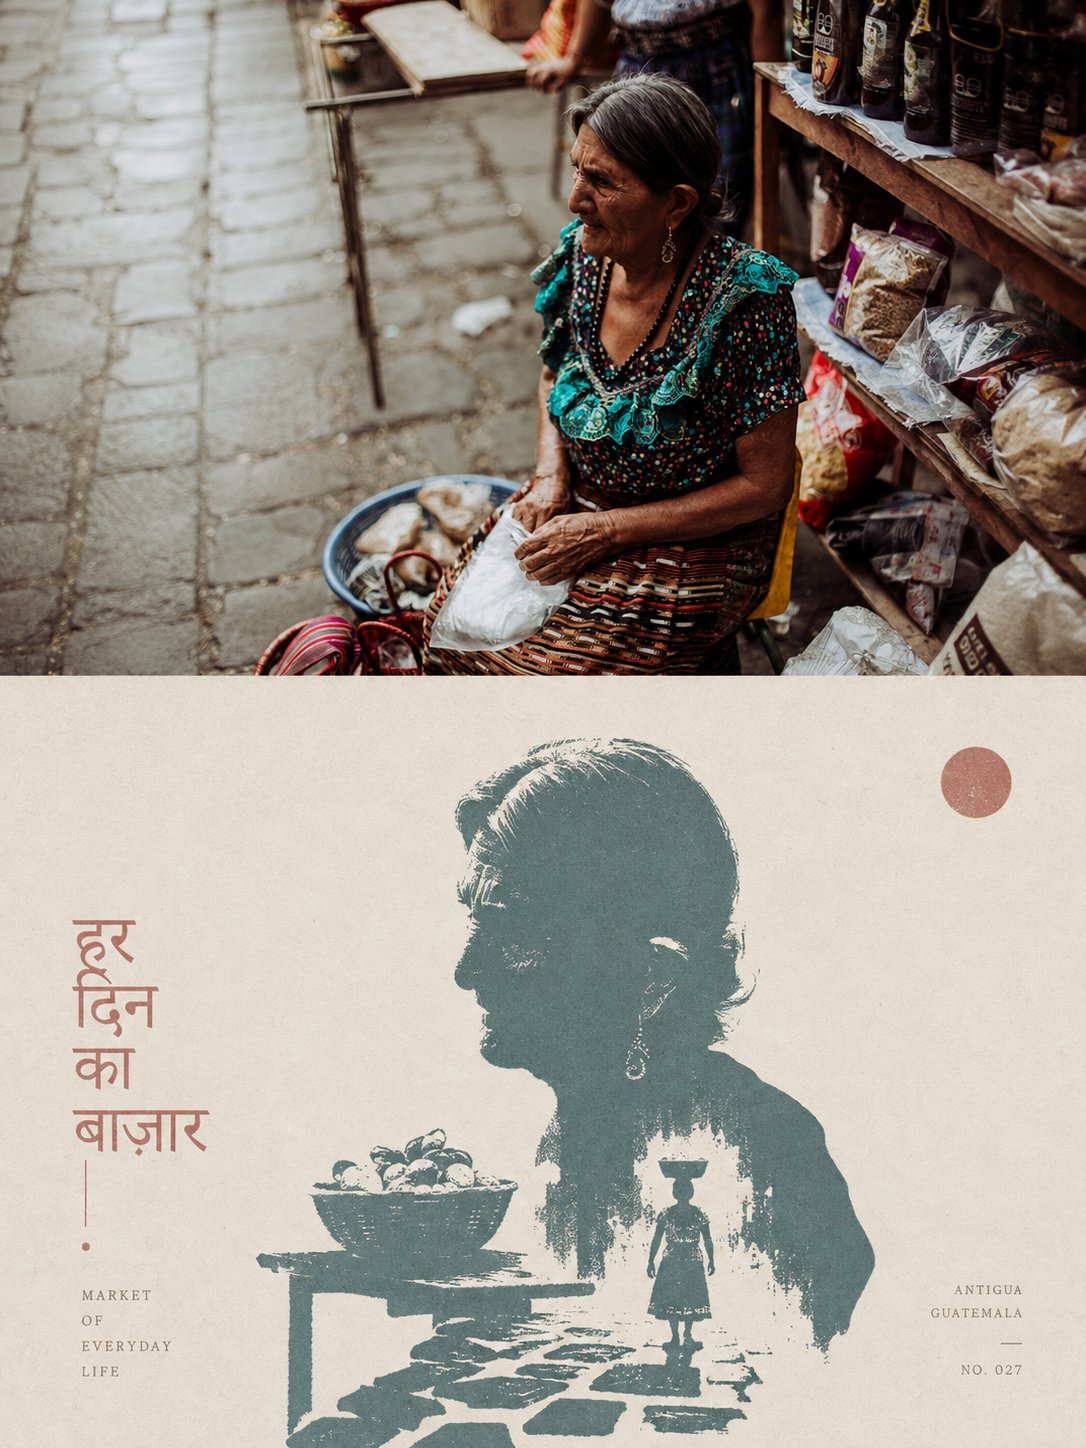
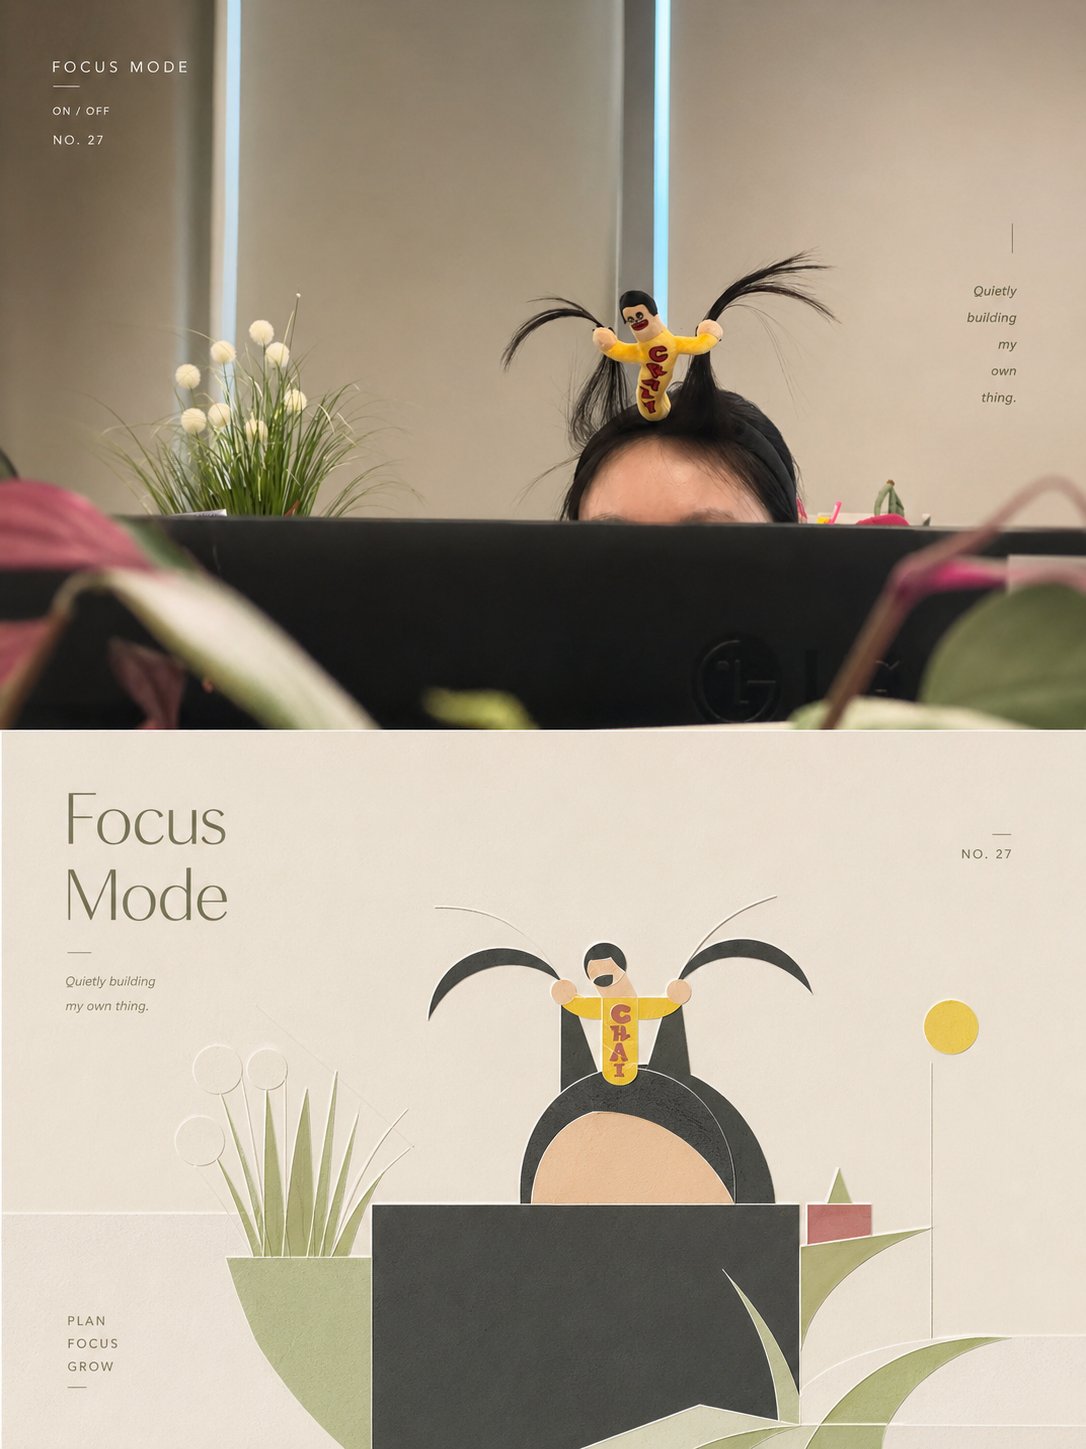
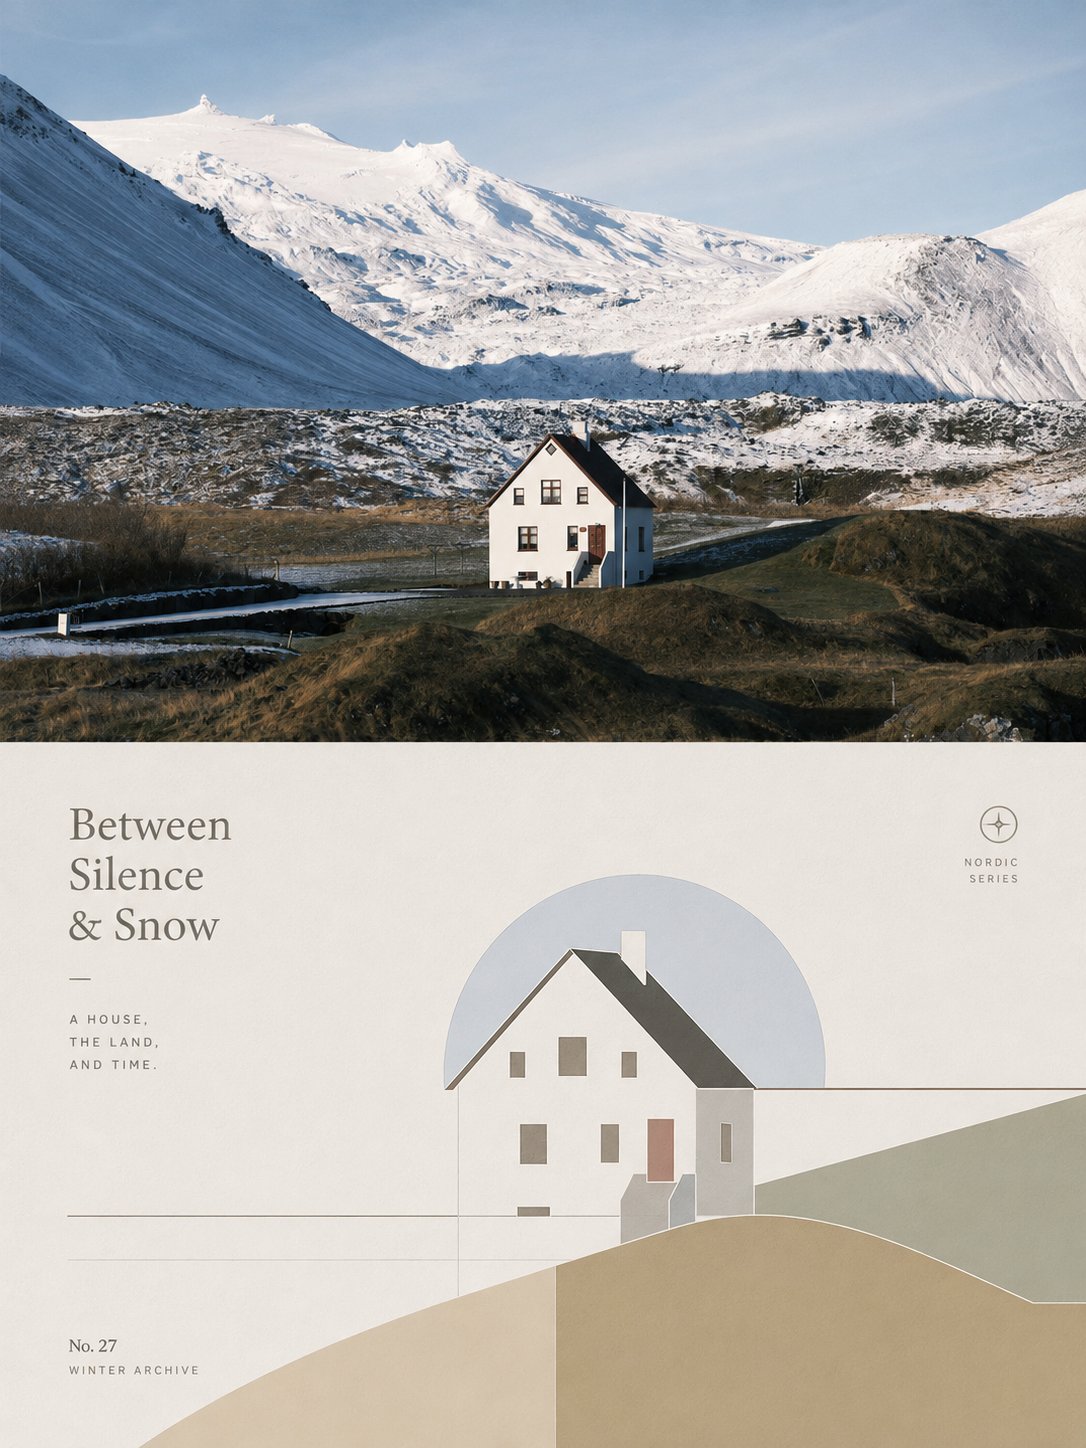
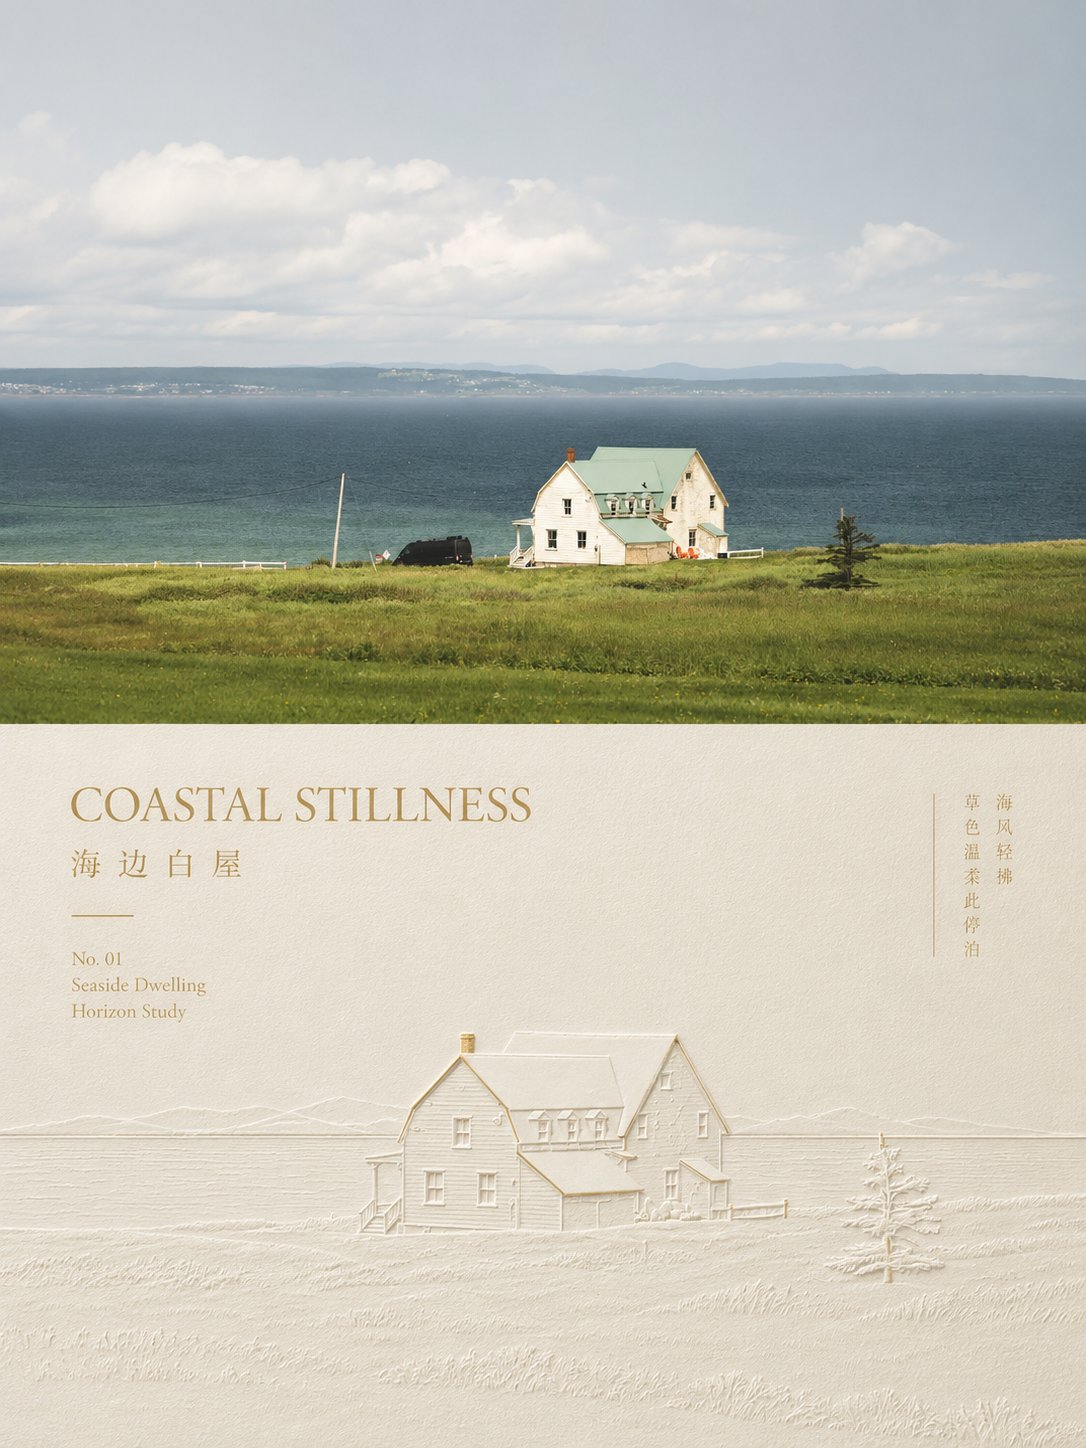
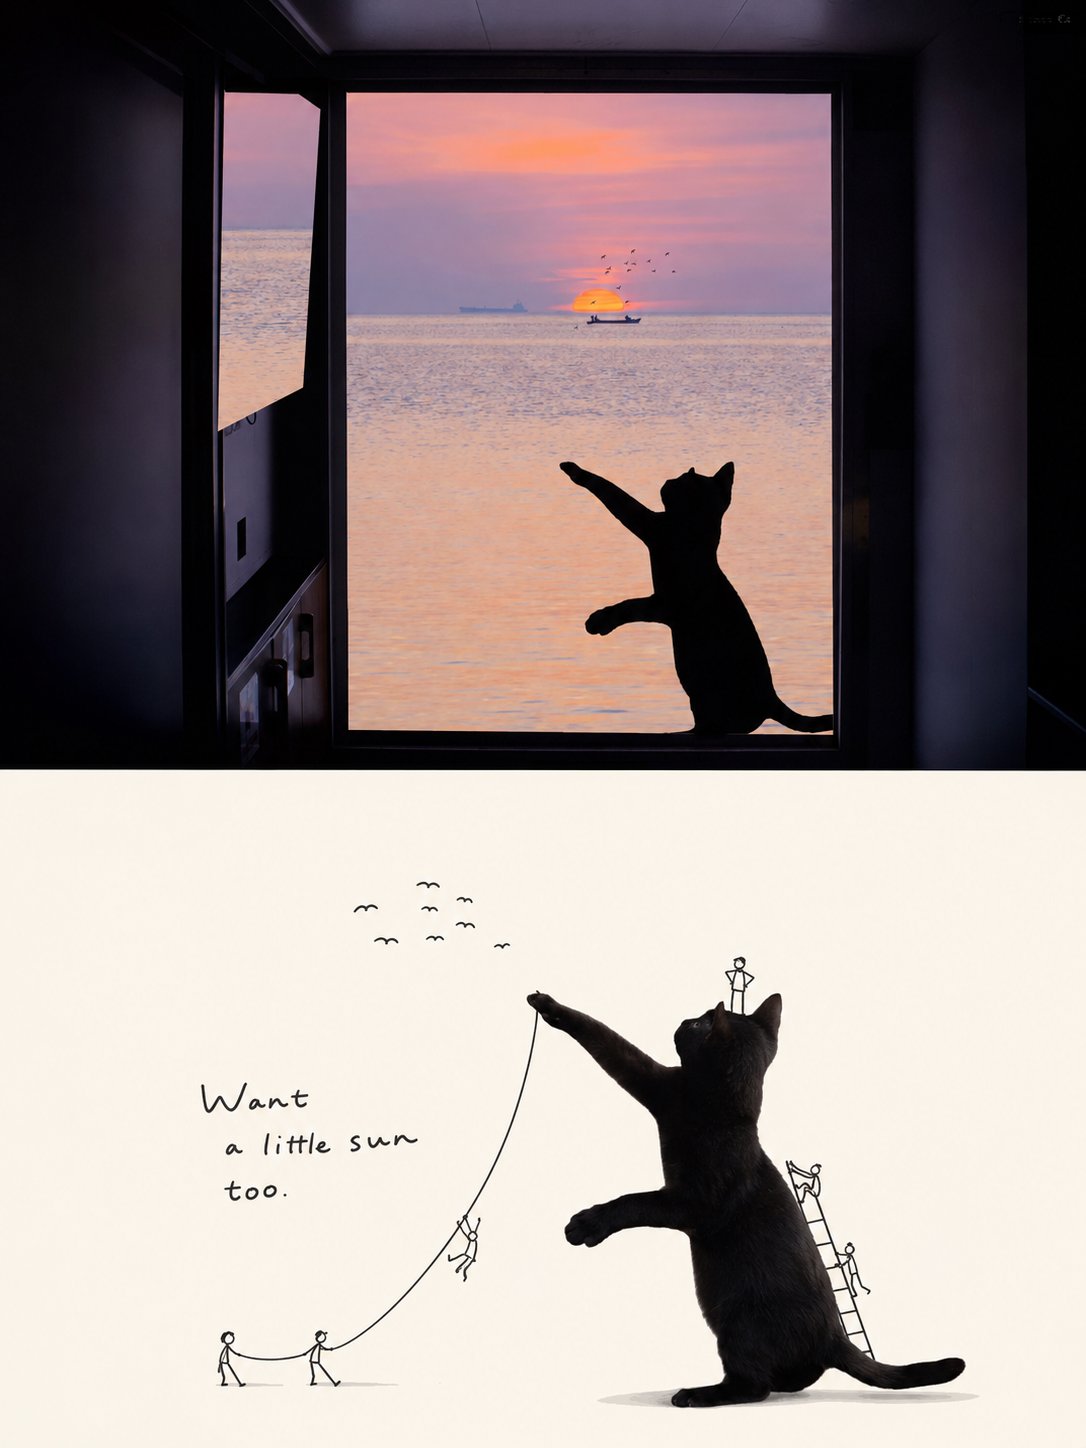
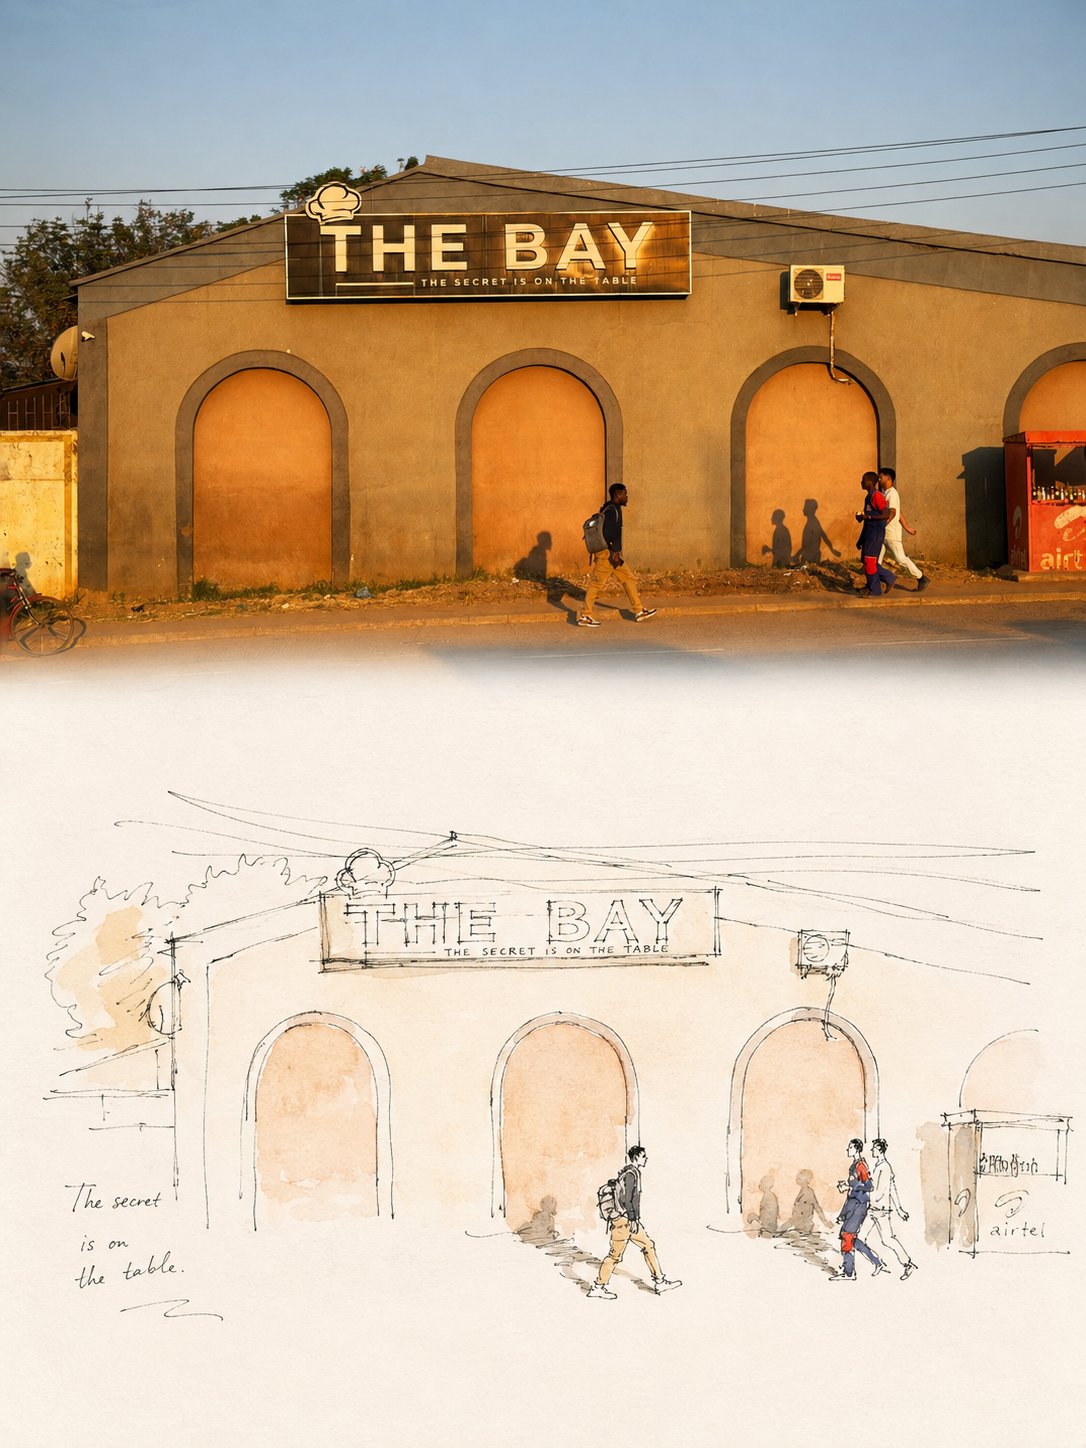
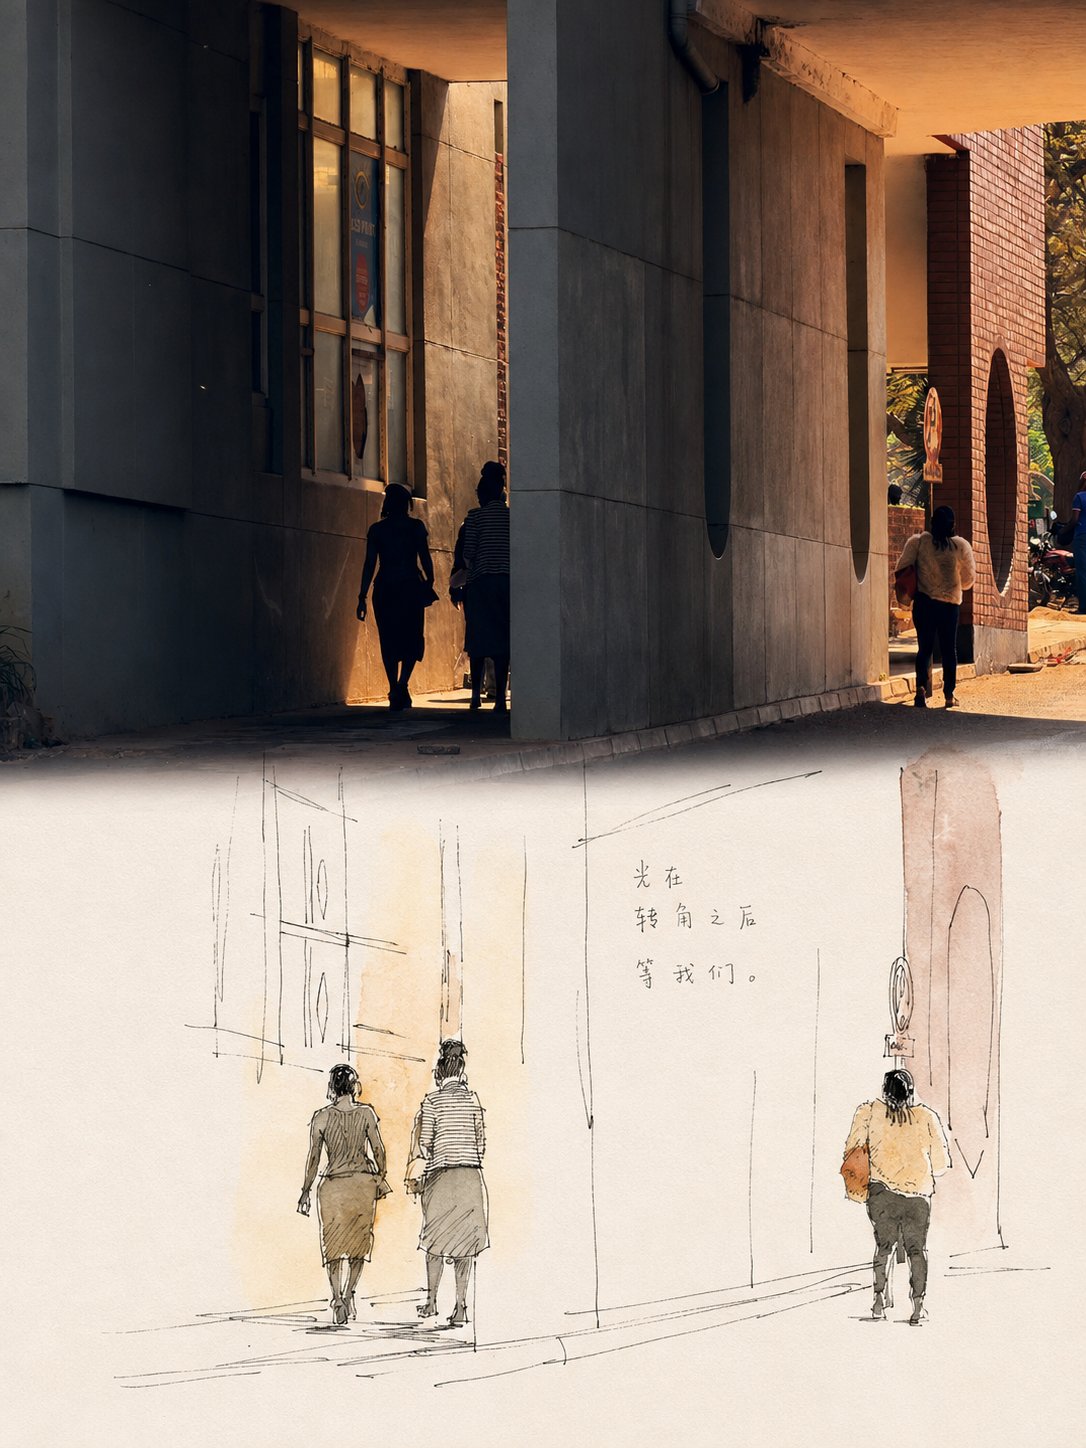
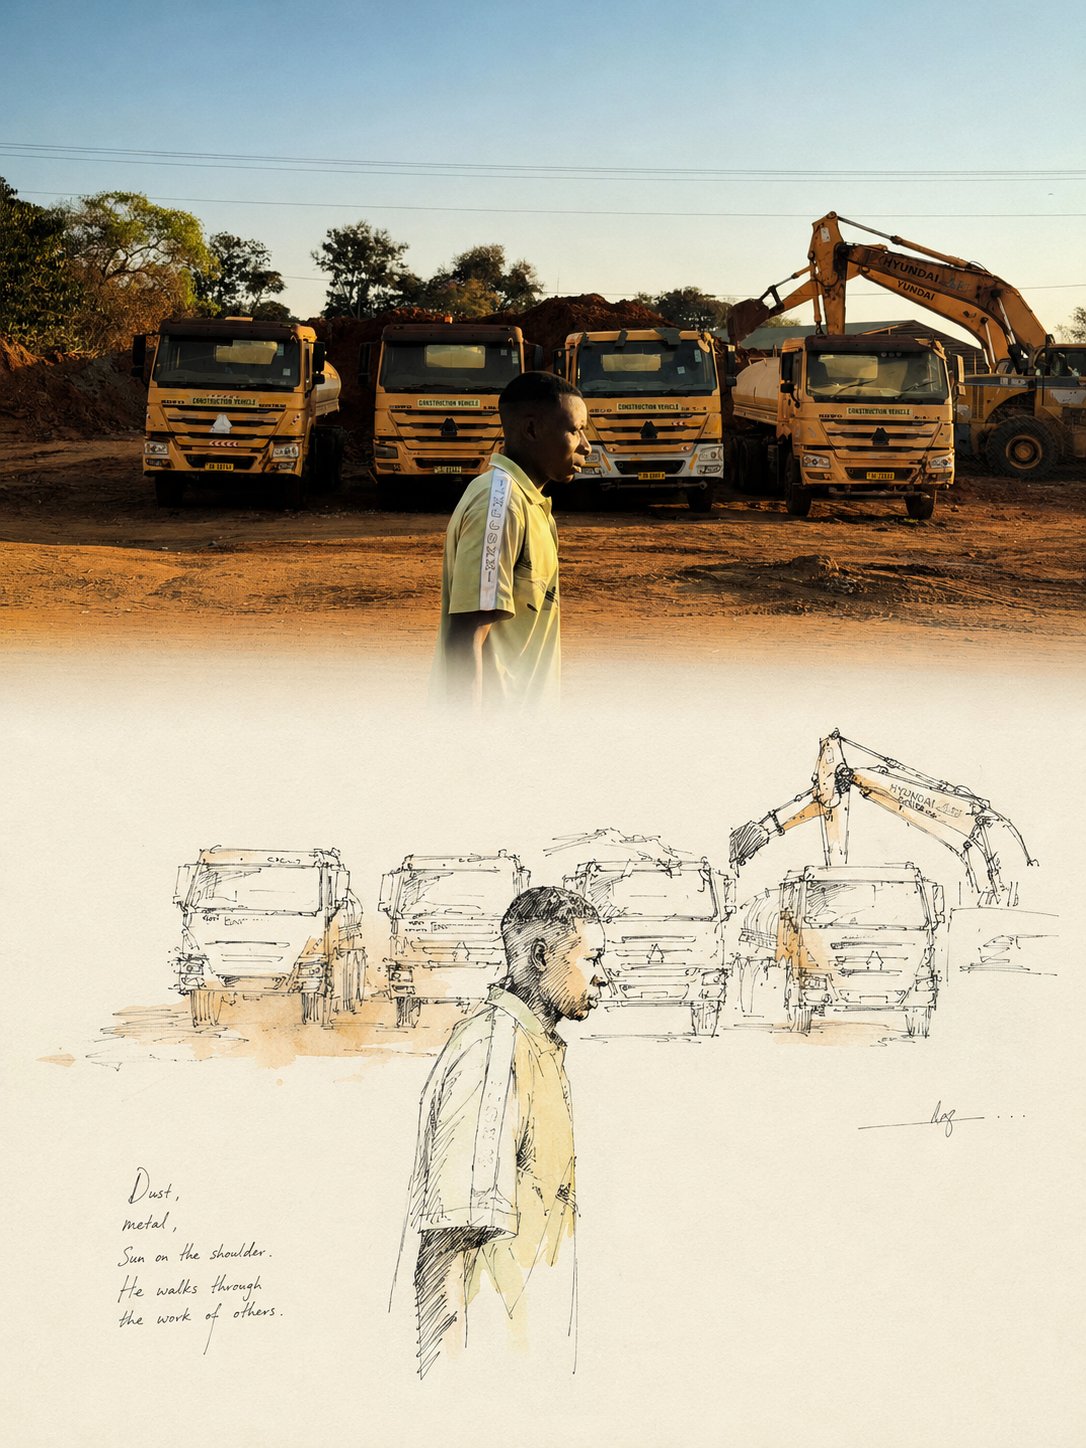
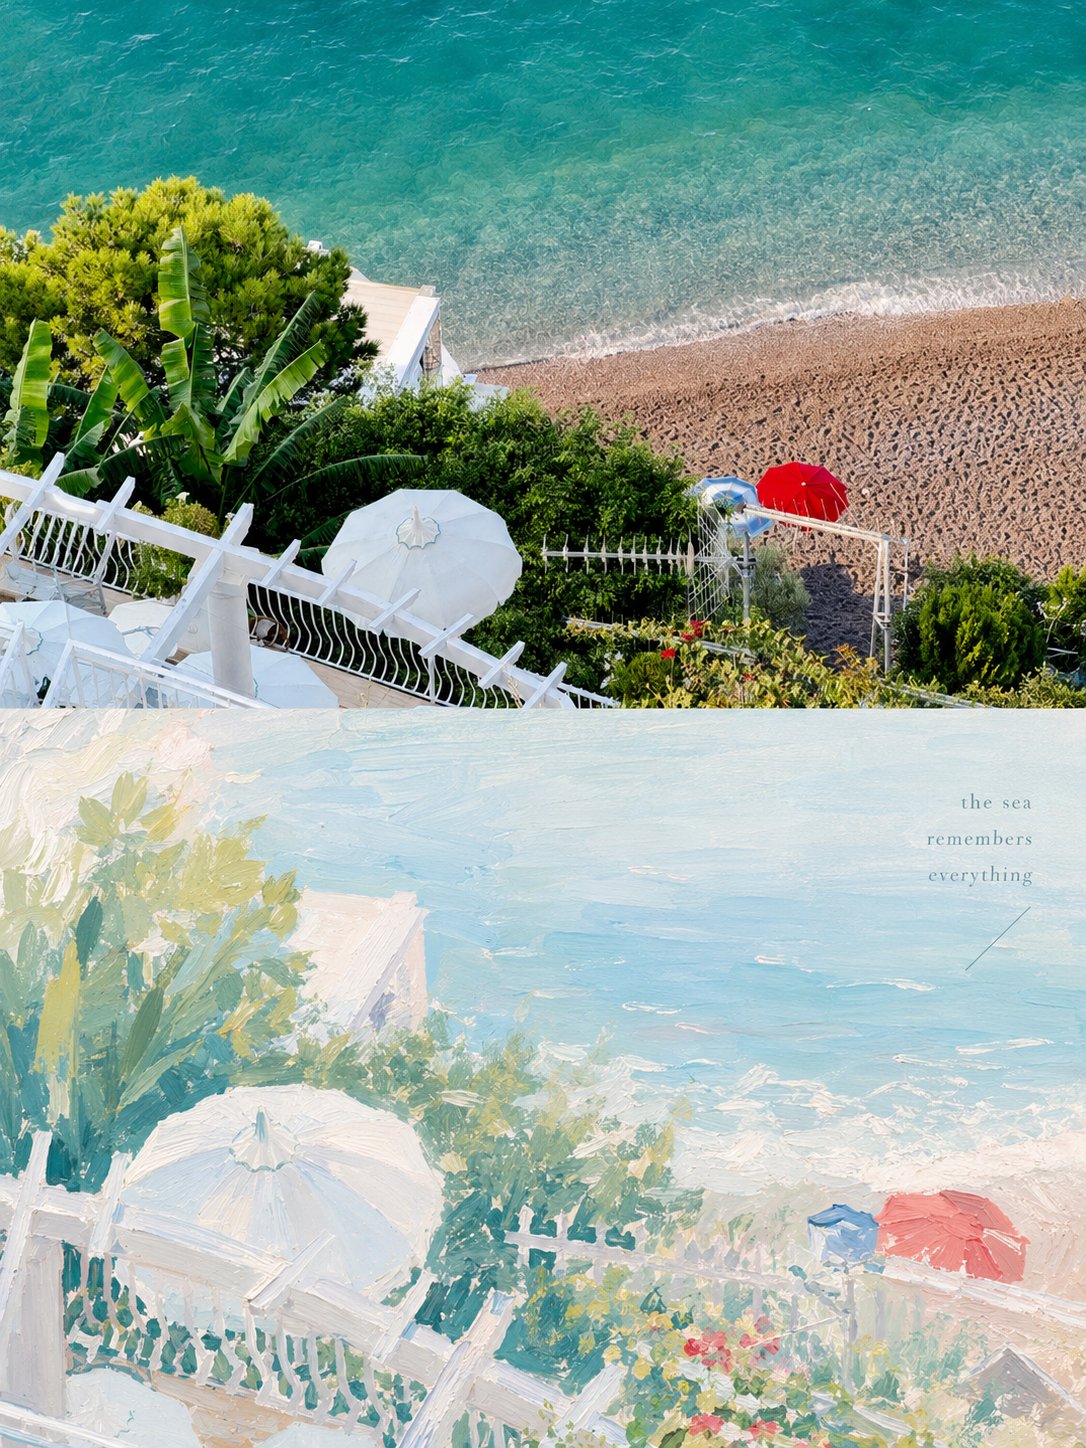
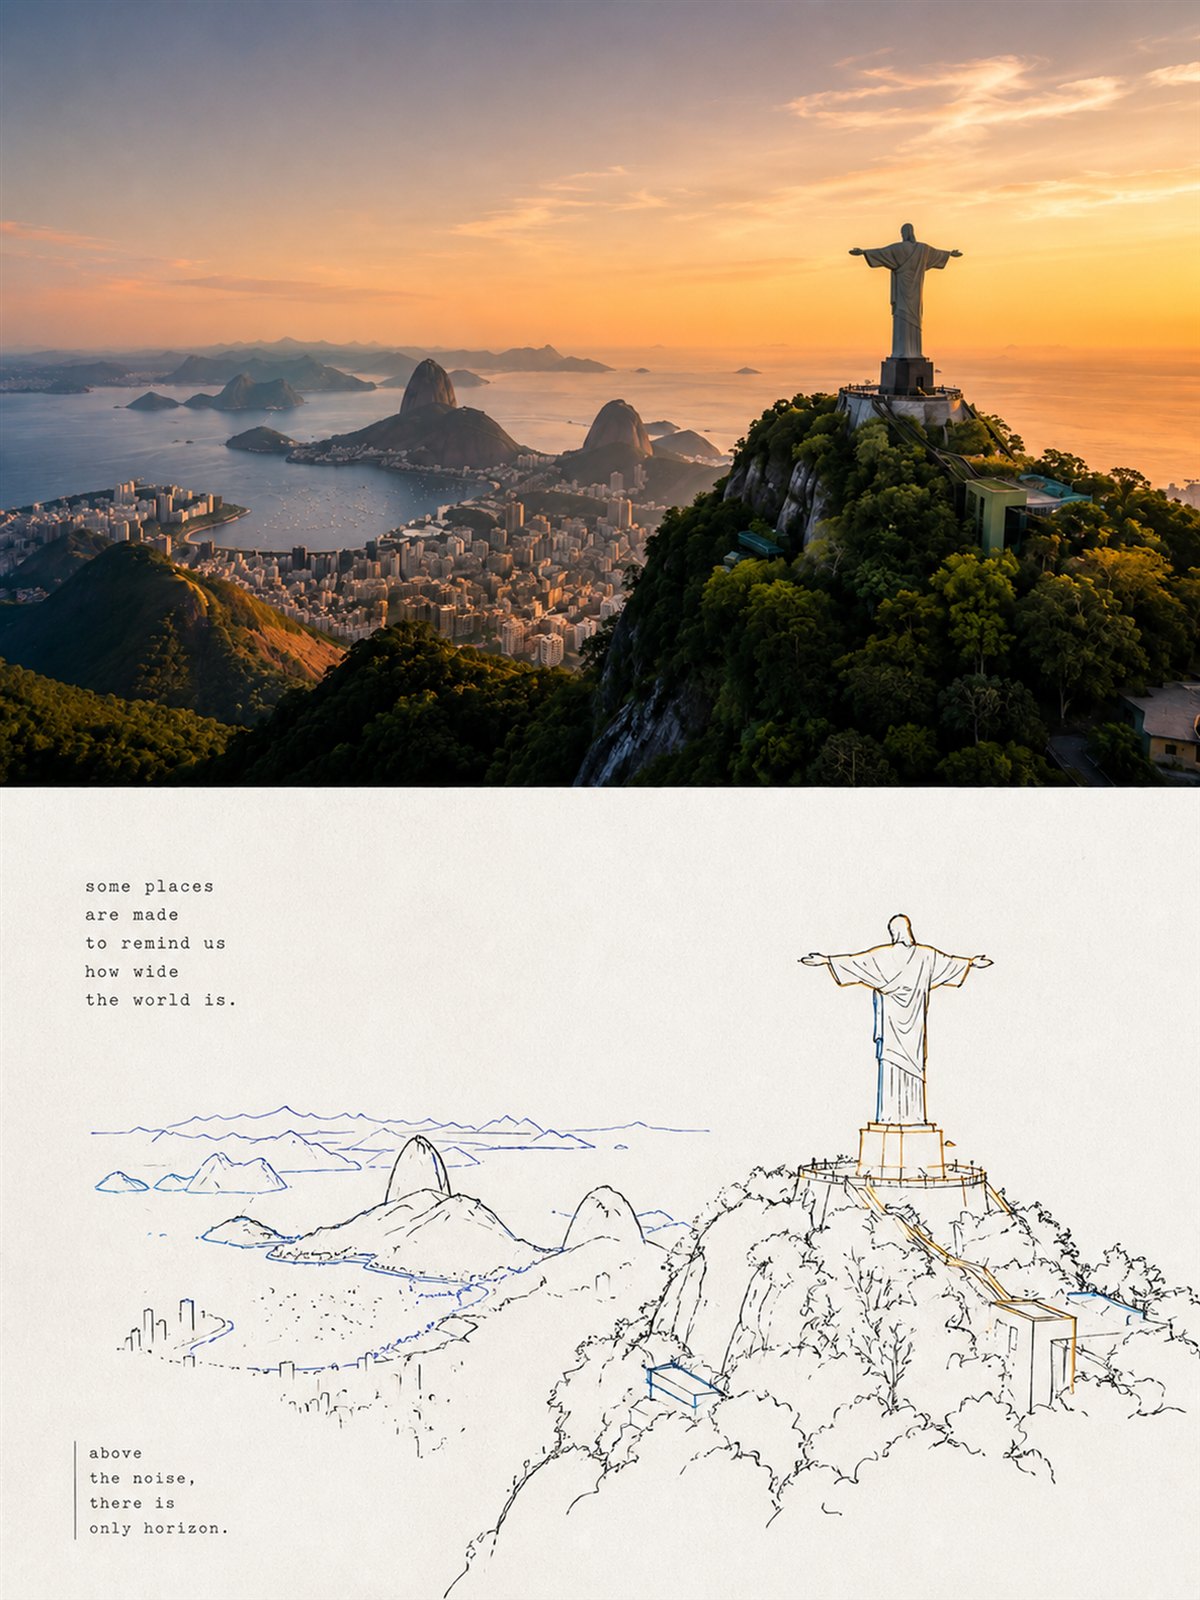
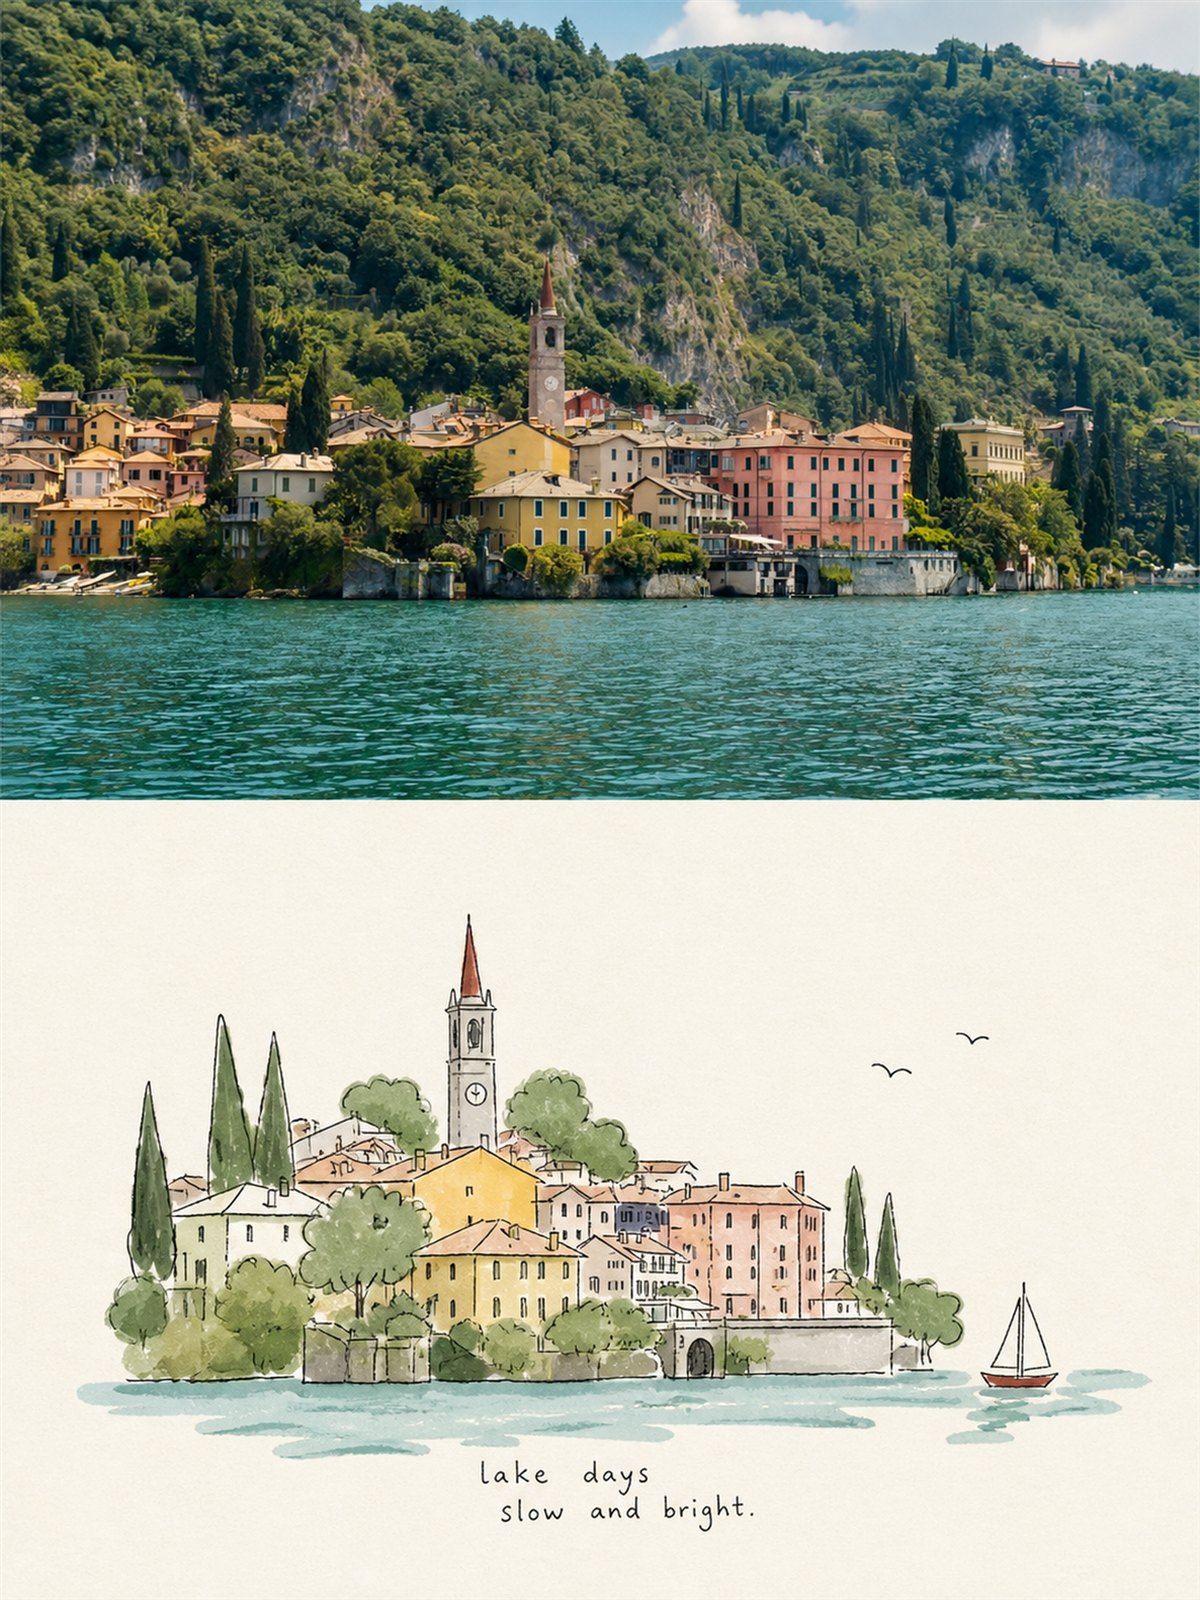
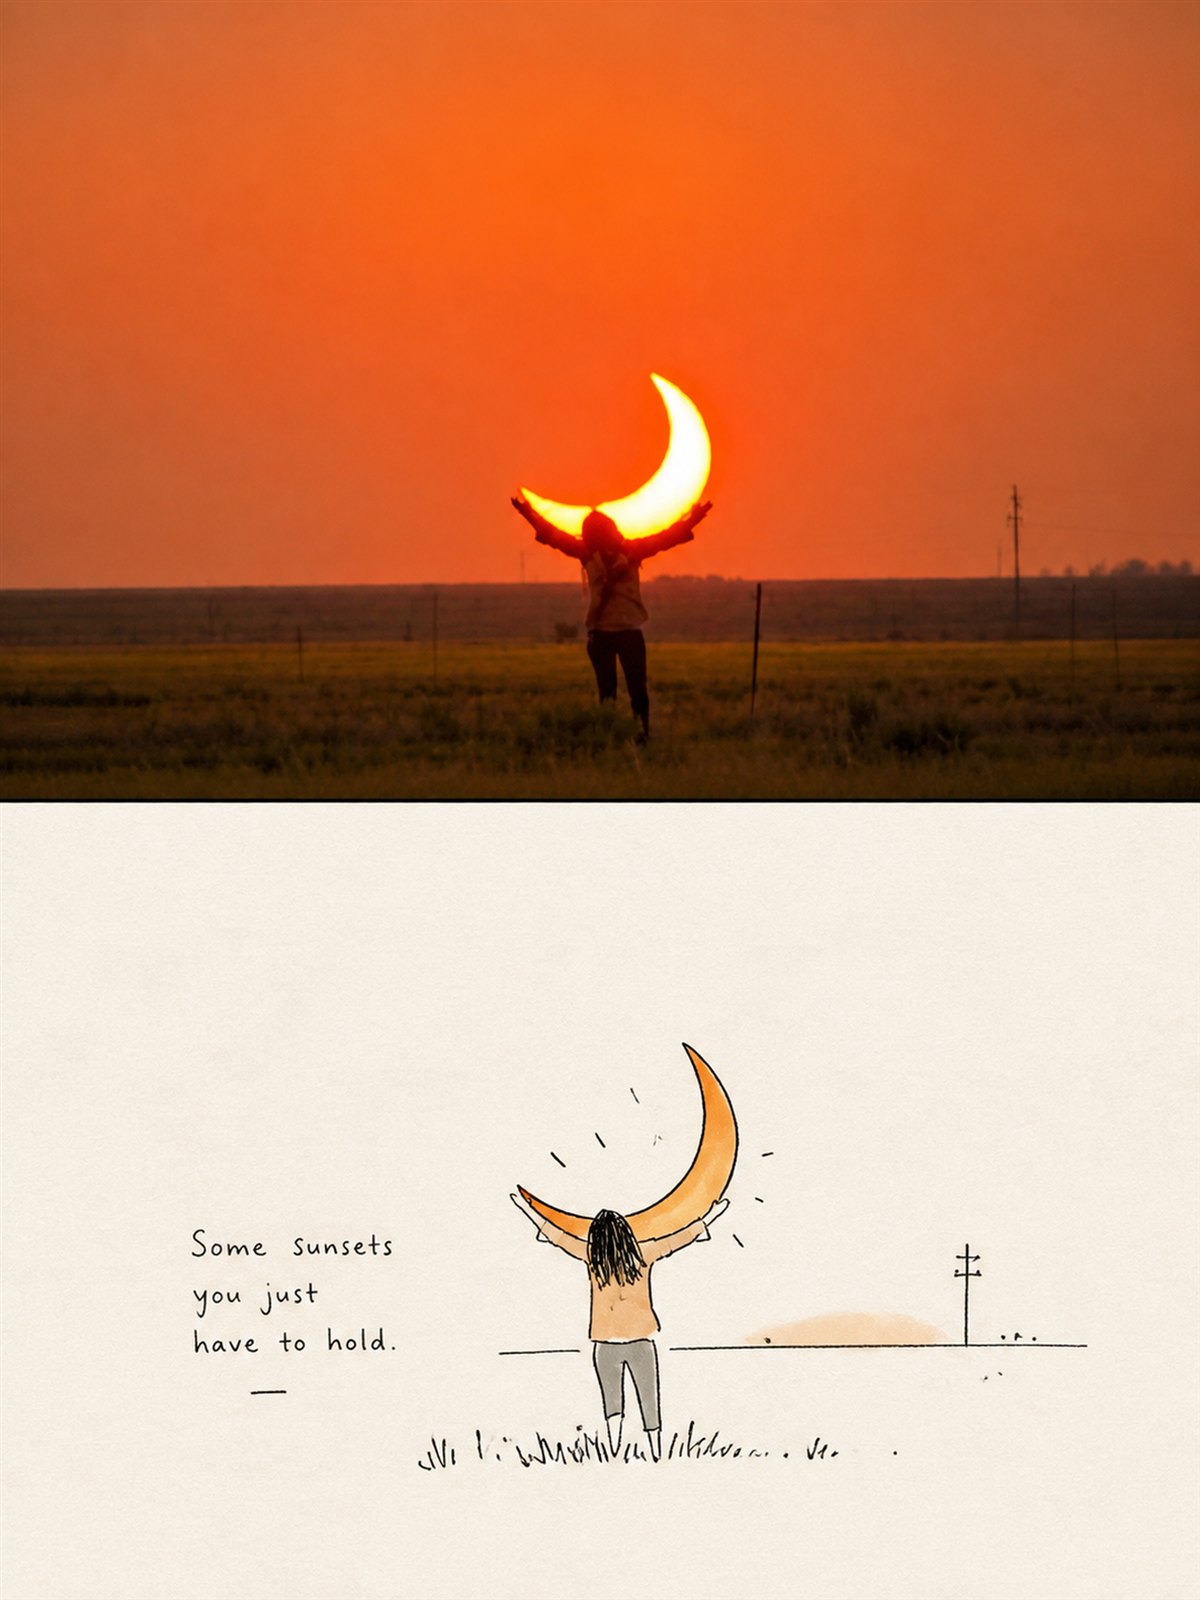
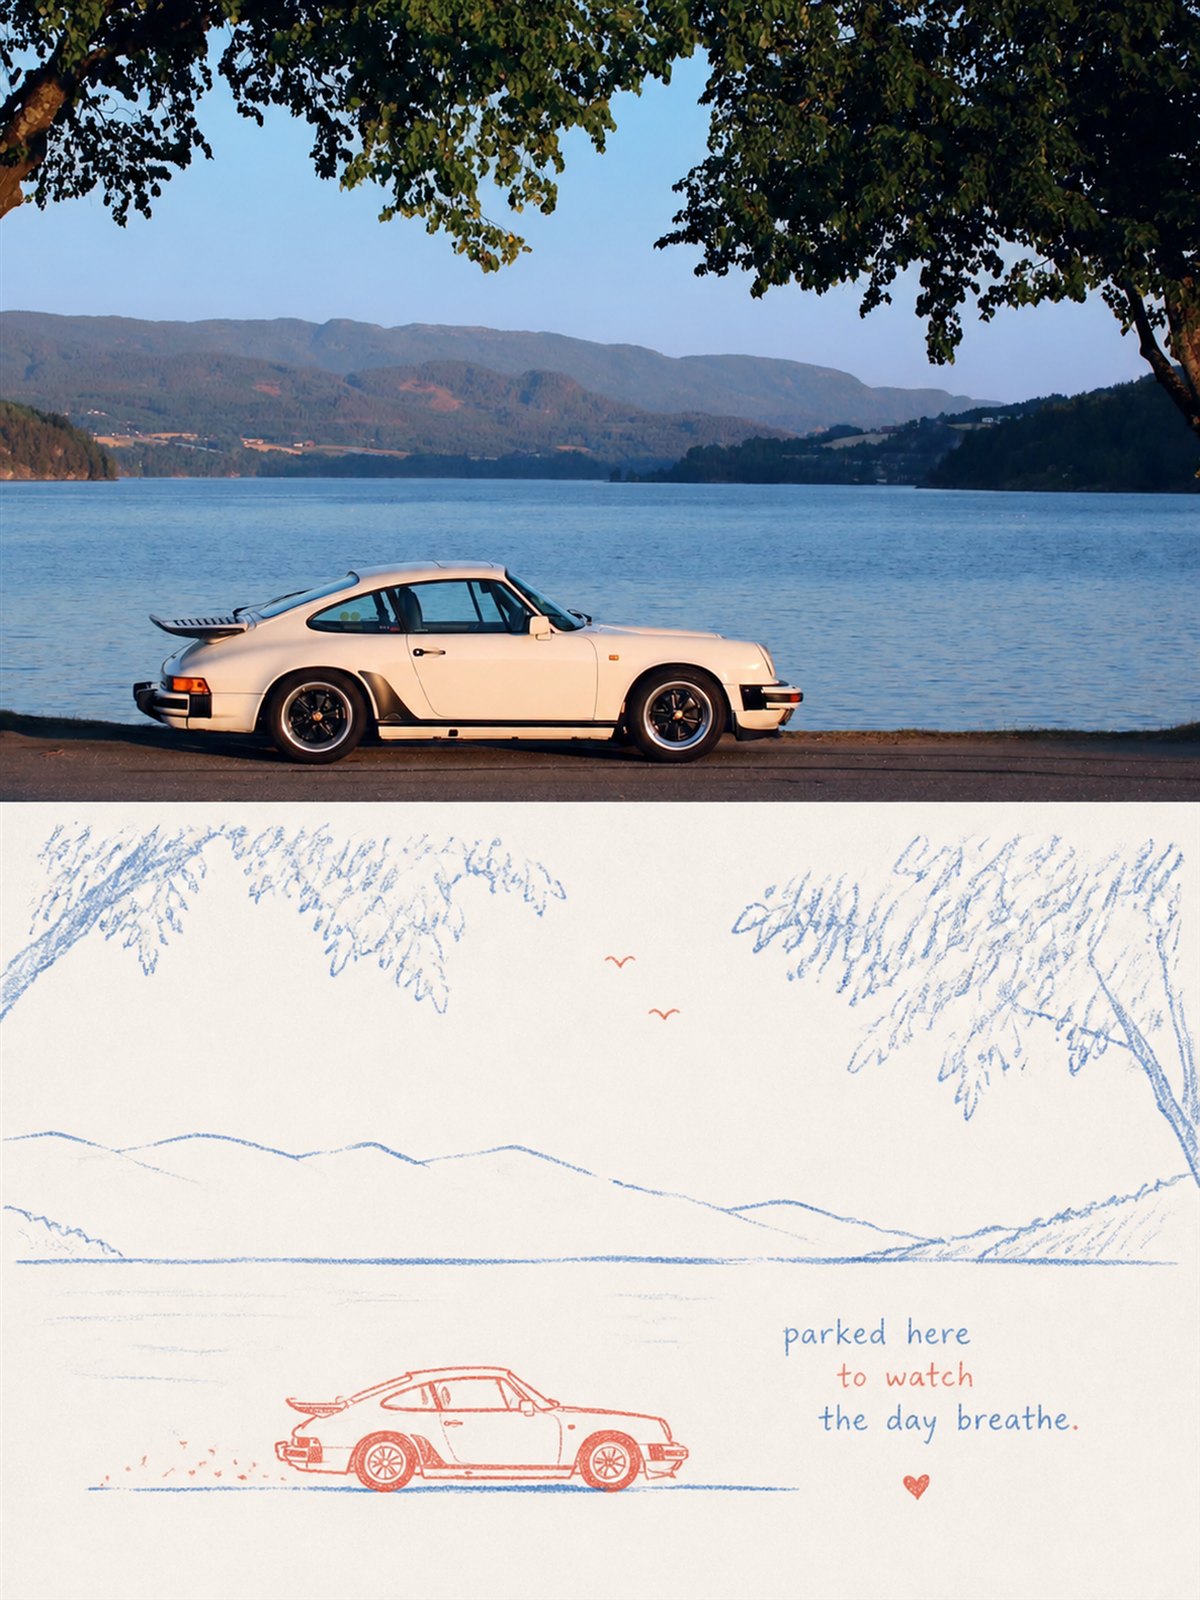
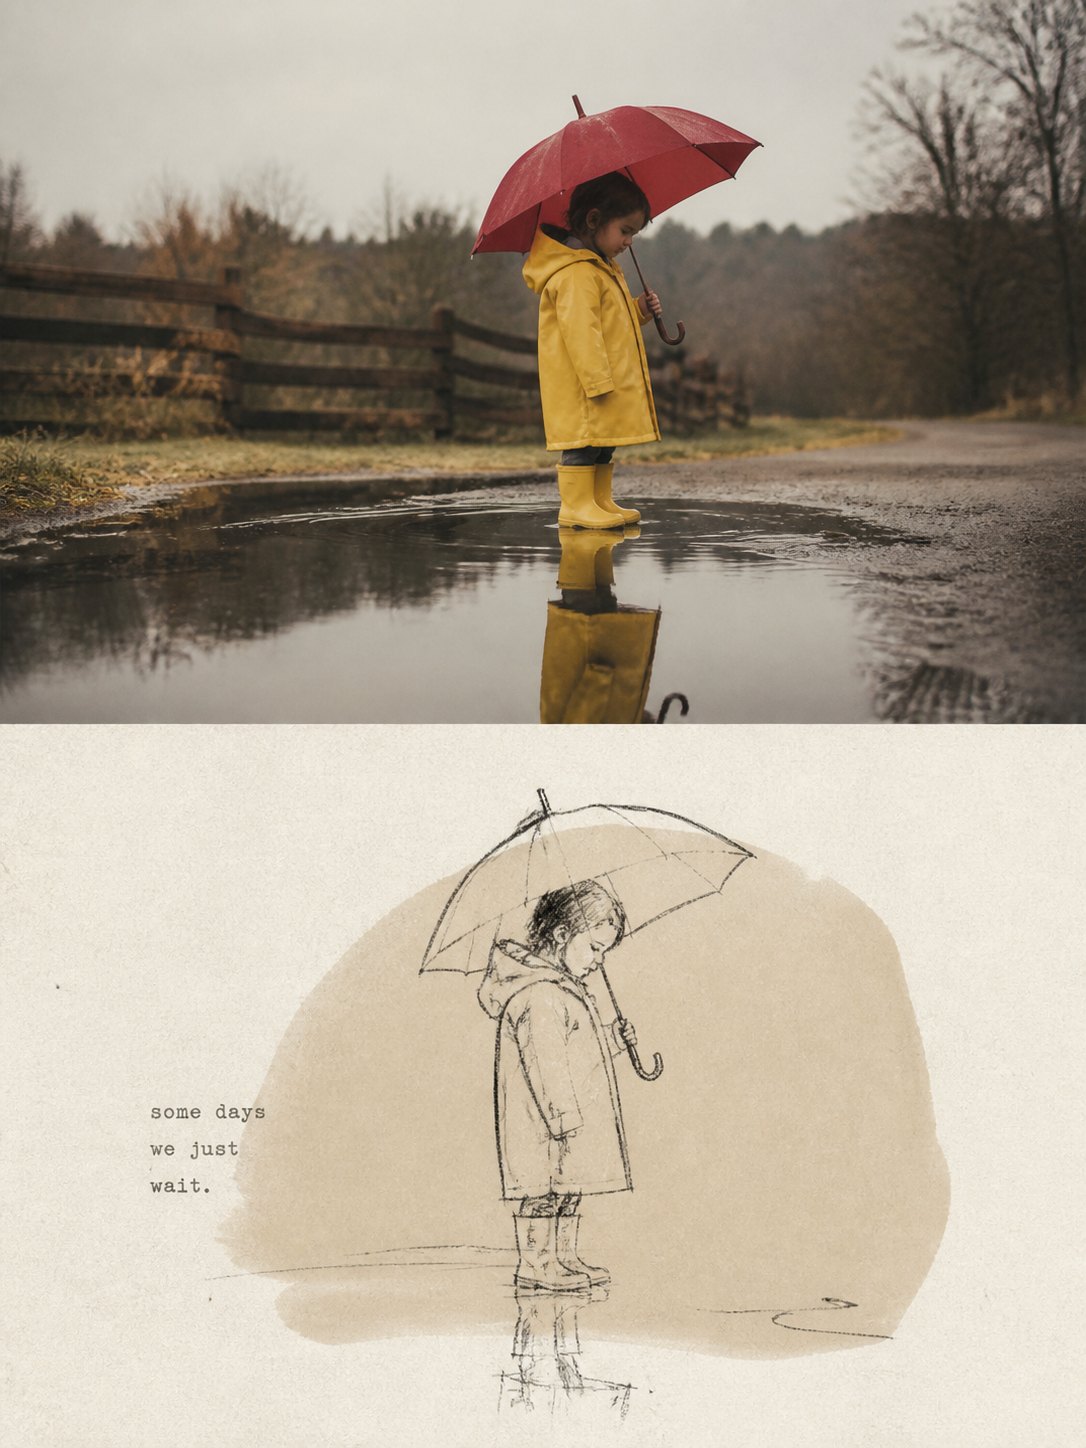
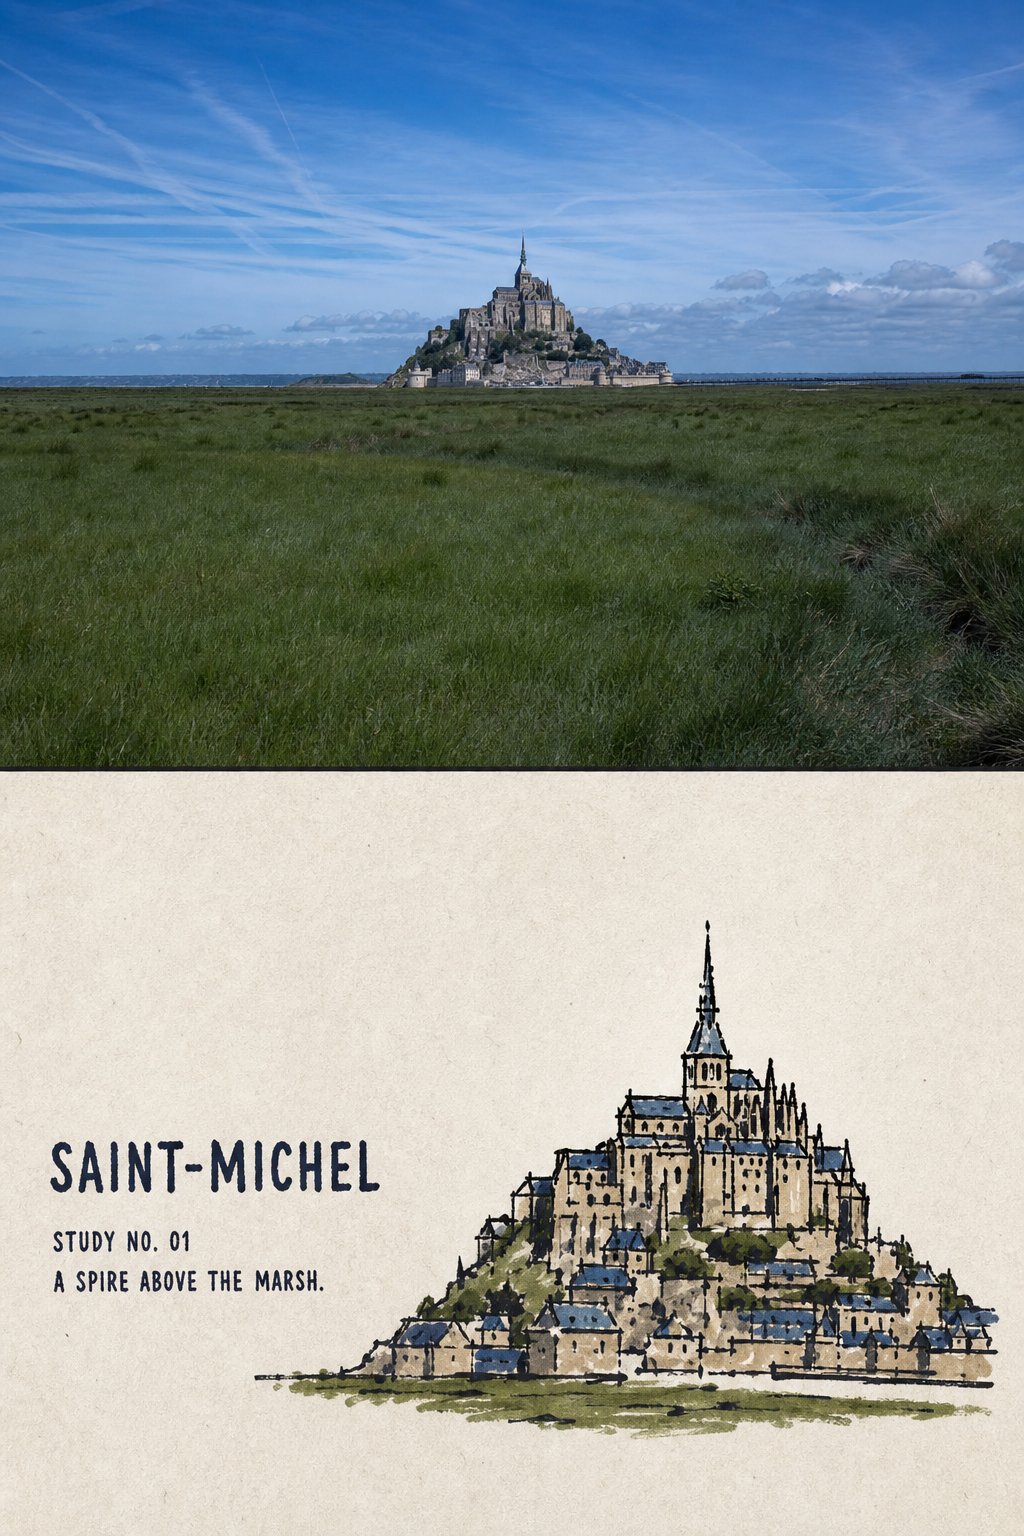
1 / 4Folk ink line landmark
line artpaint
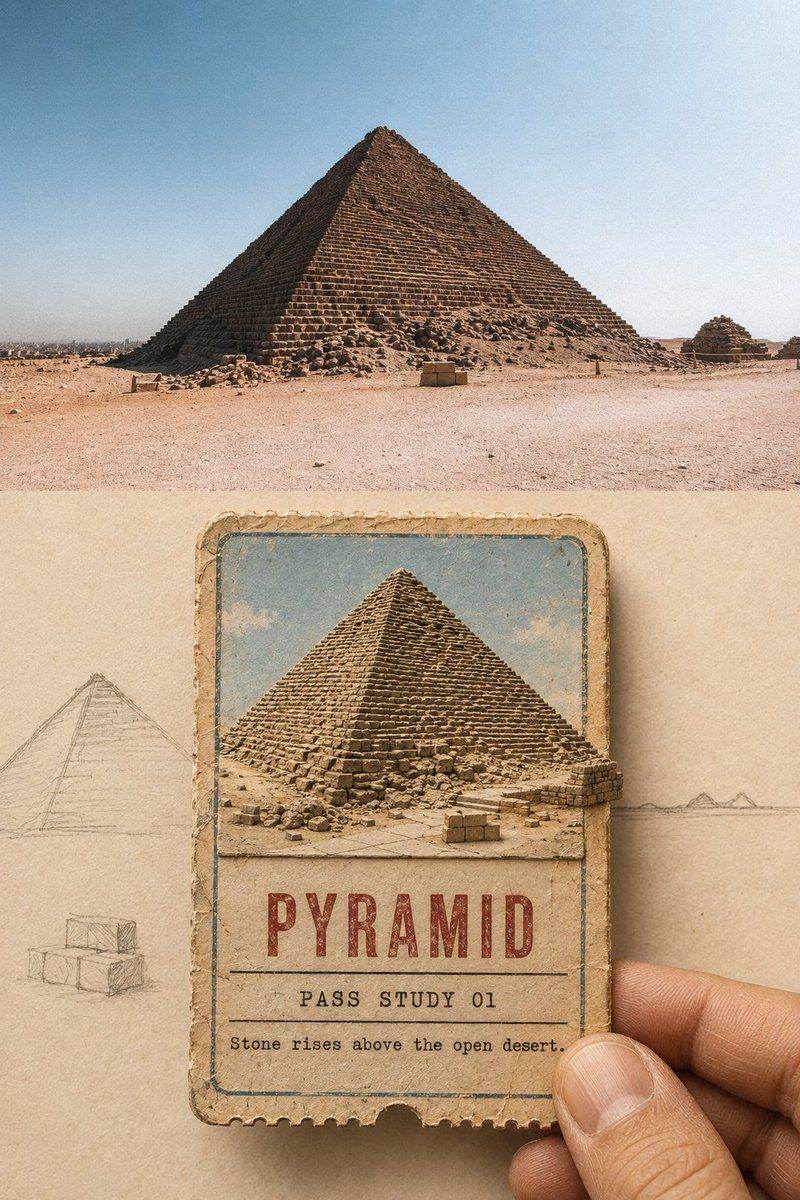
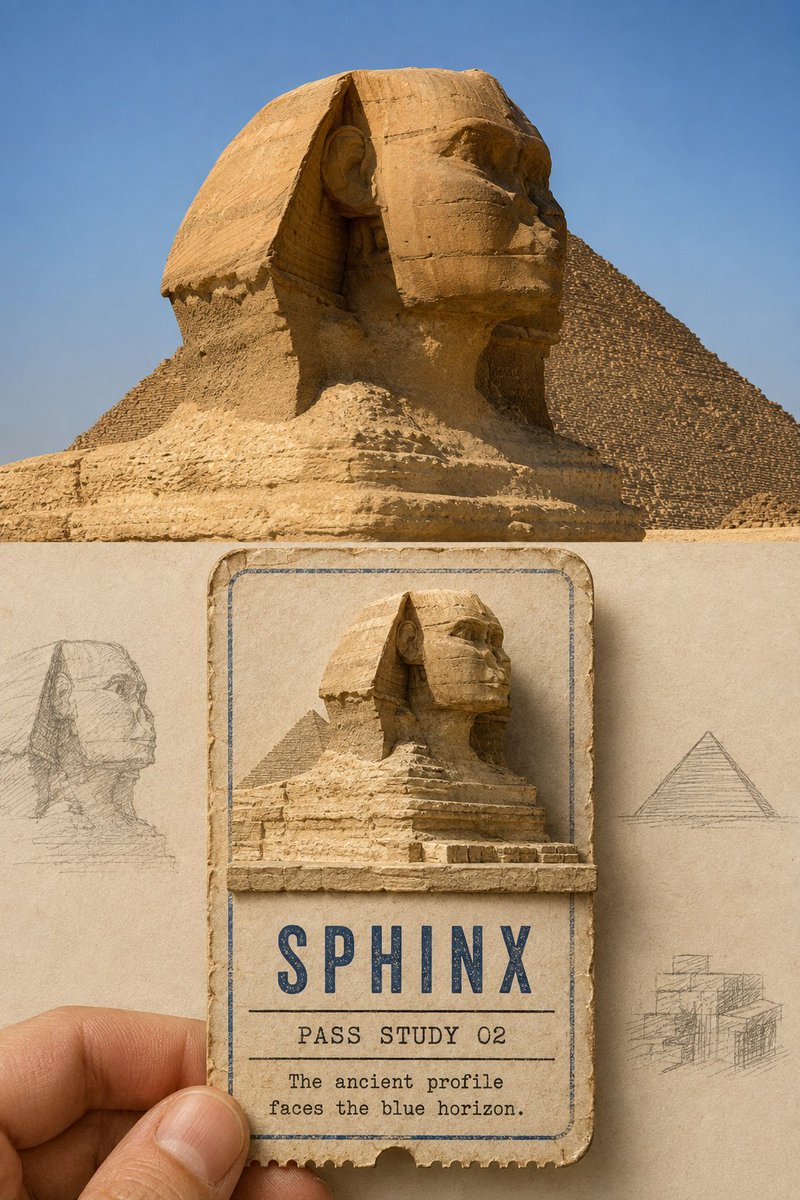
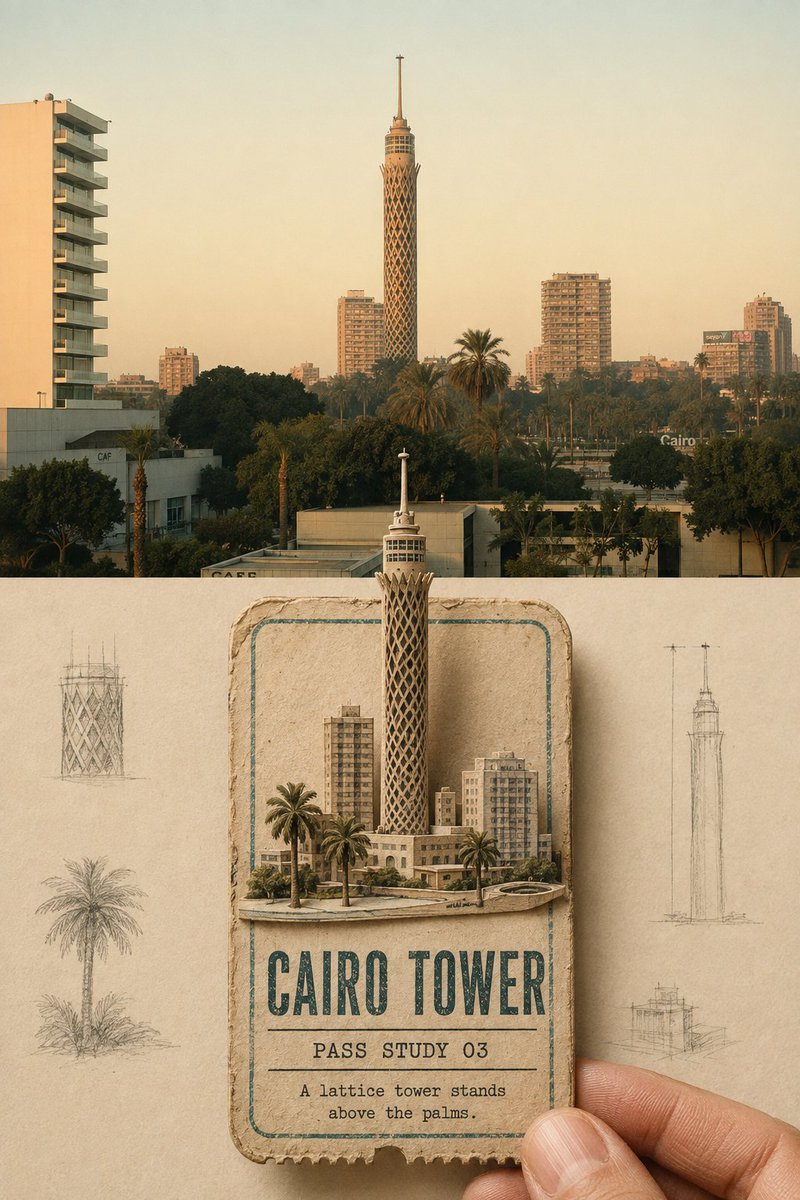
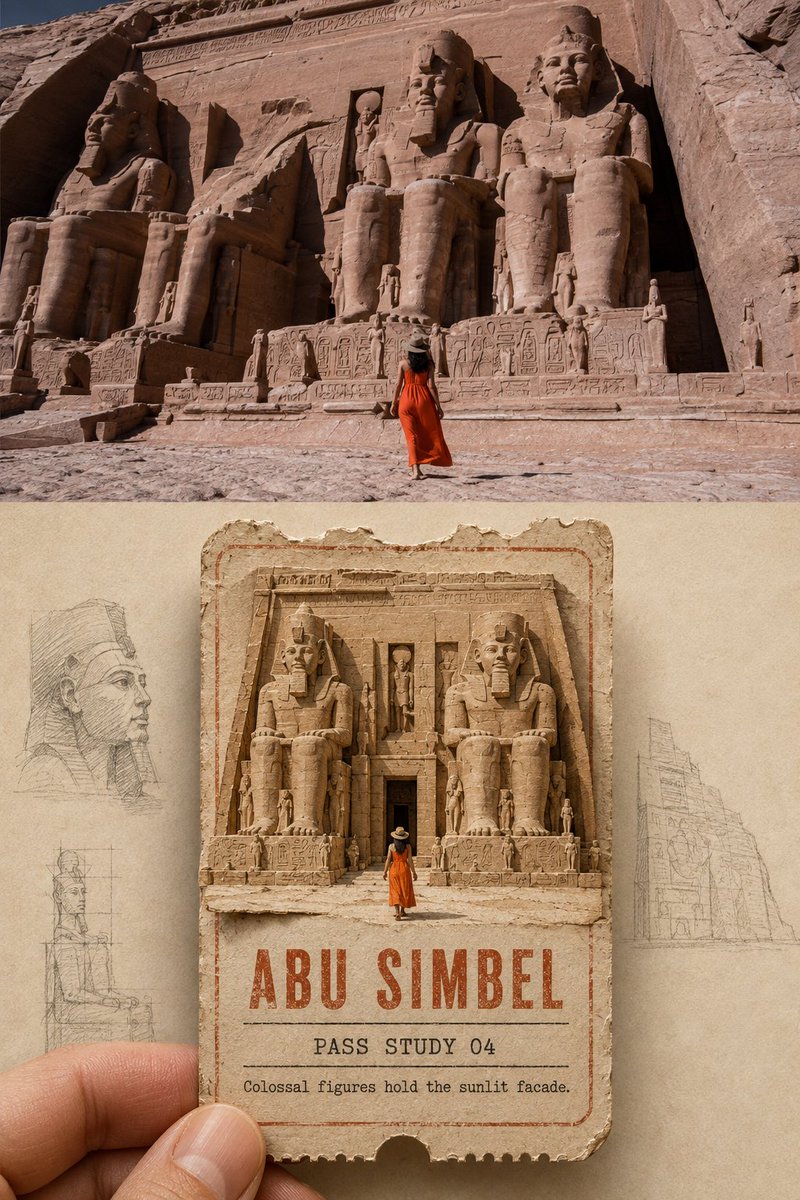
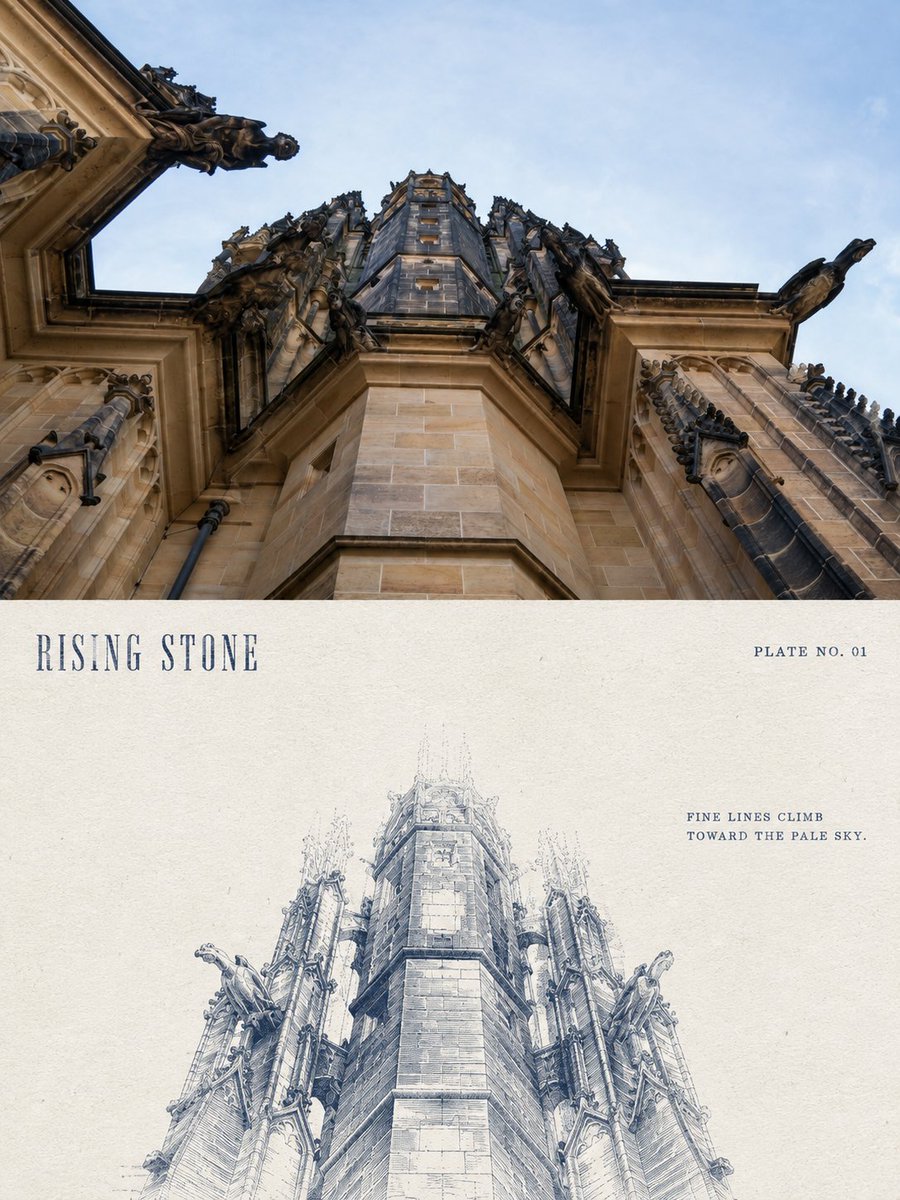
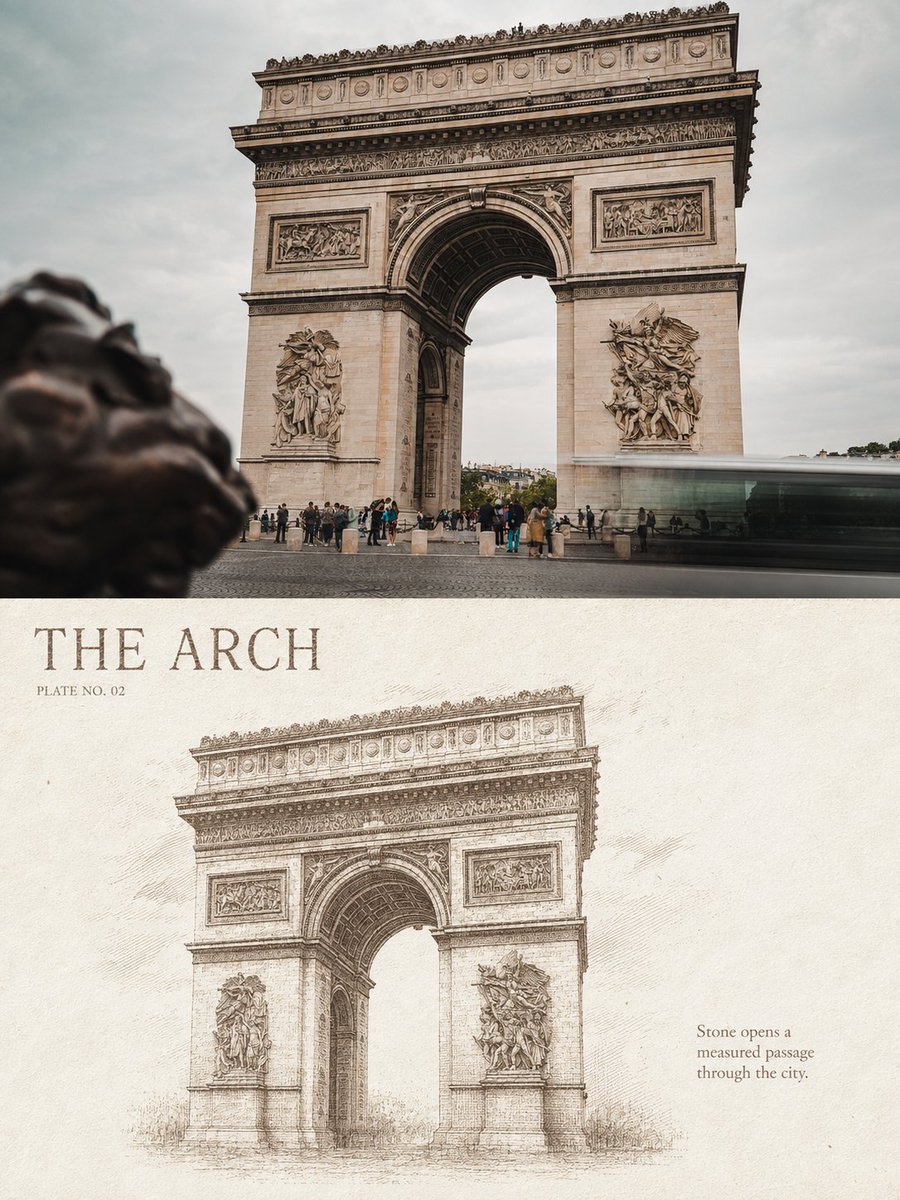
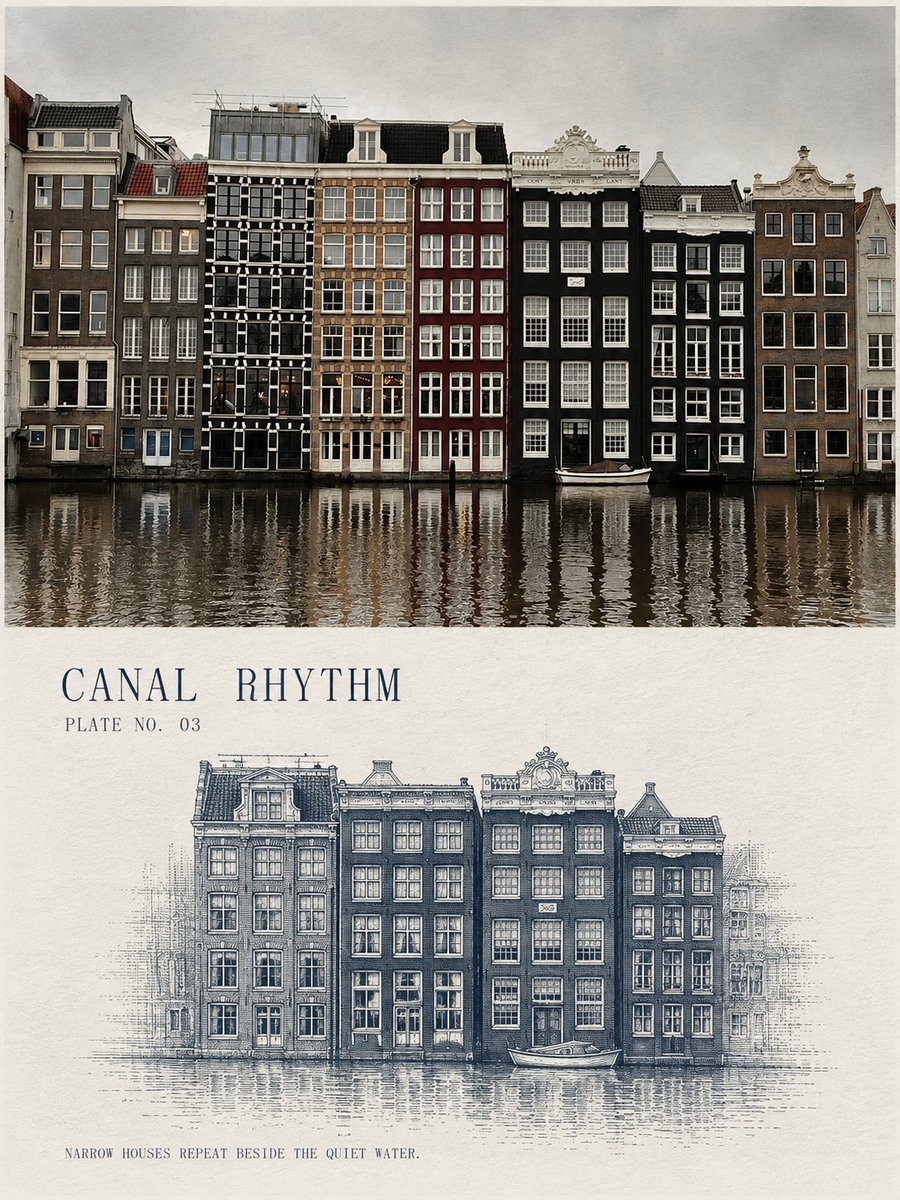
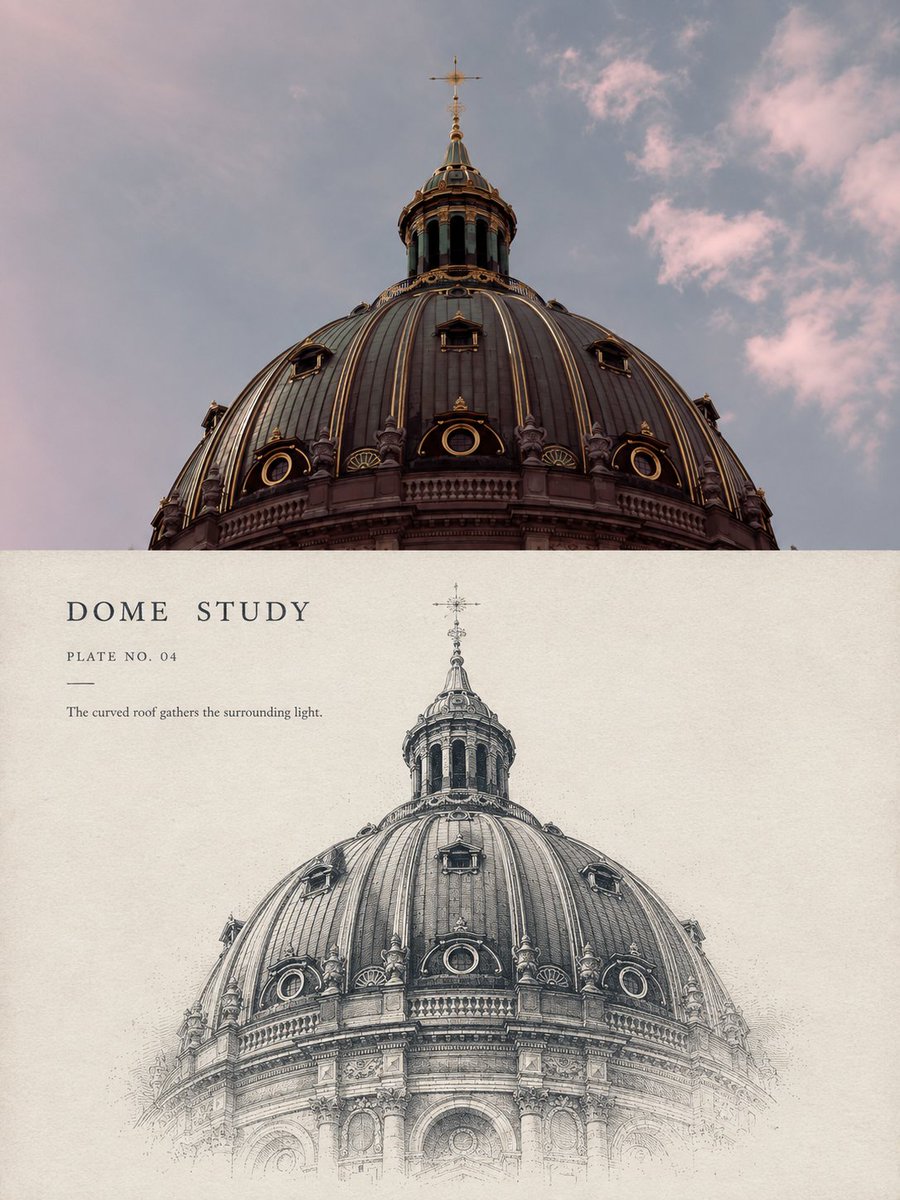
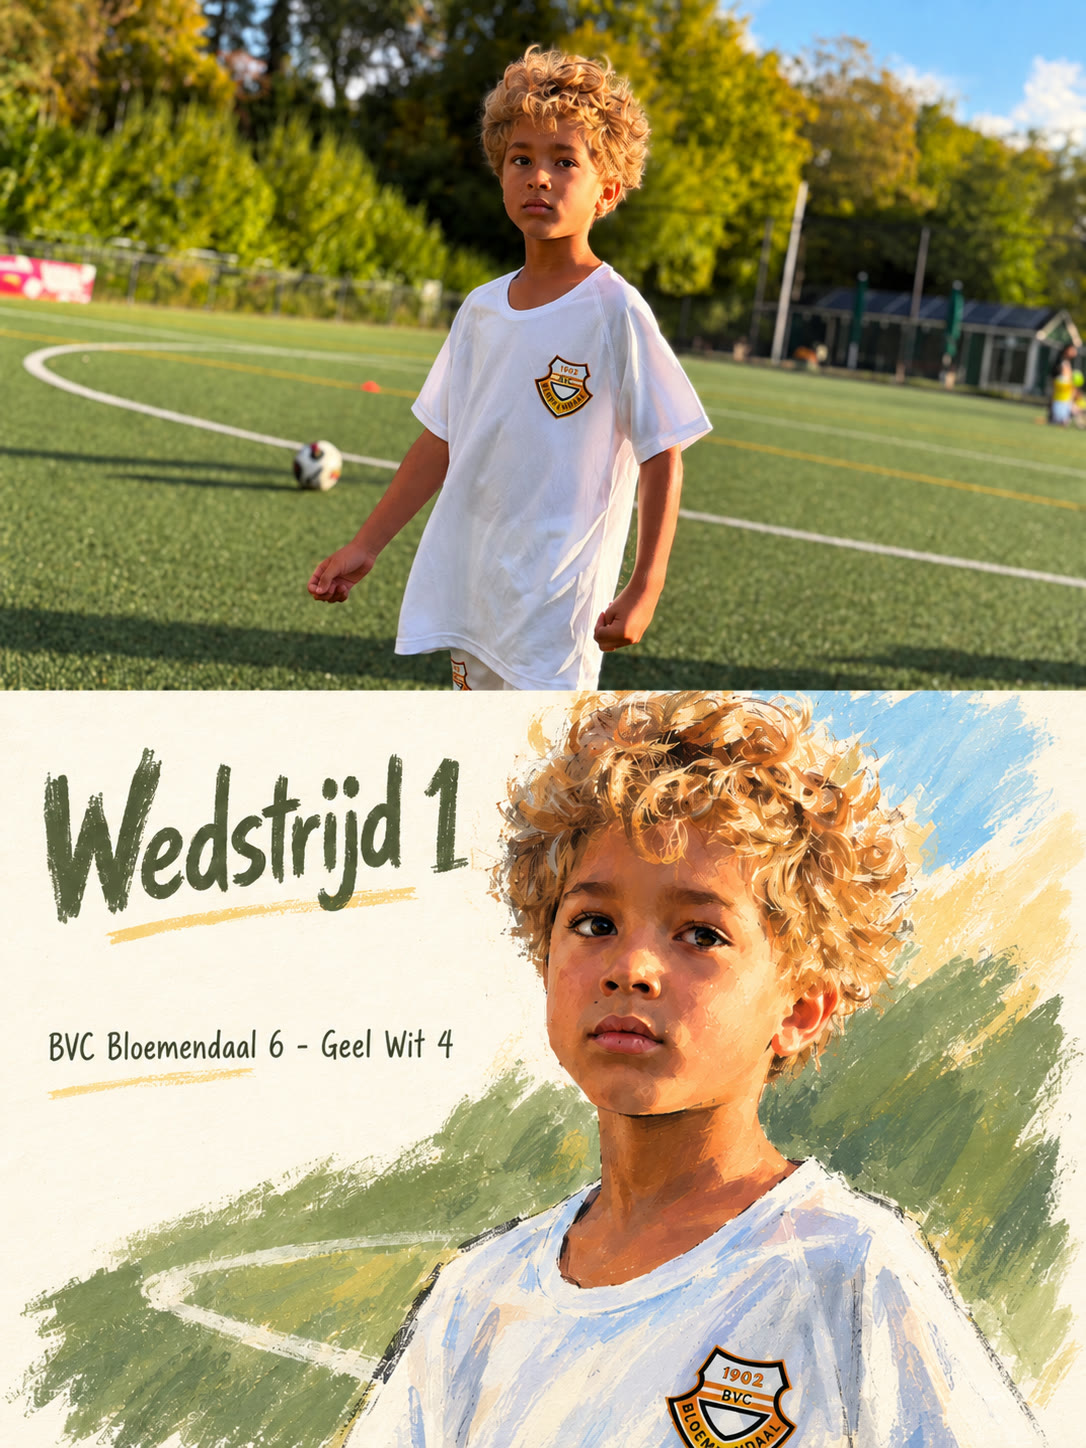
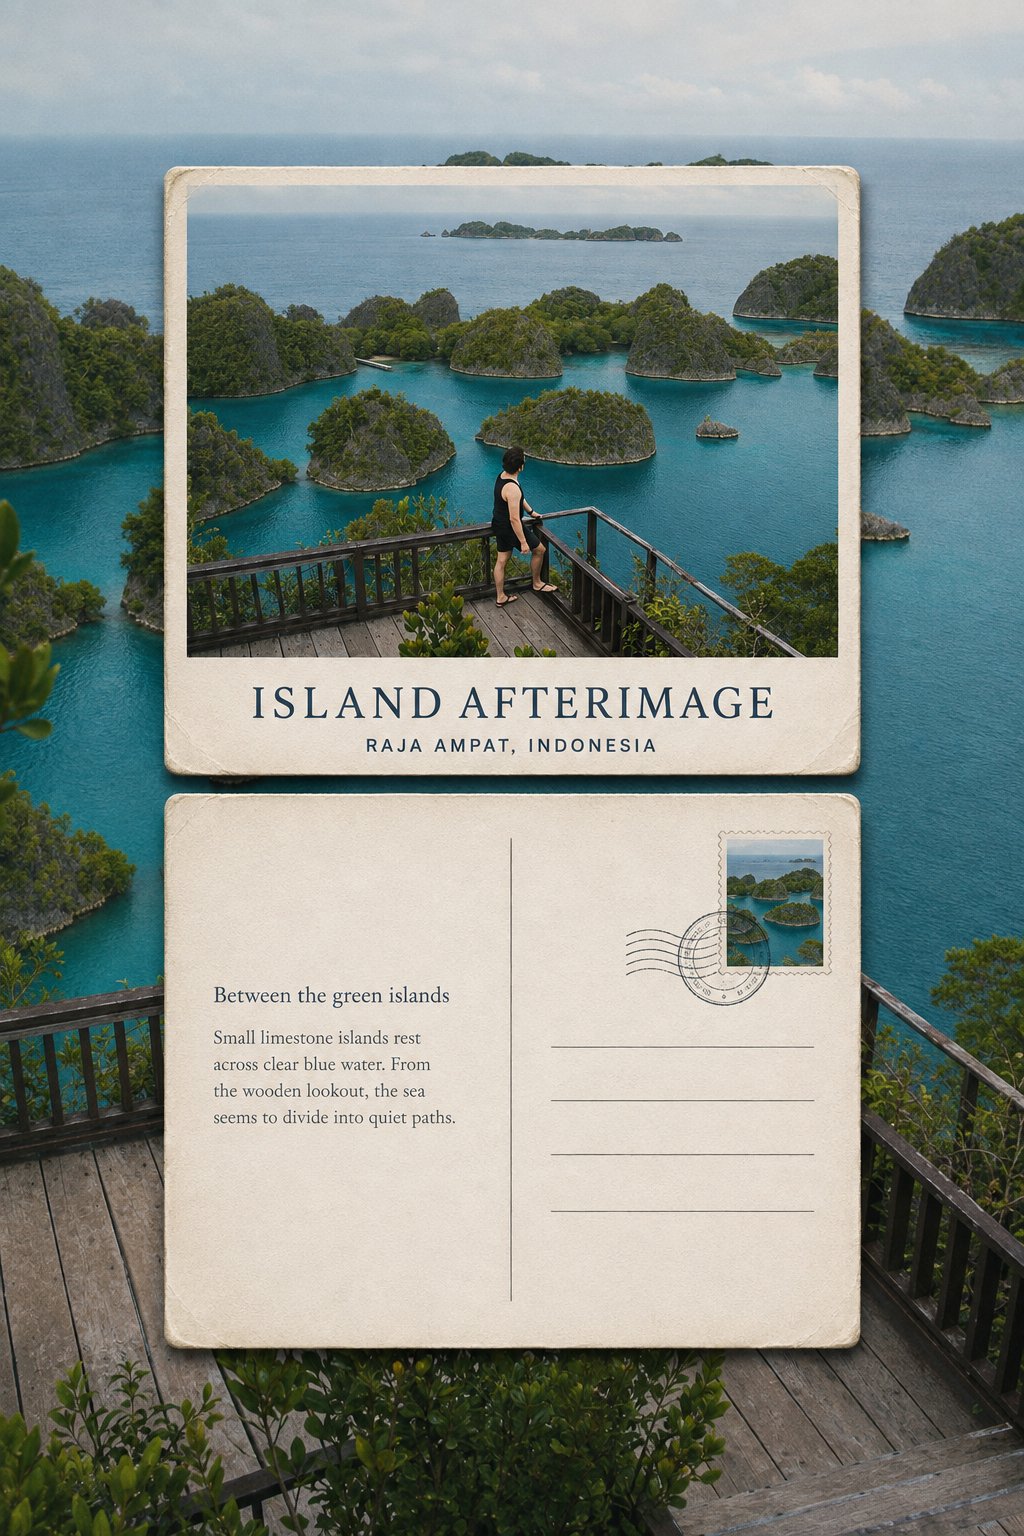
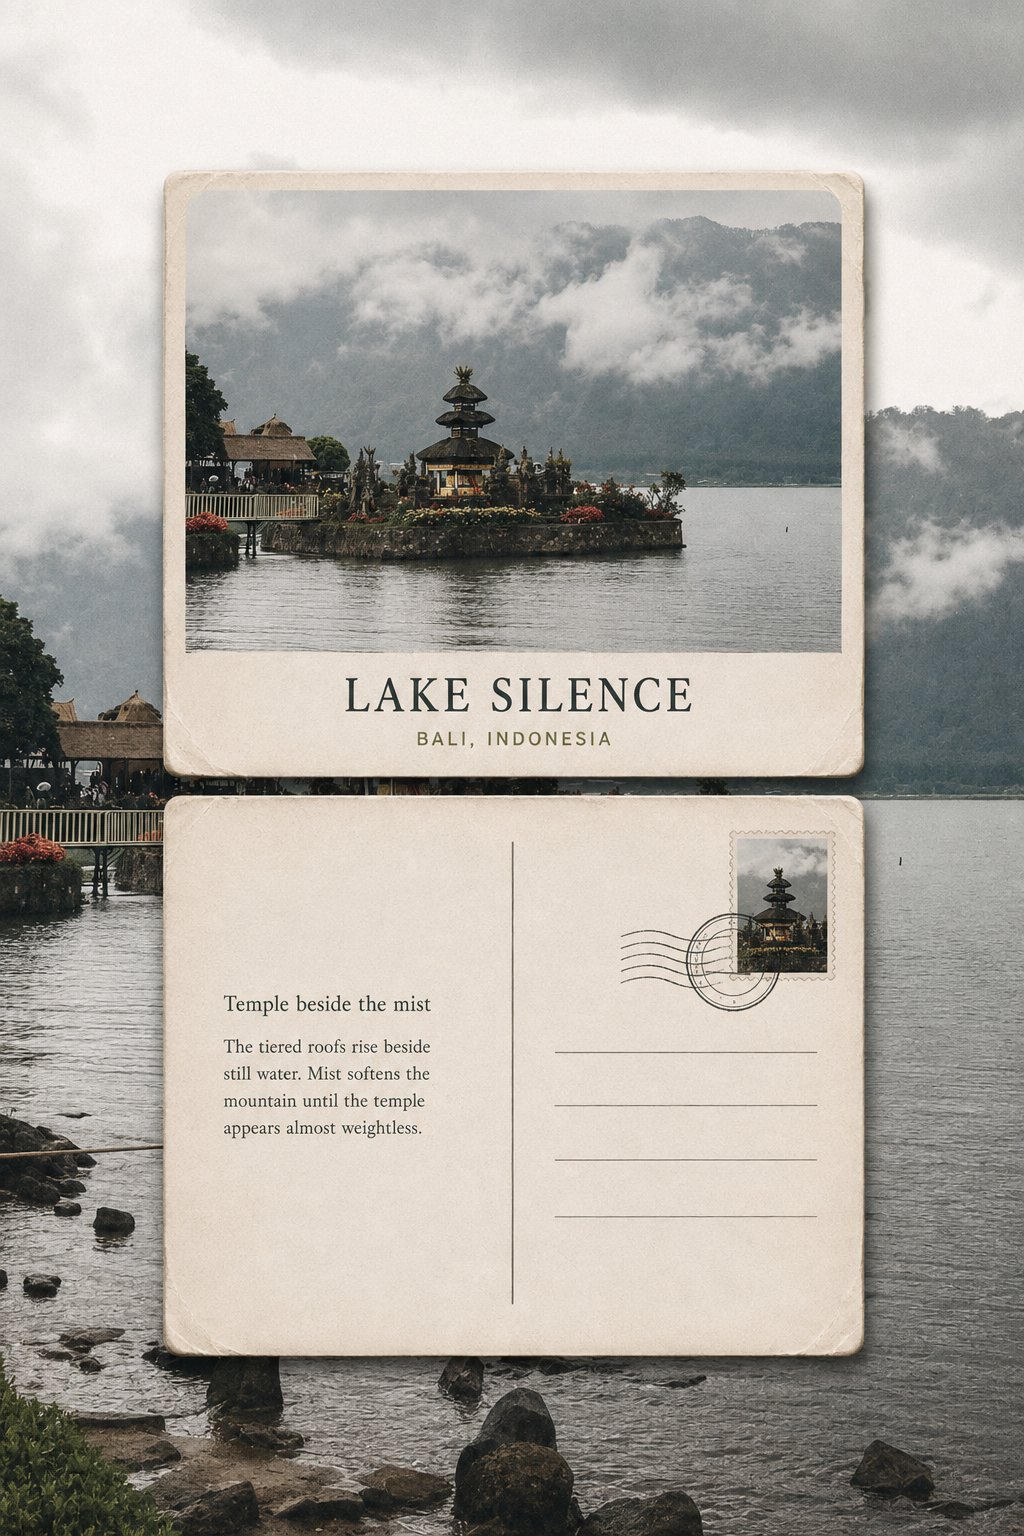
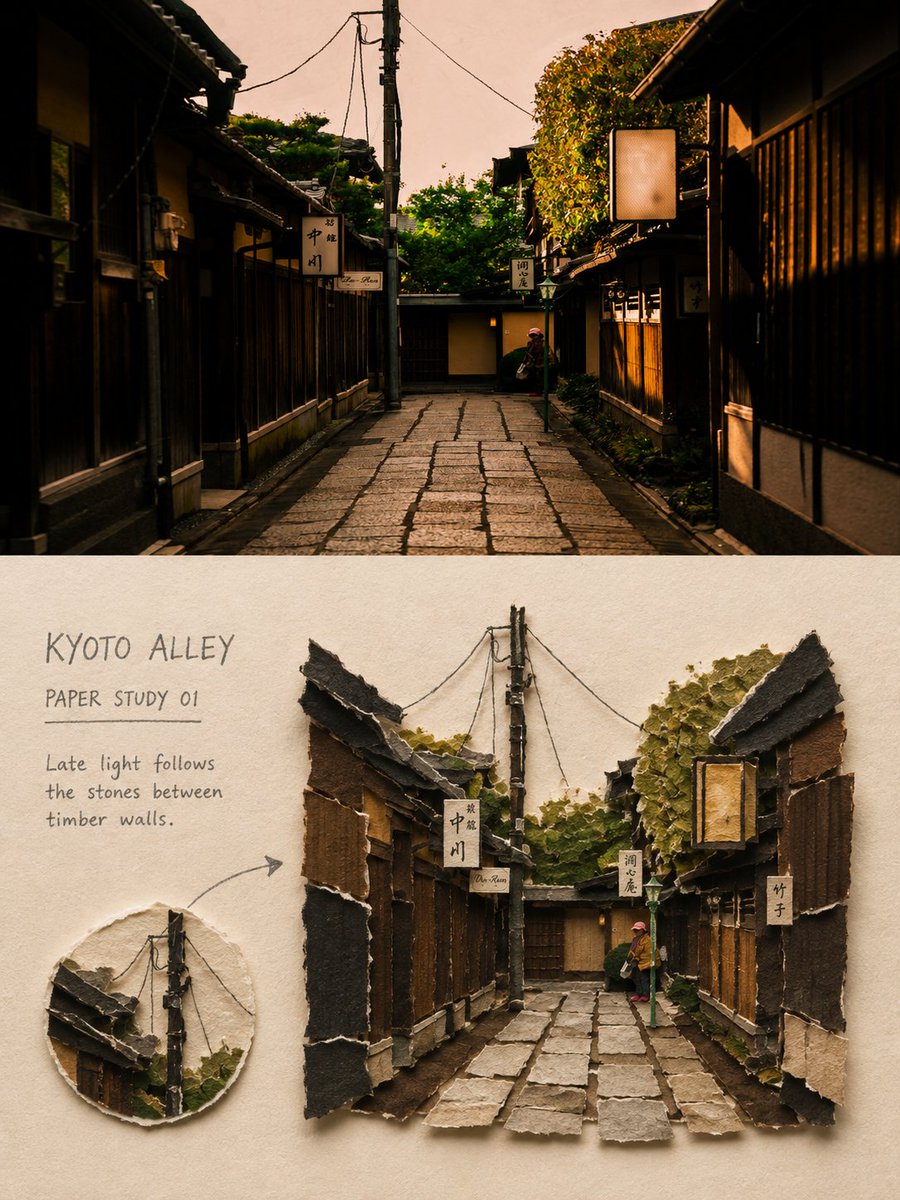
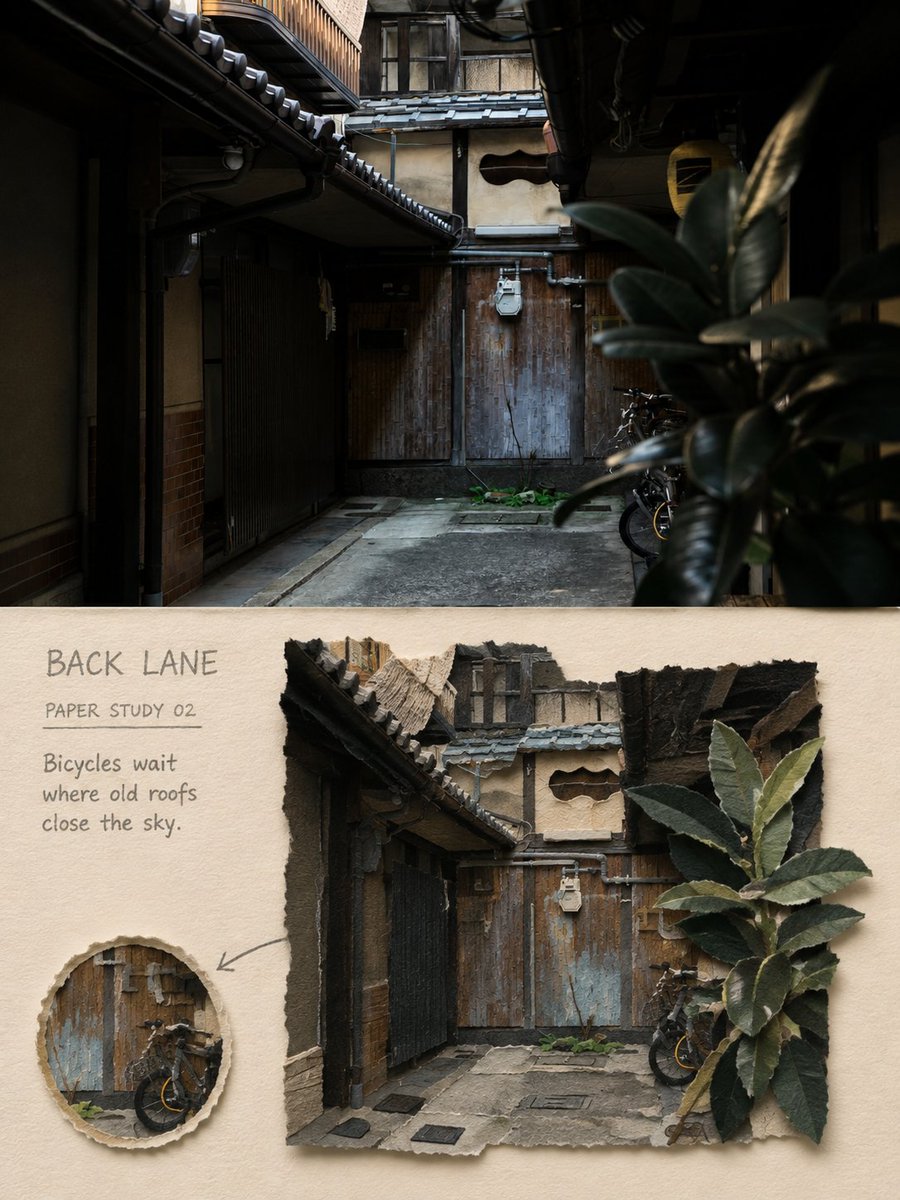
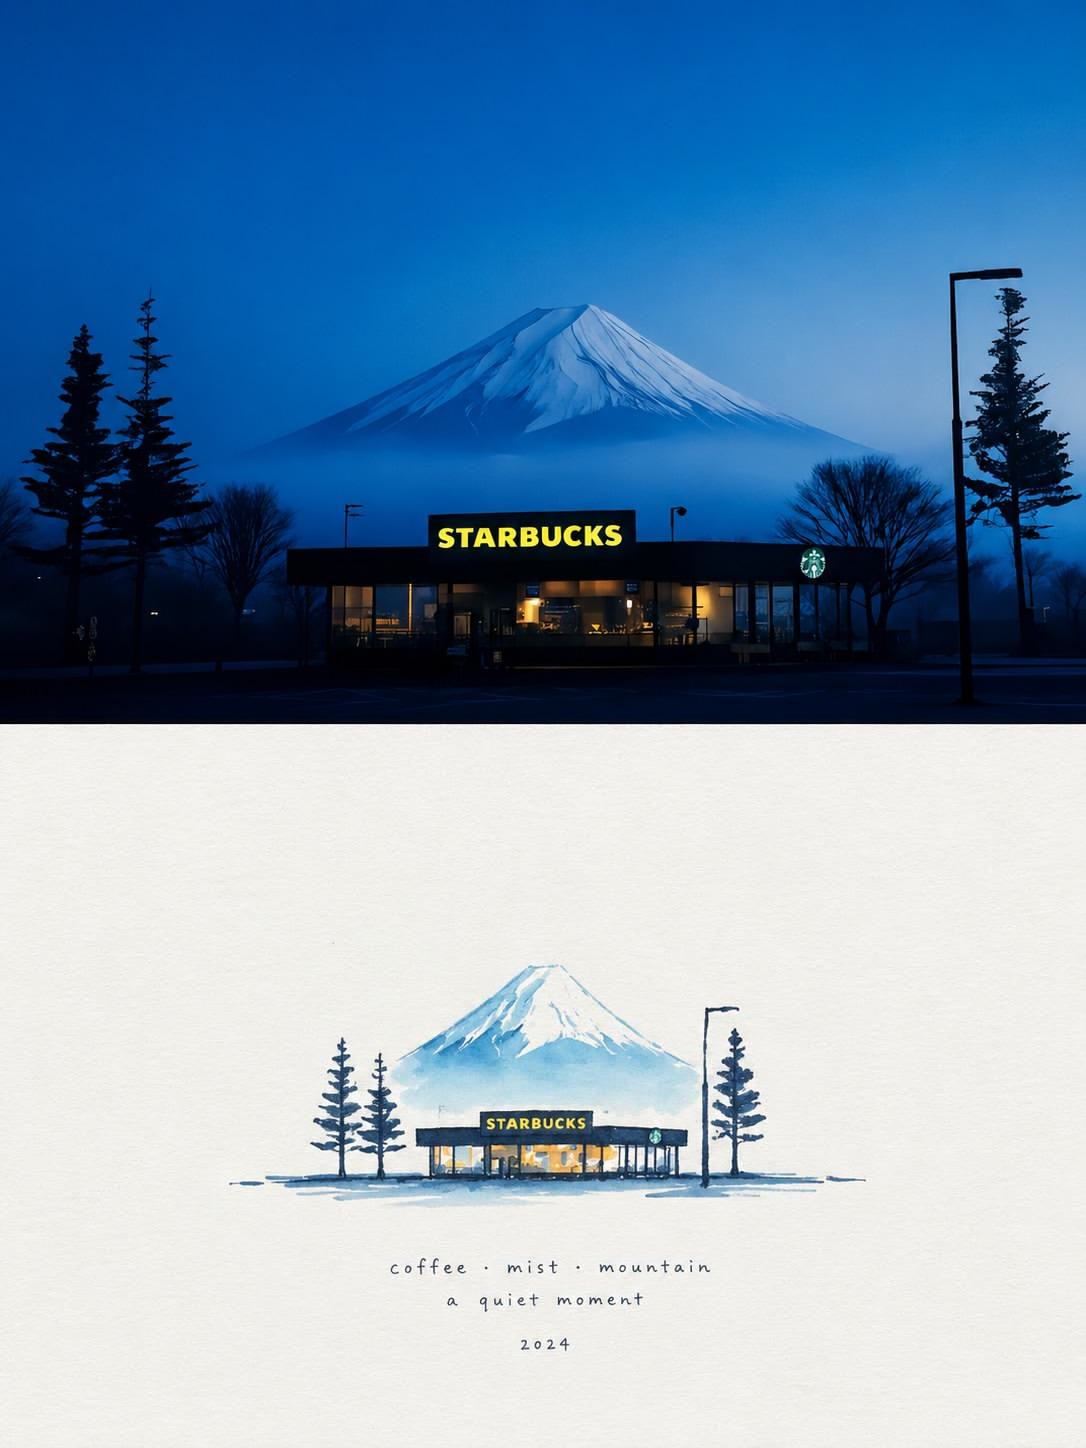
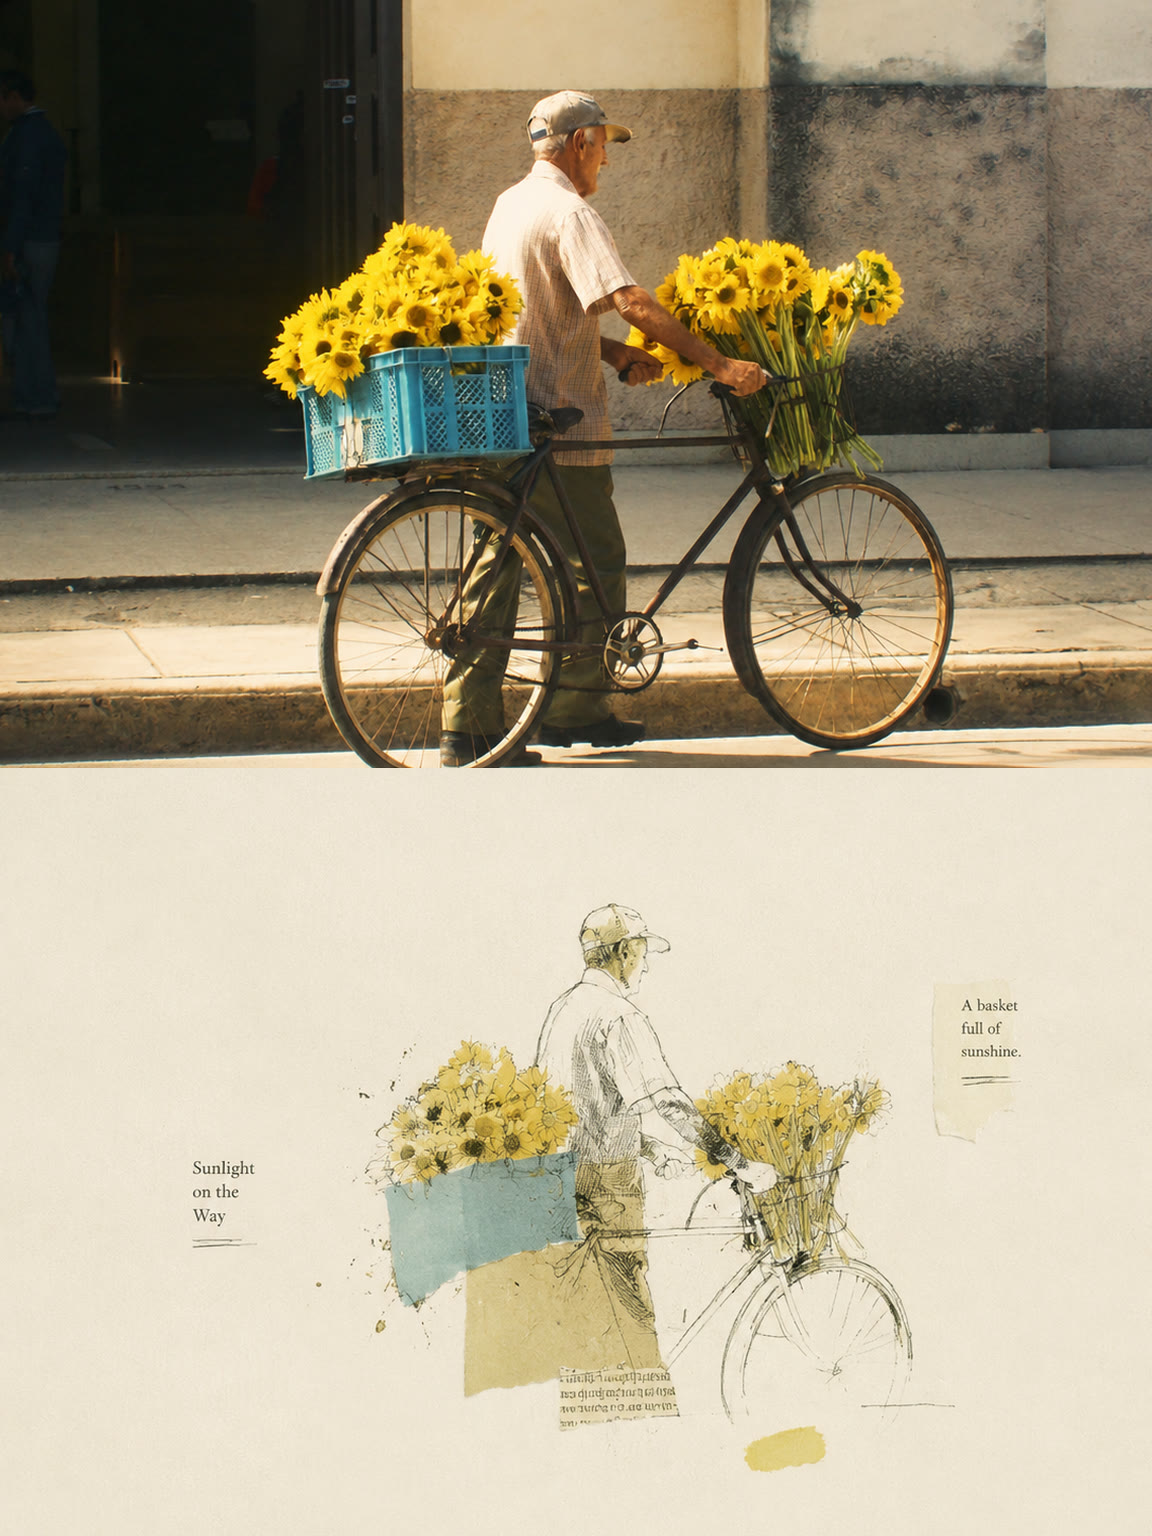
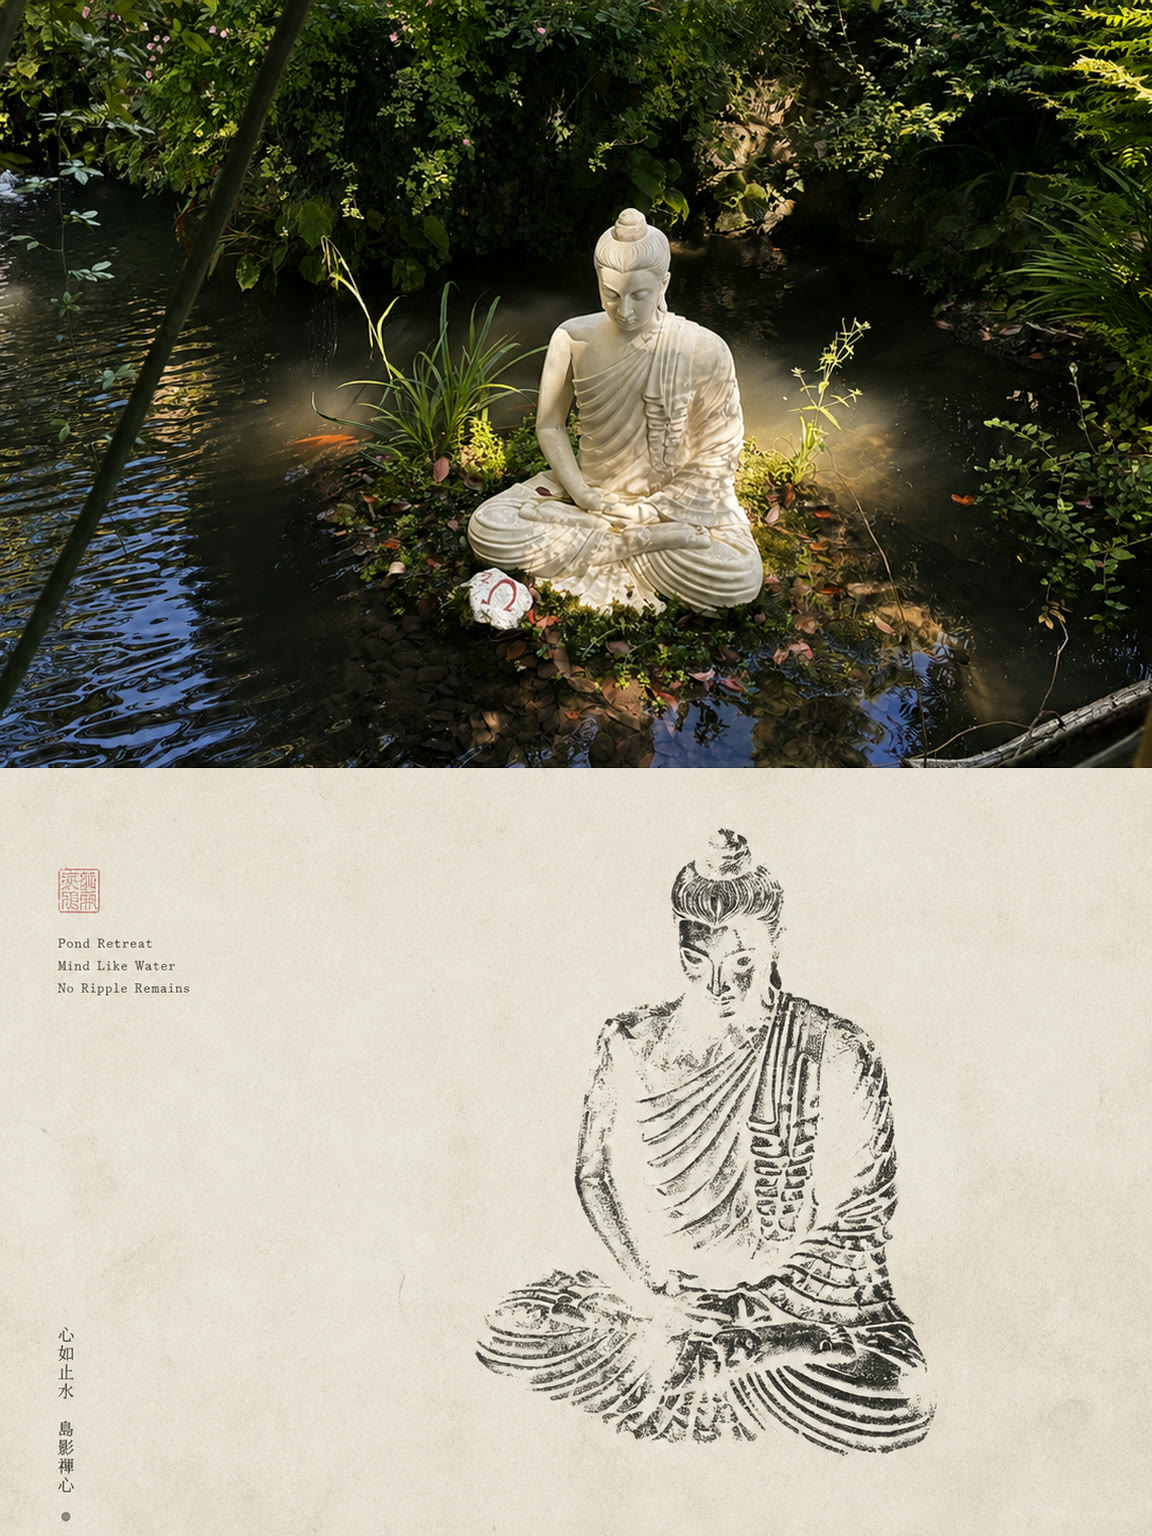
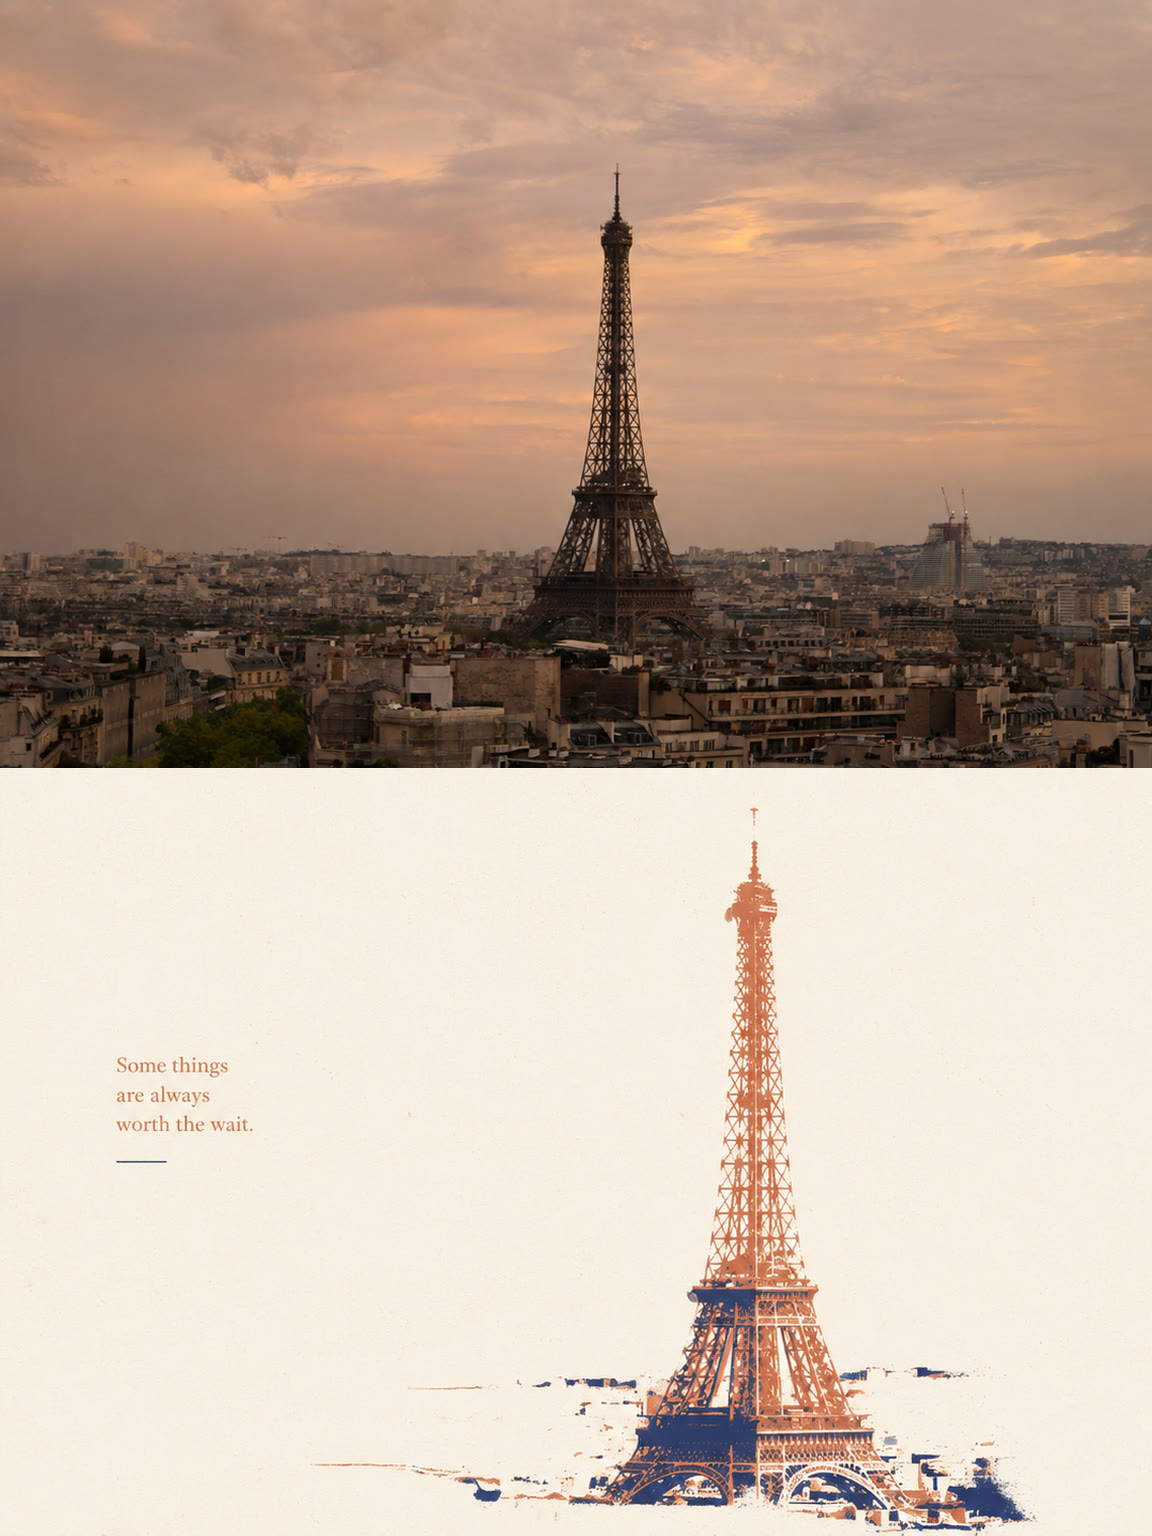
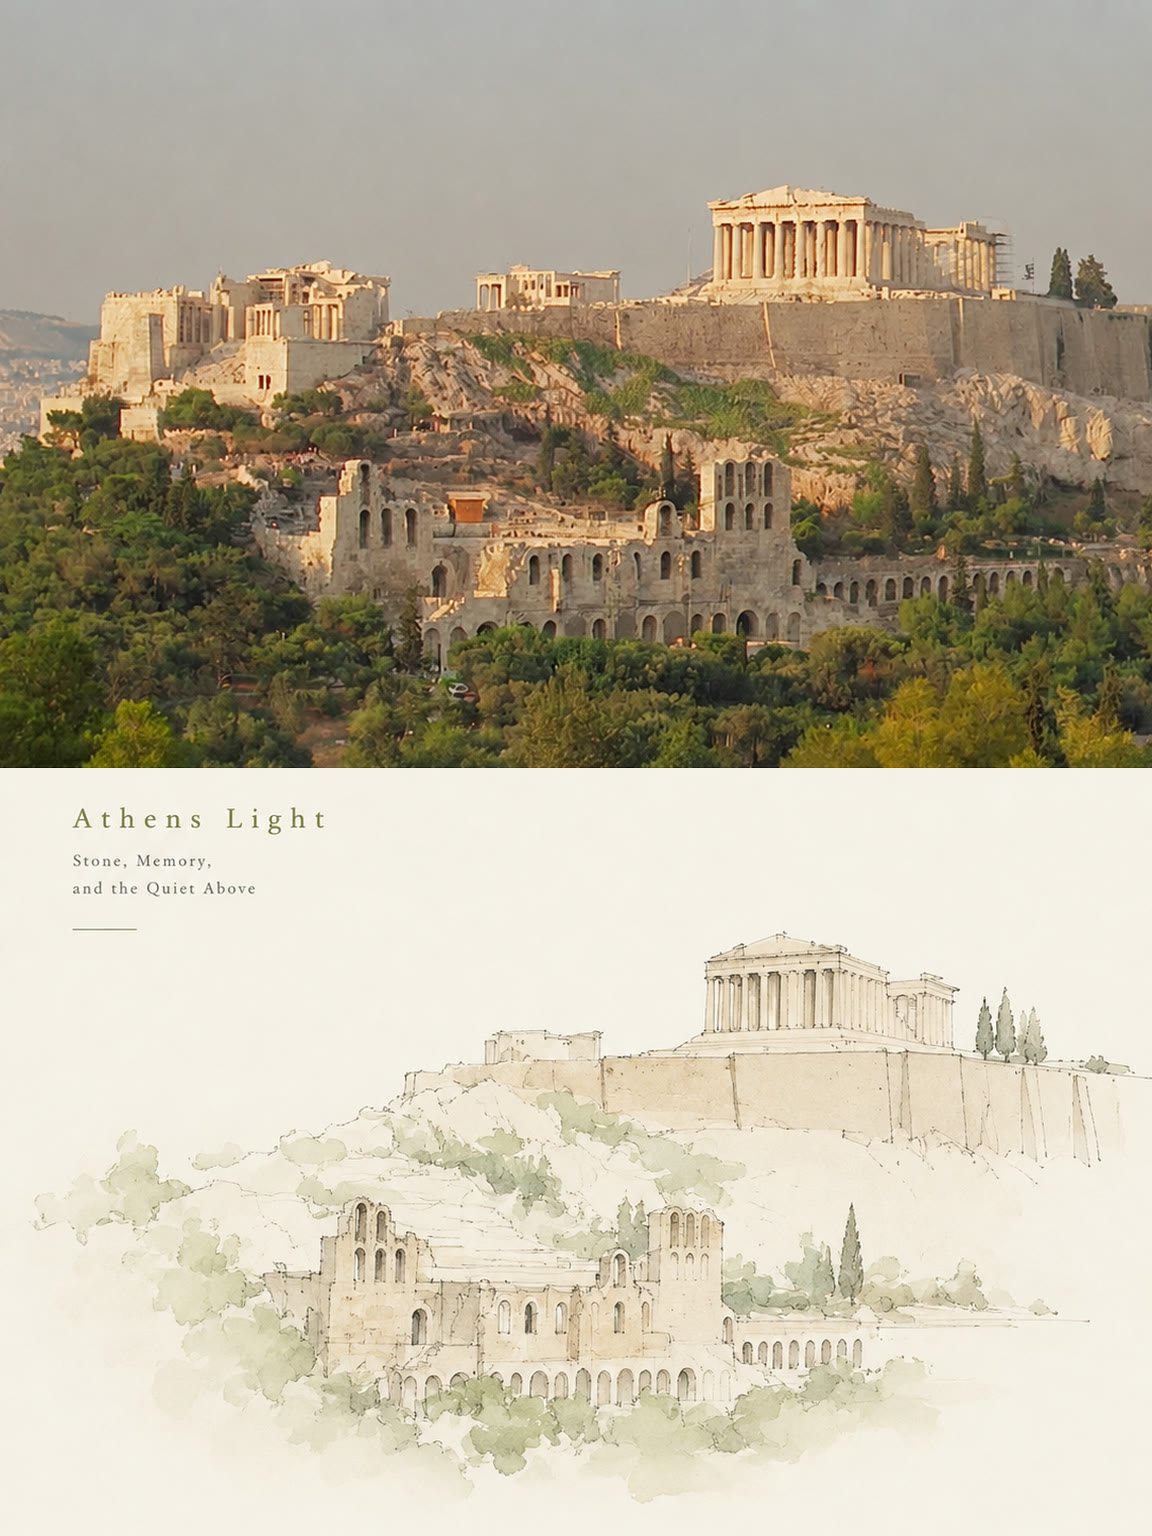
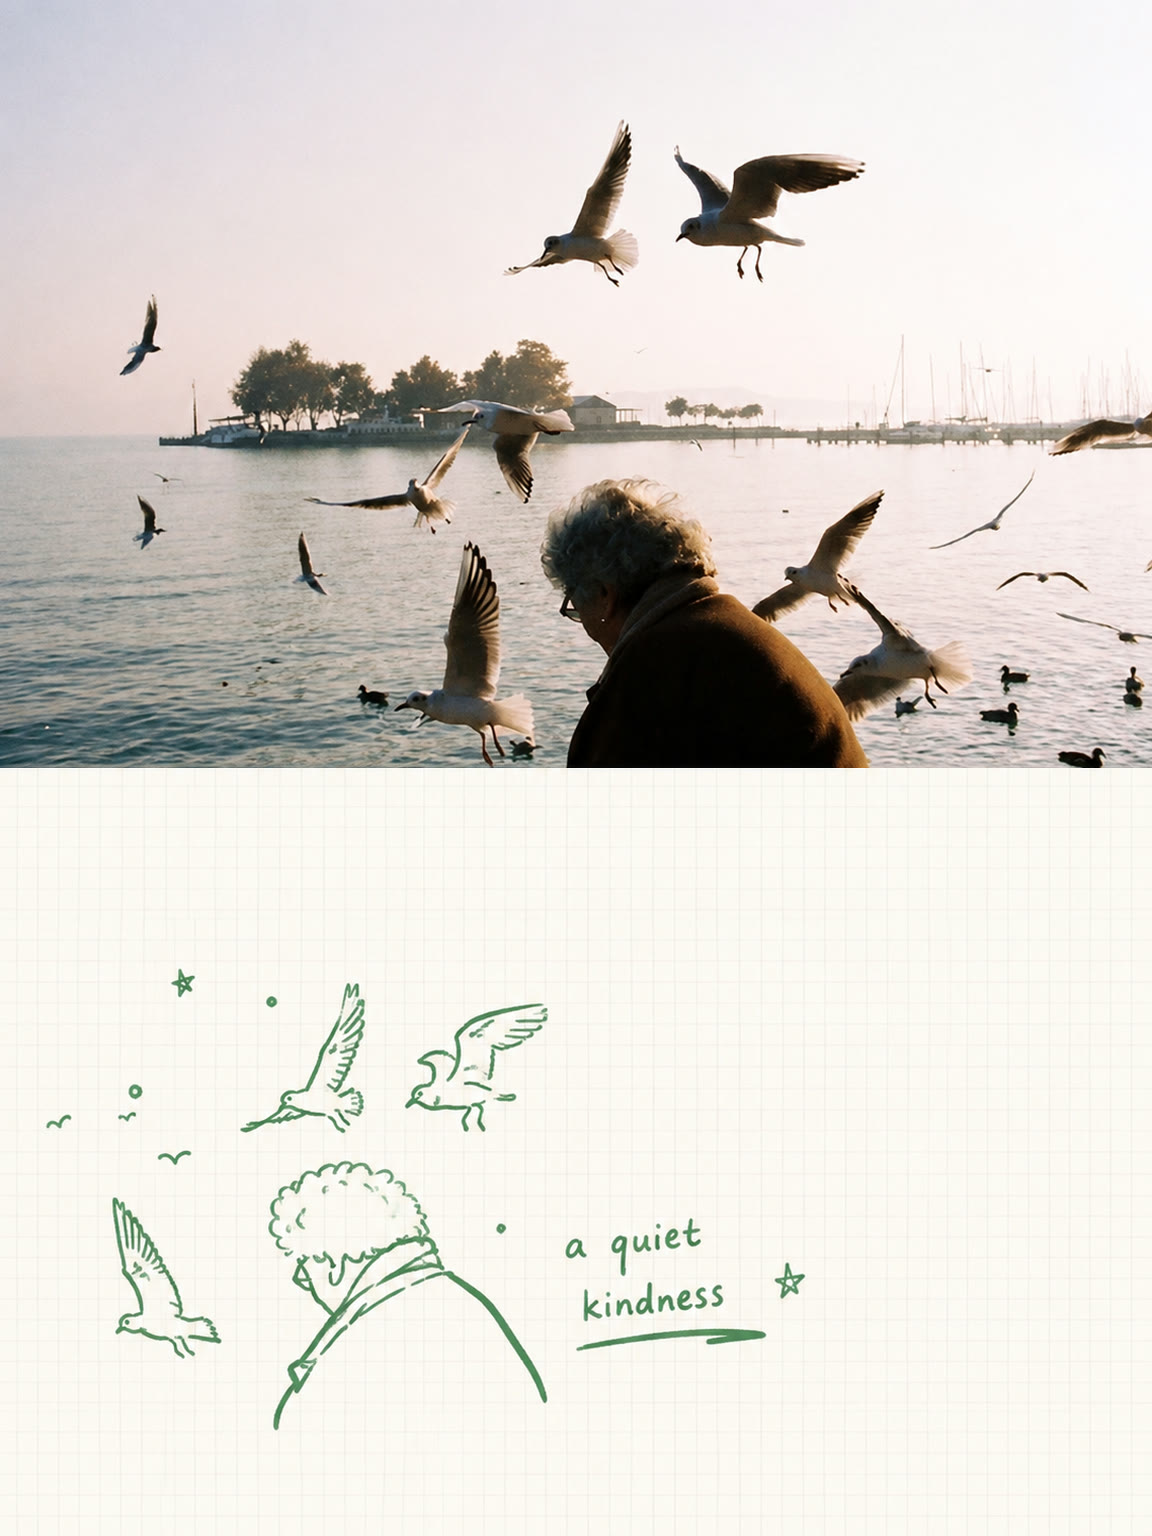
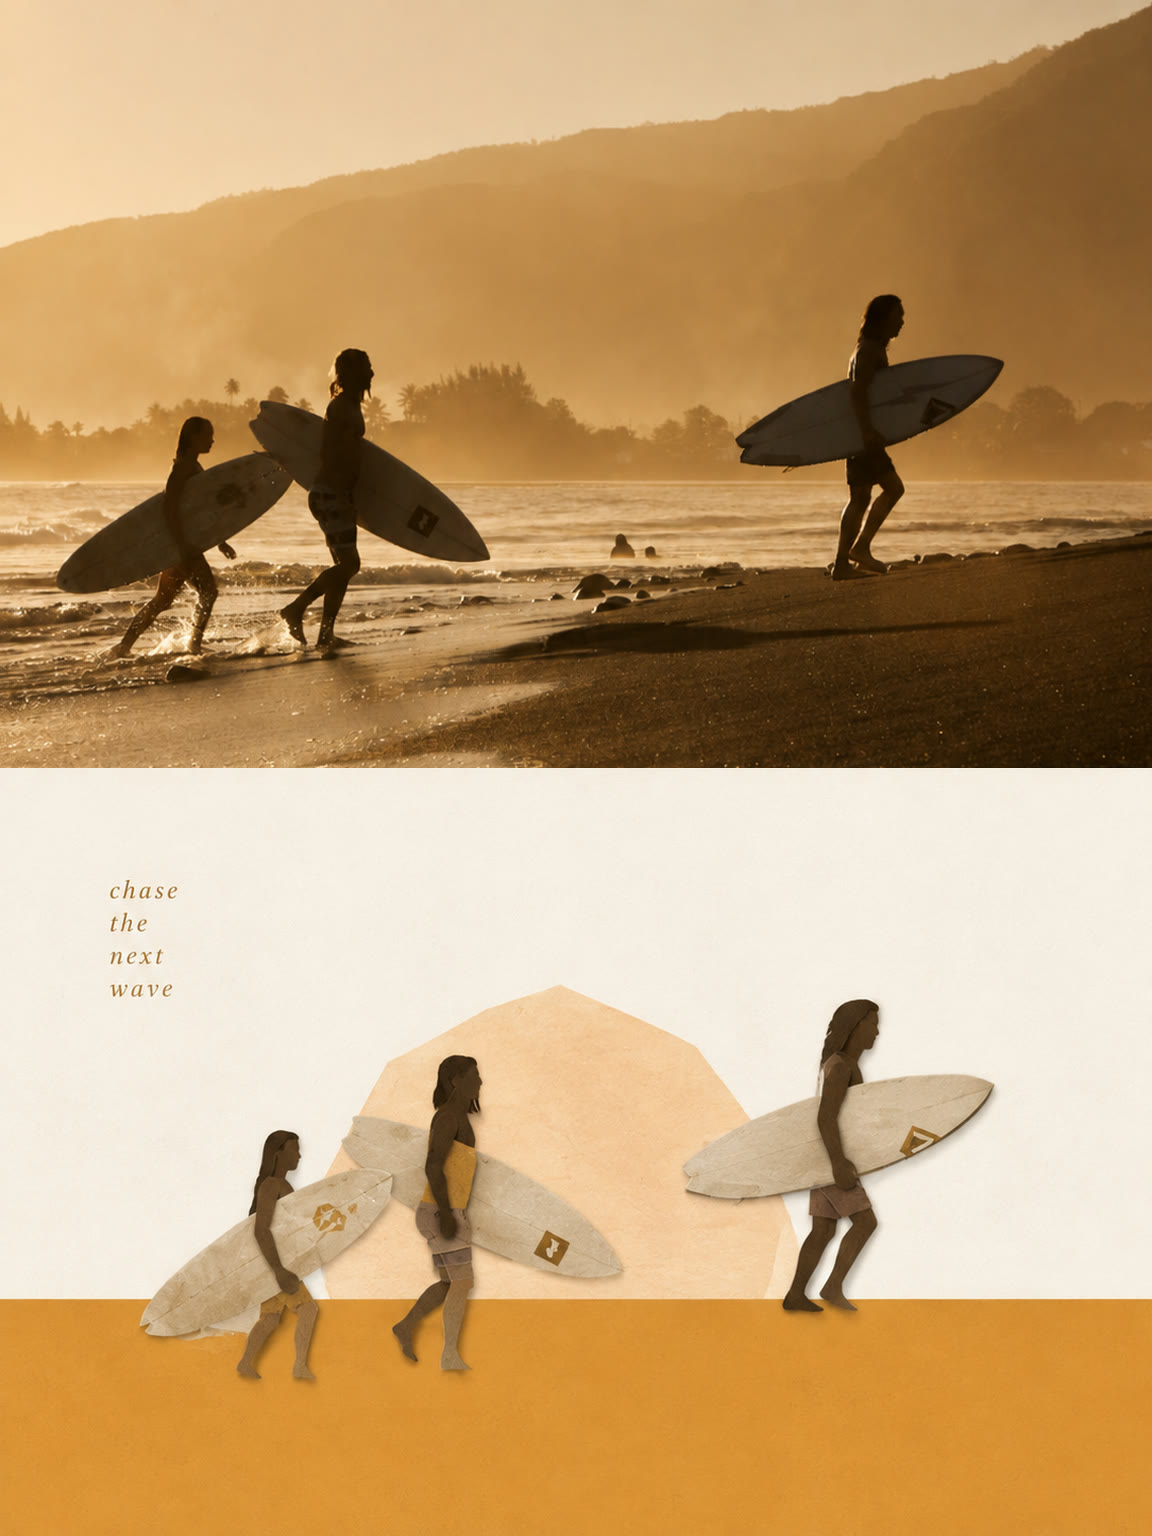
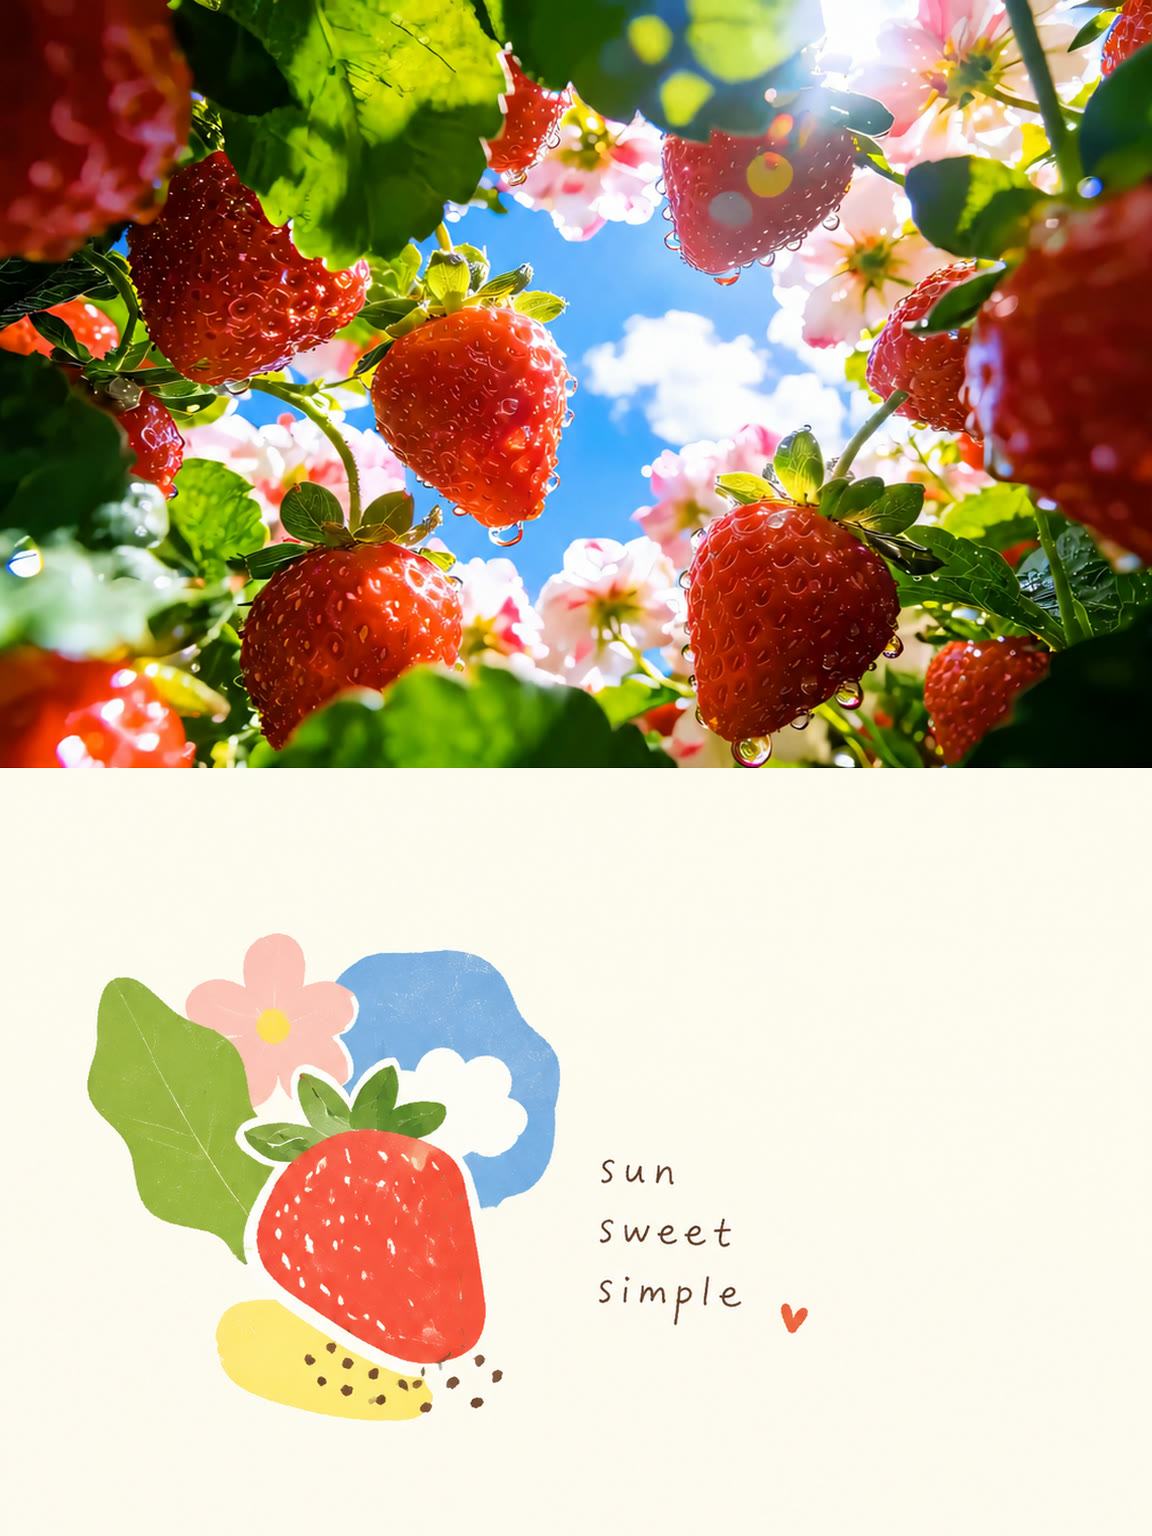
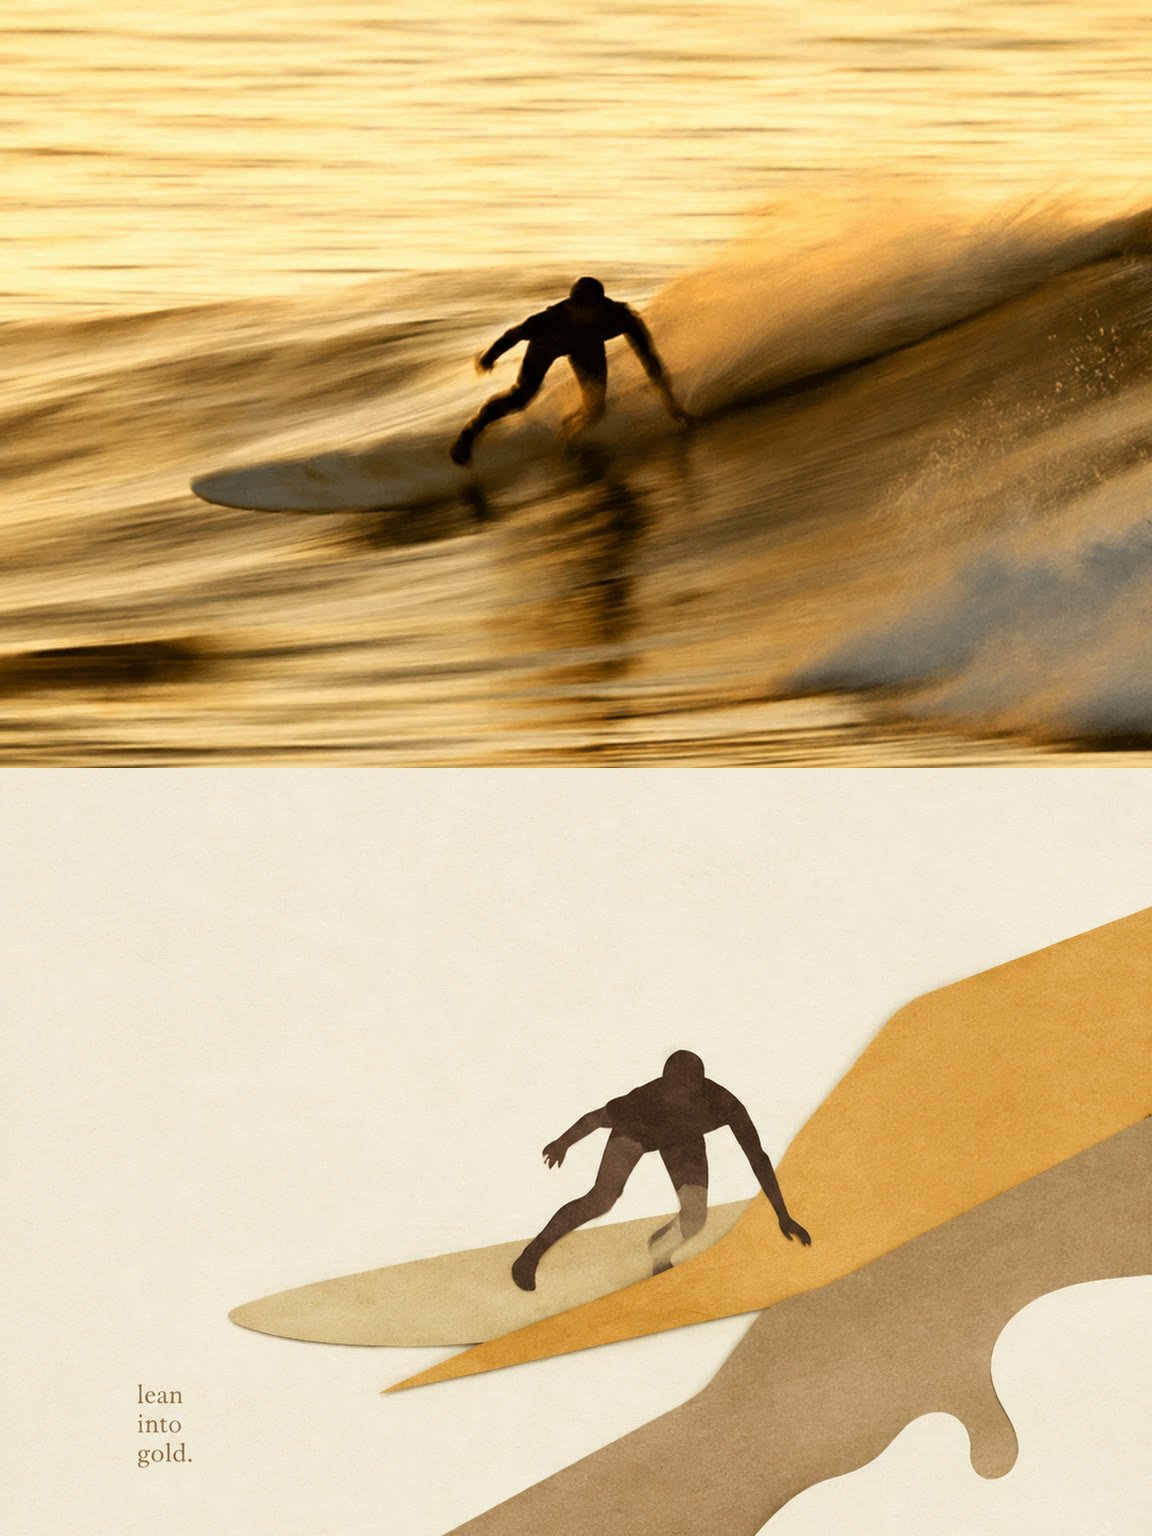
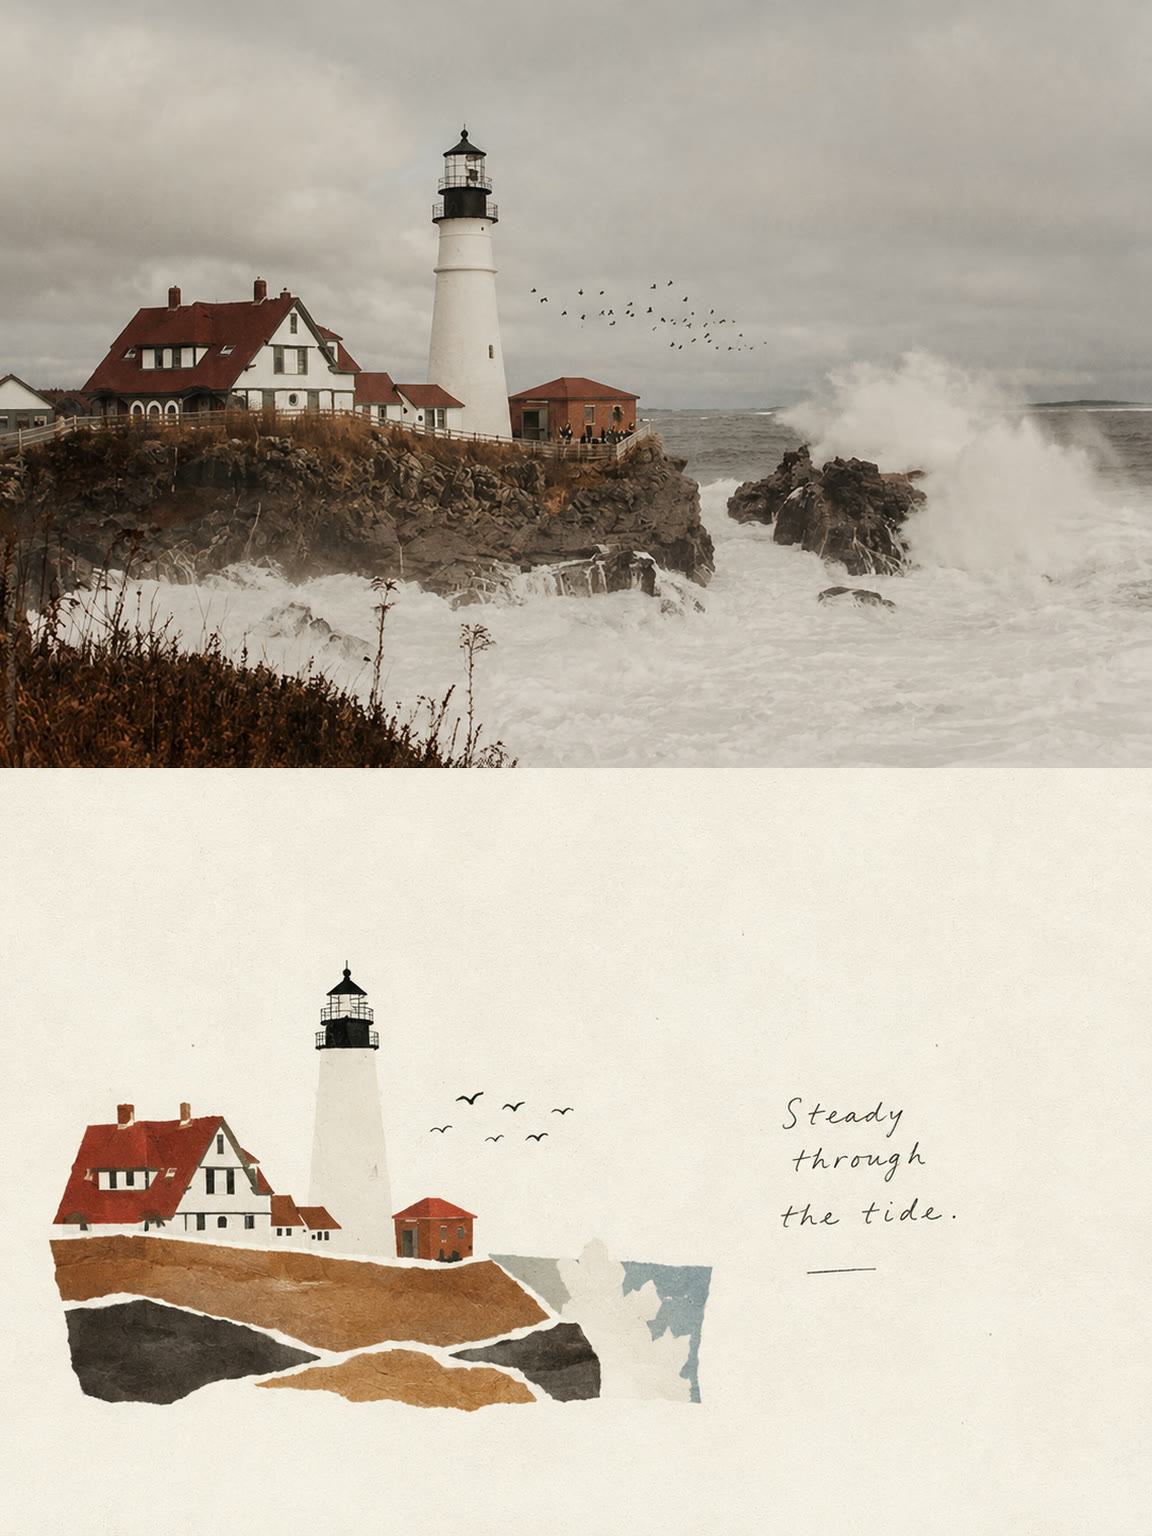
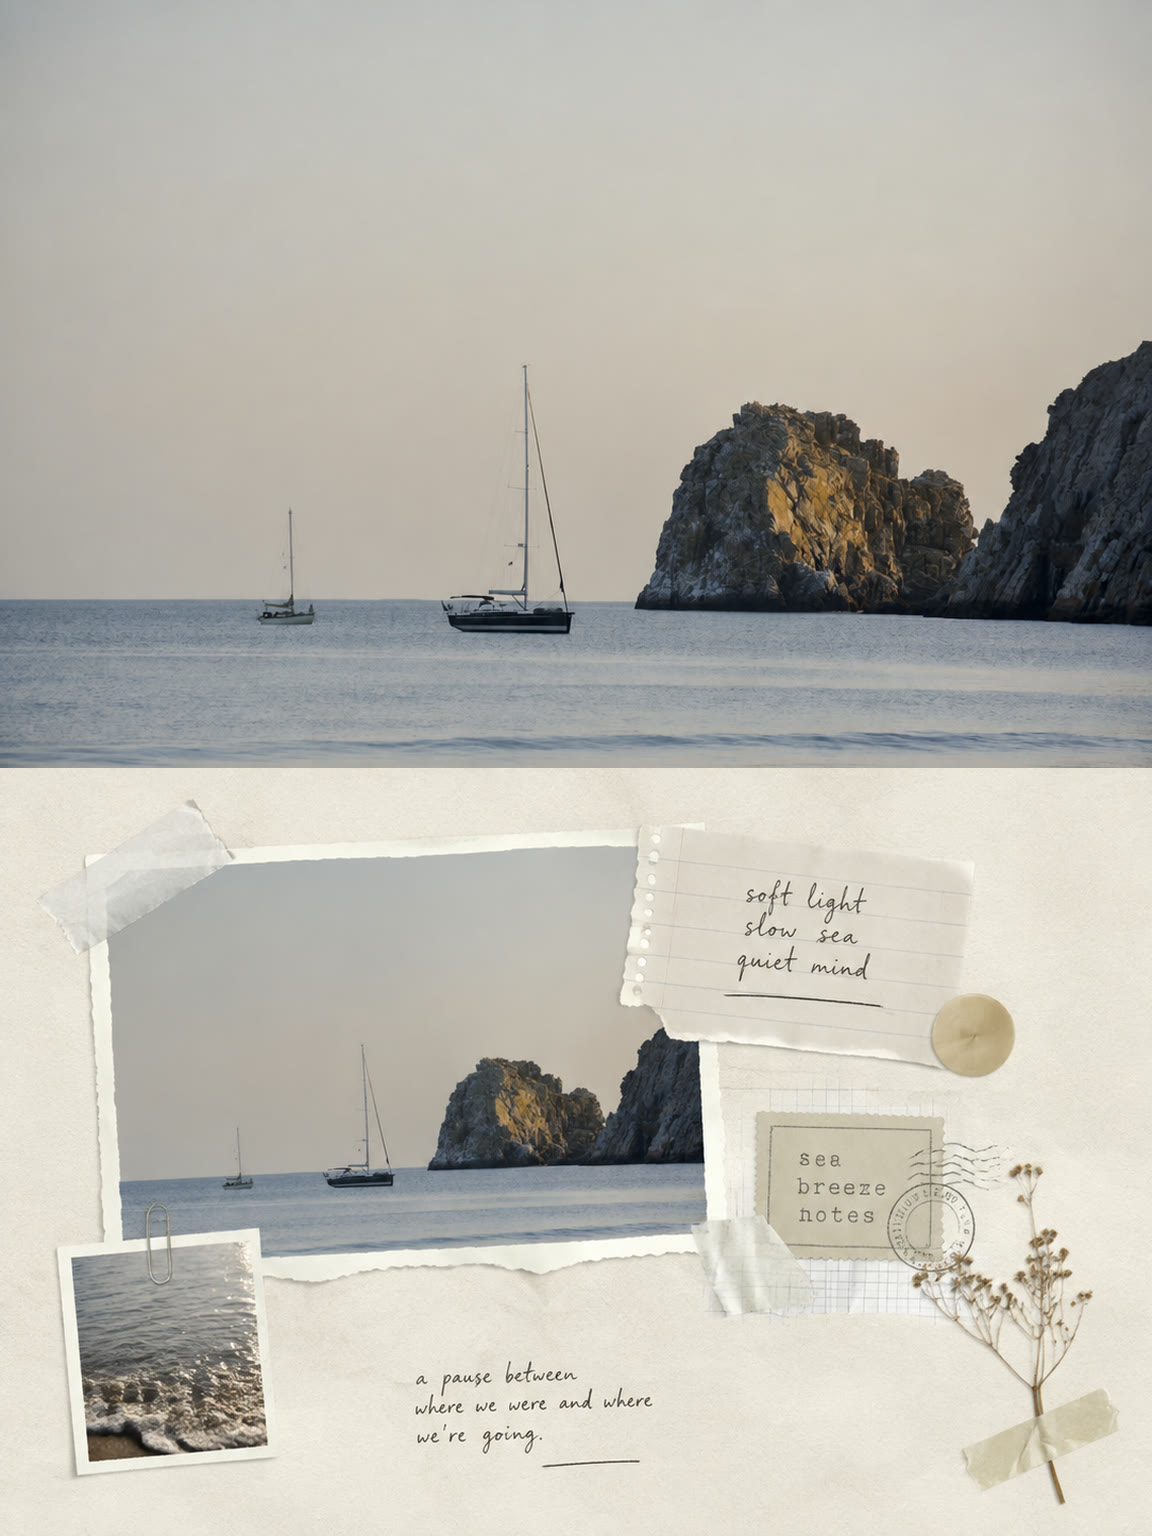
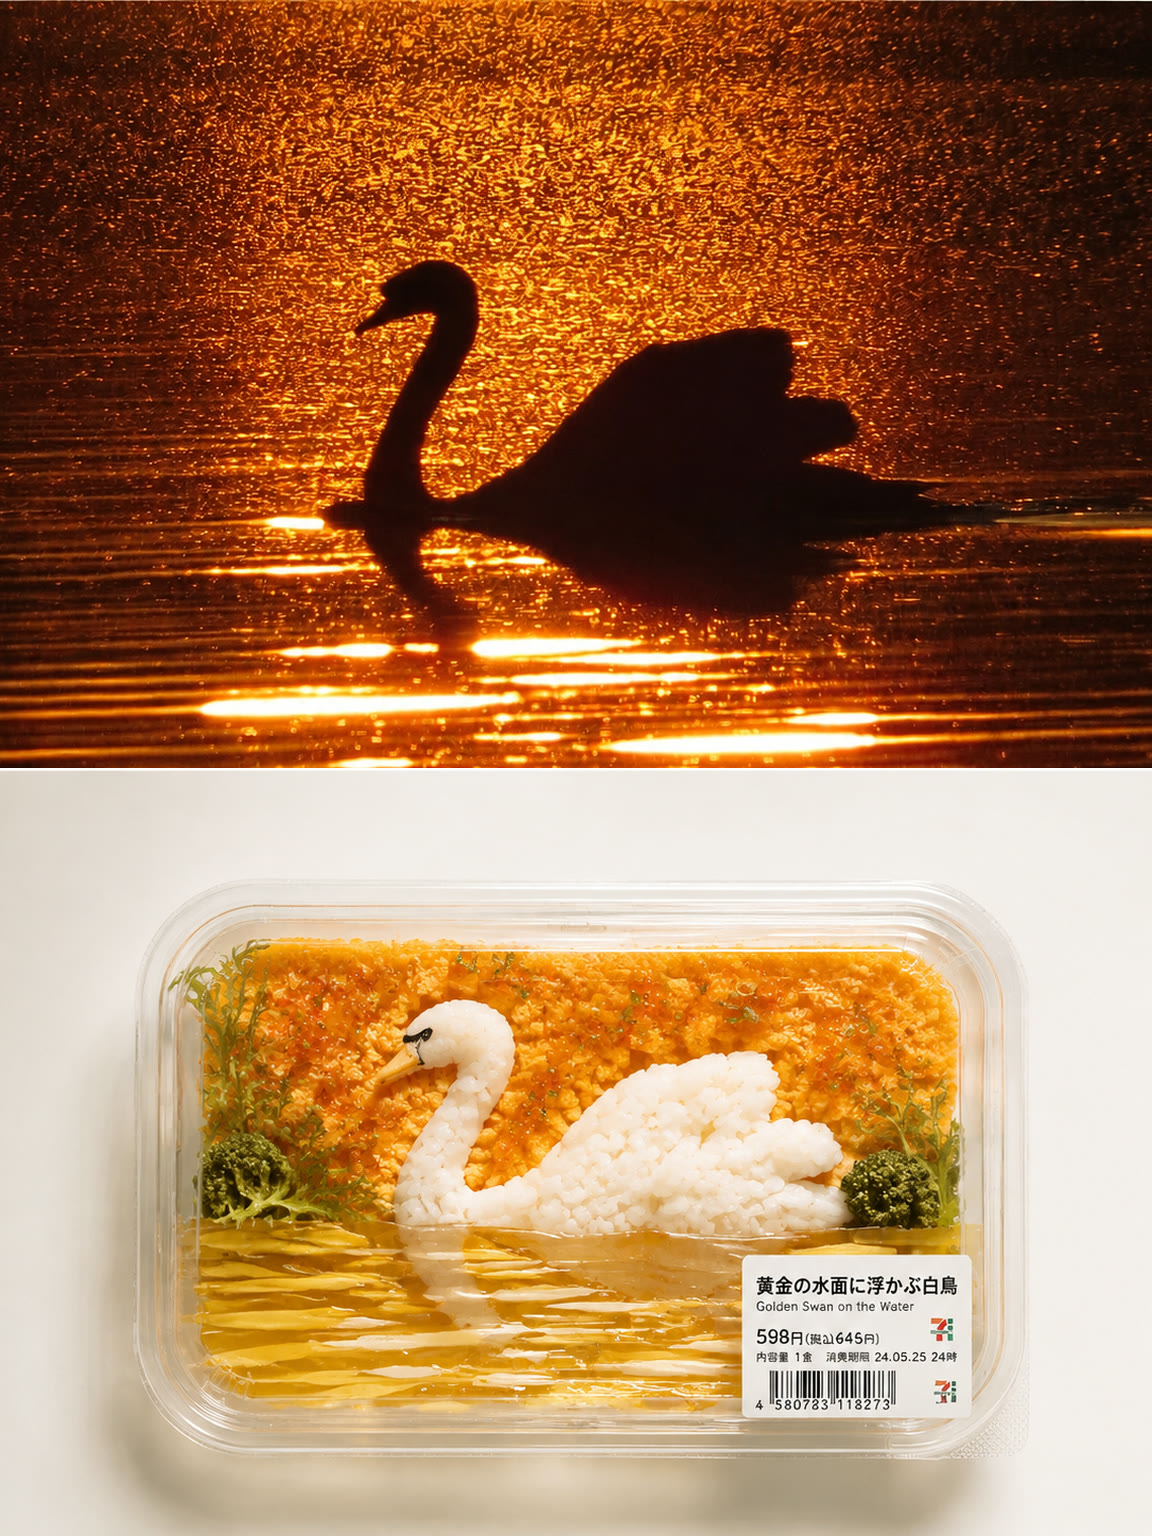
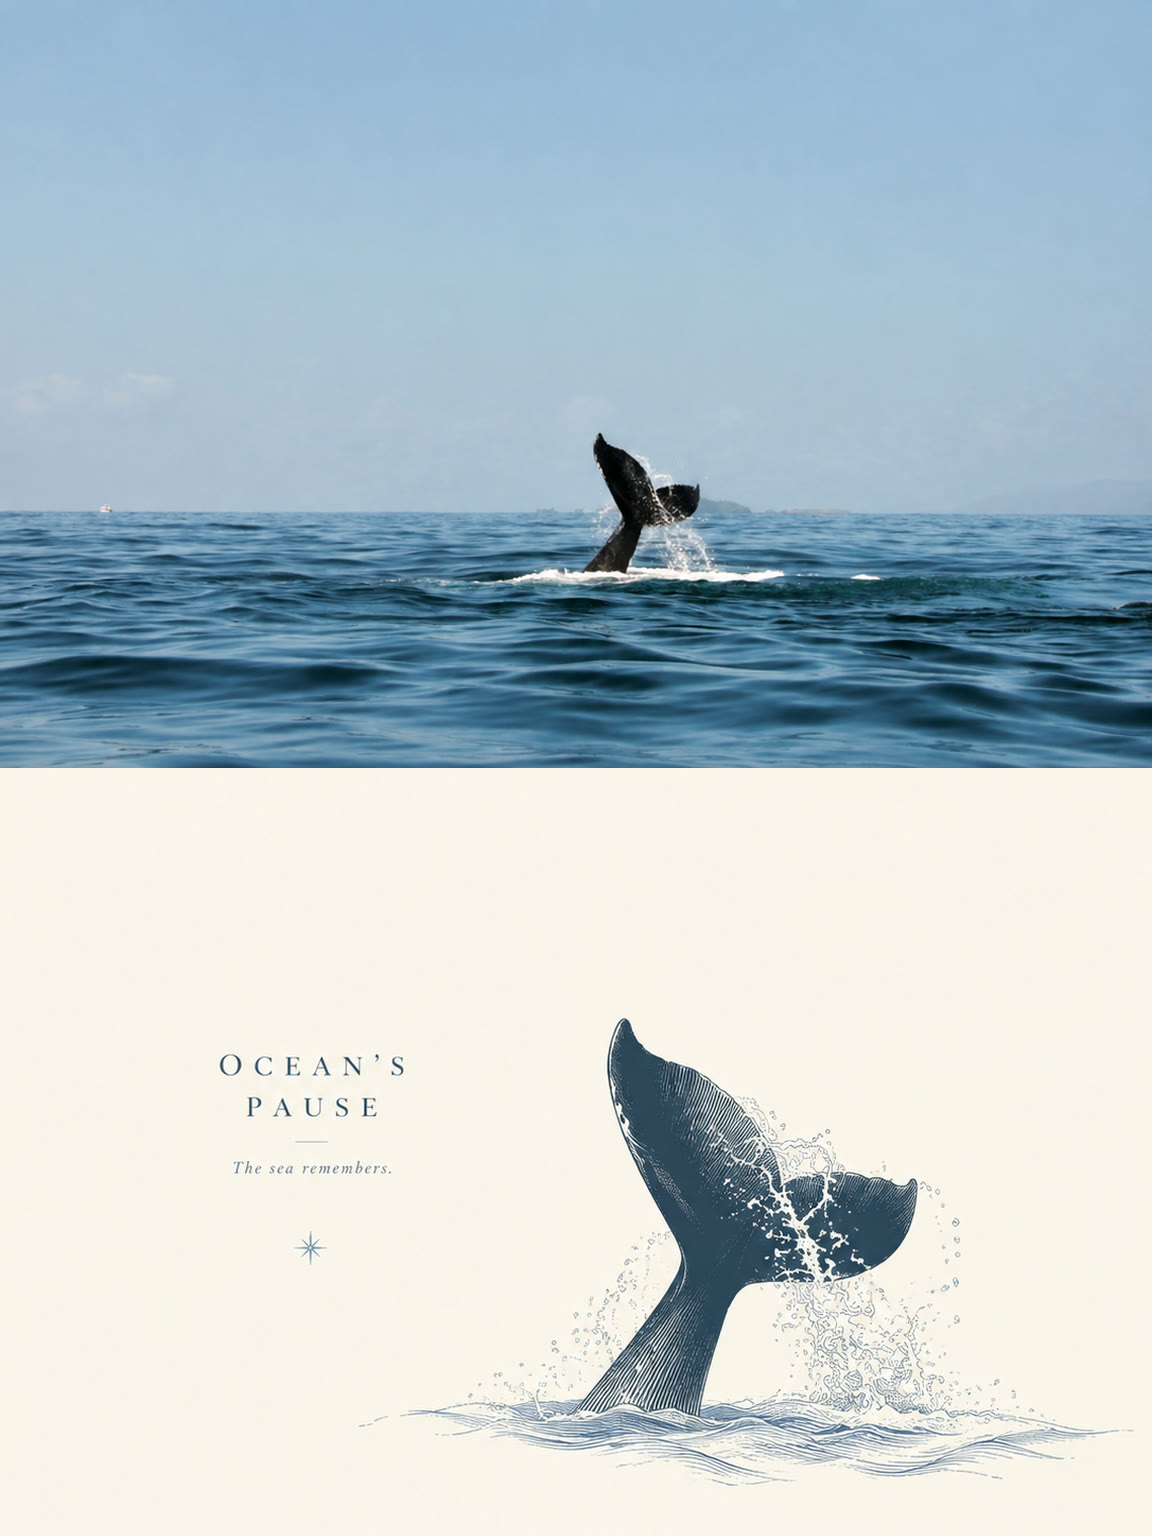
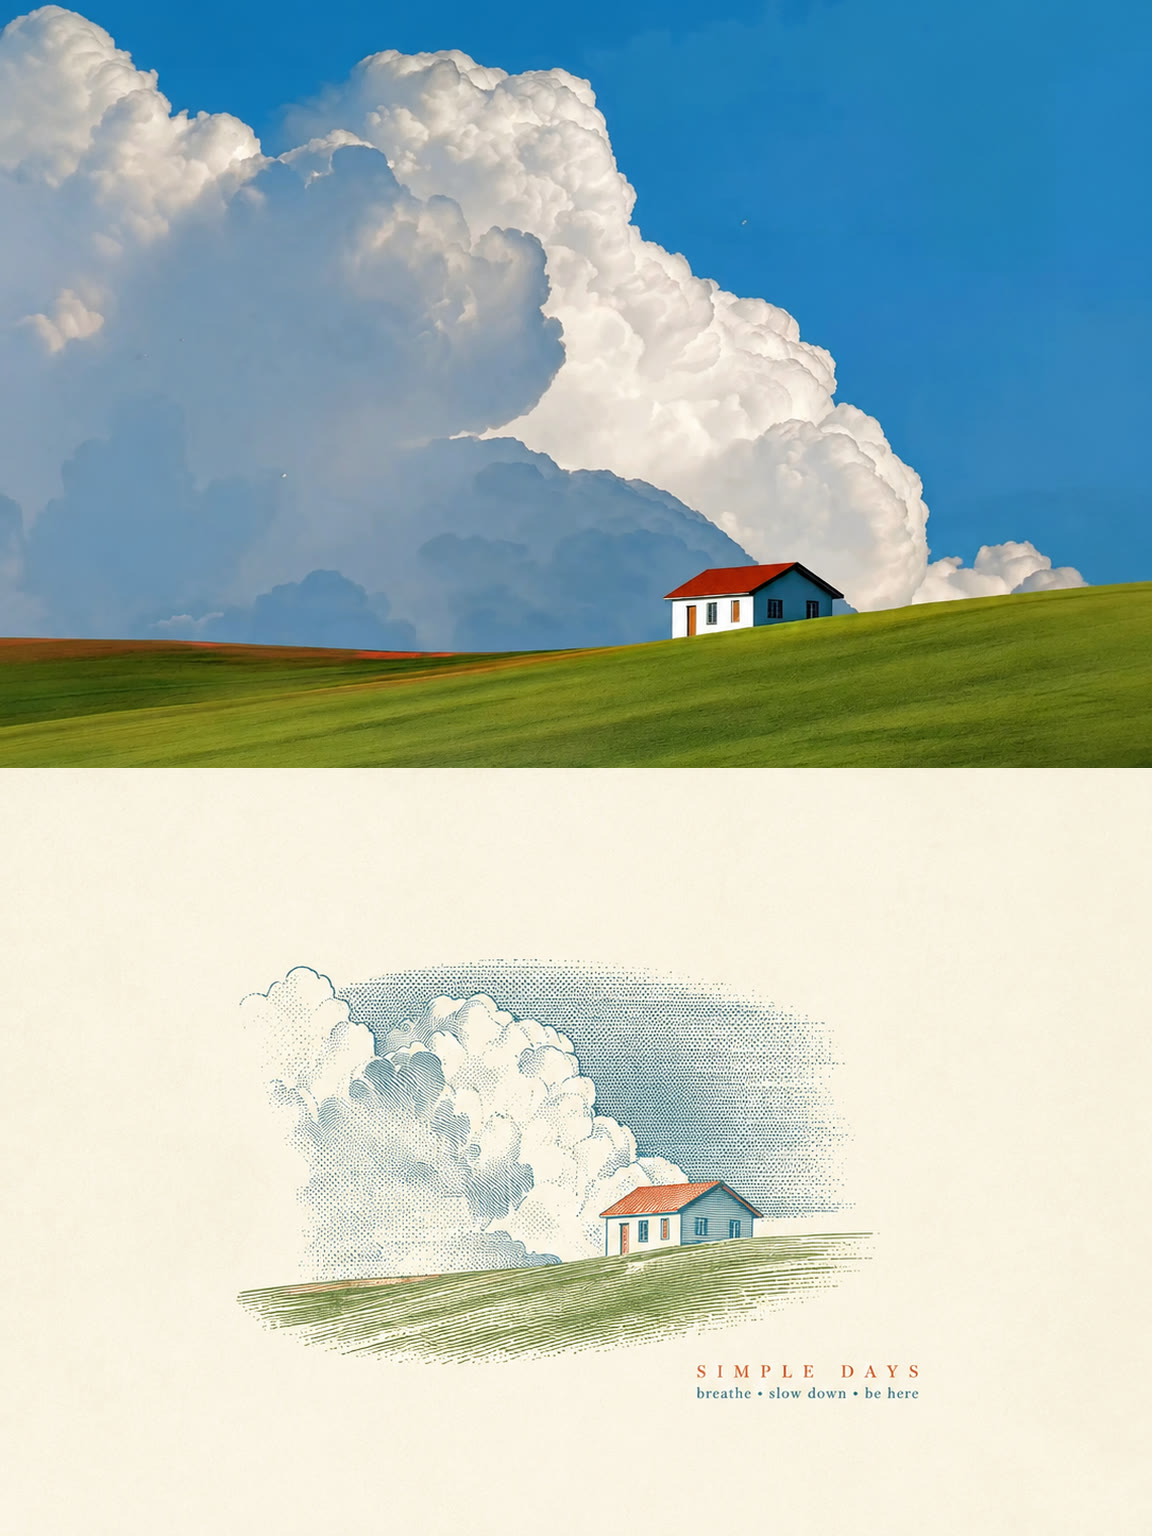
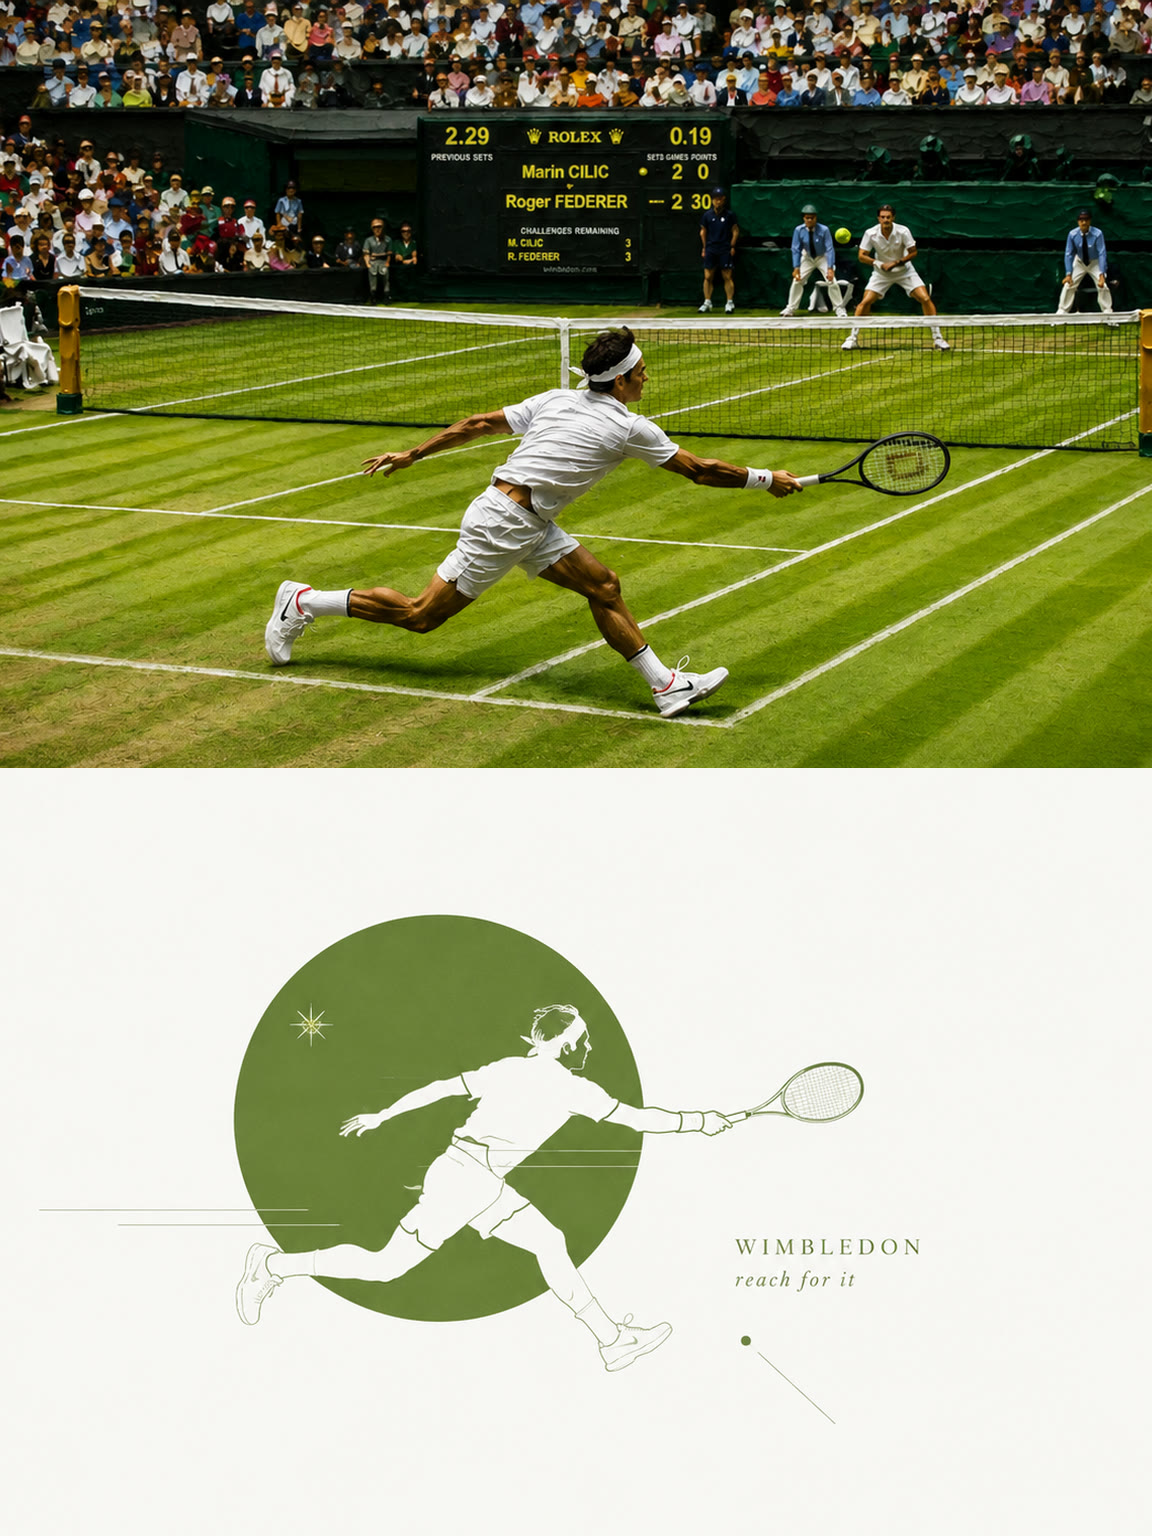
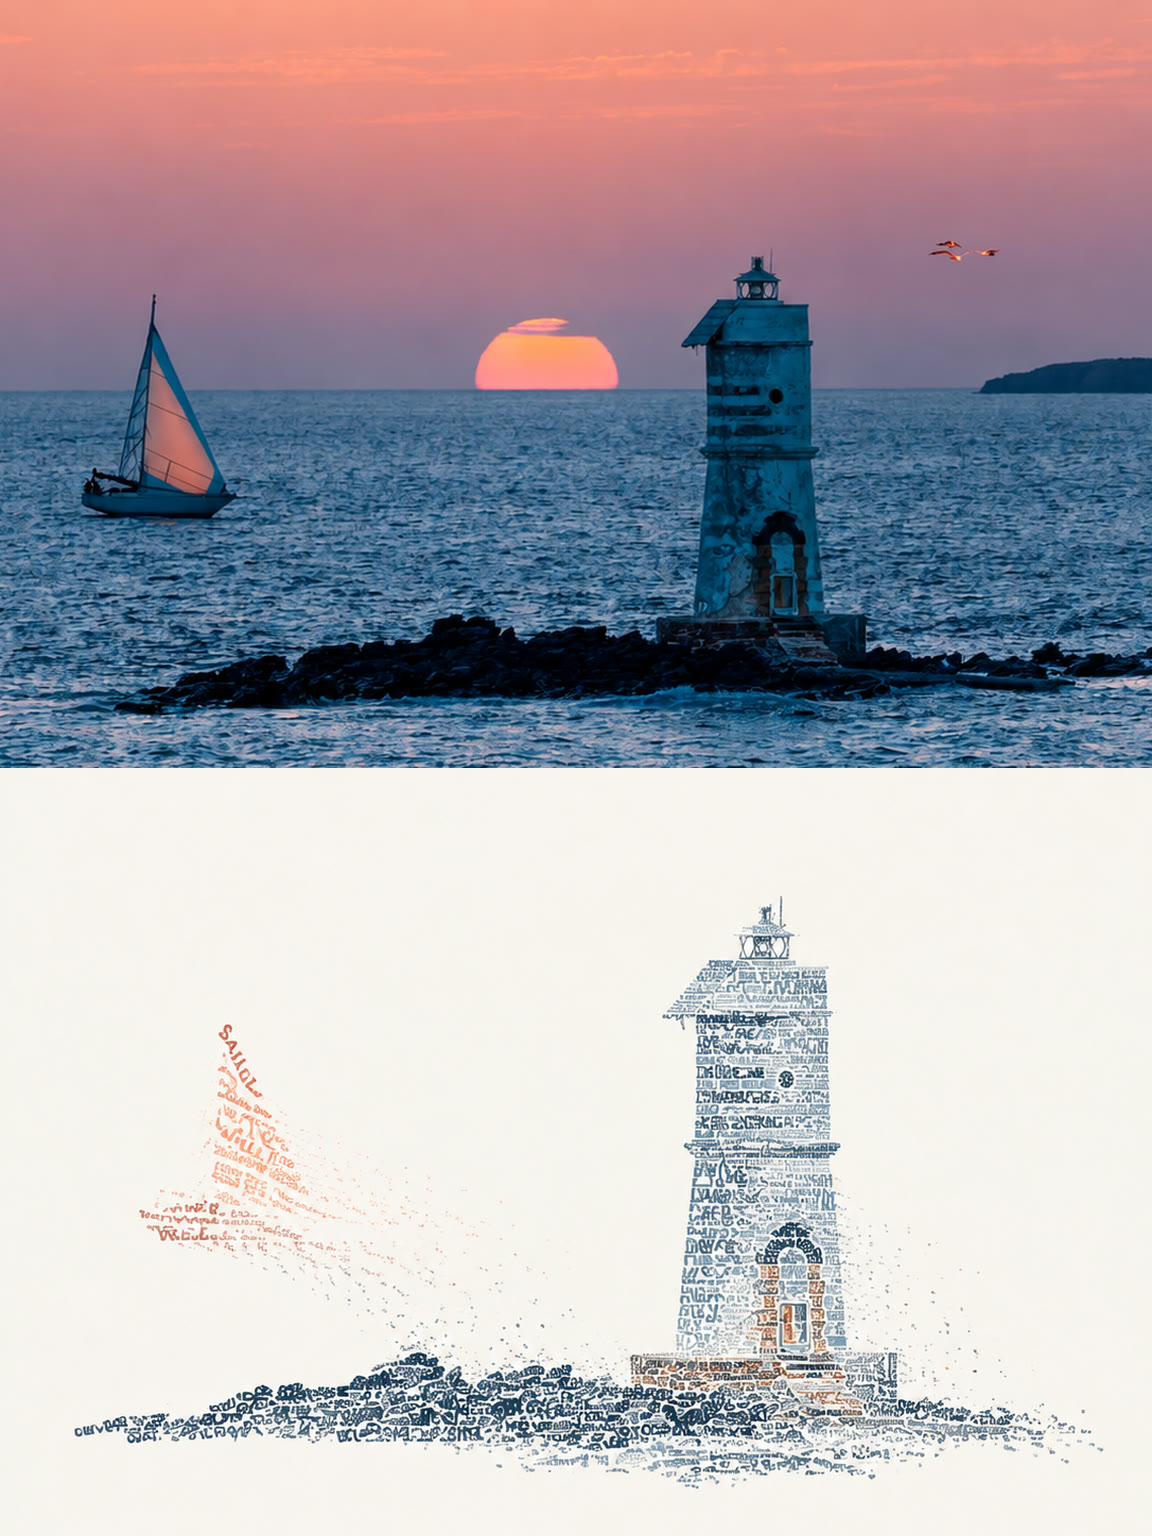
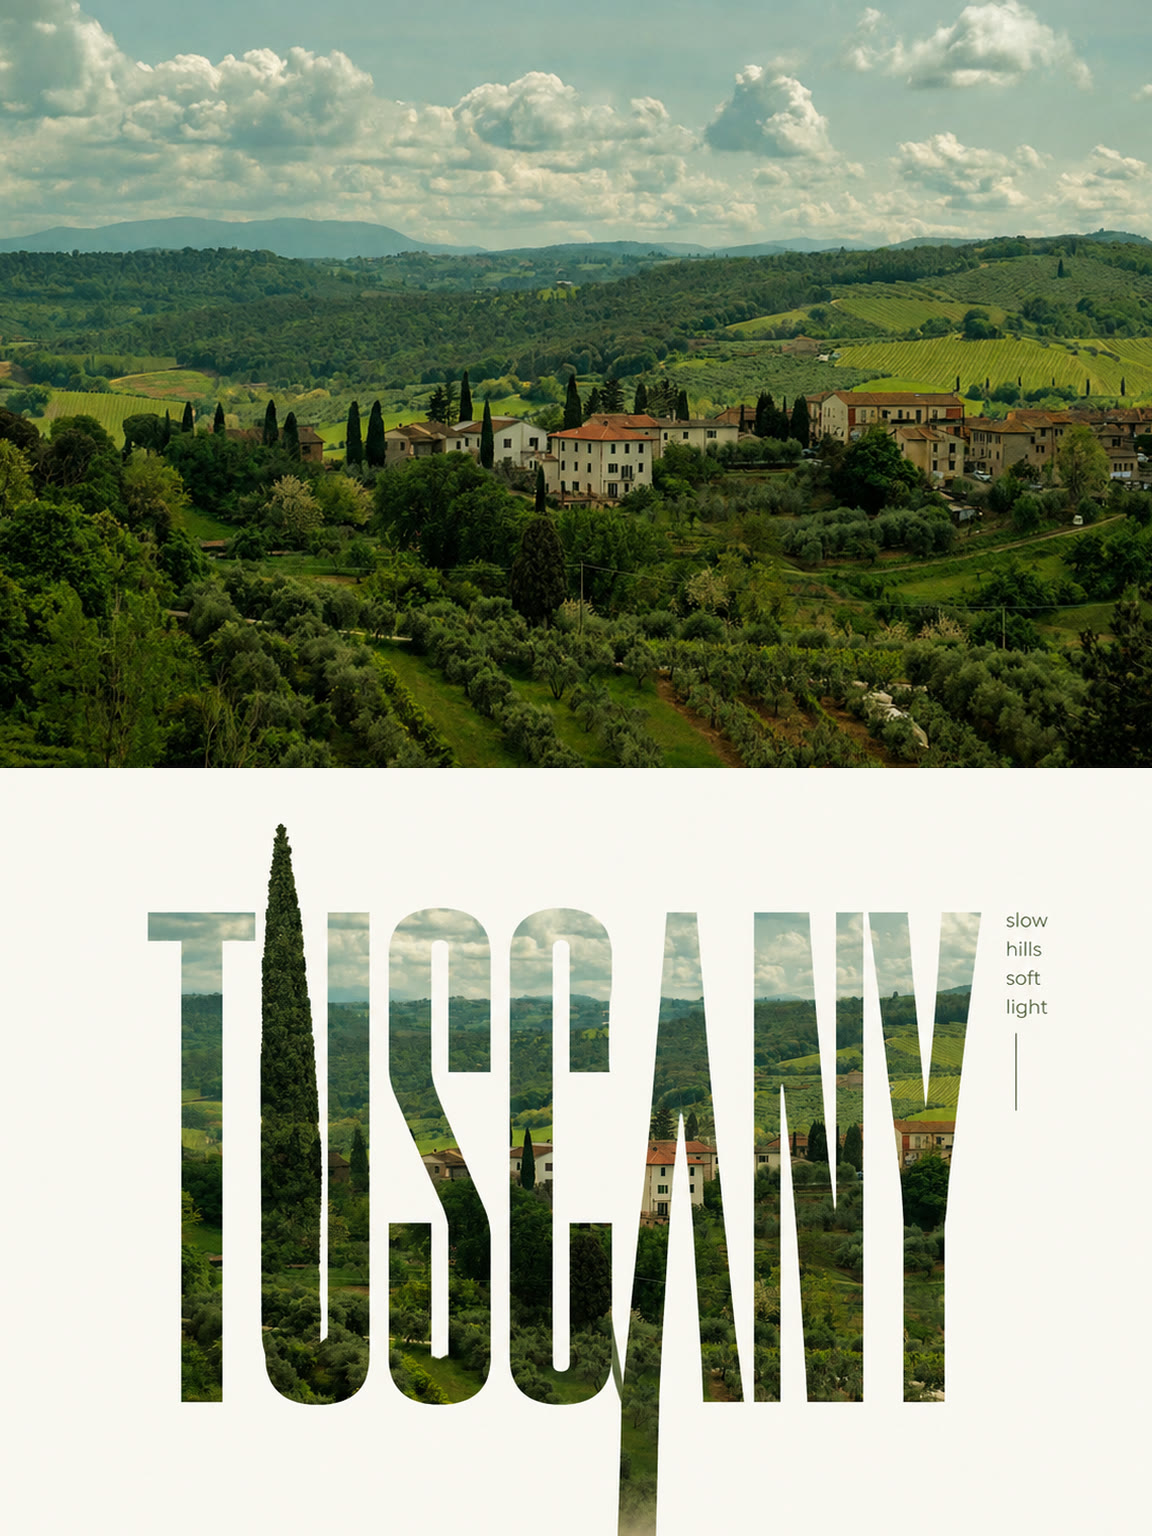
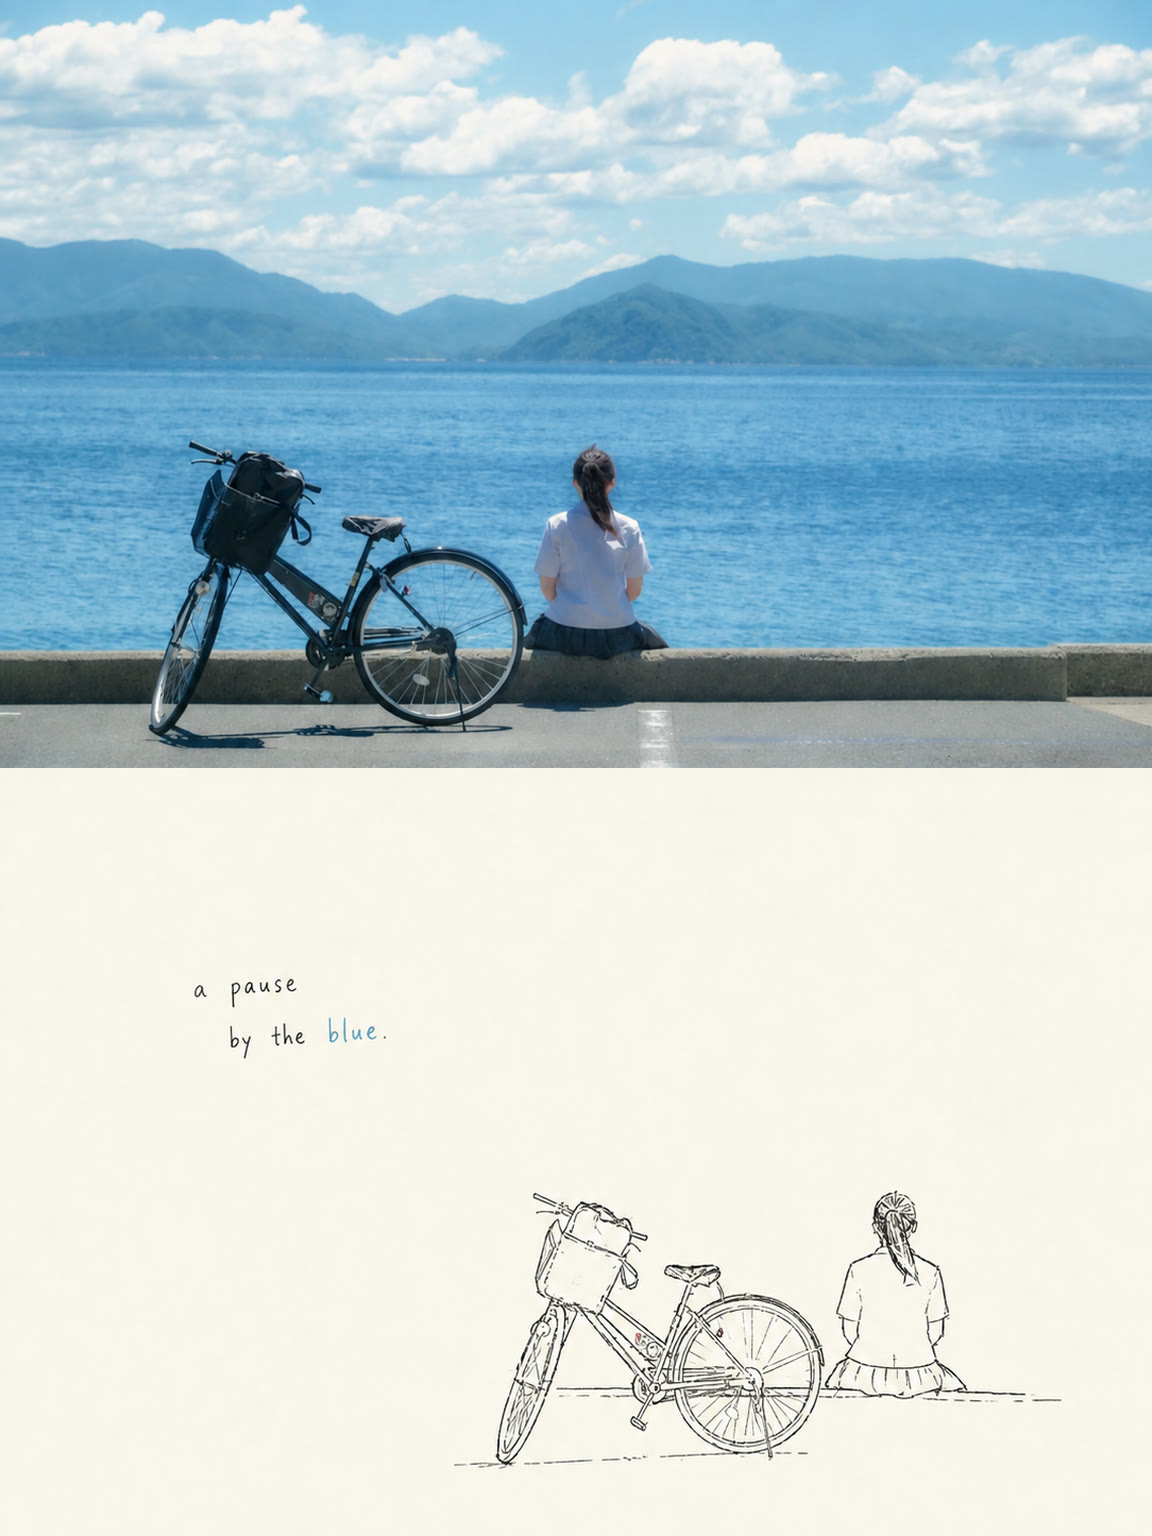
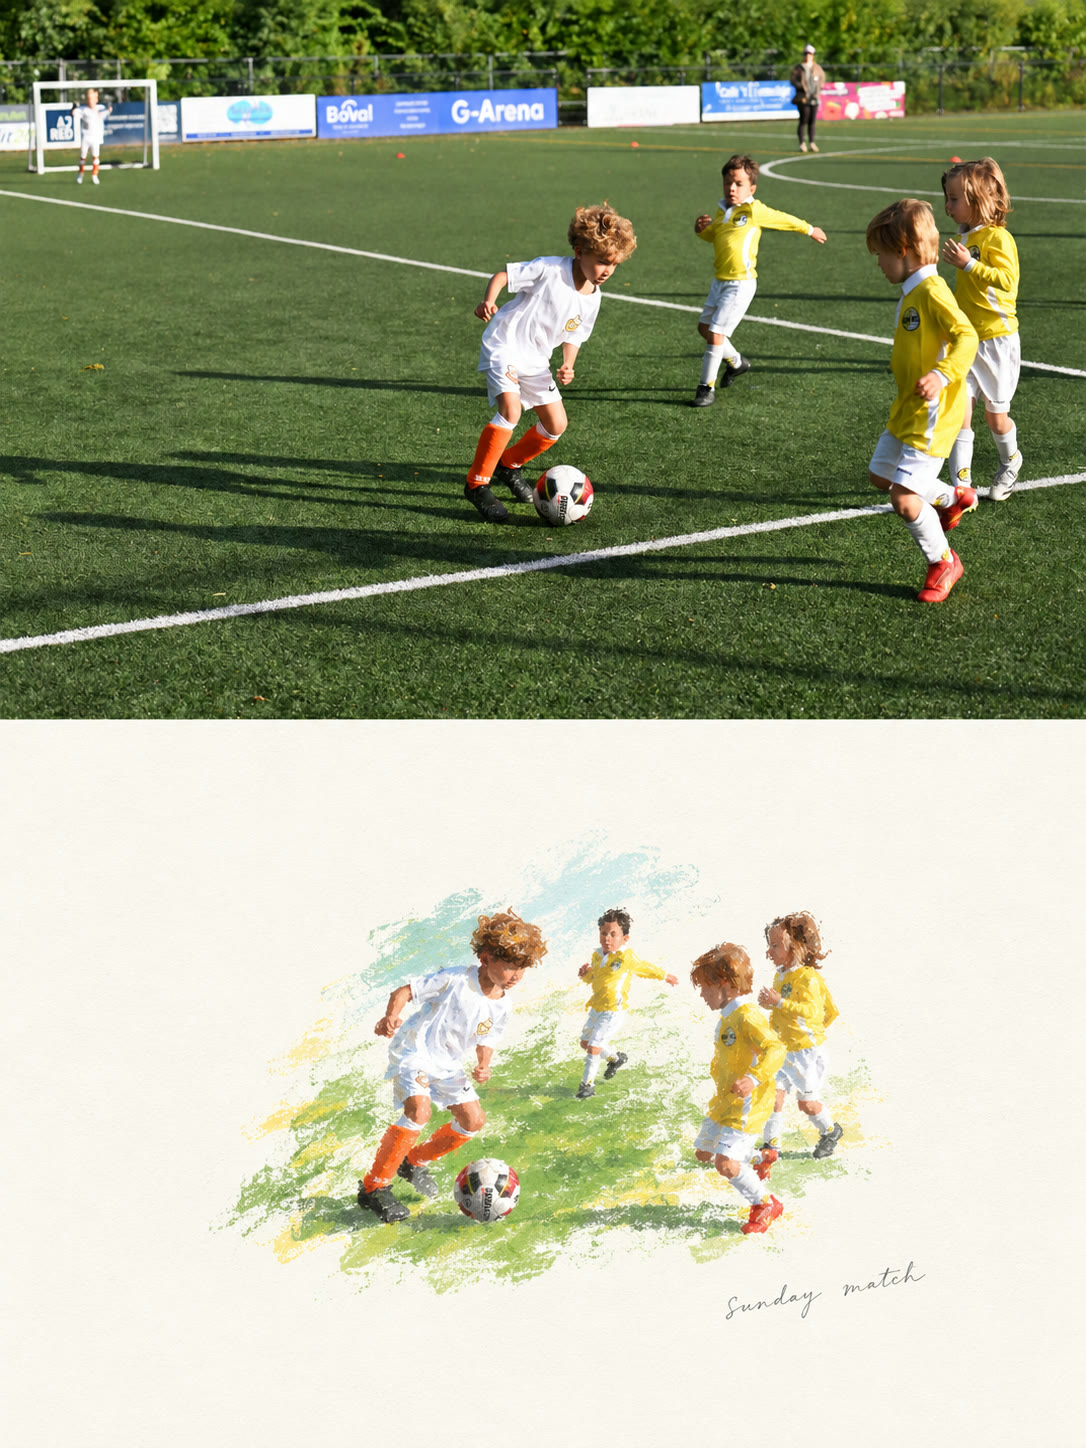
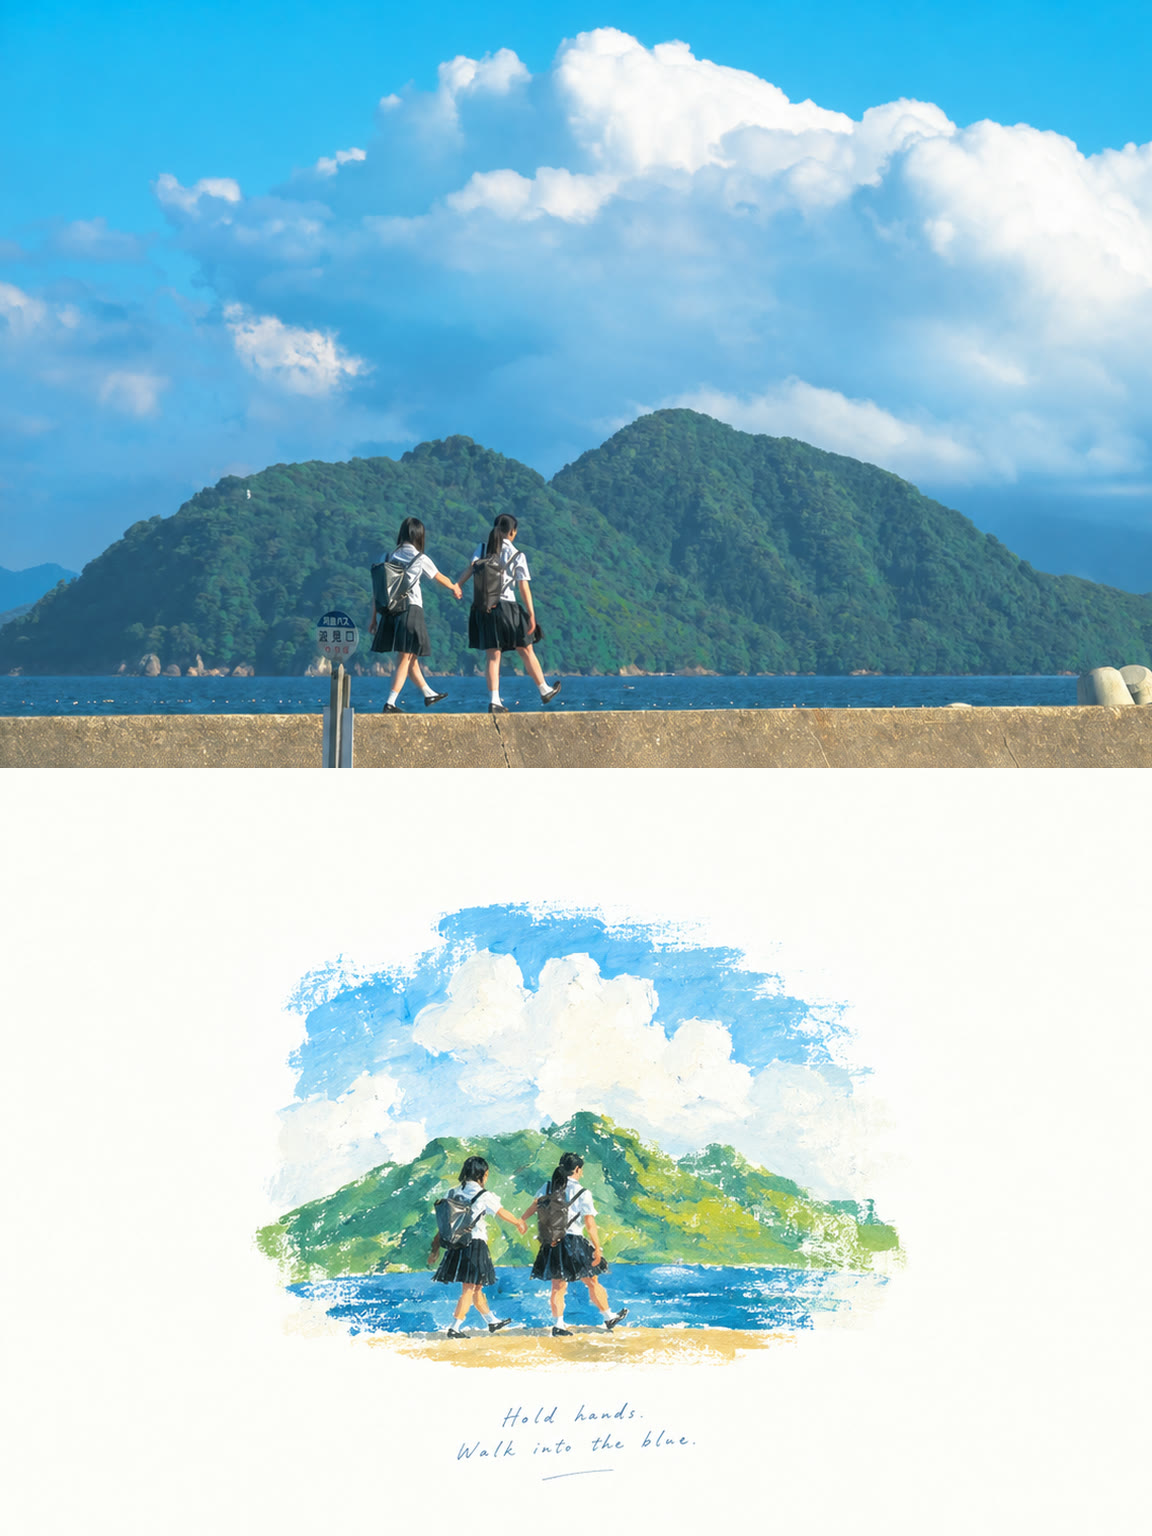
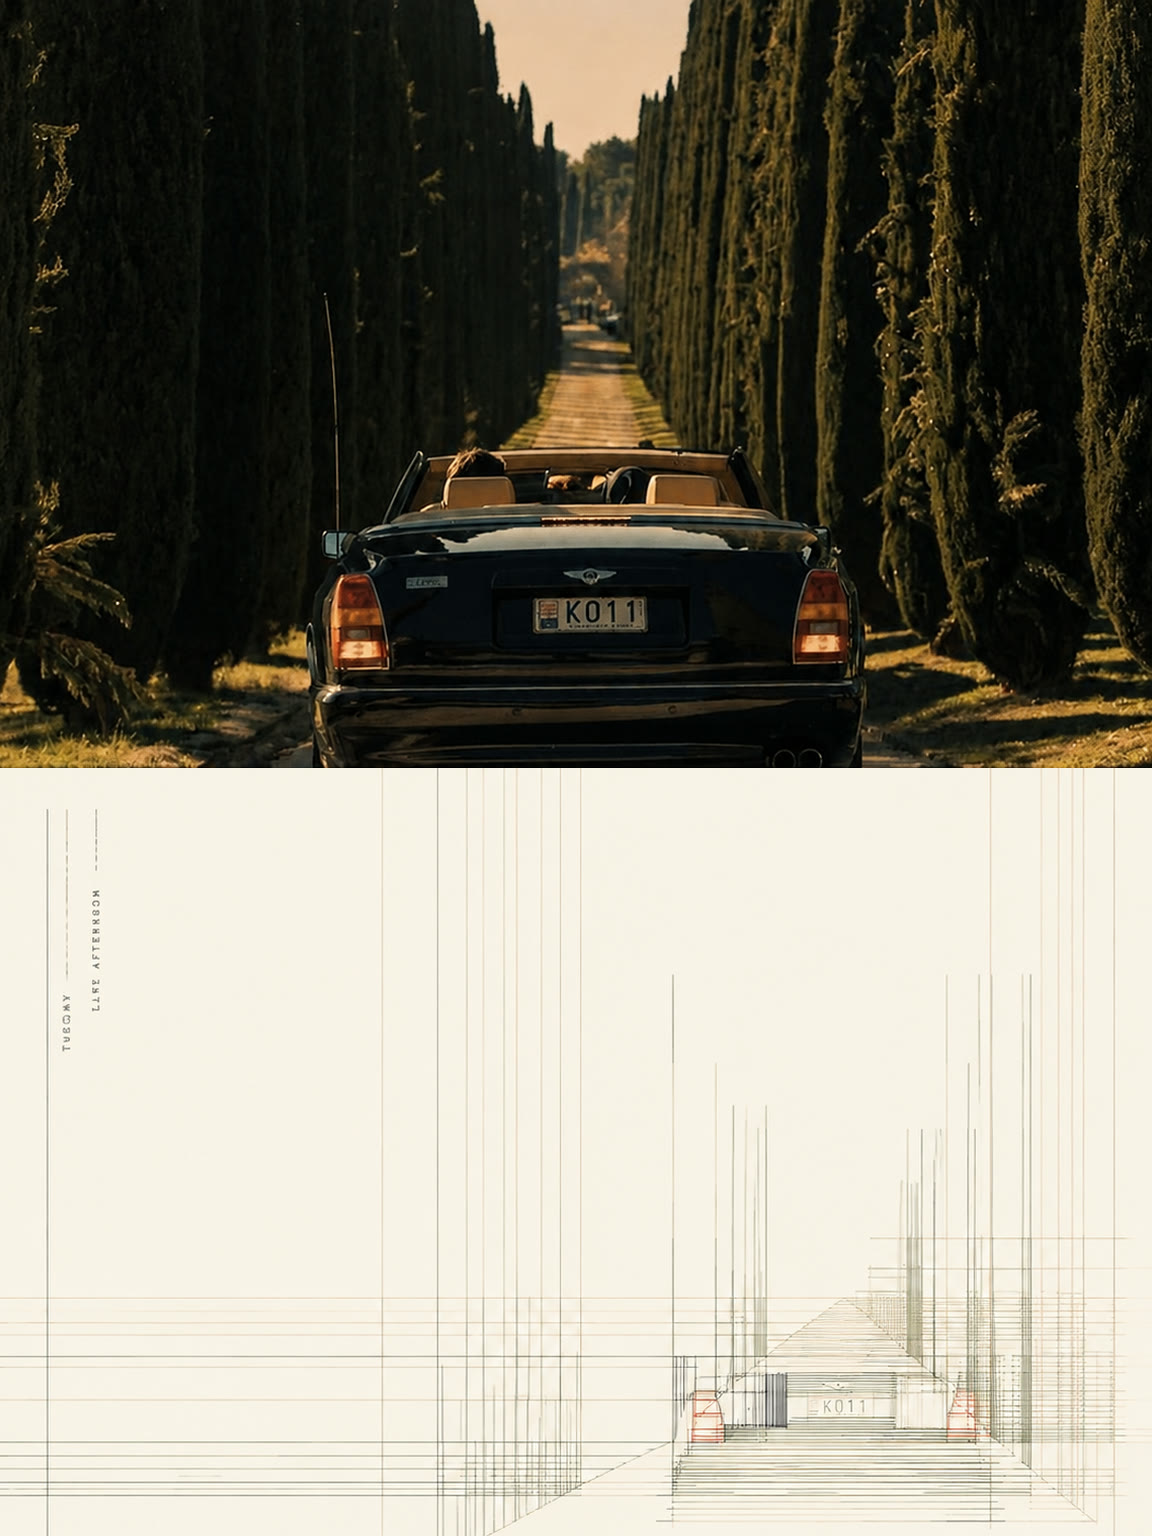
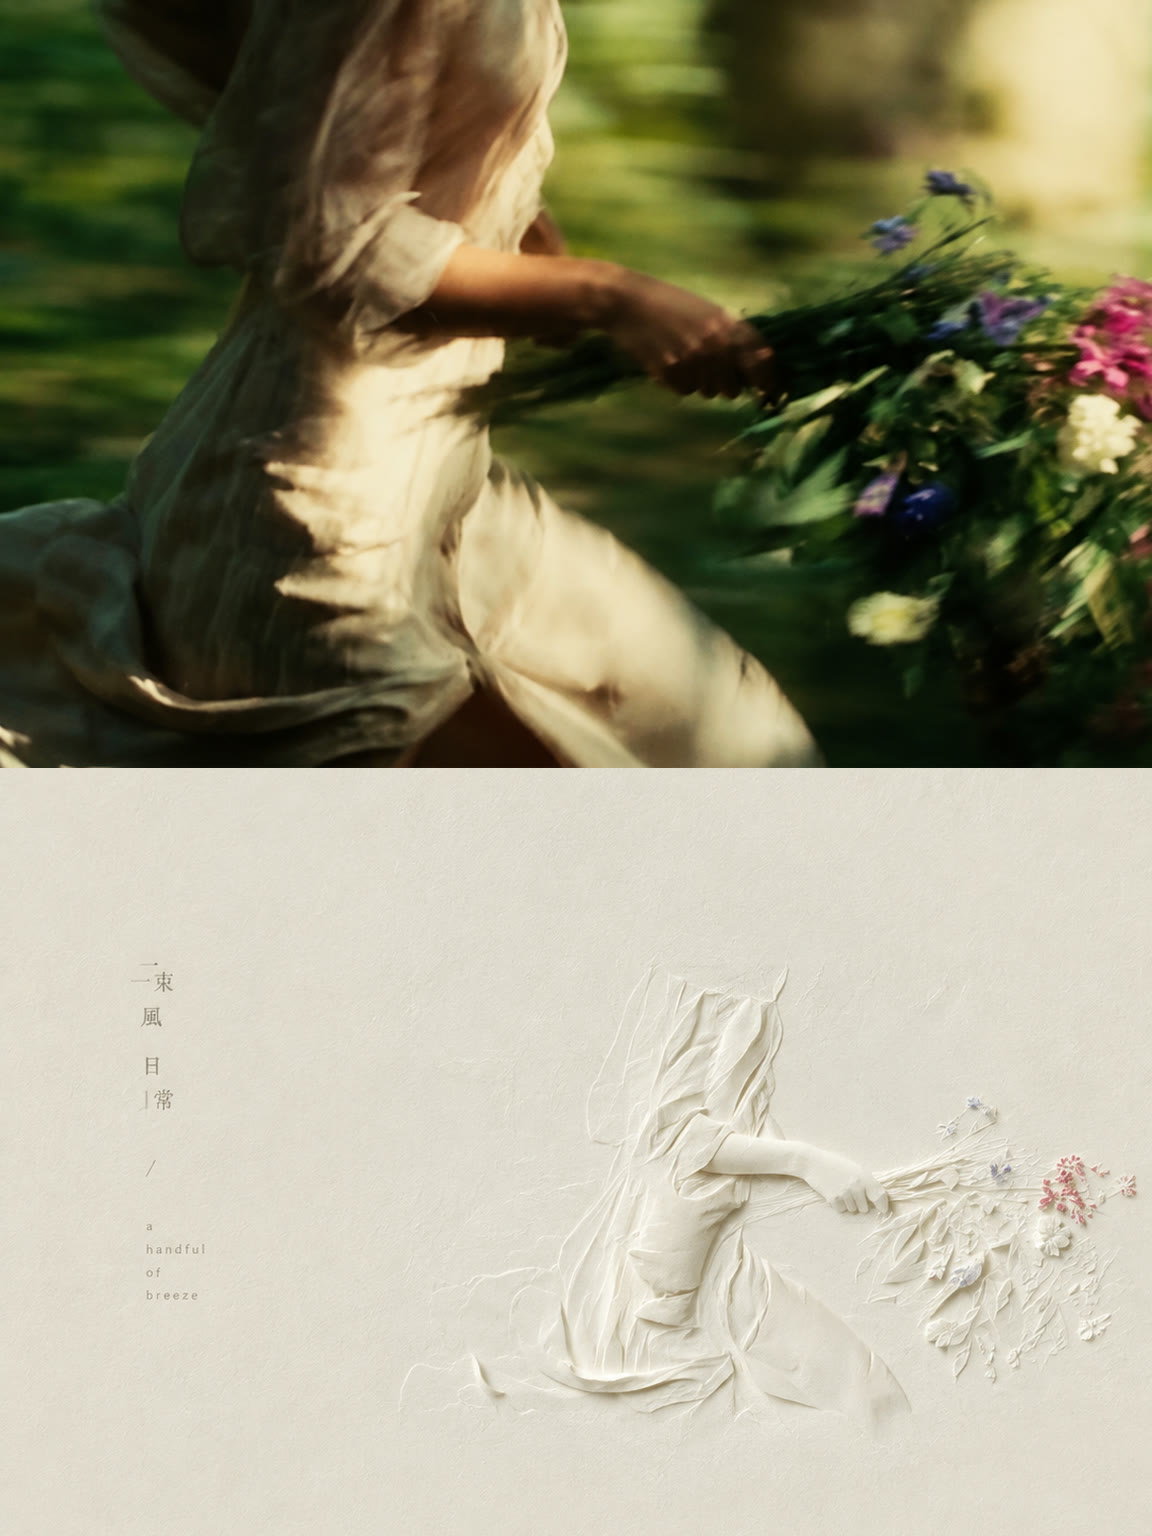
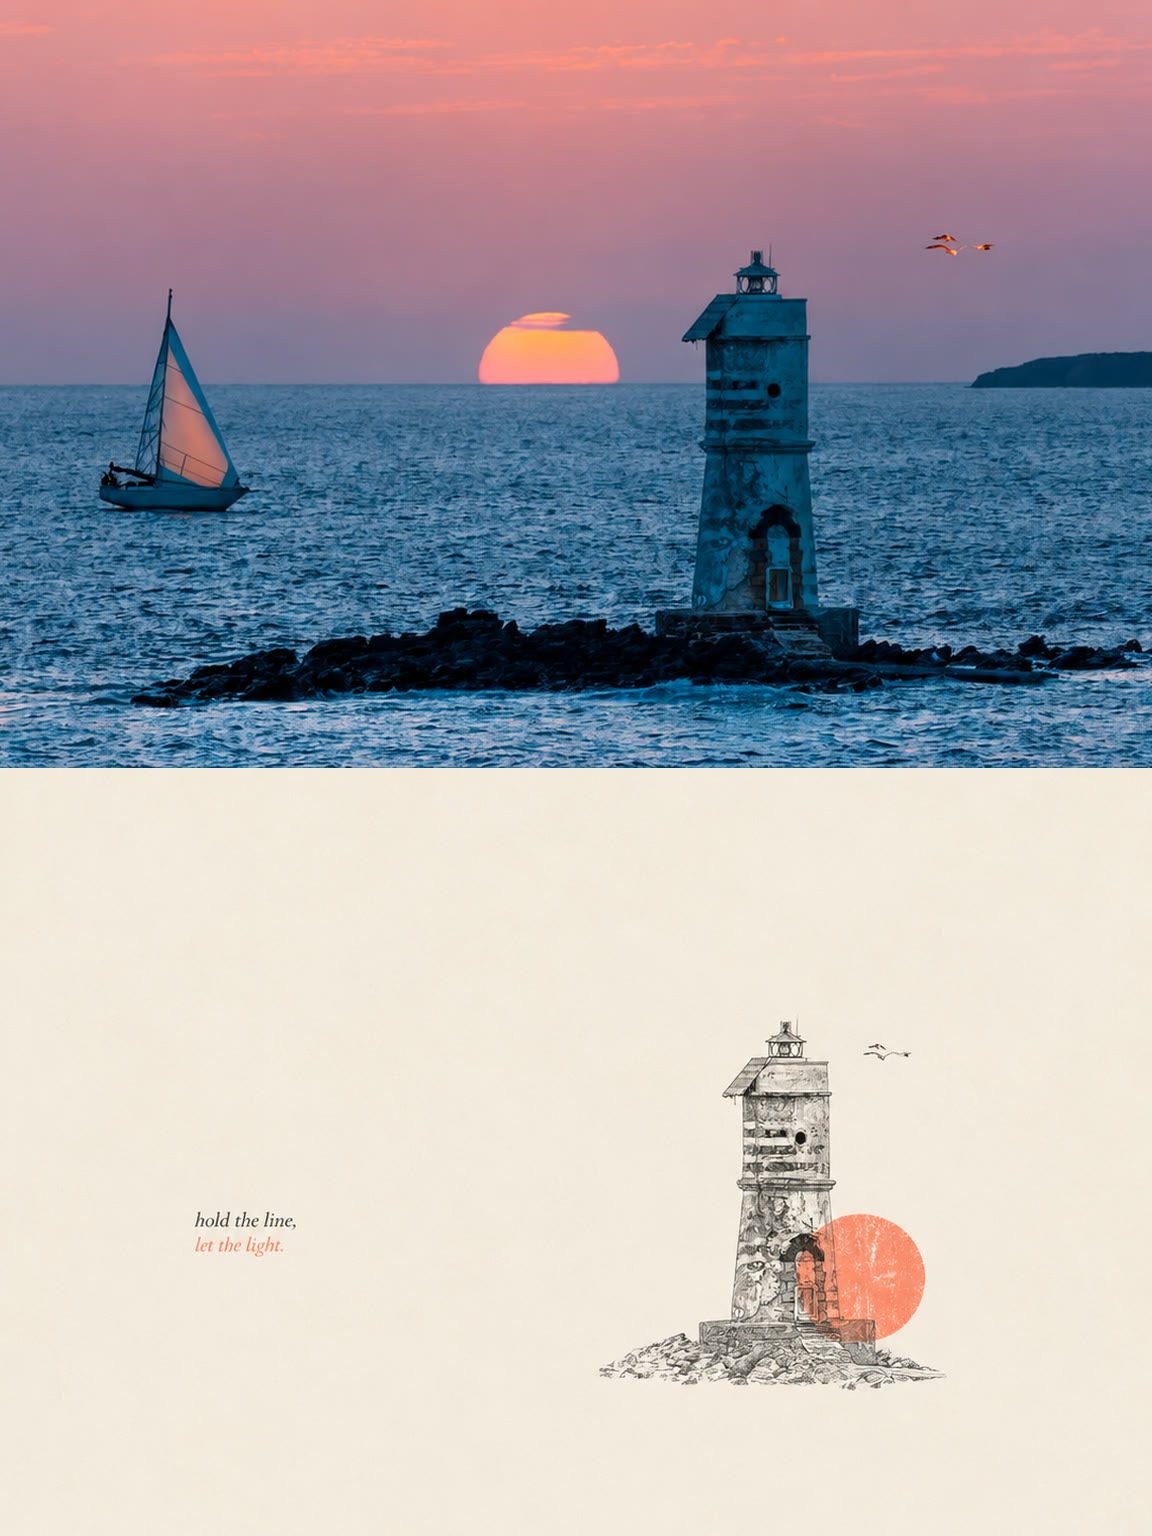
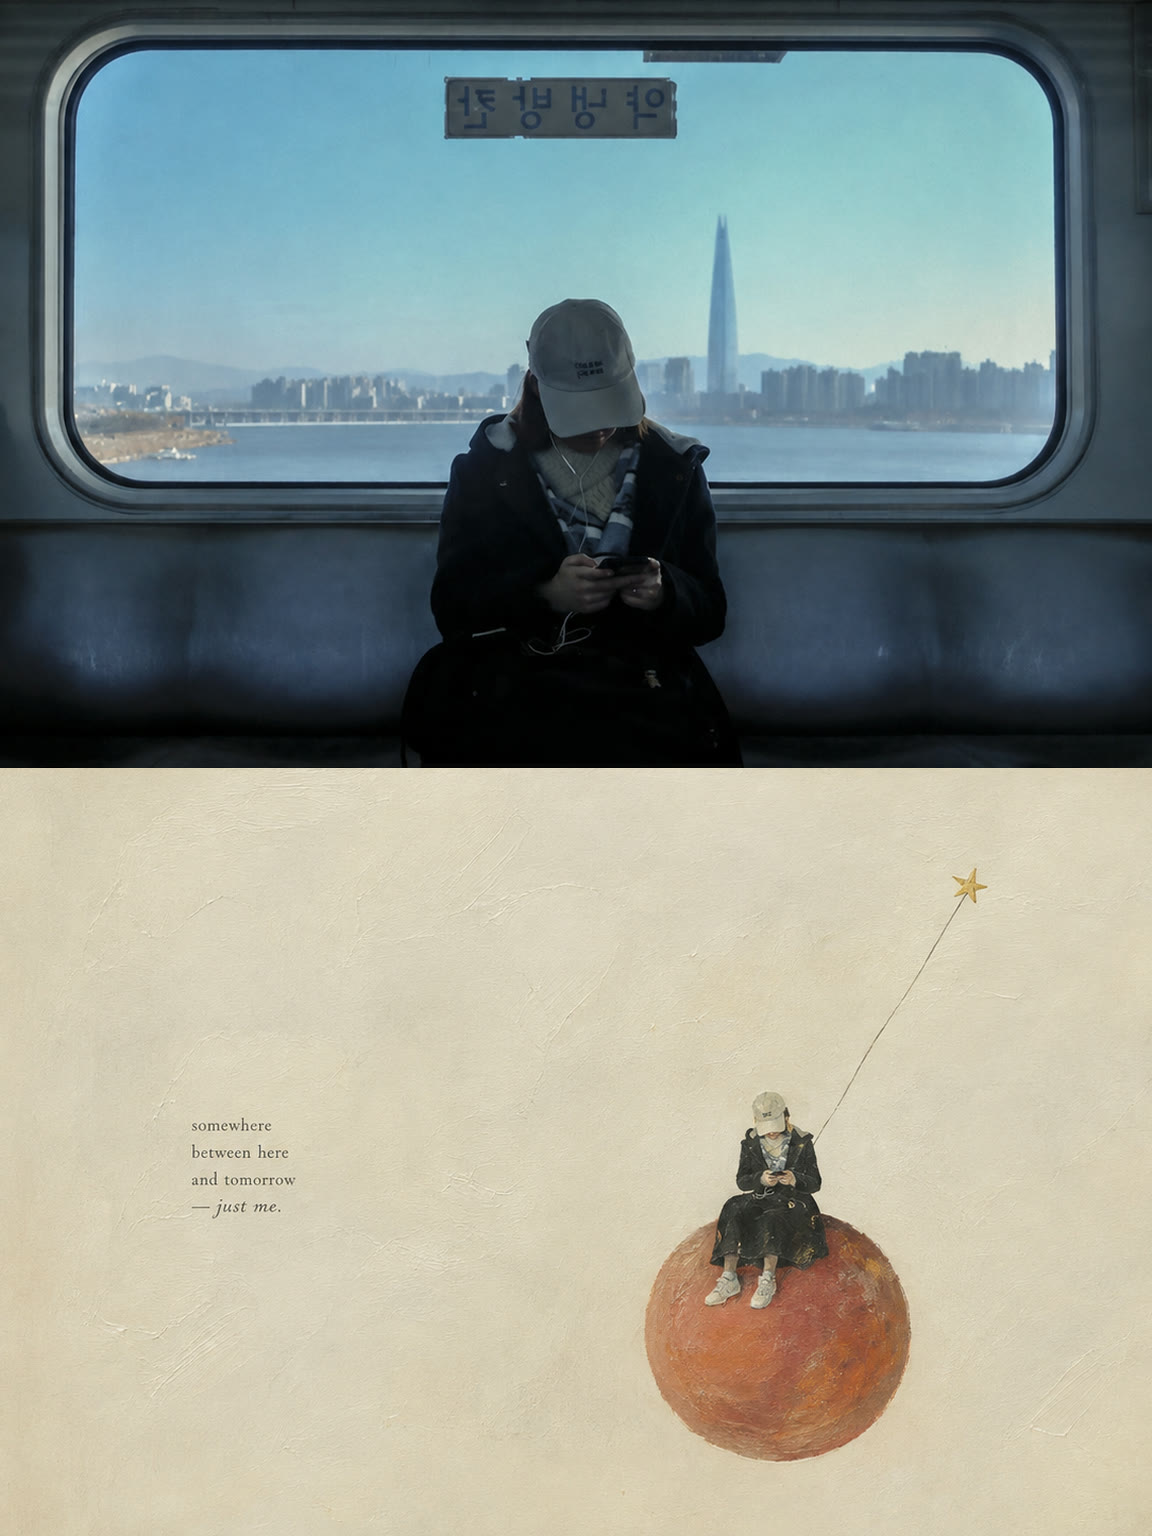
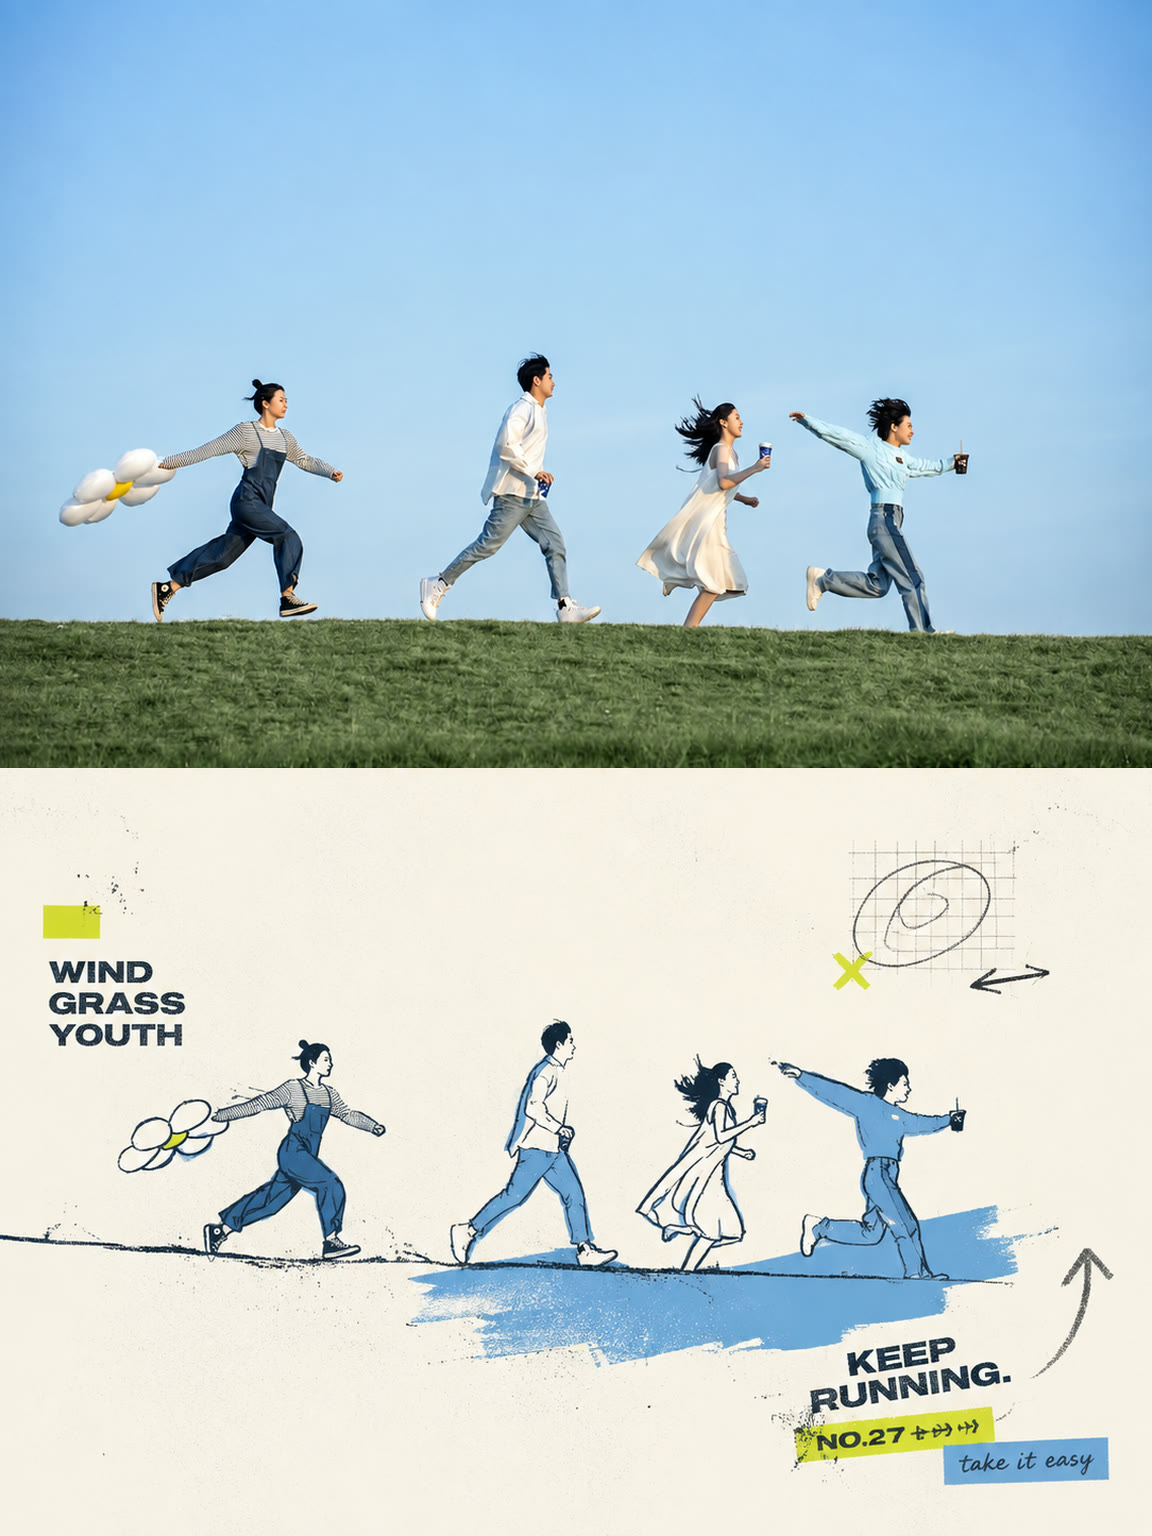
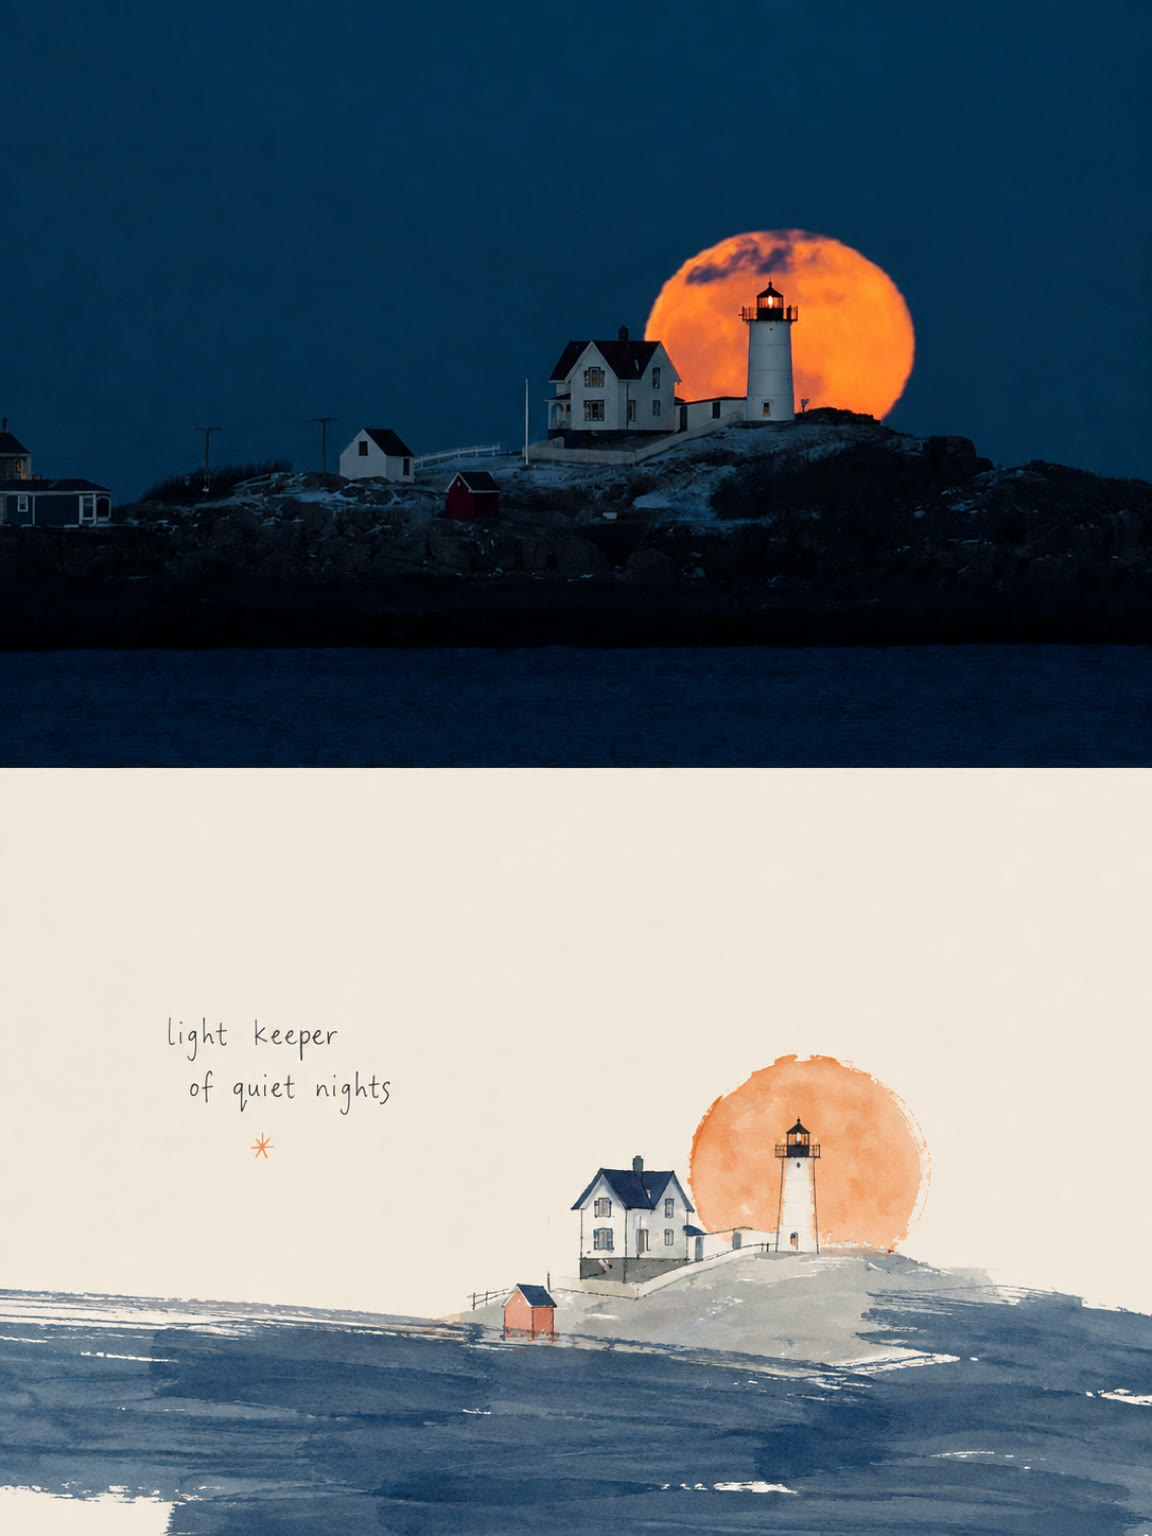
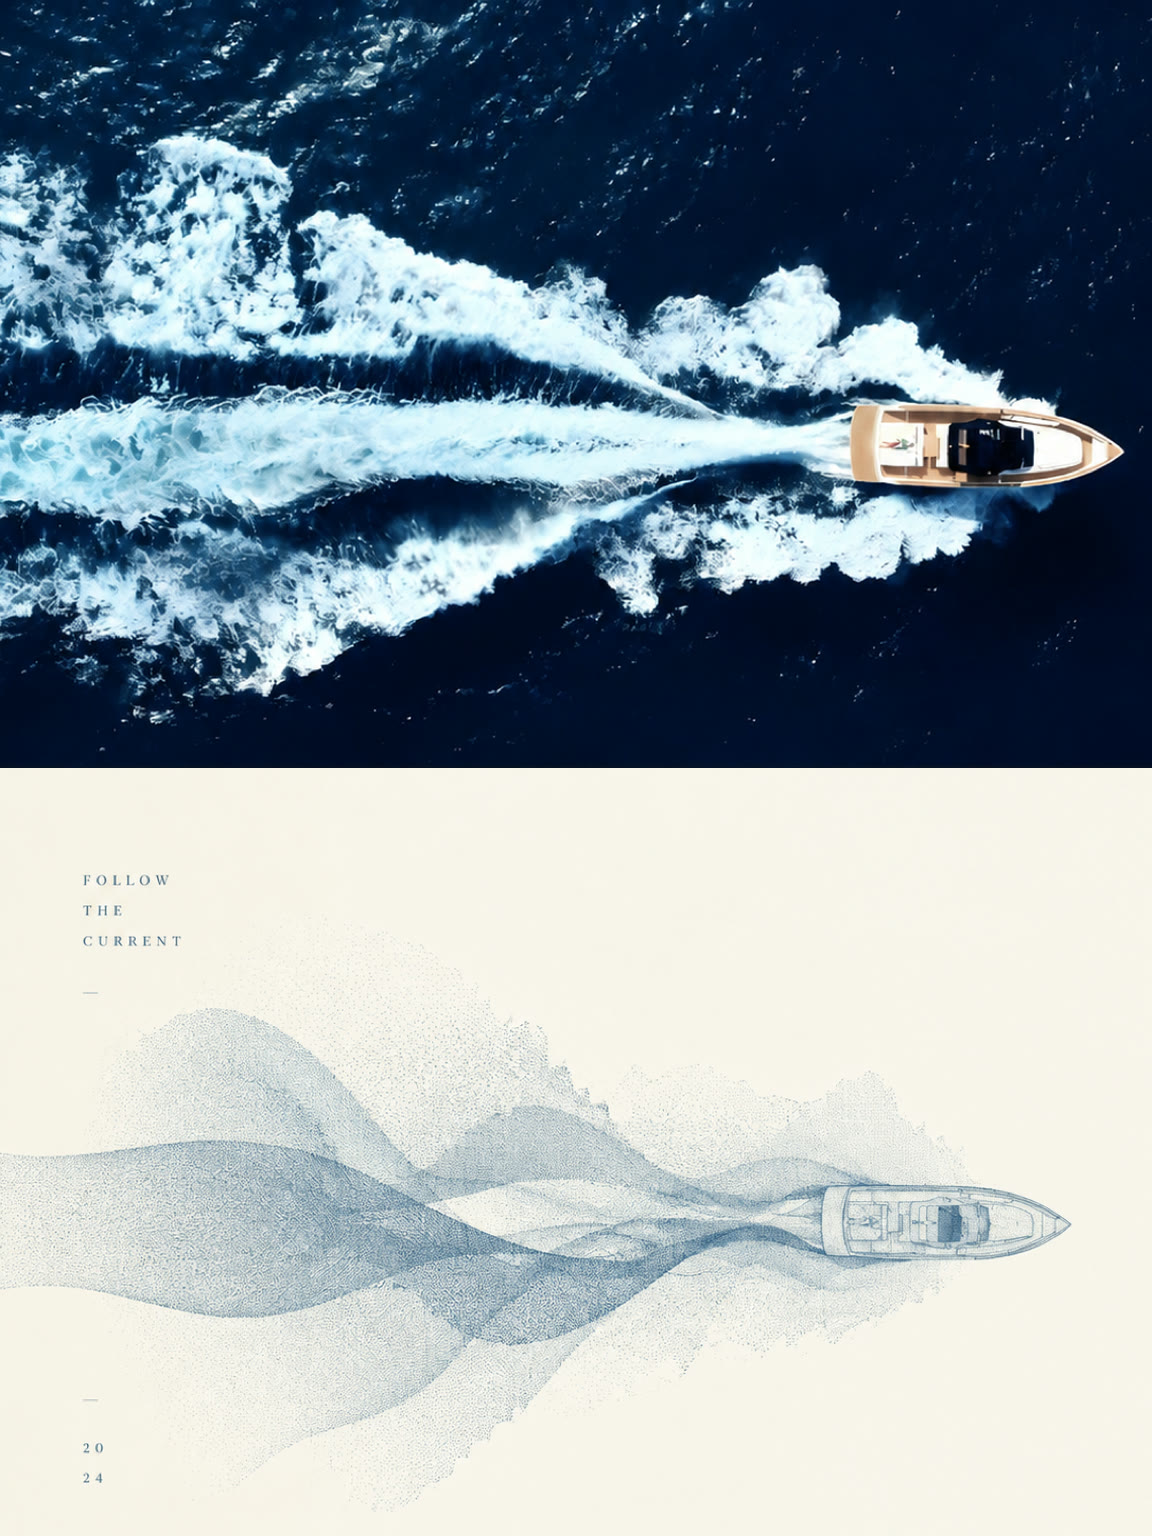
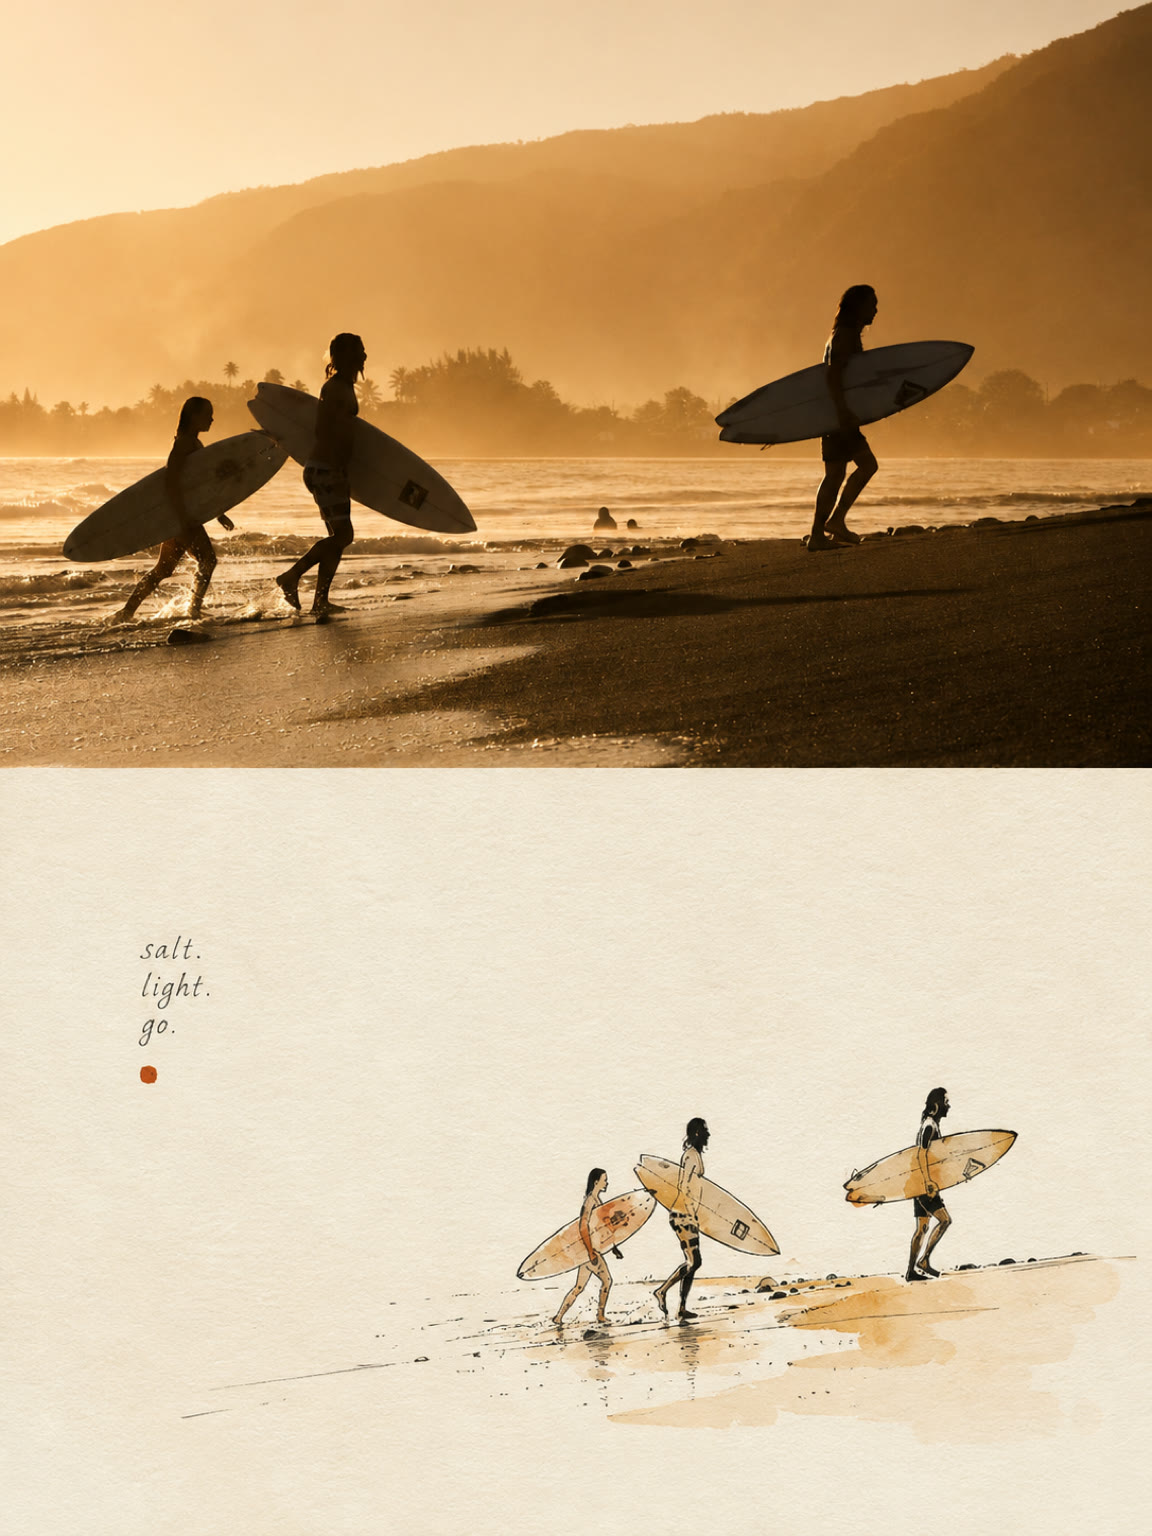
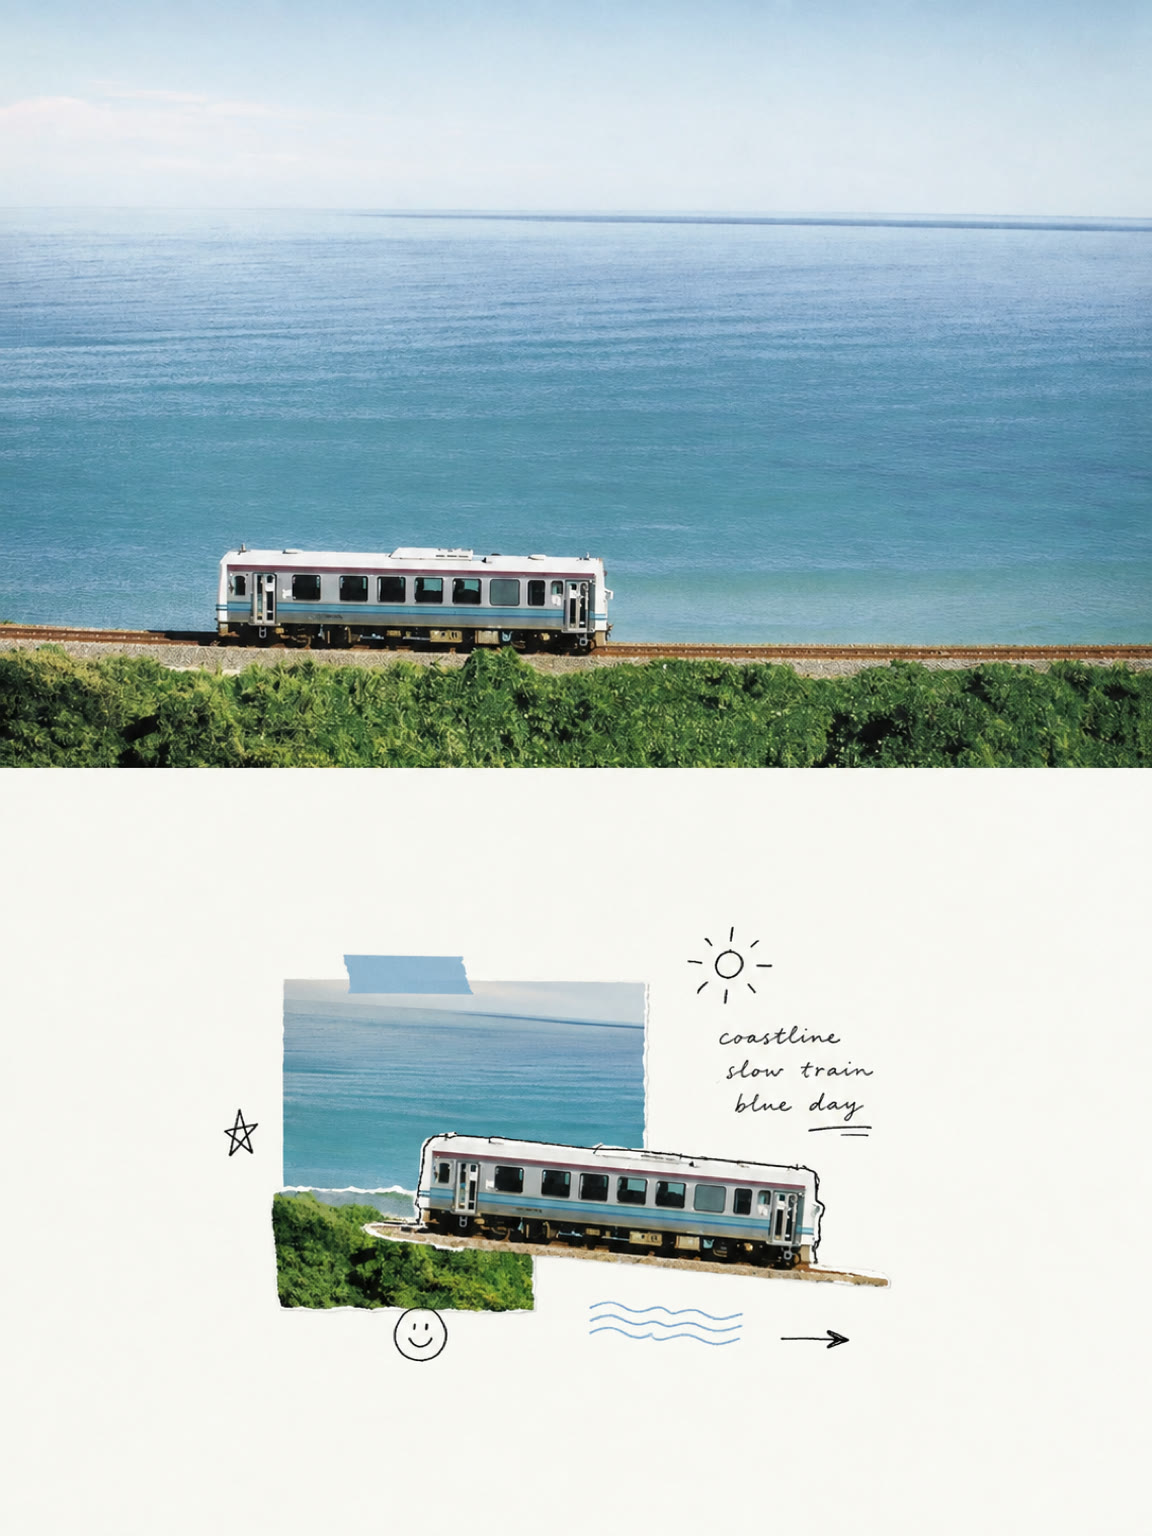
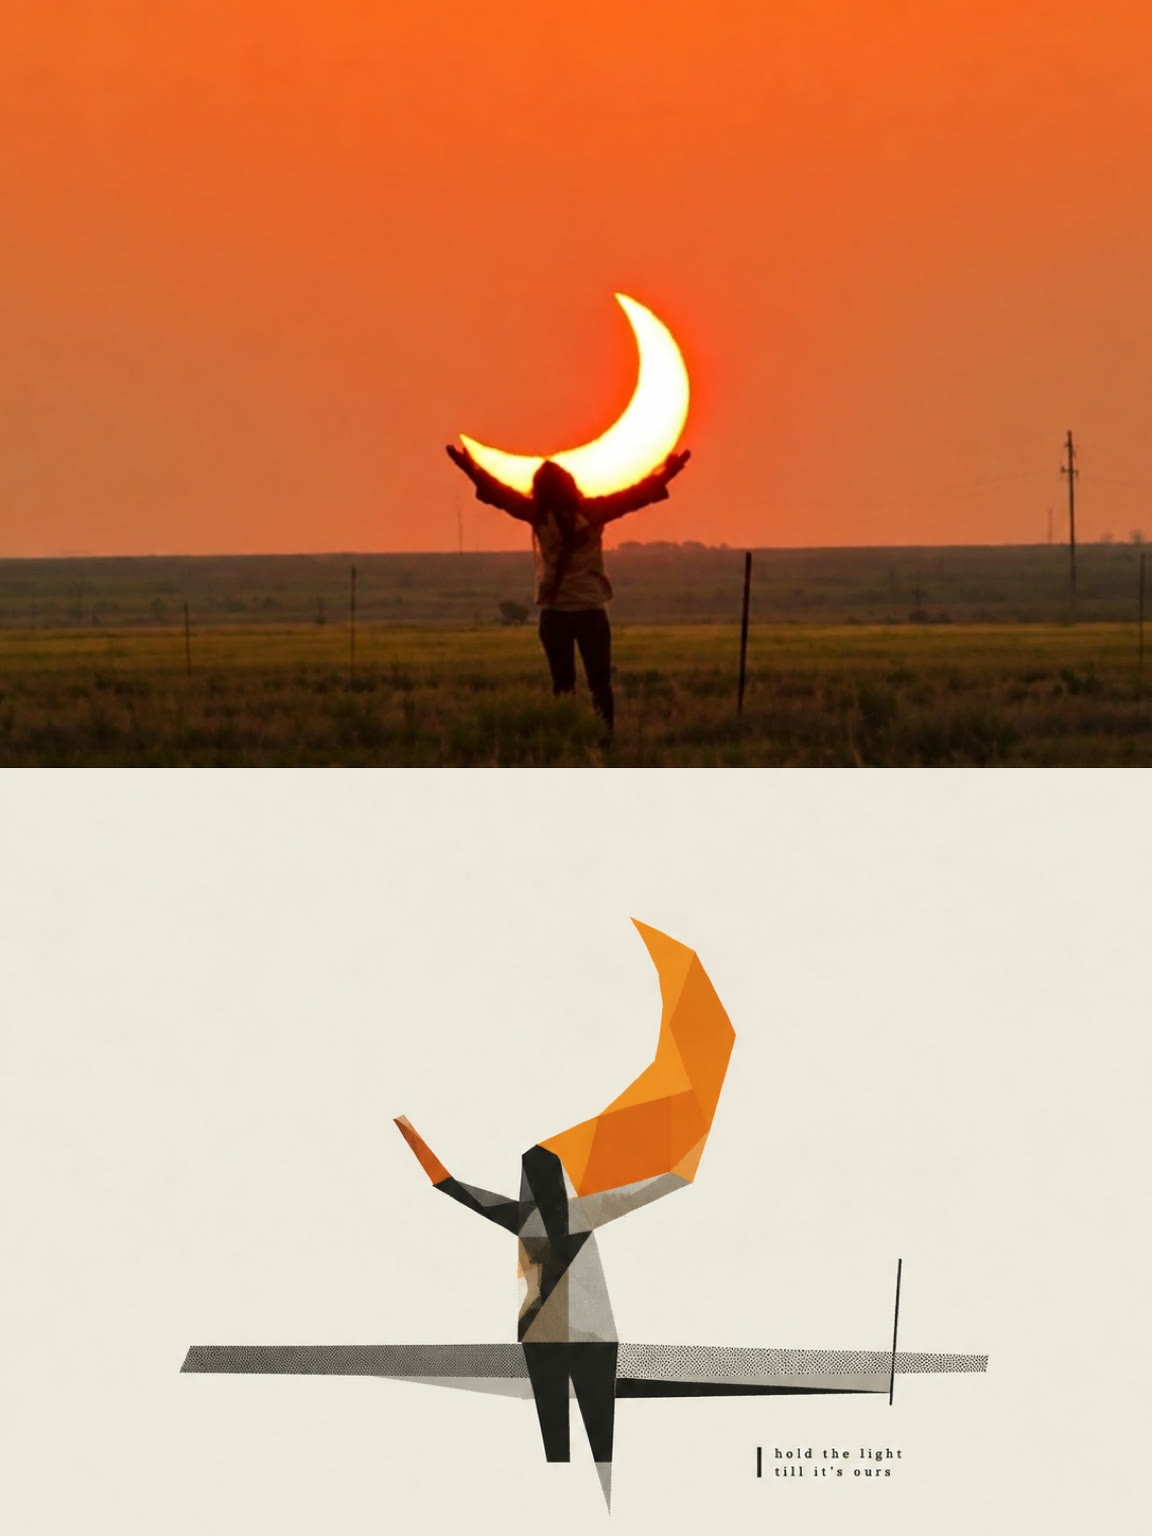
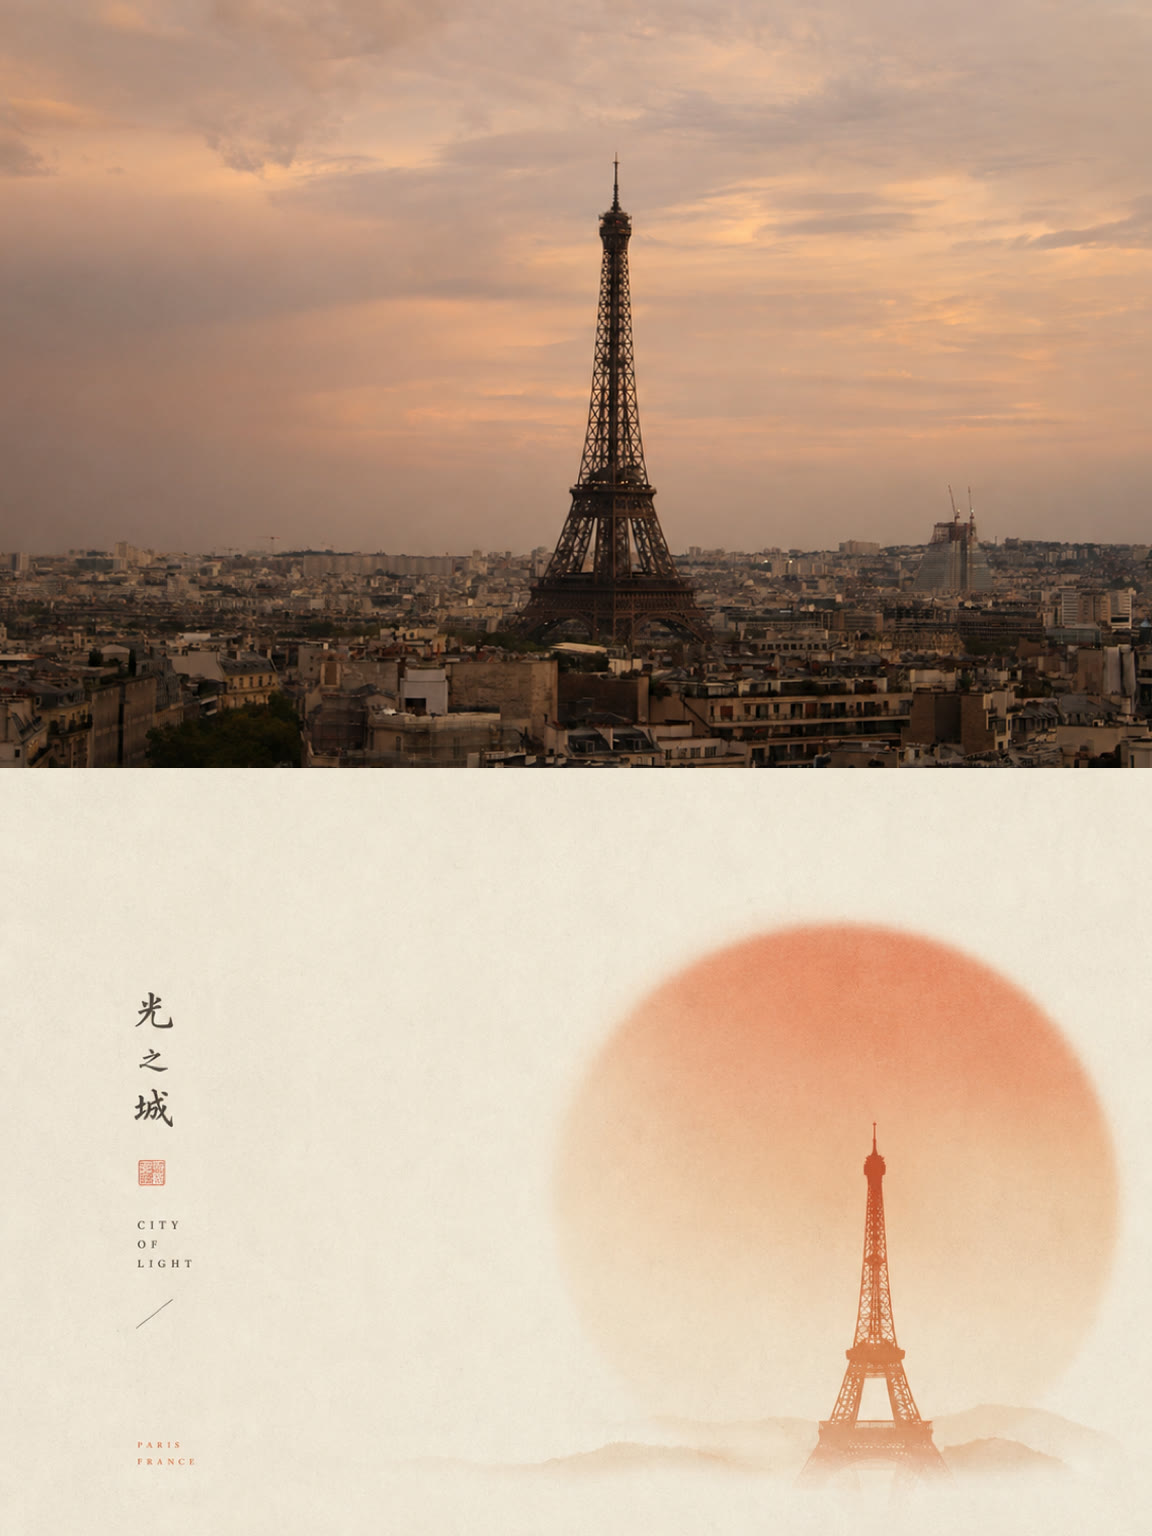
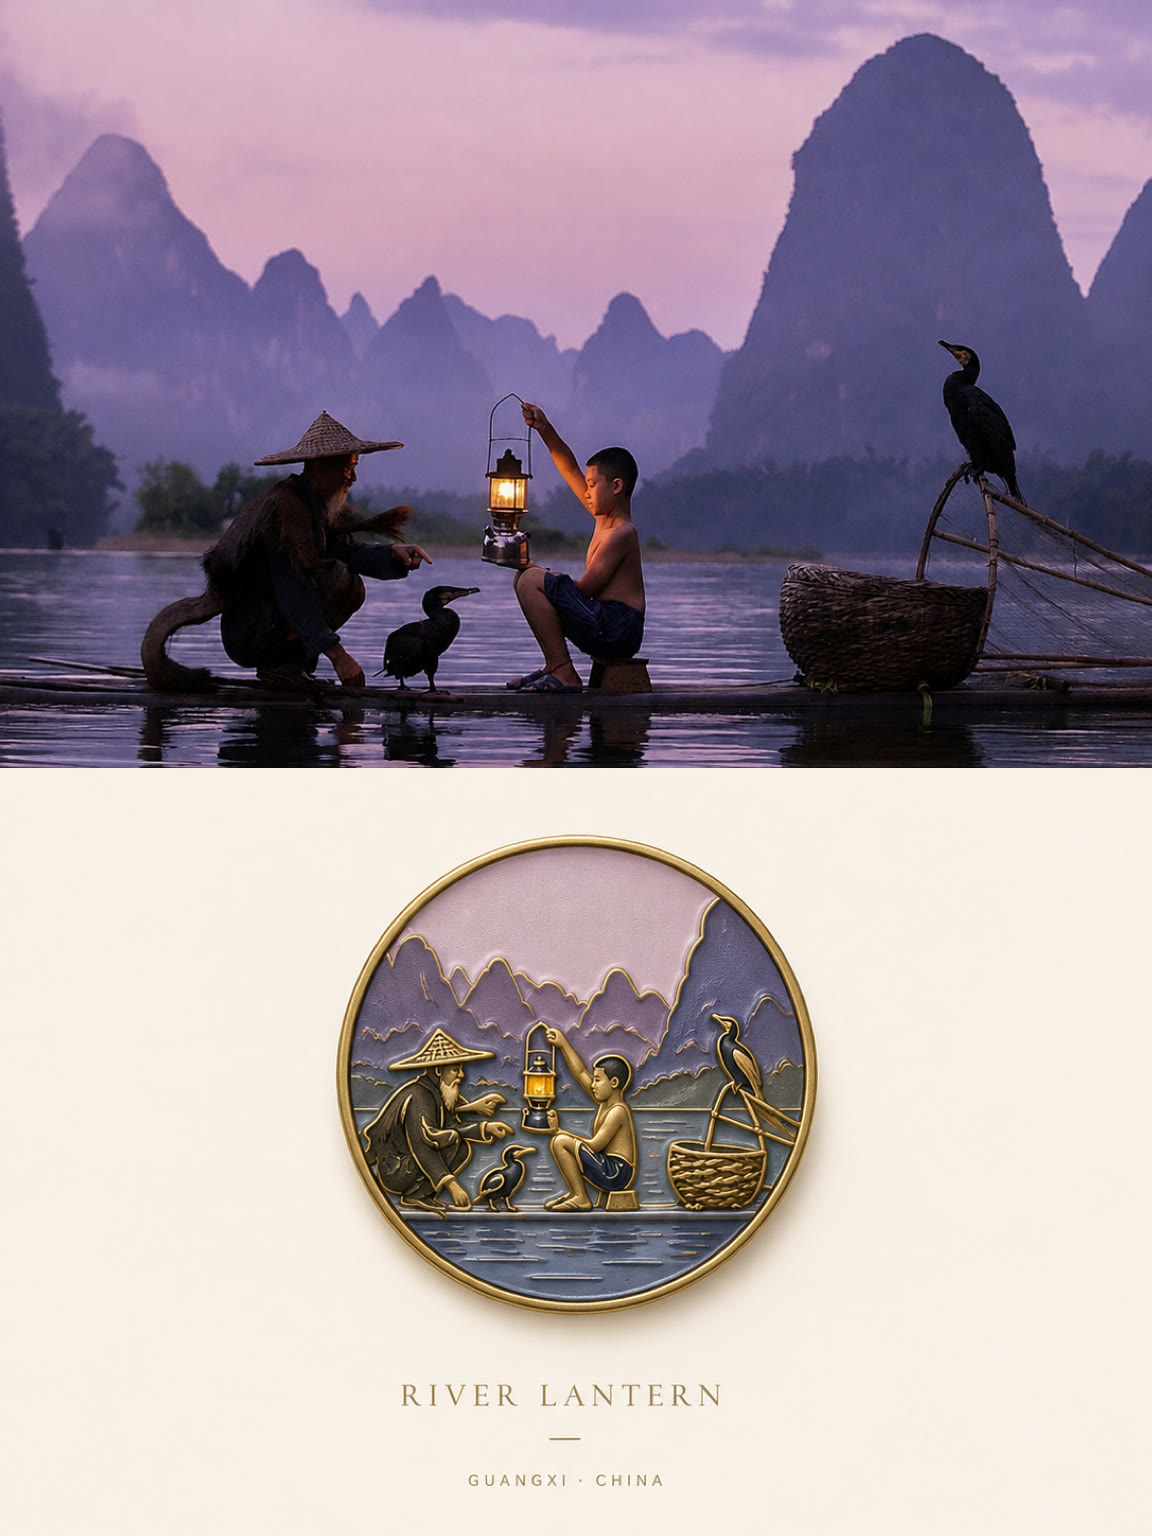
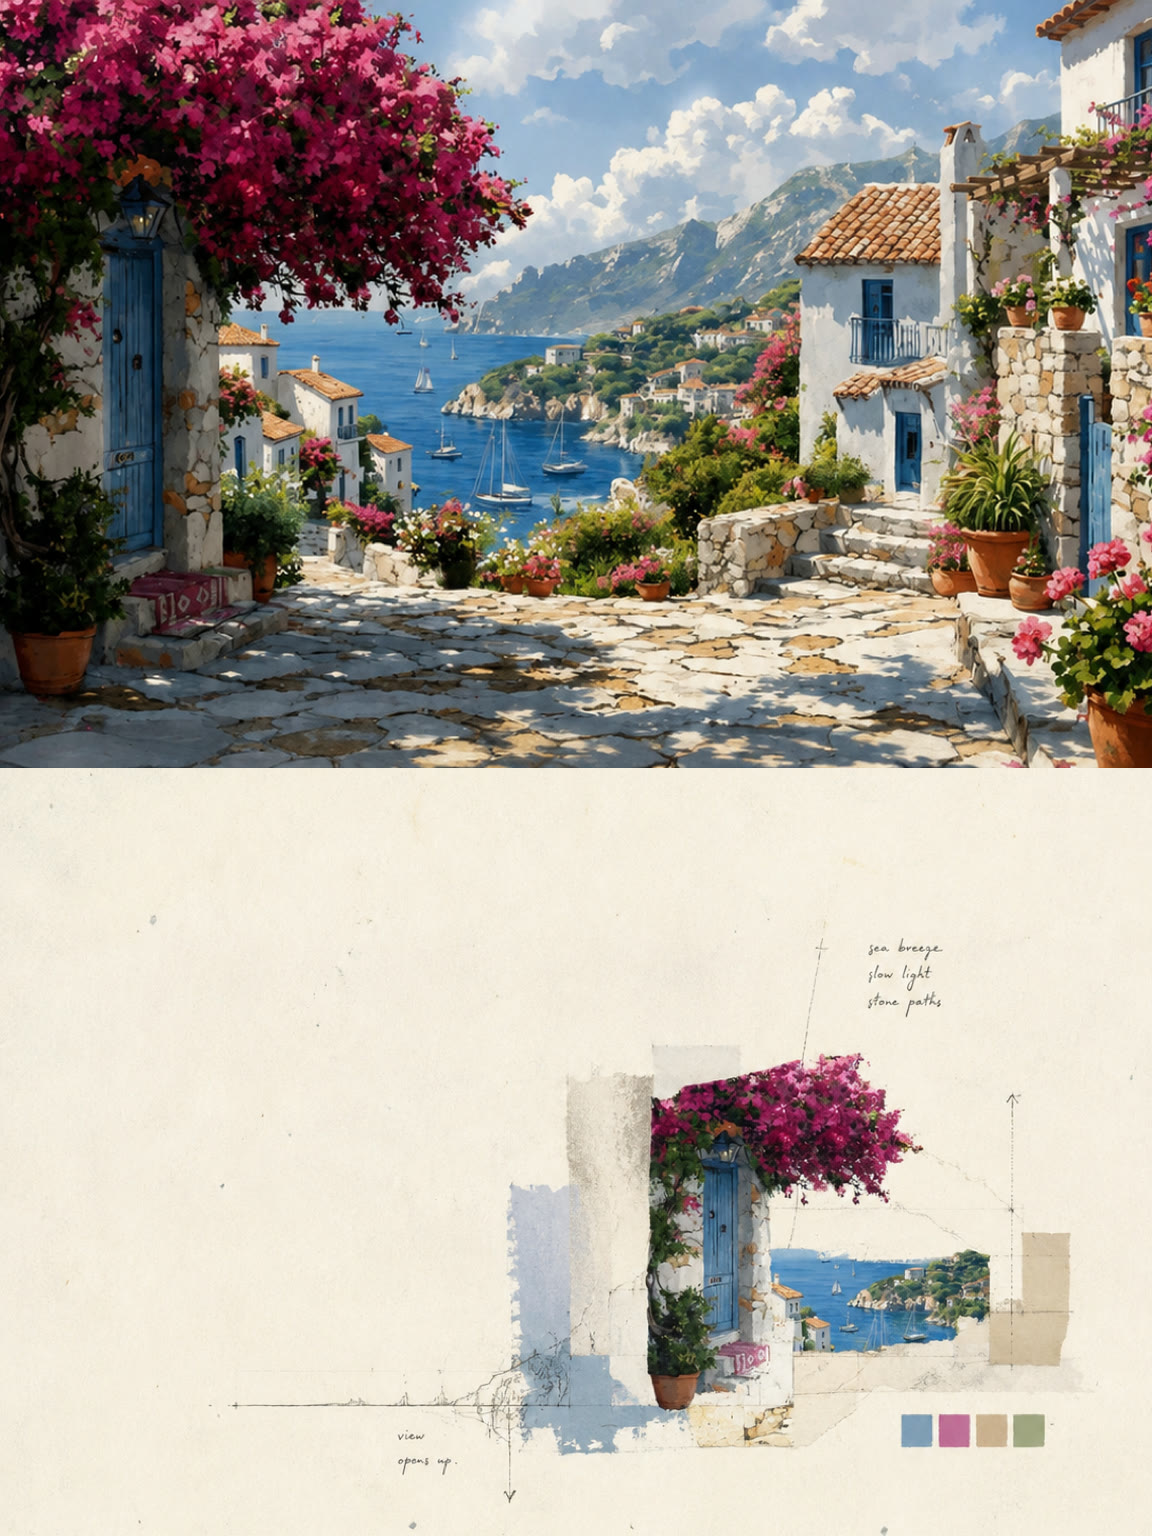
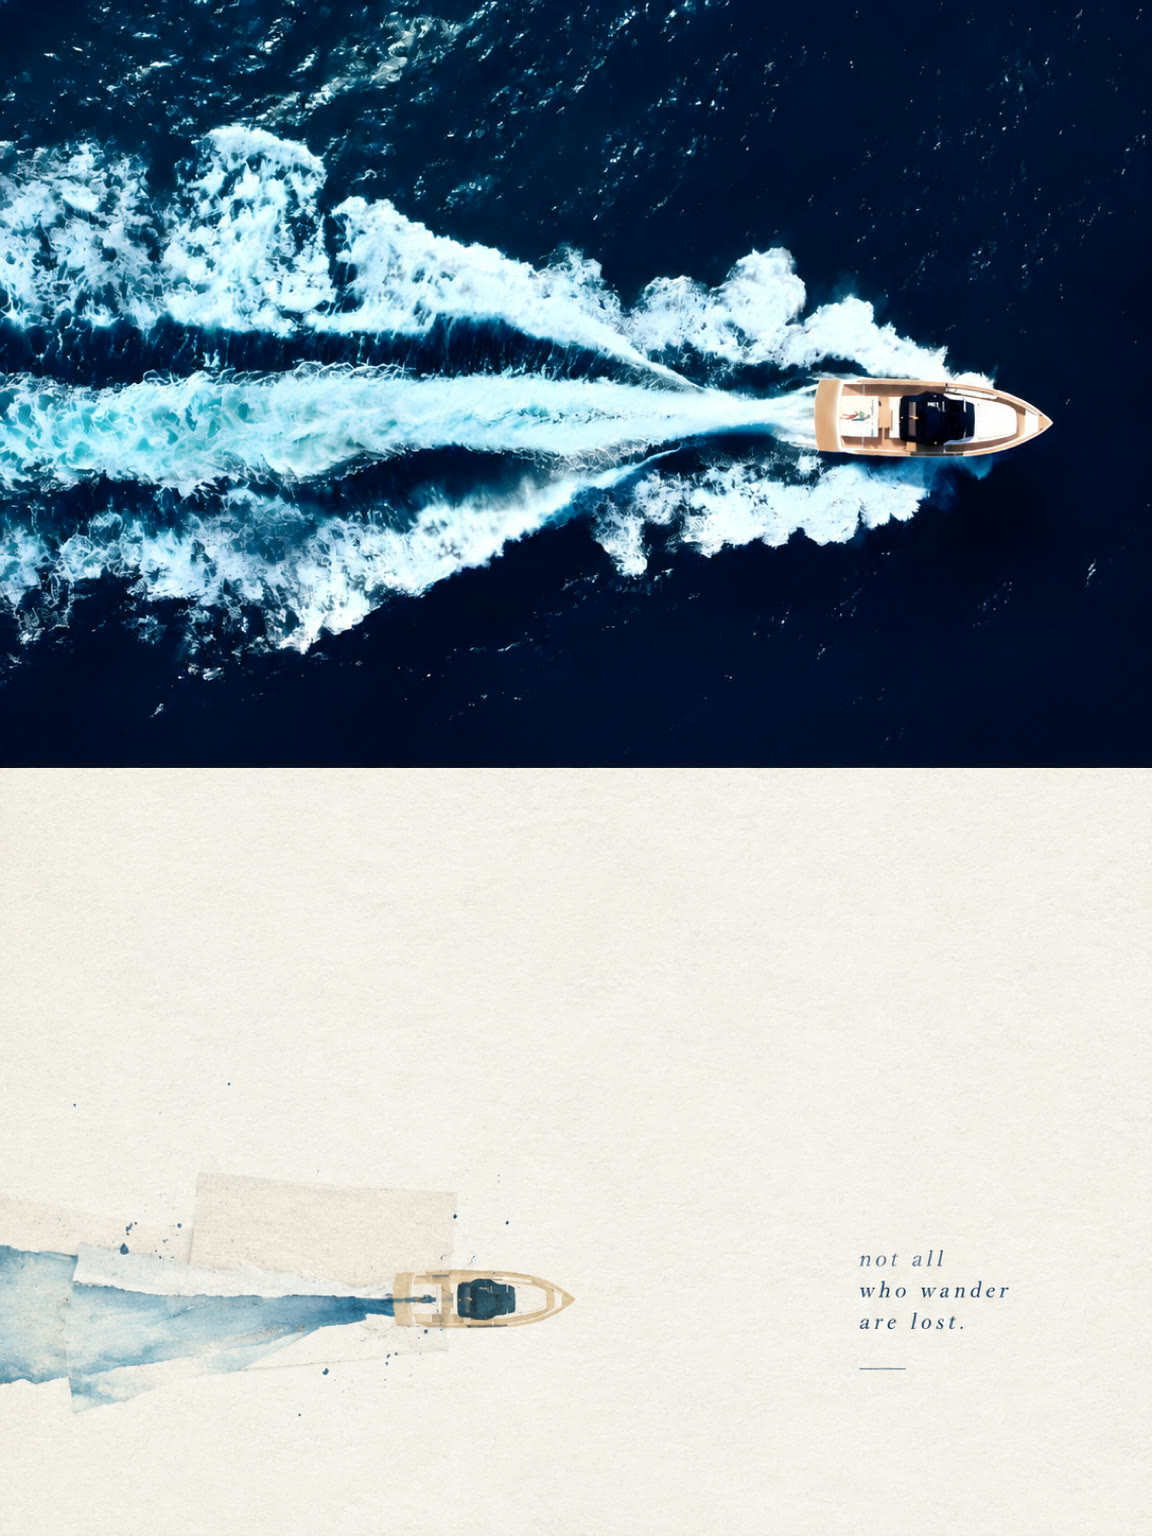
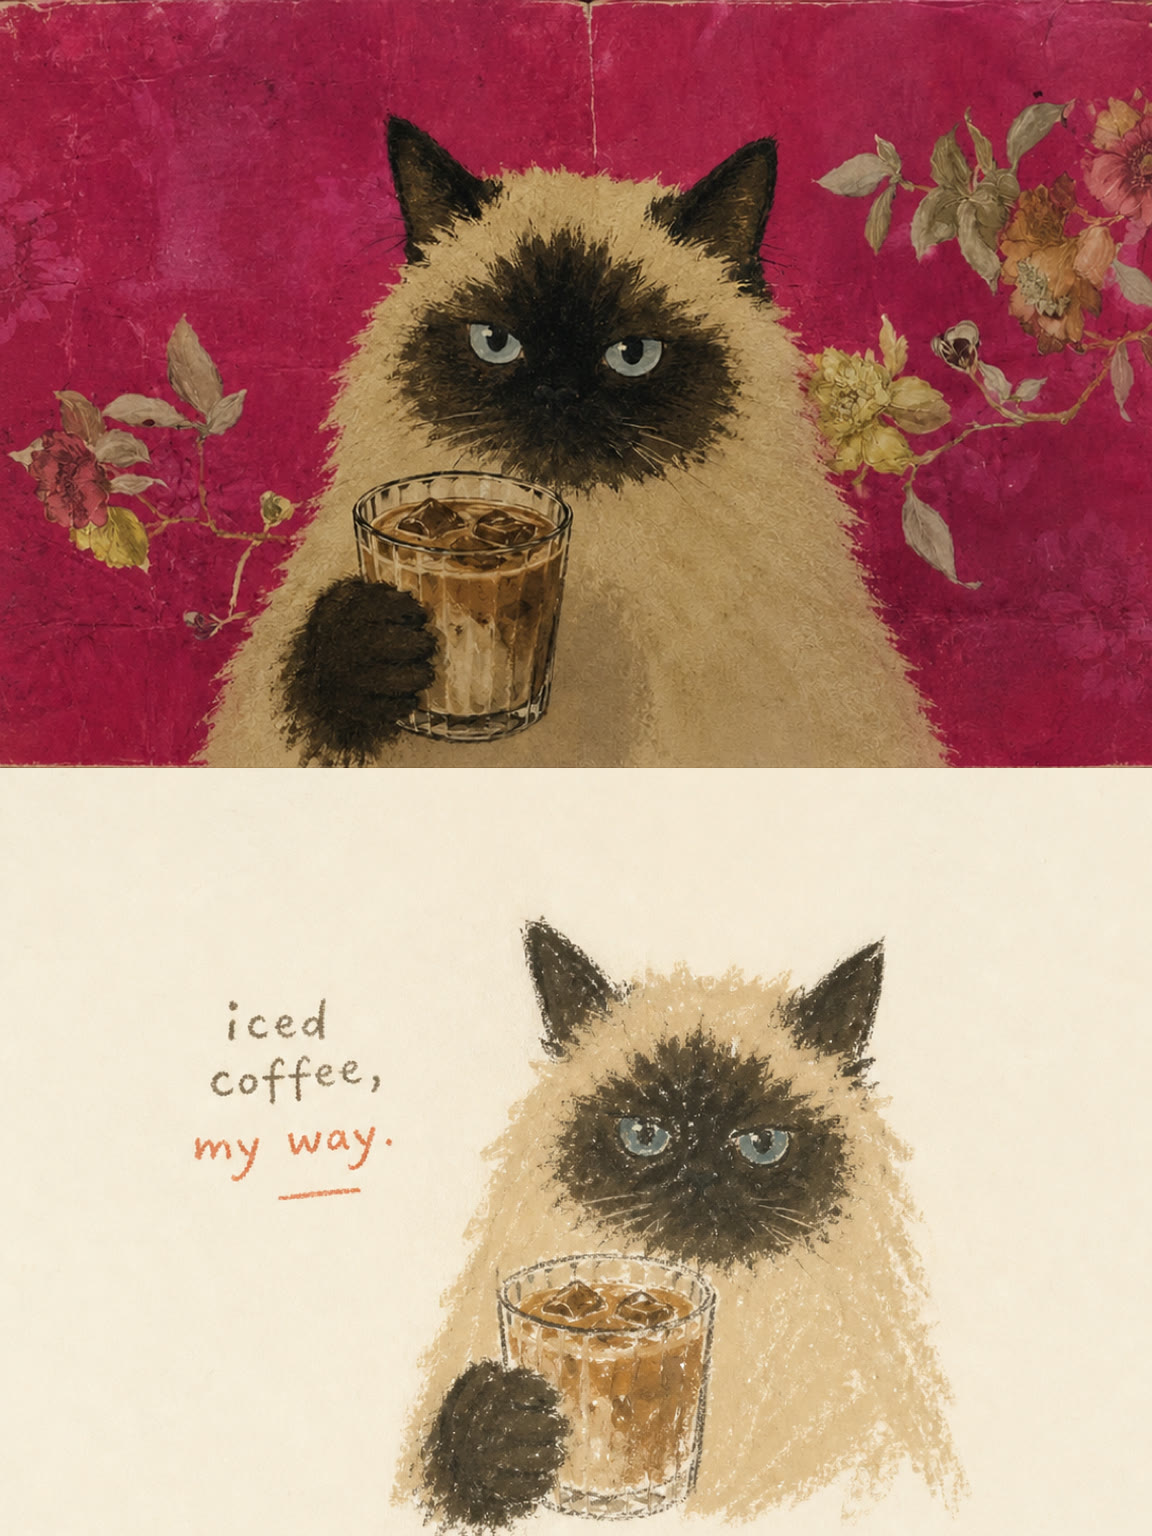
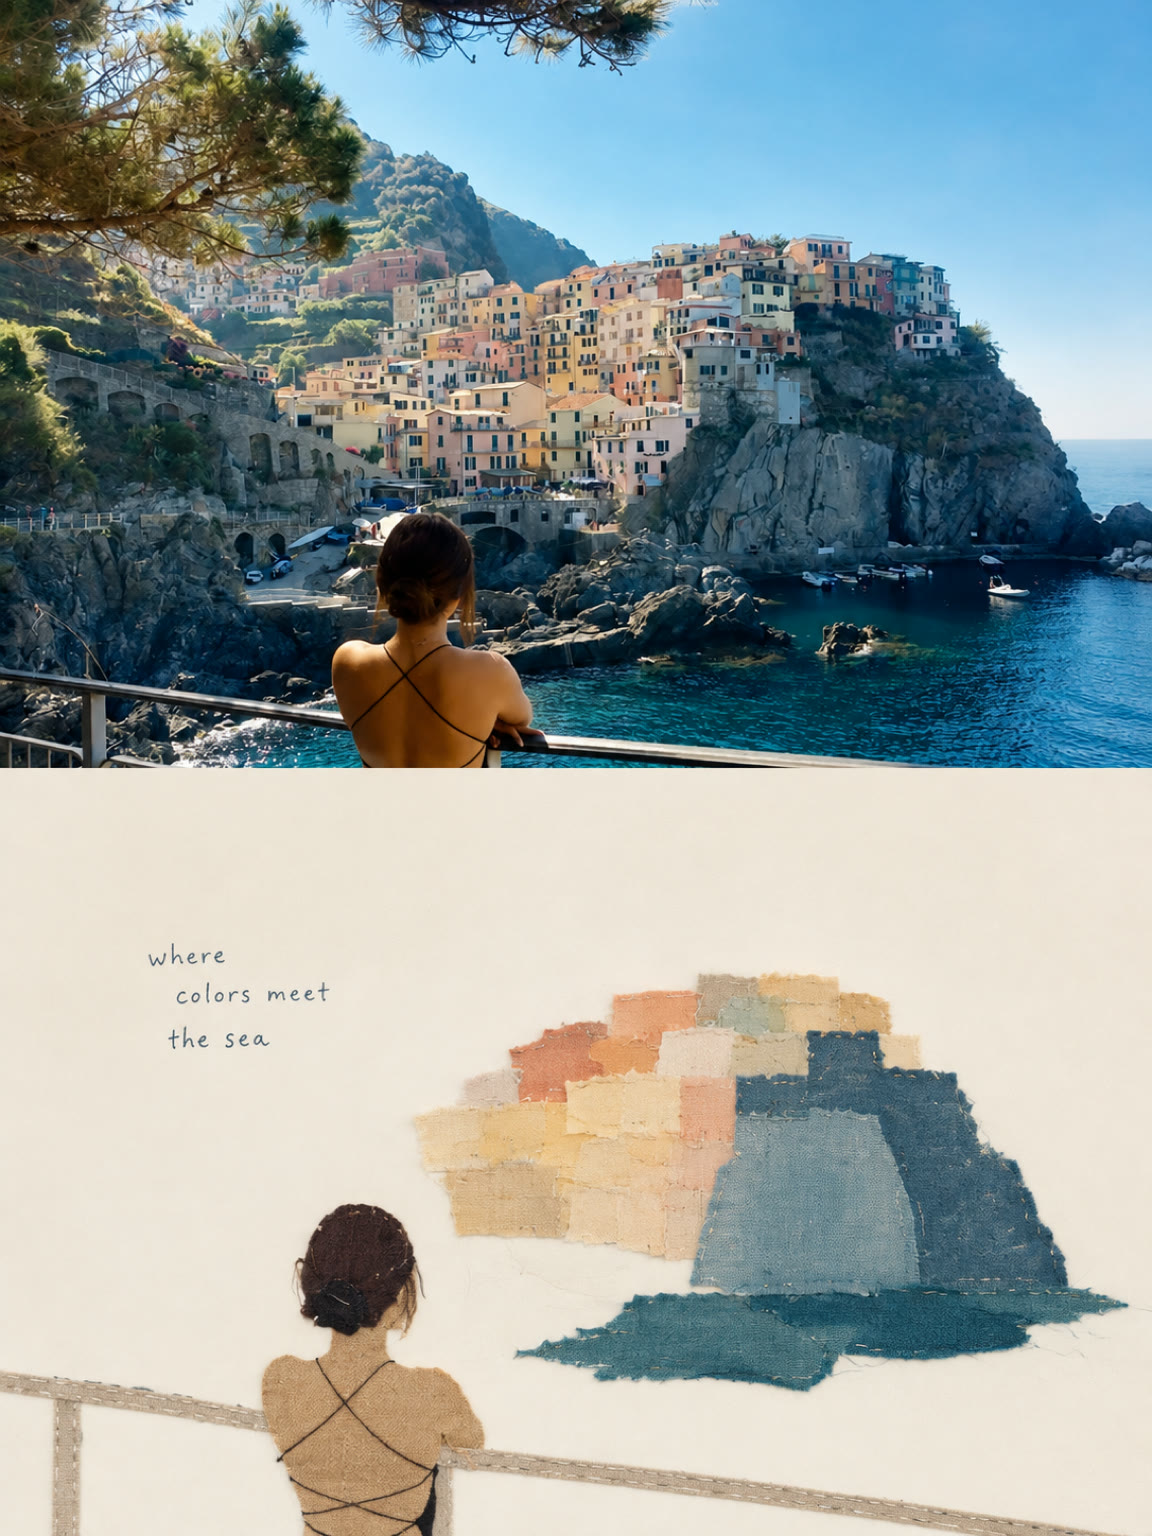
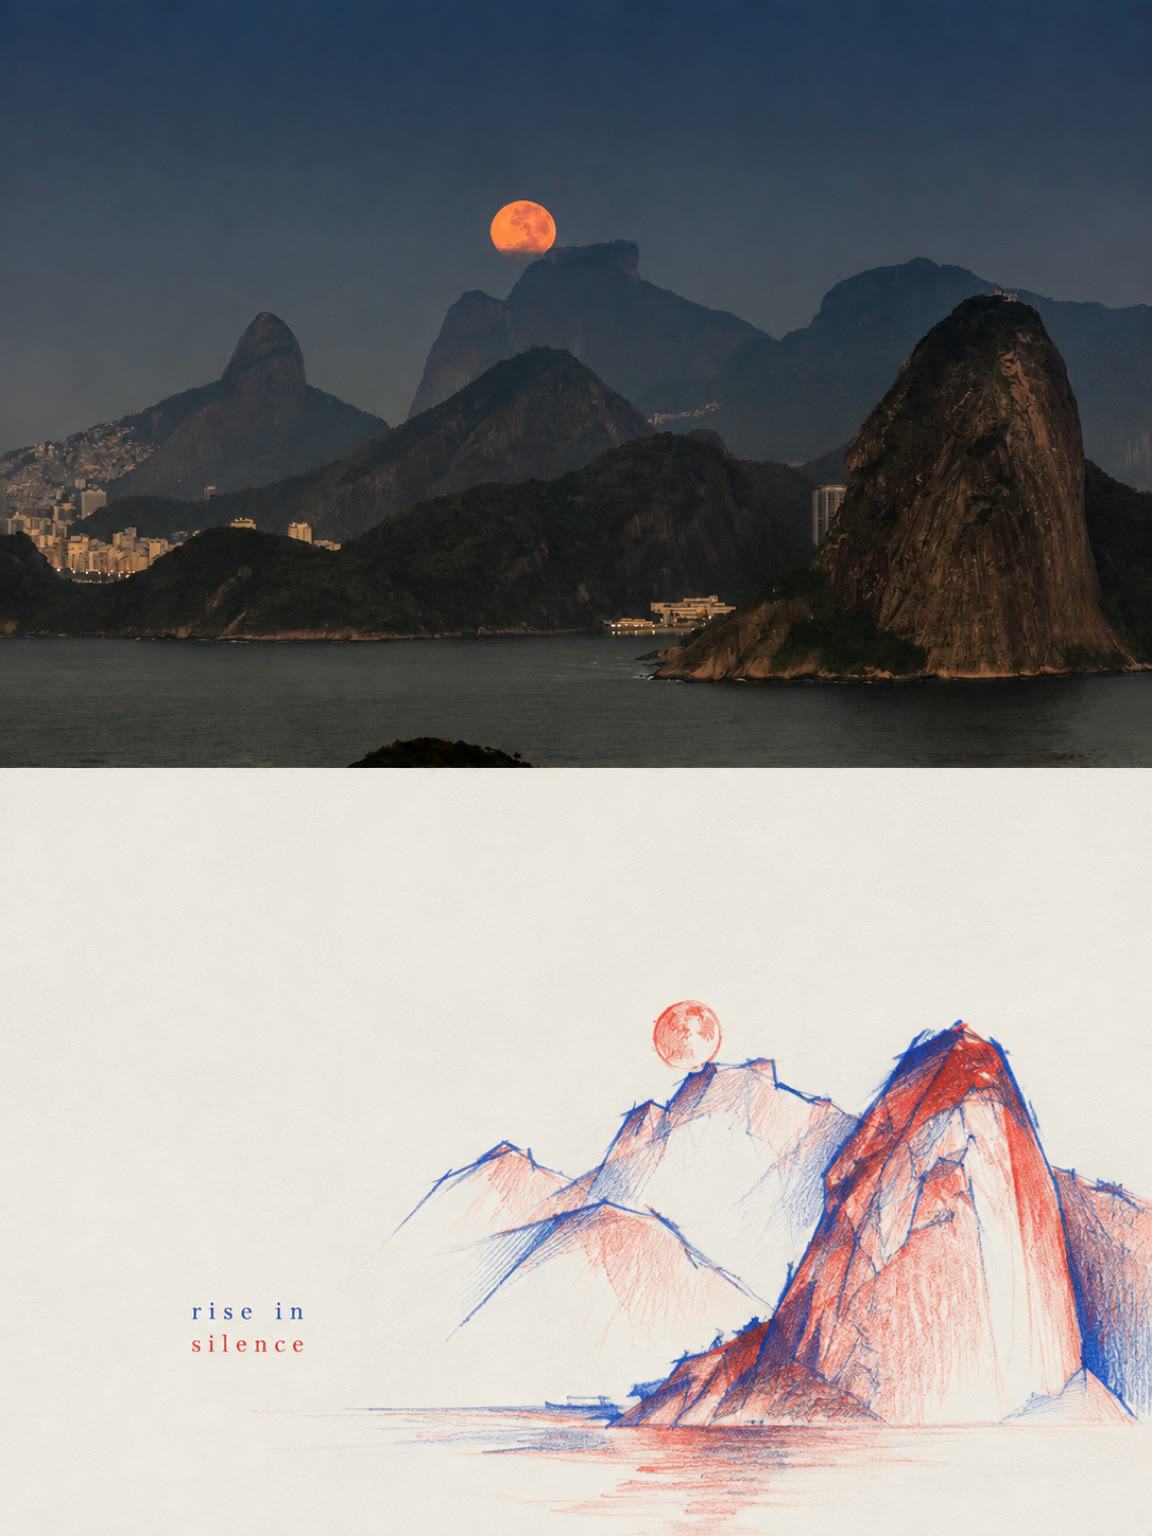
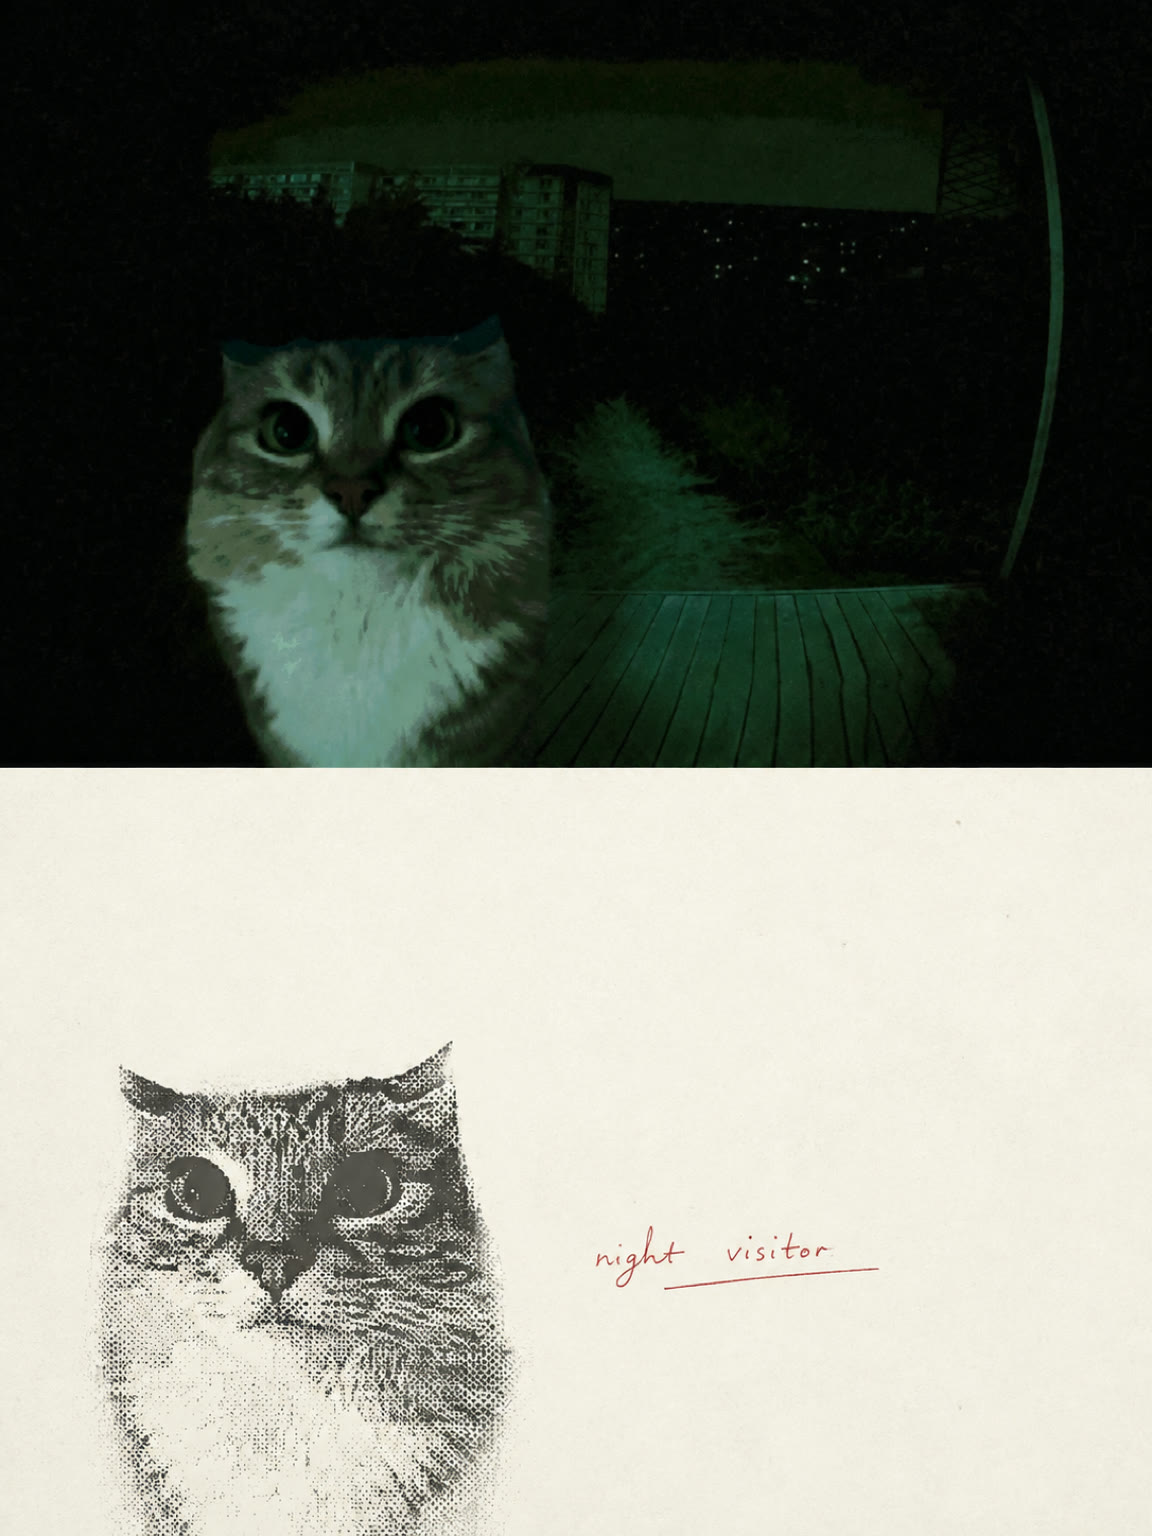
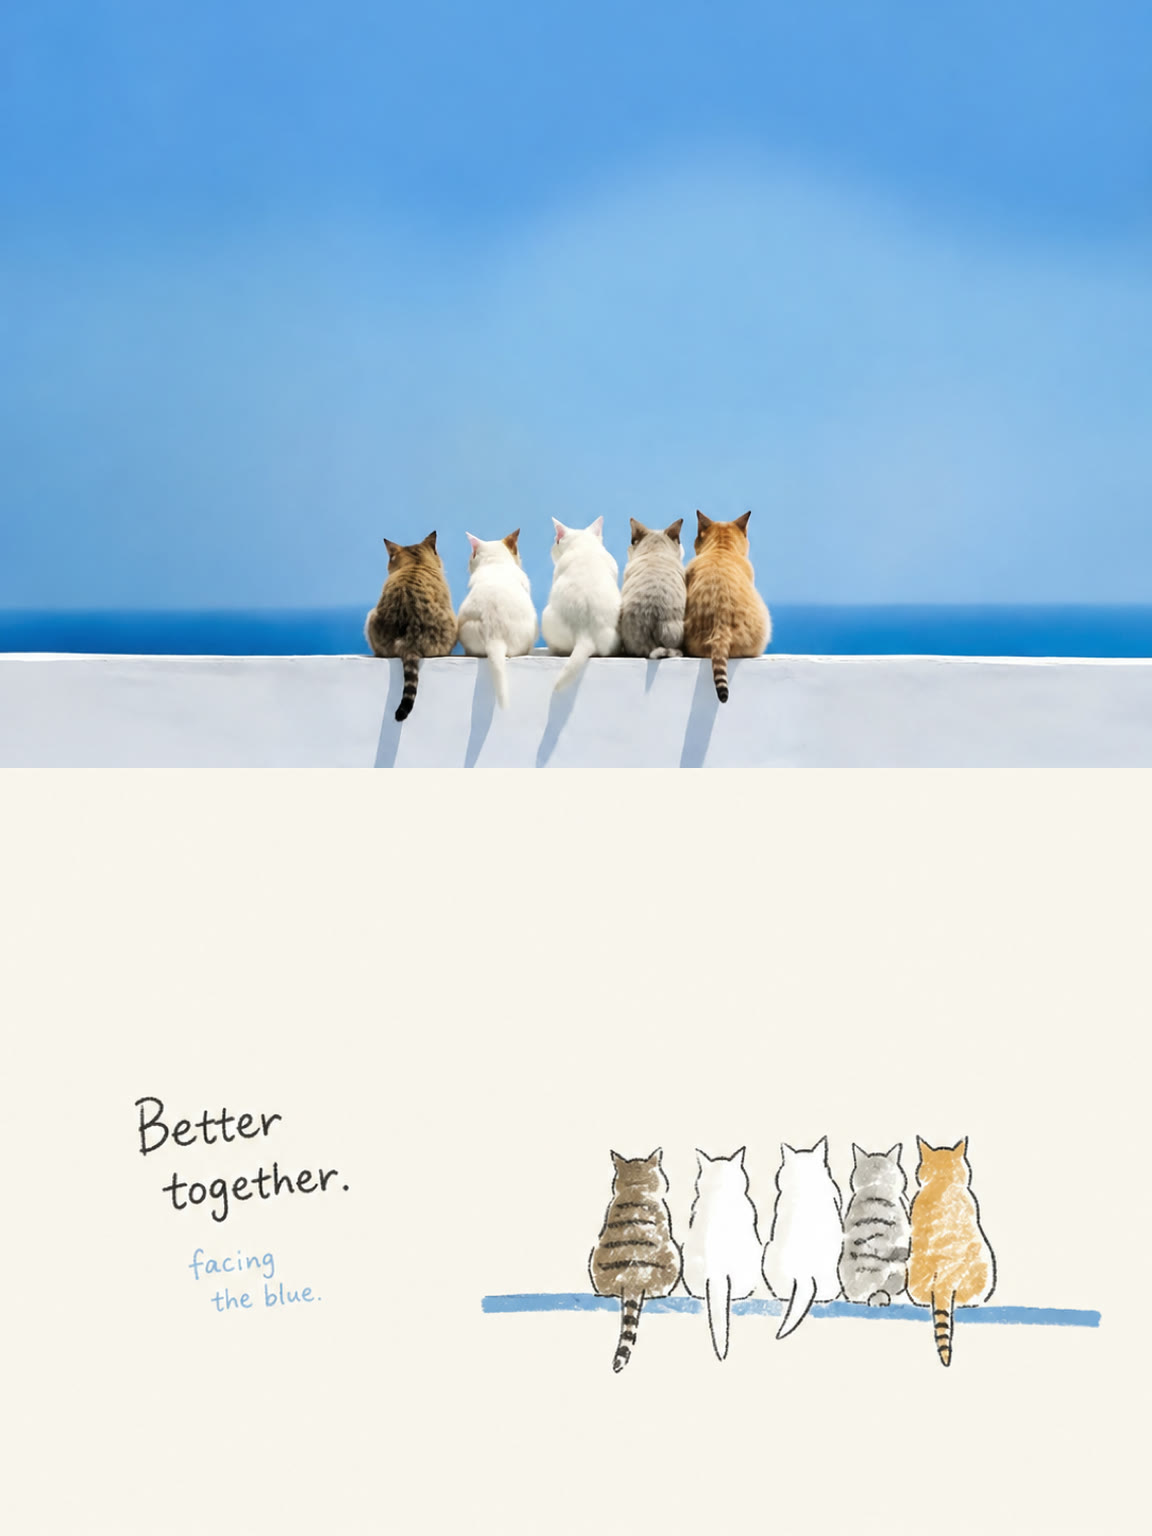
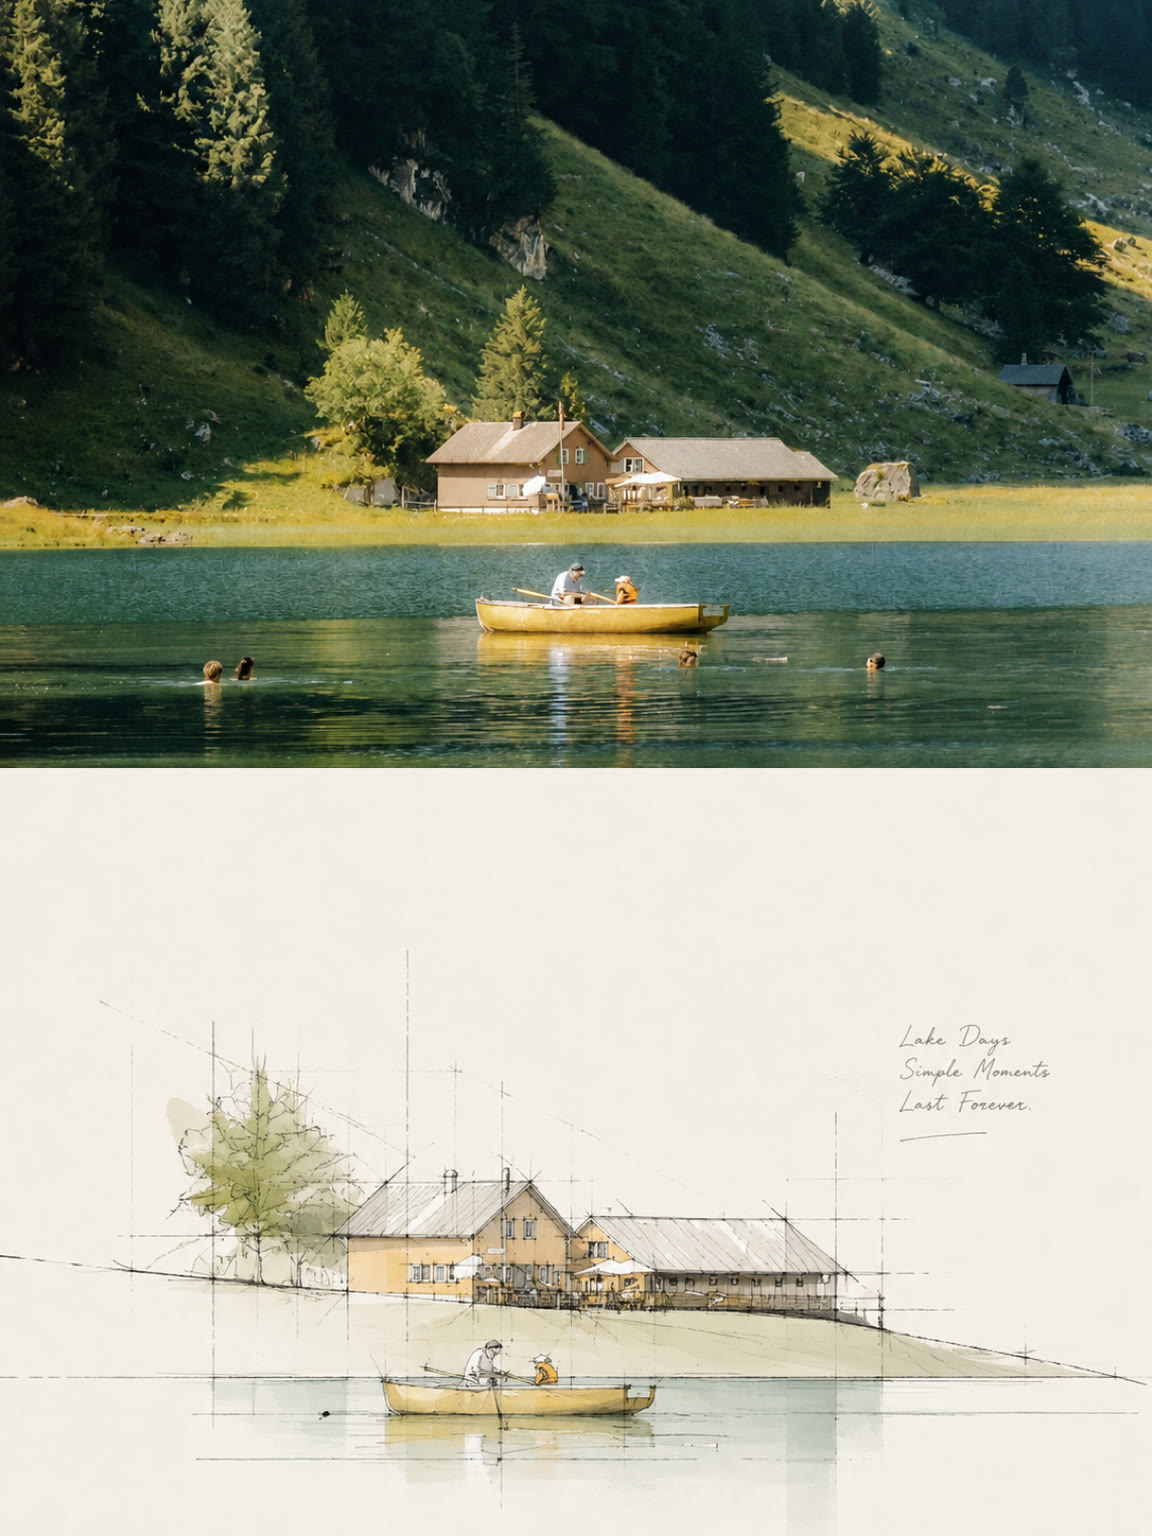
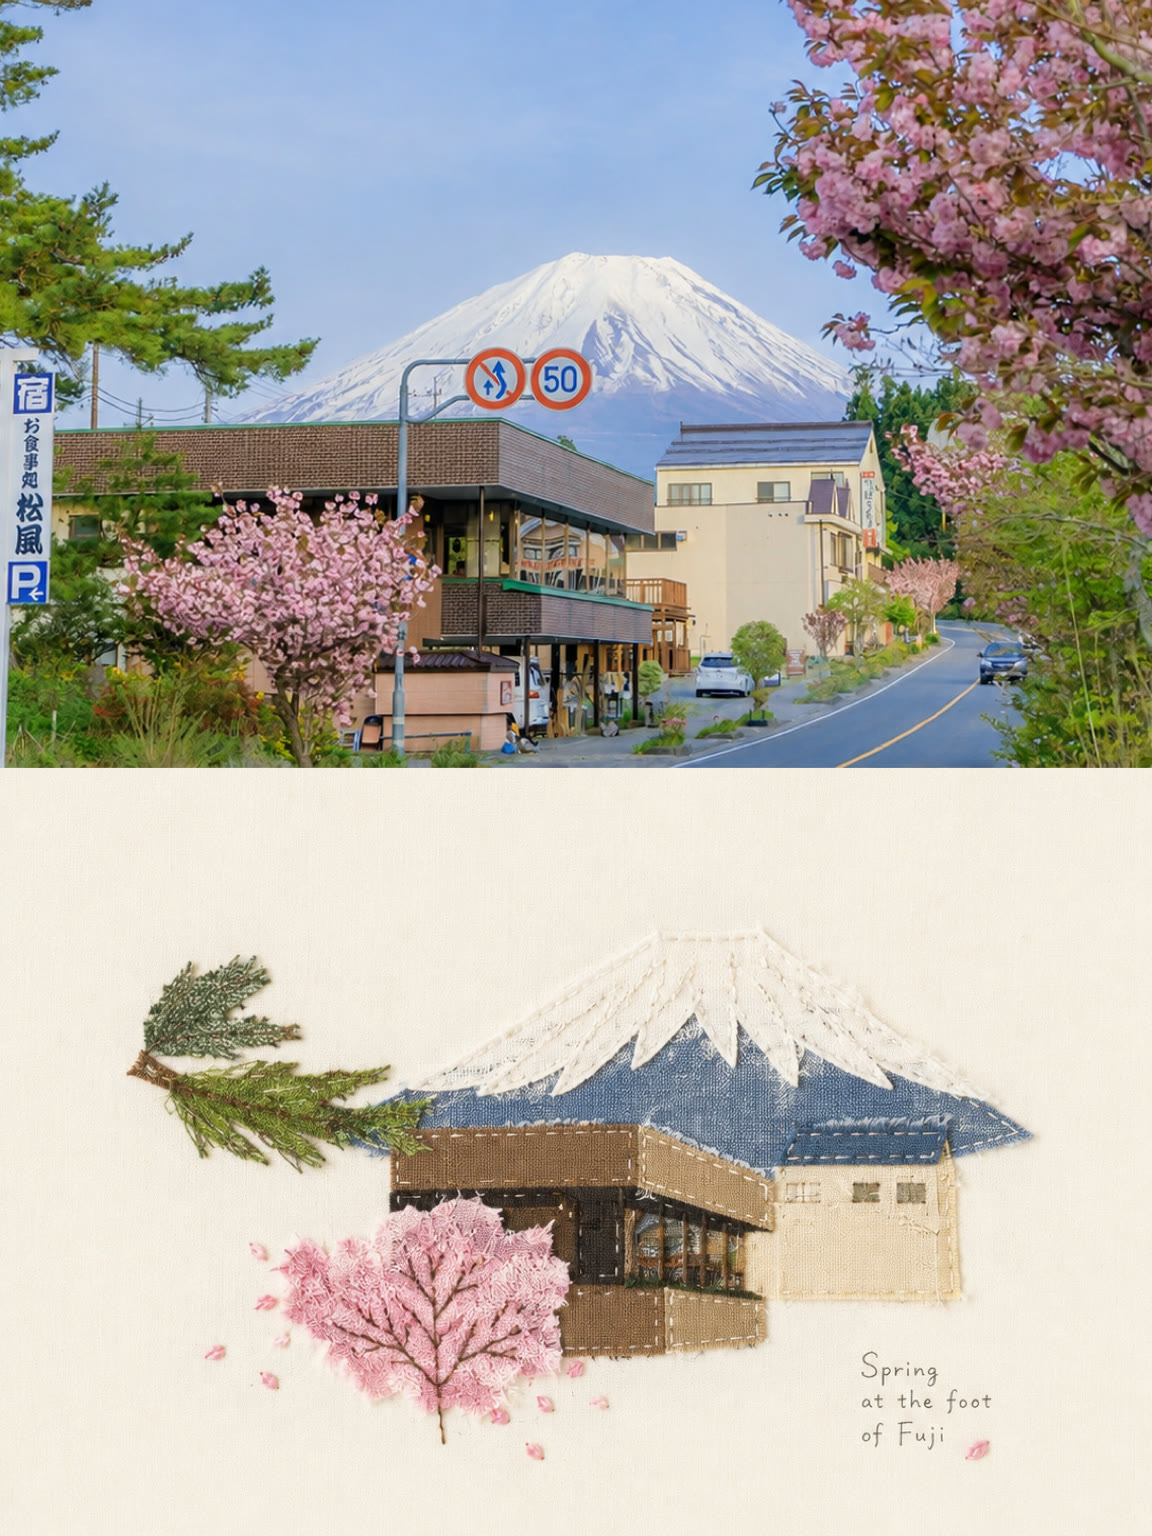
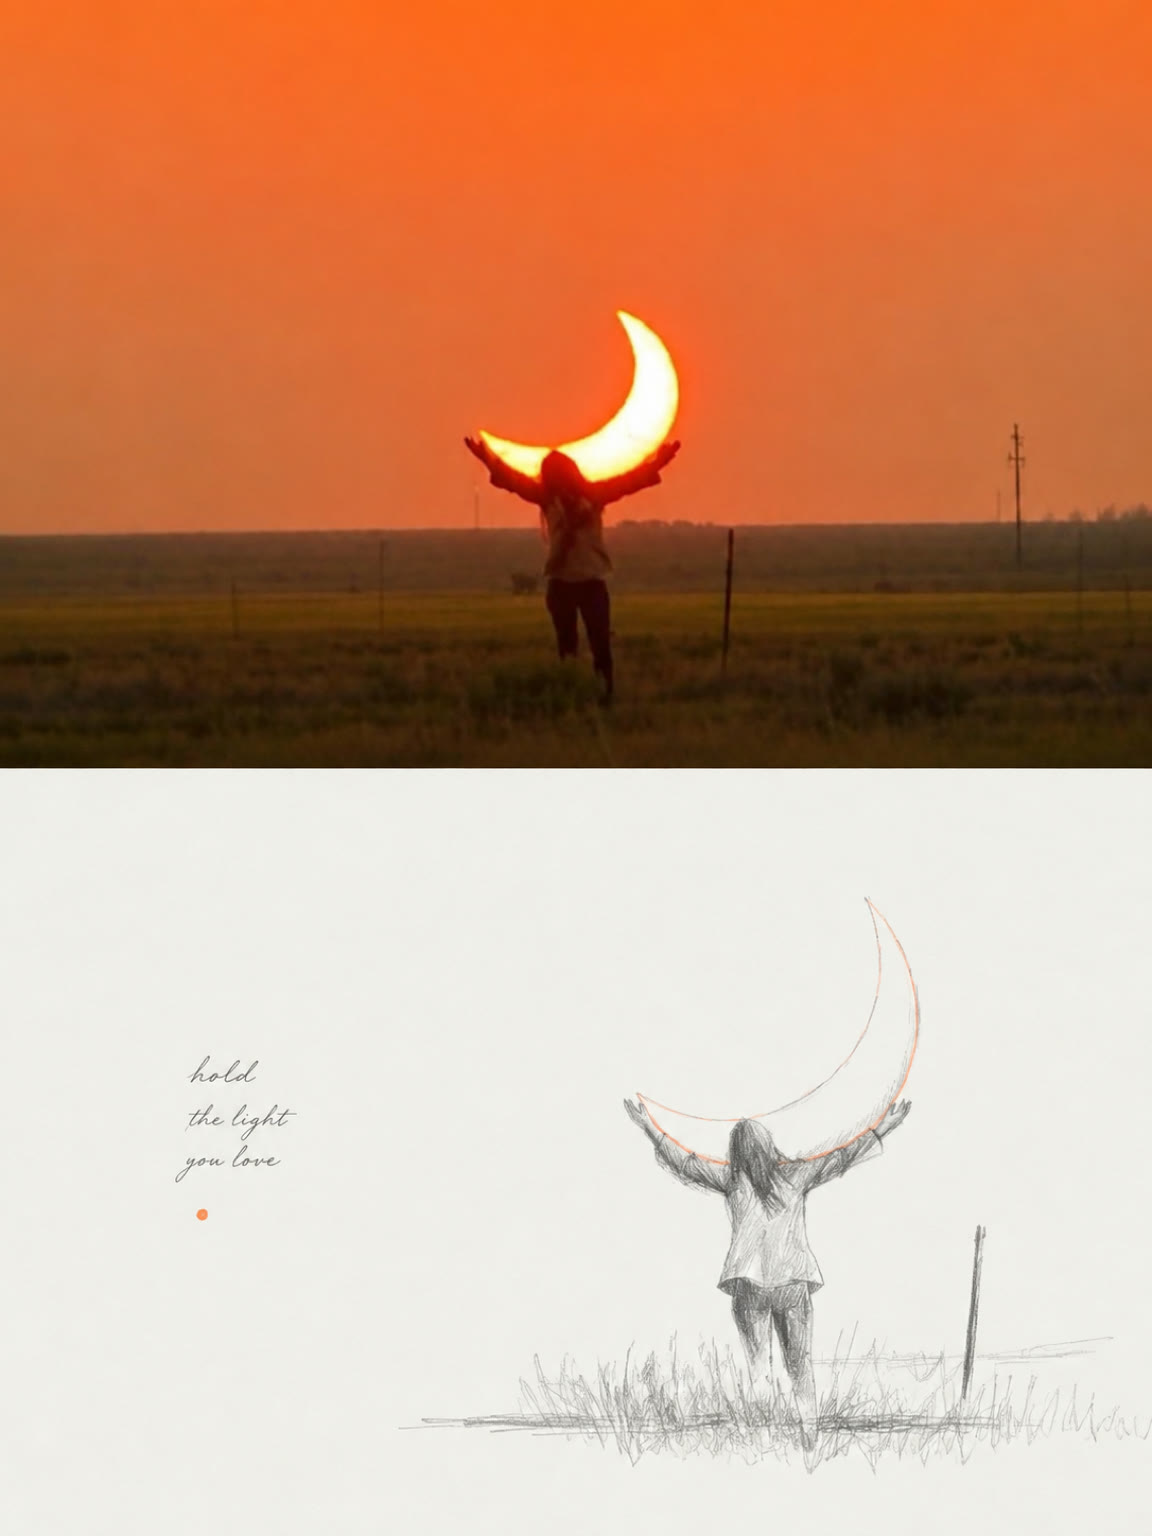
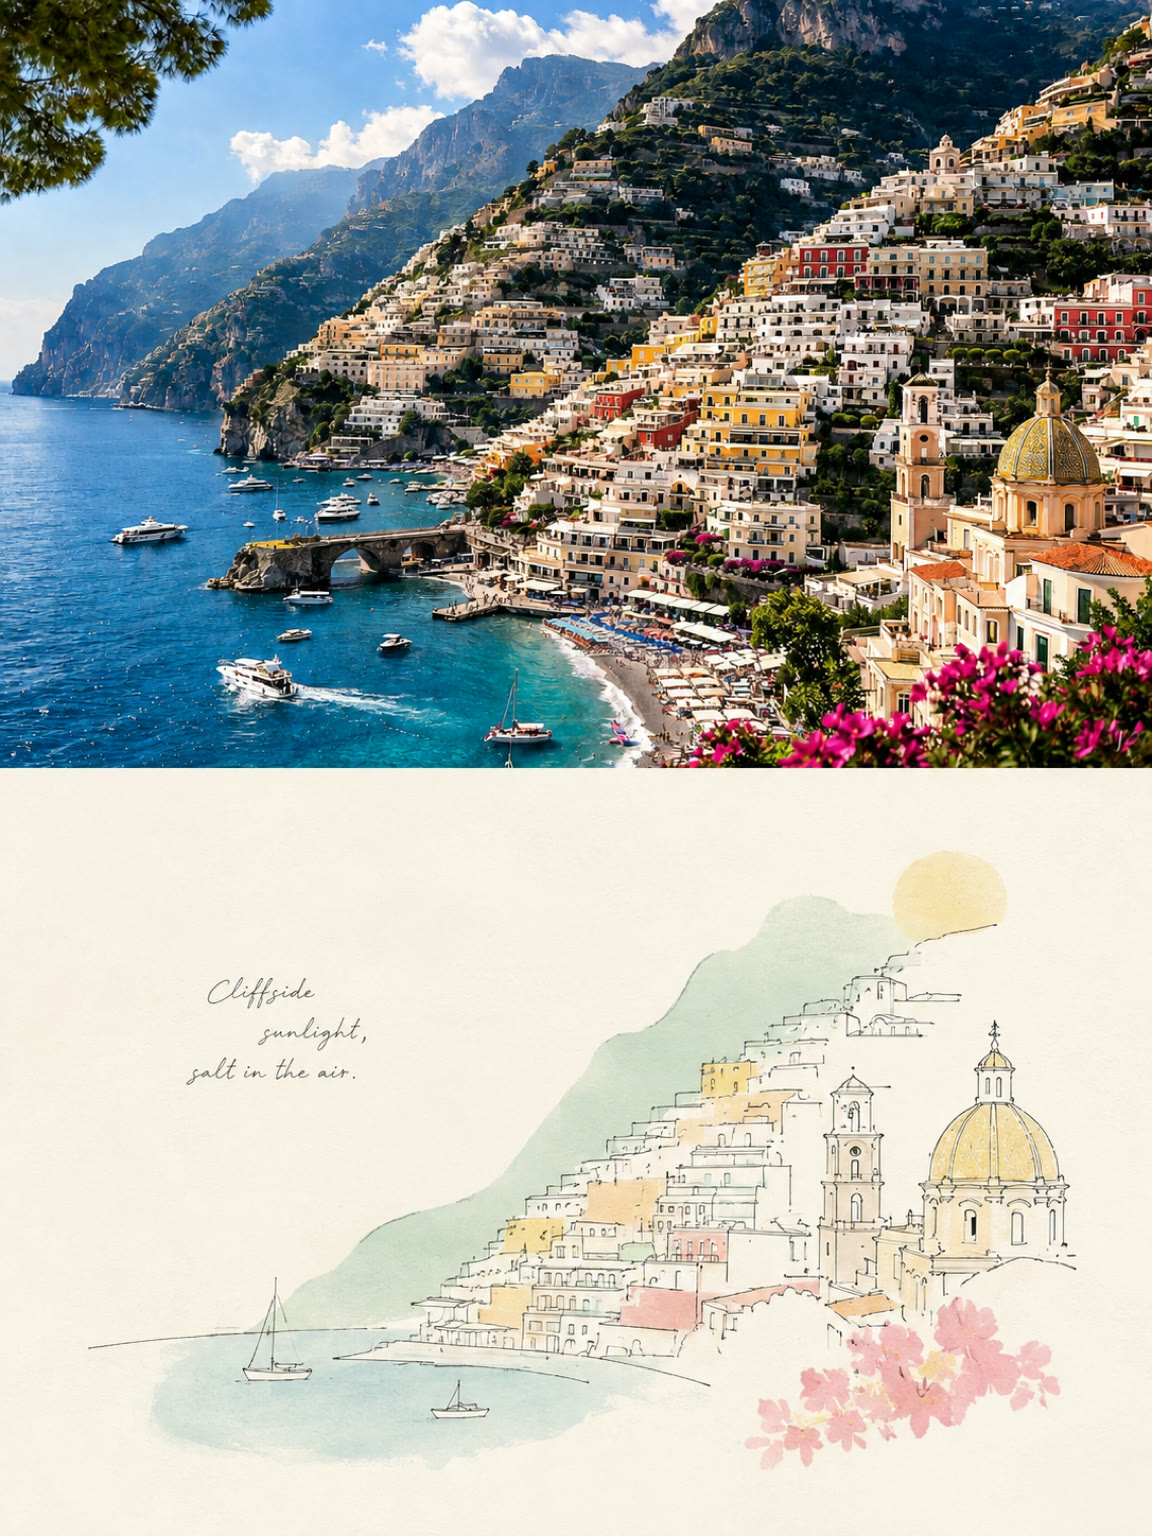
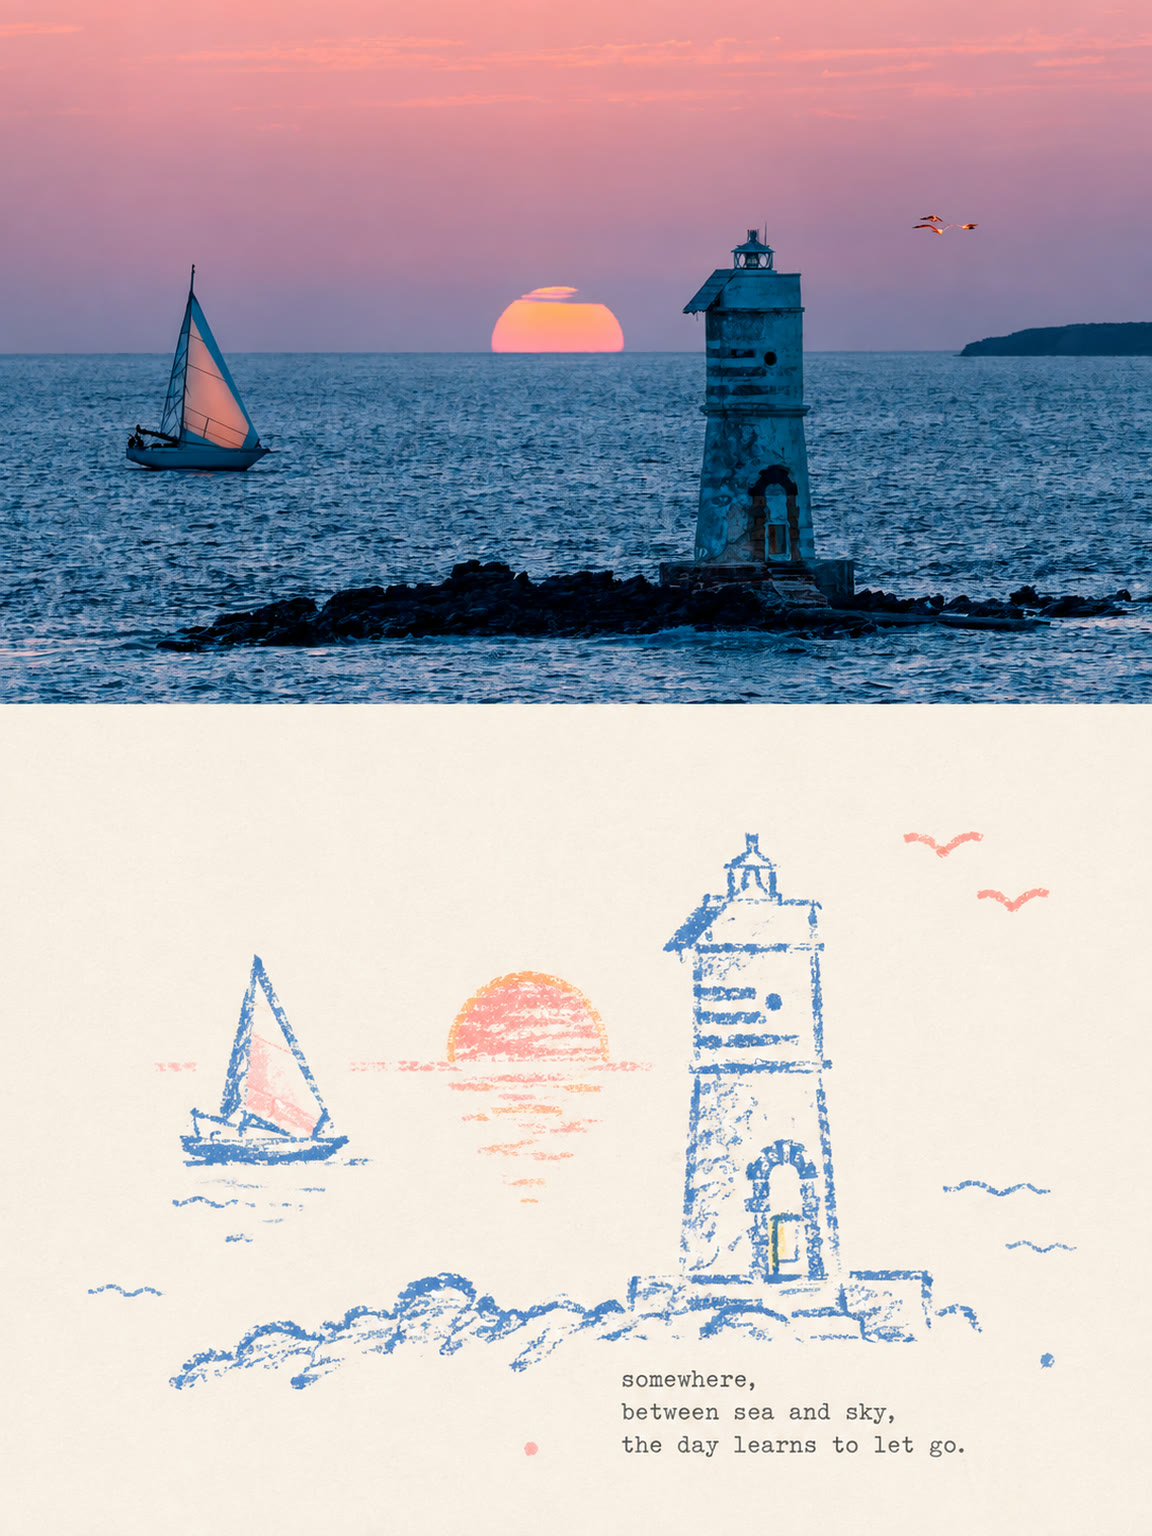
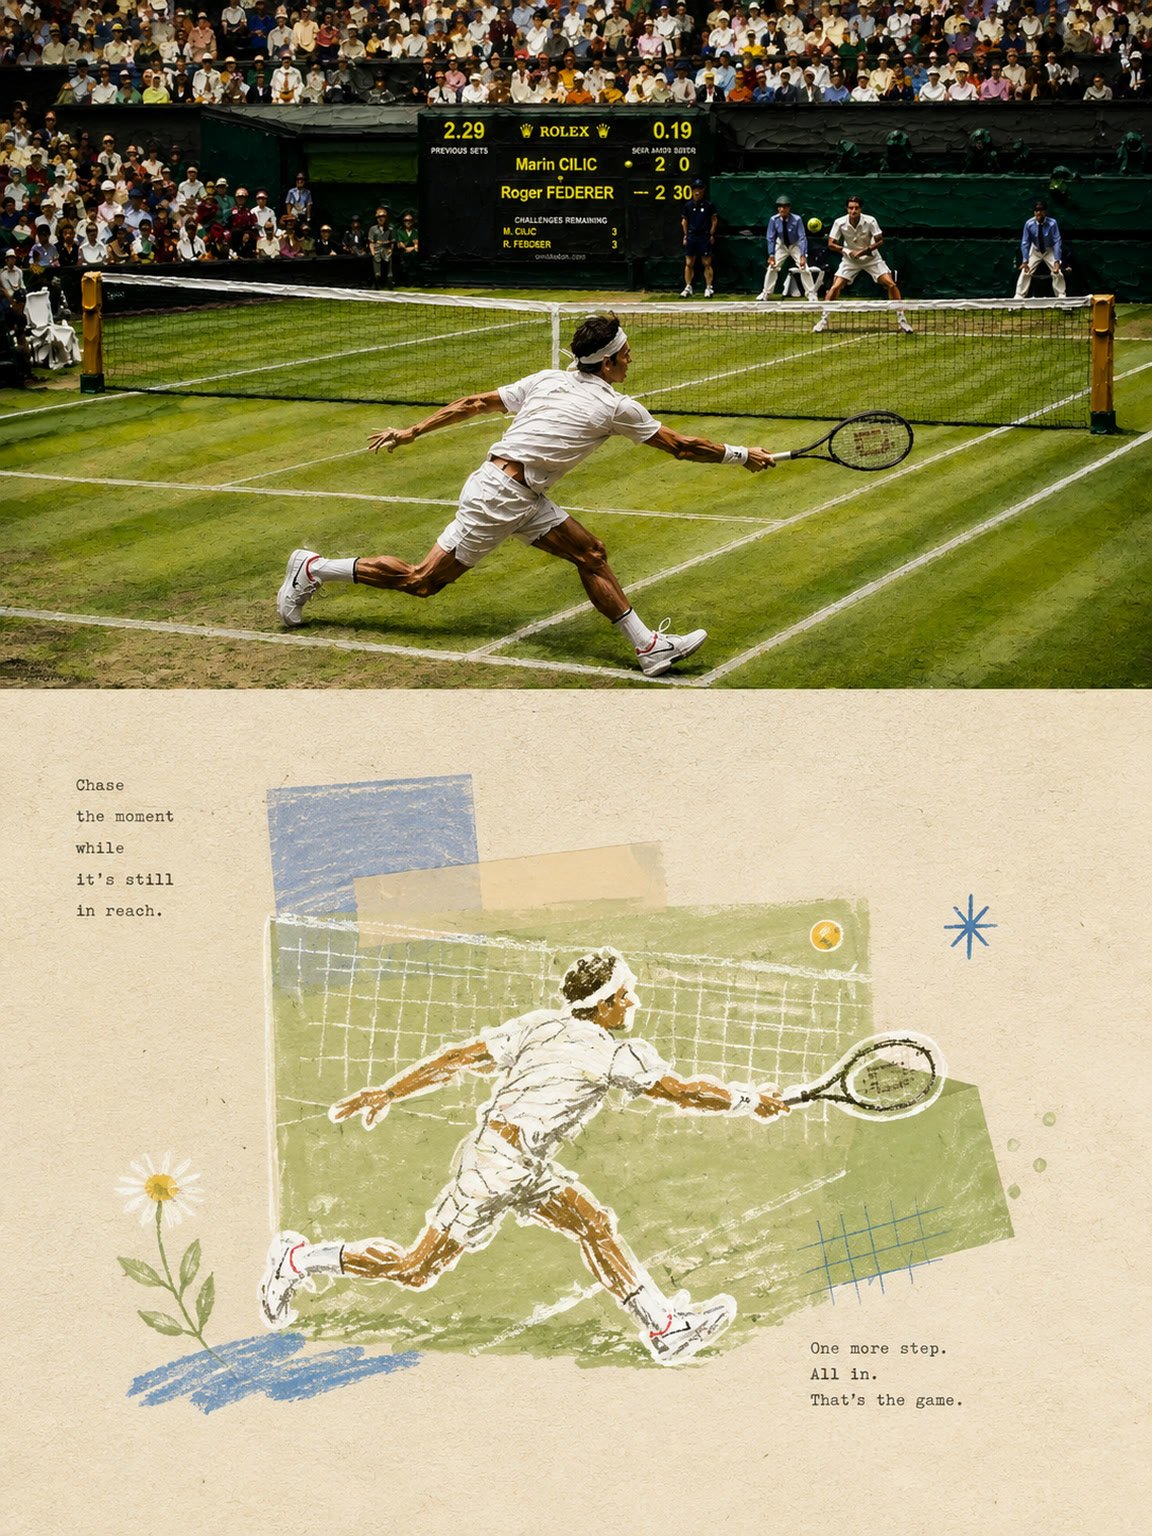
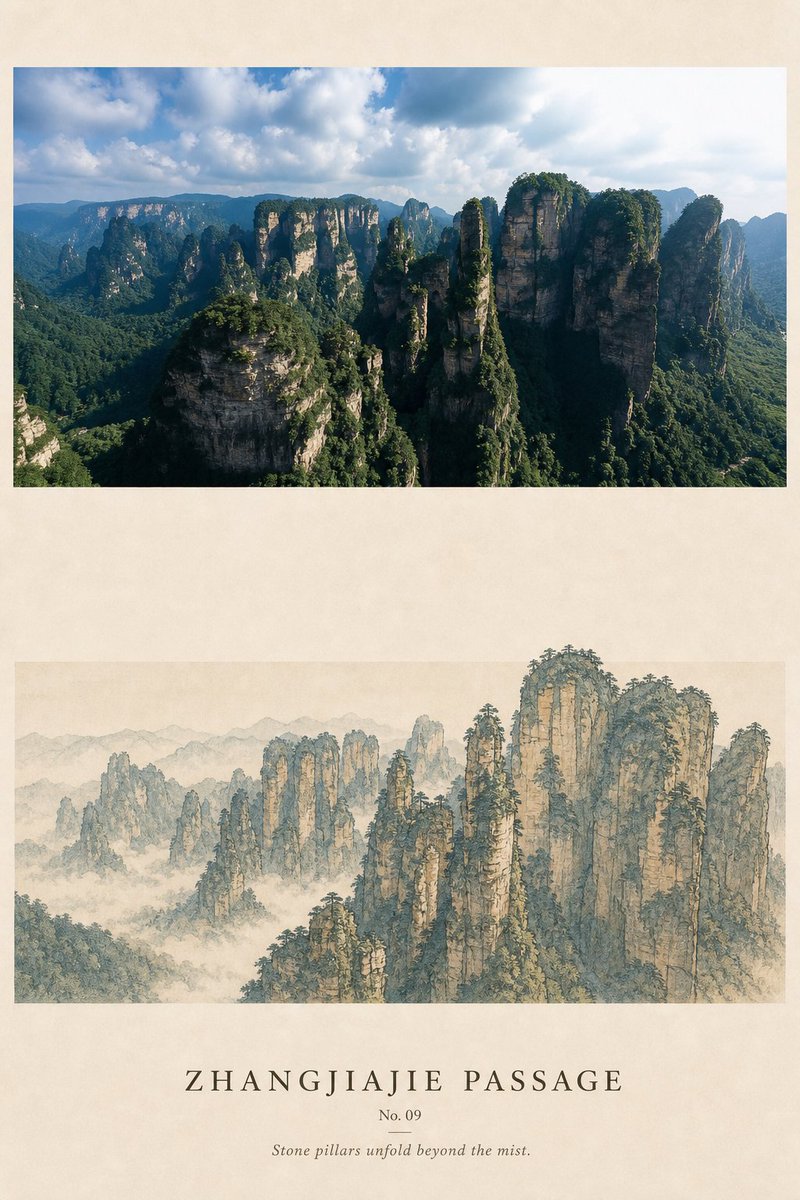
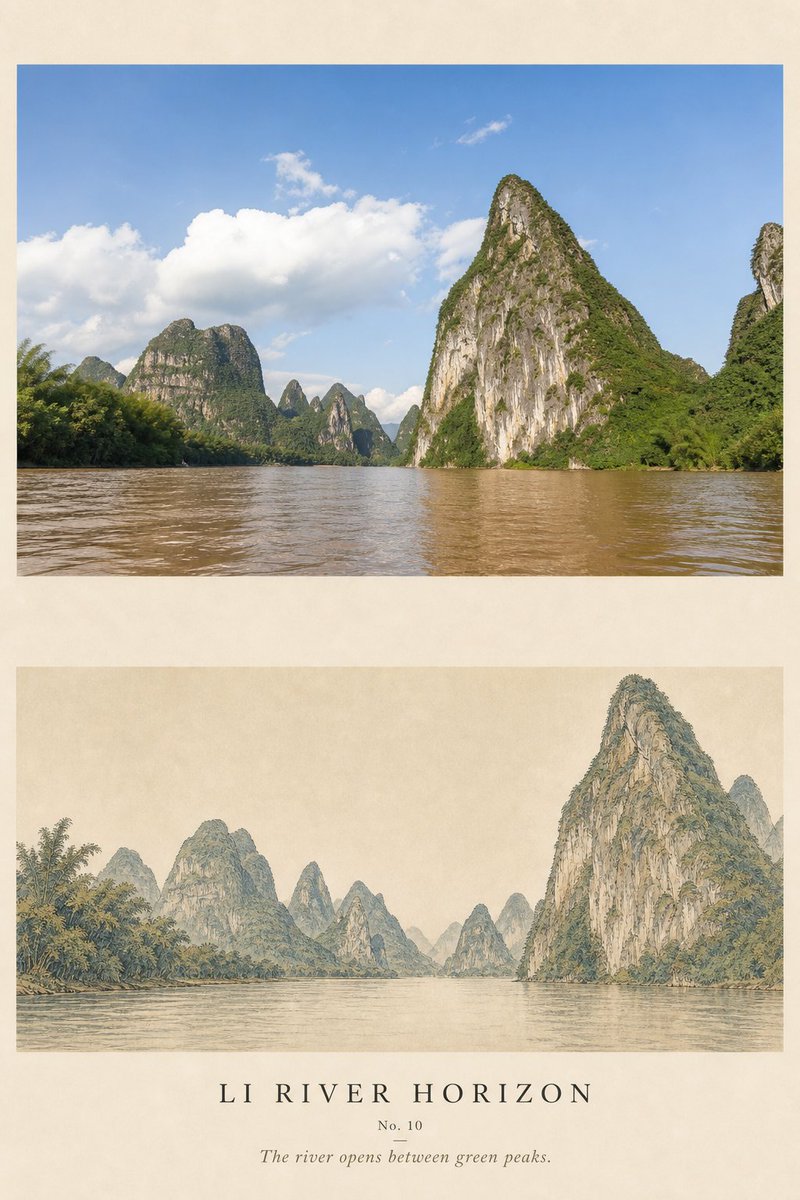
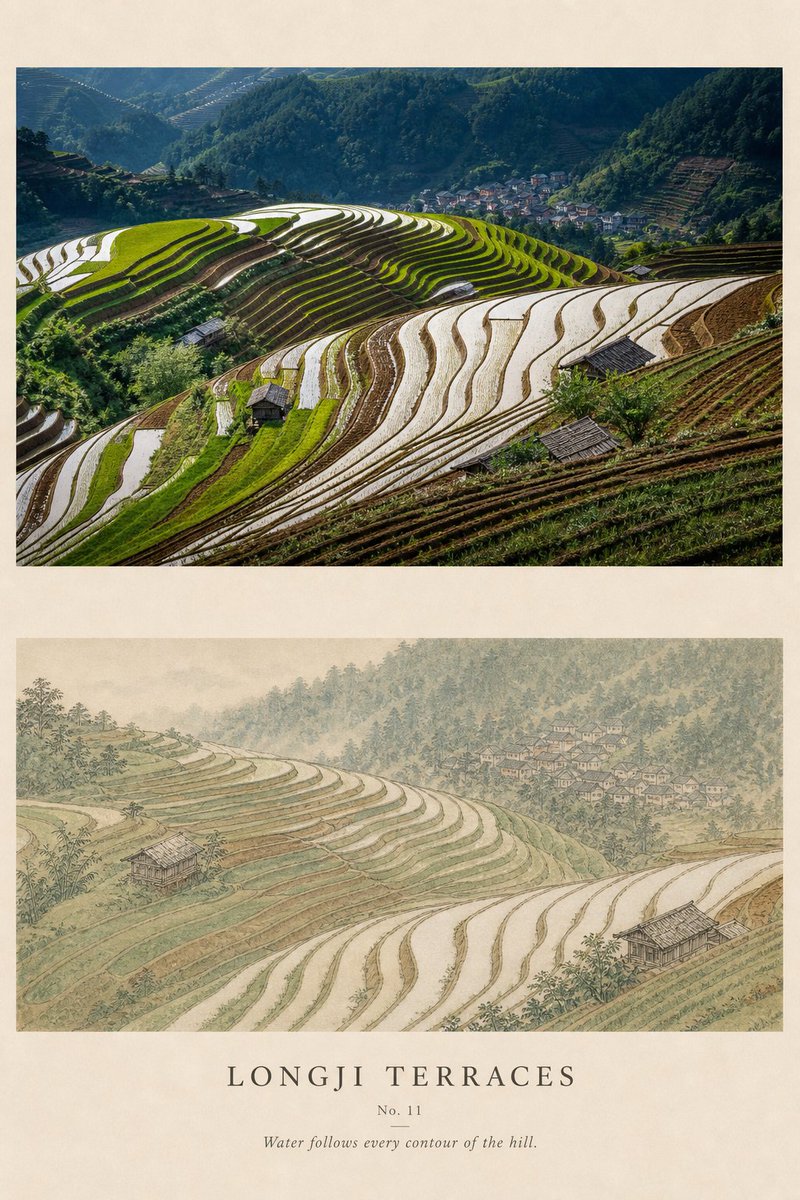
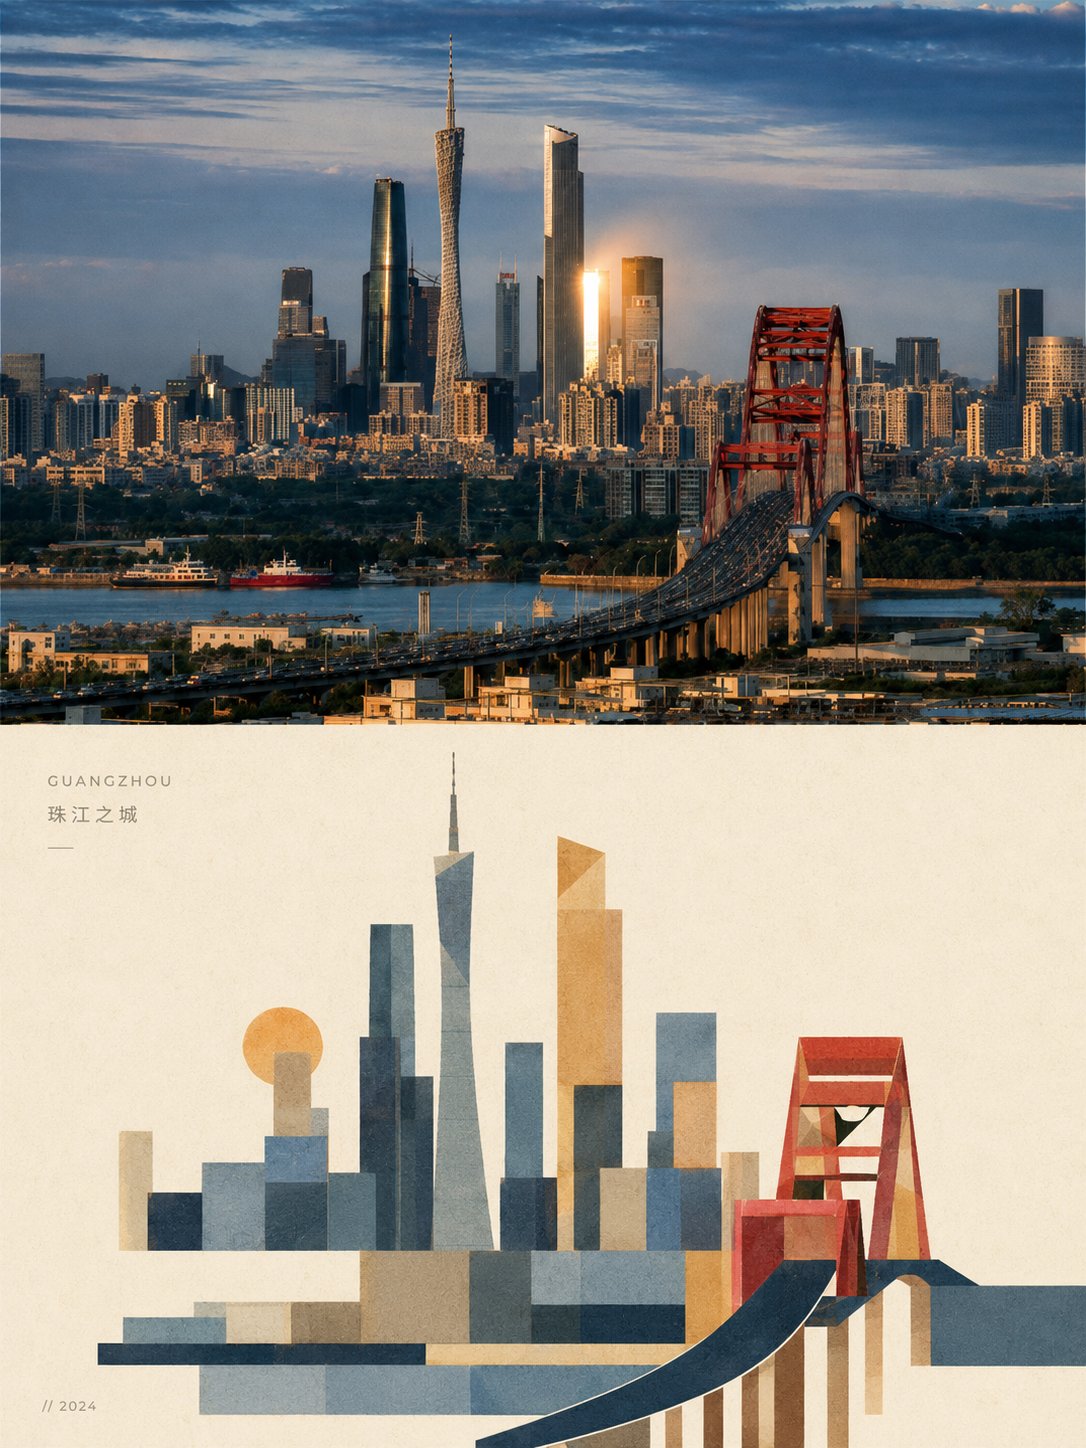
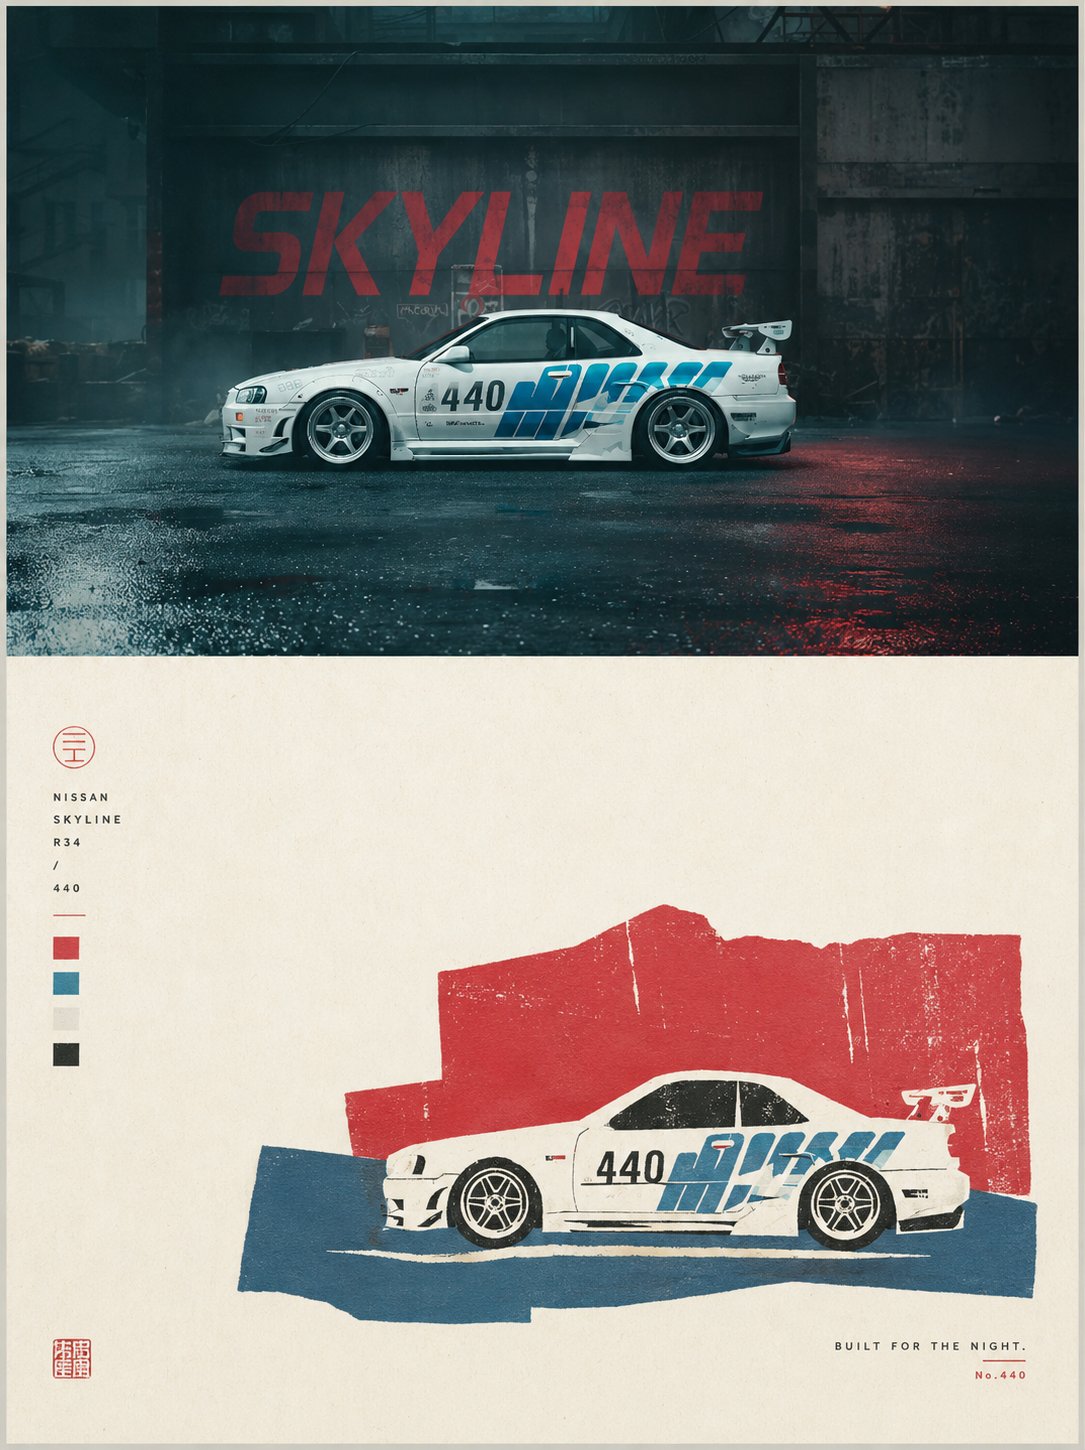
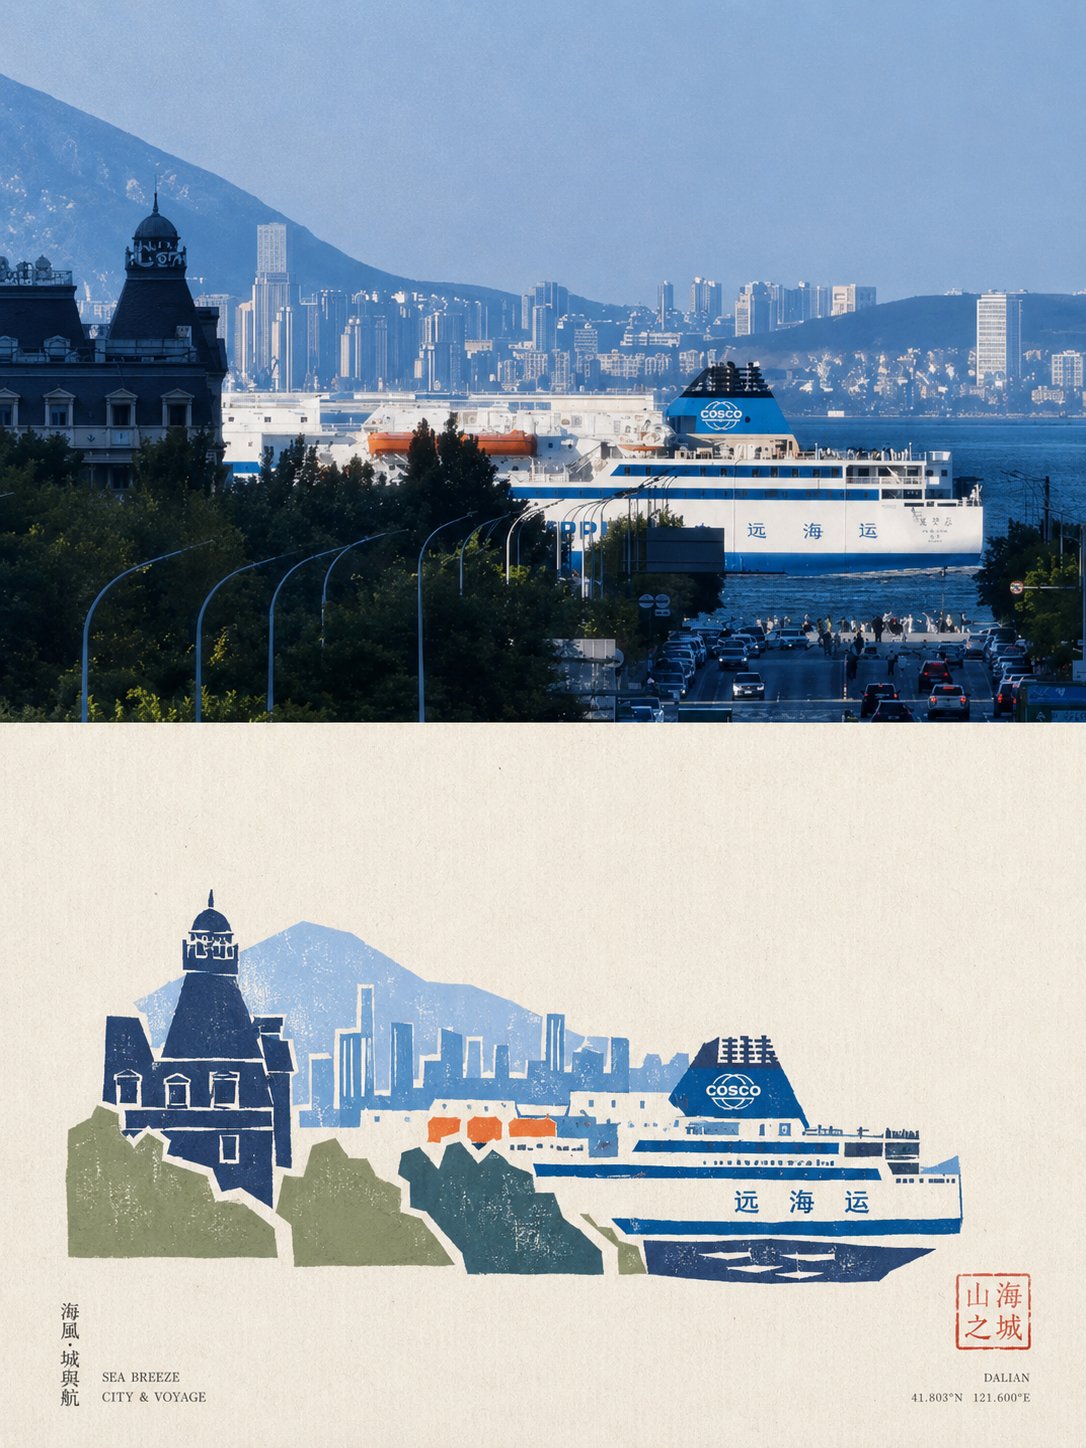
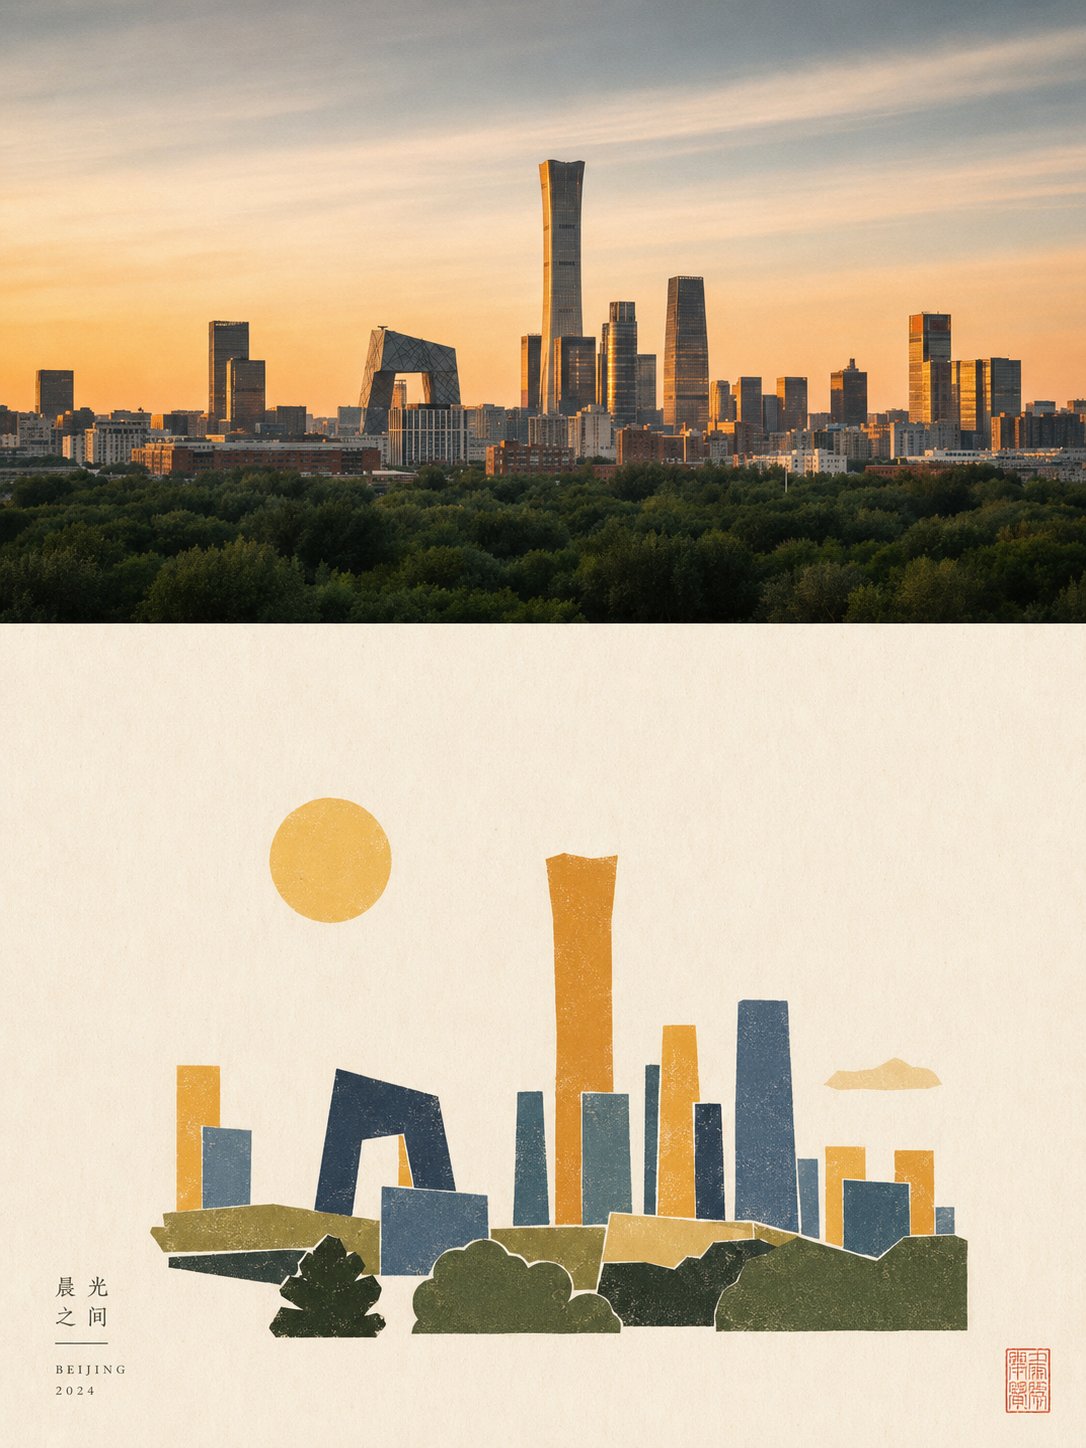
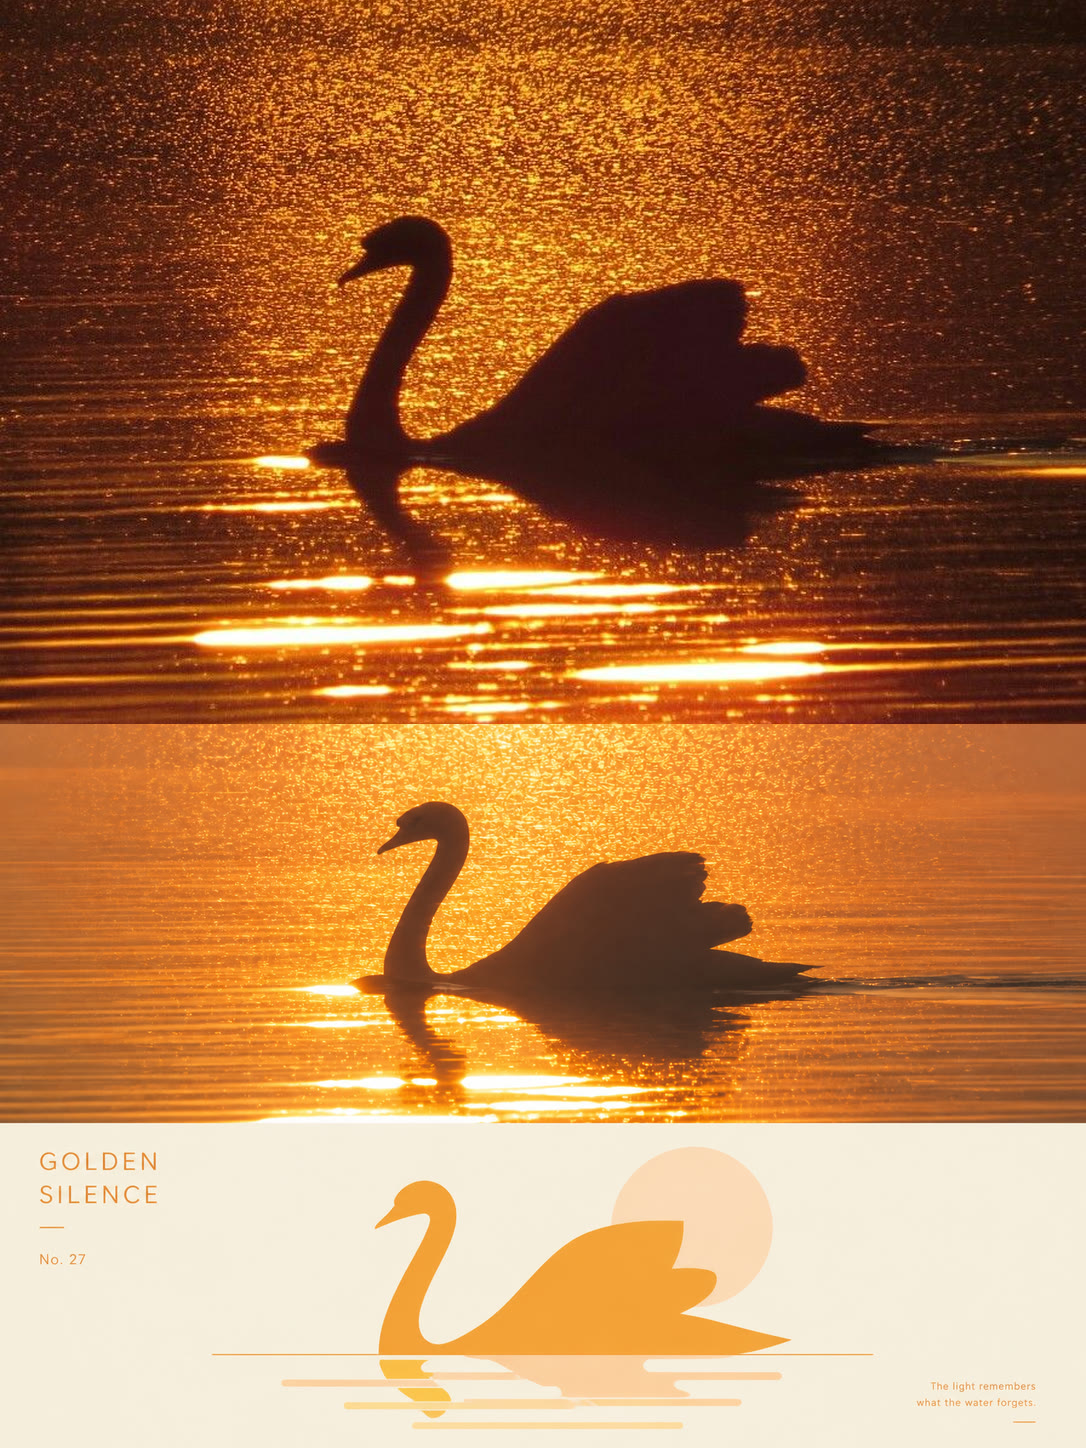
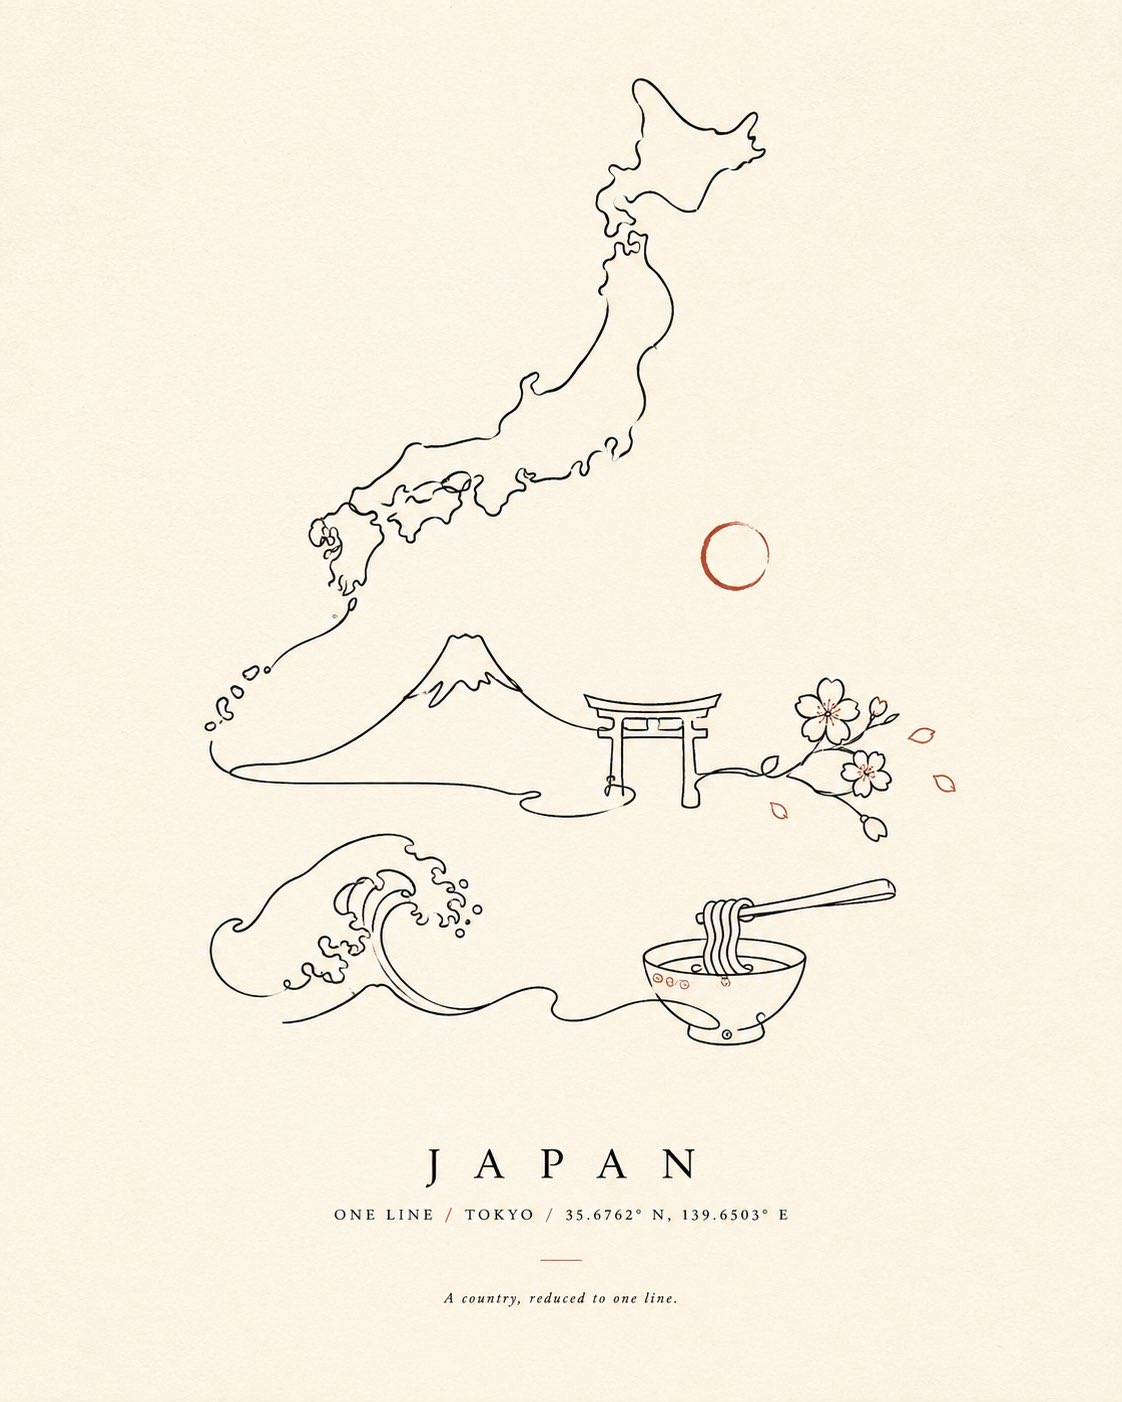
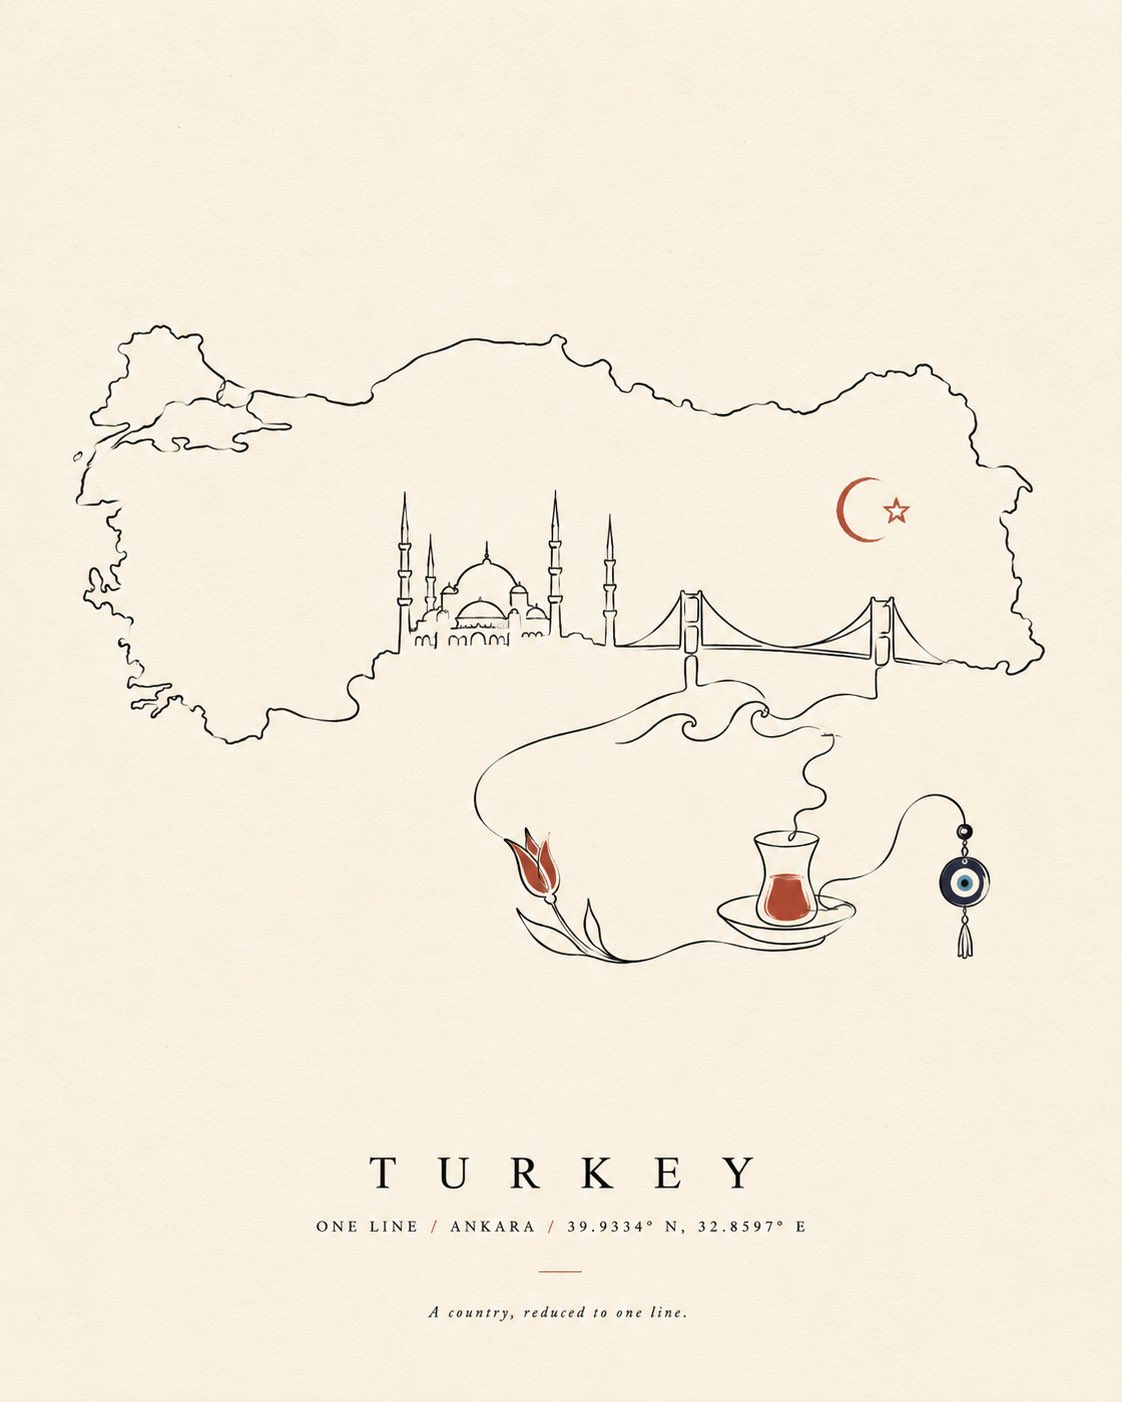
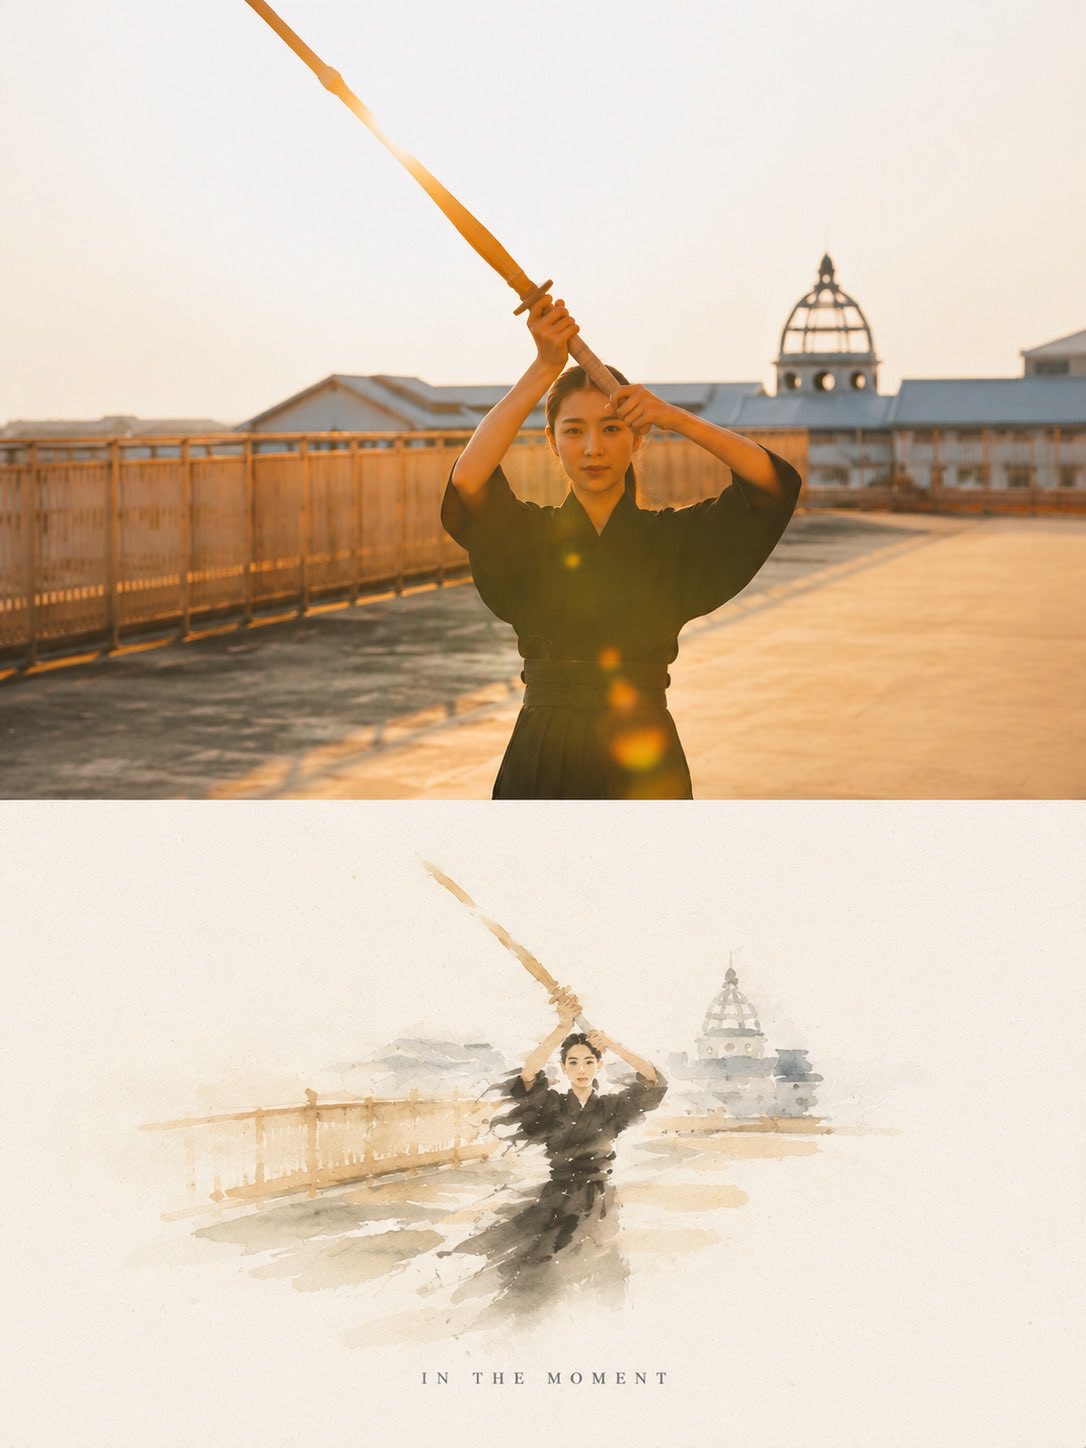
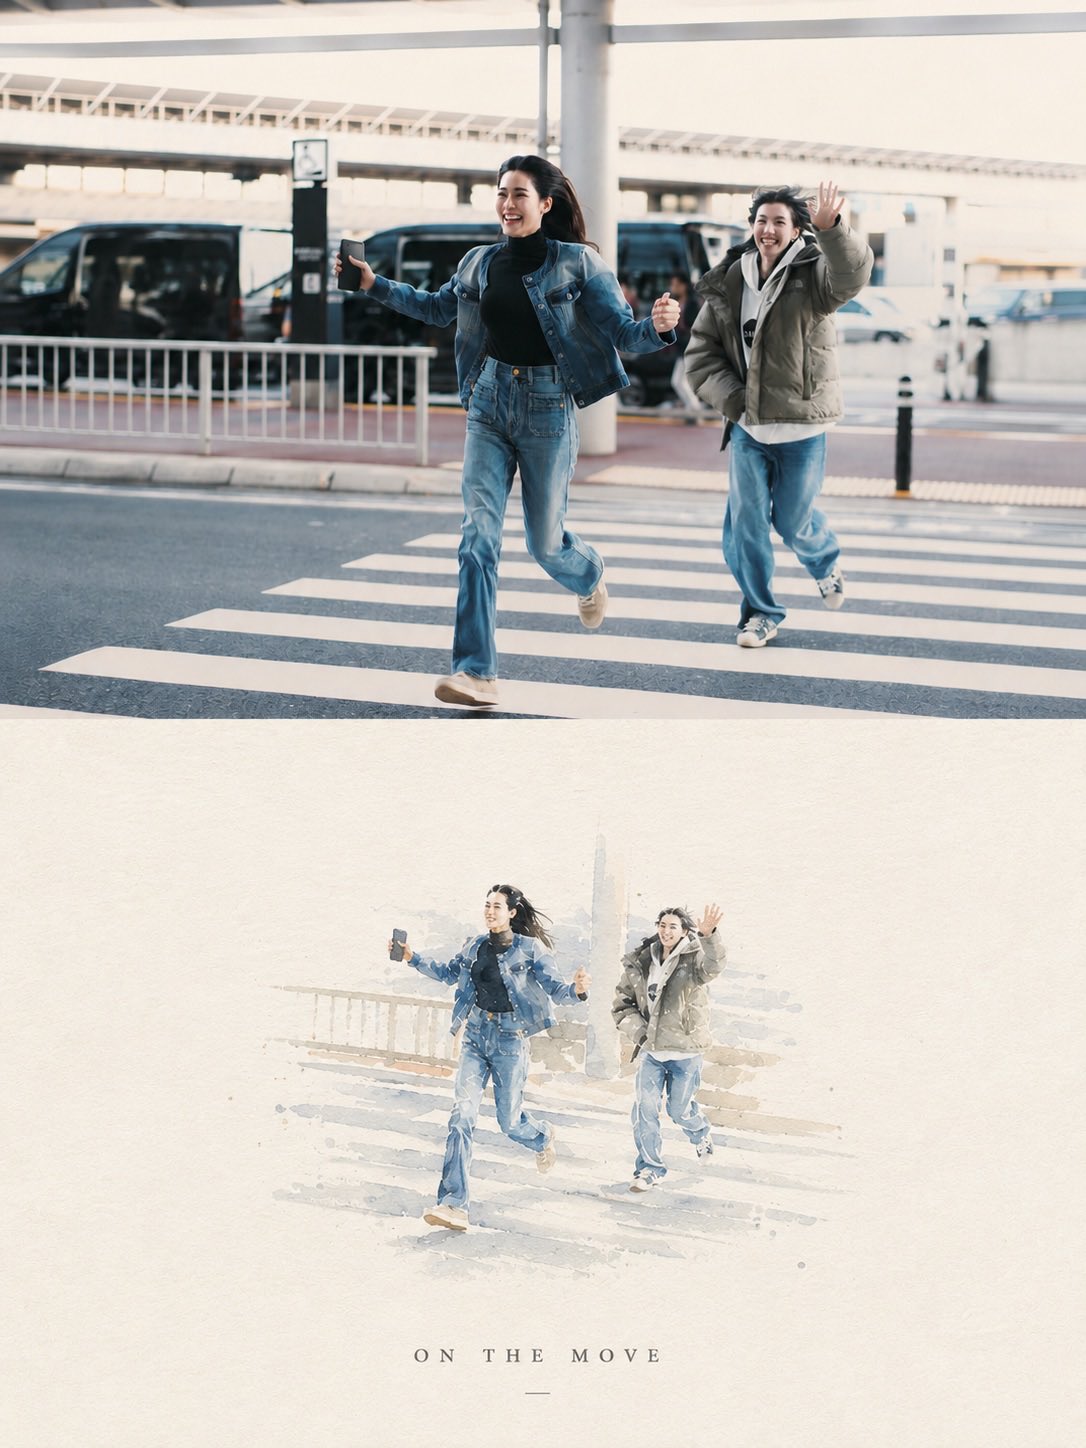
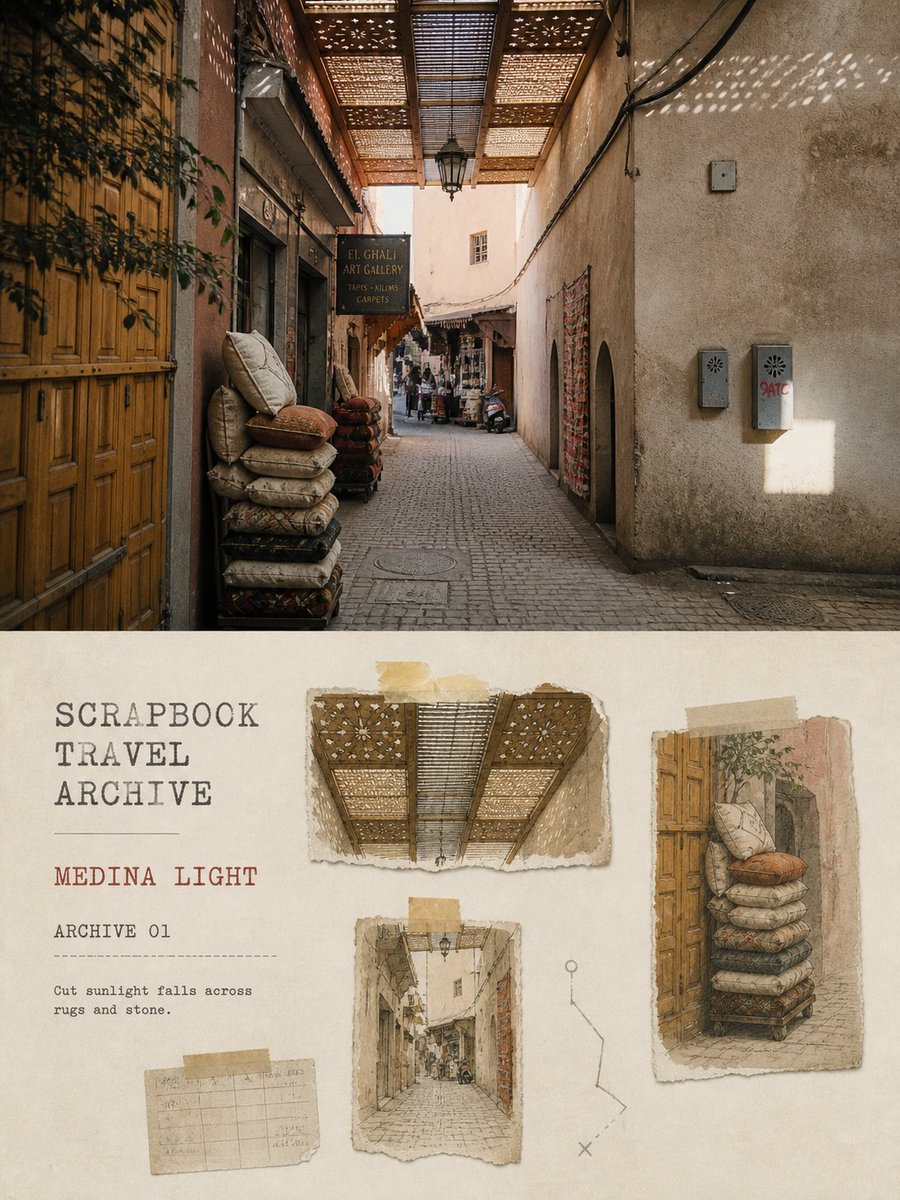
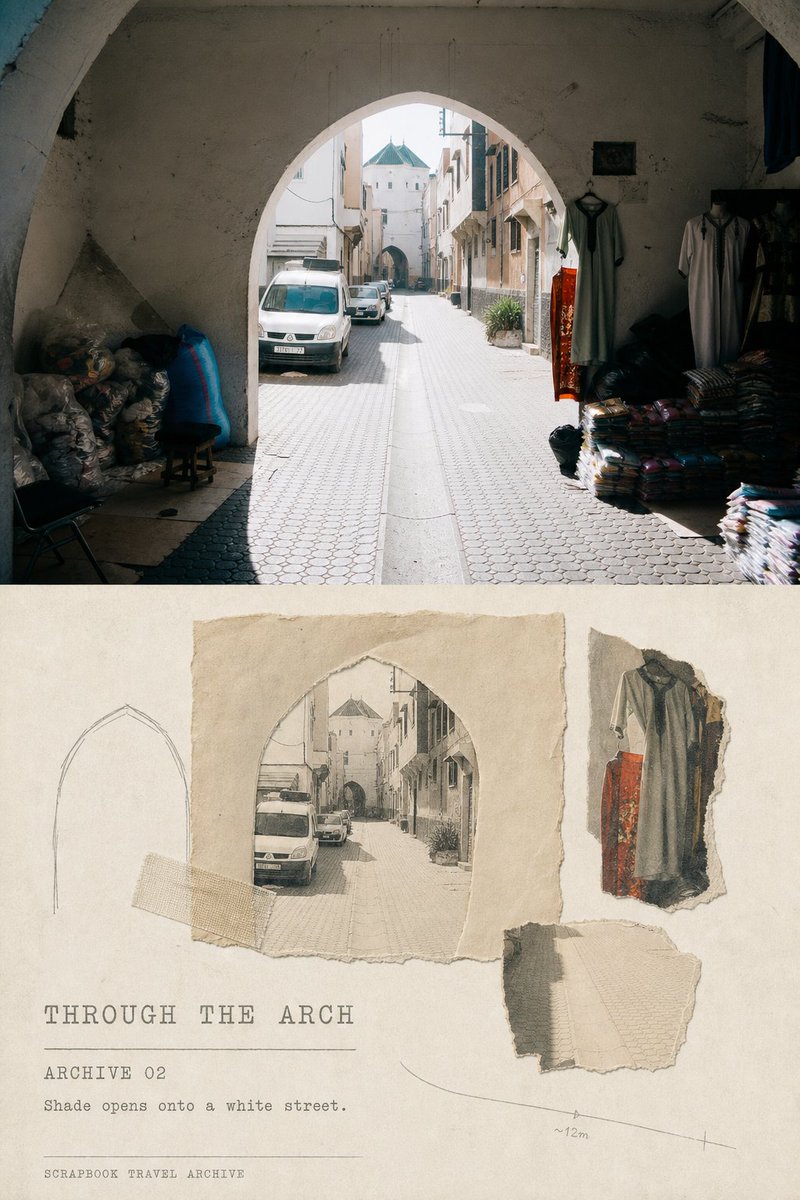
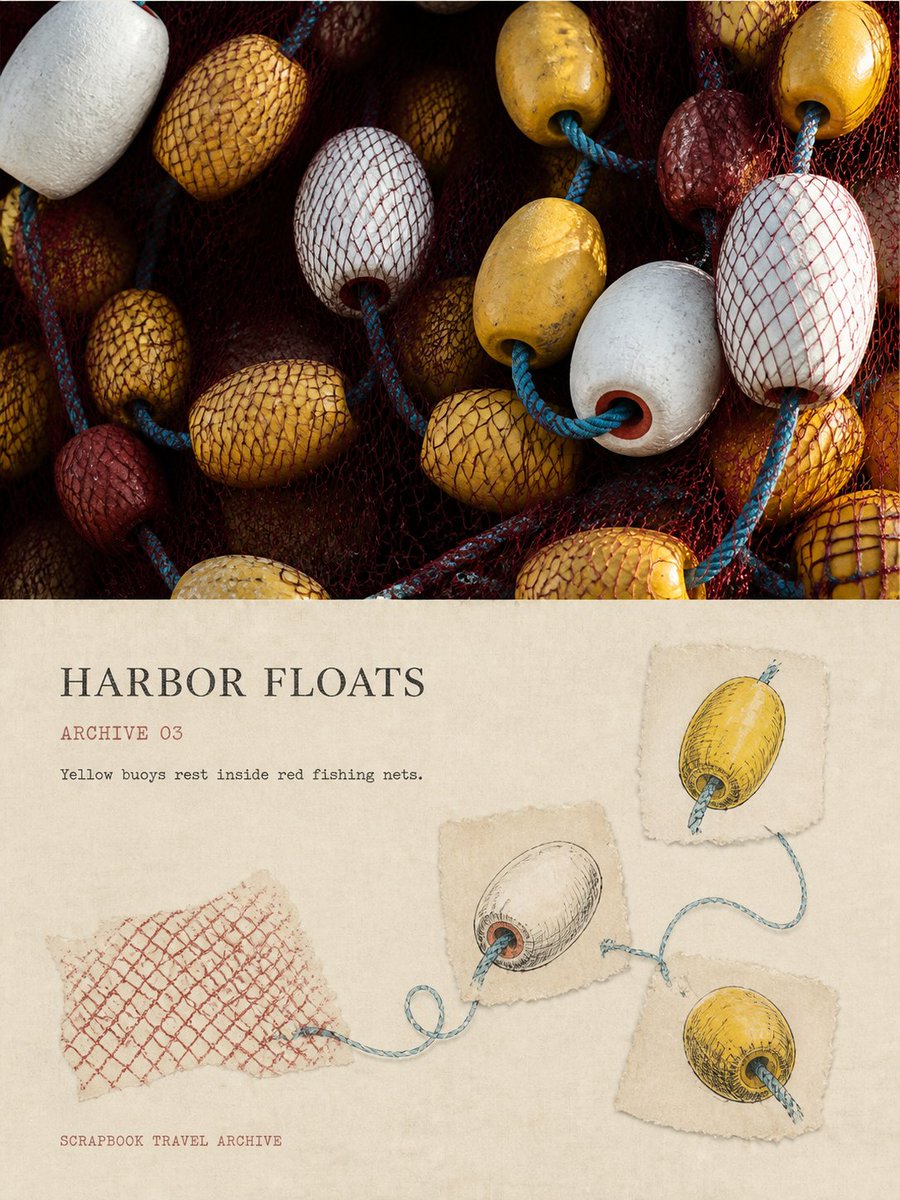
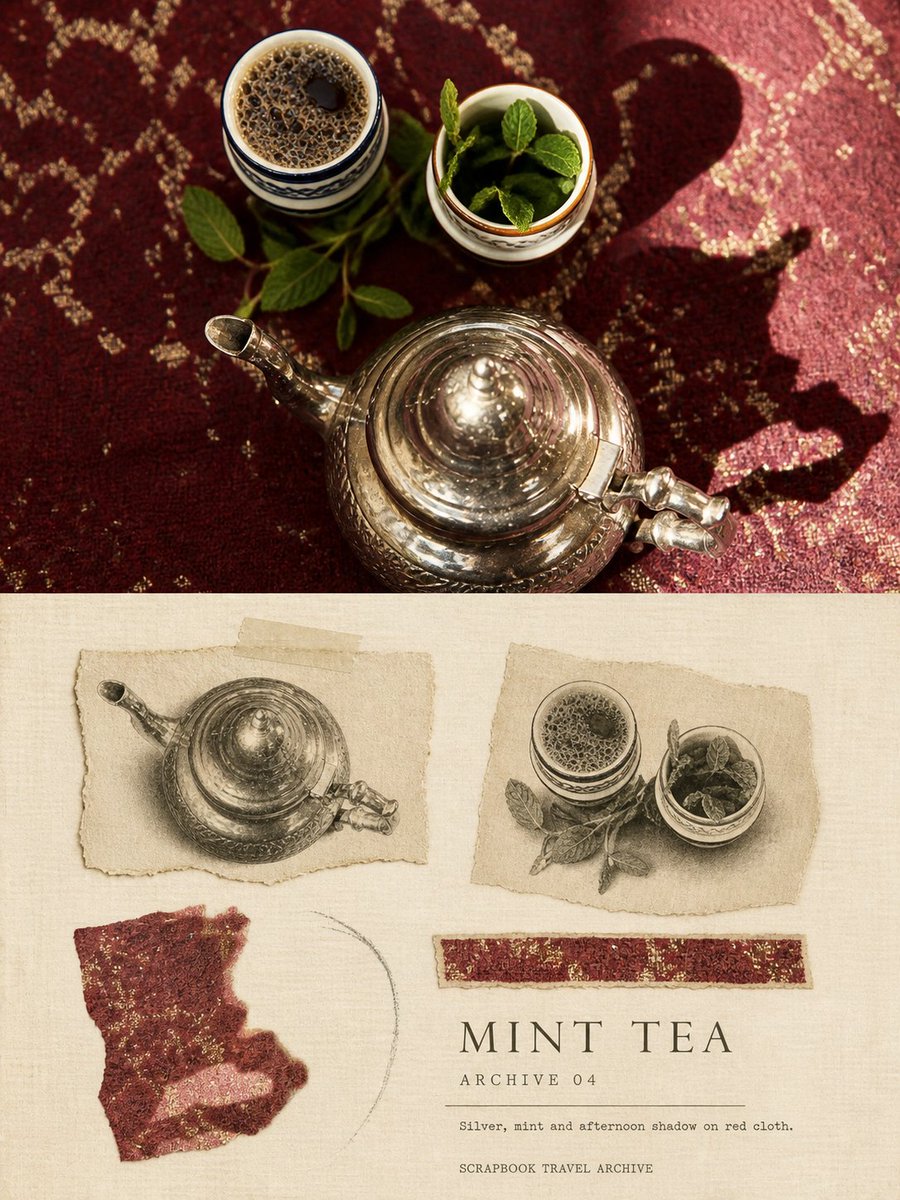
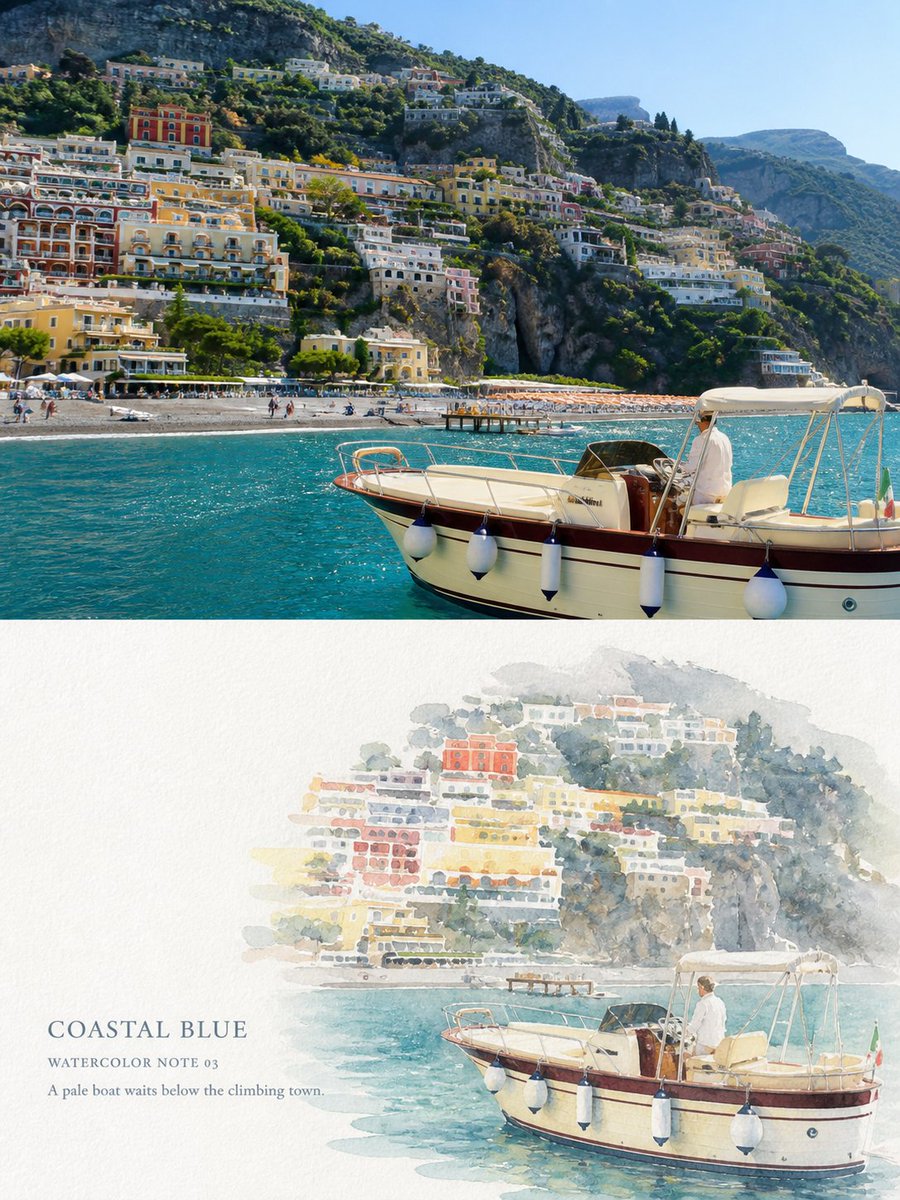
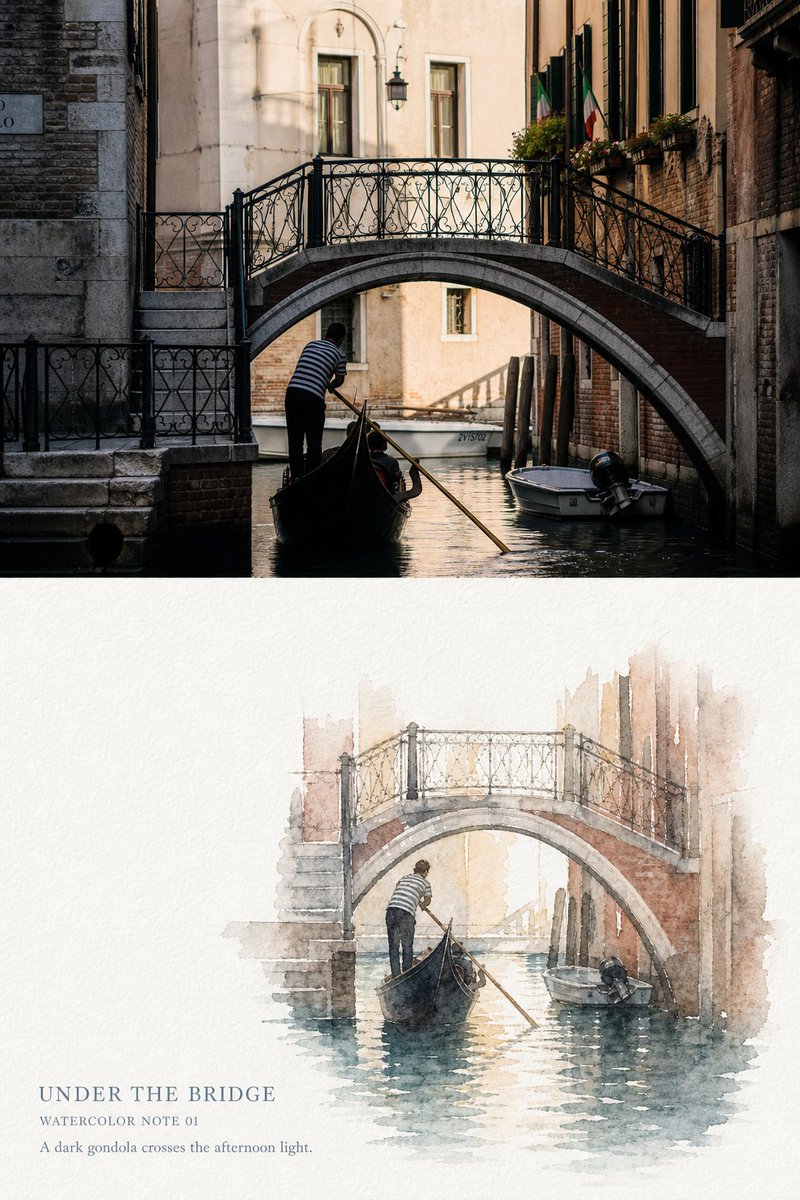
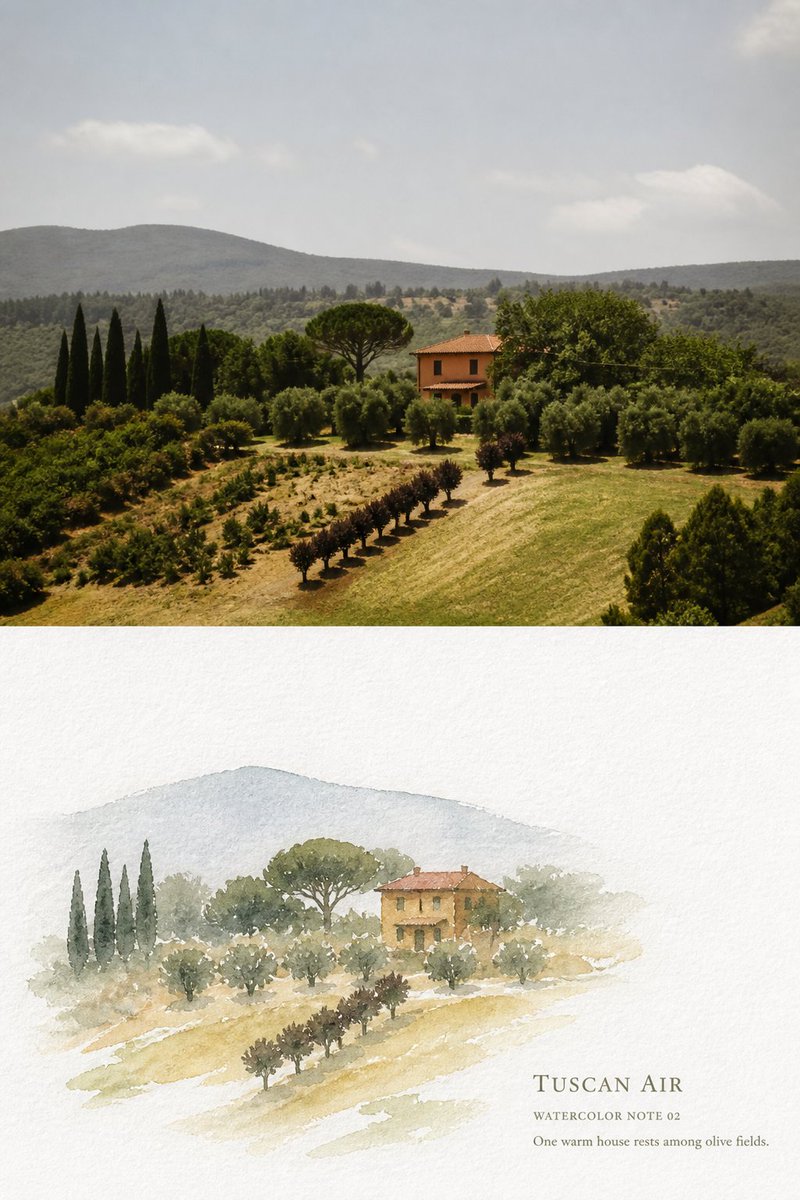
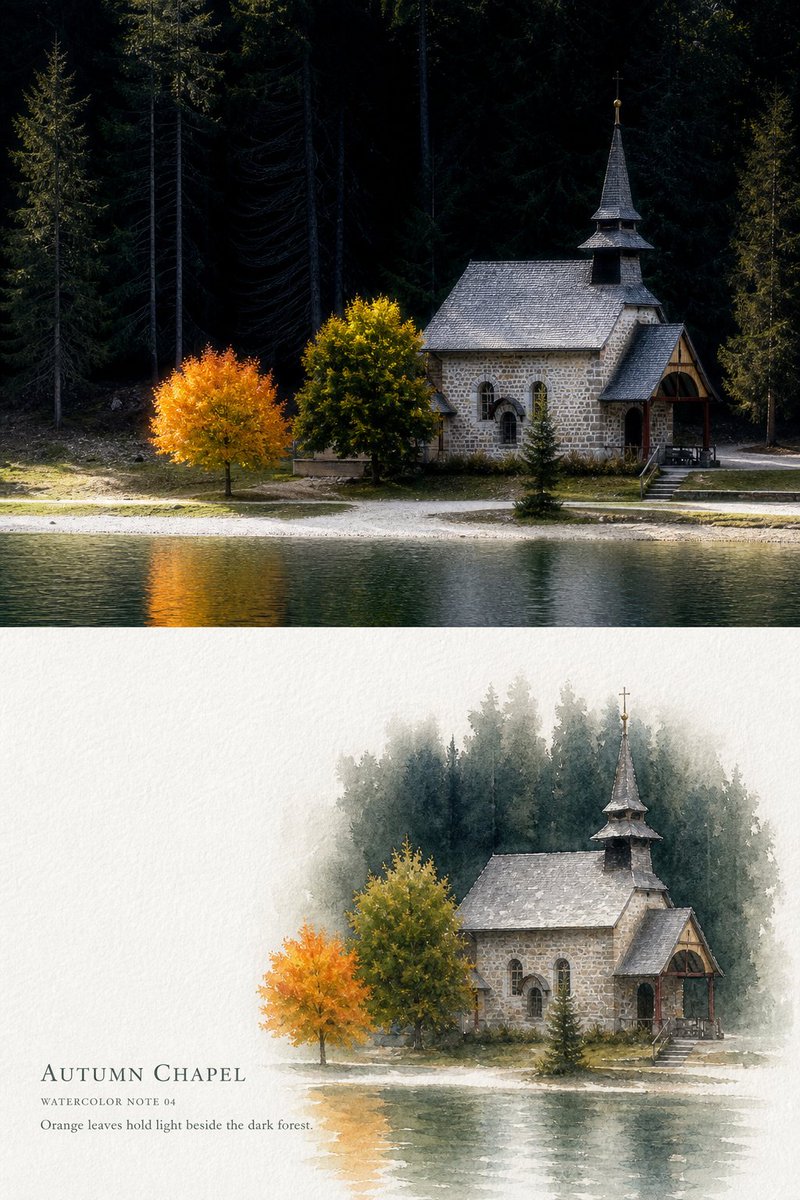
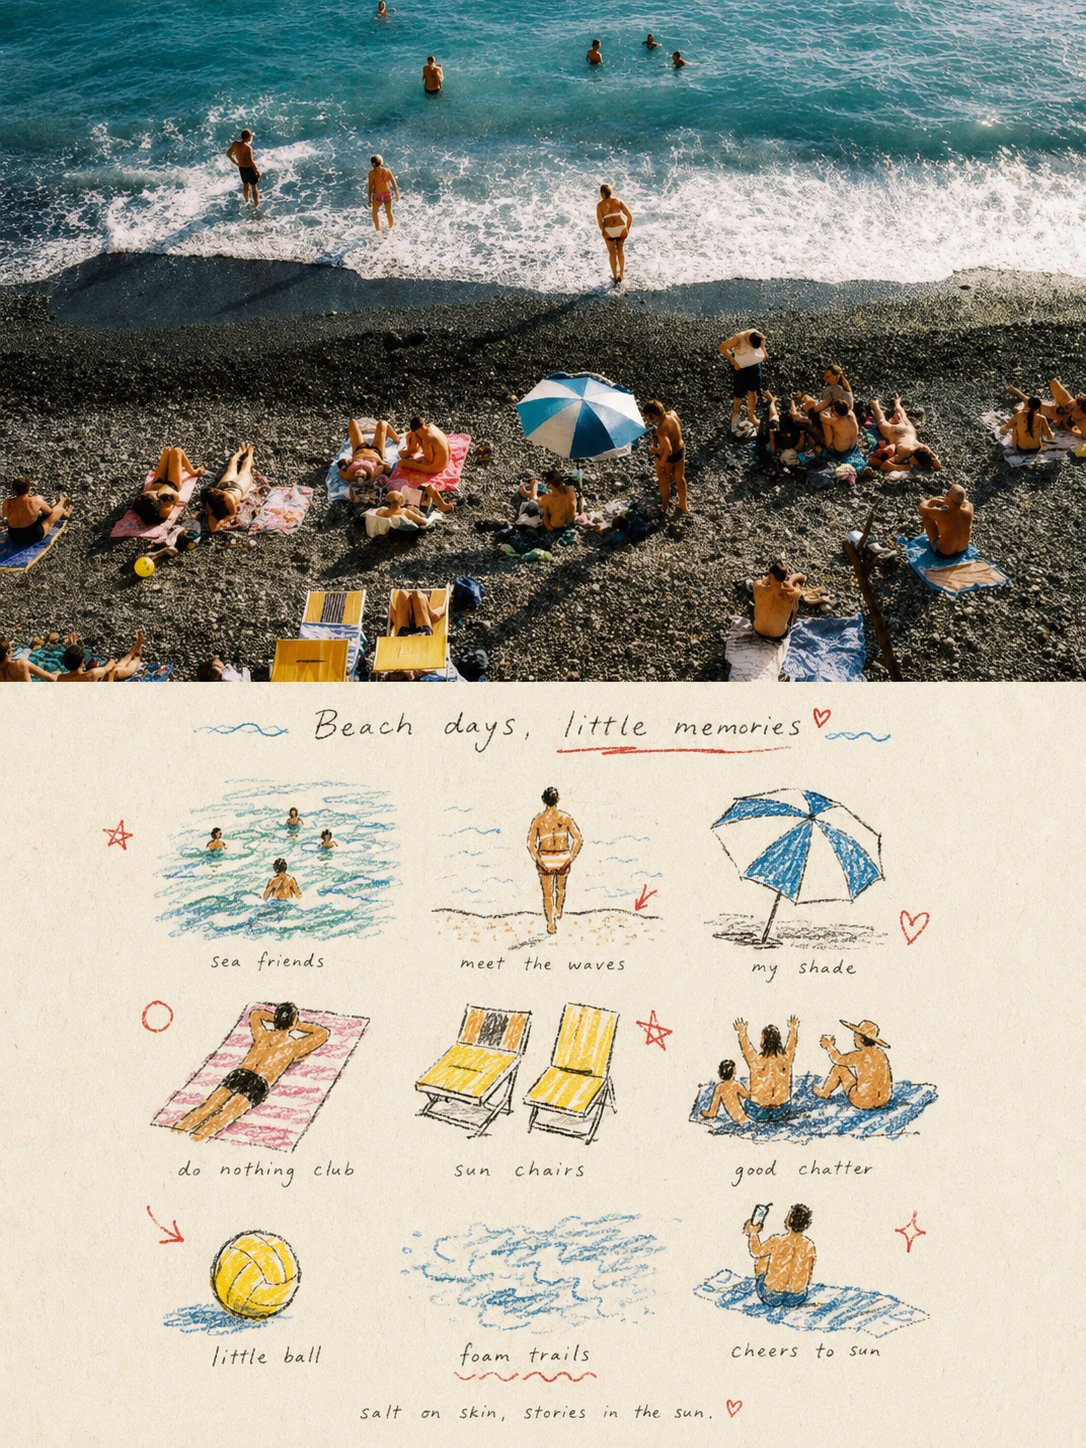
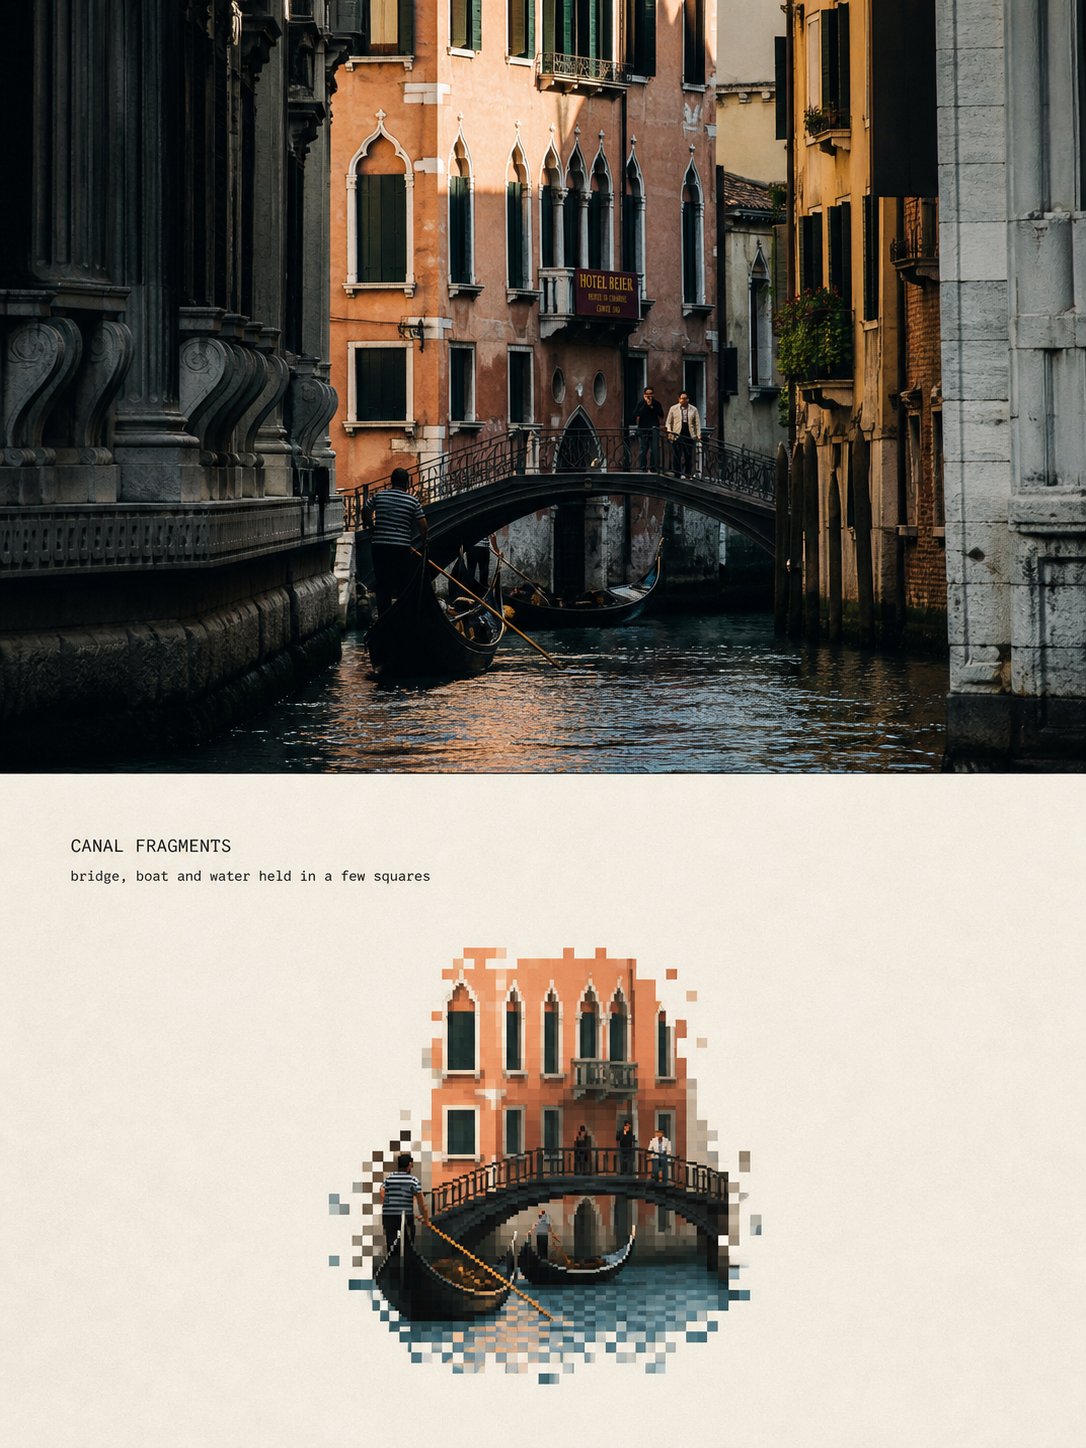
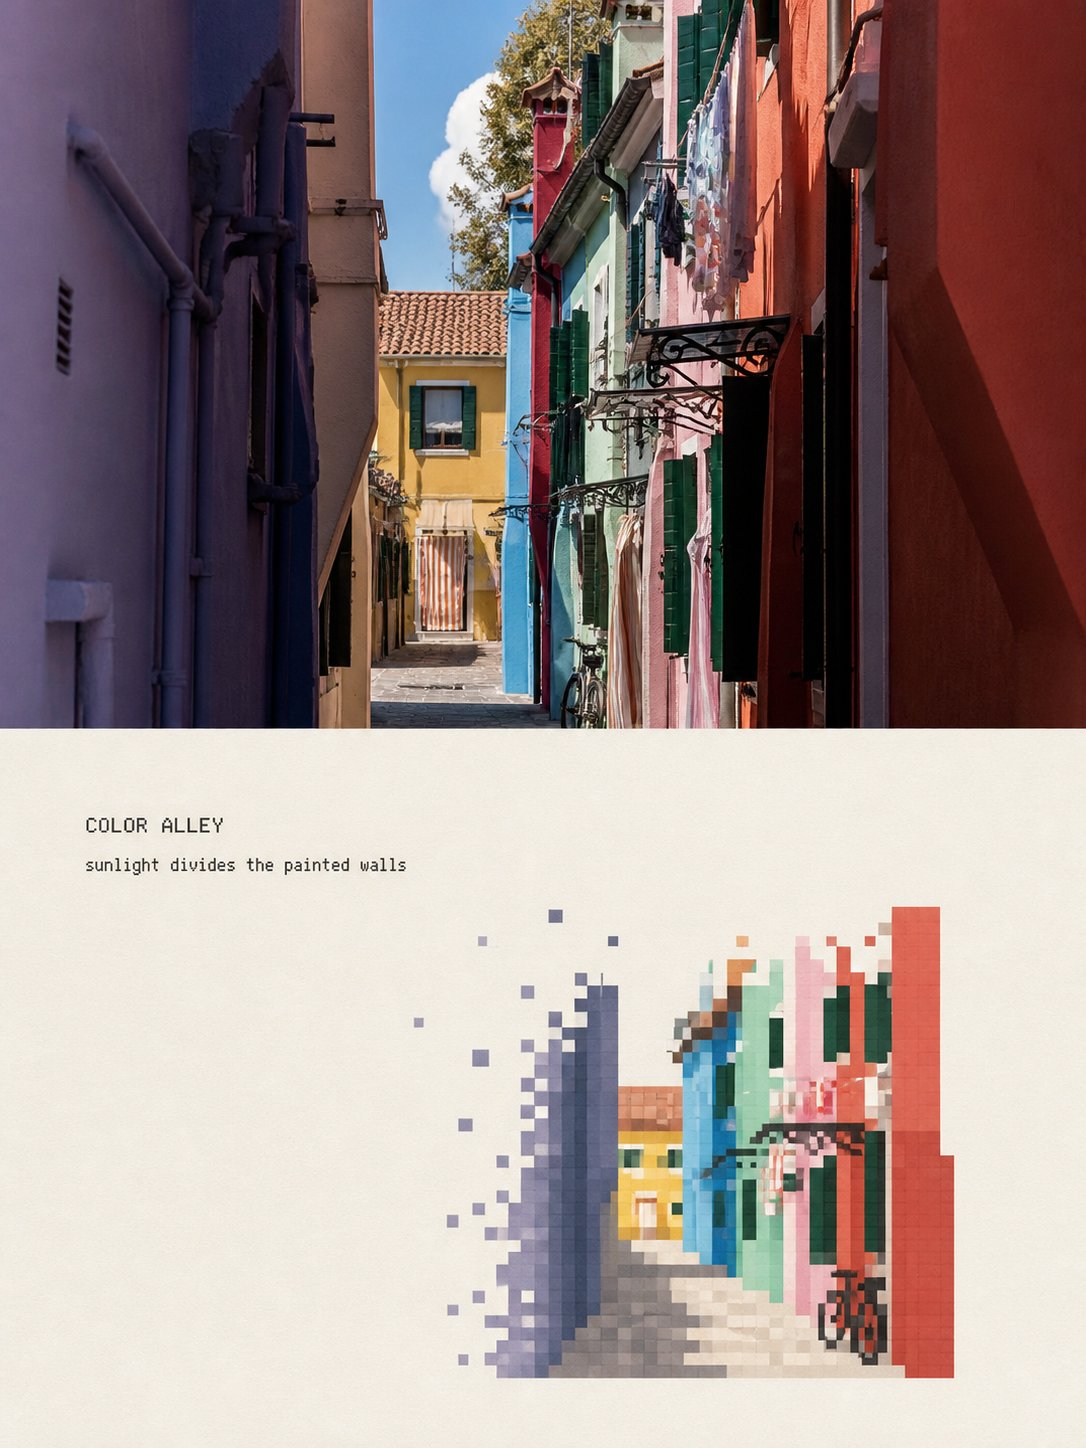
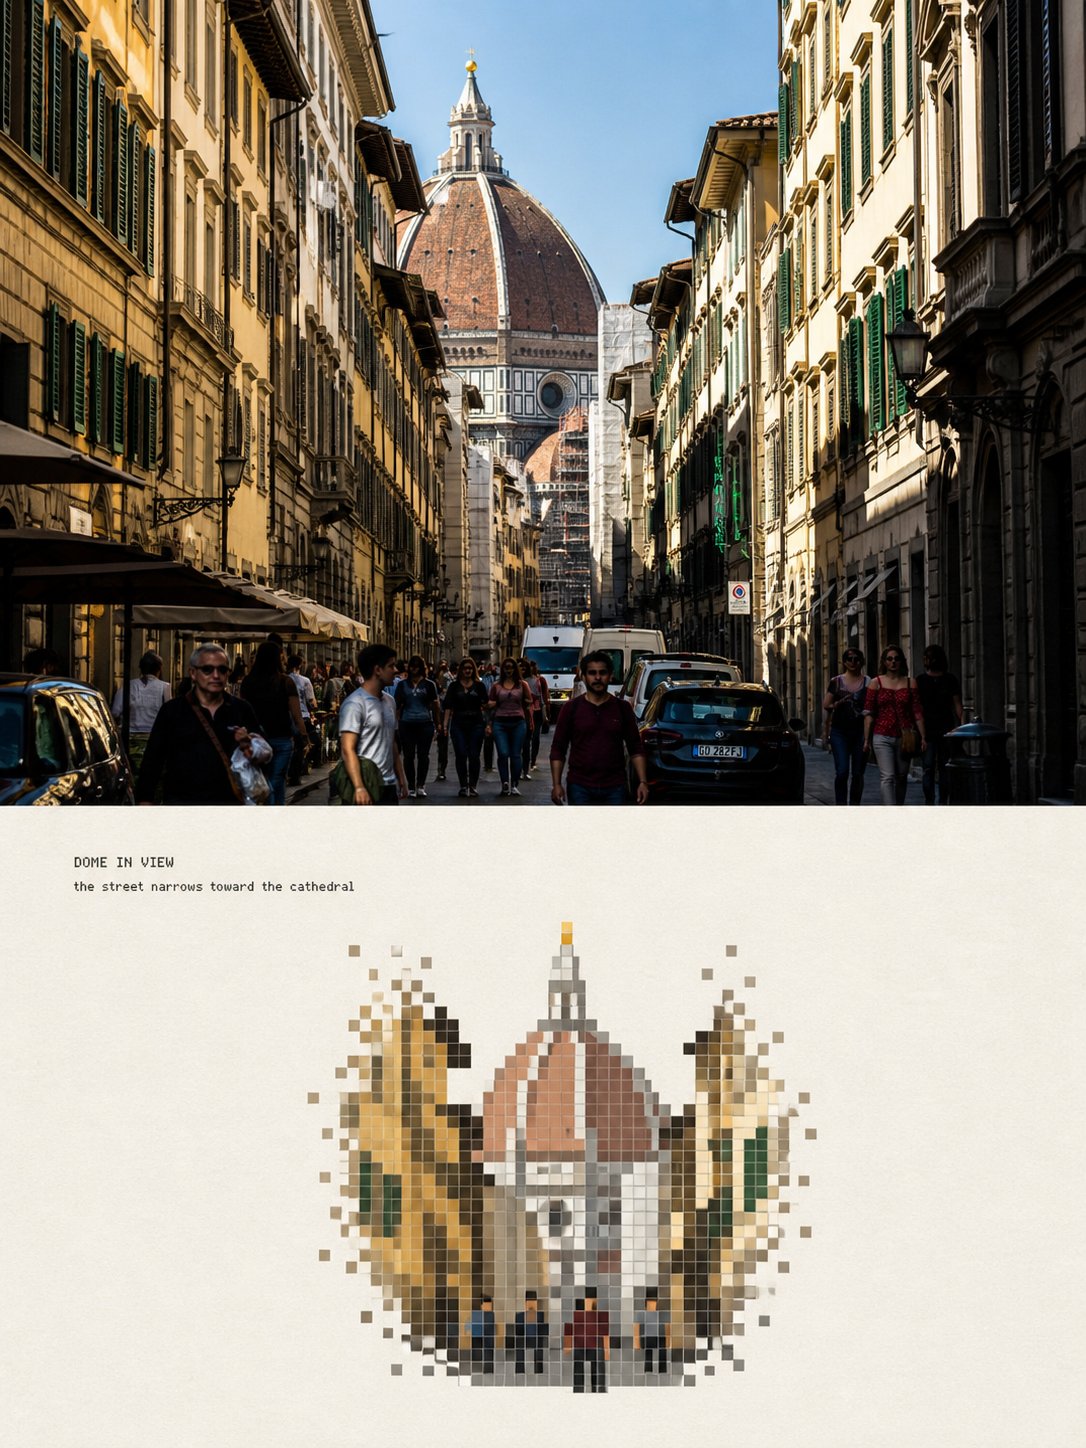
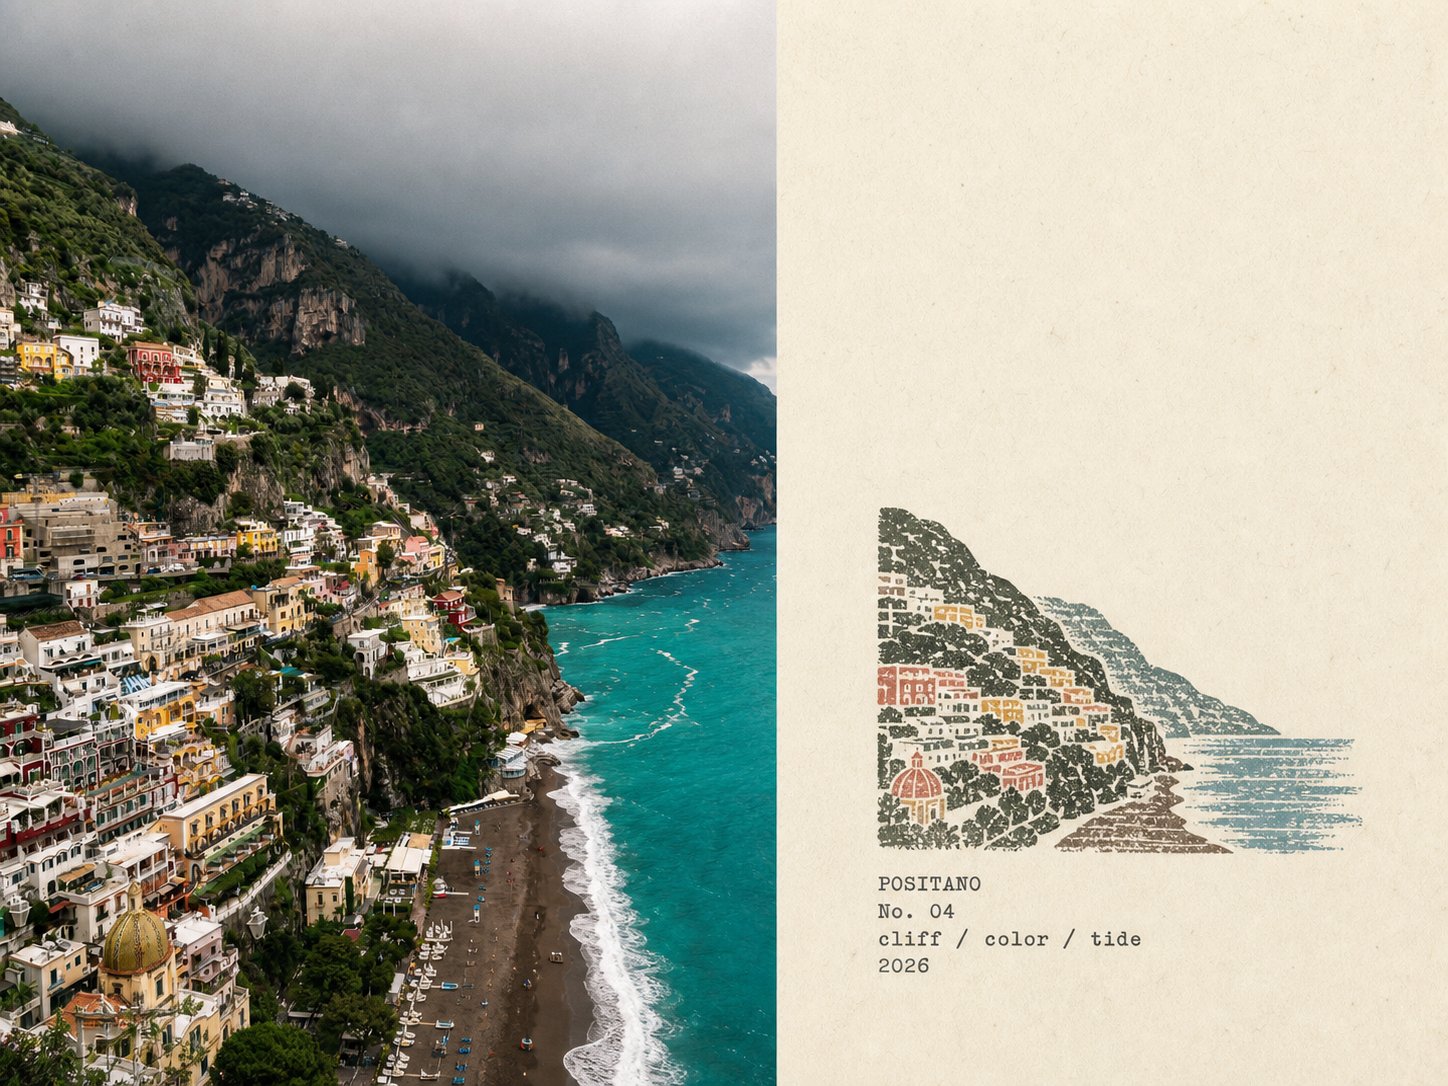
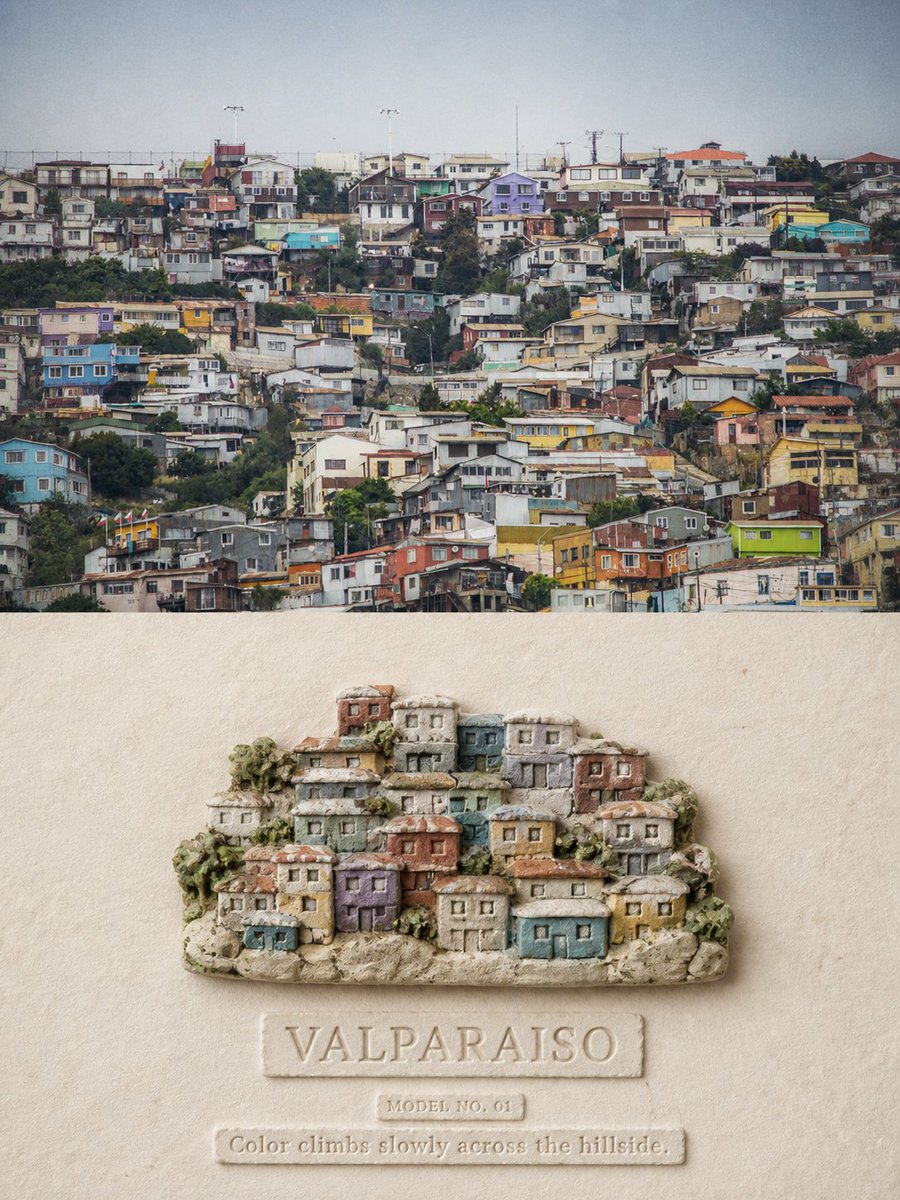
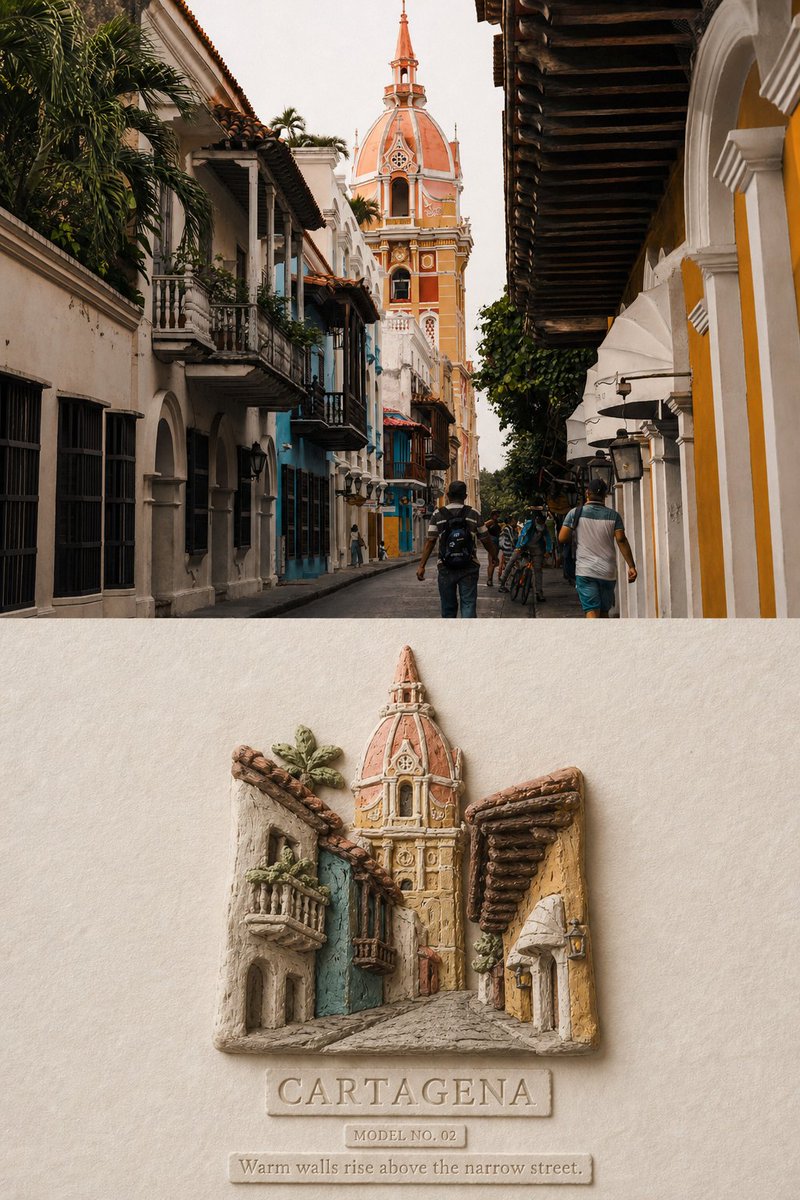
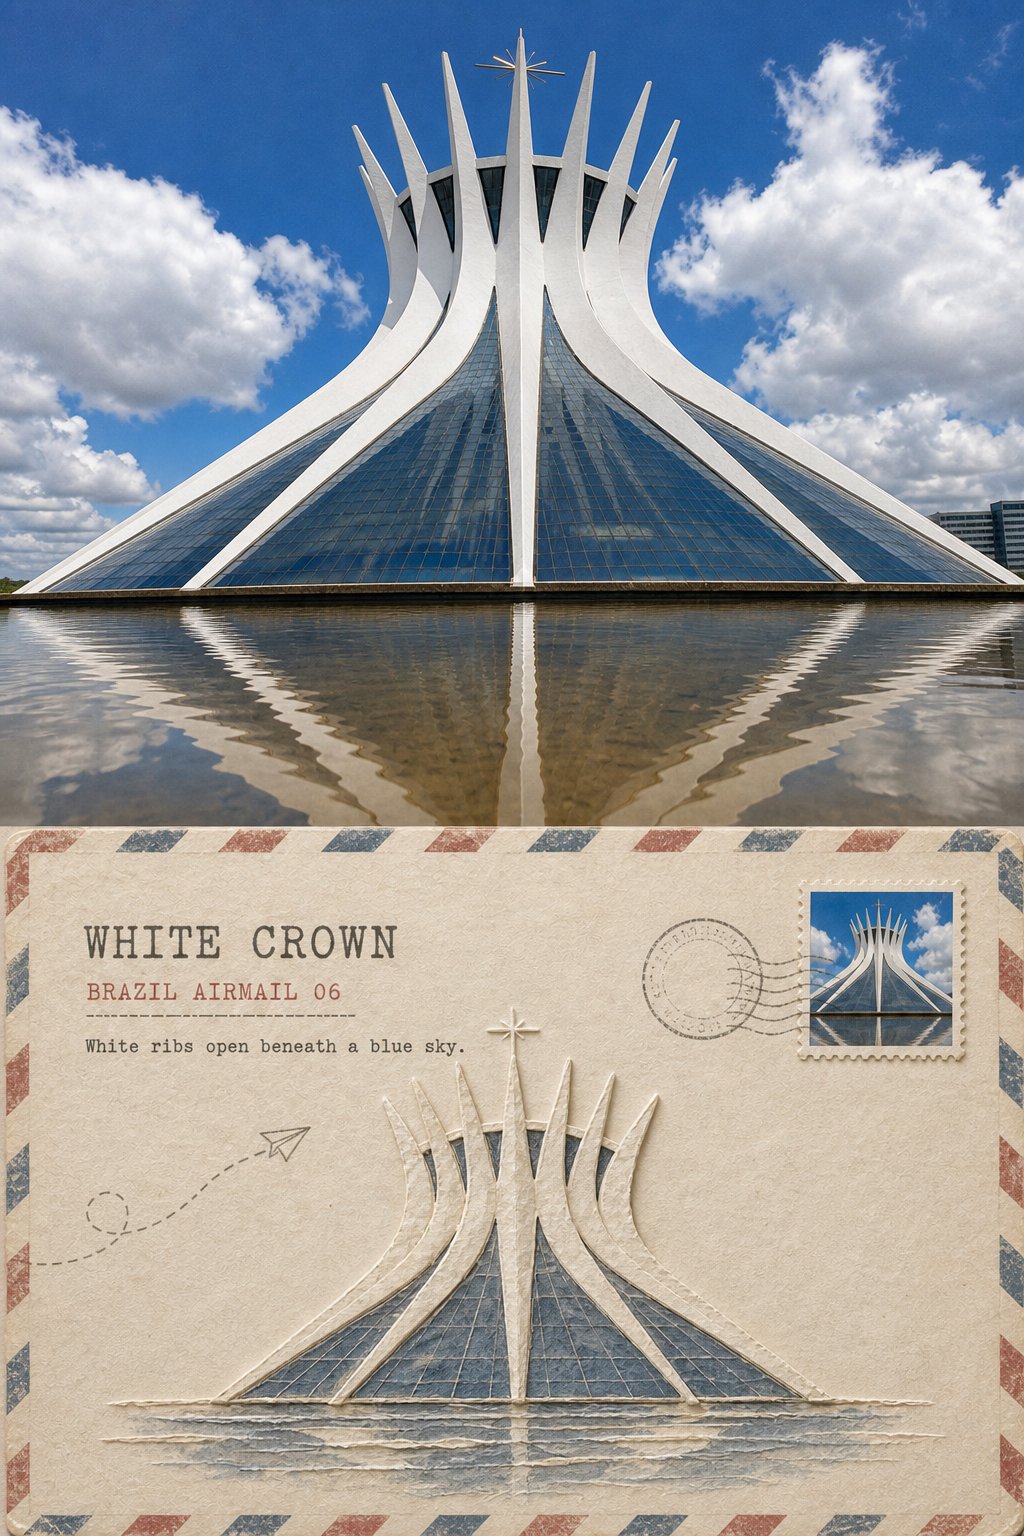
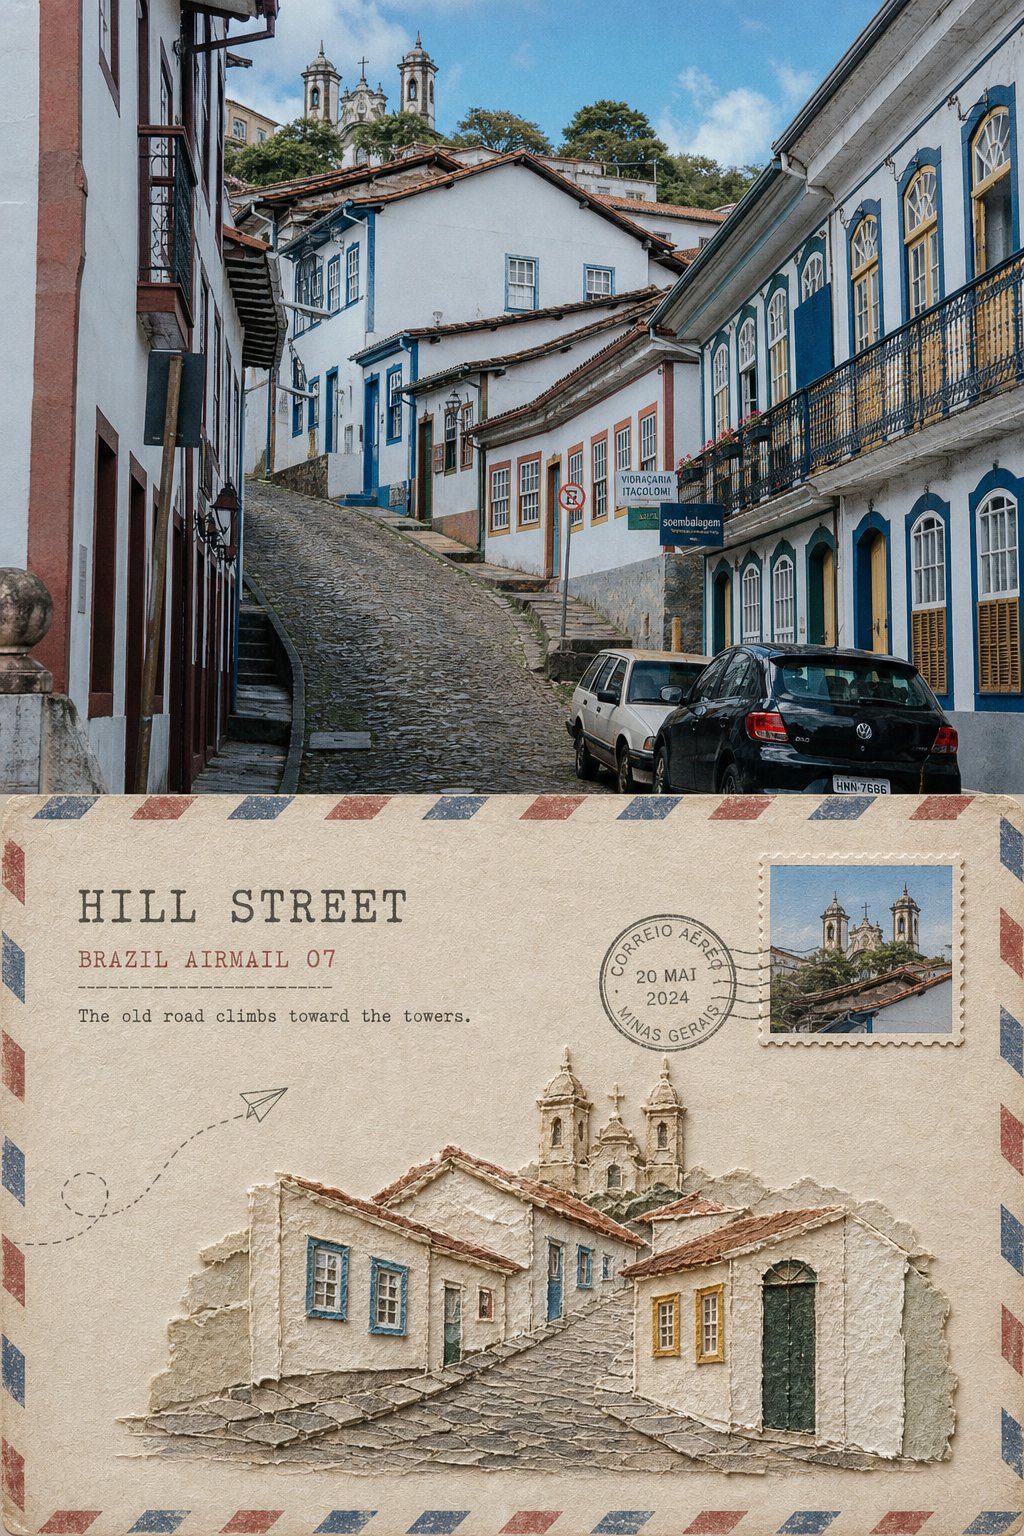
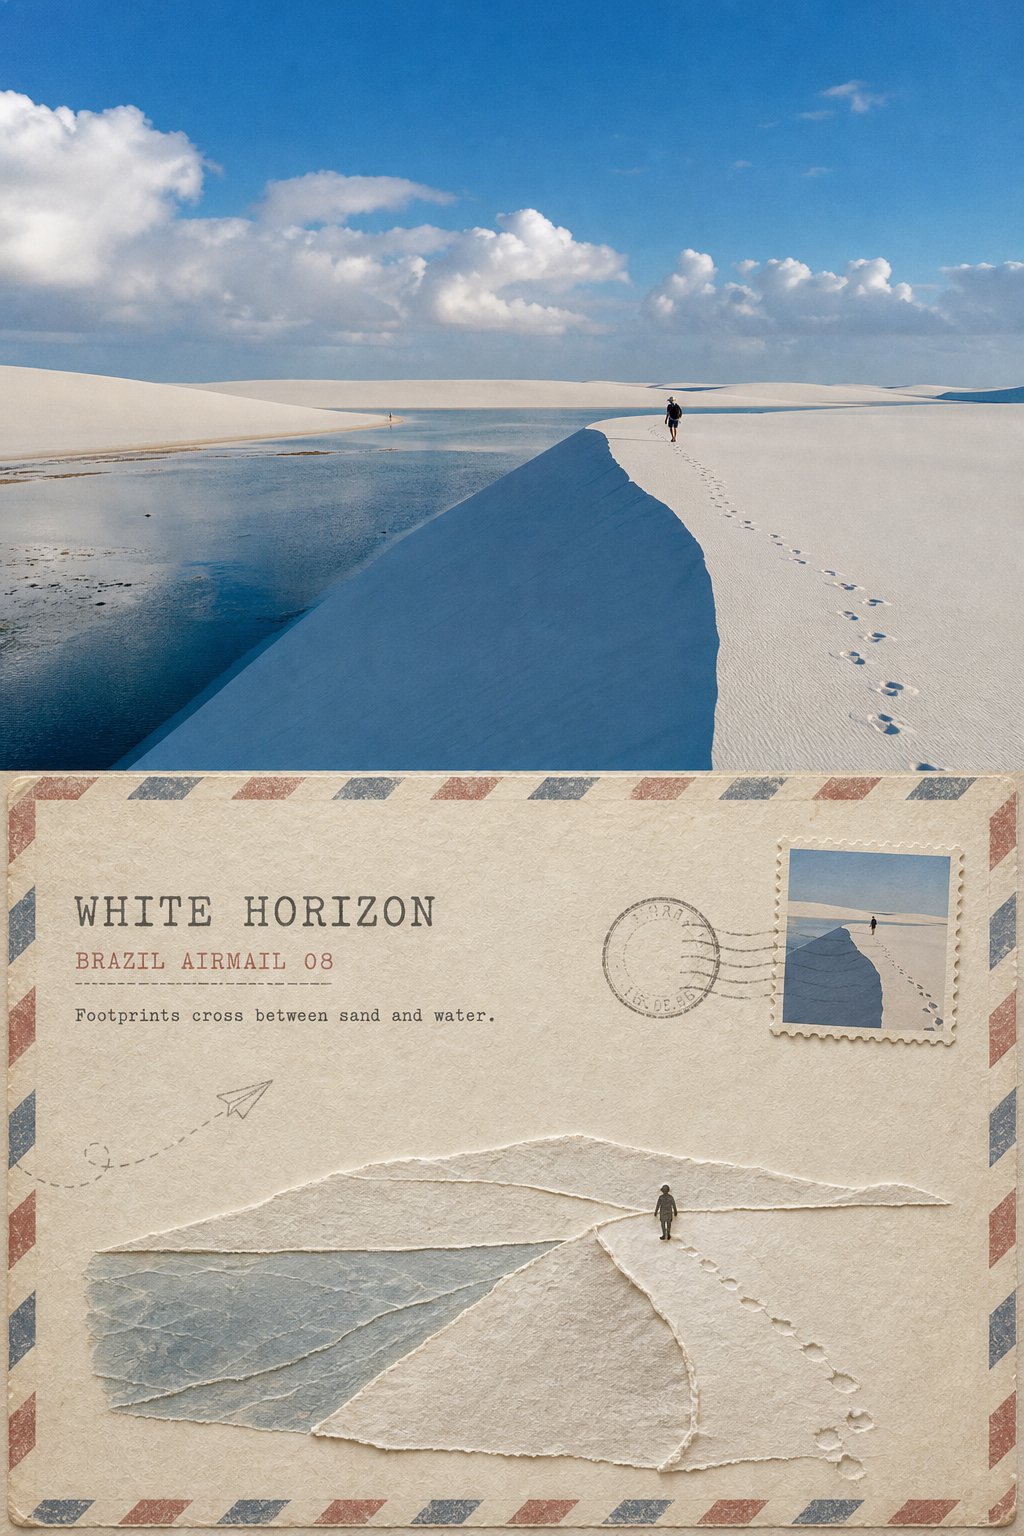
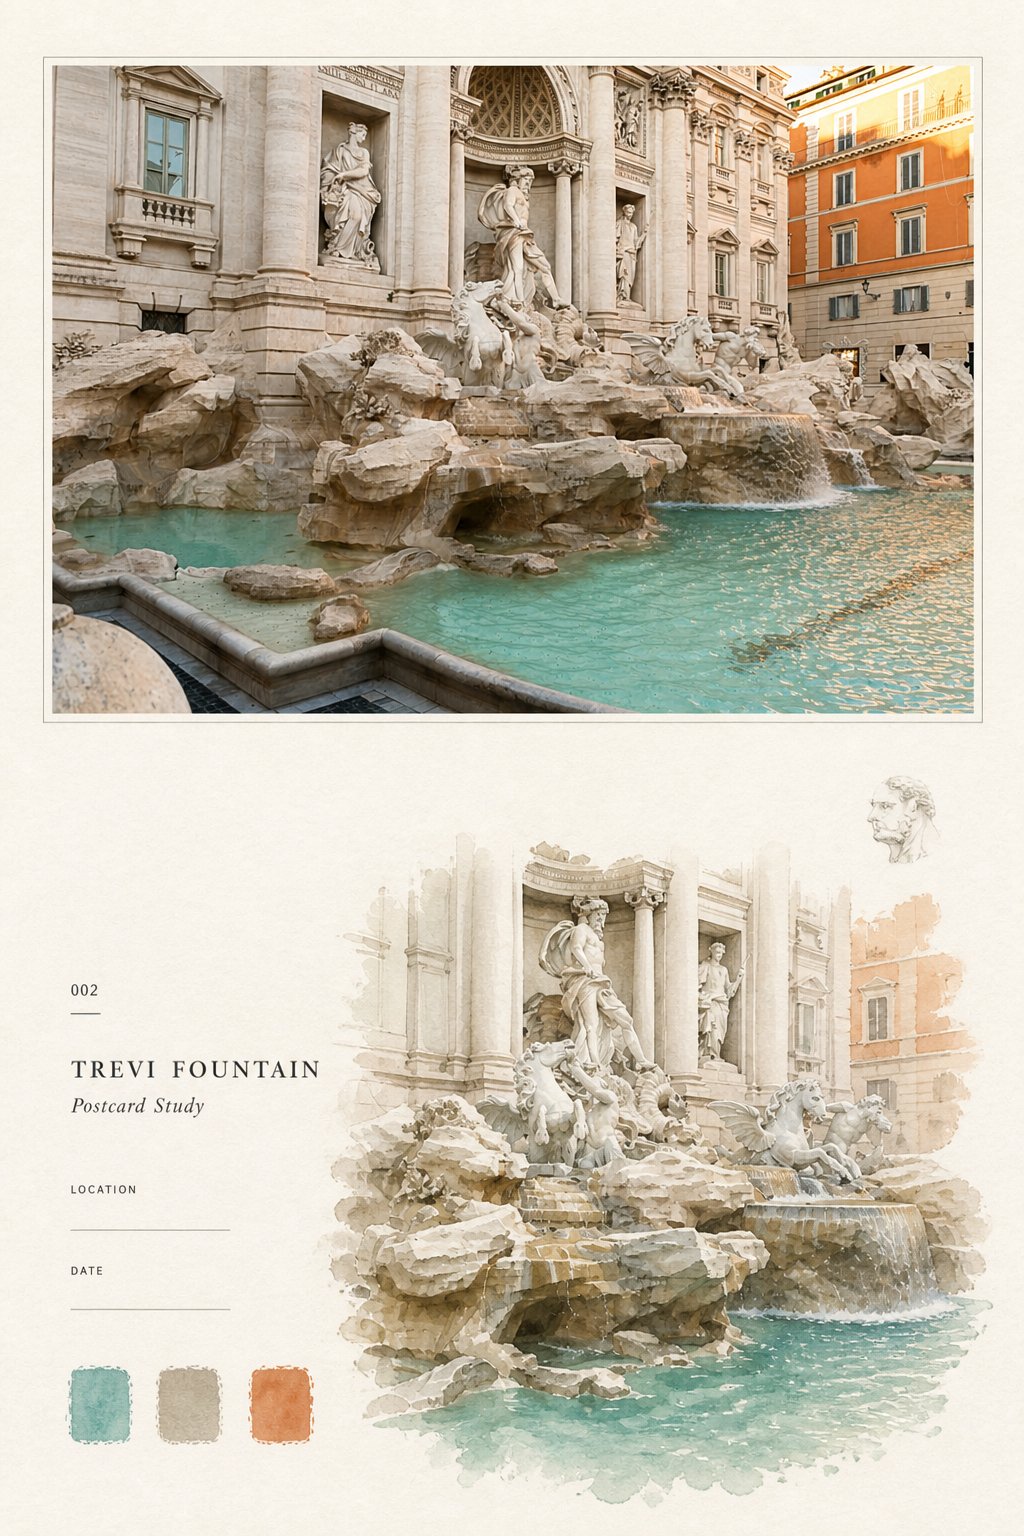
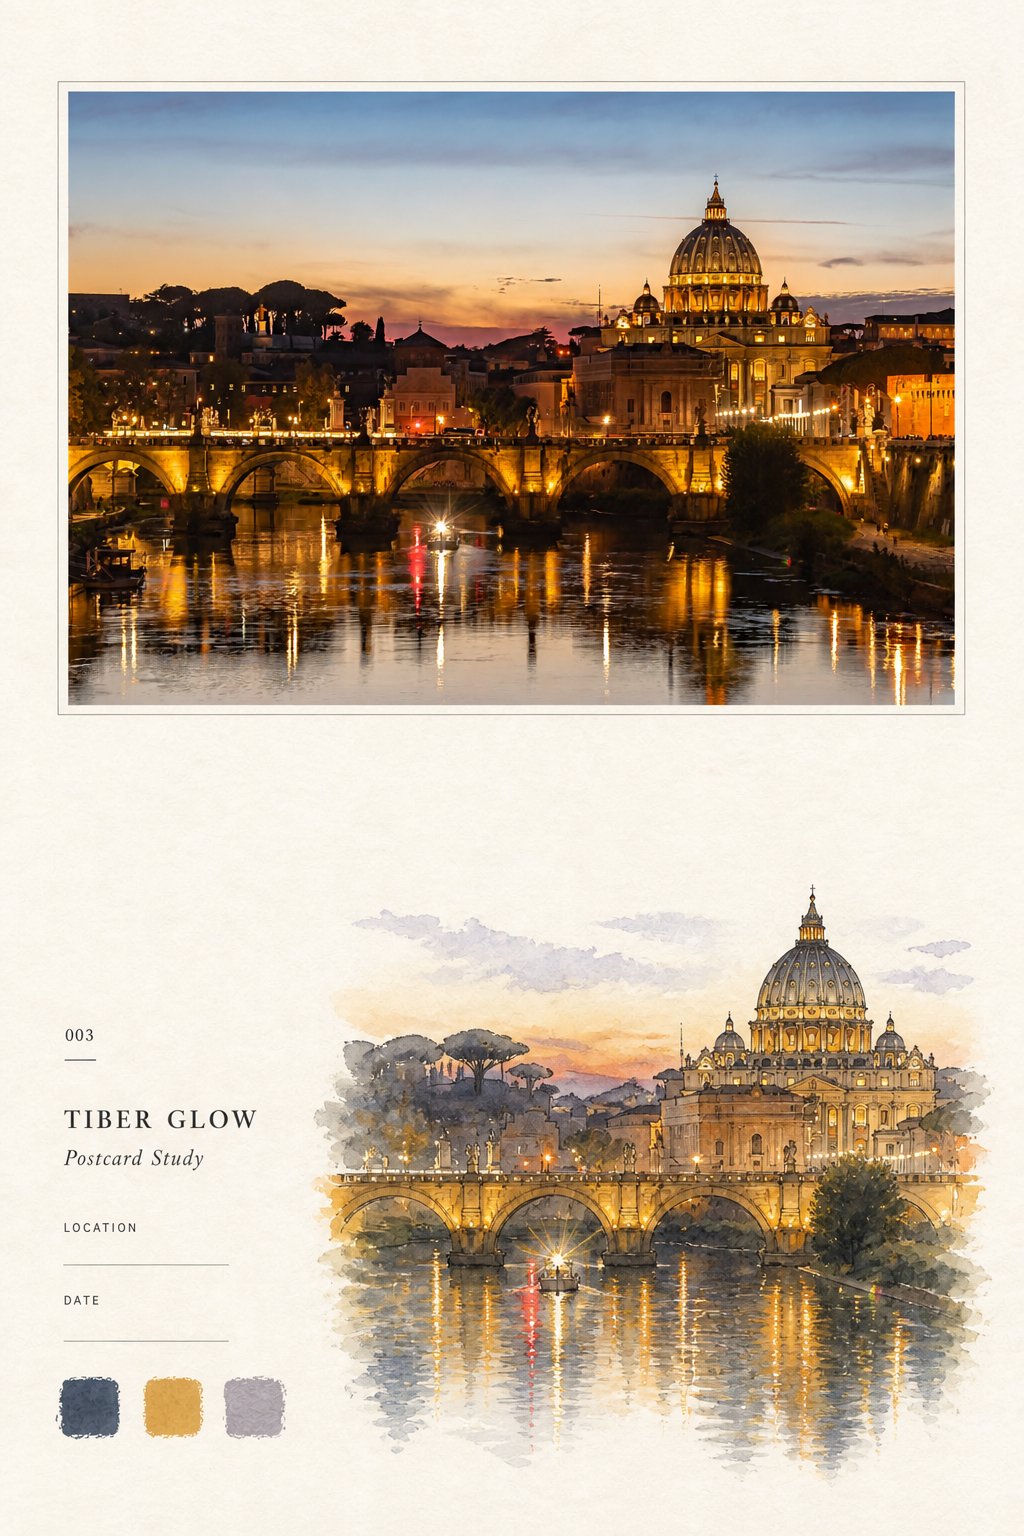
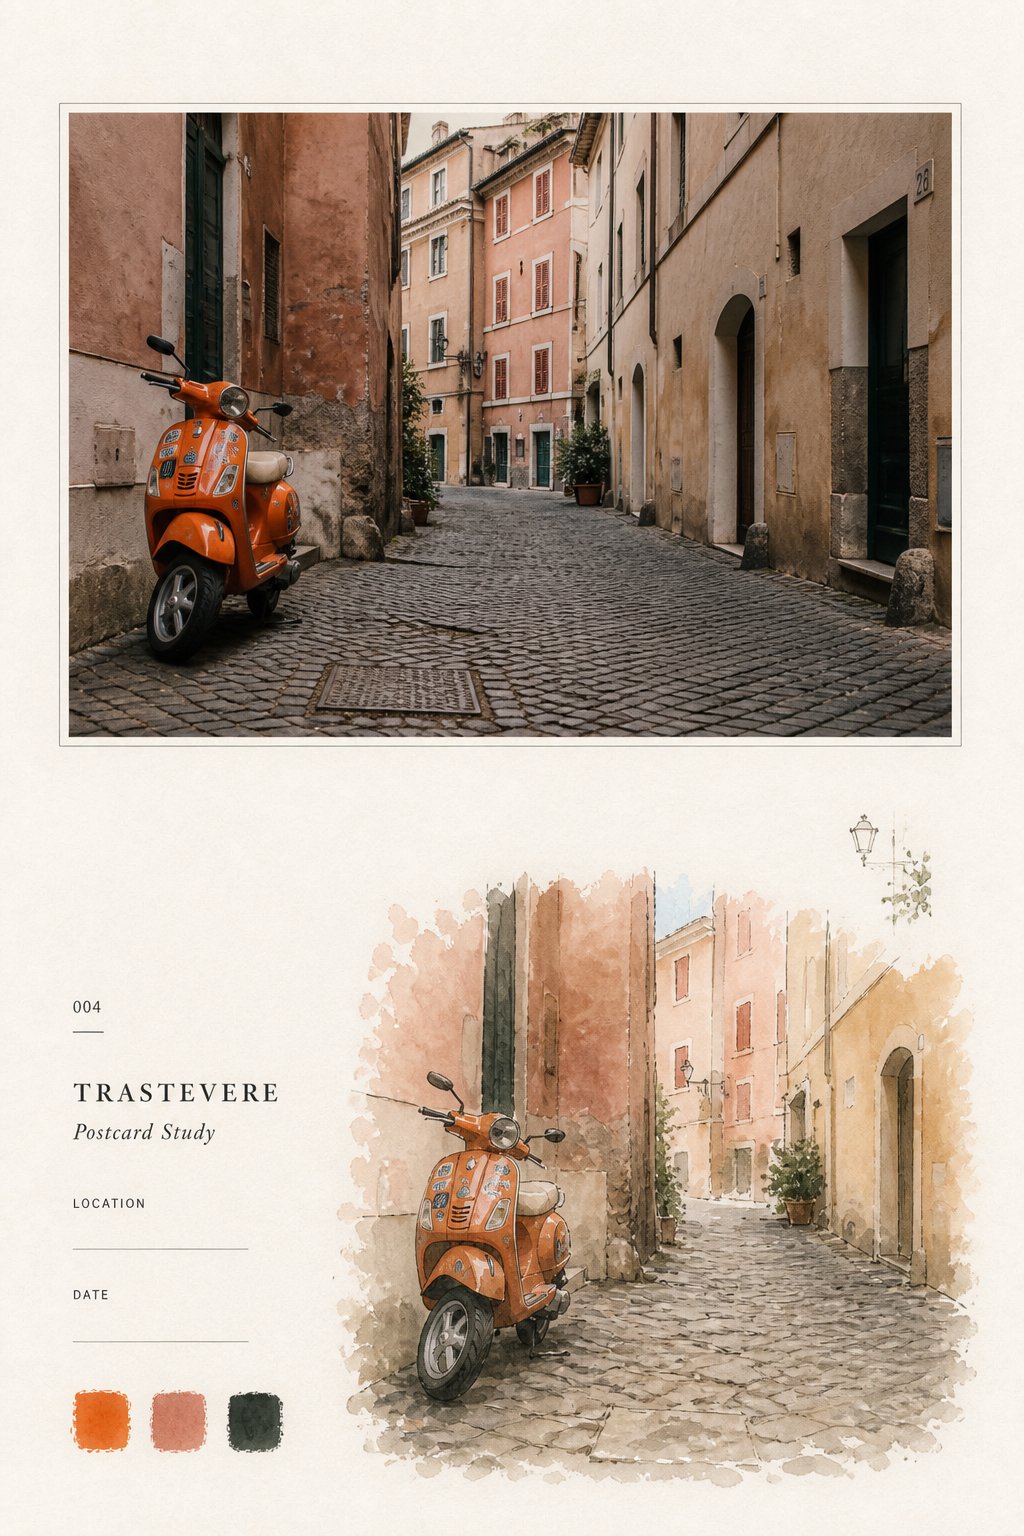
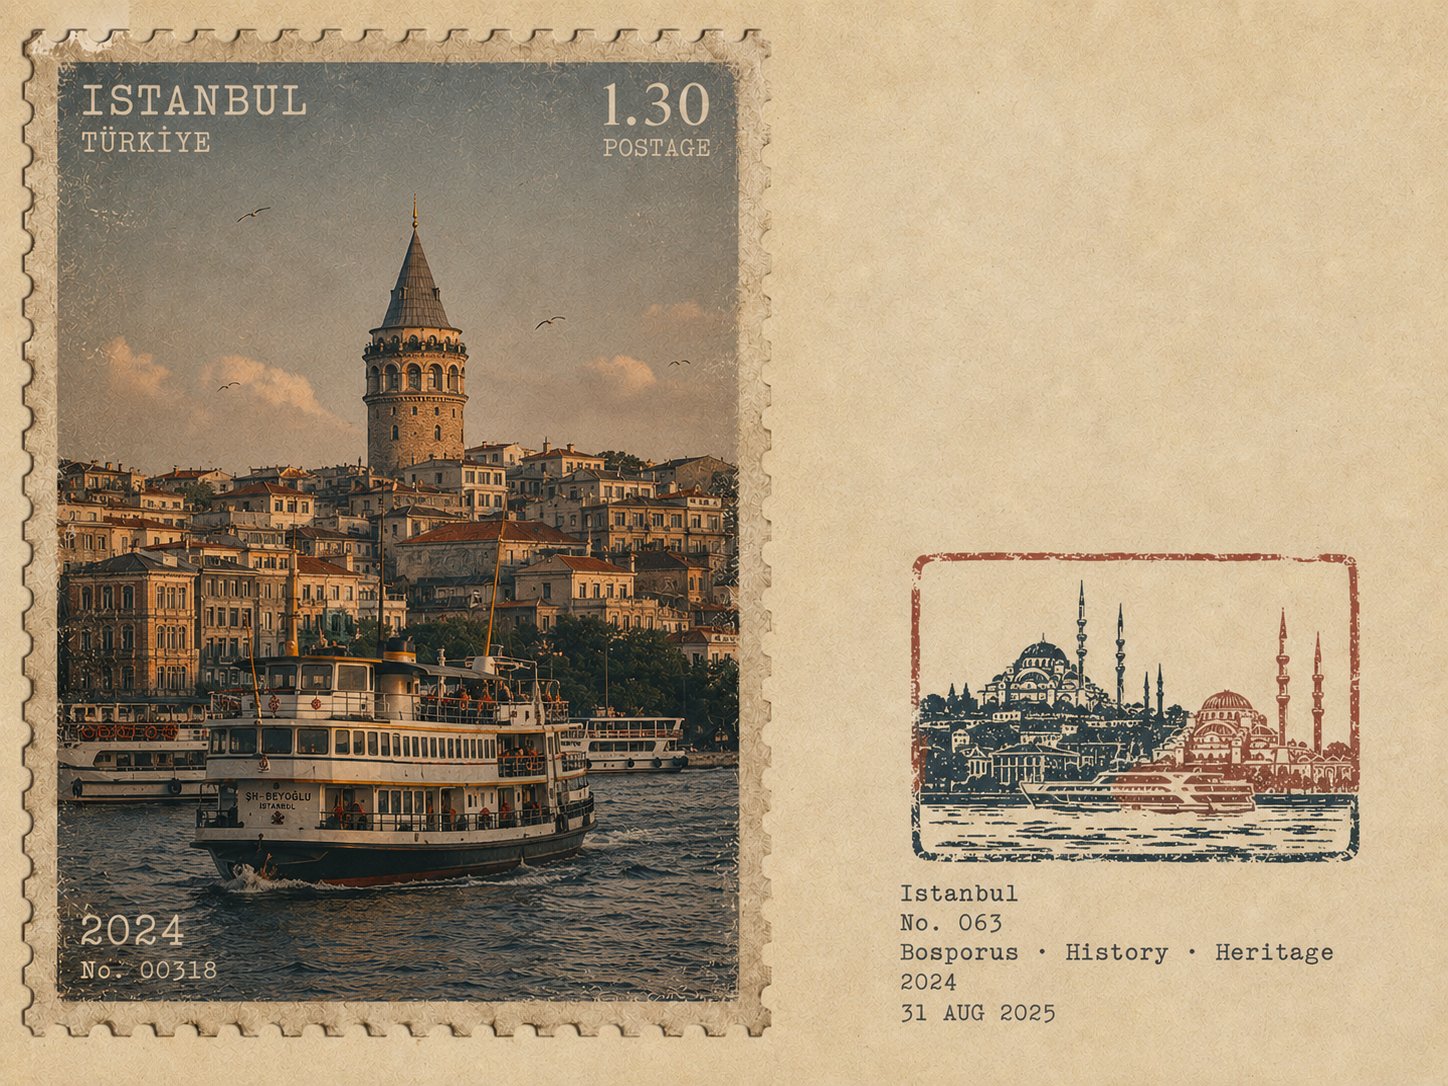
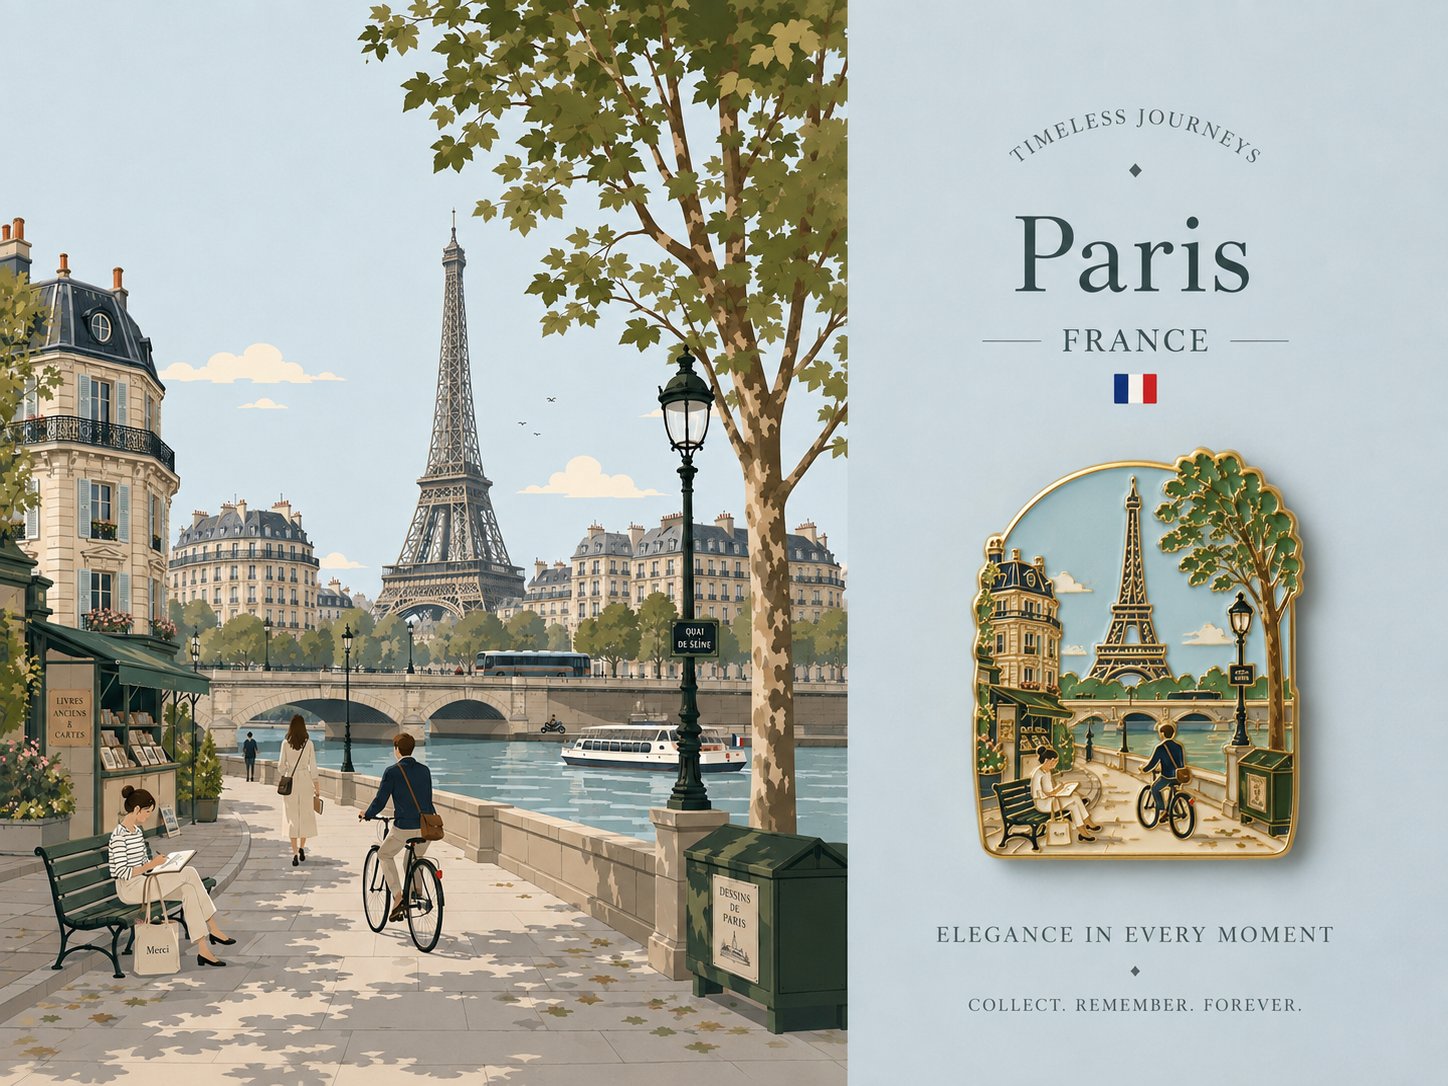
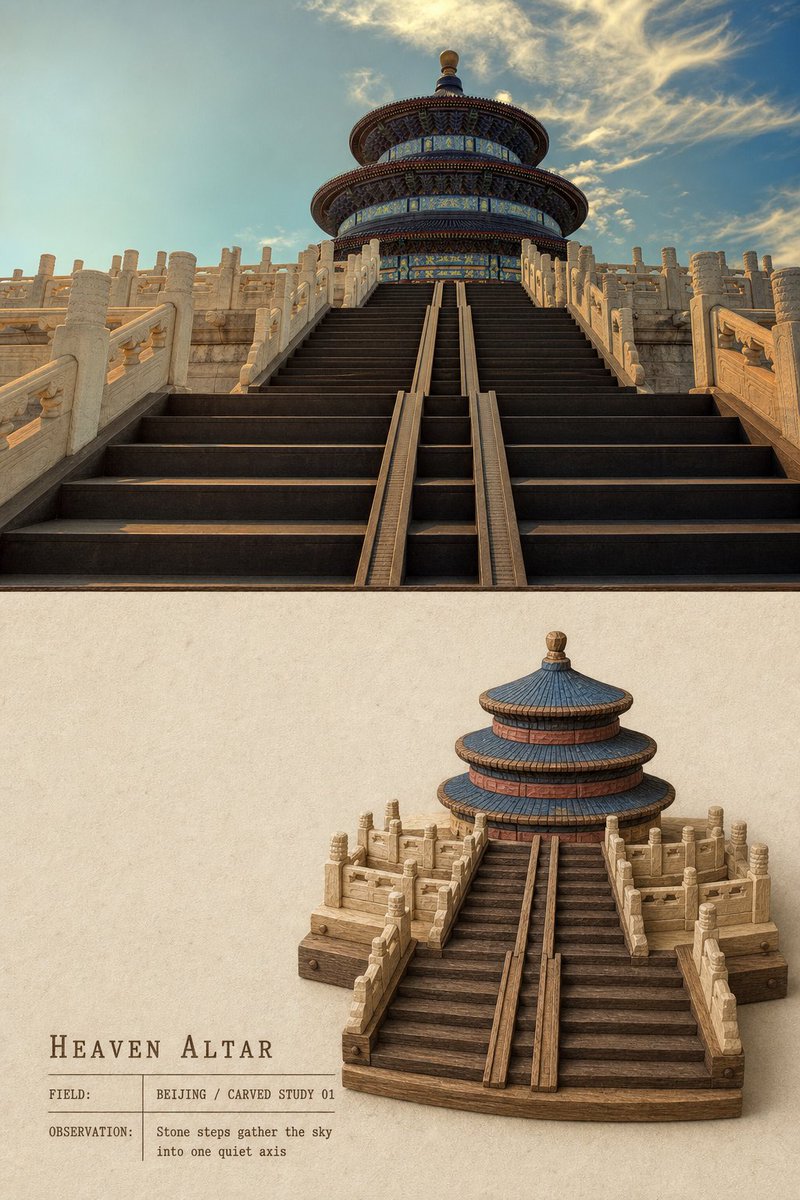
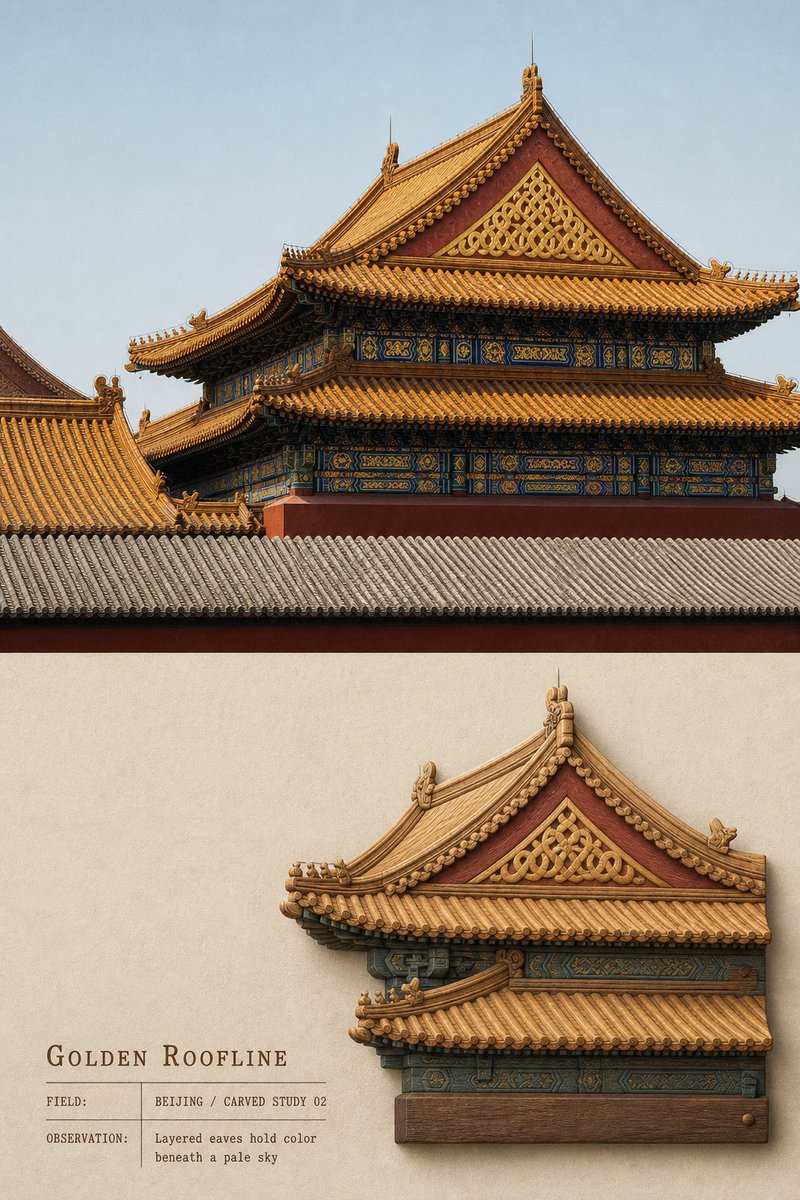
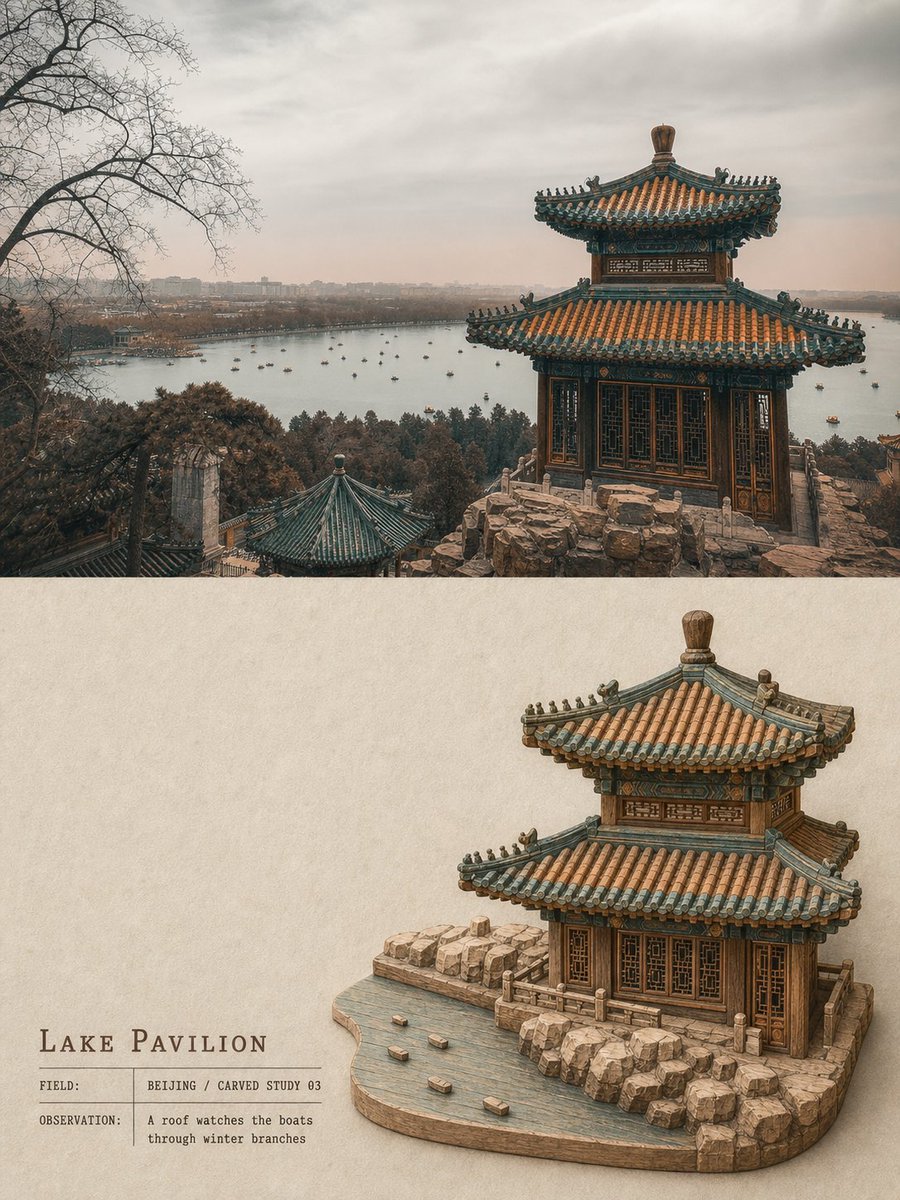
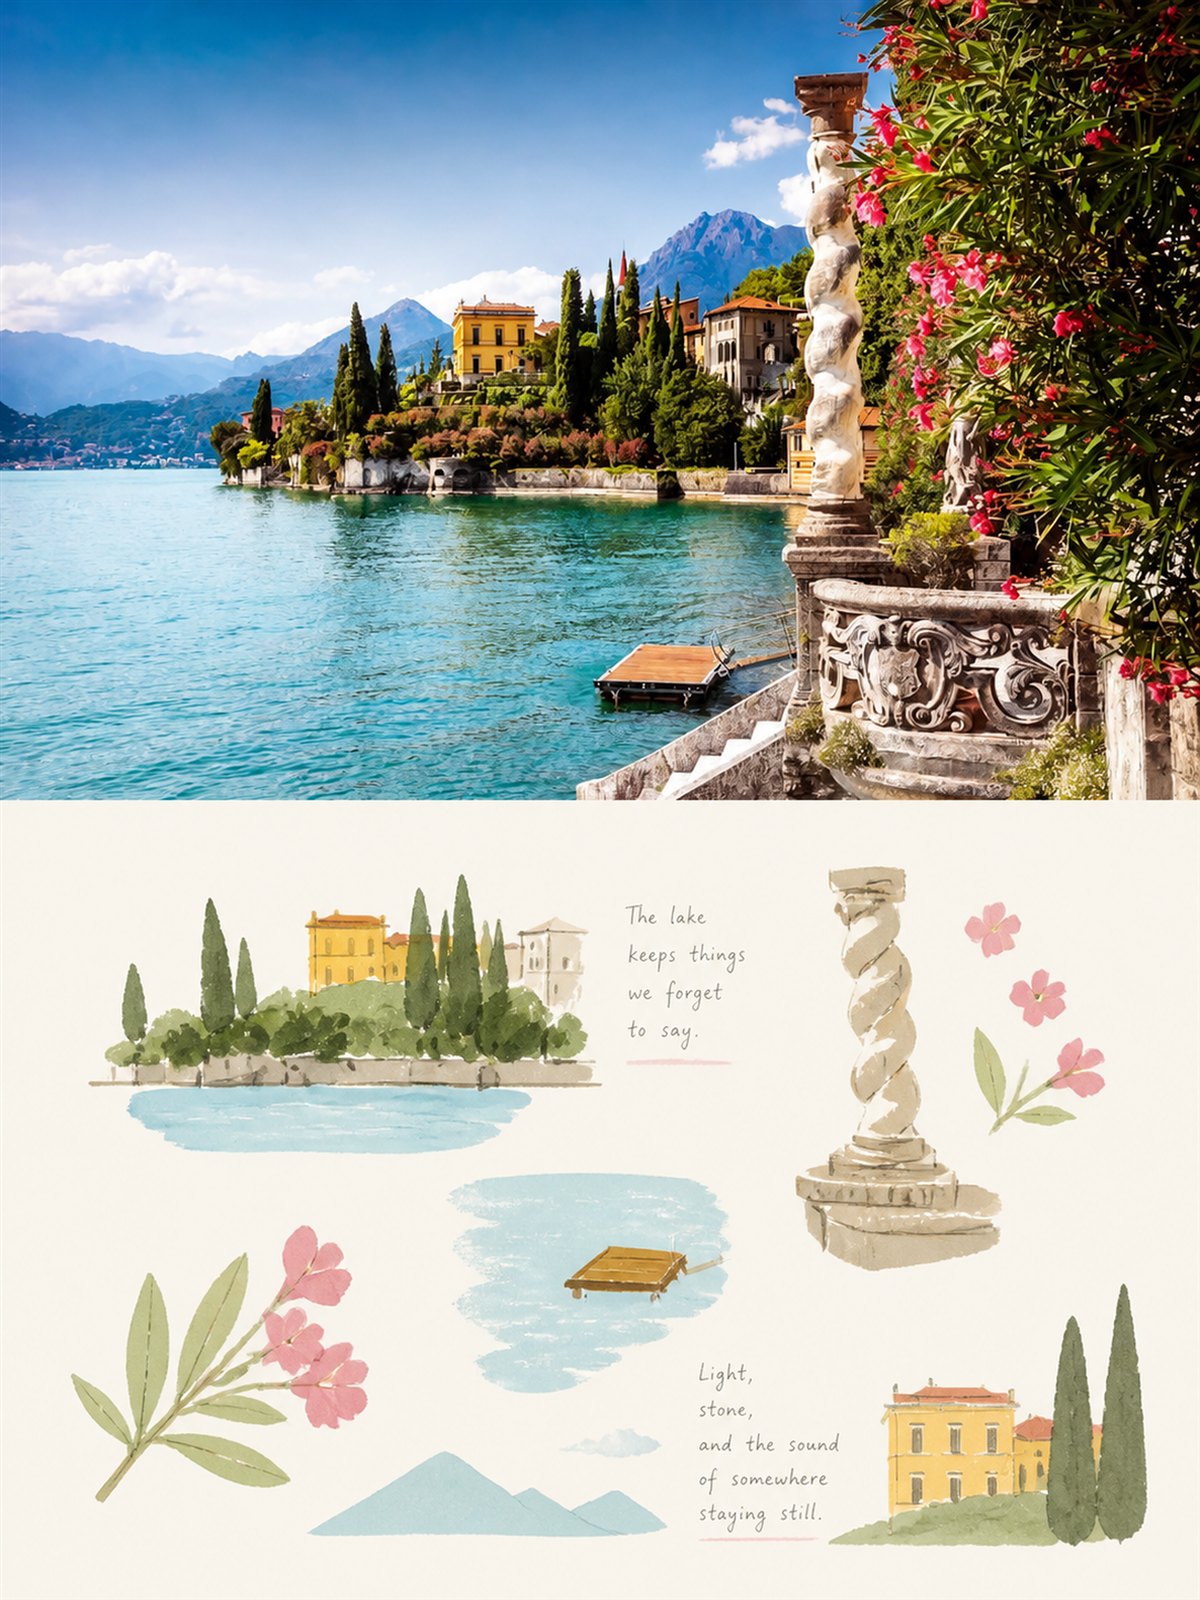
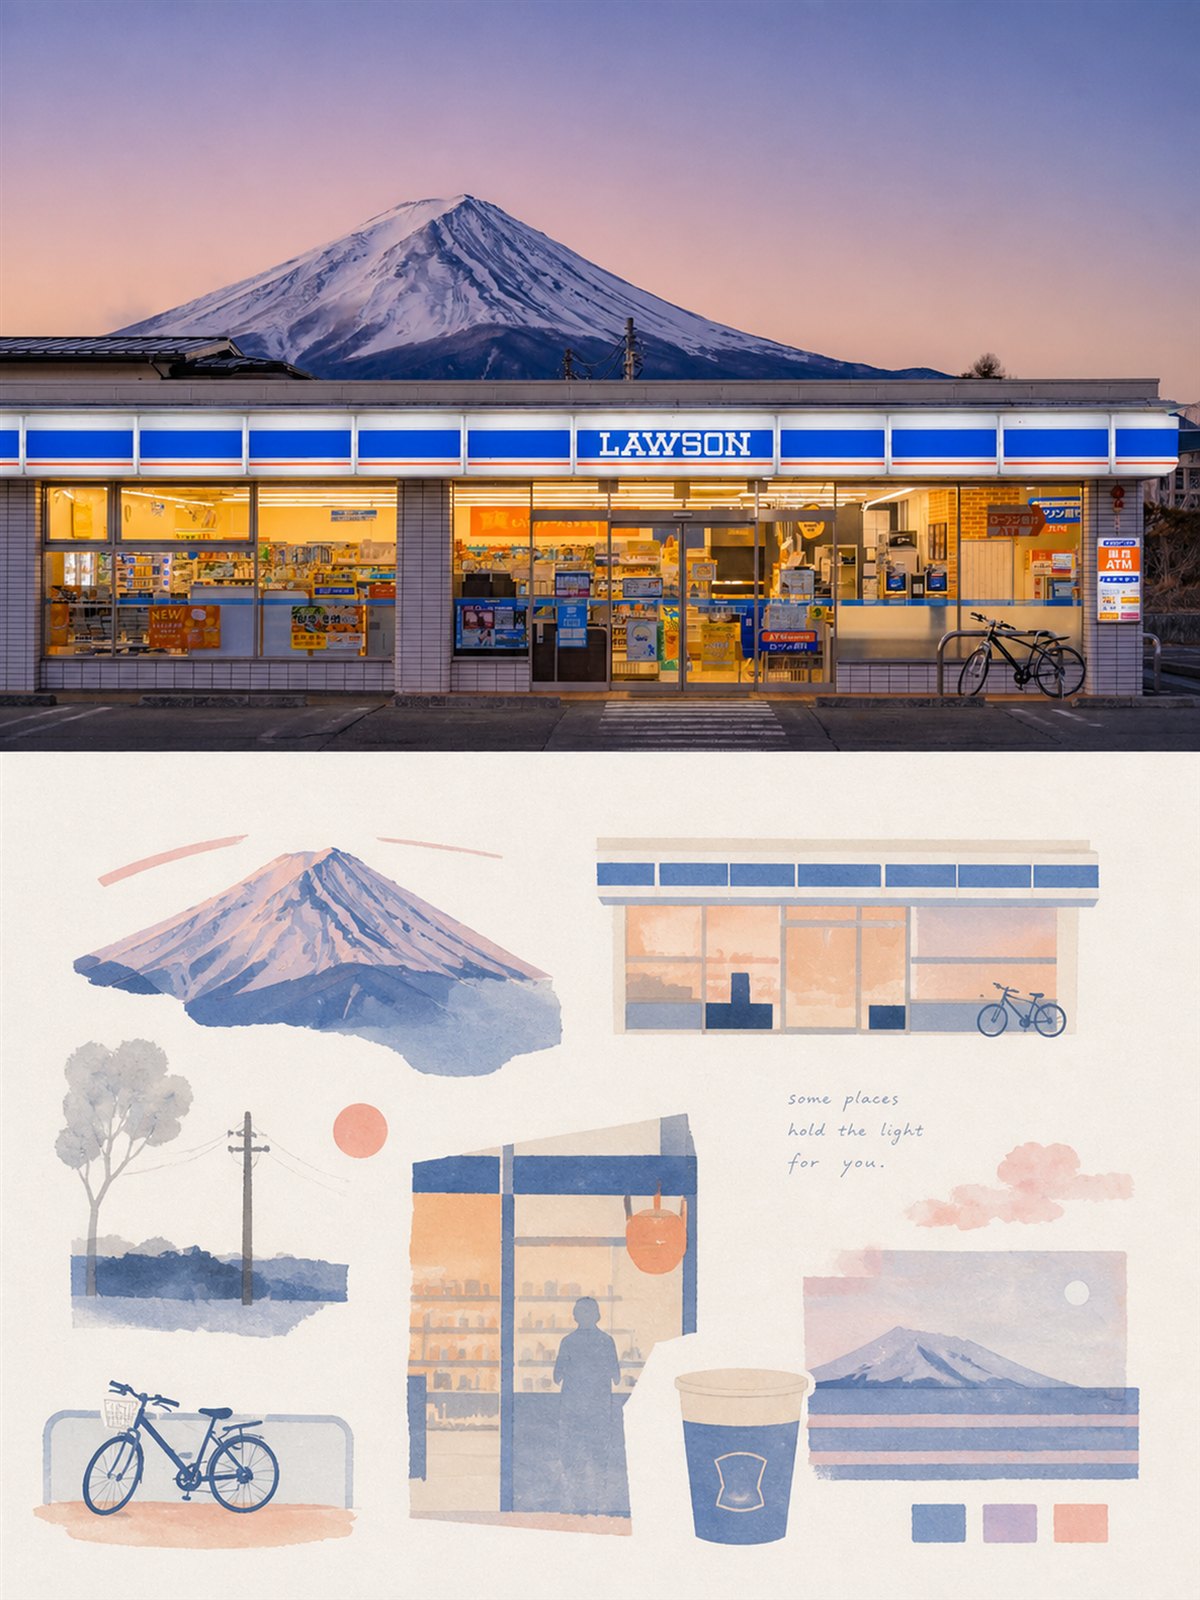
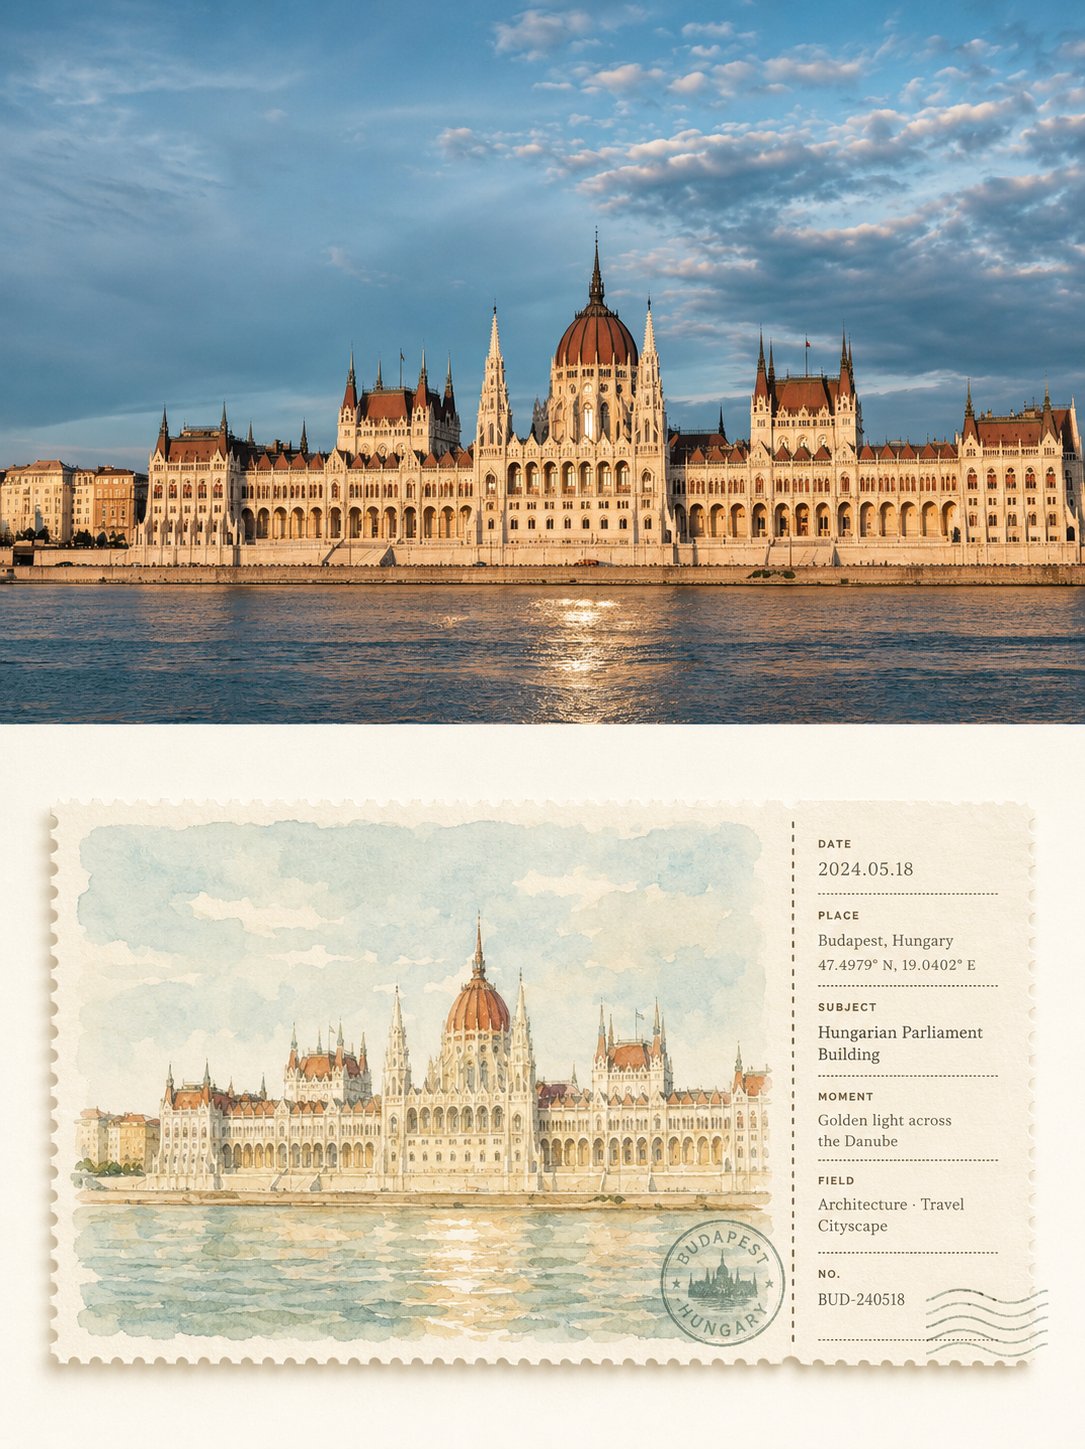
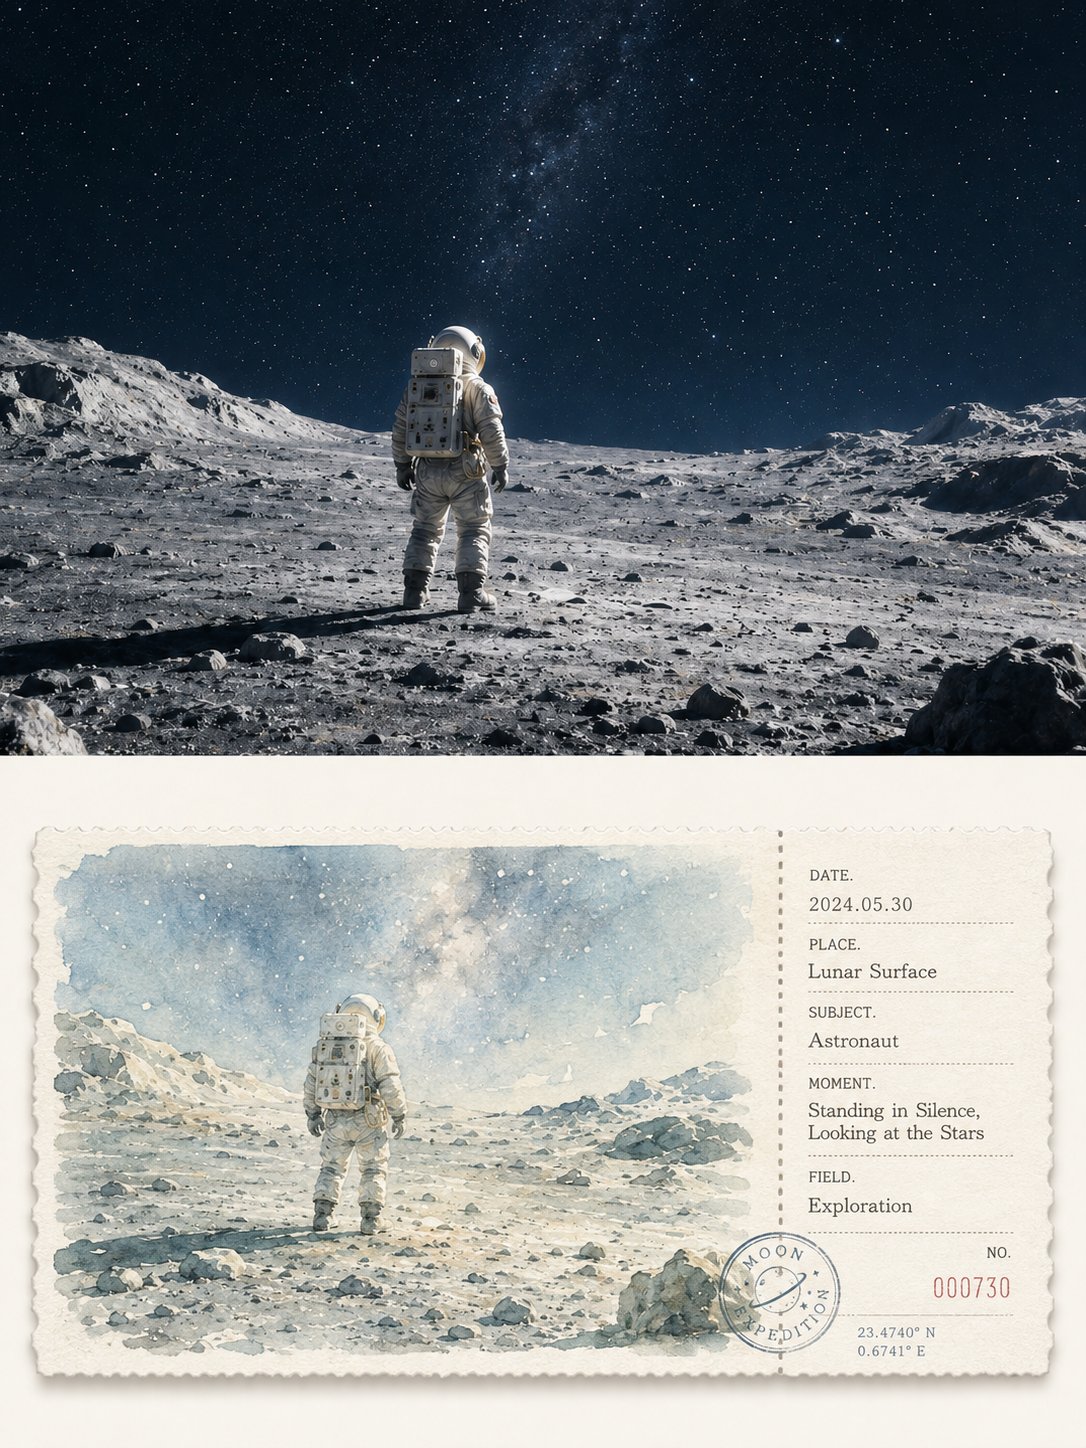
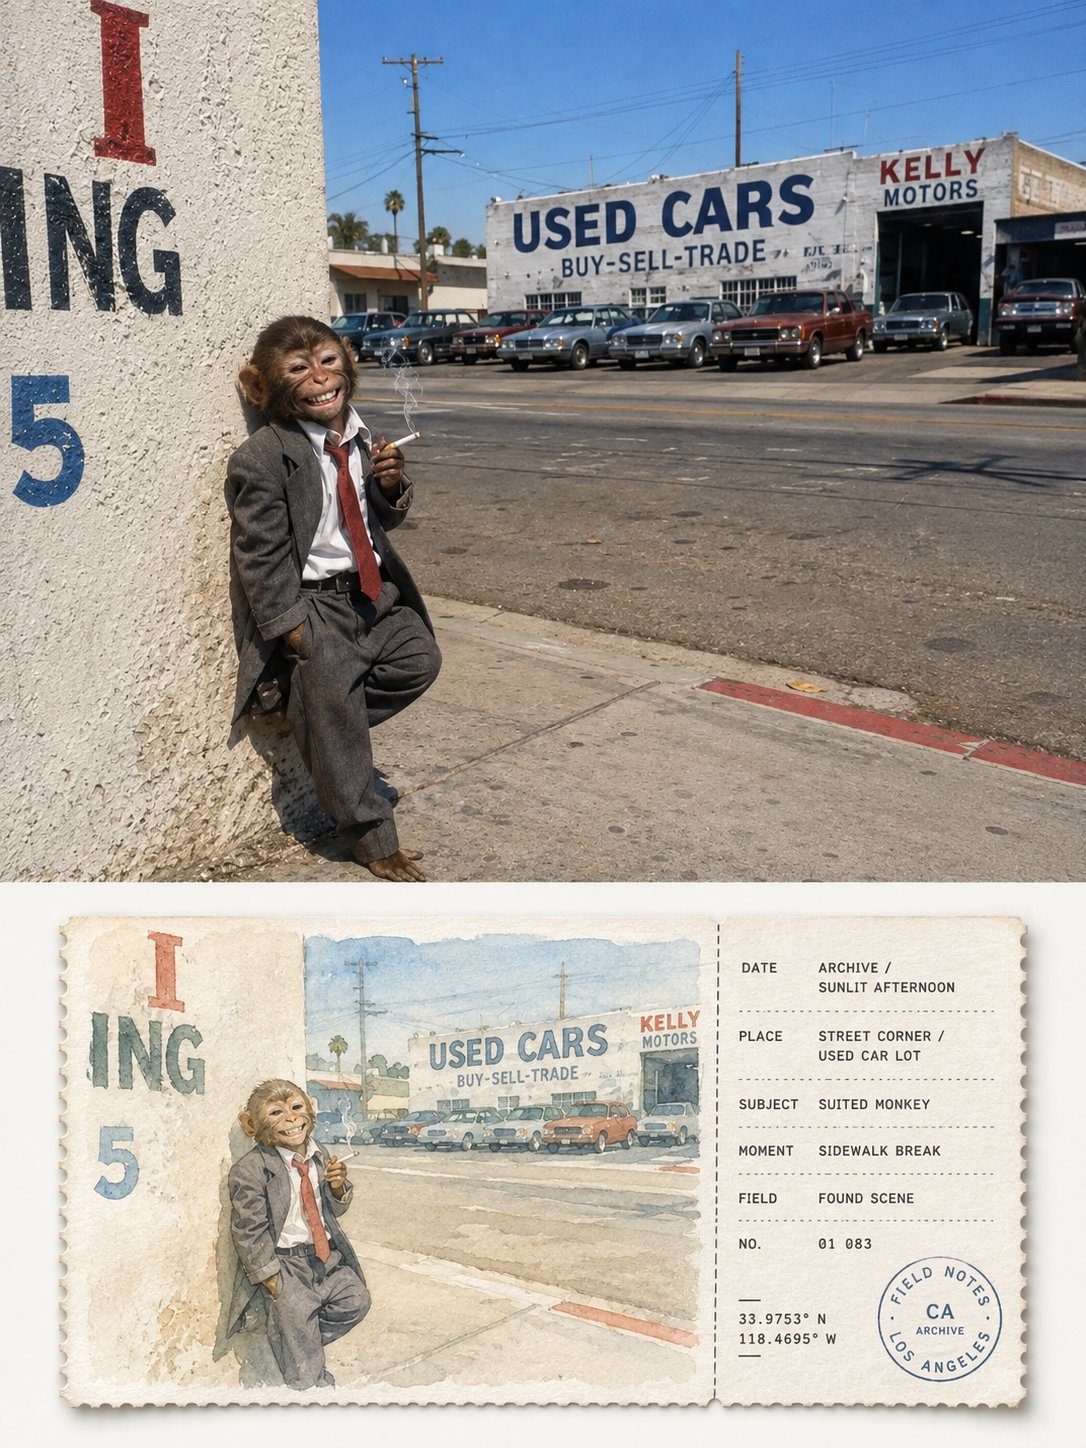
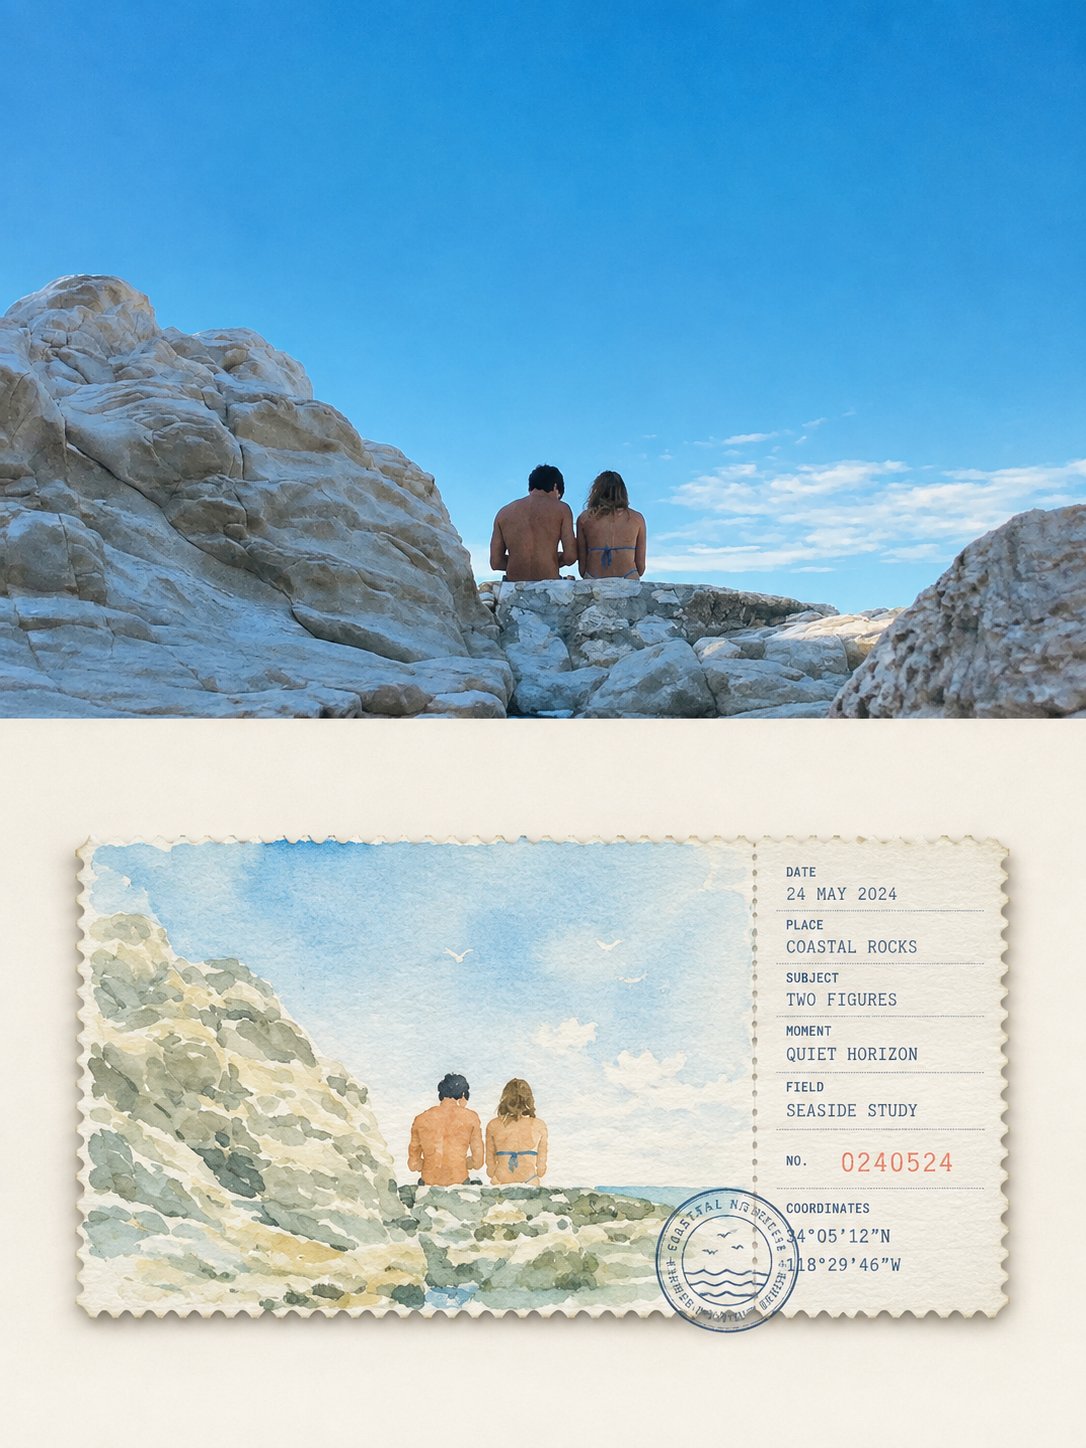
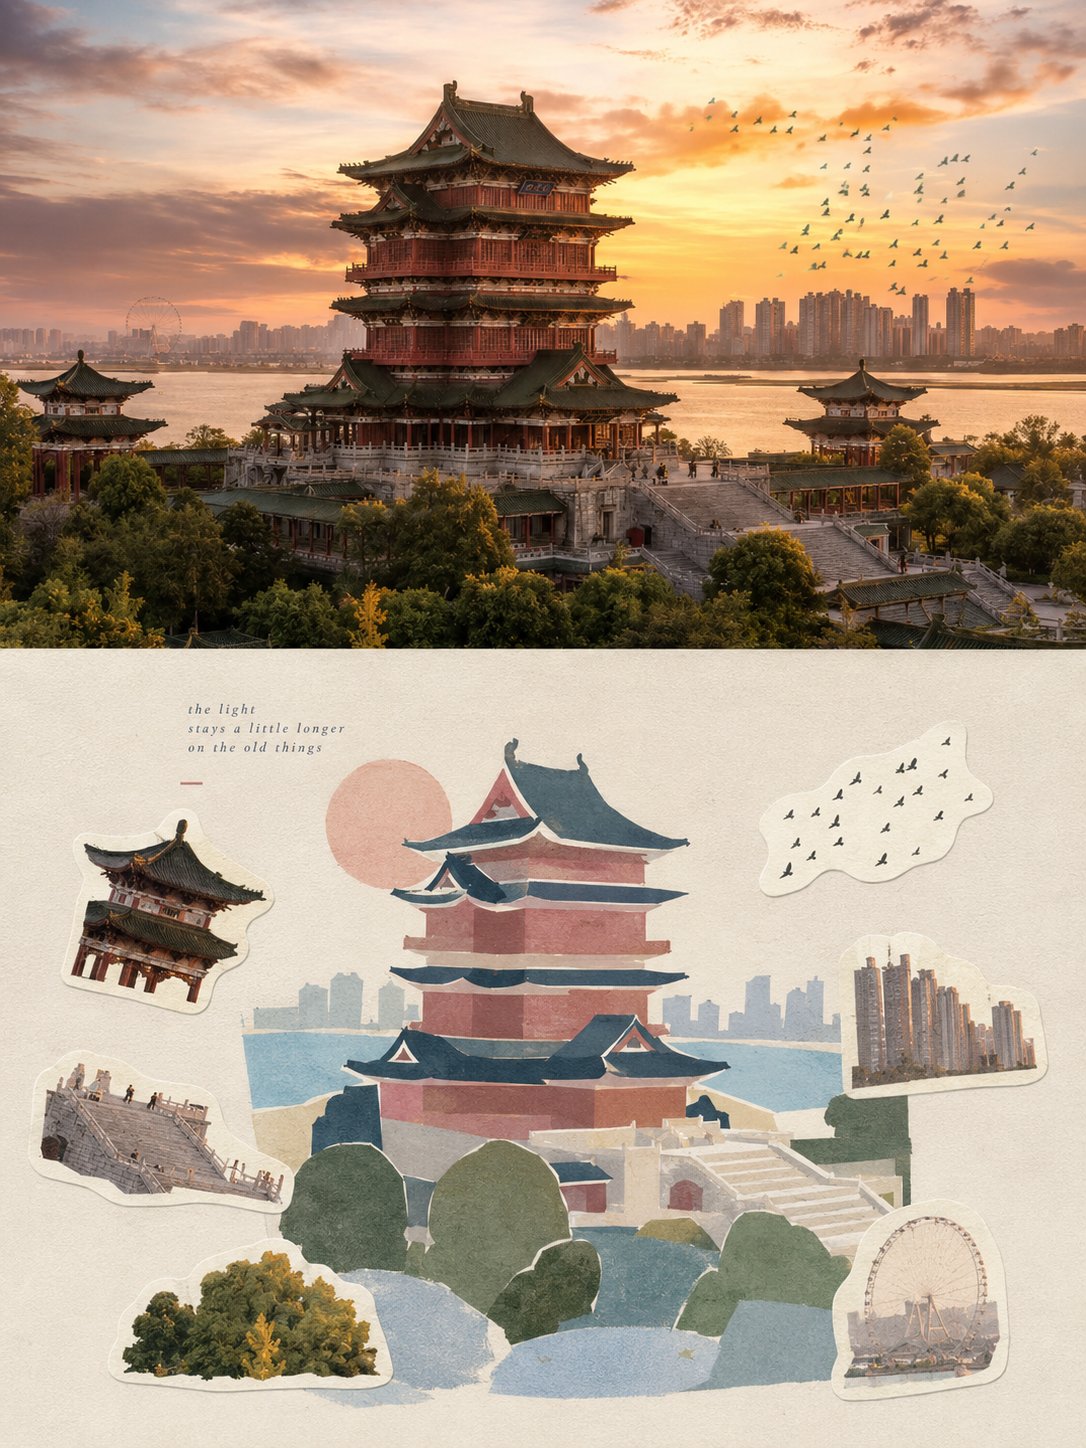
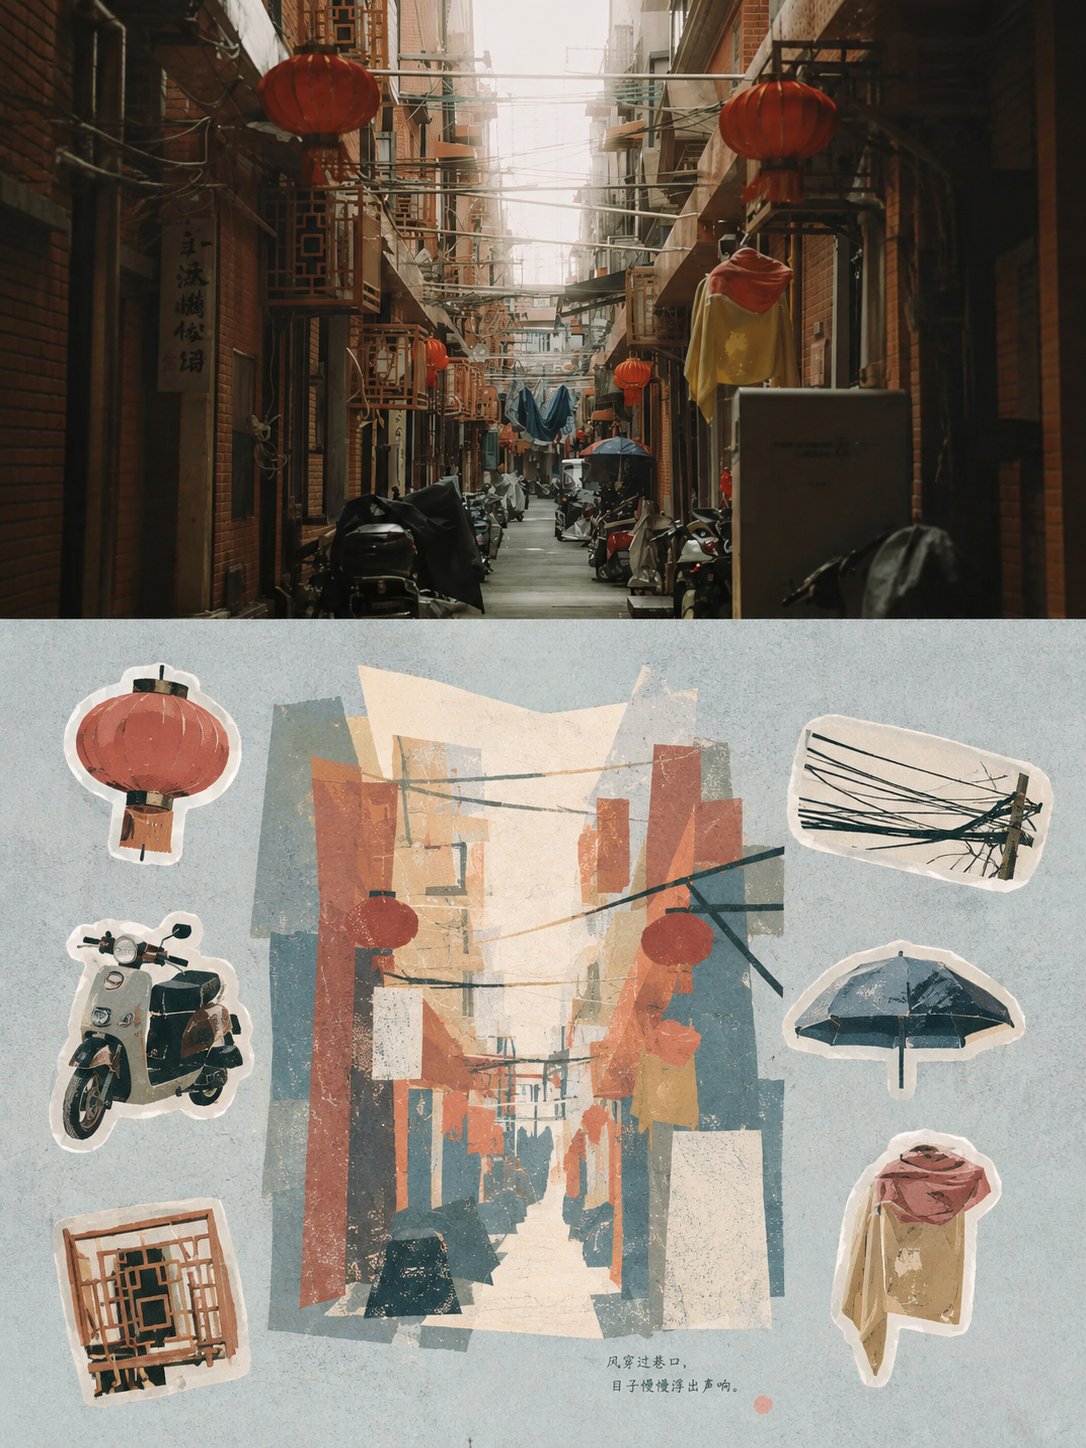
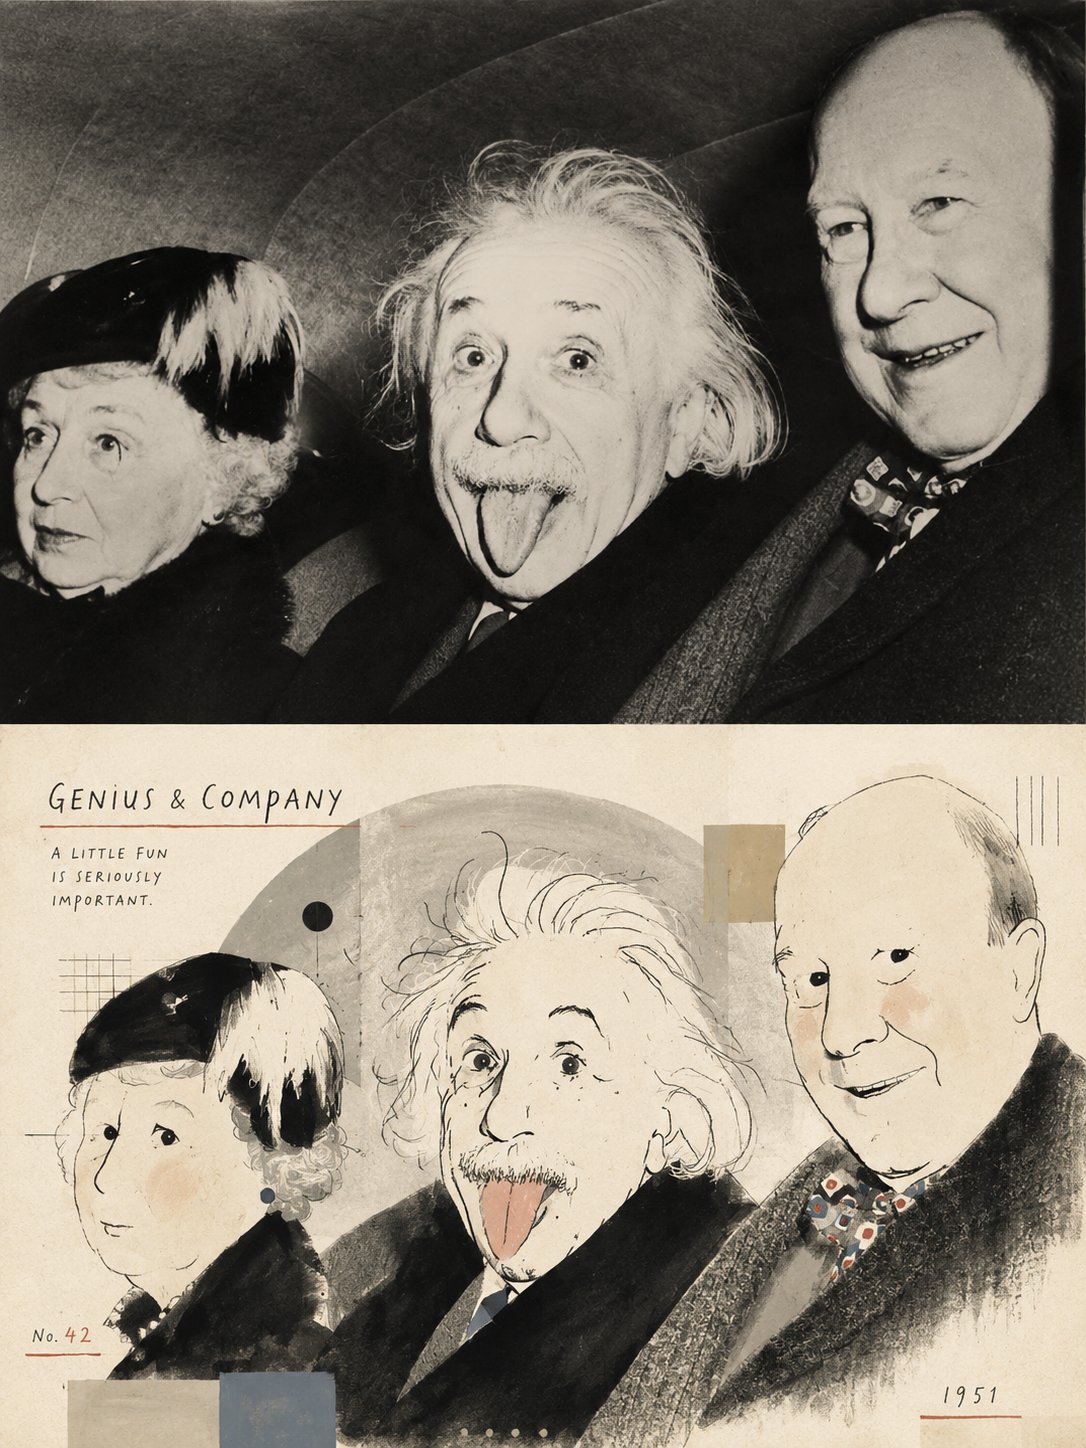
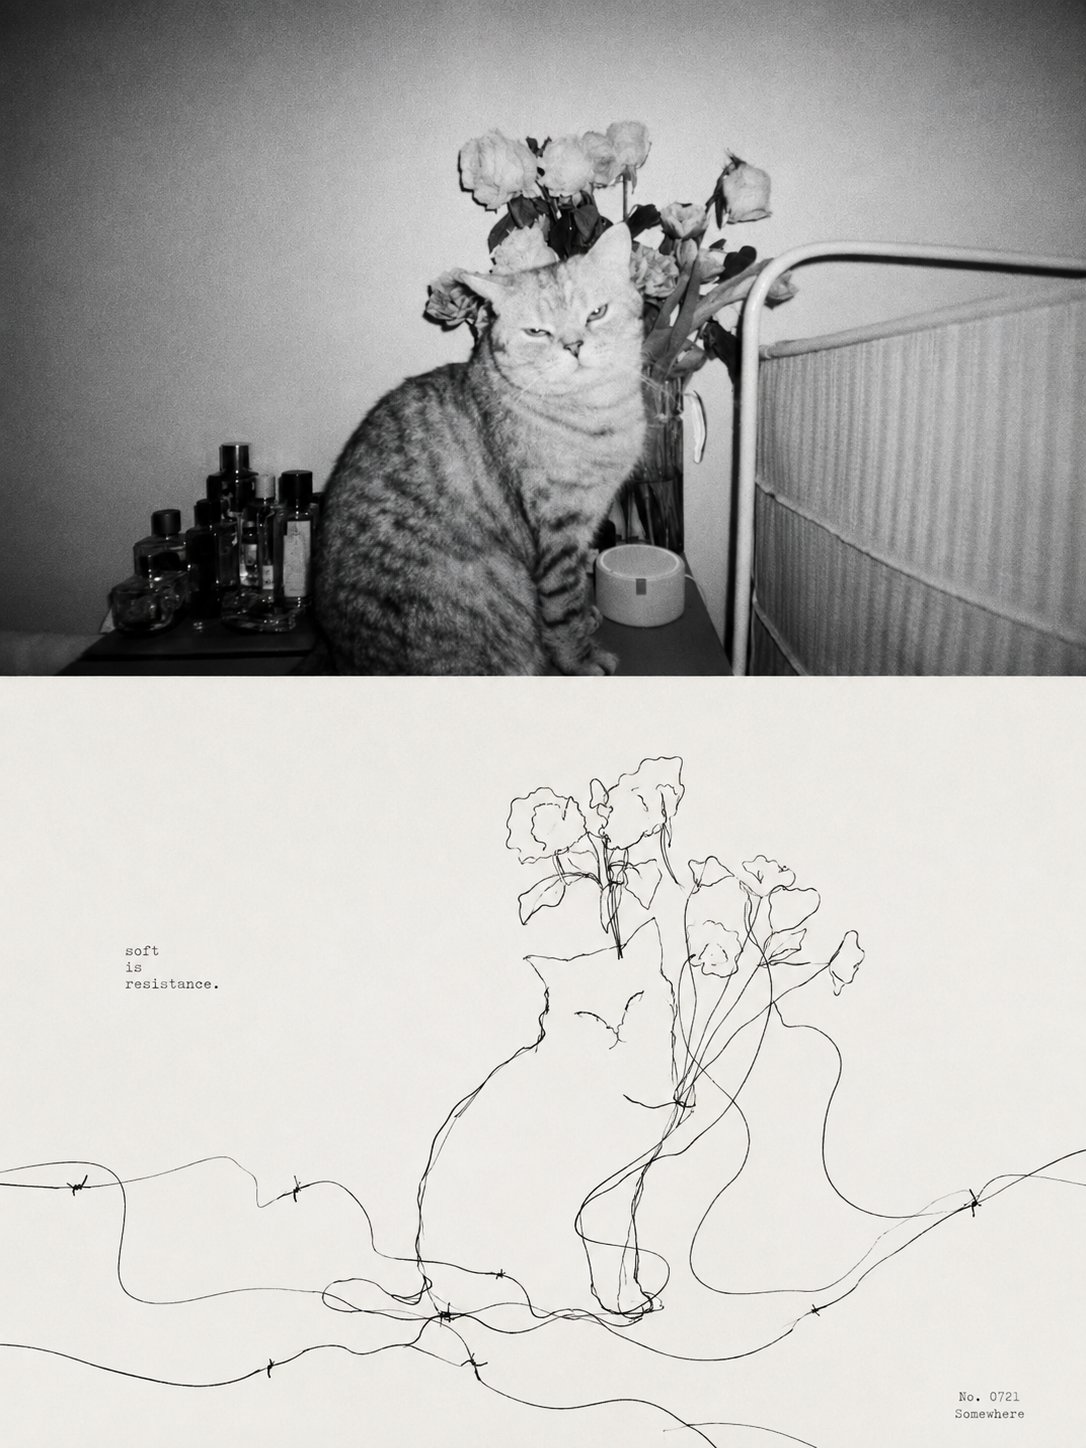
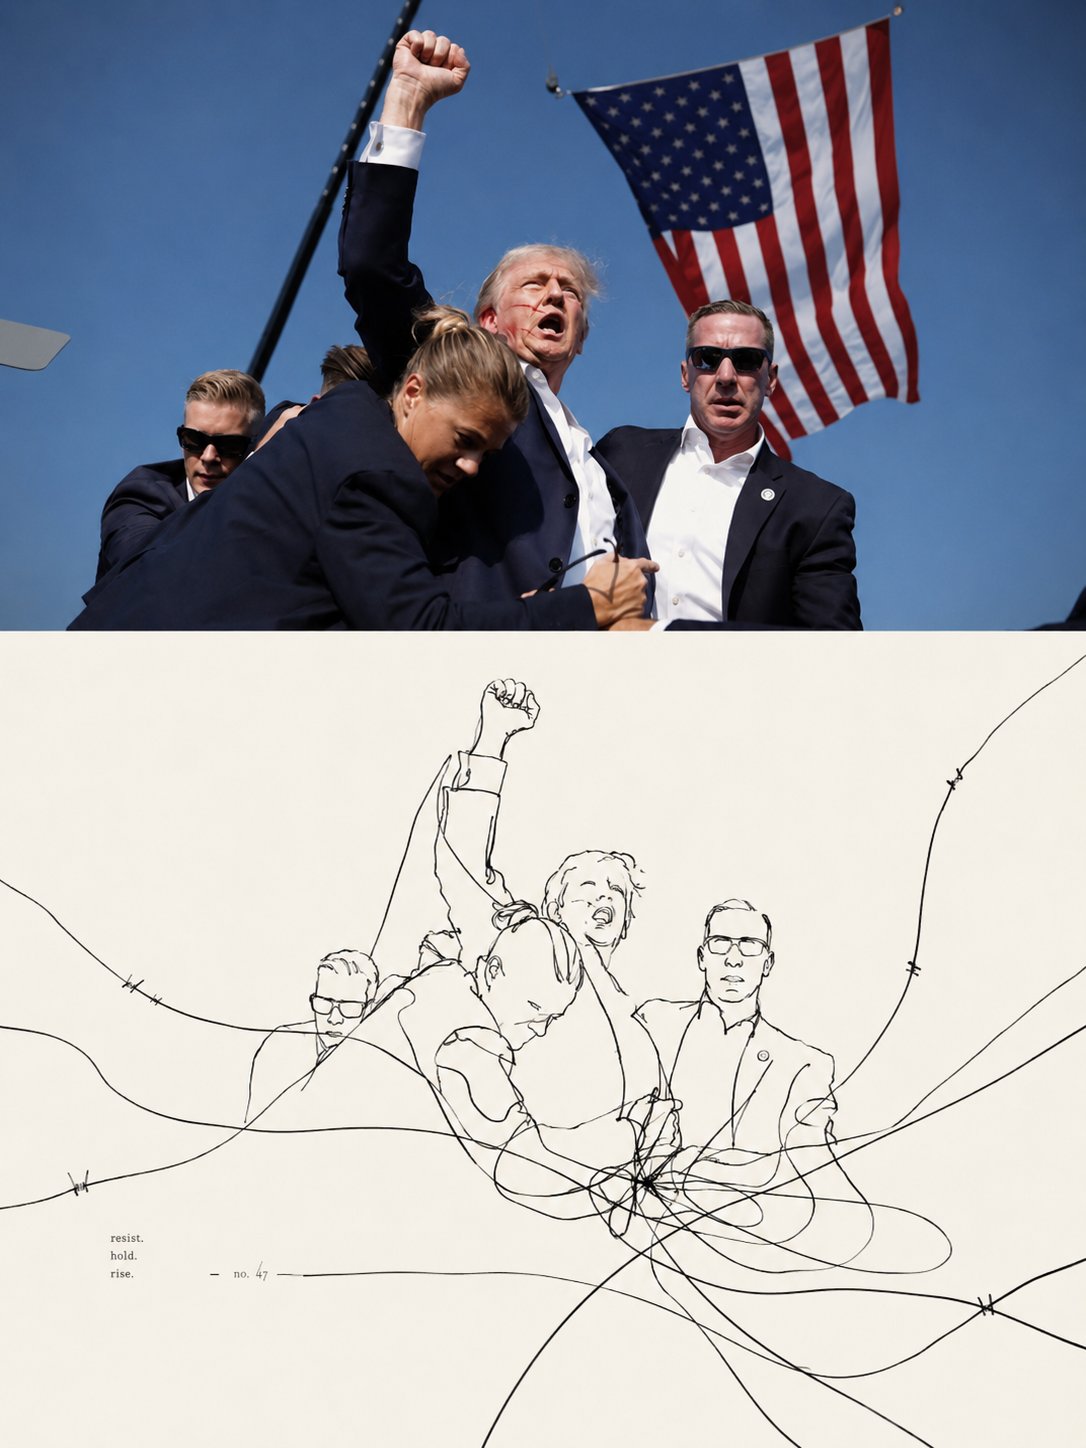
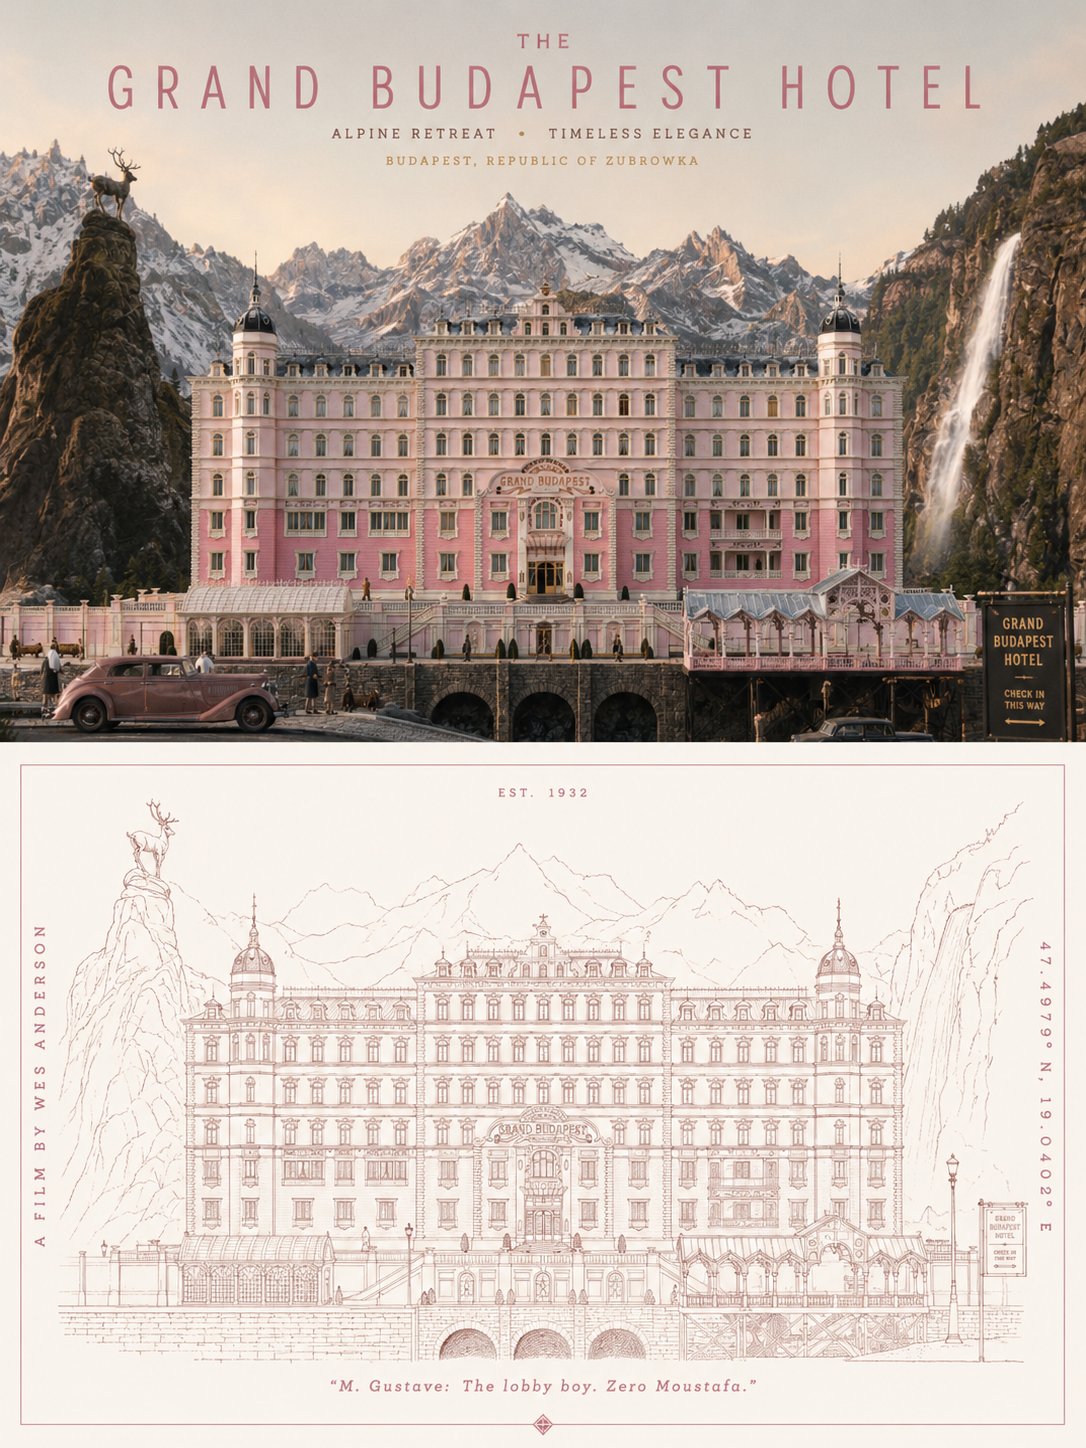
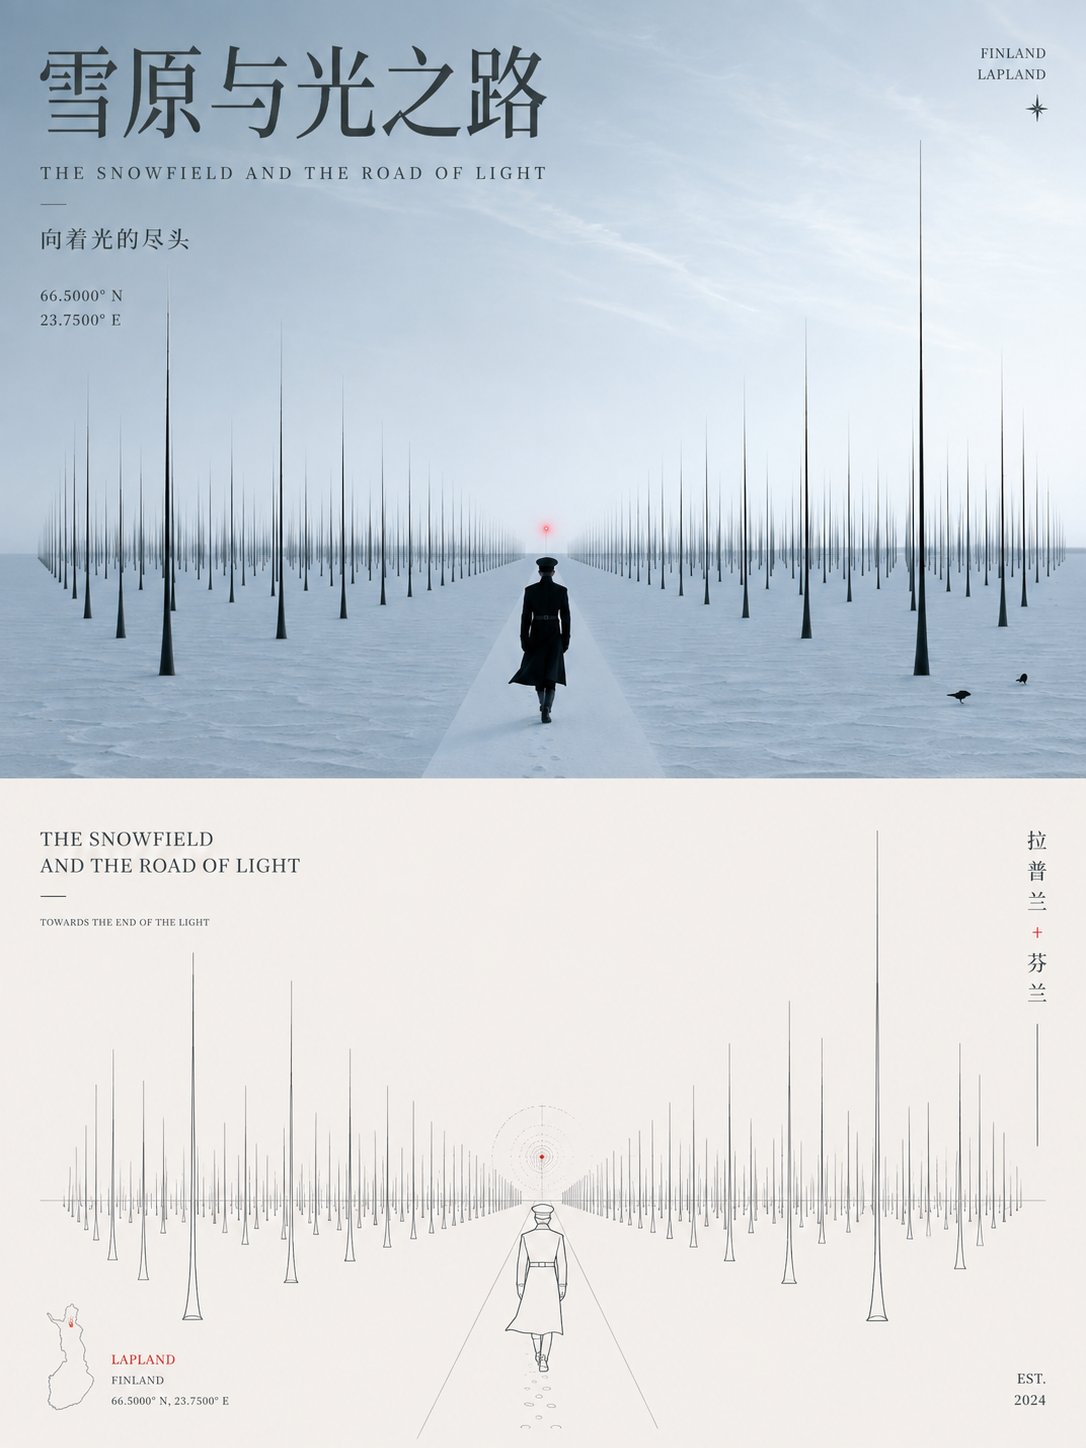
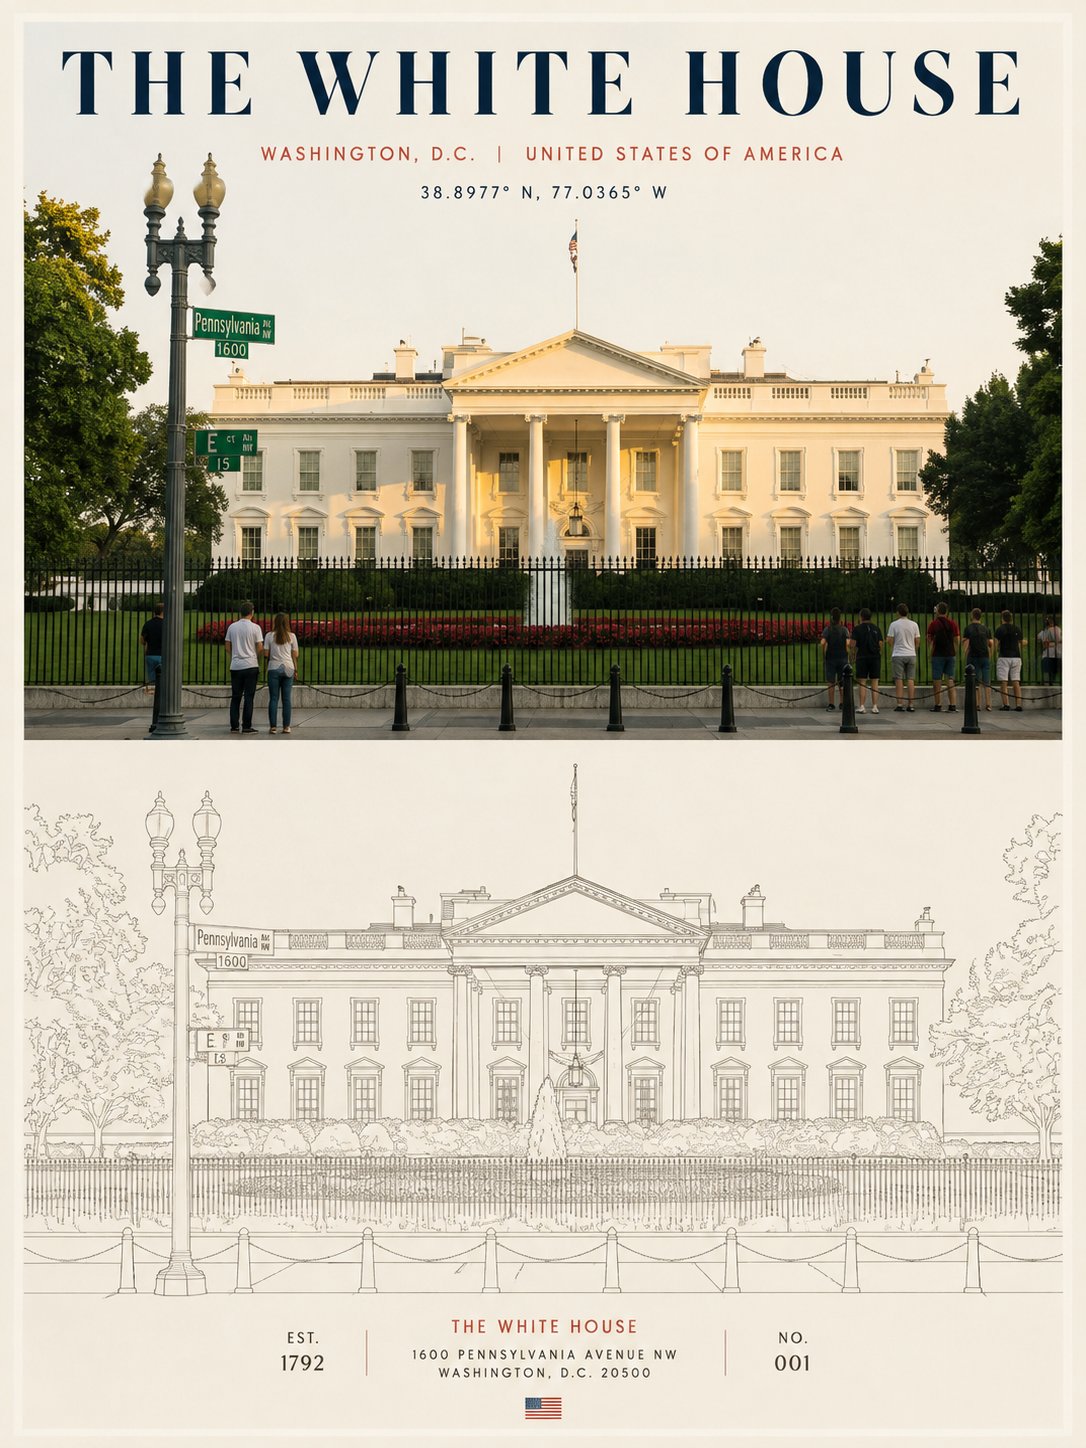
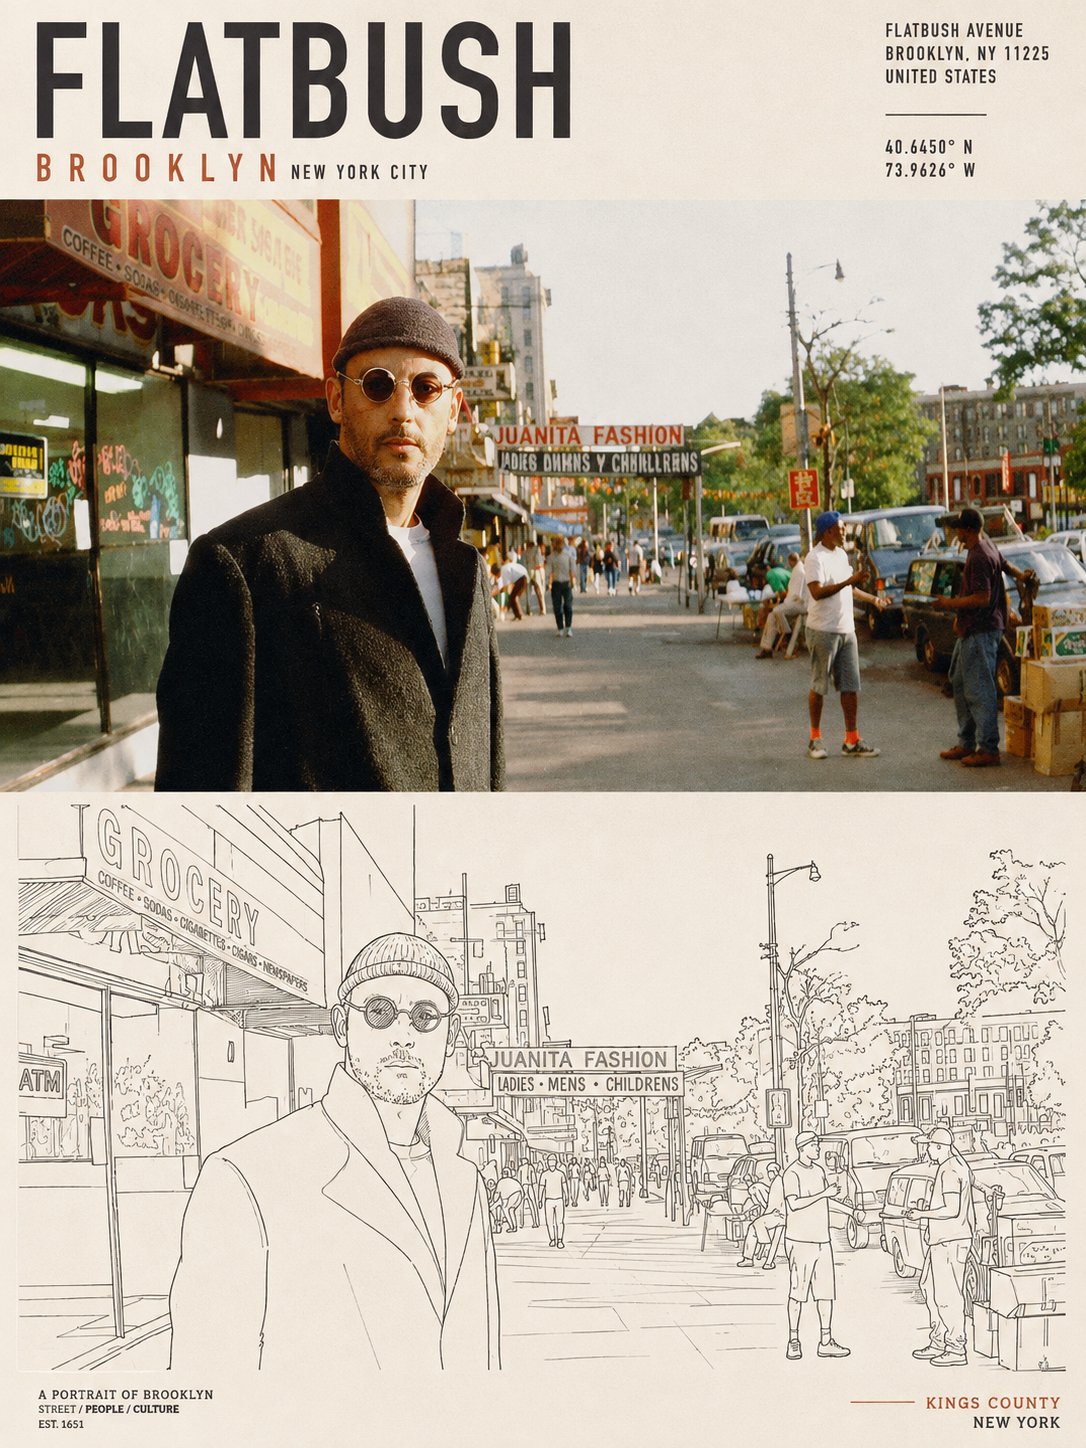
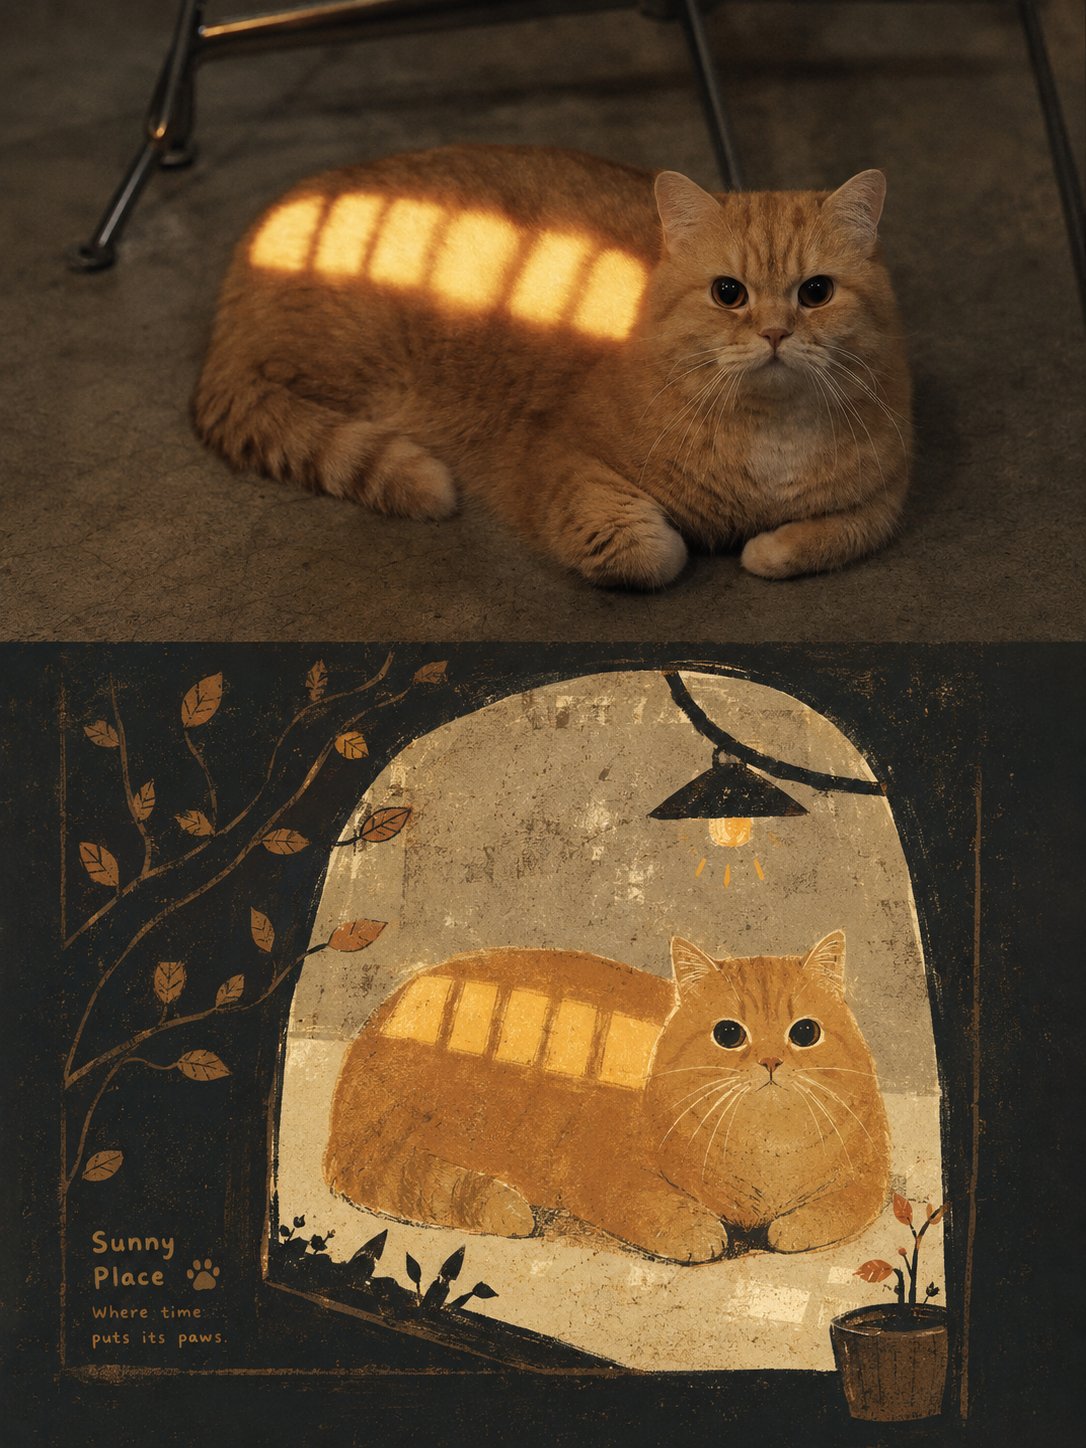
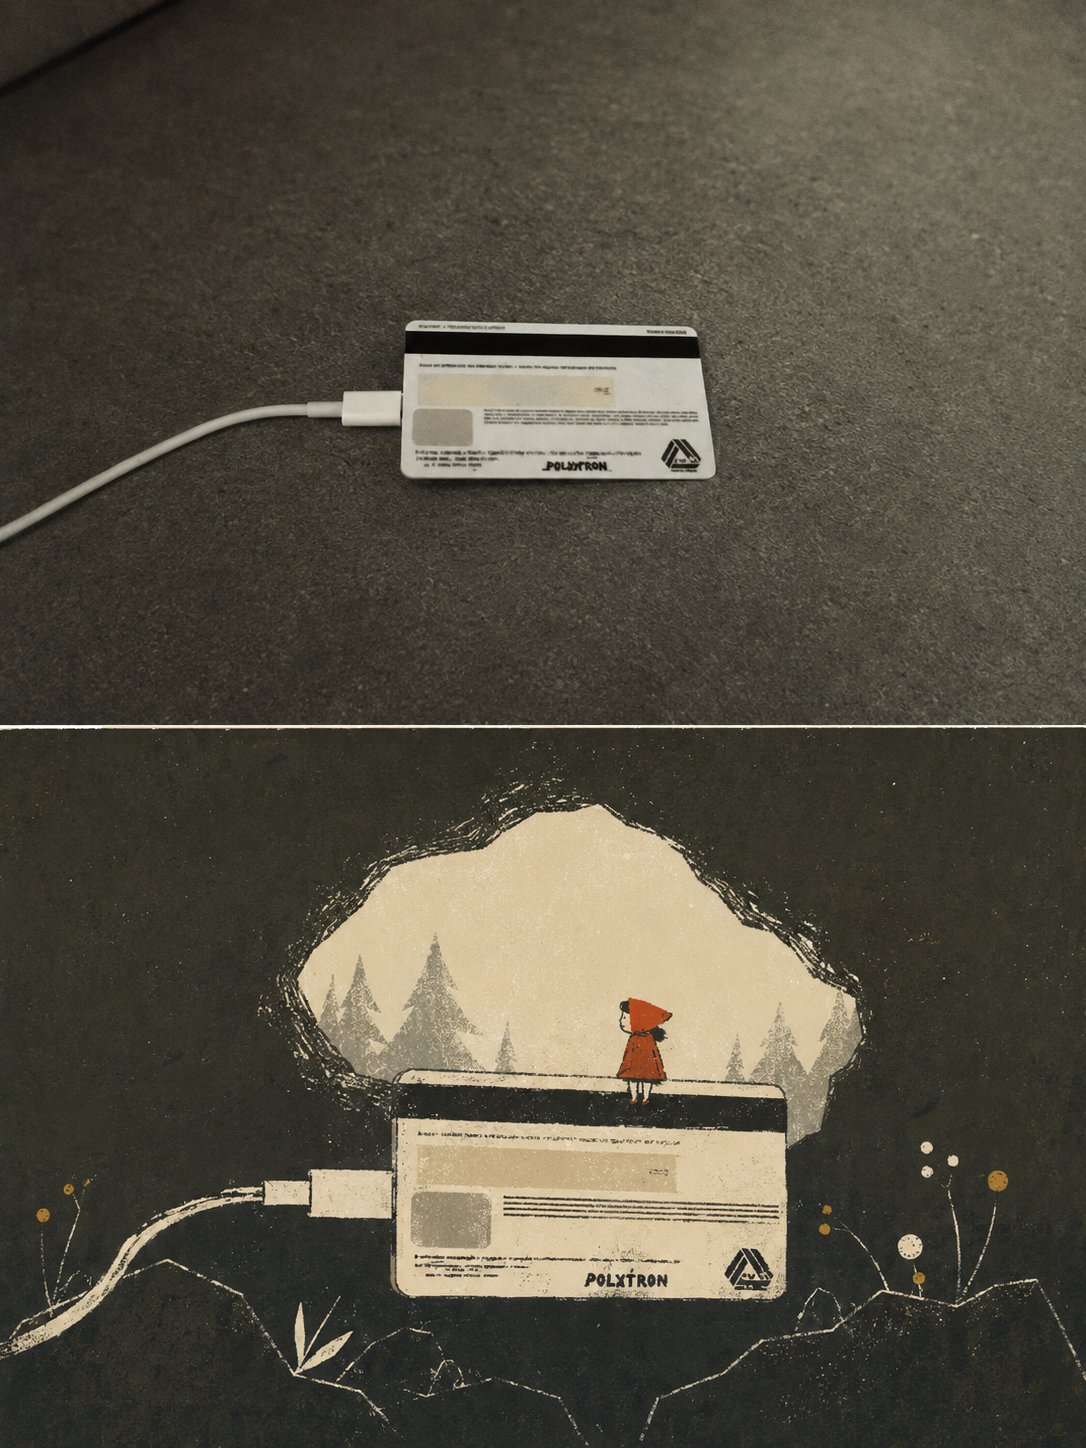
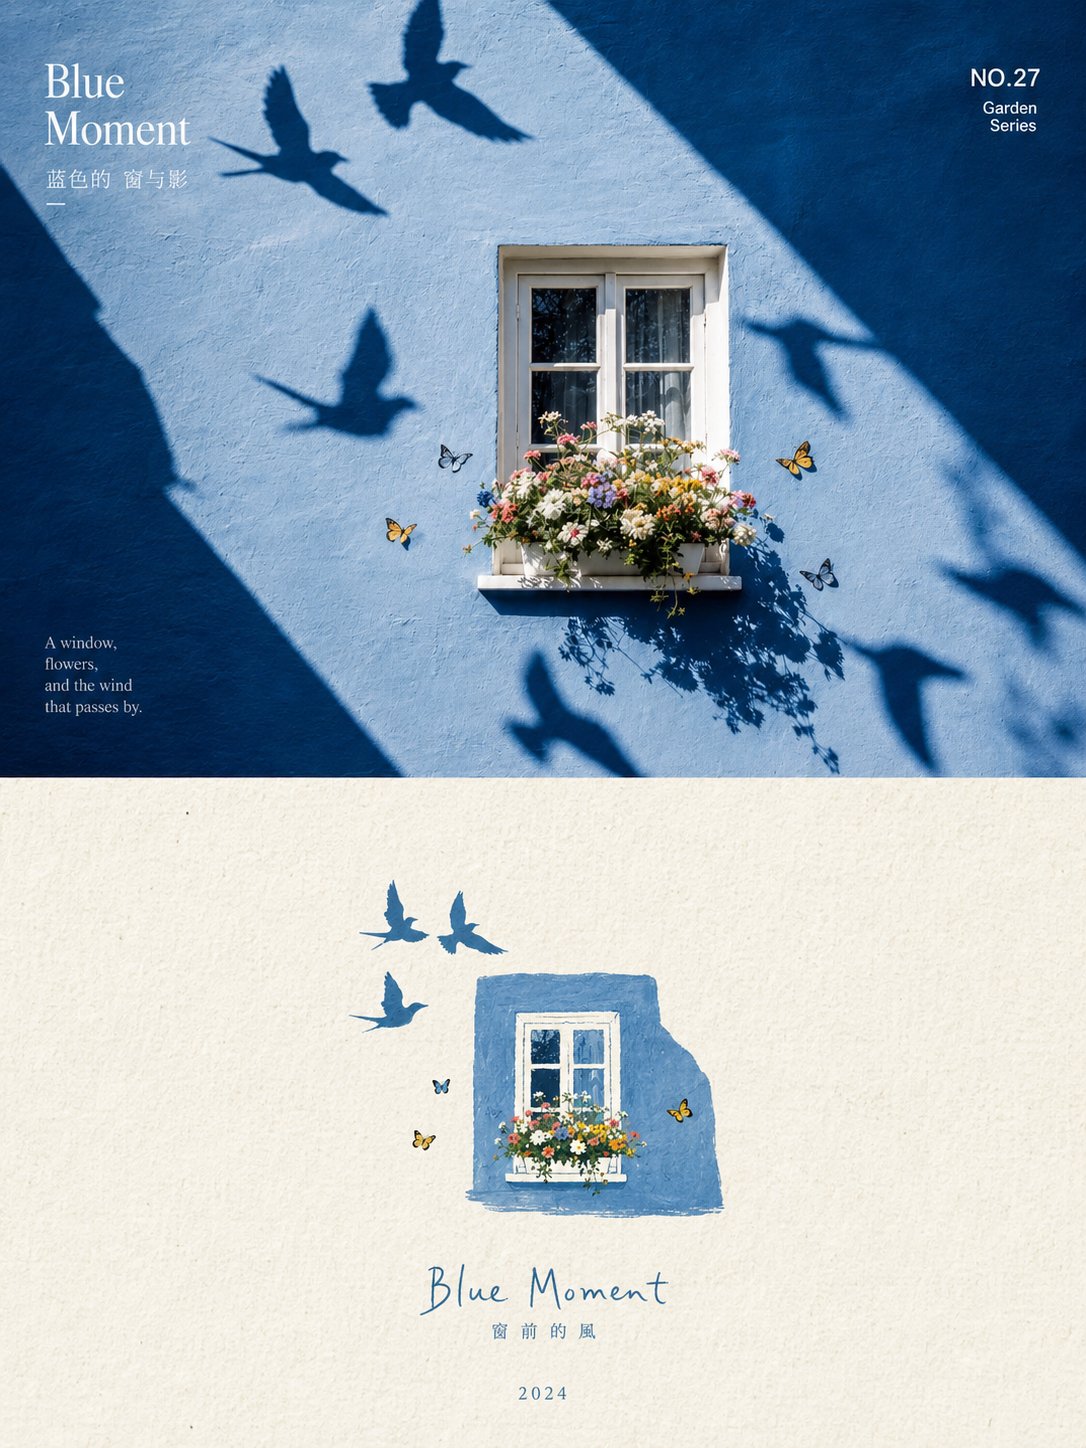
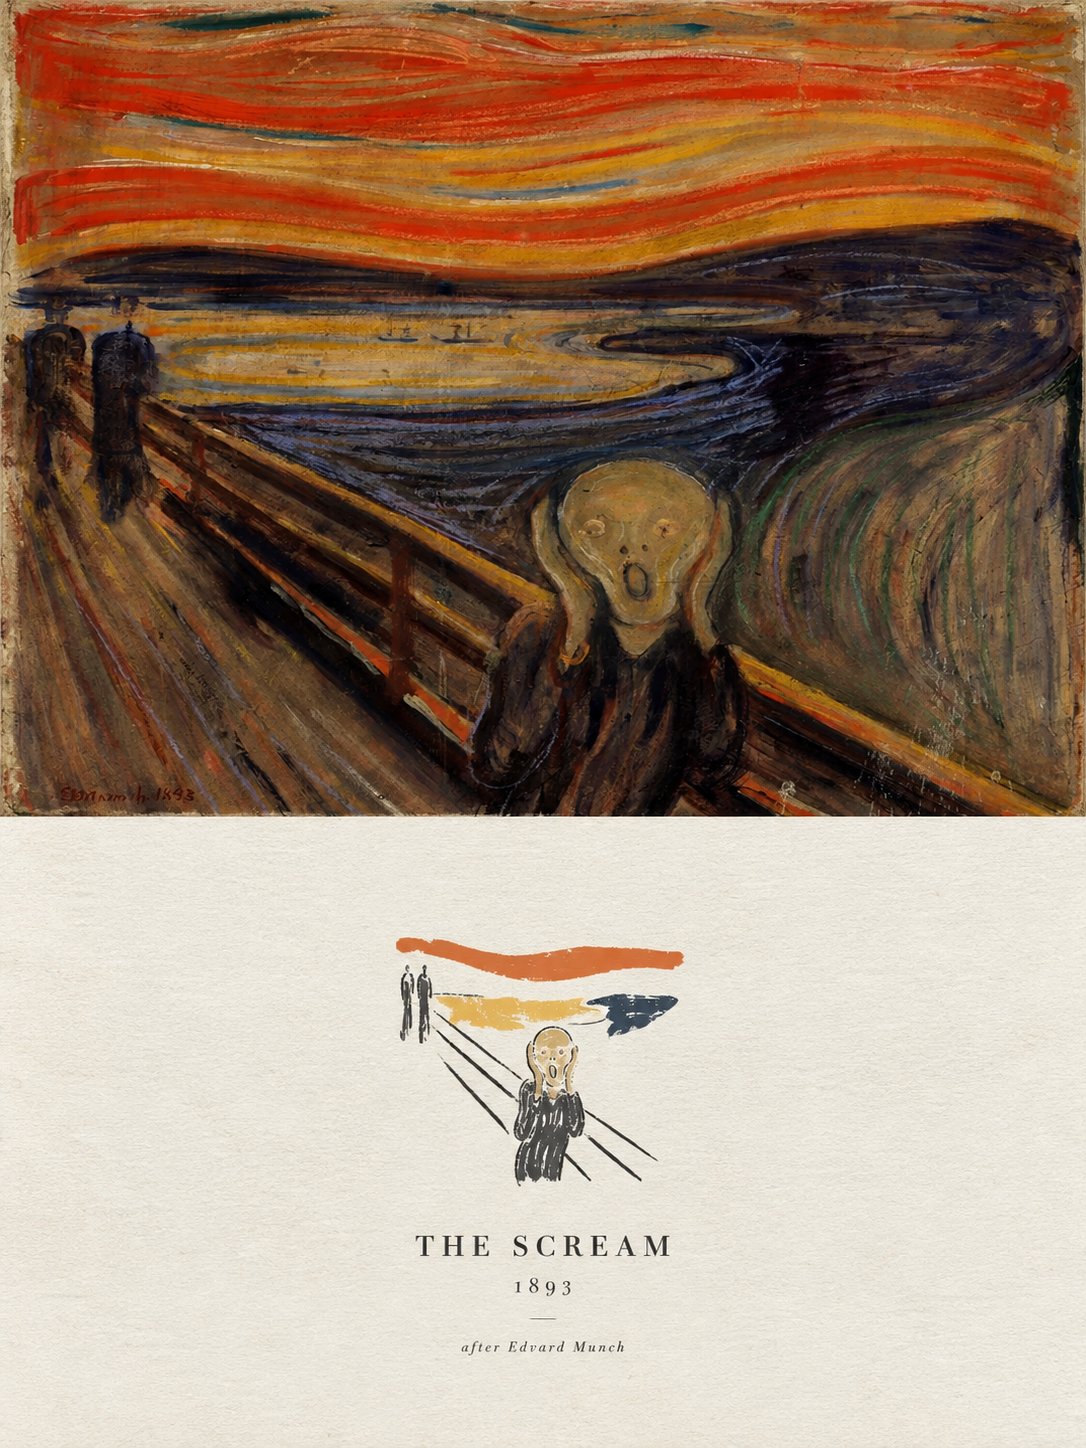
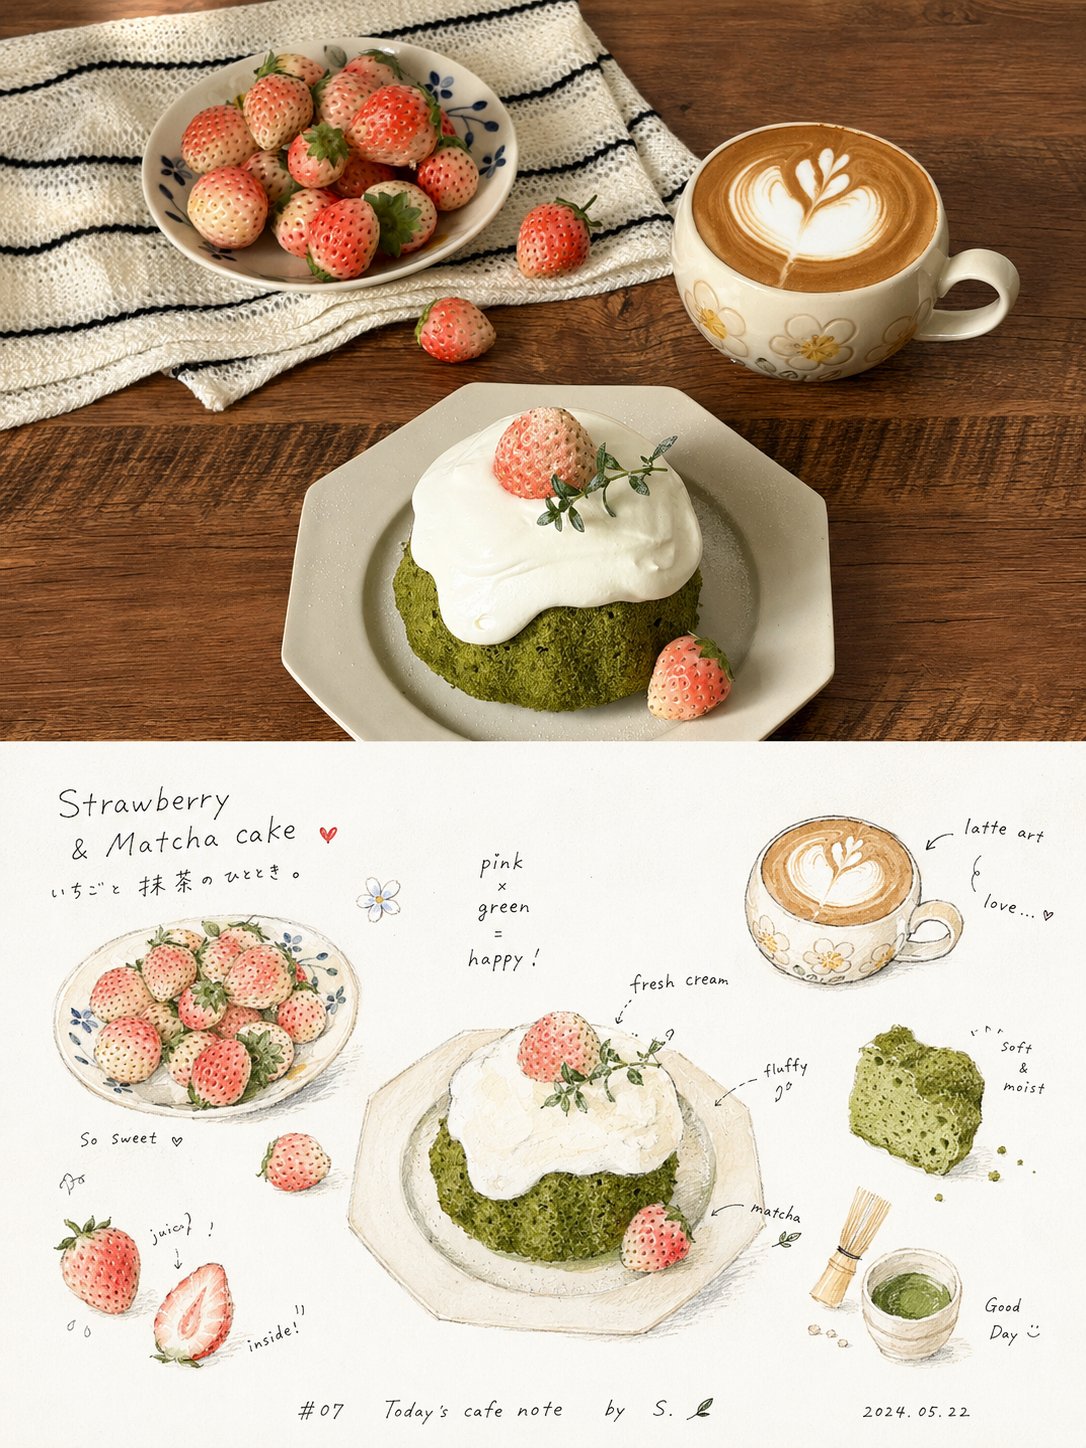
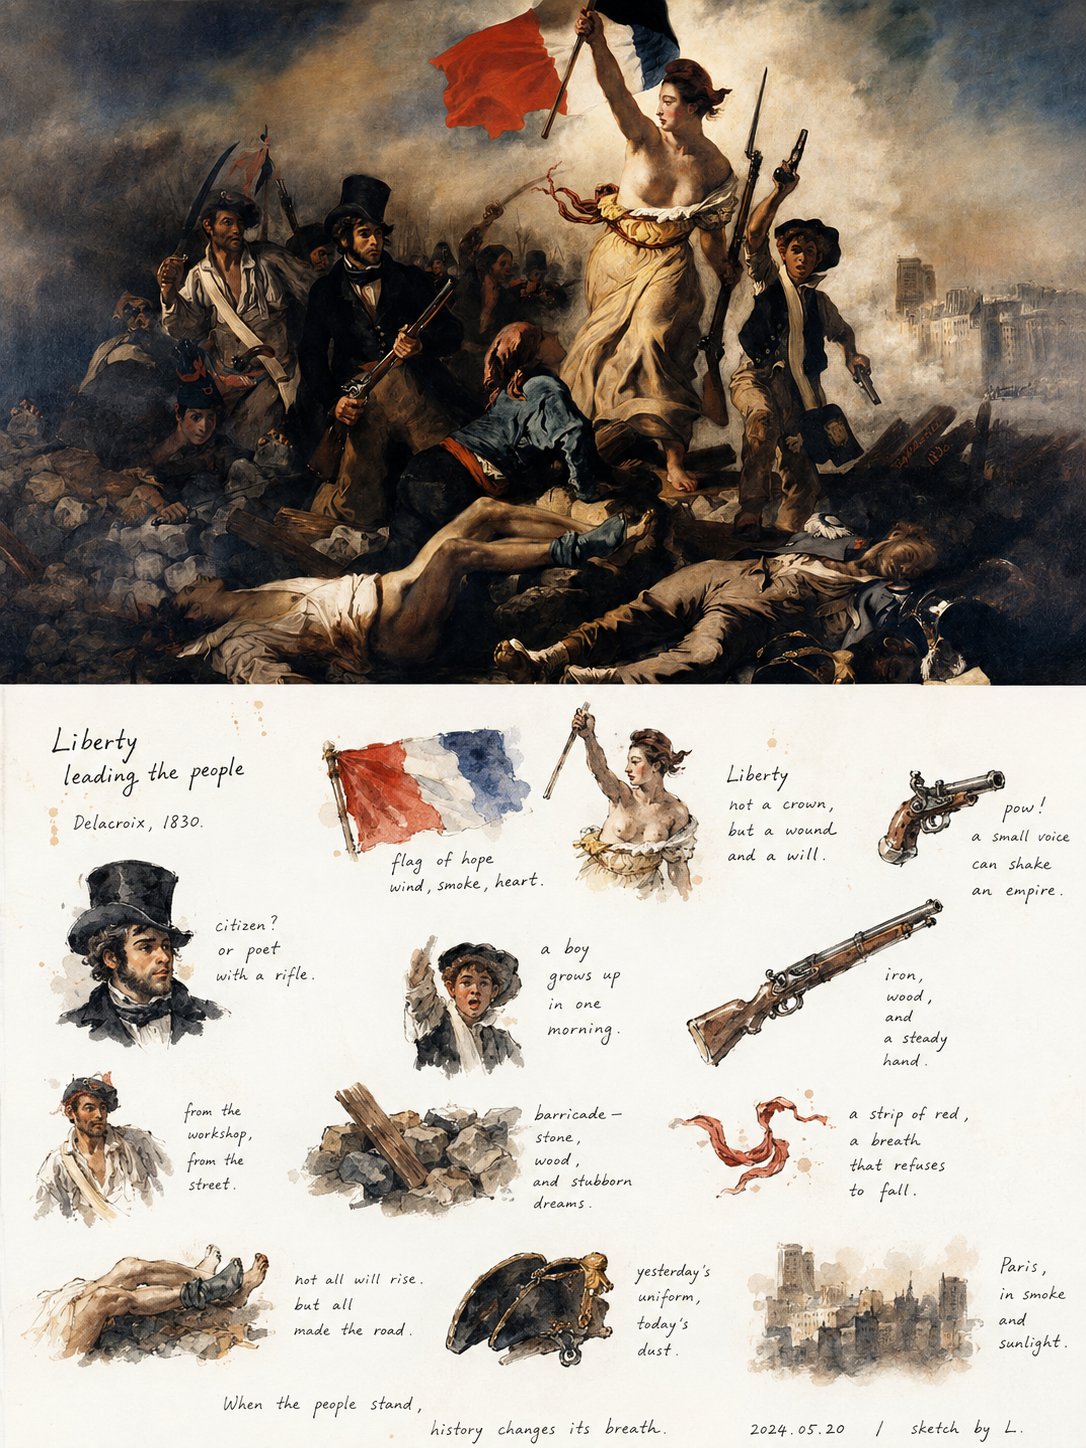
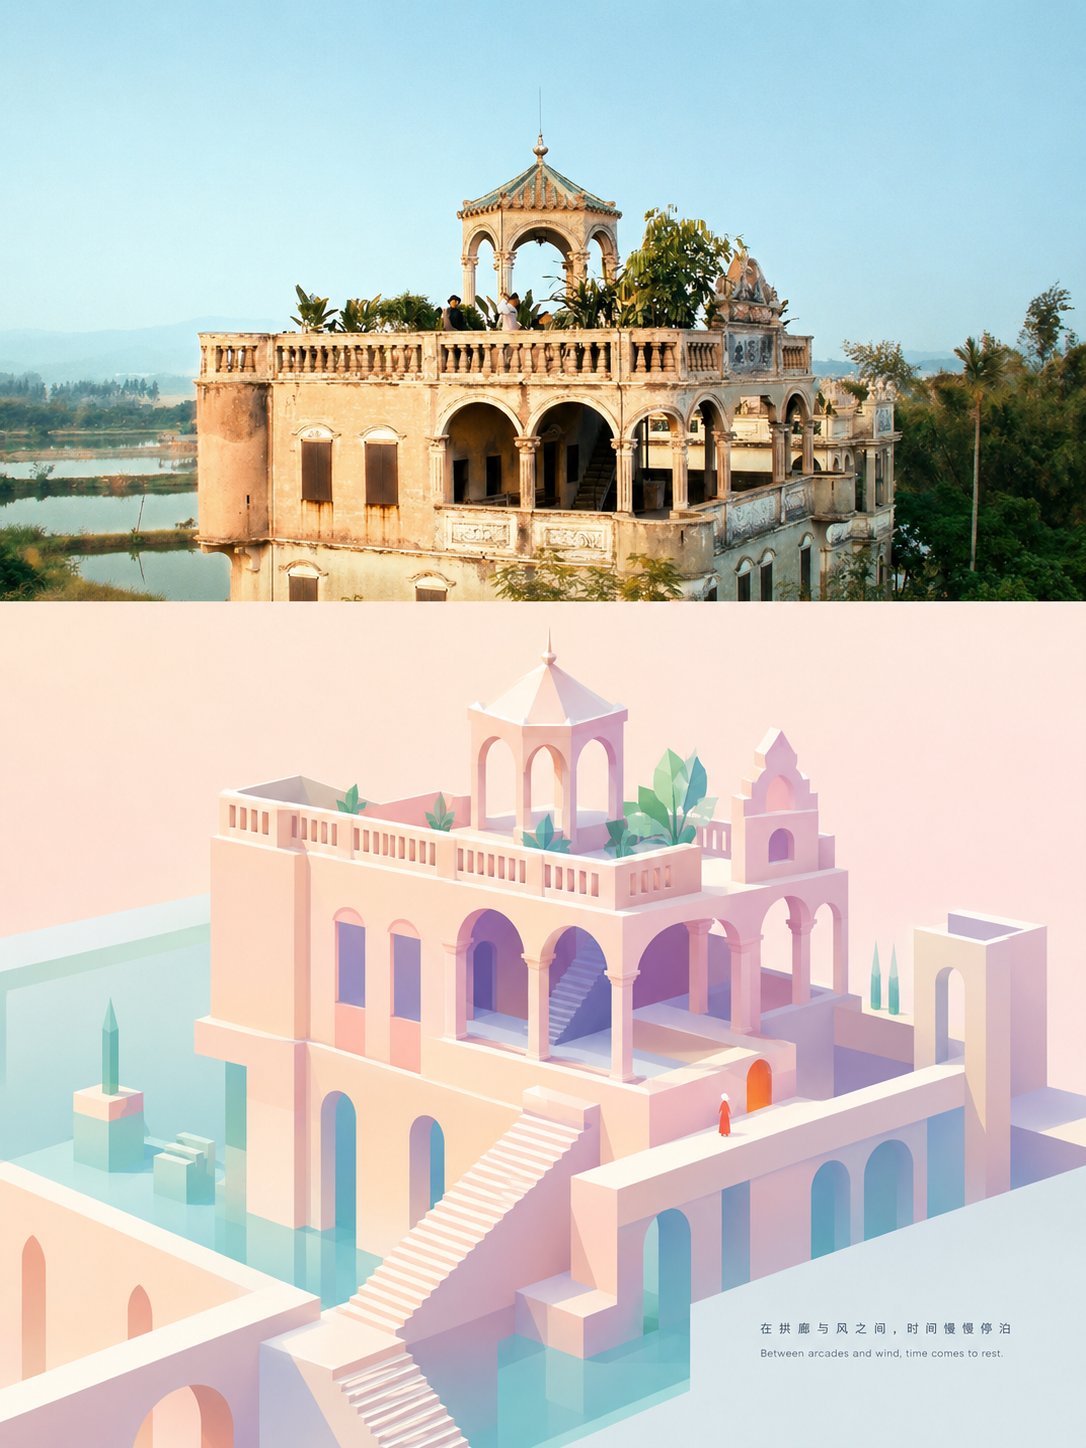
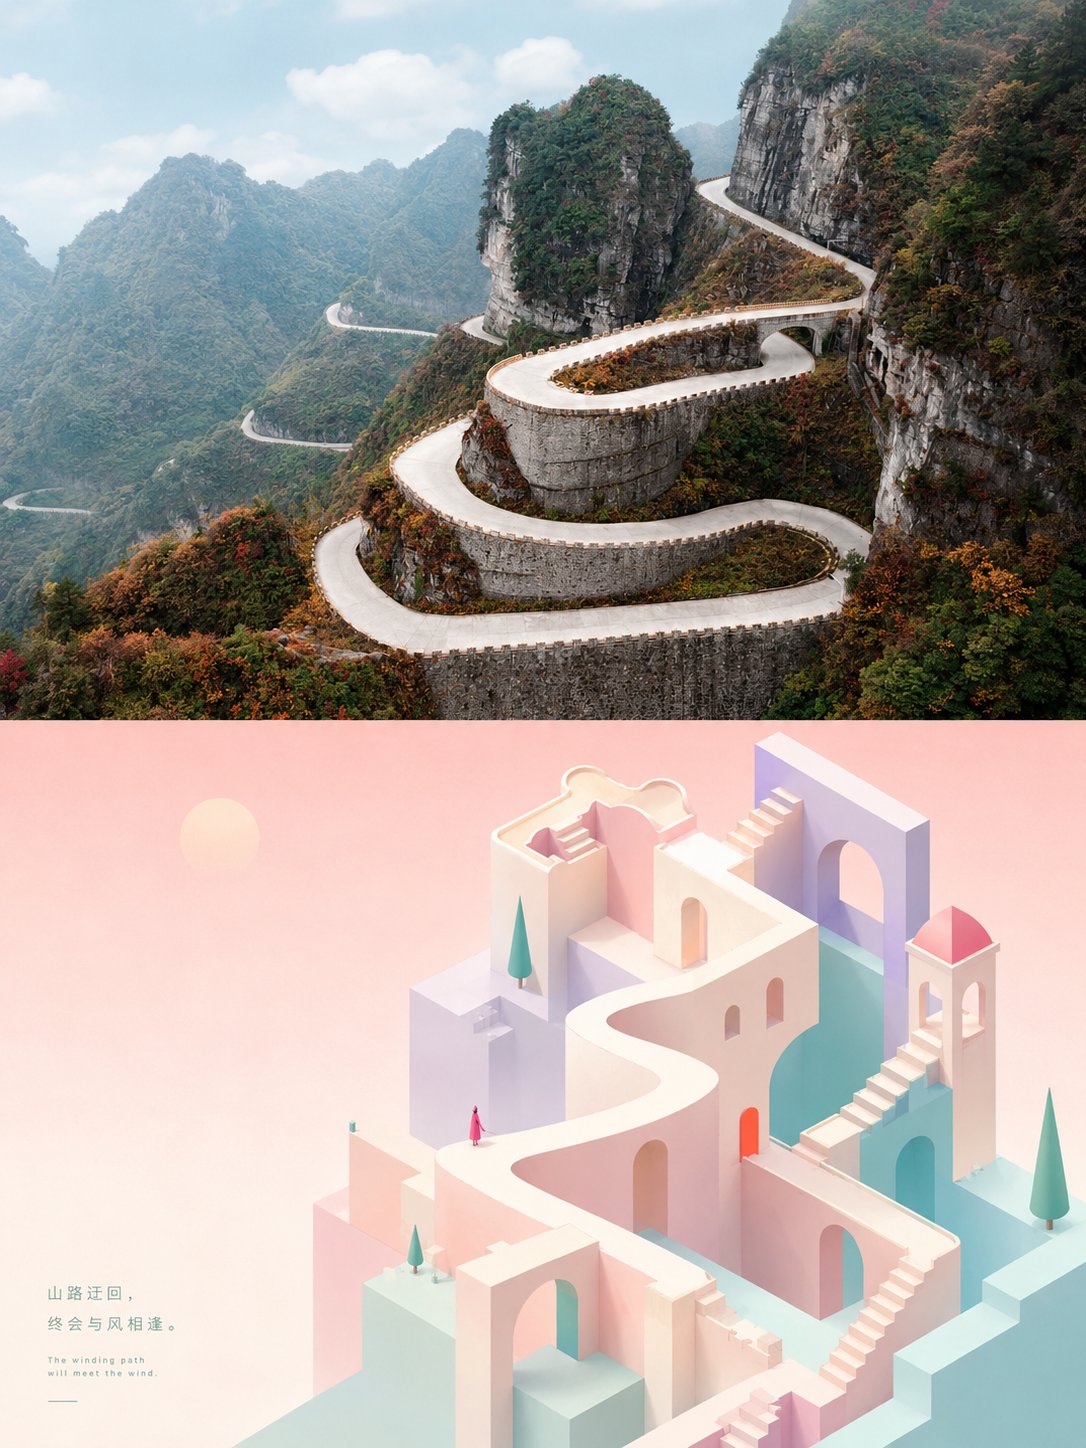
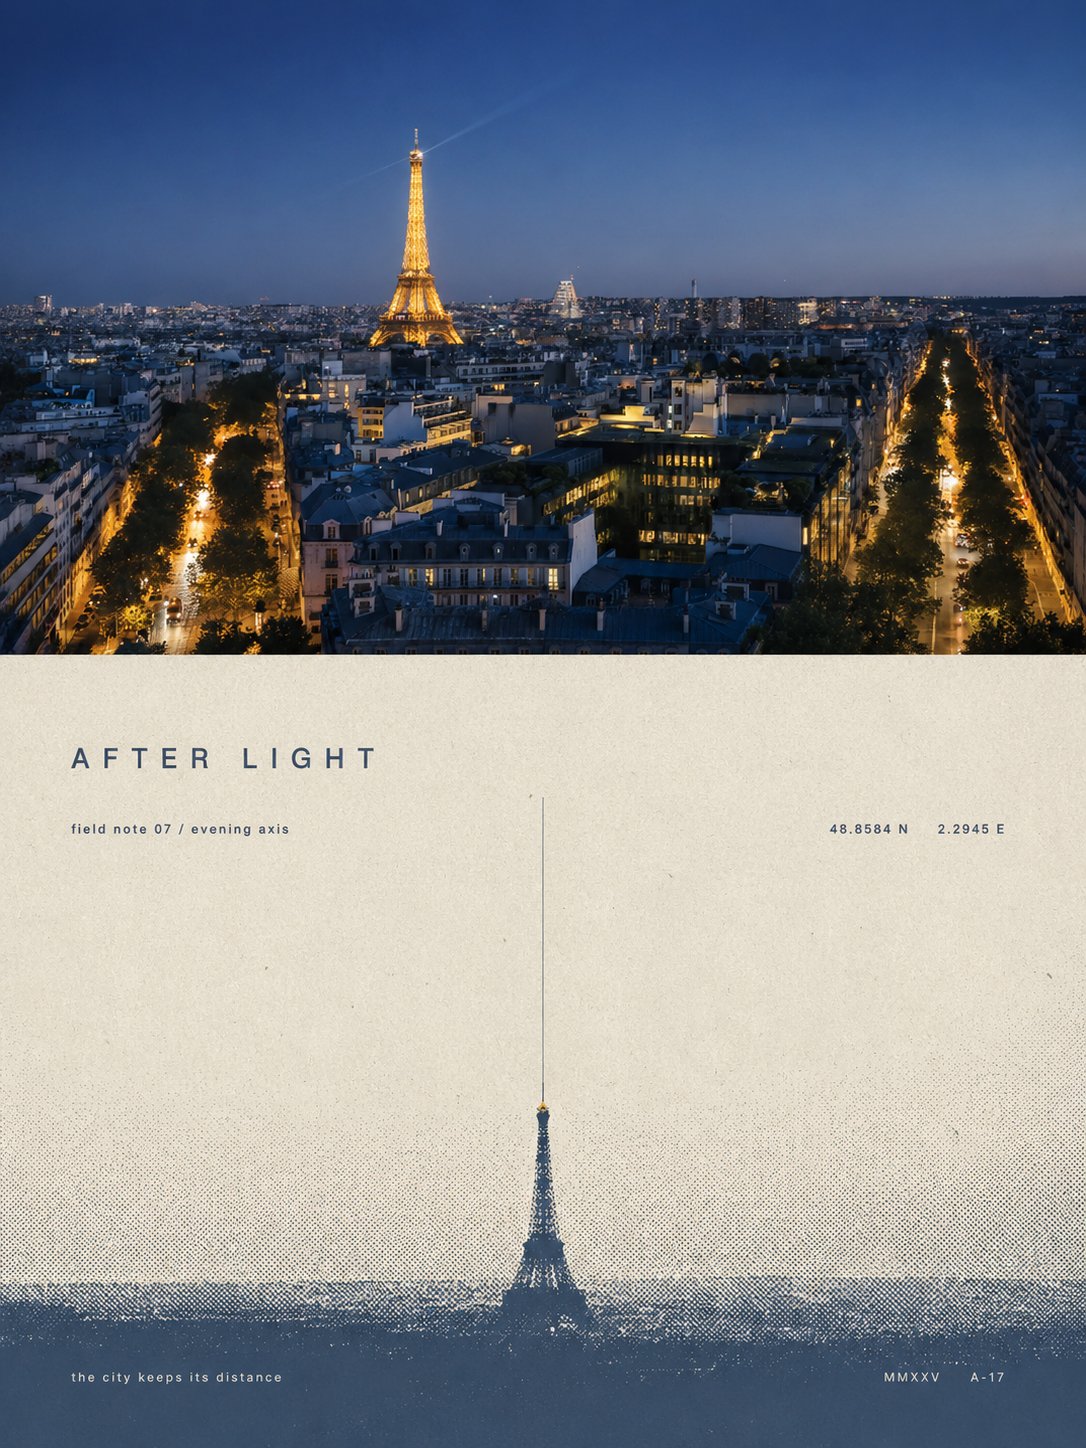
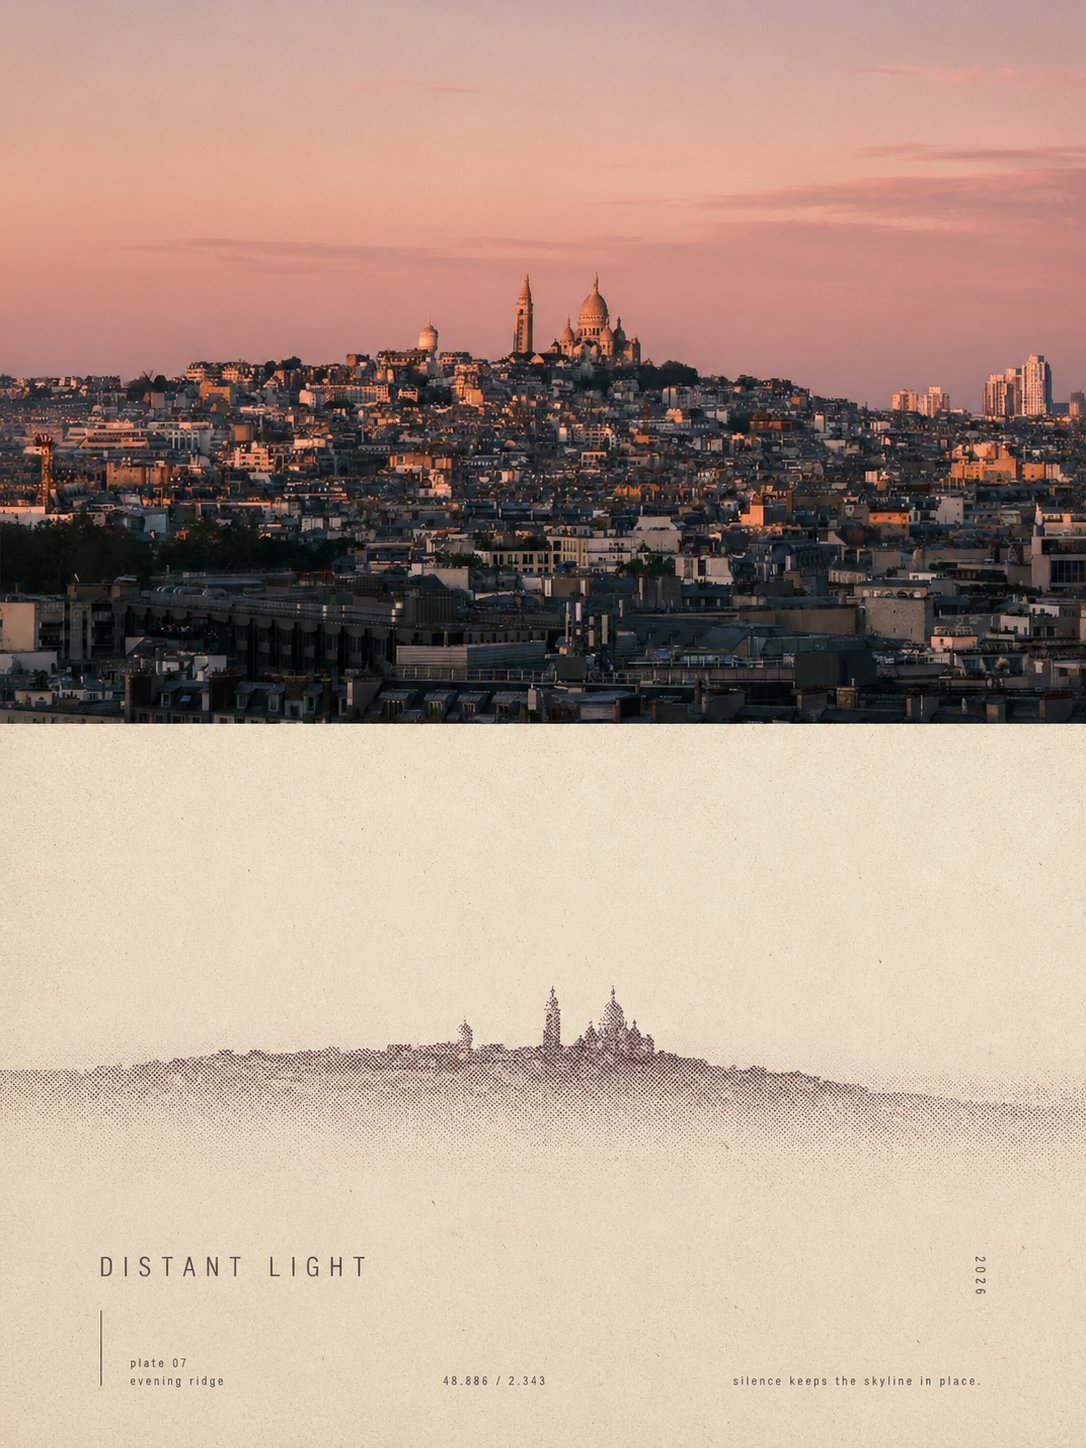
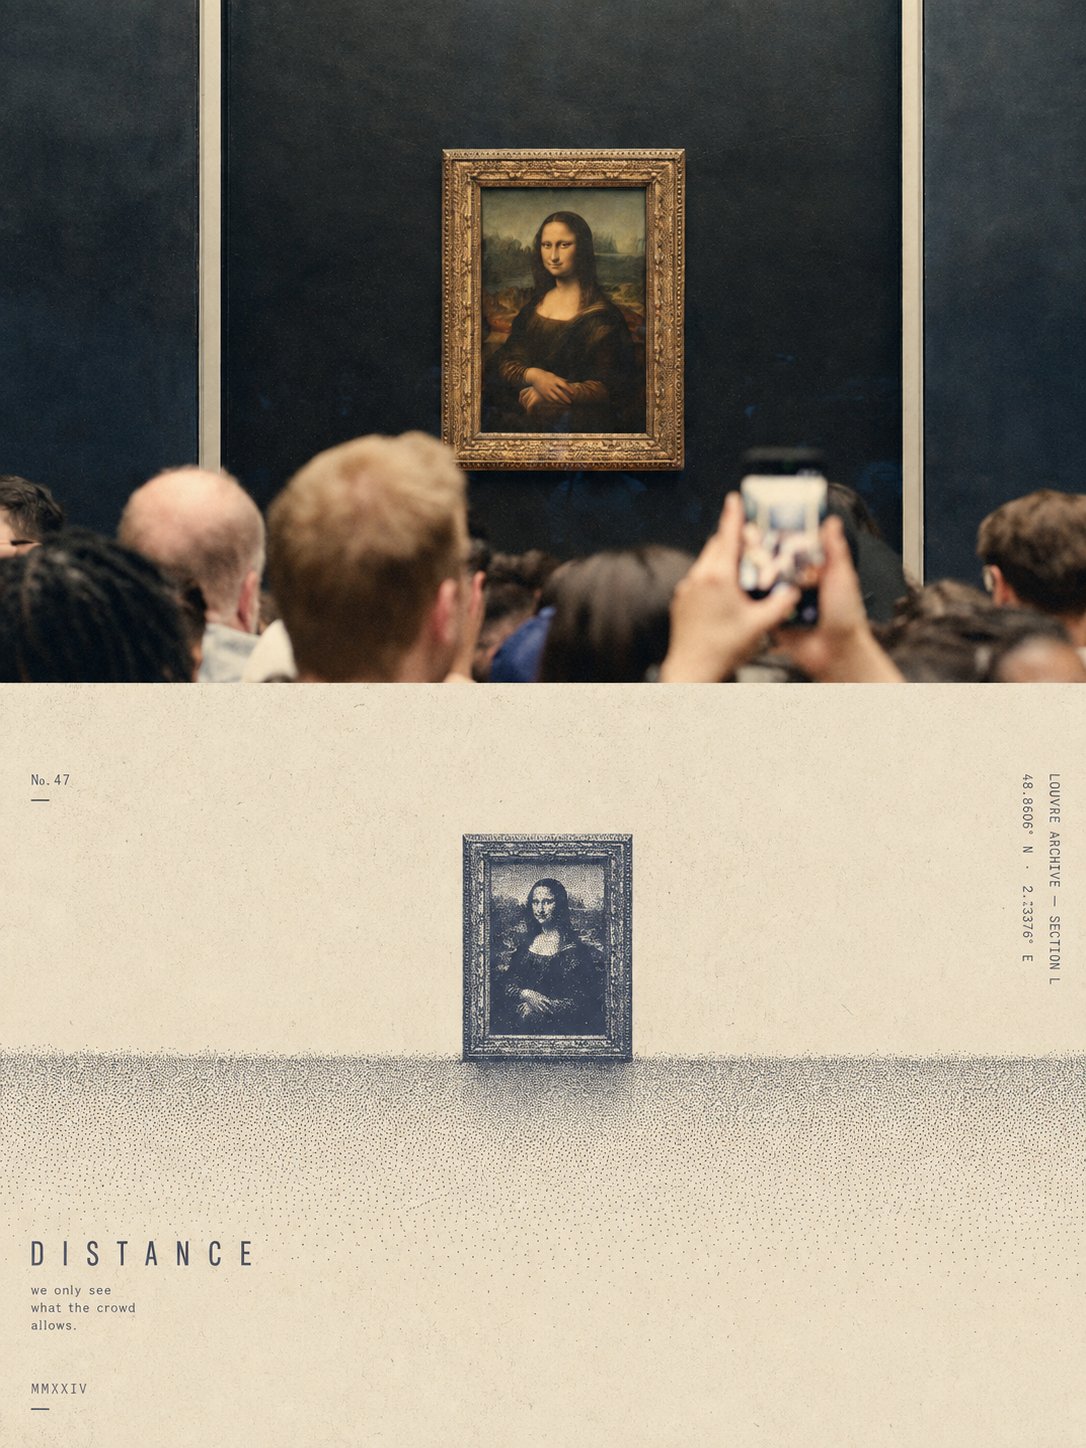
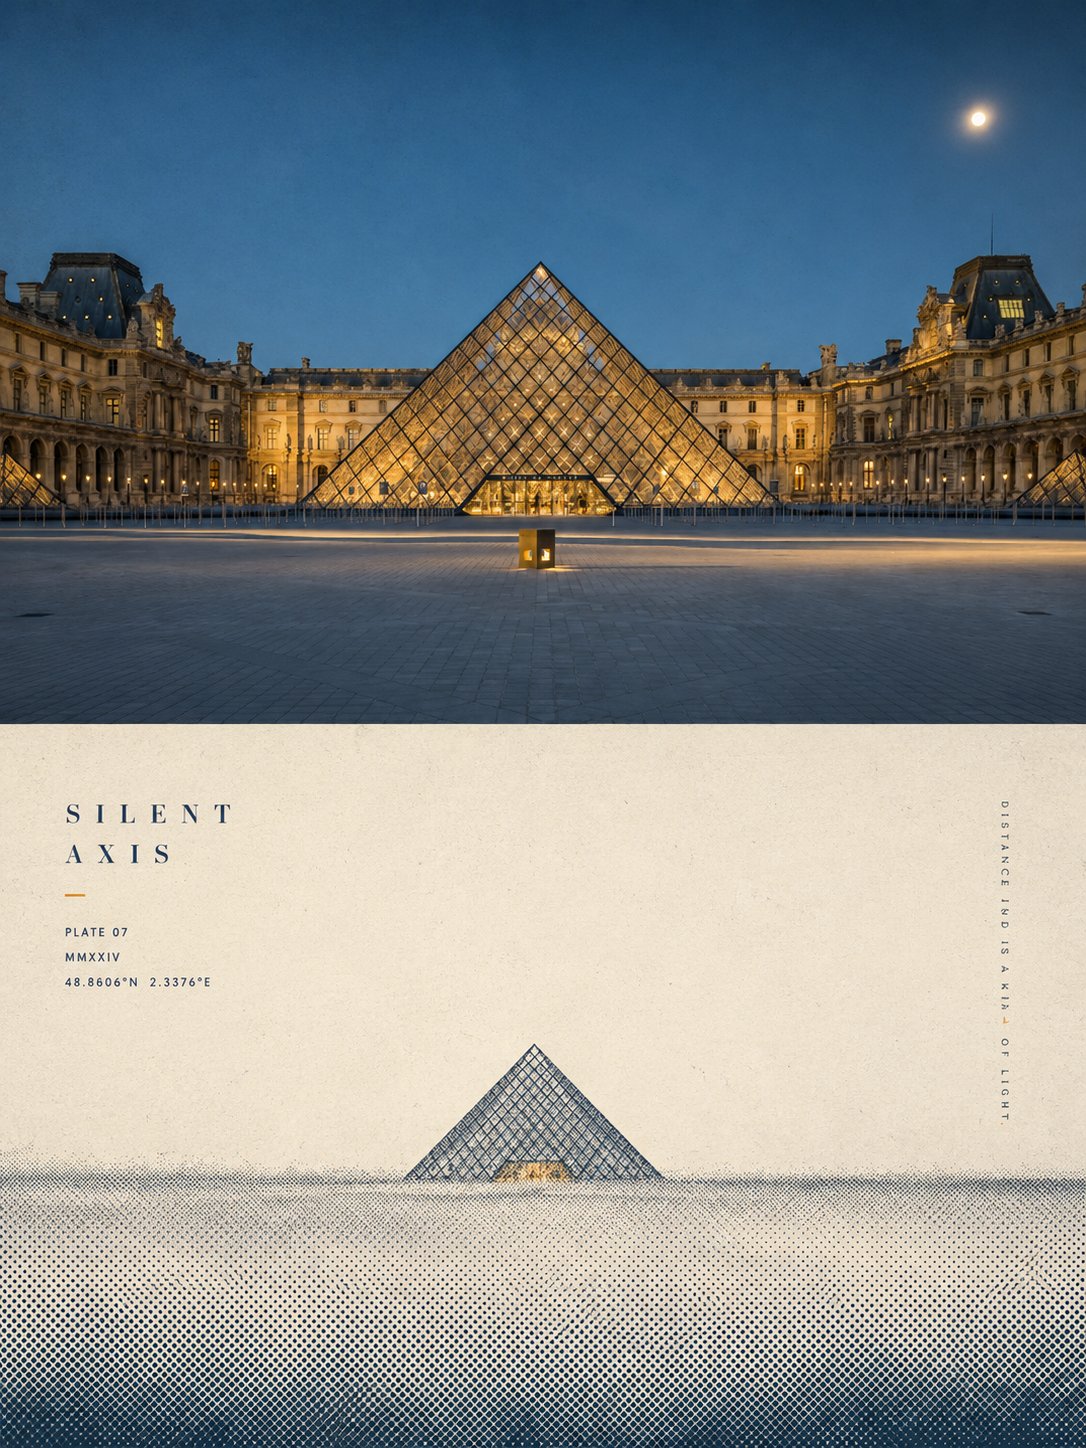
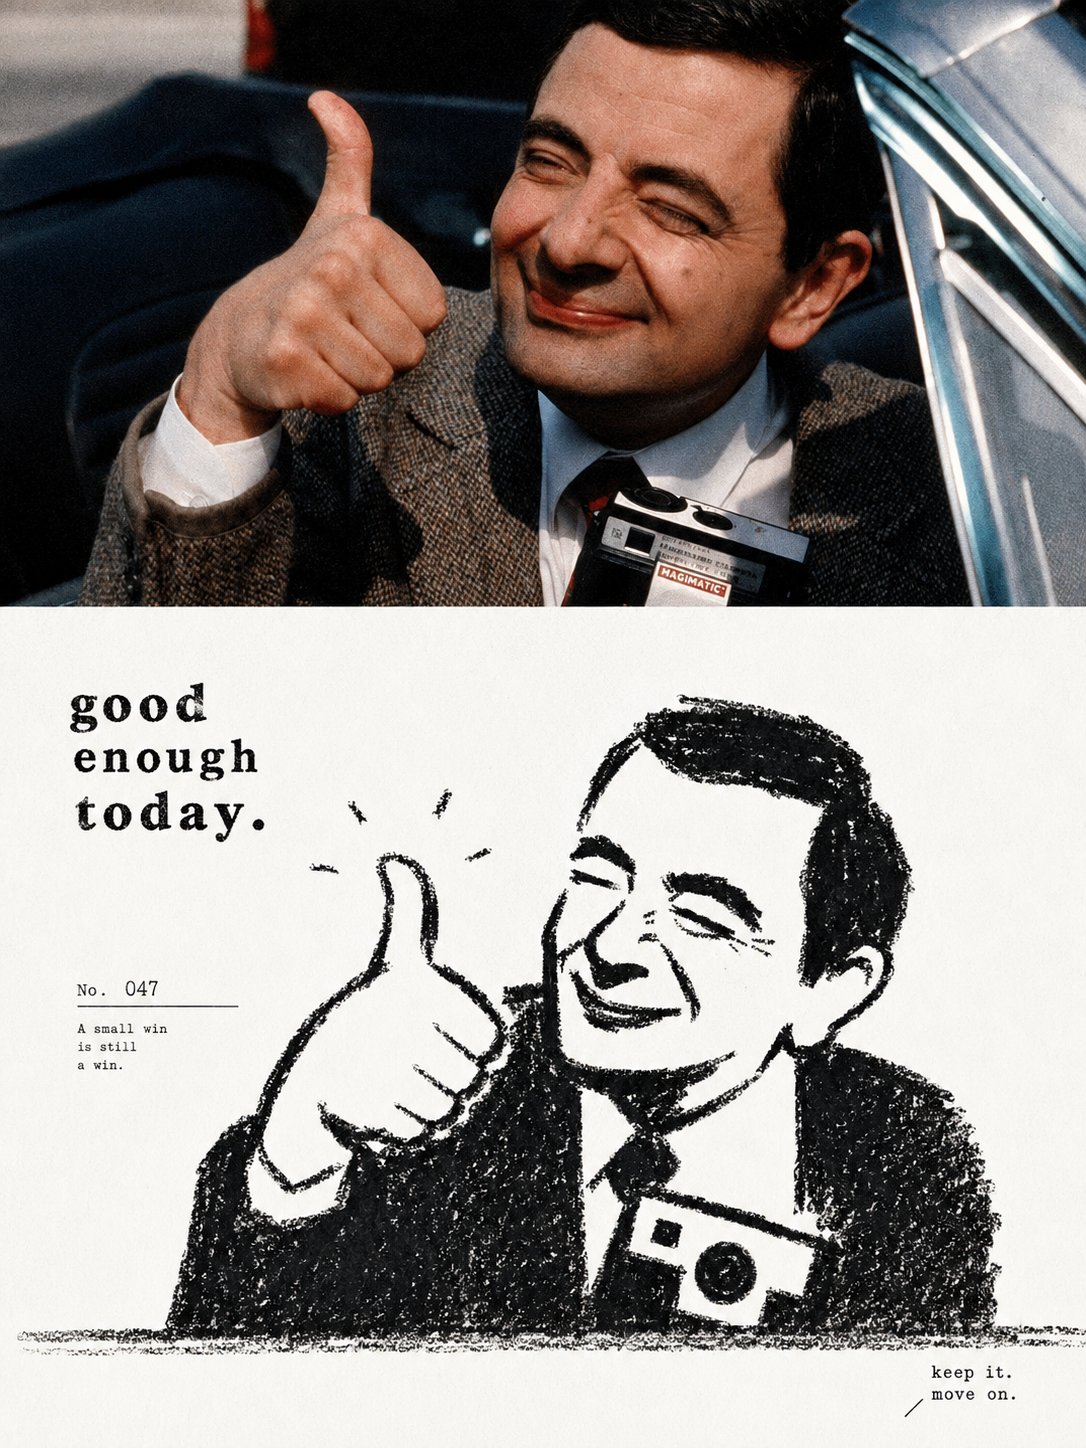
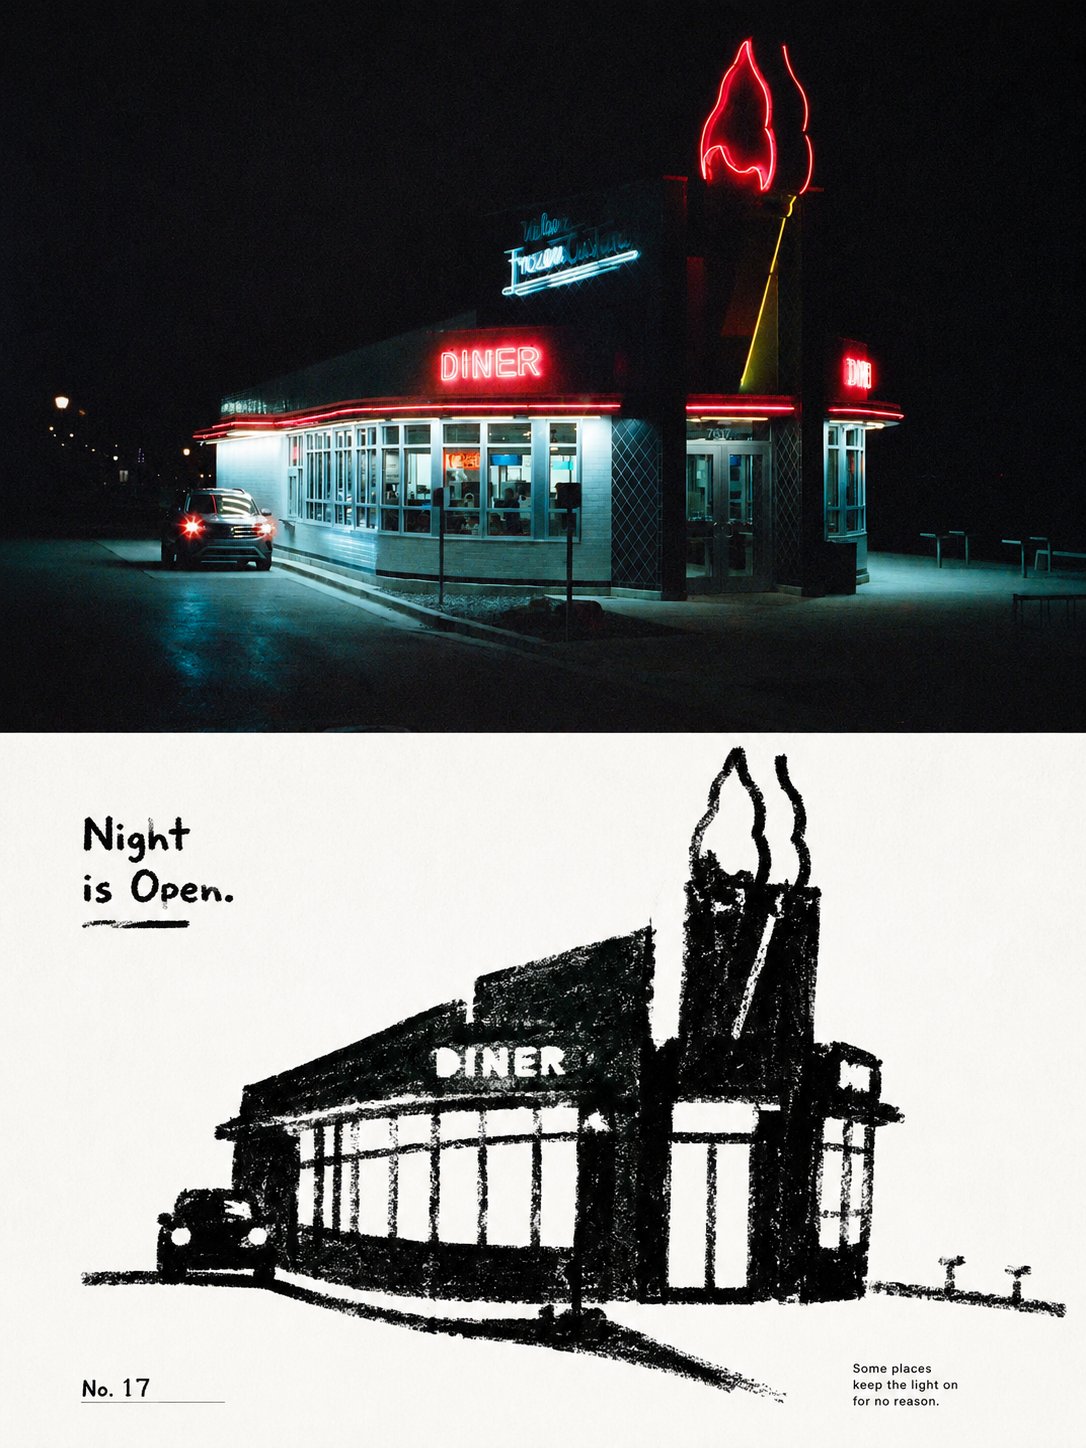
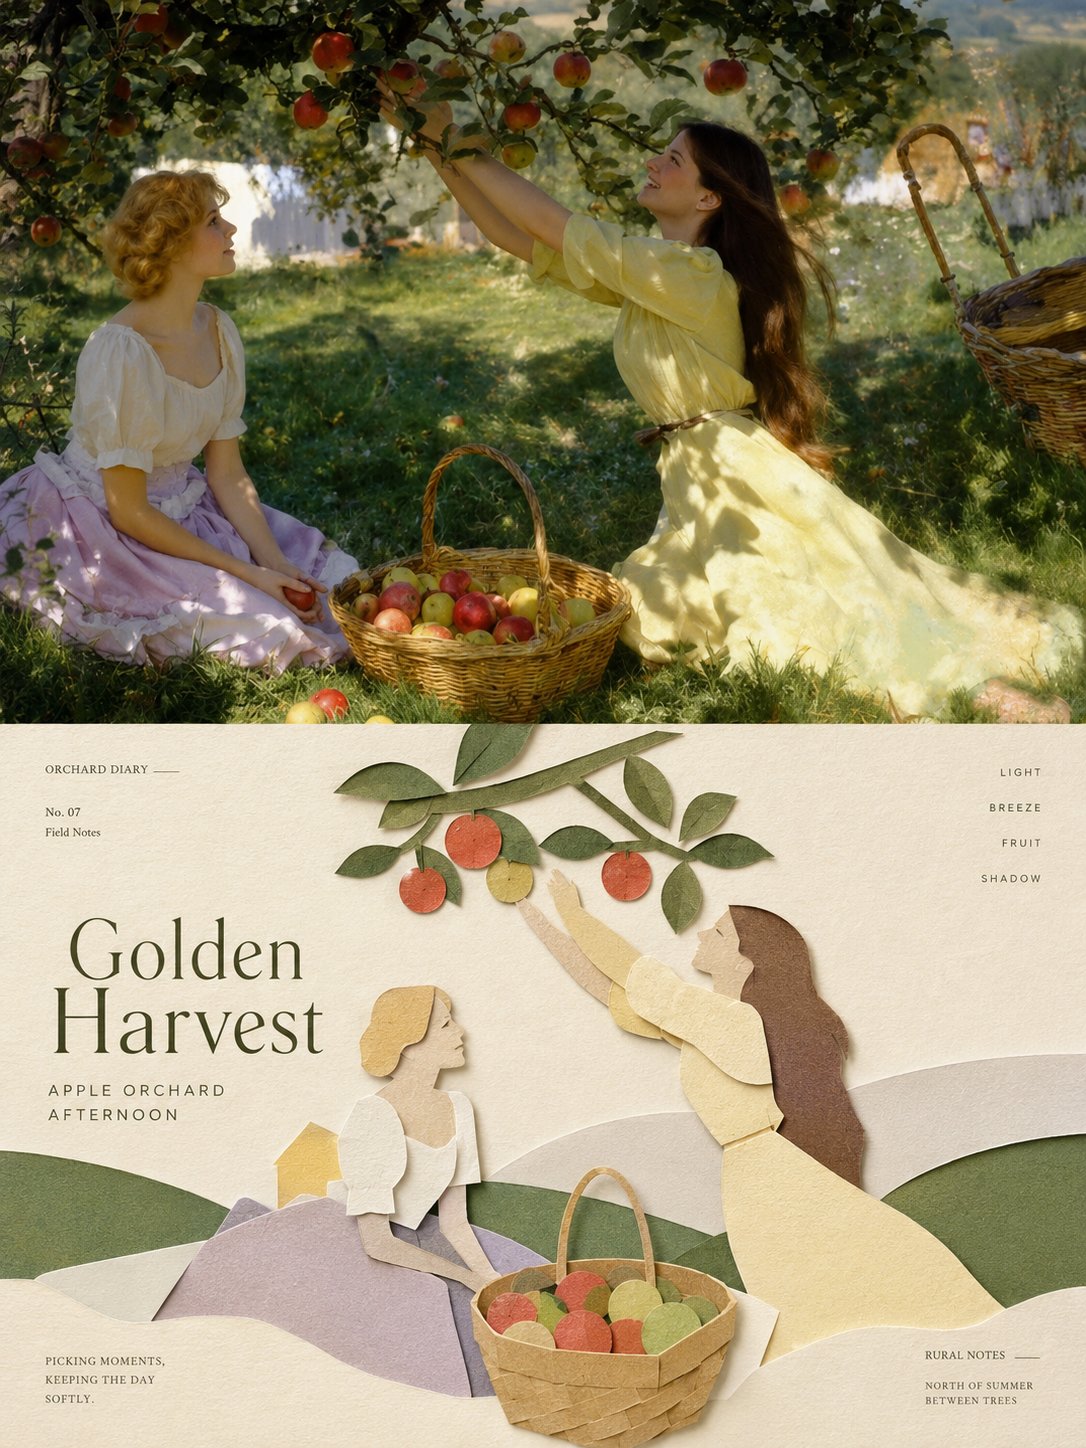
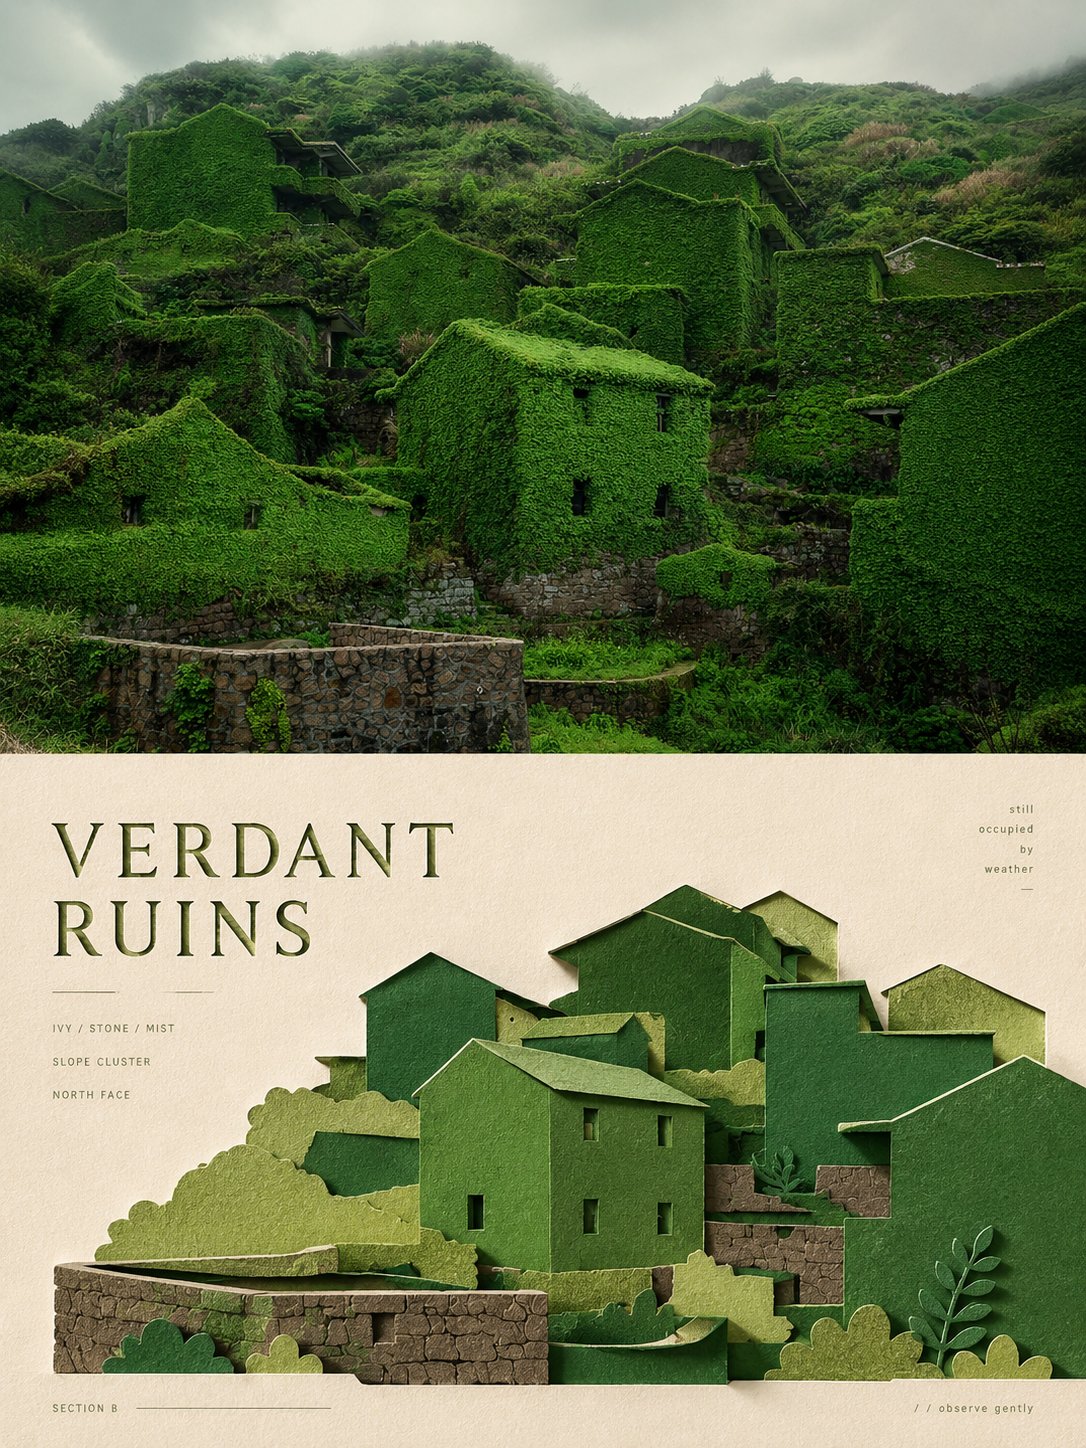
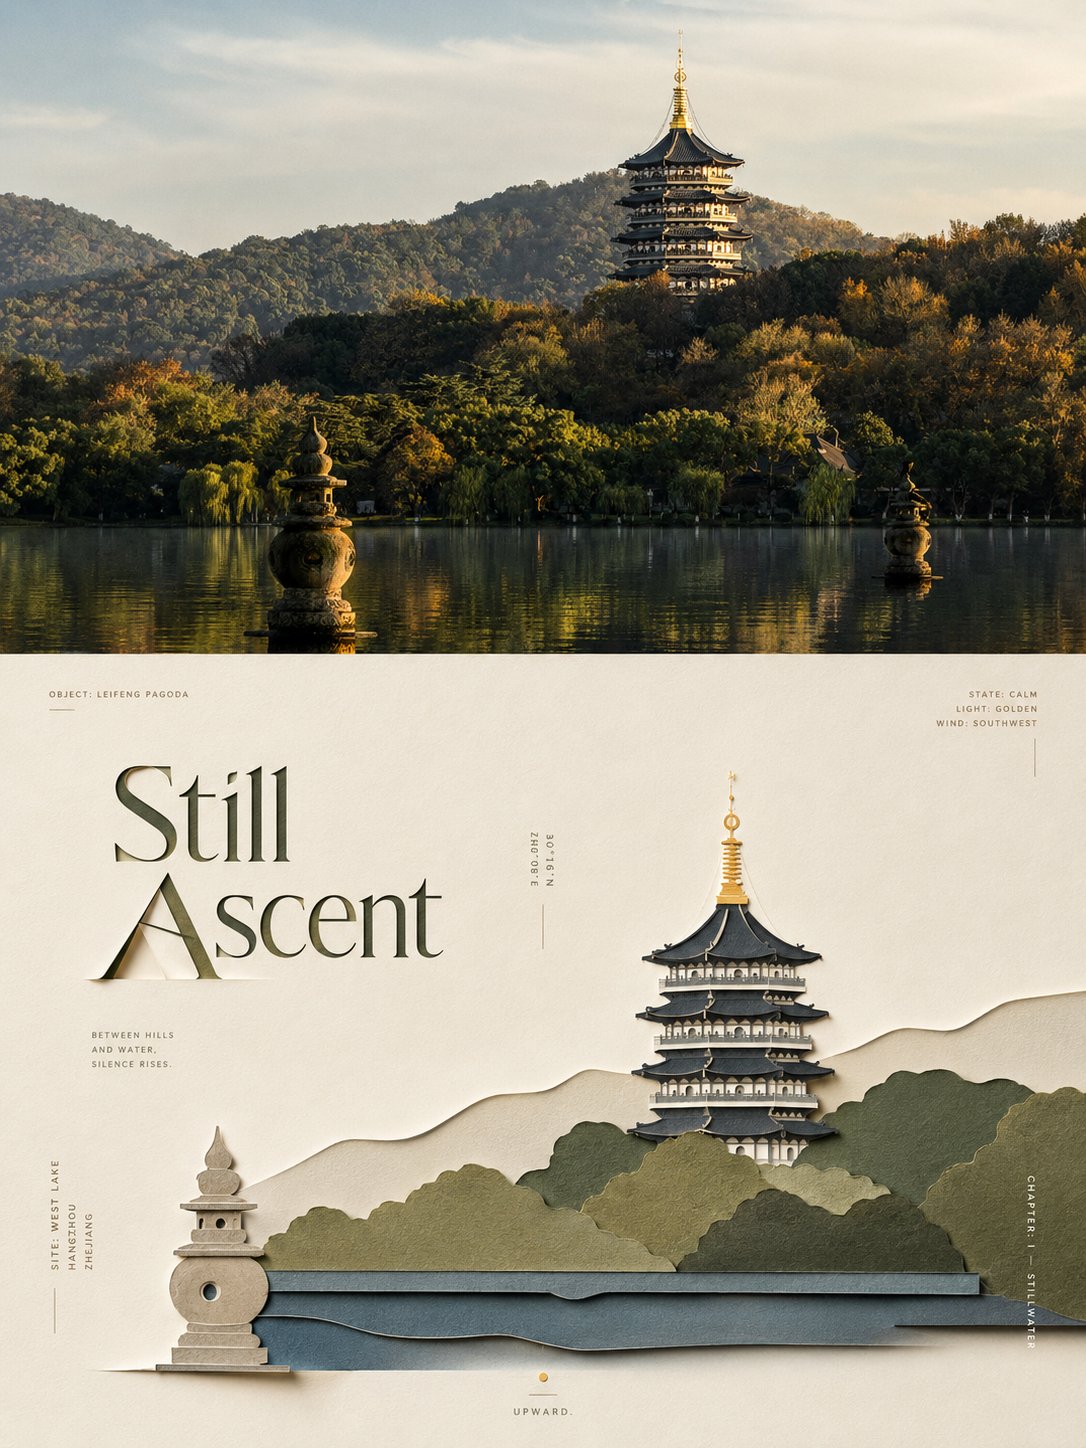
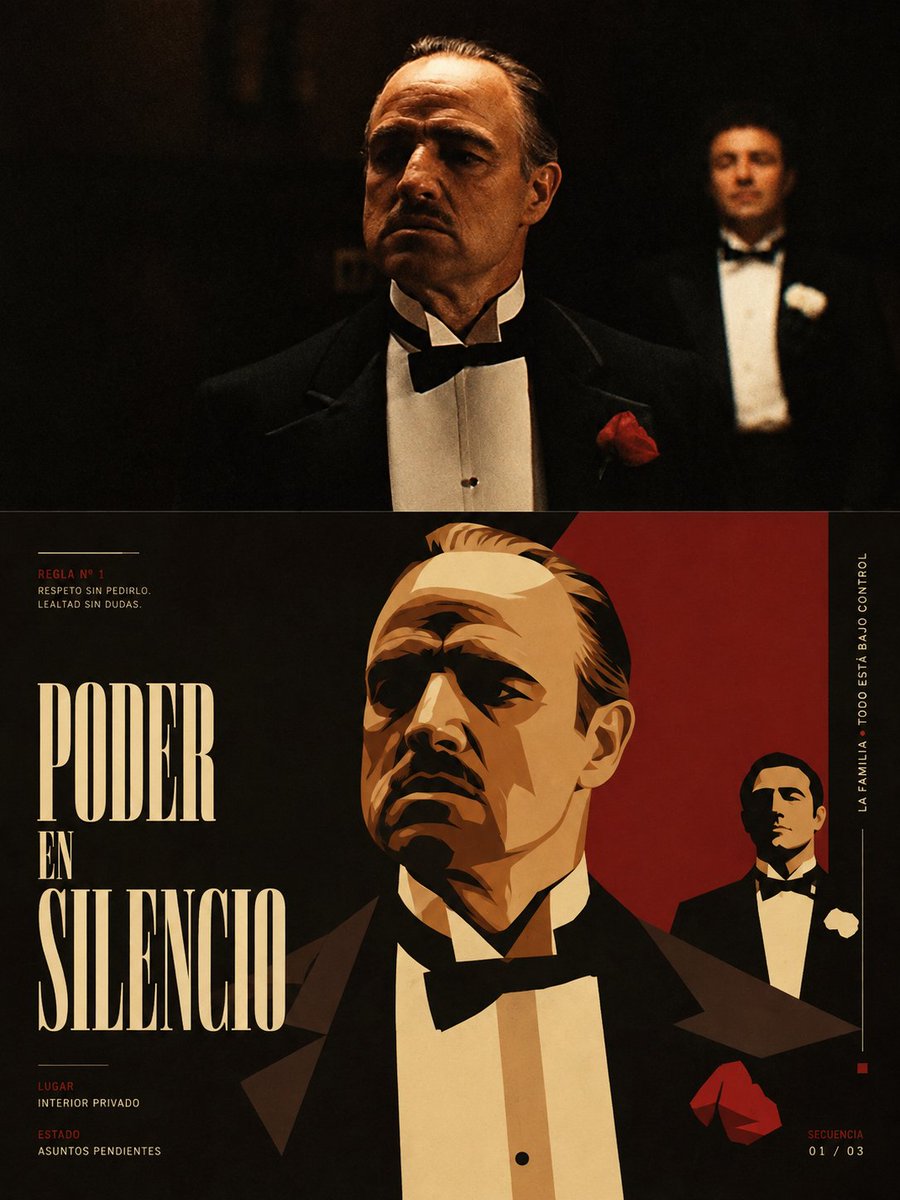
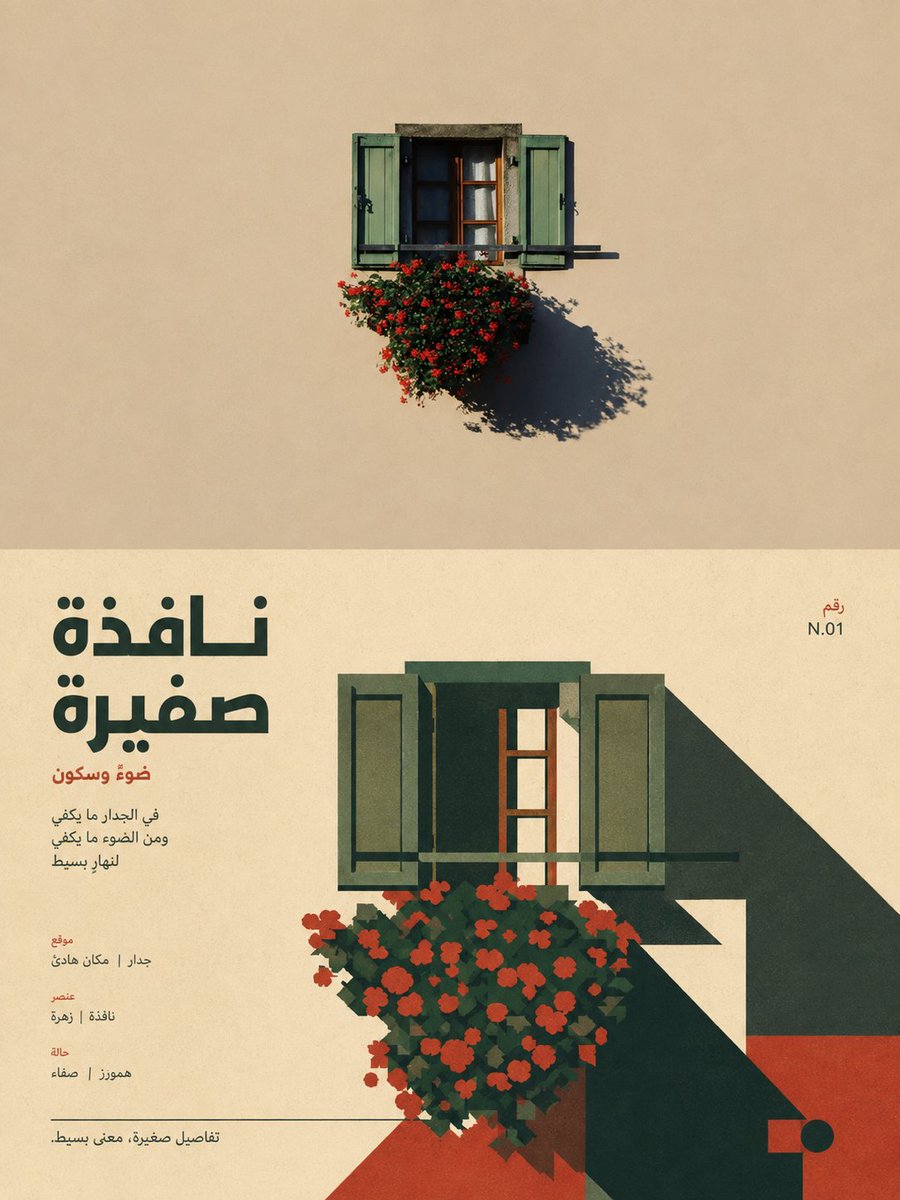
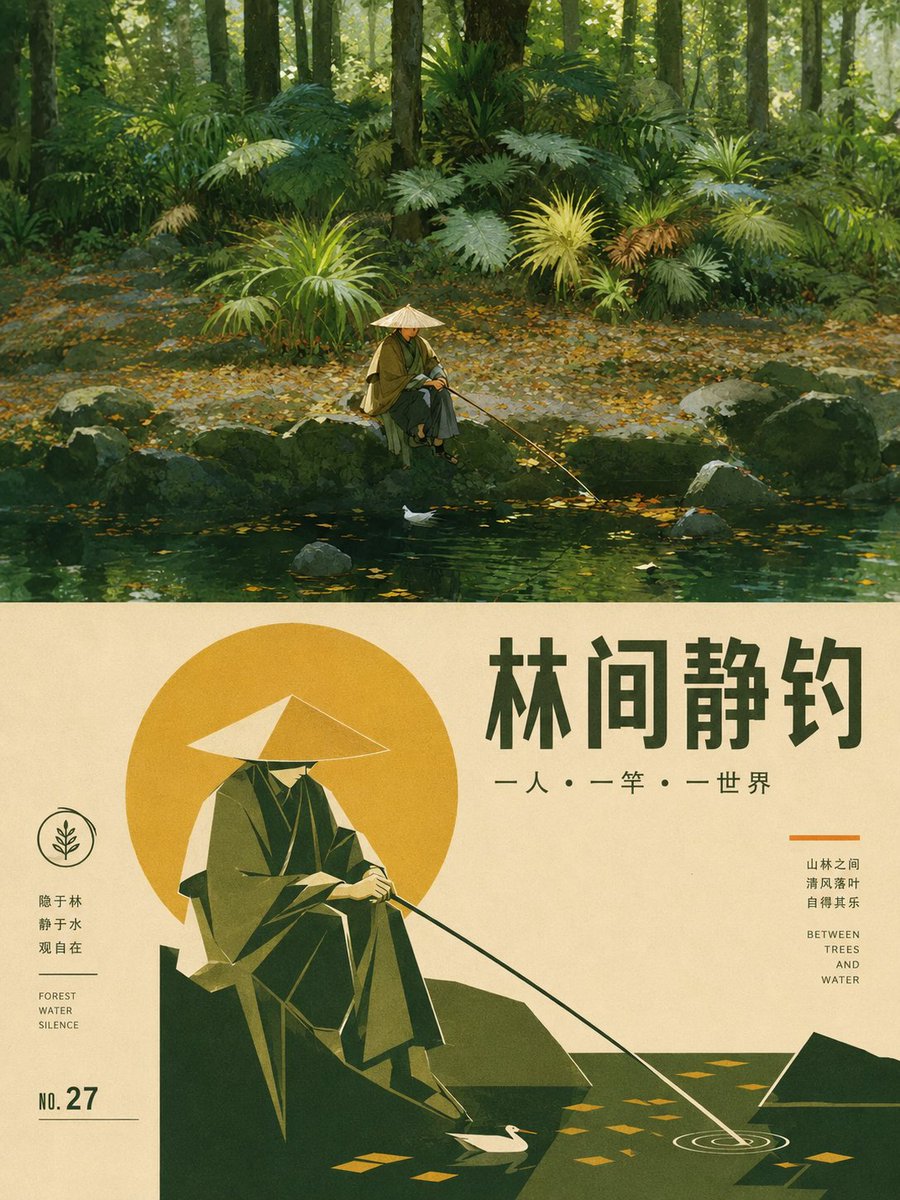
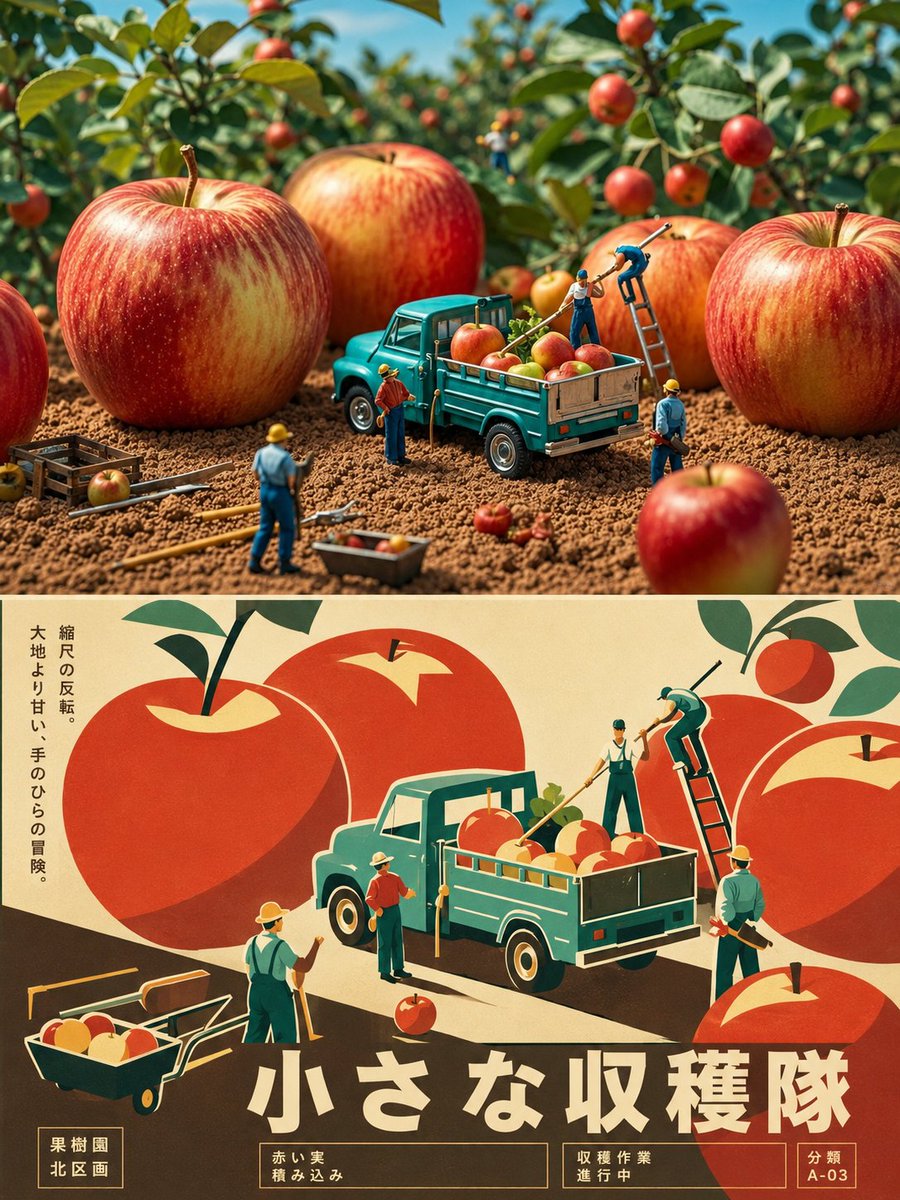
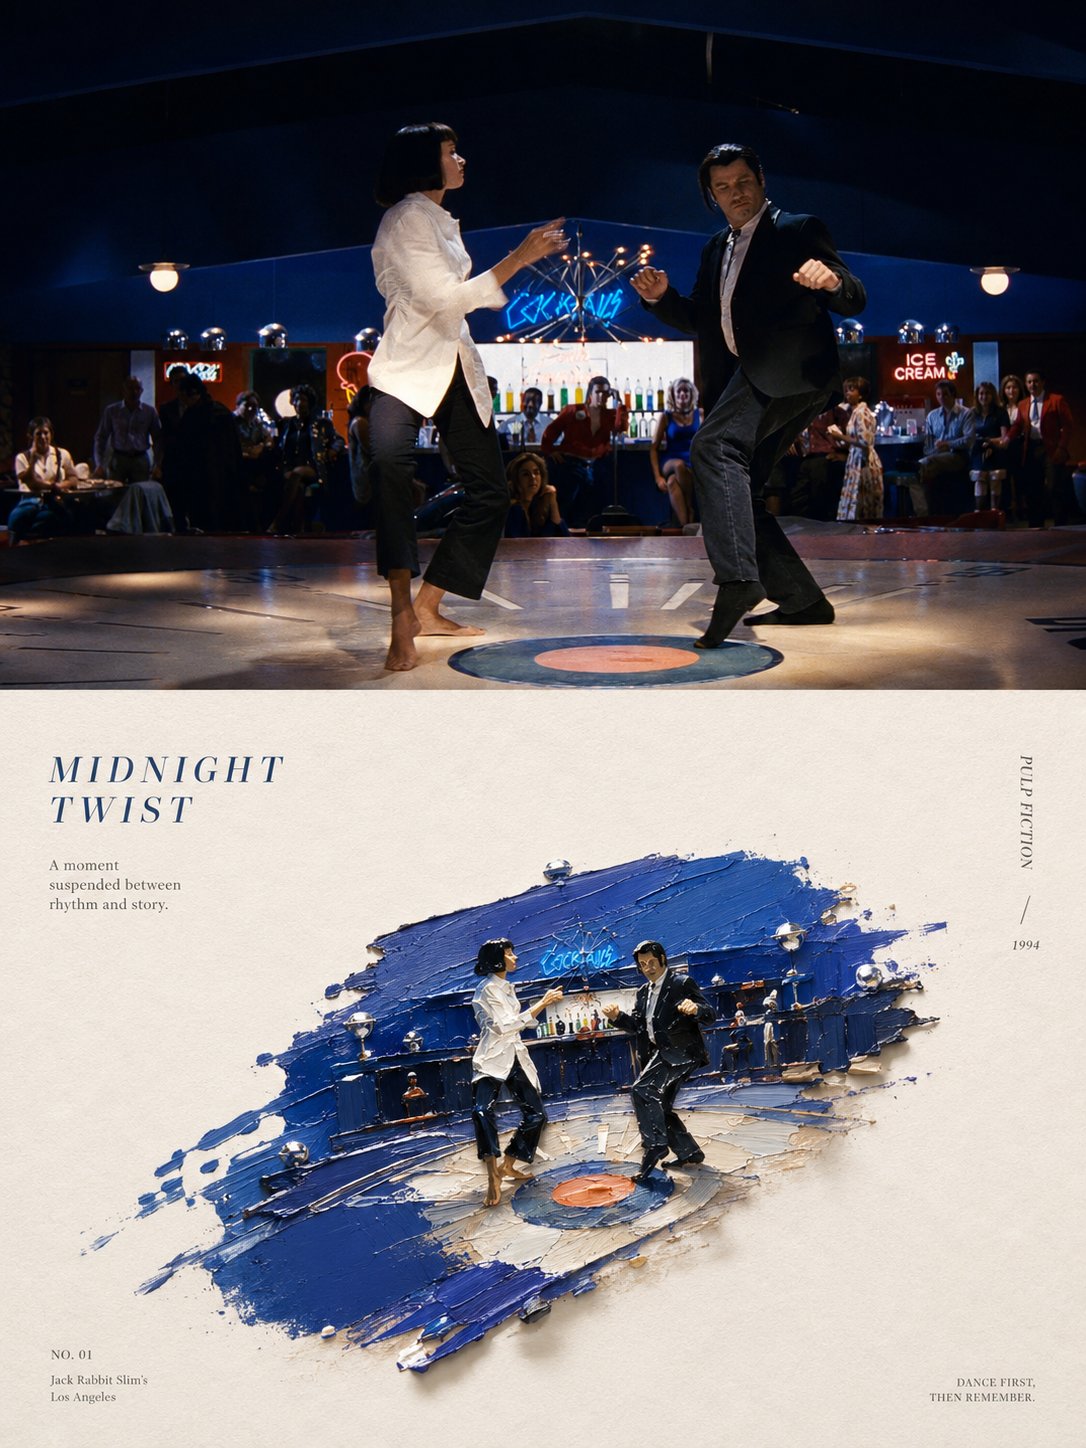
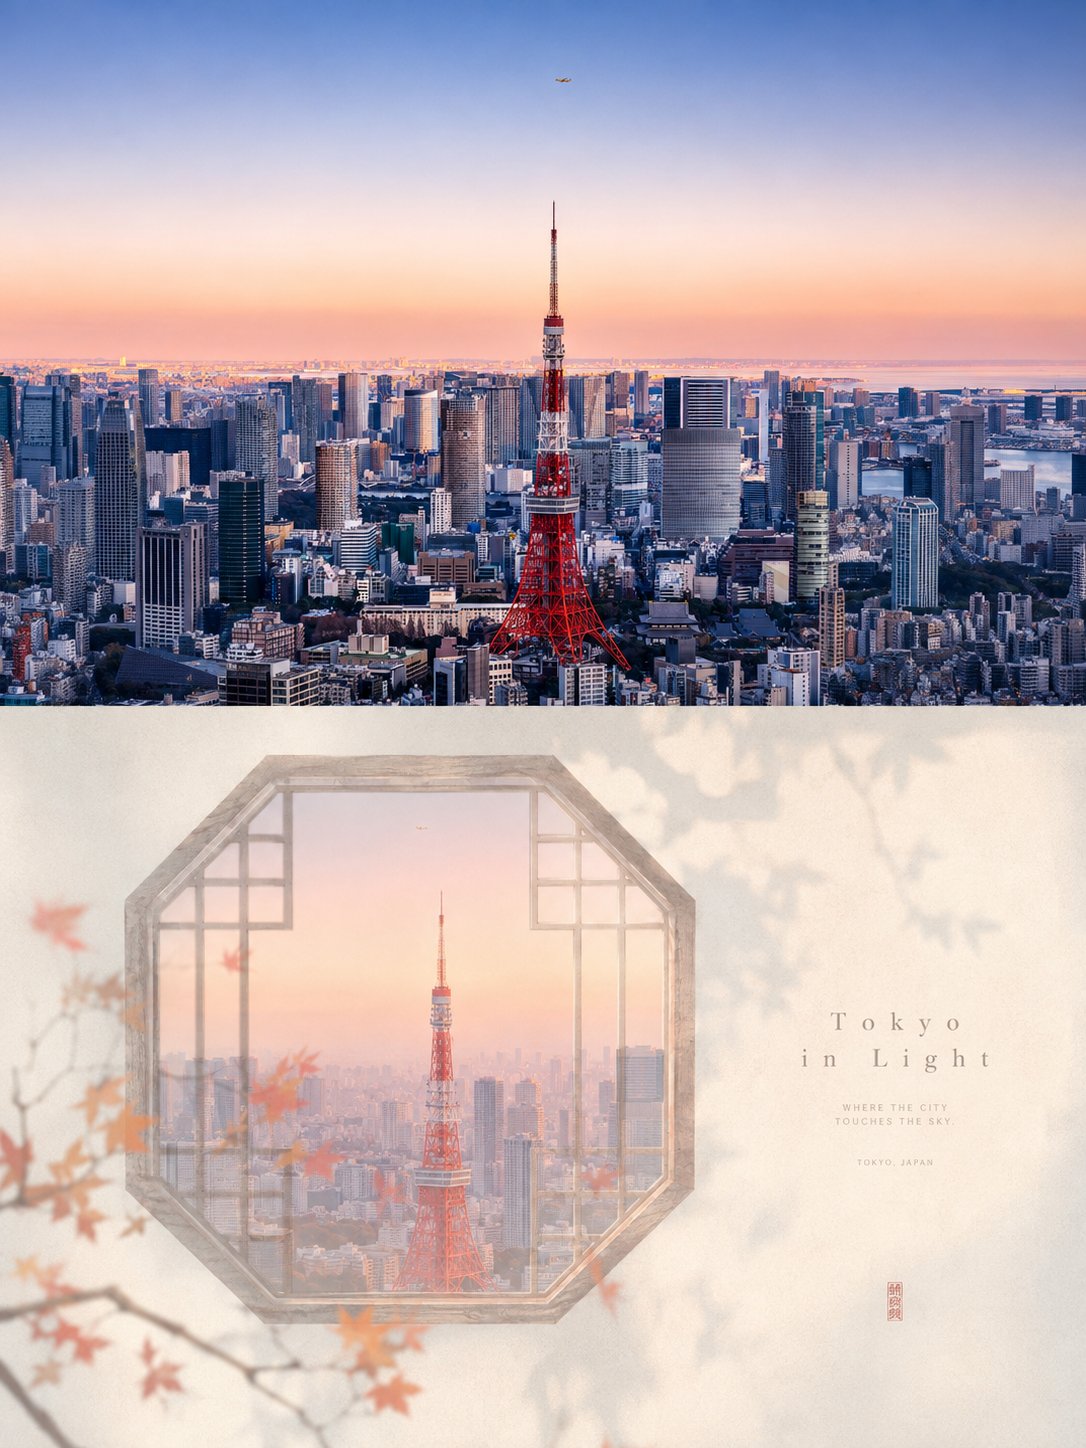
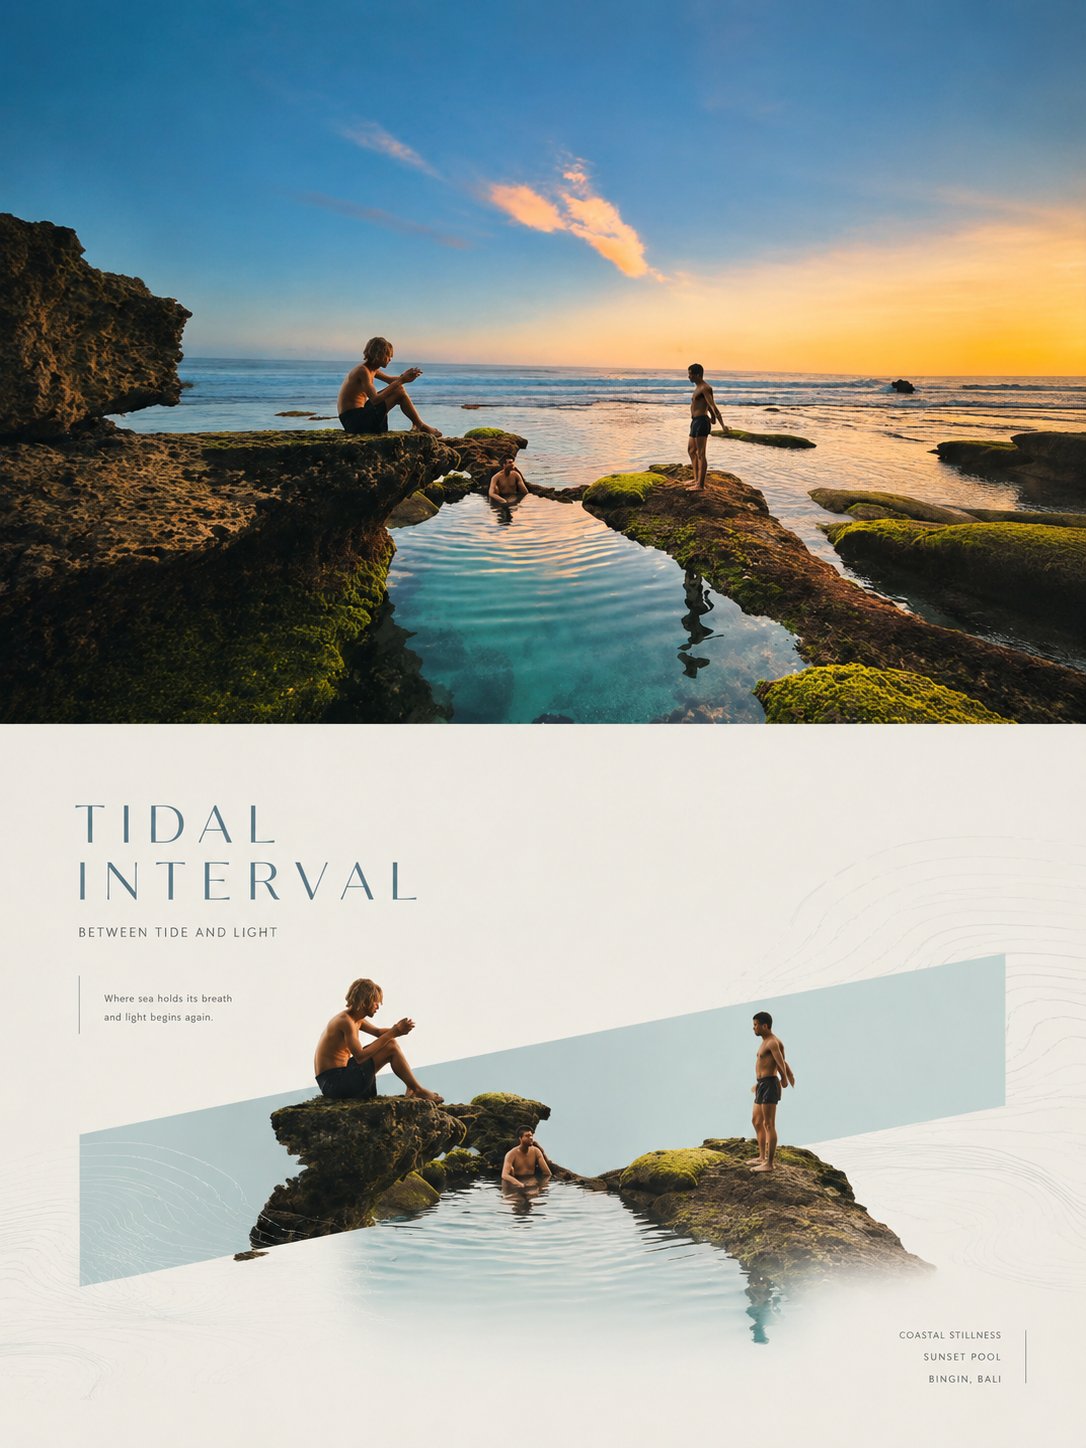
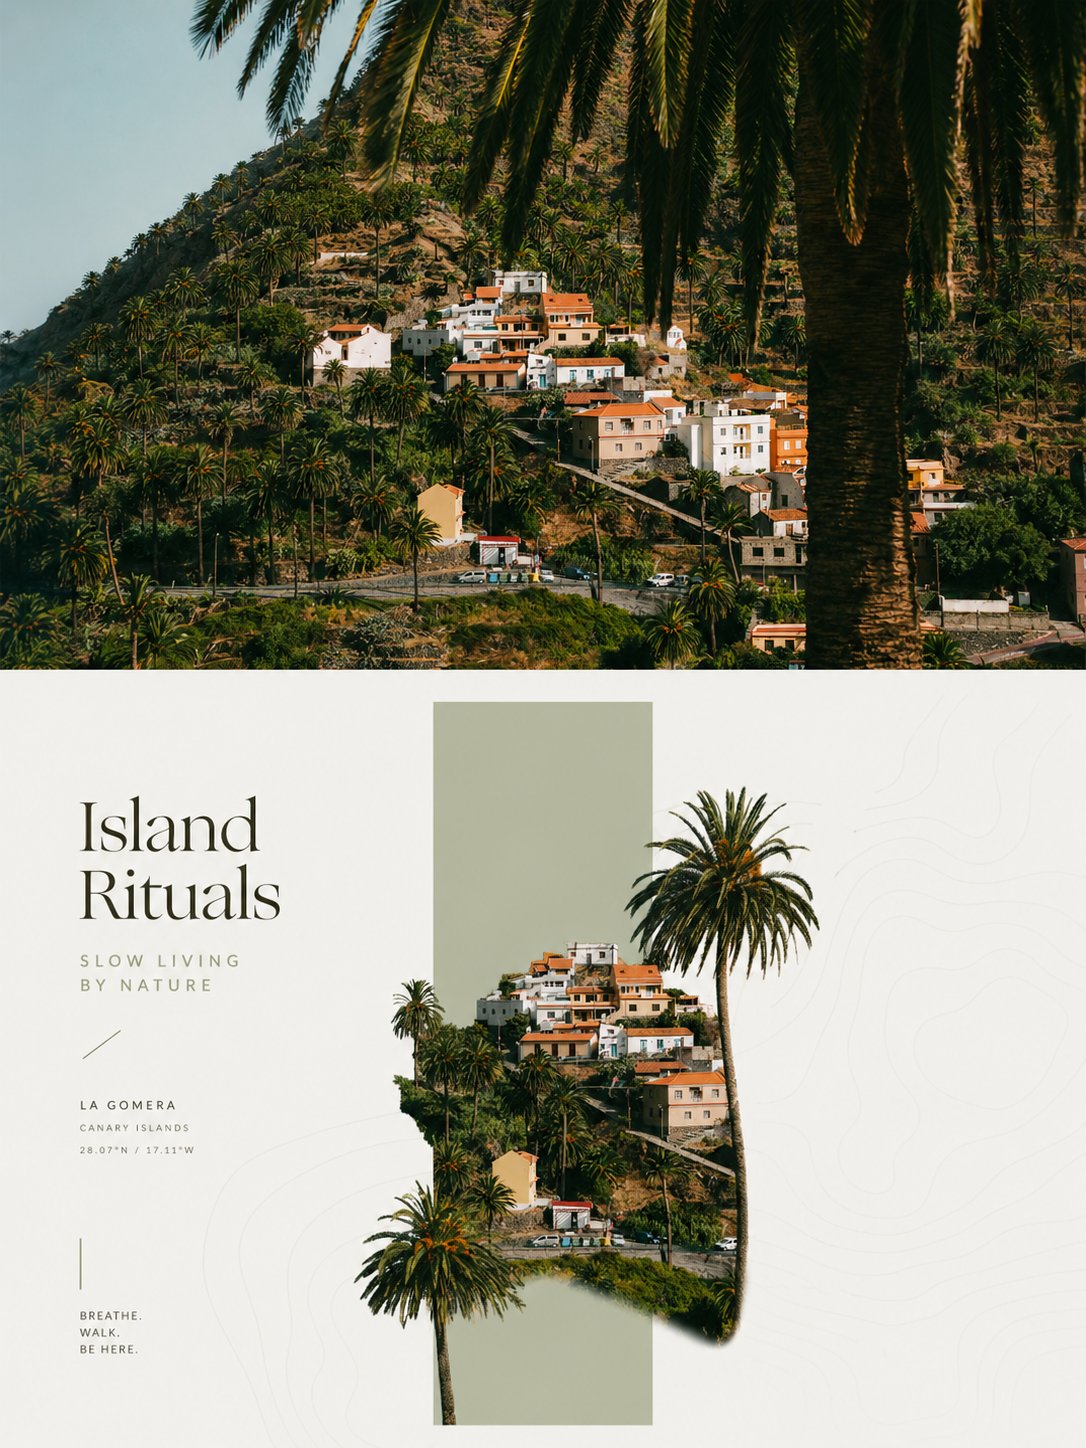
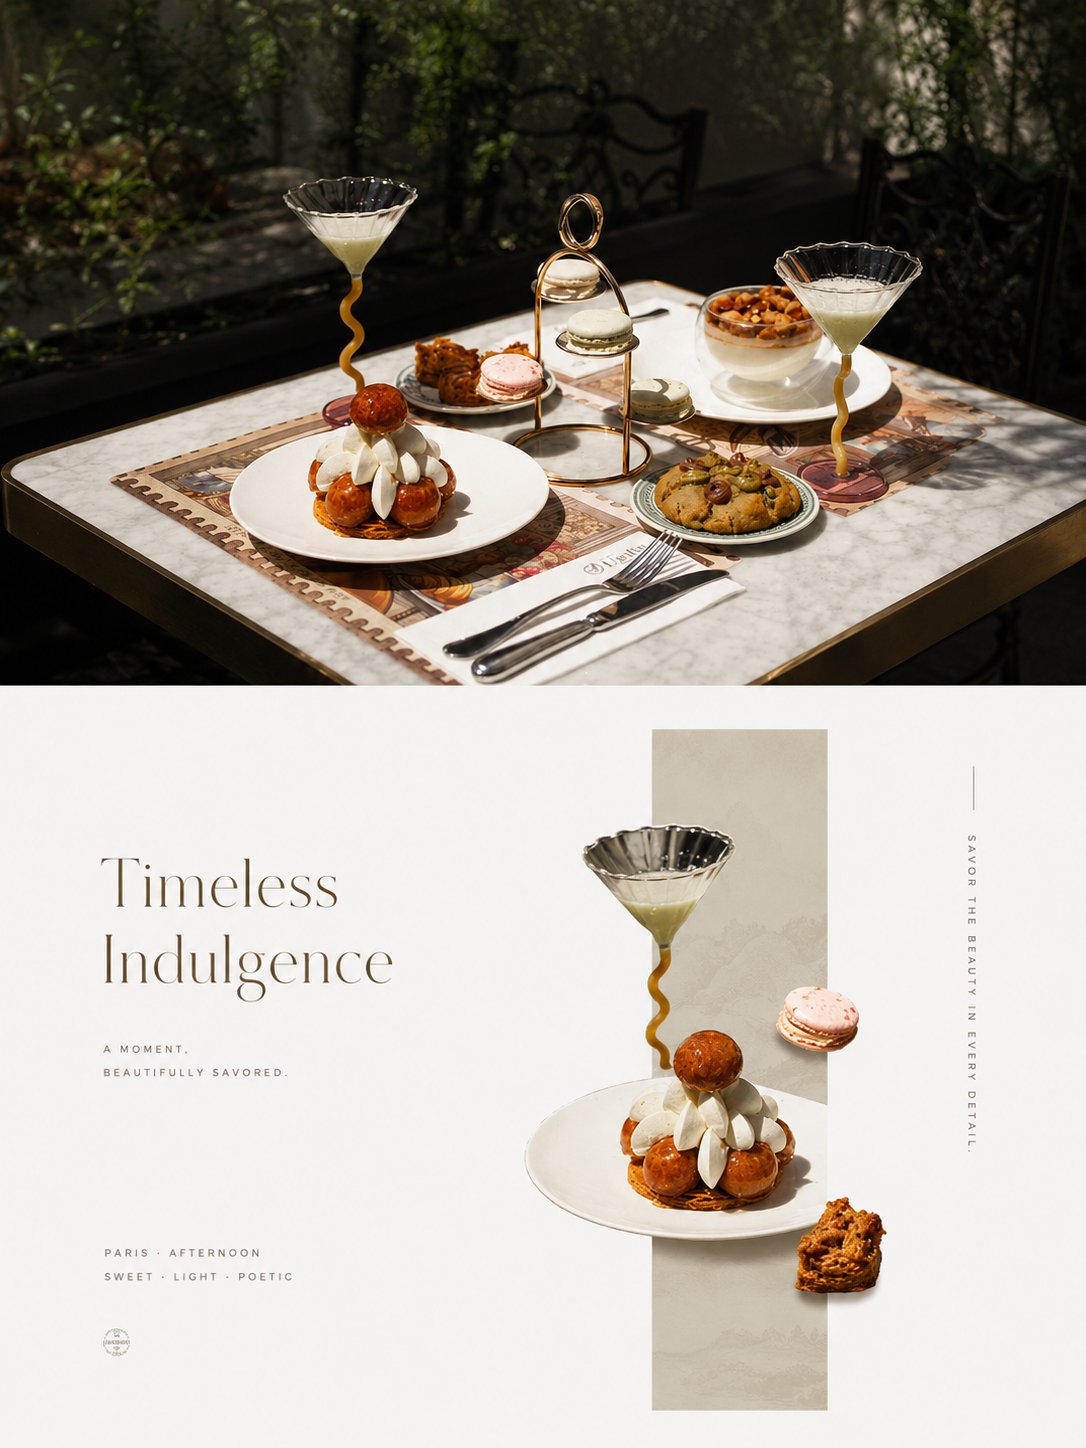
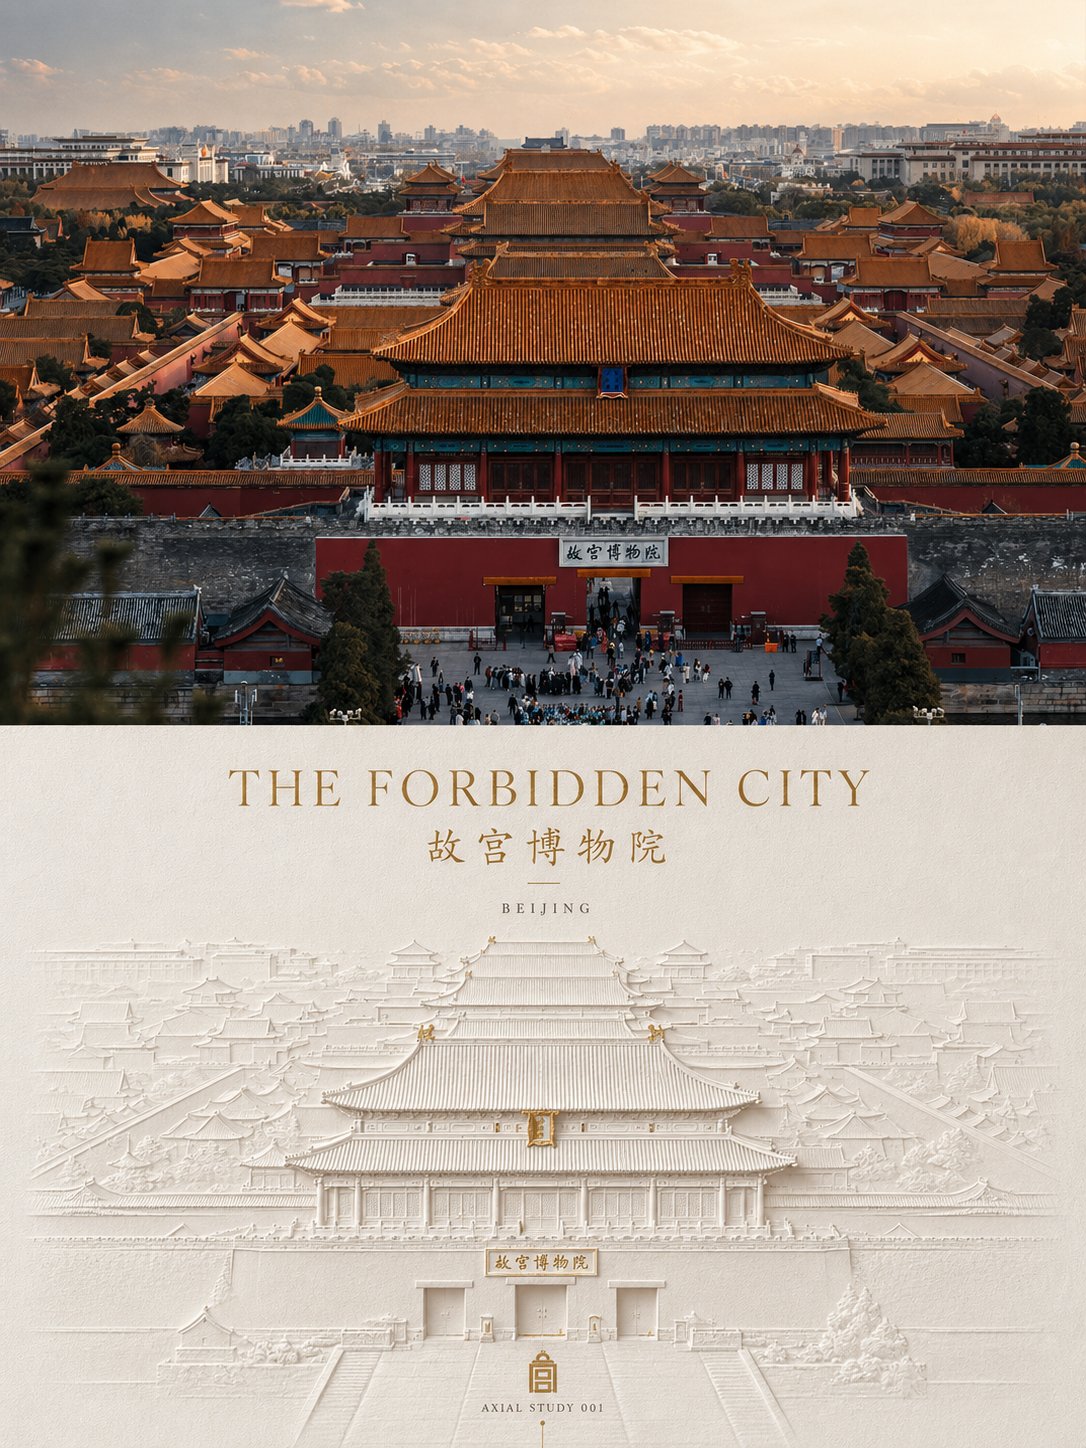
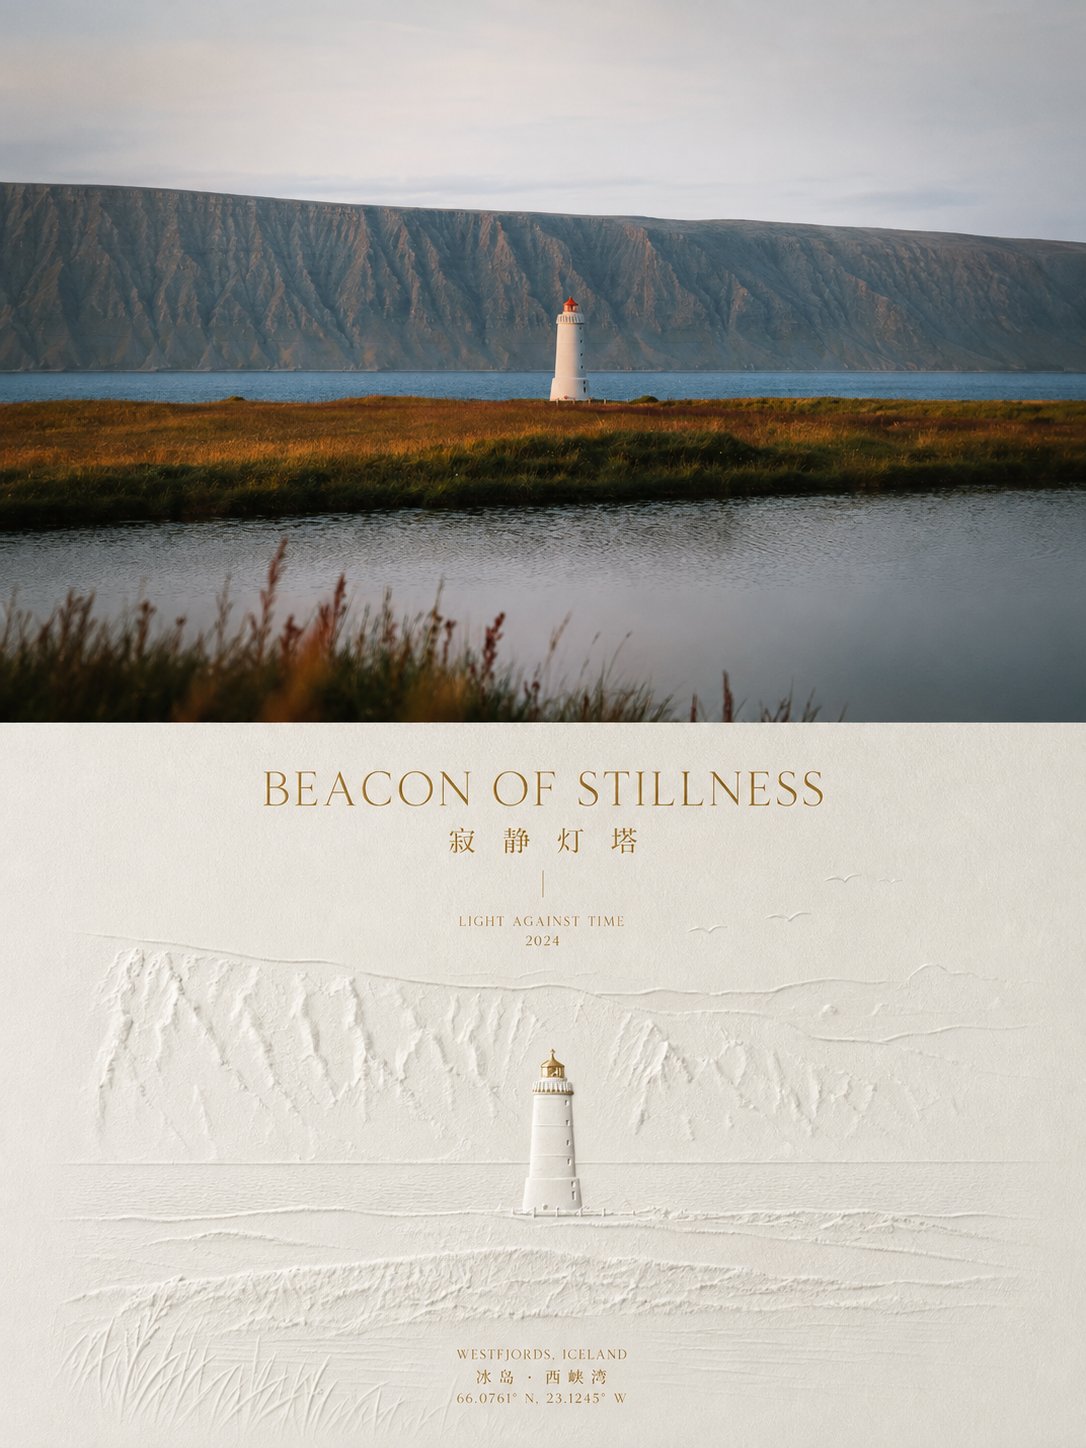
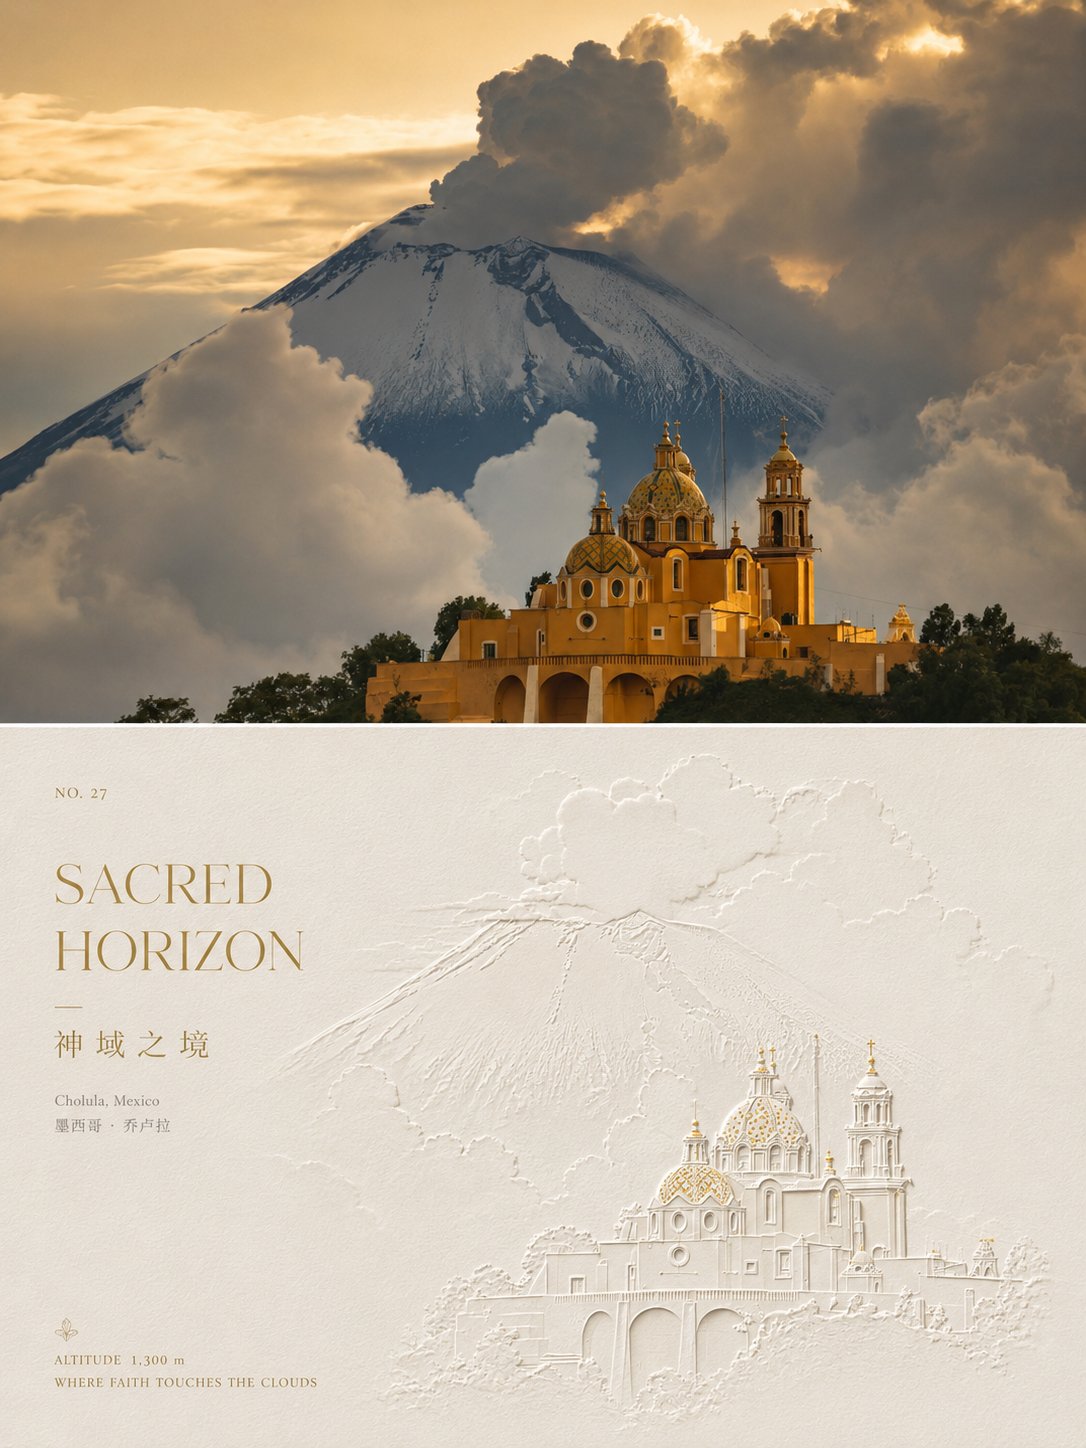
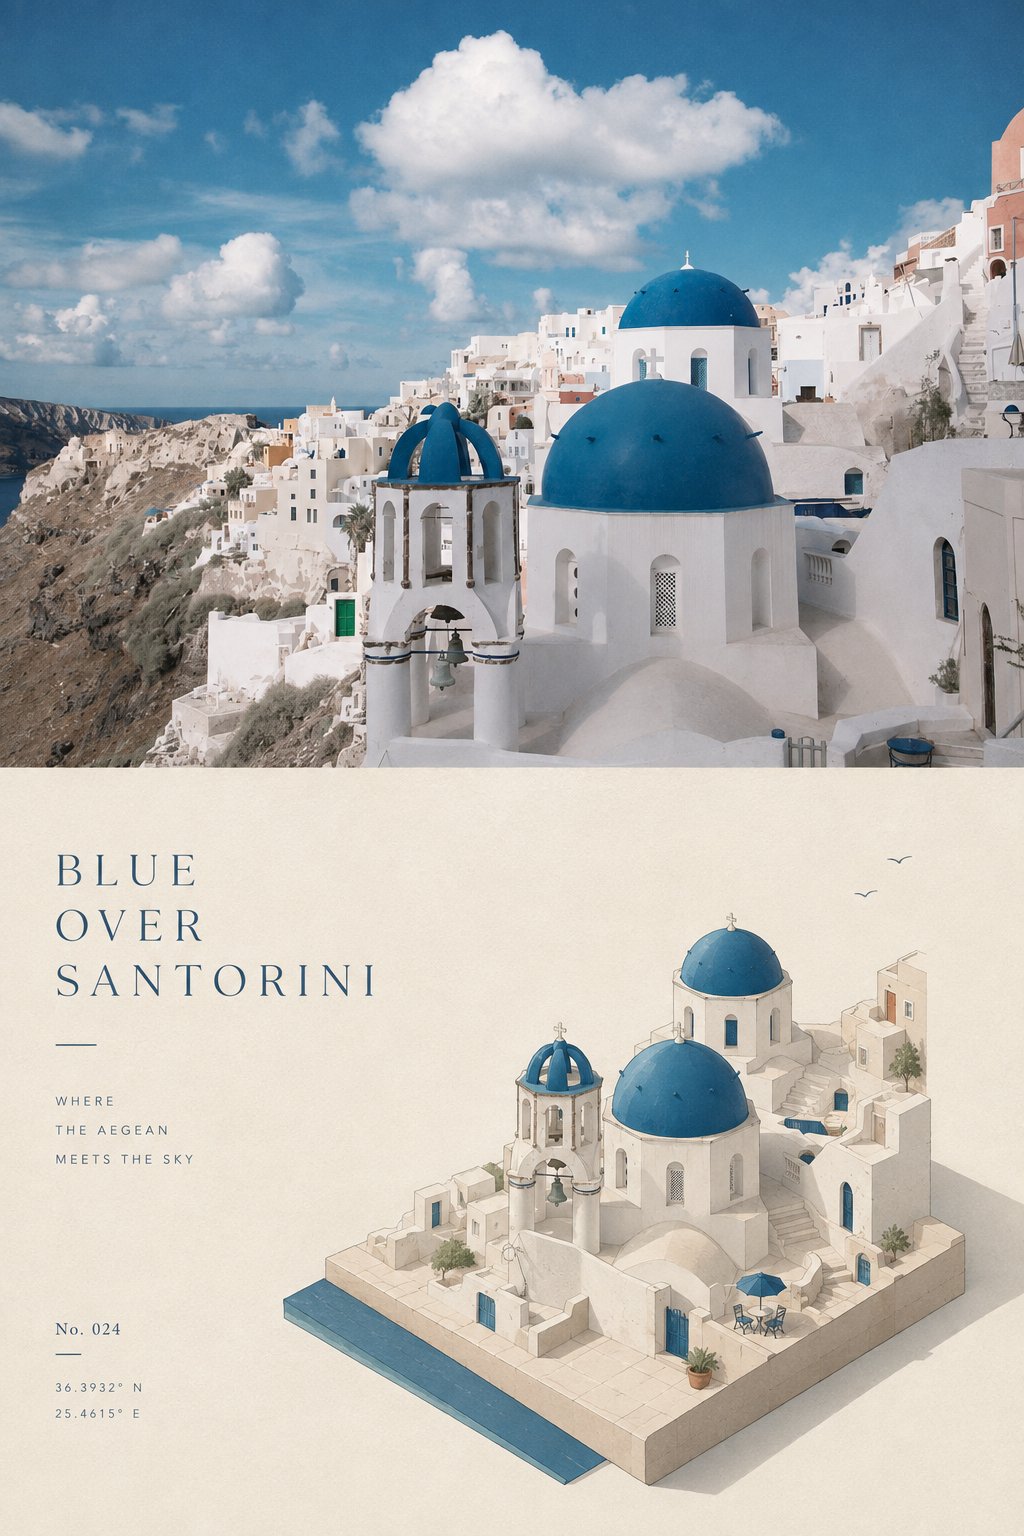
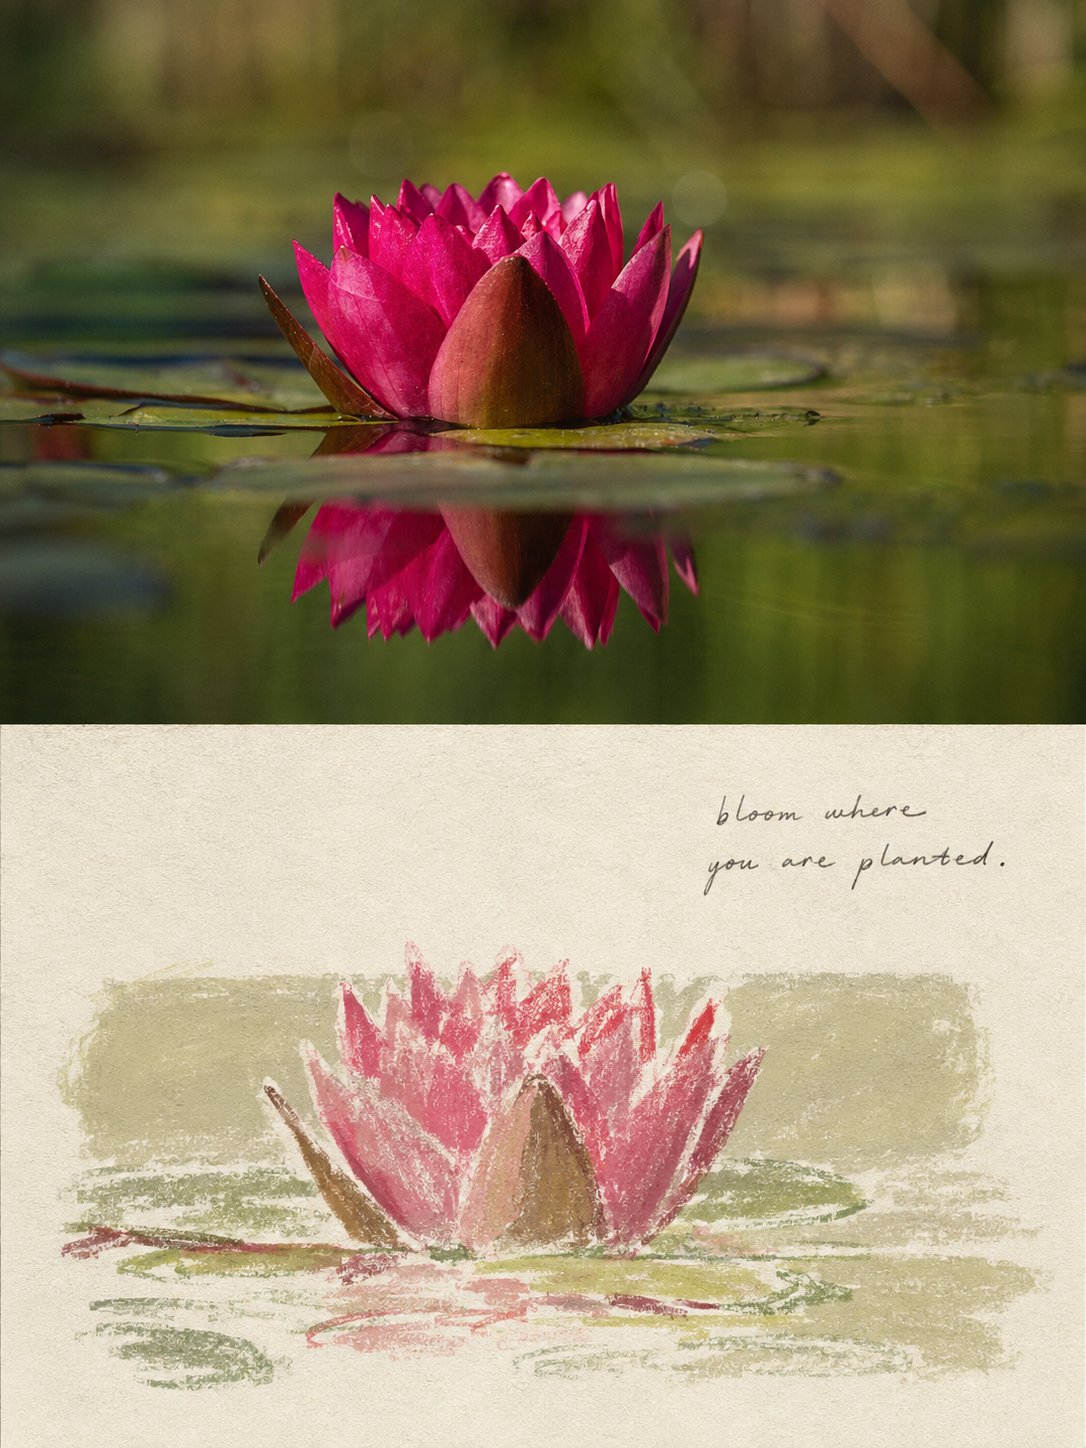
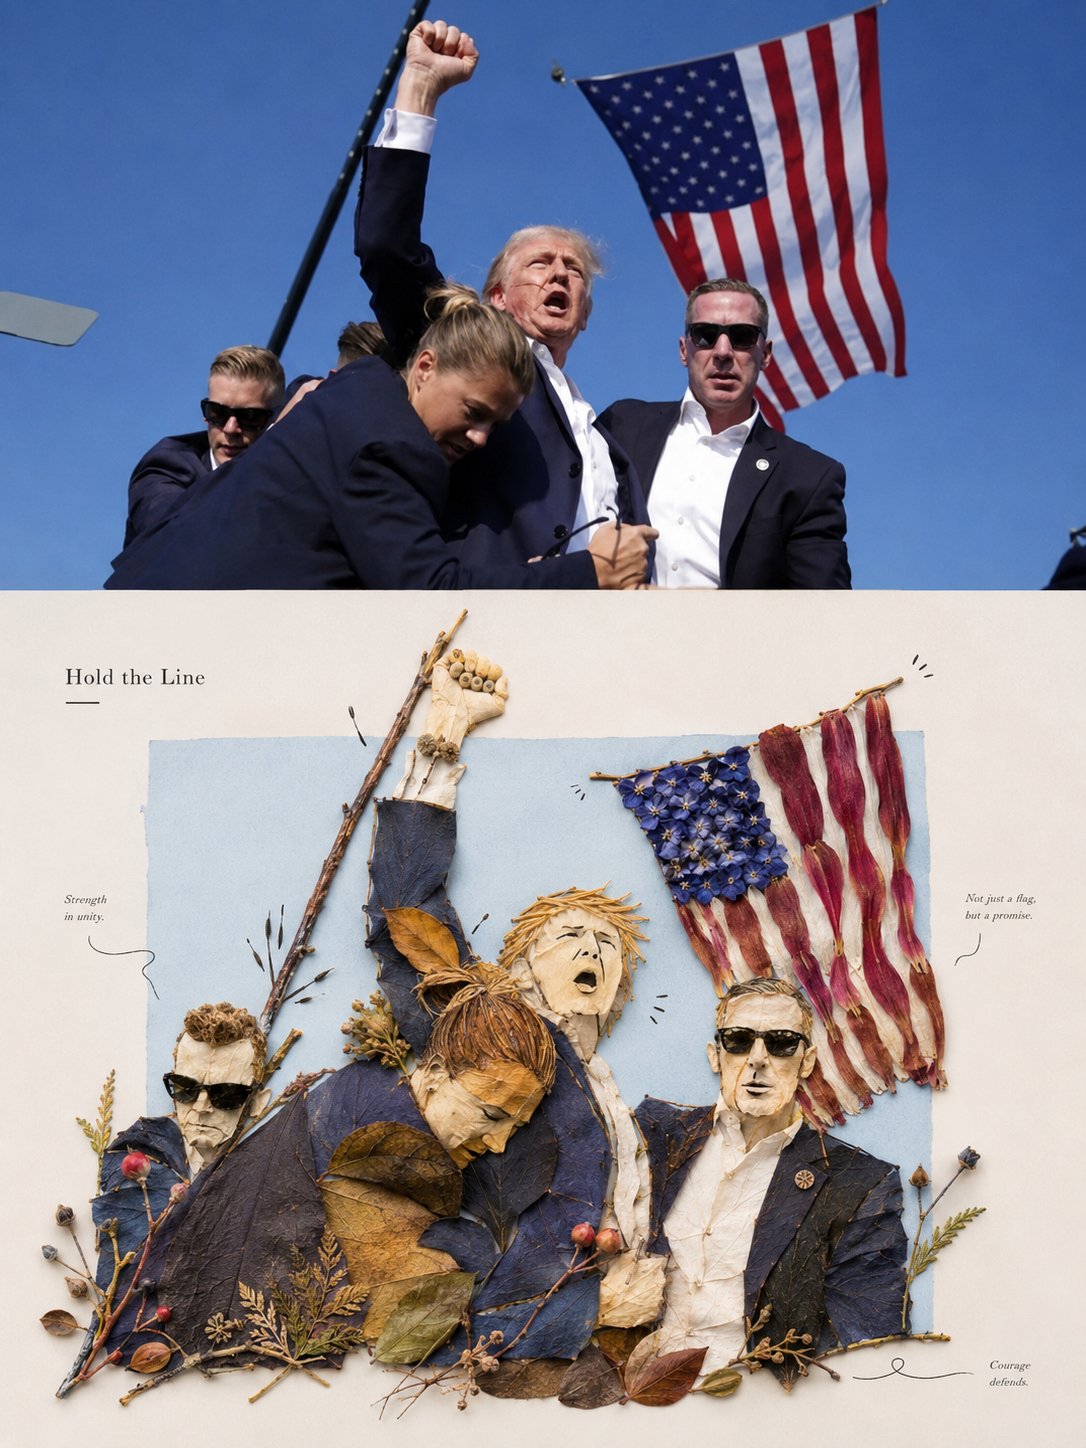
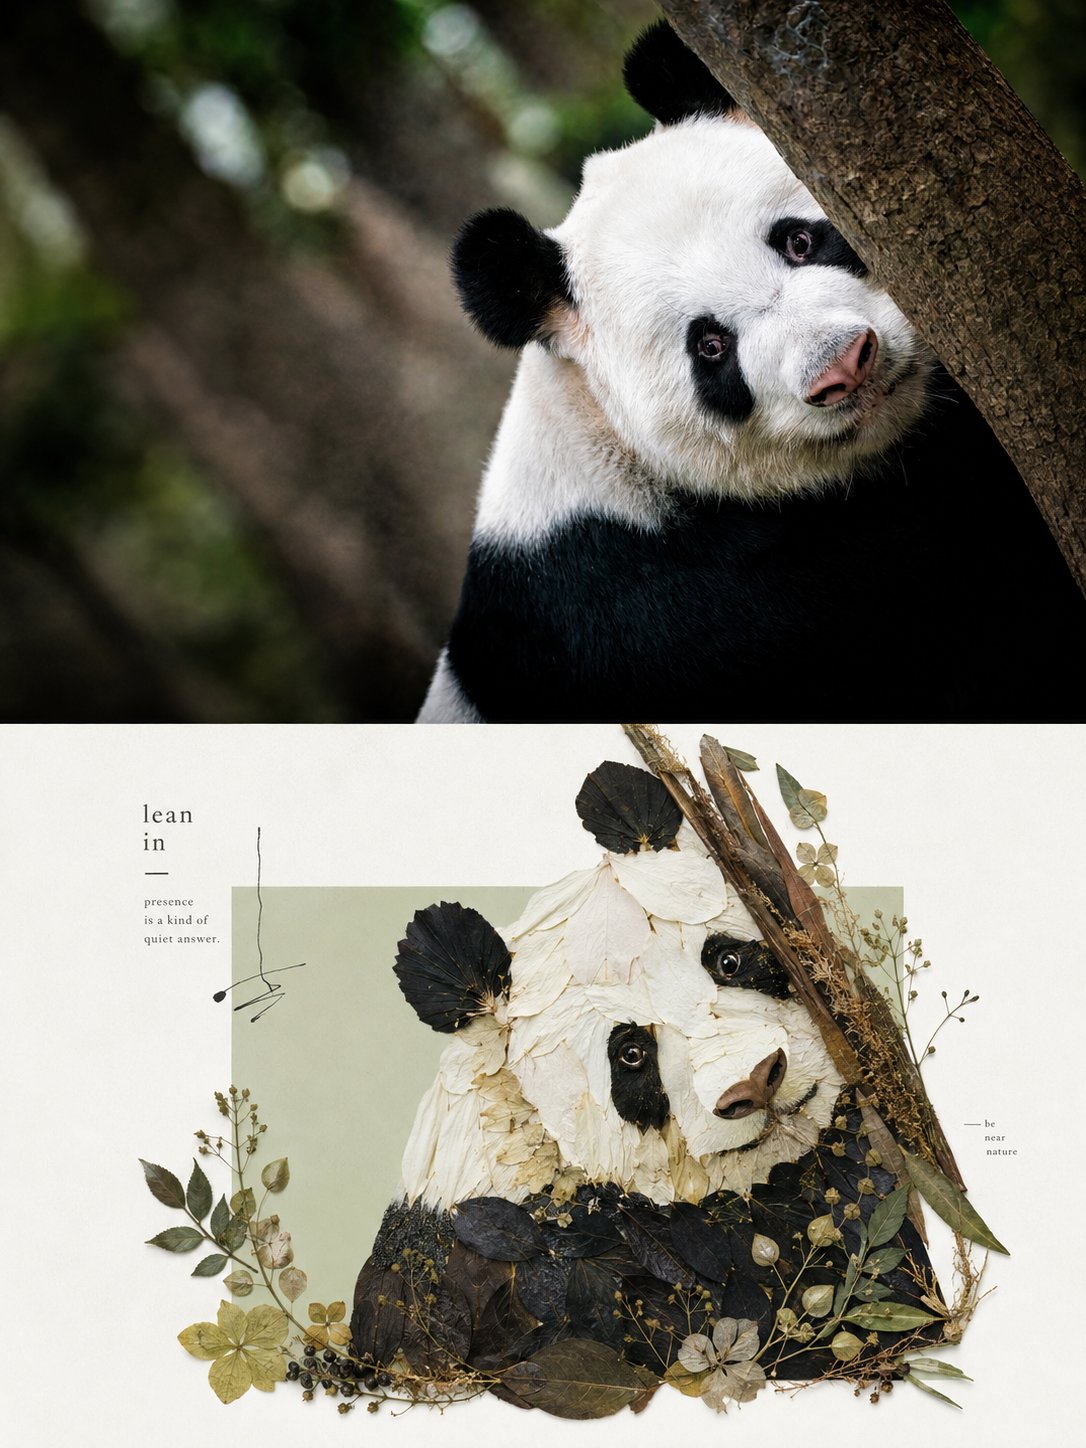
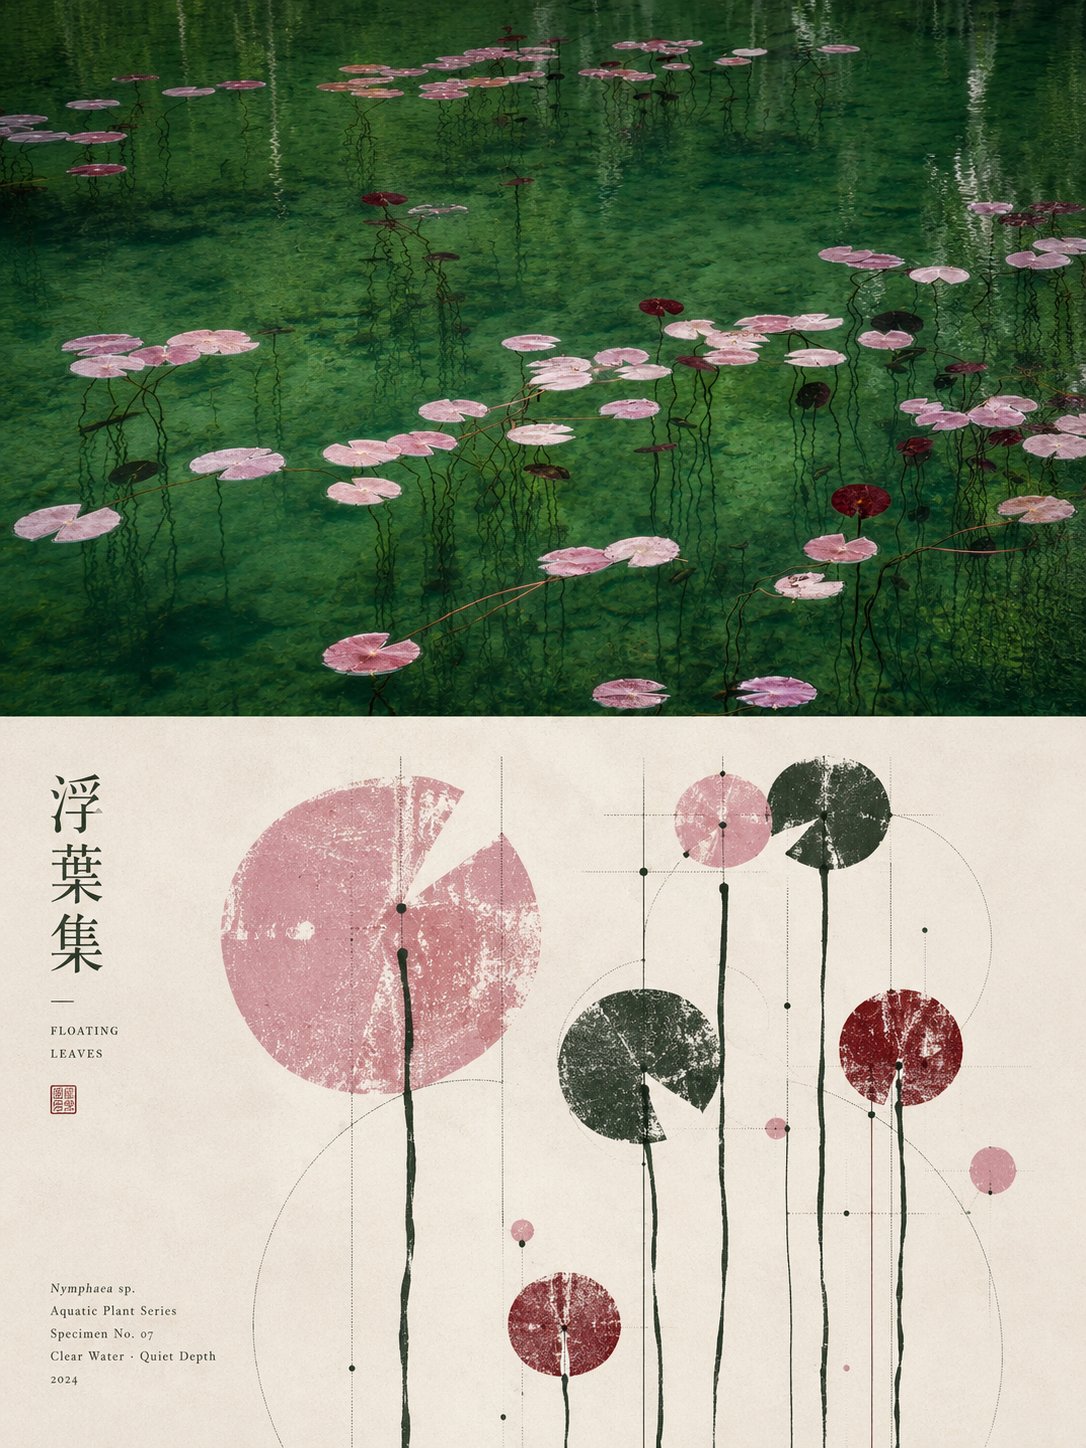
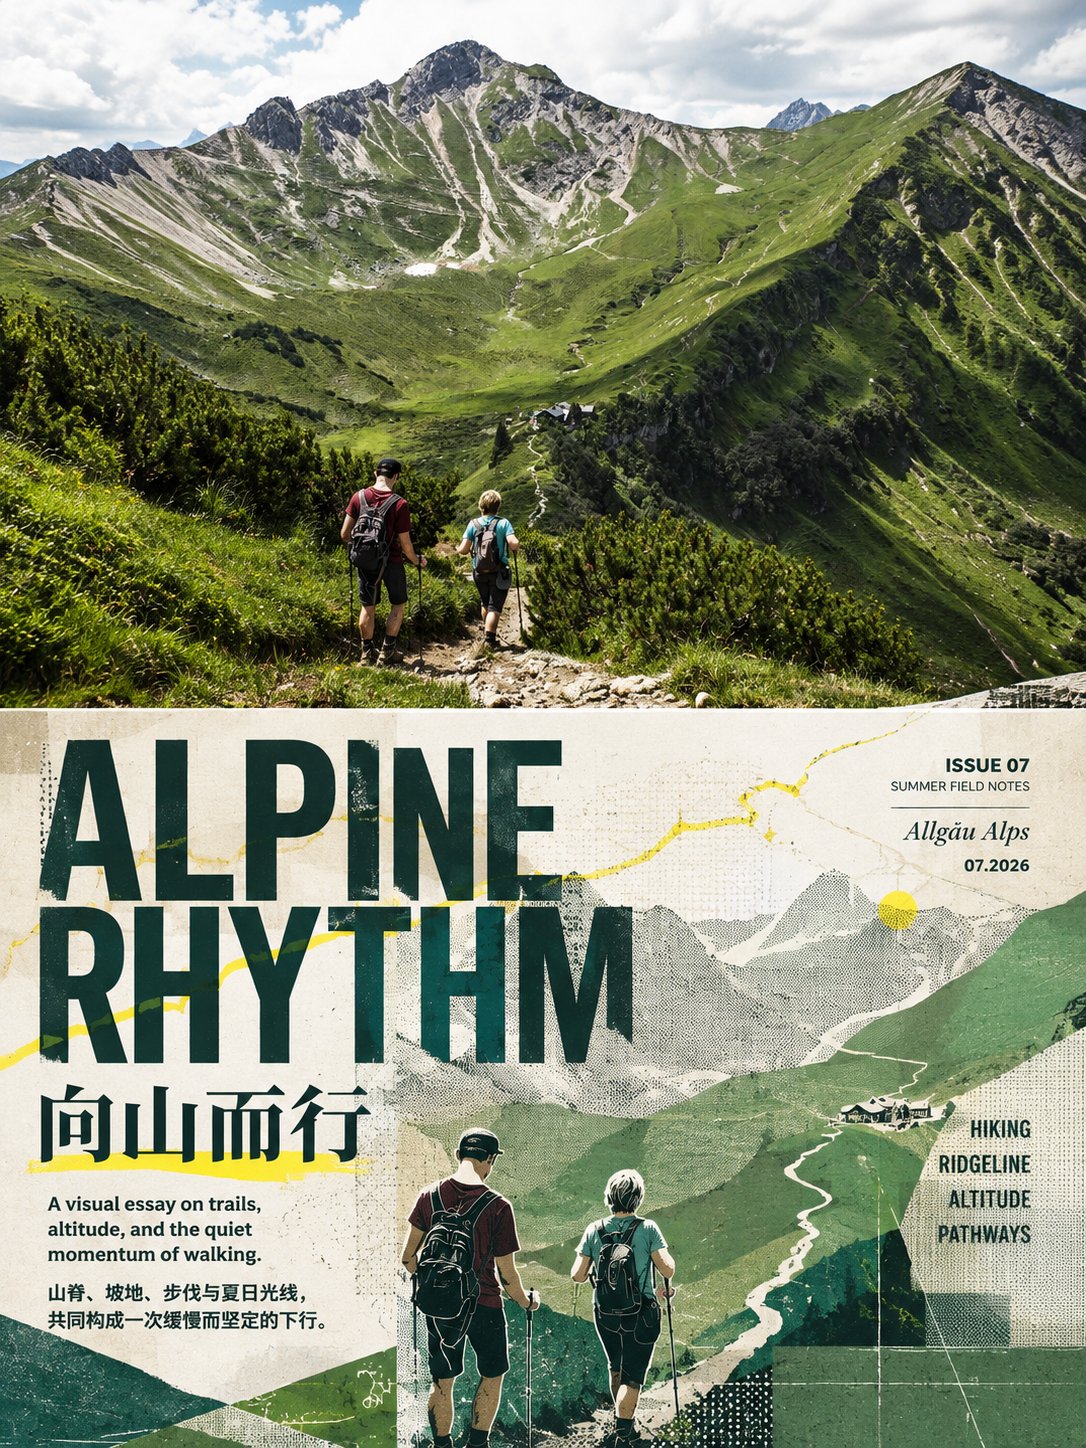
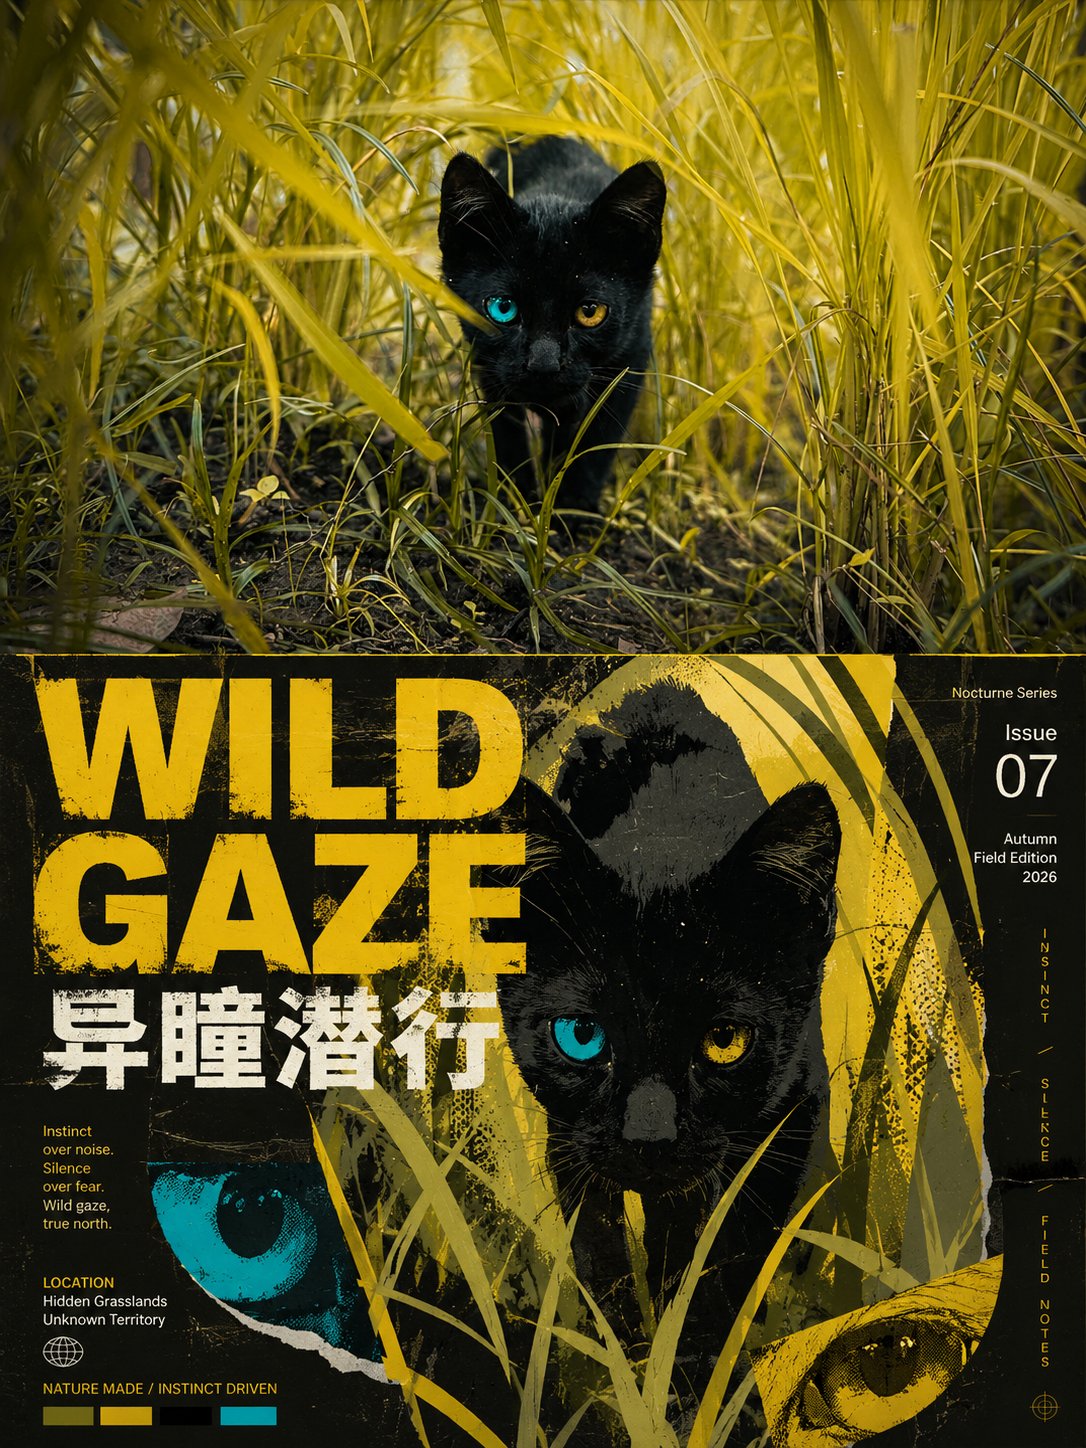
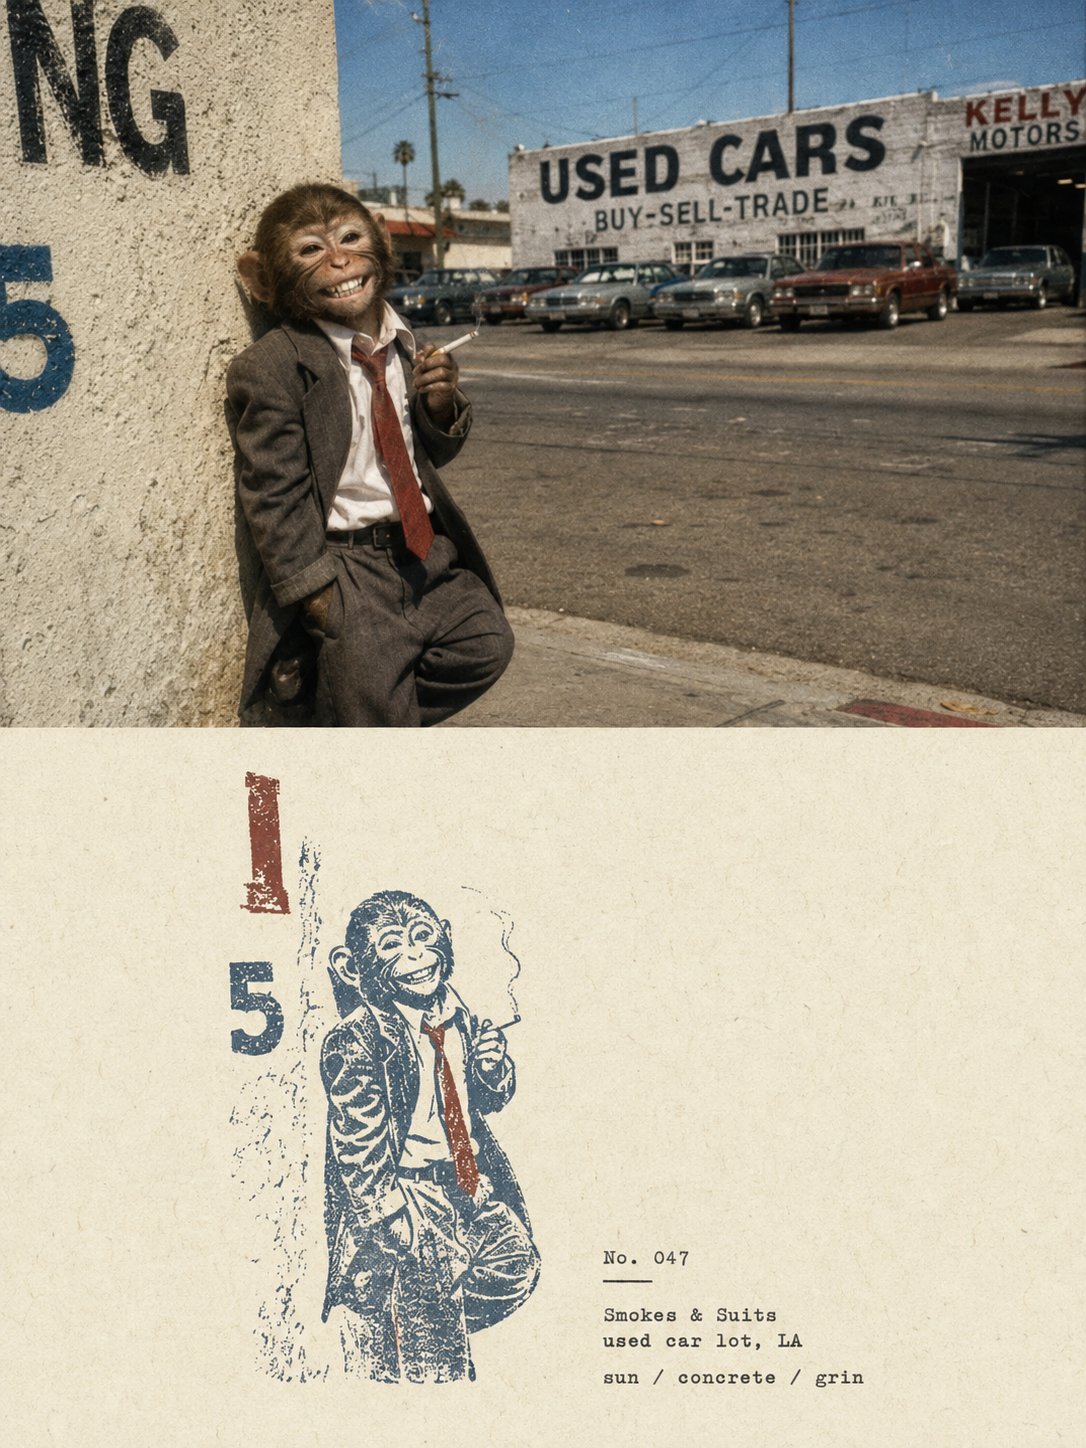
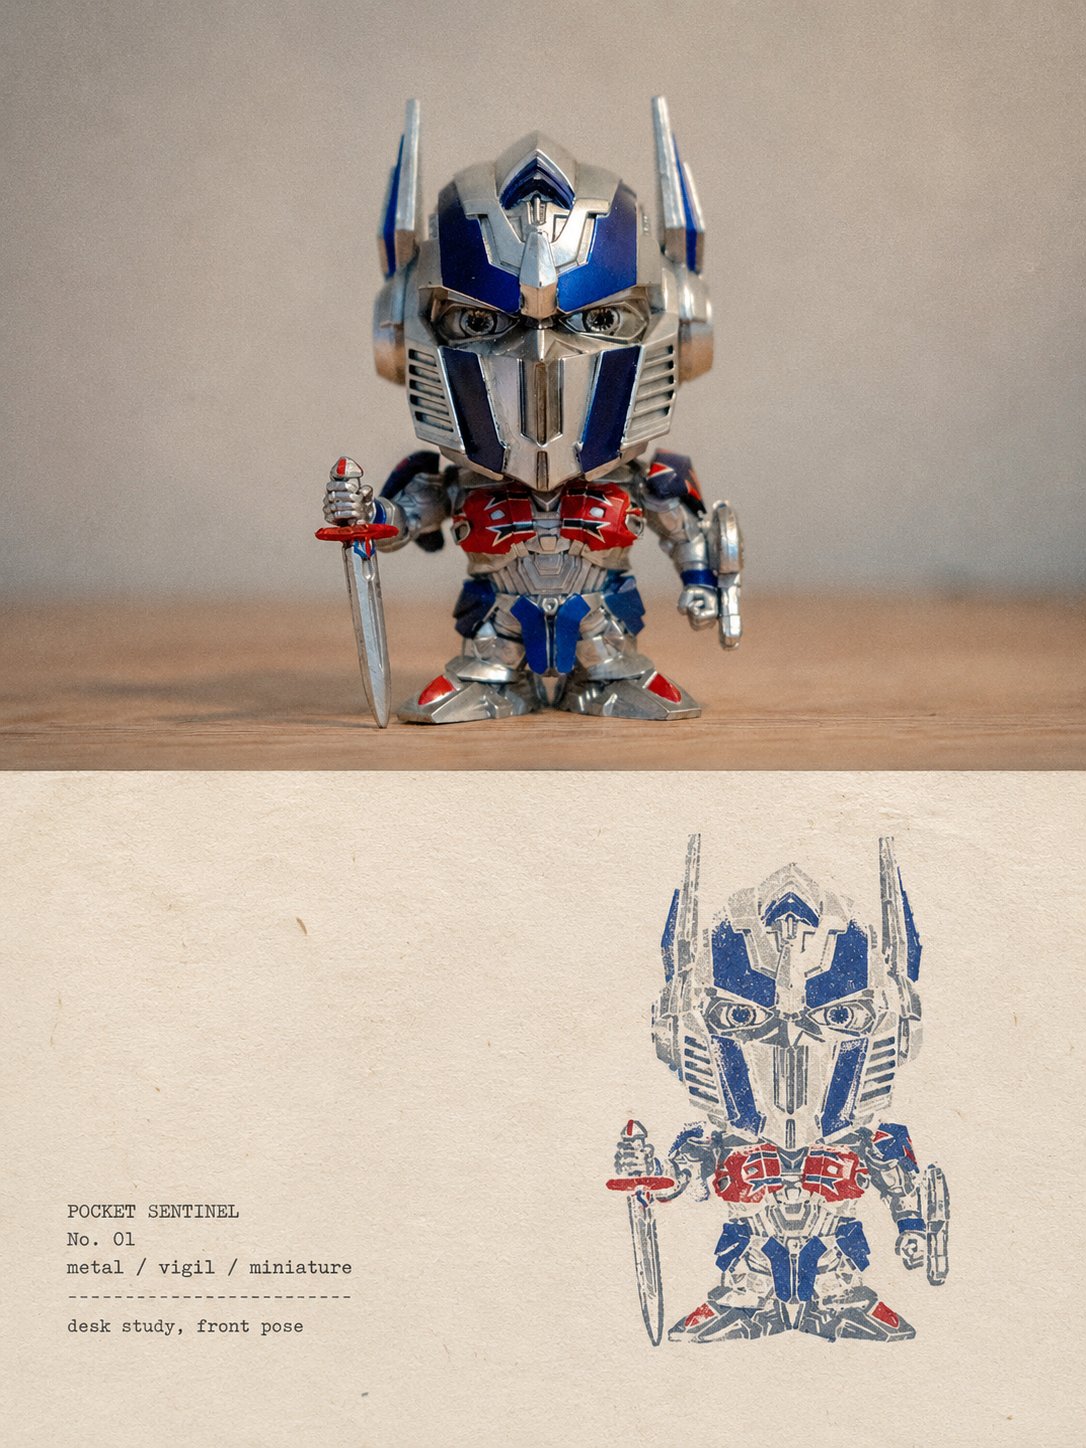
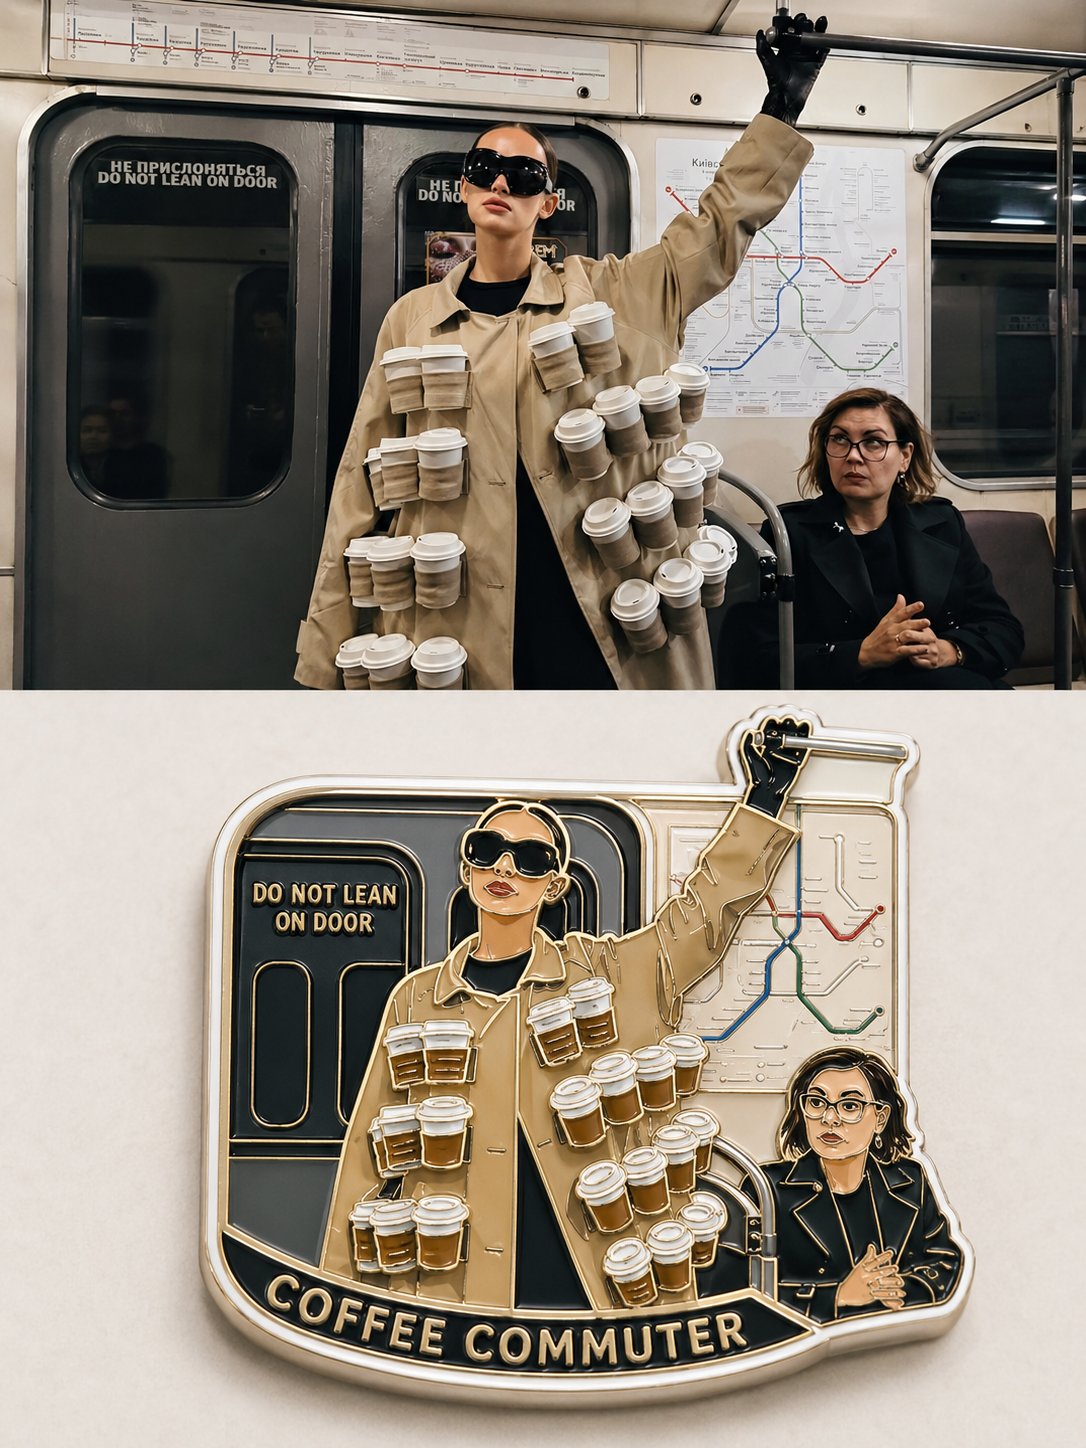
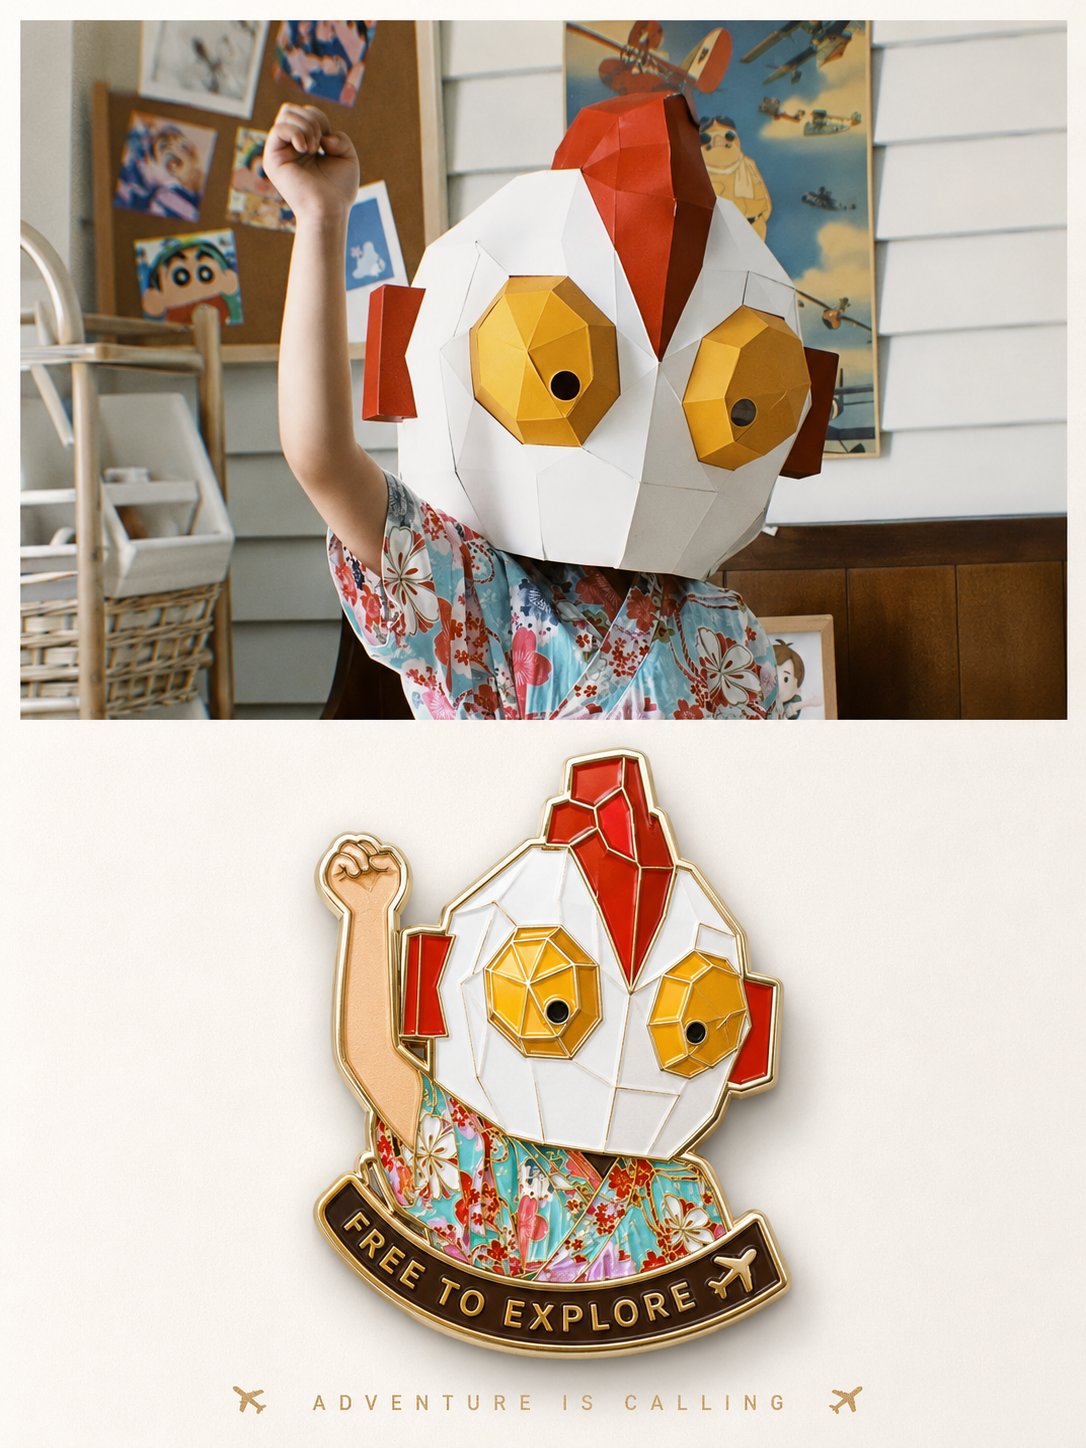
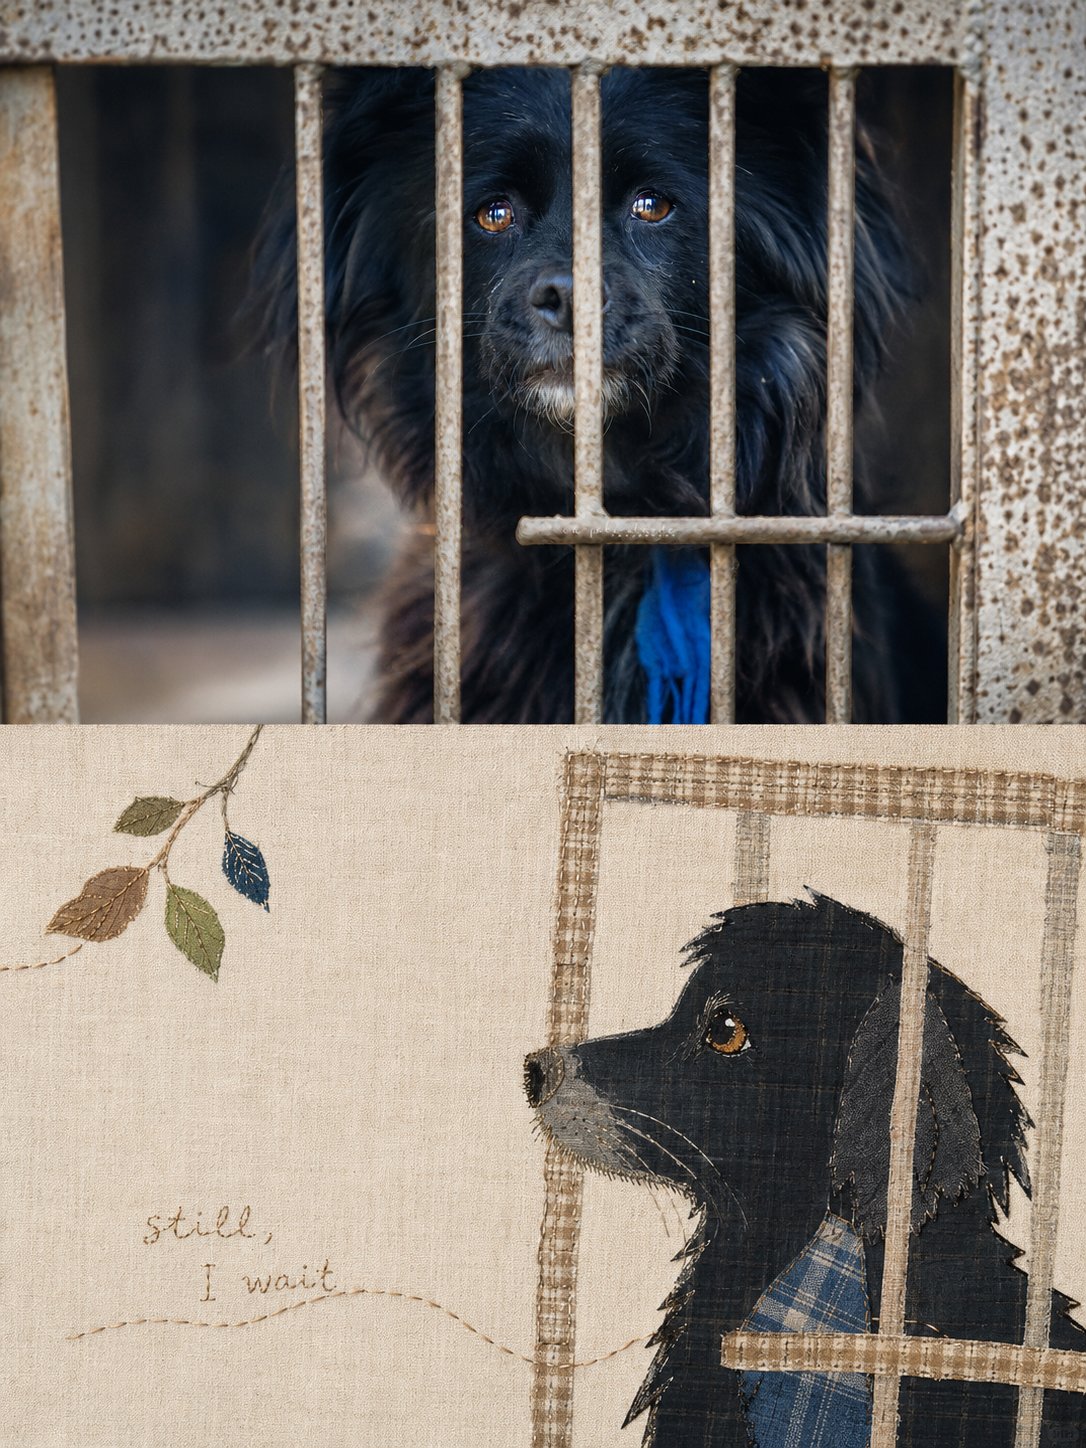
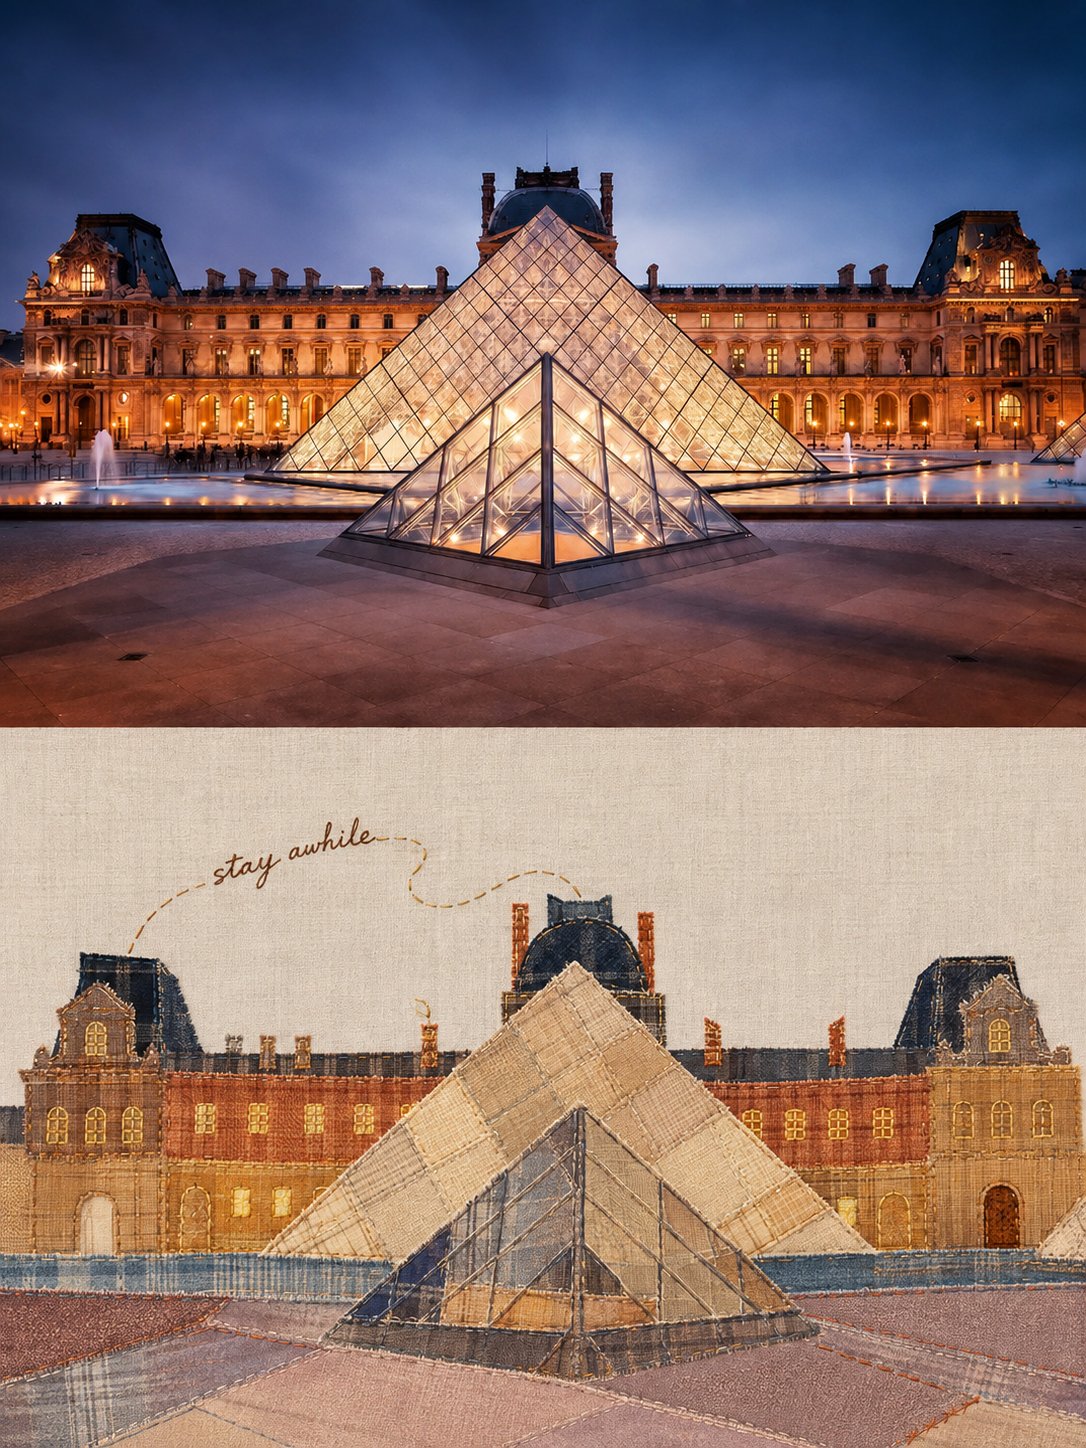
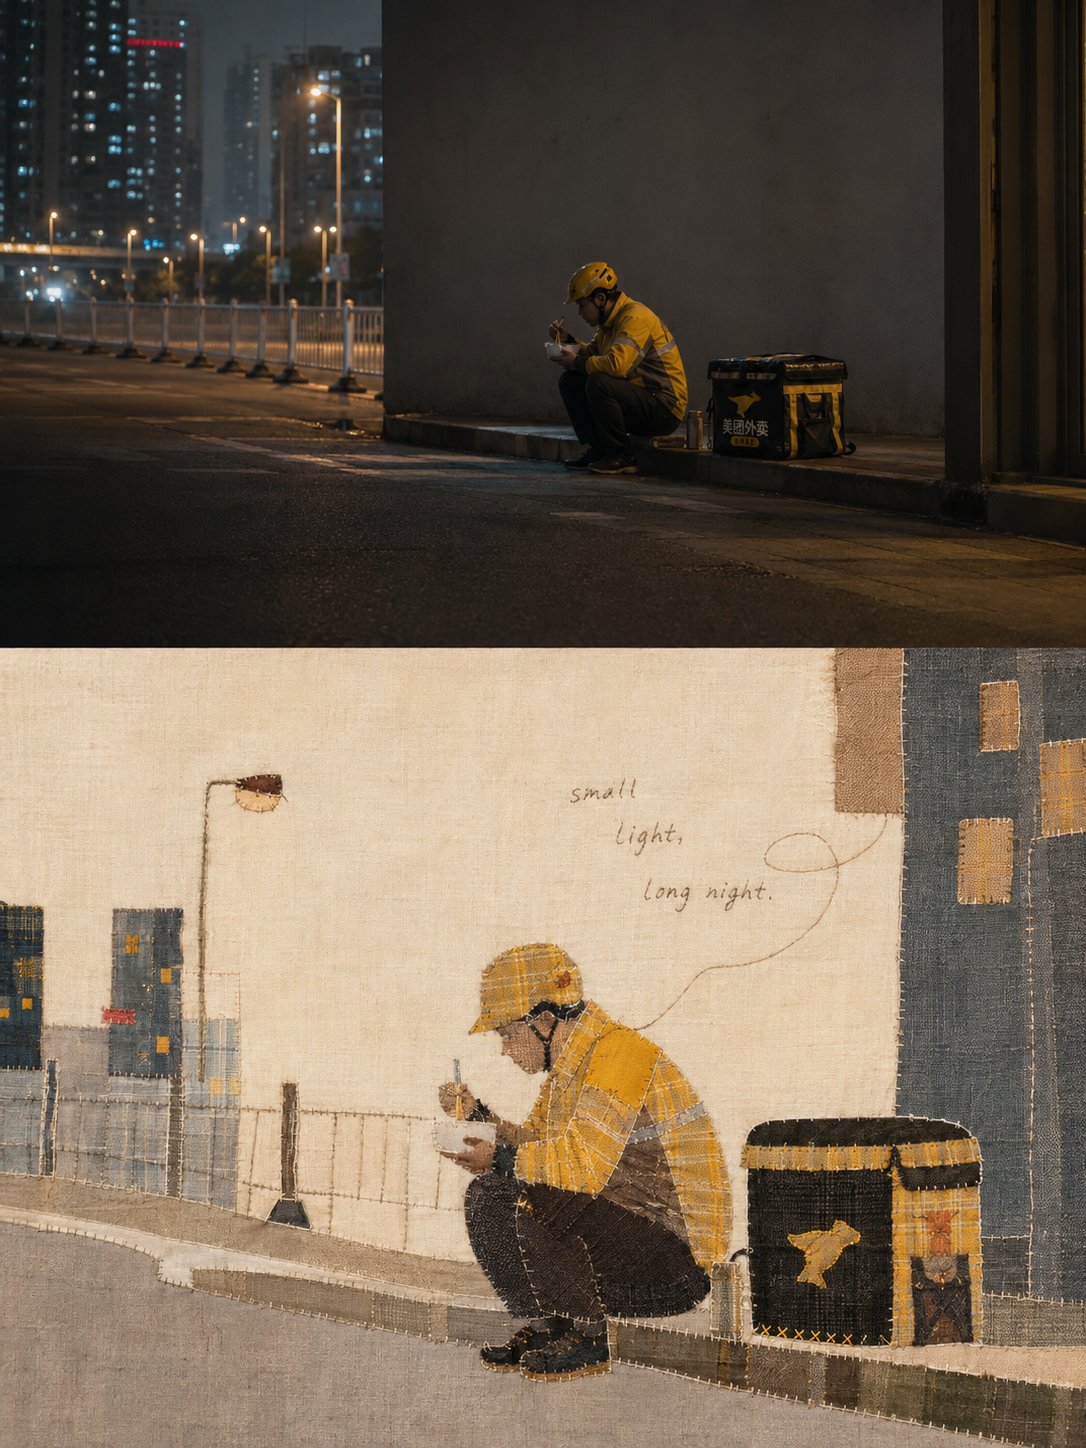
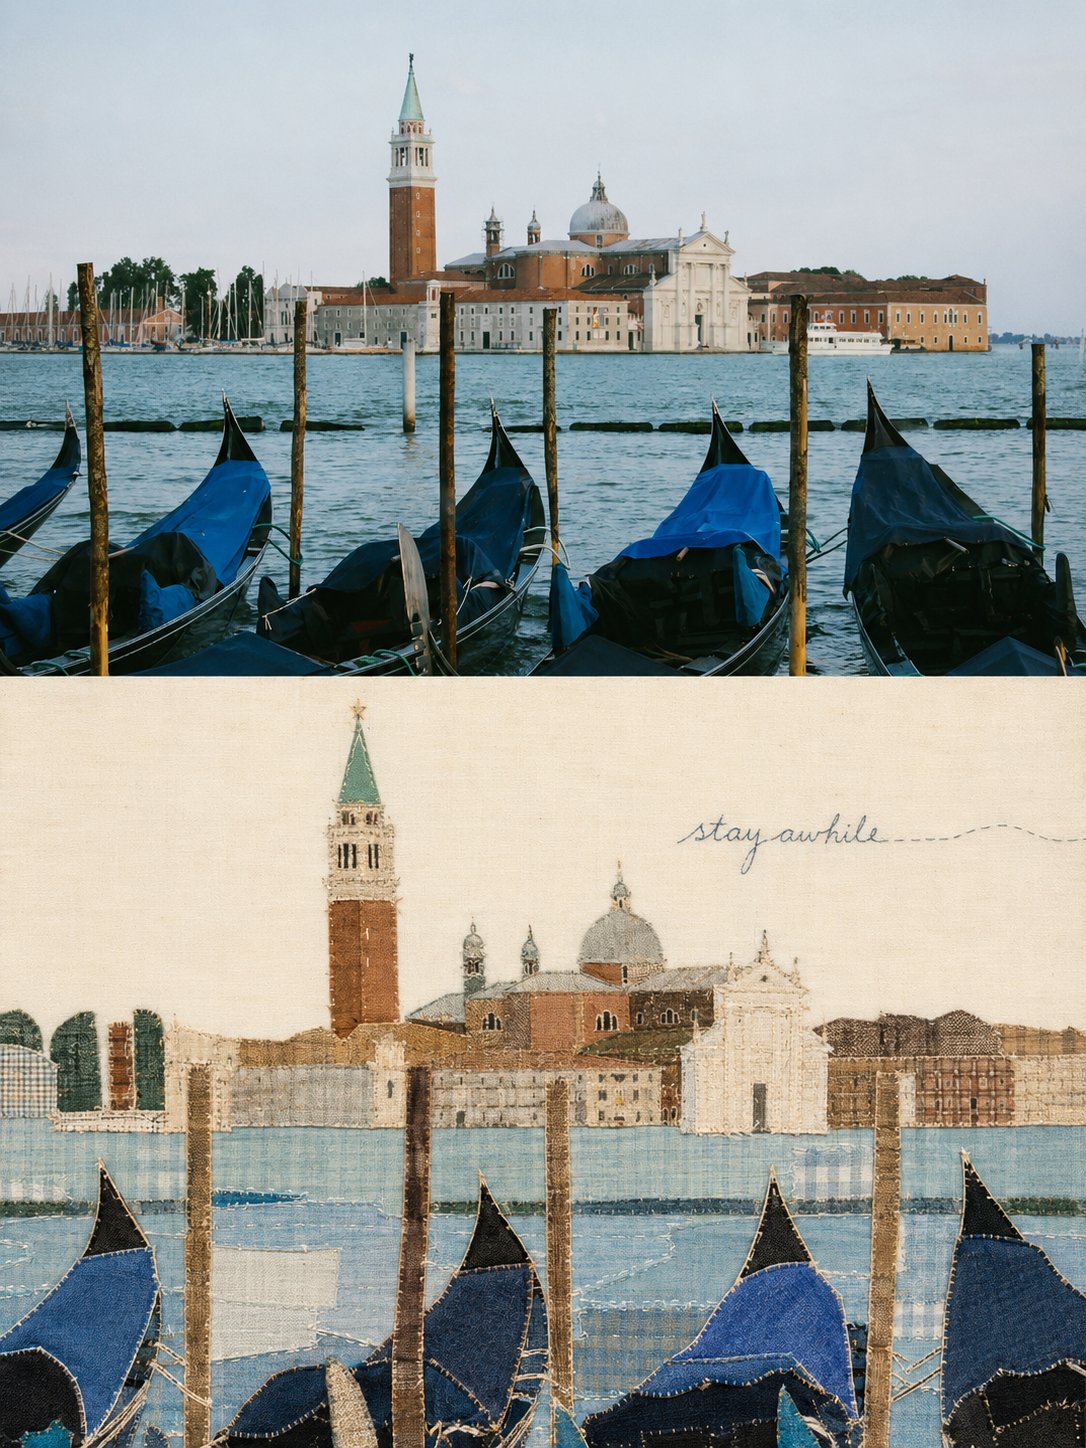
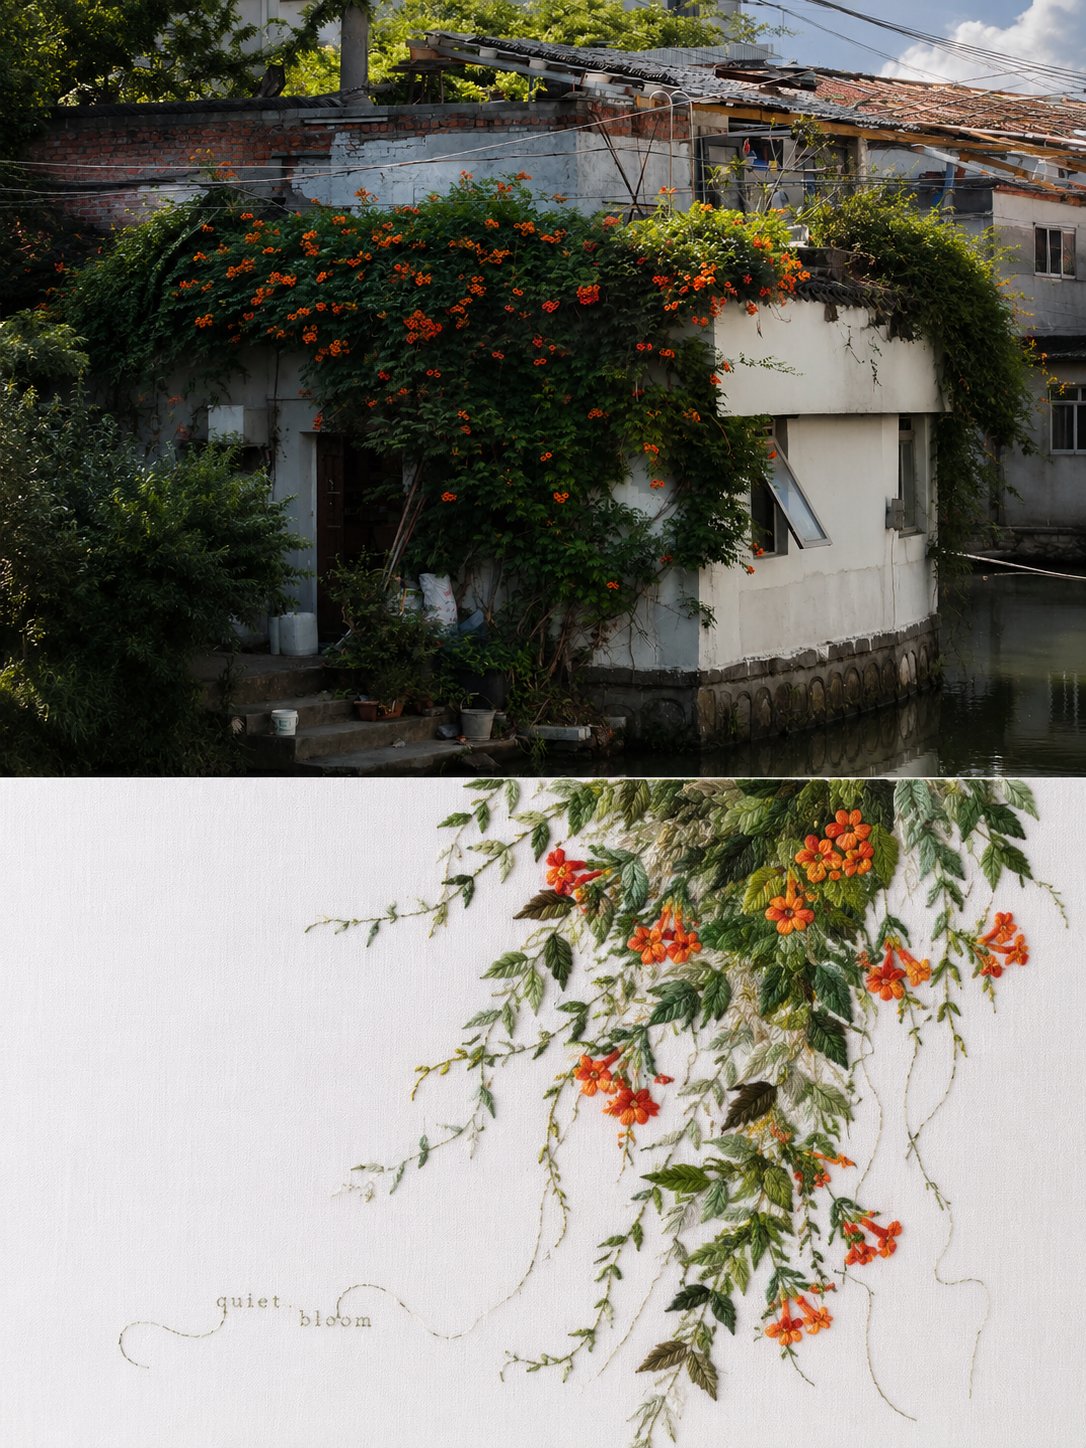
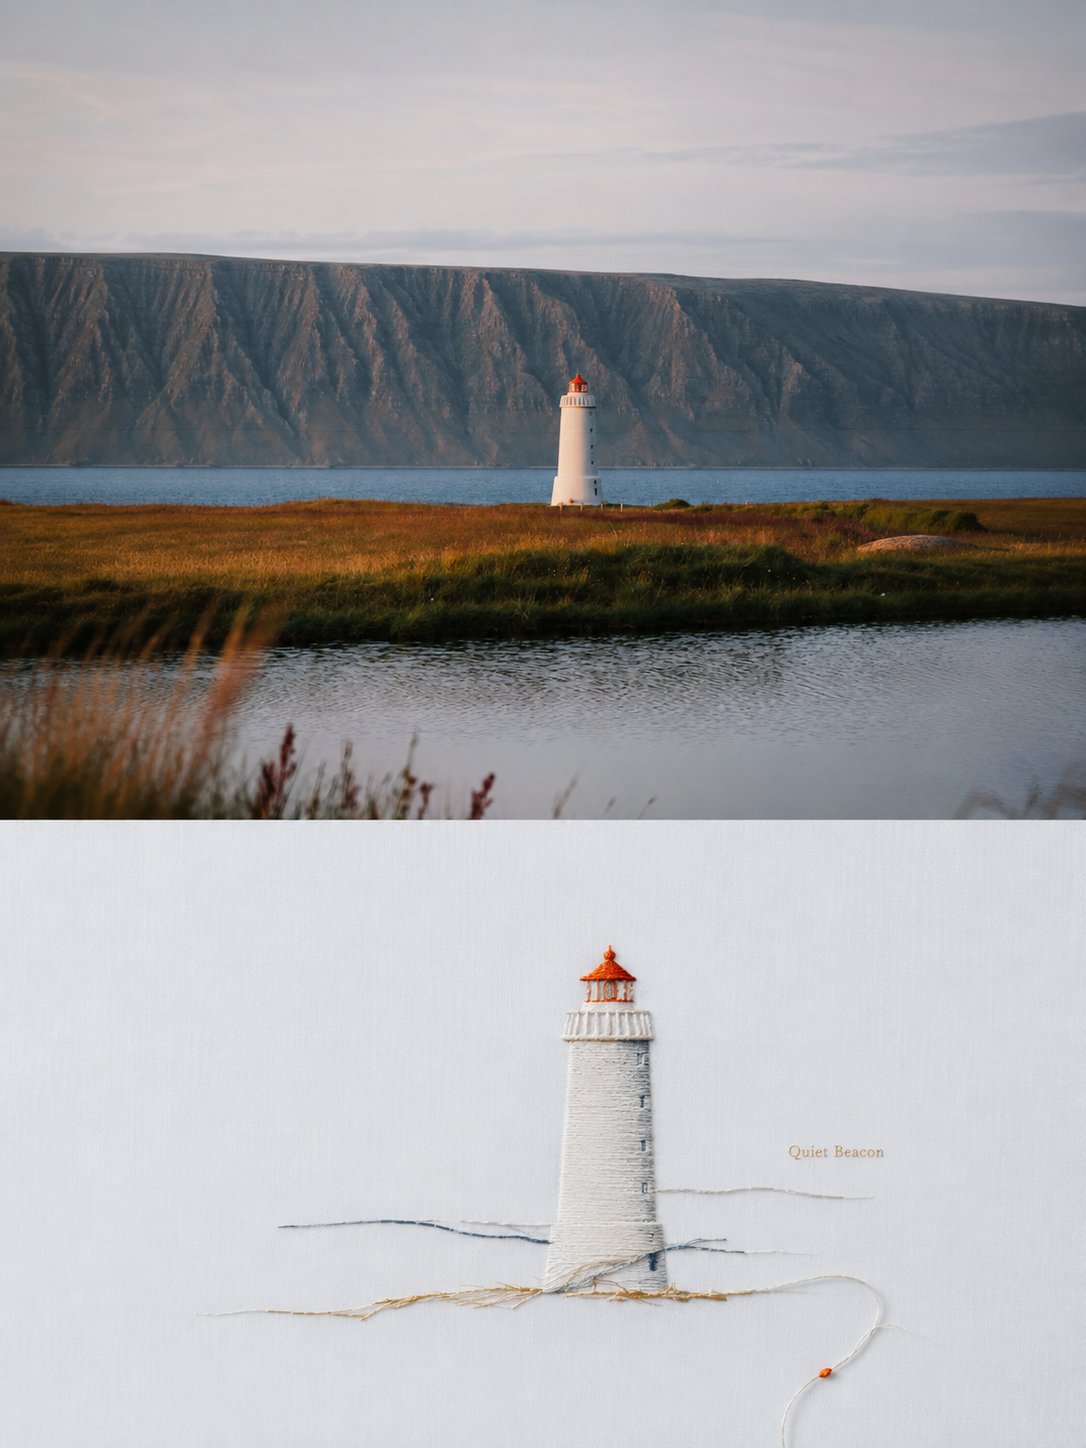
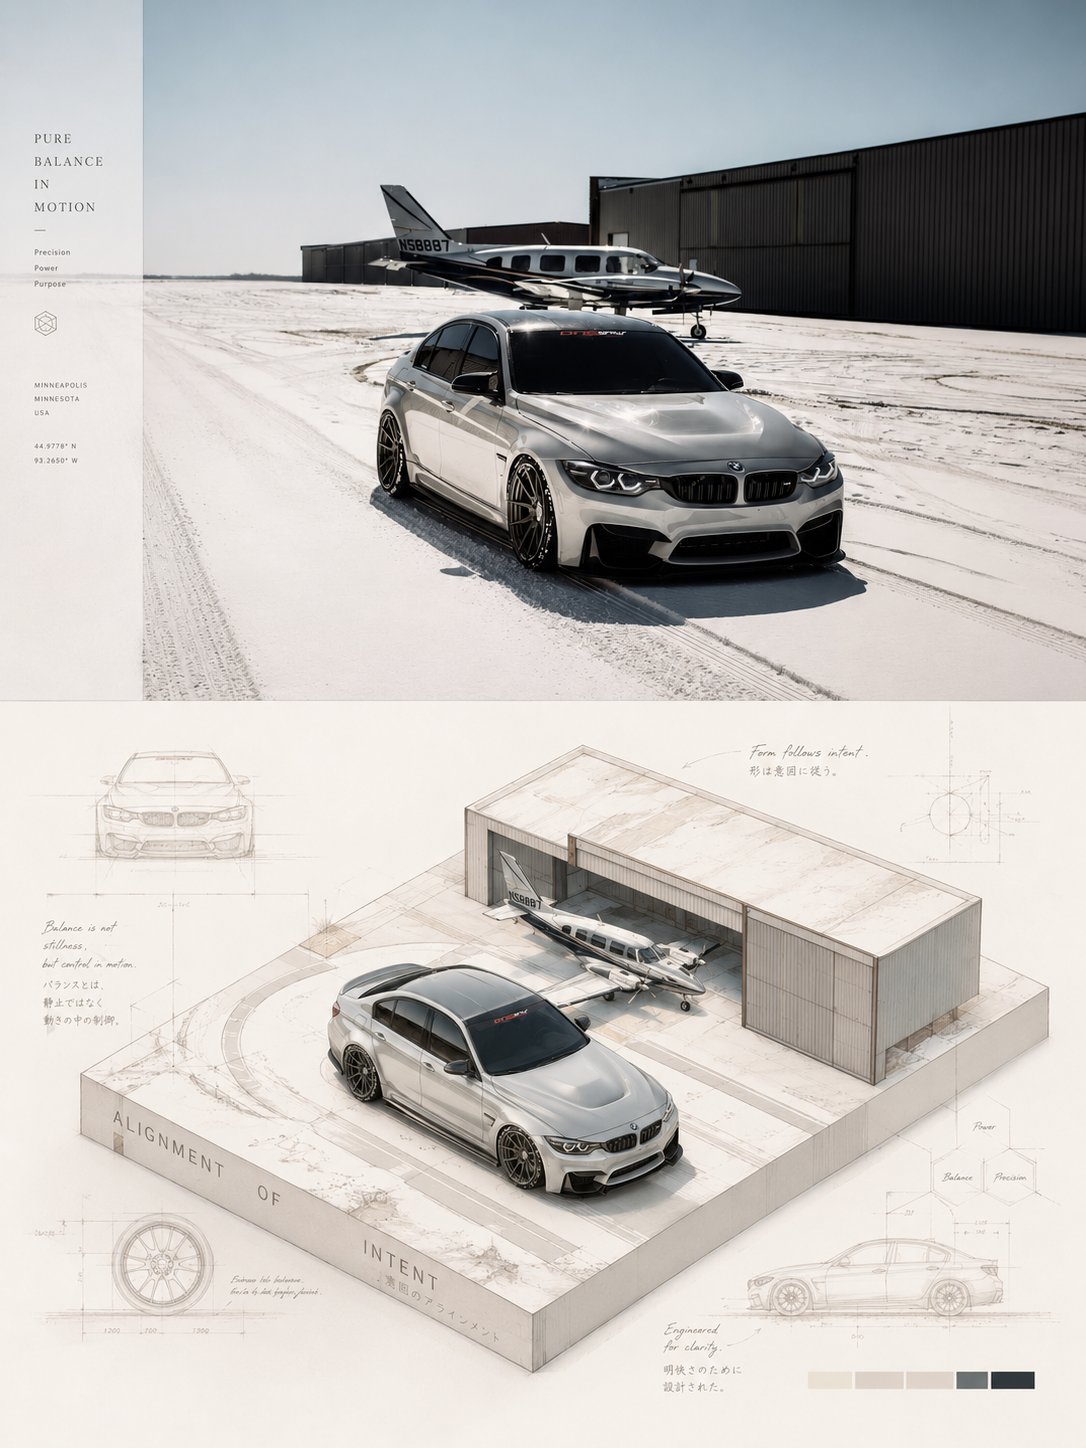
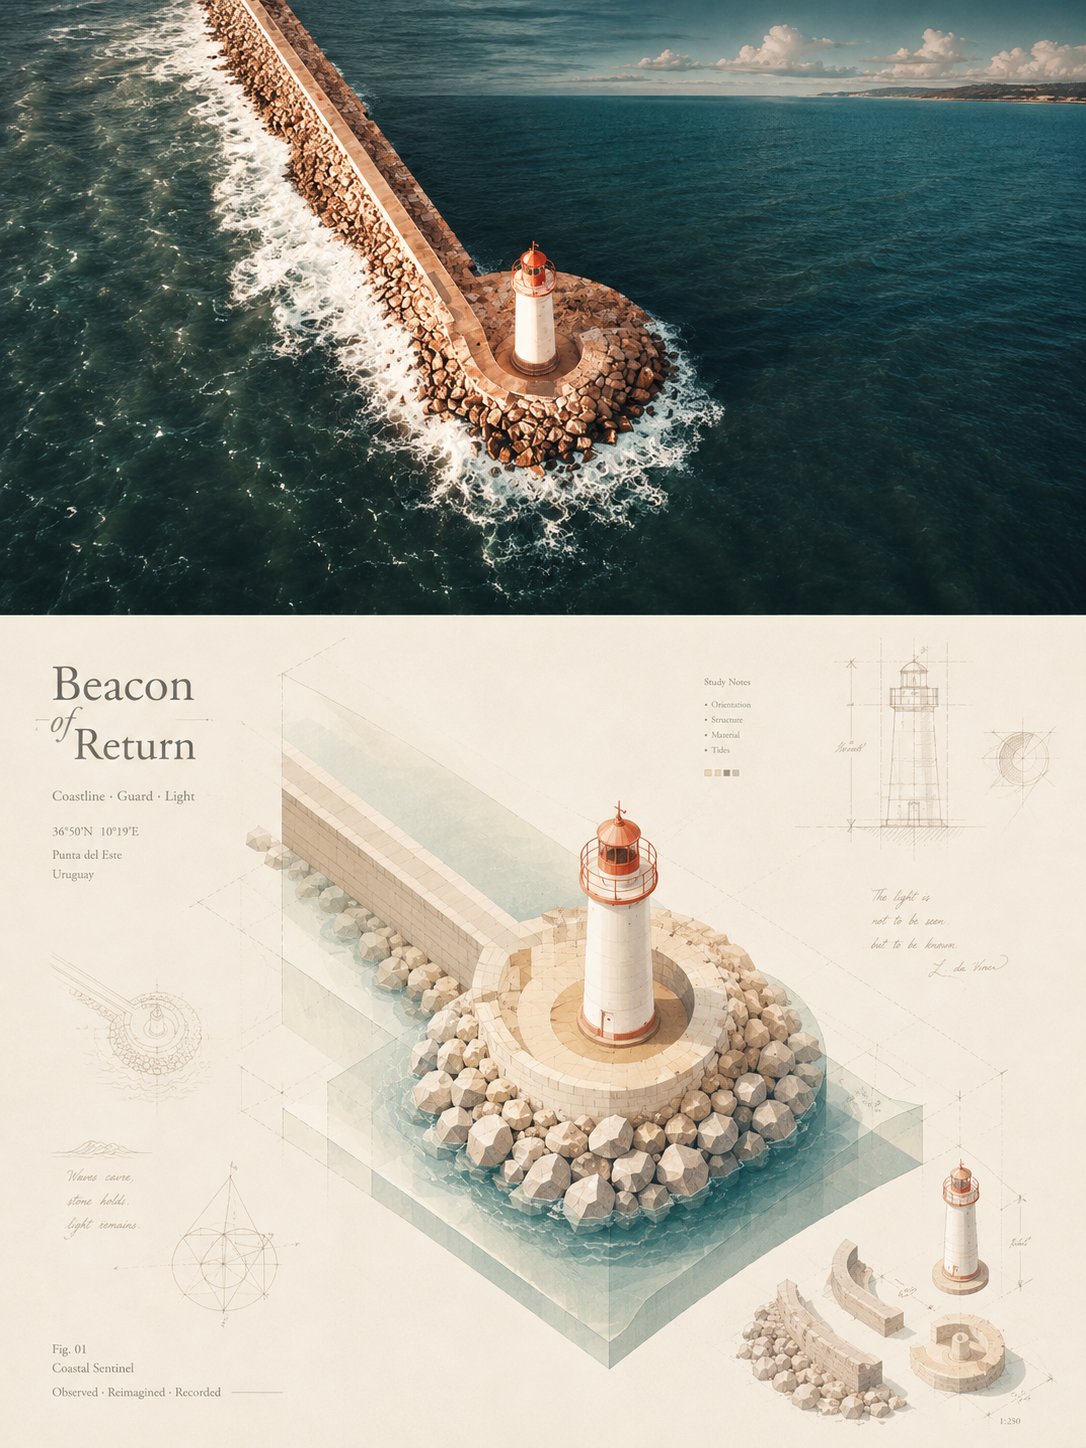
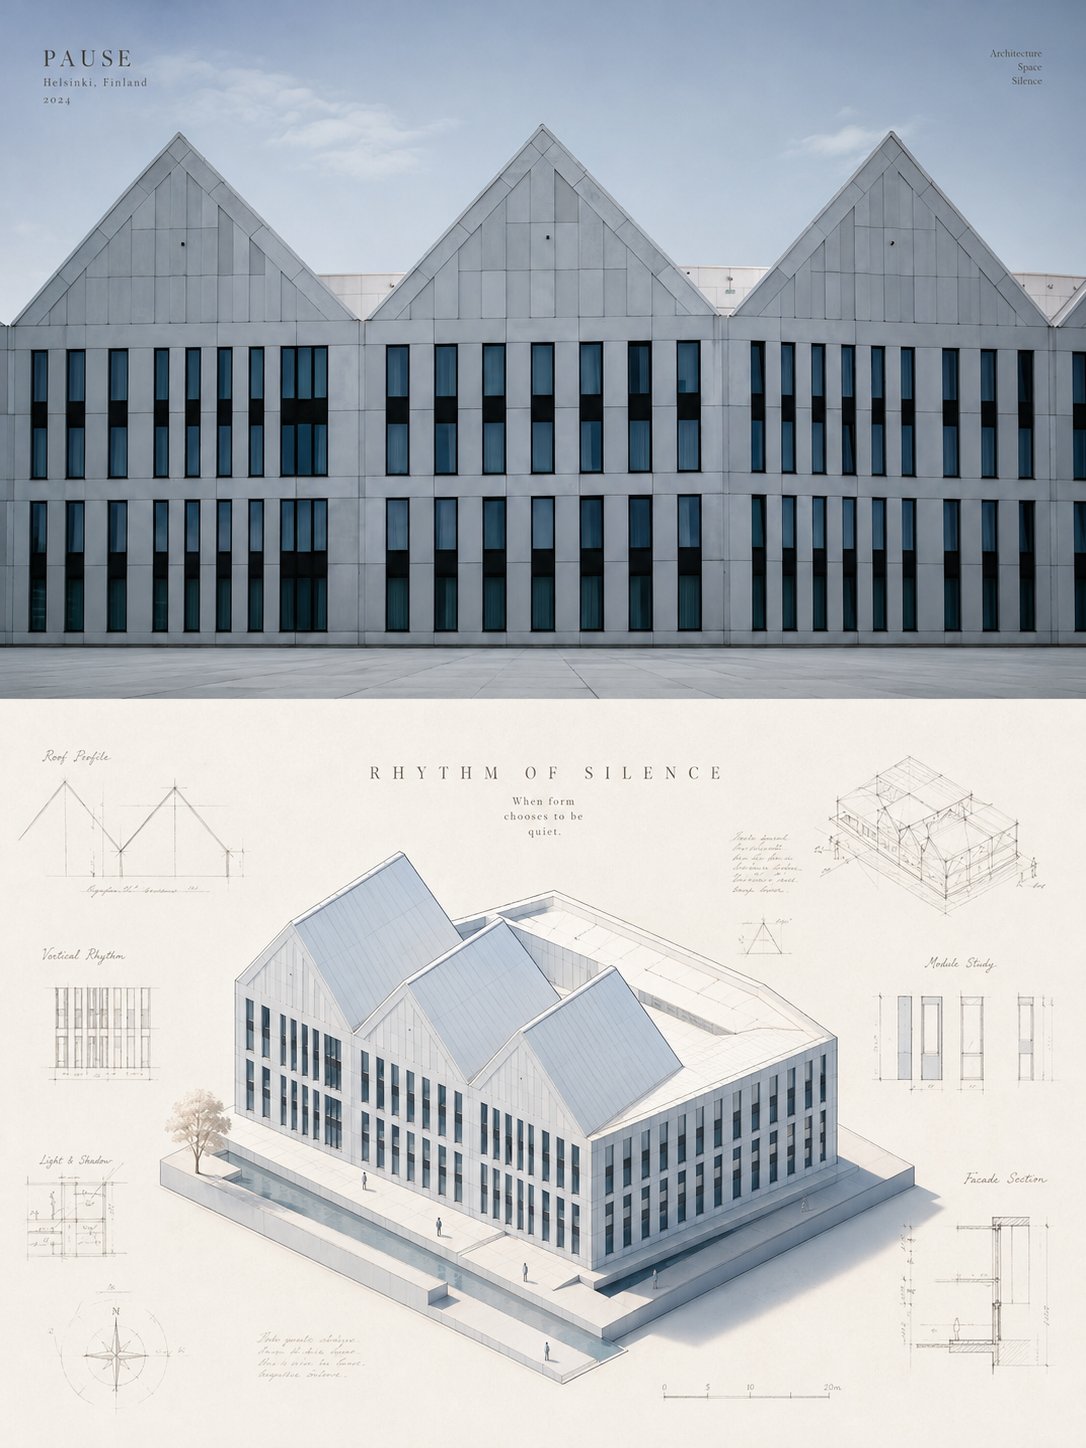
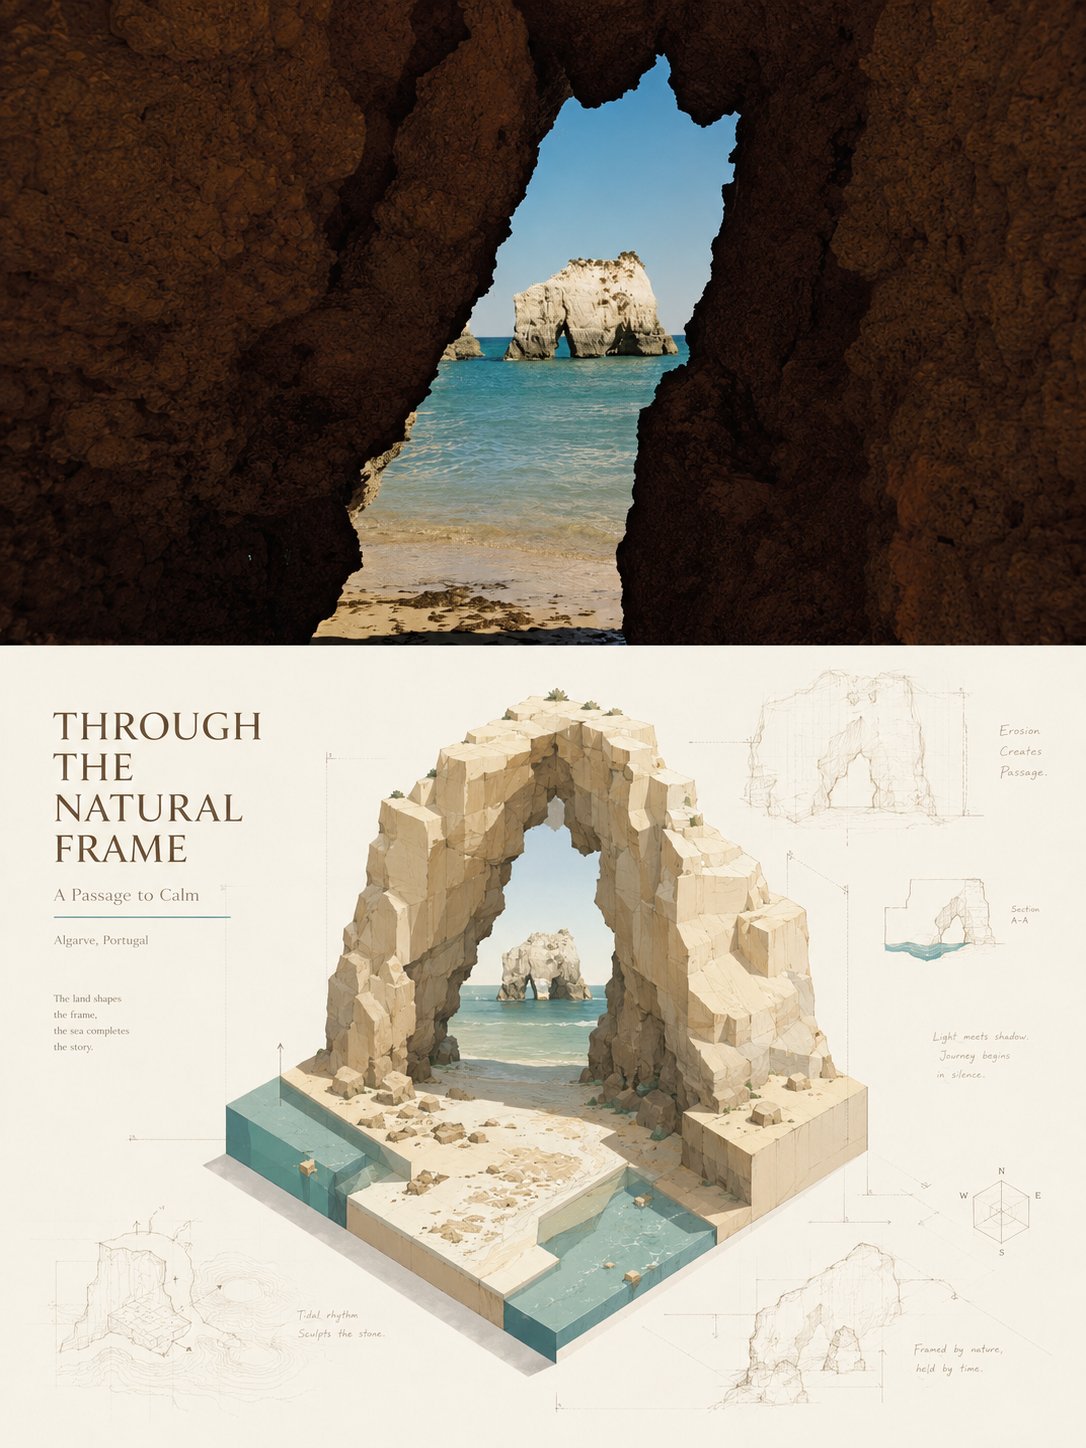
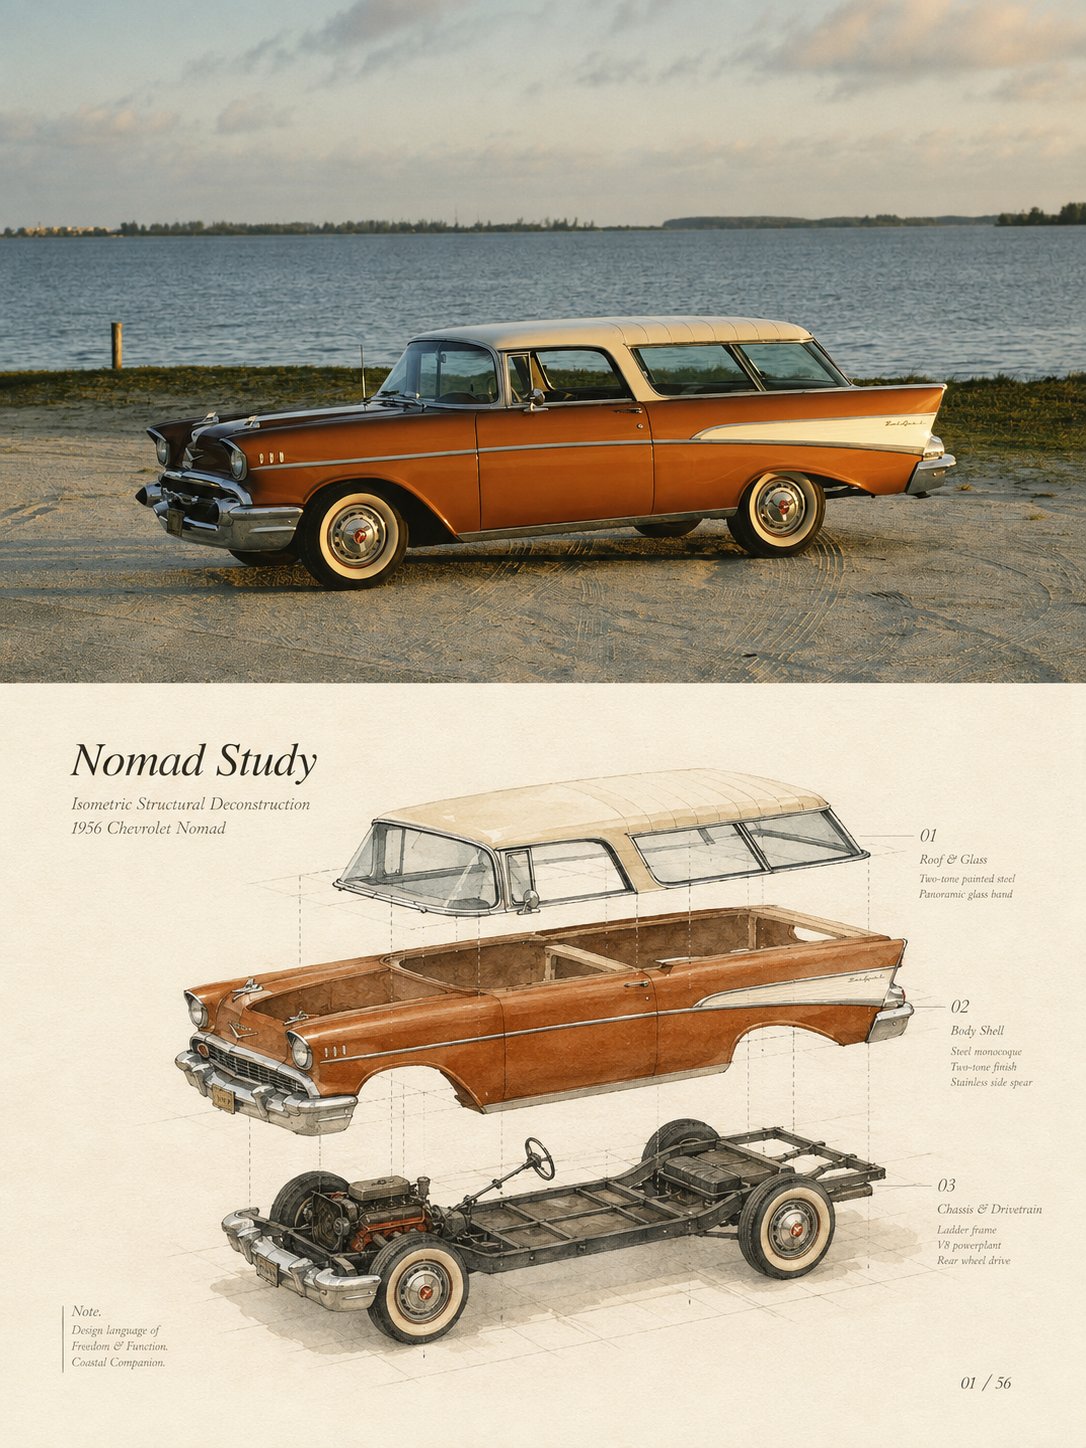
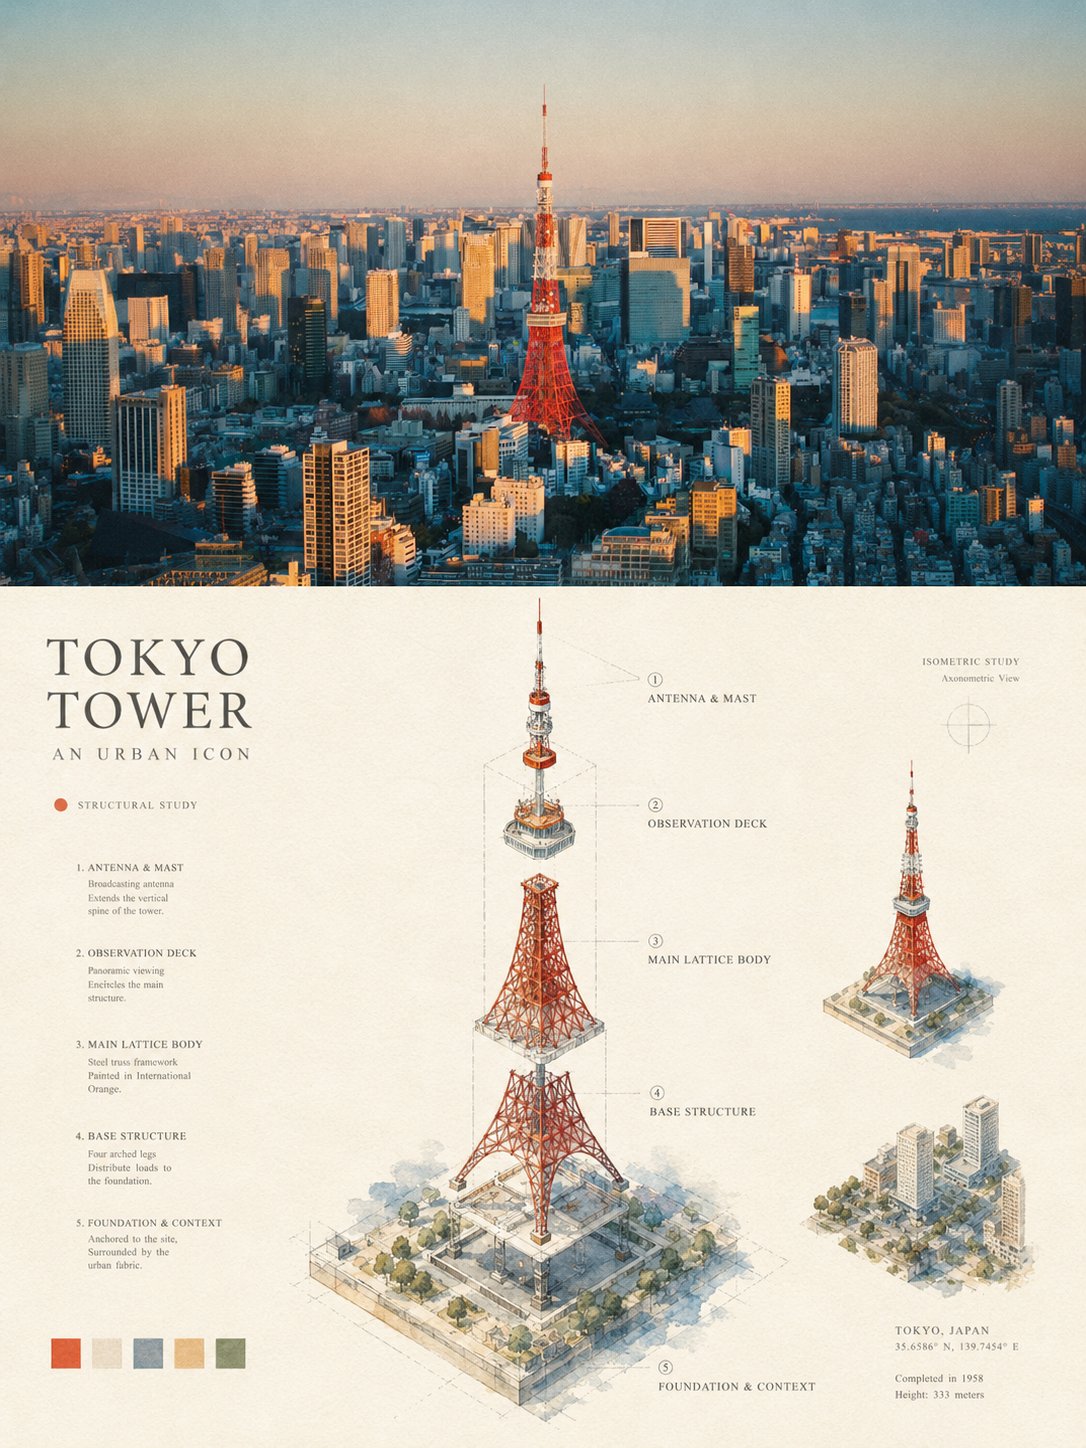
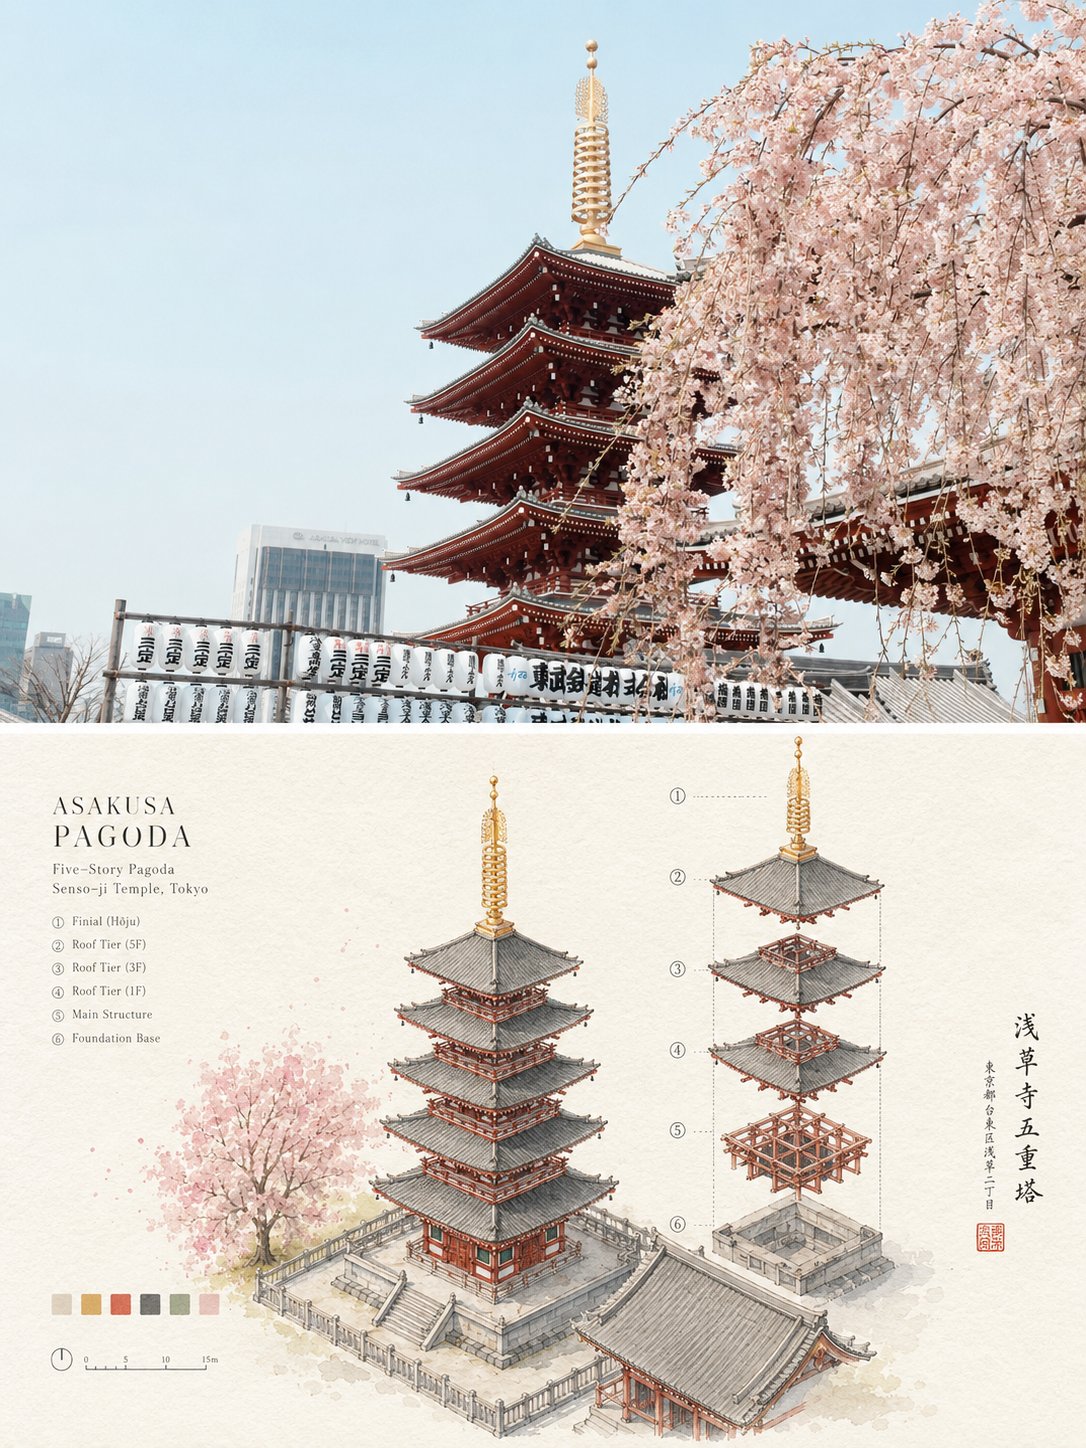
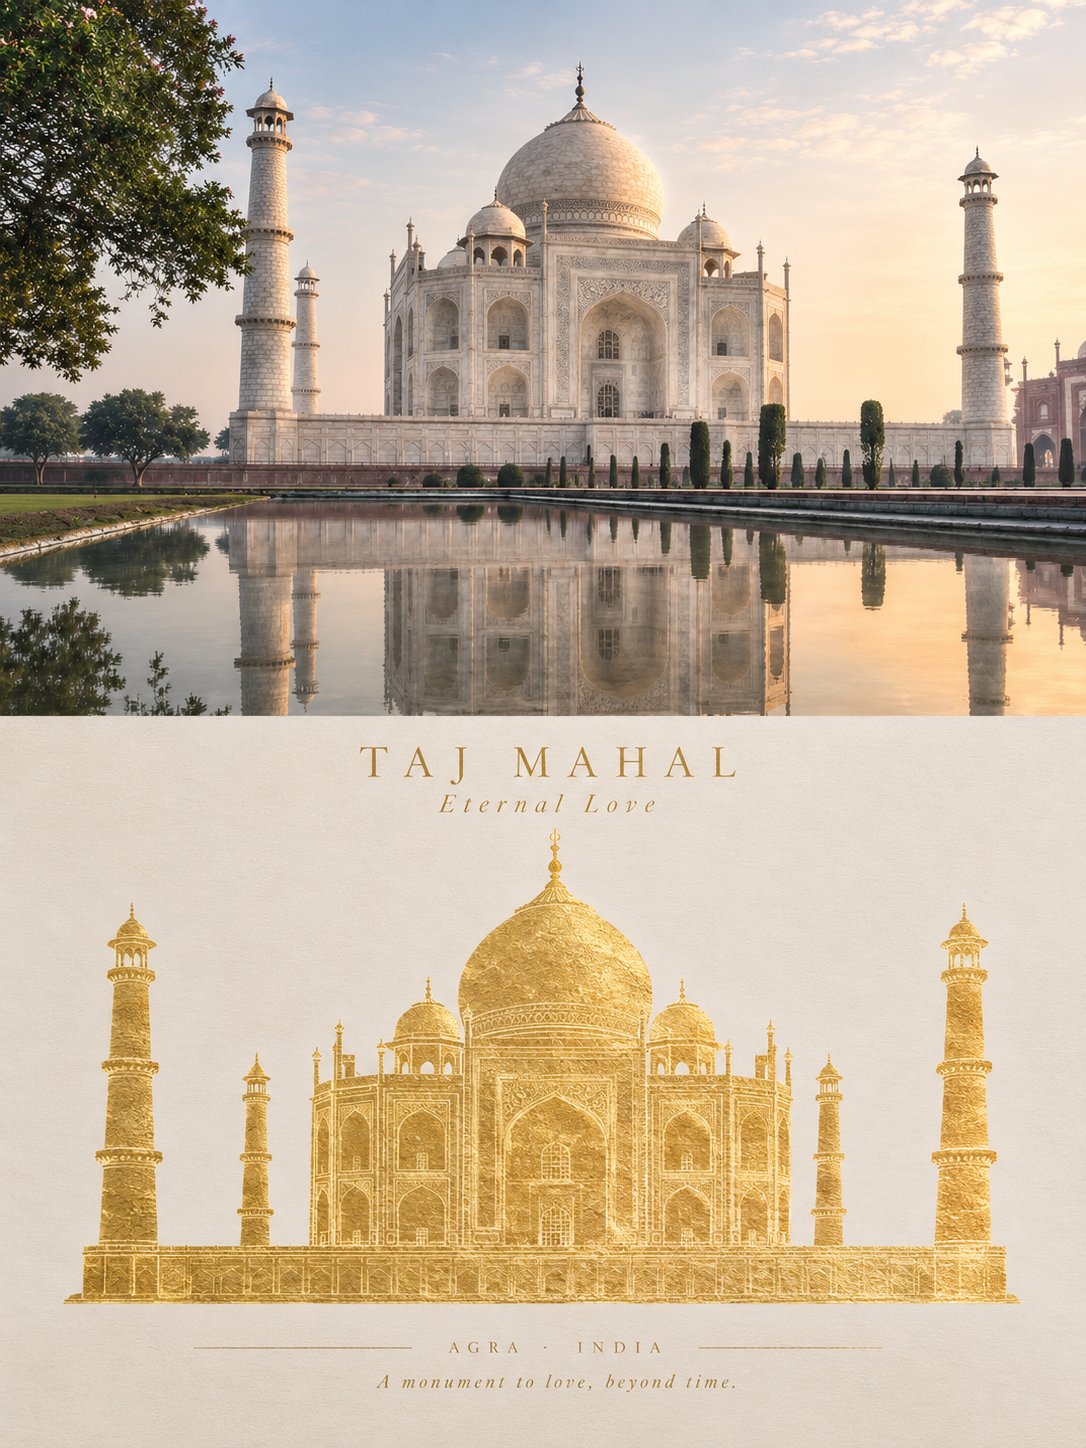
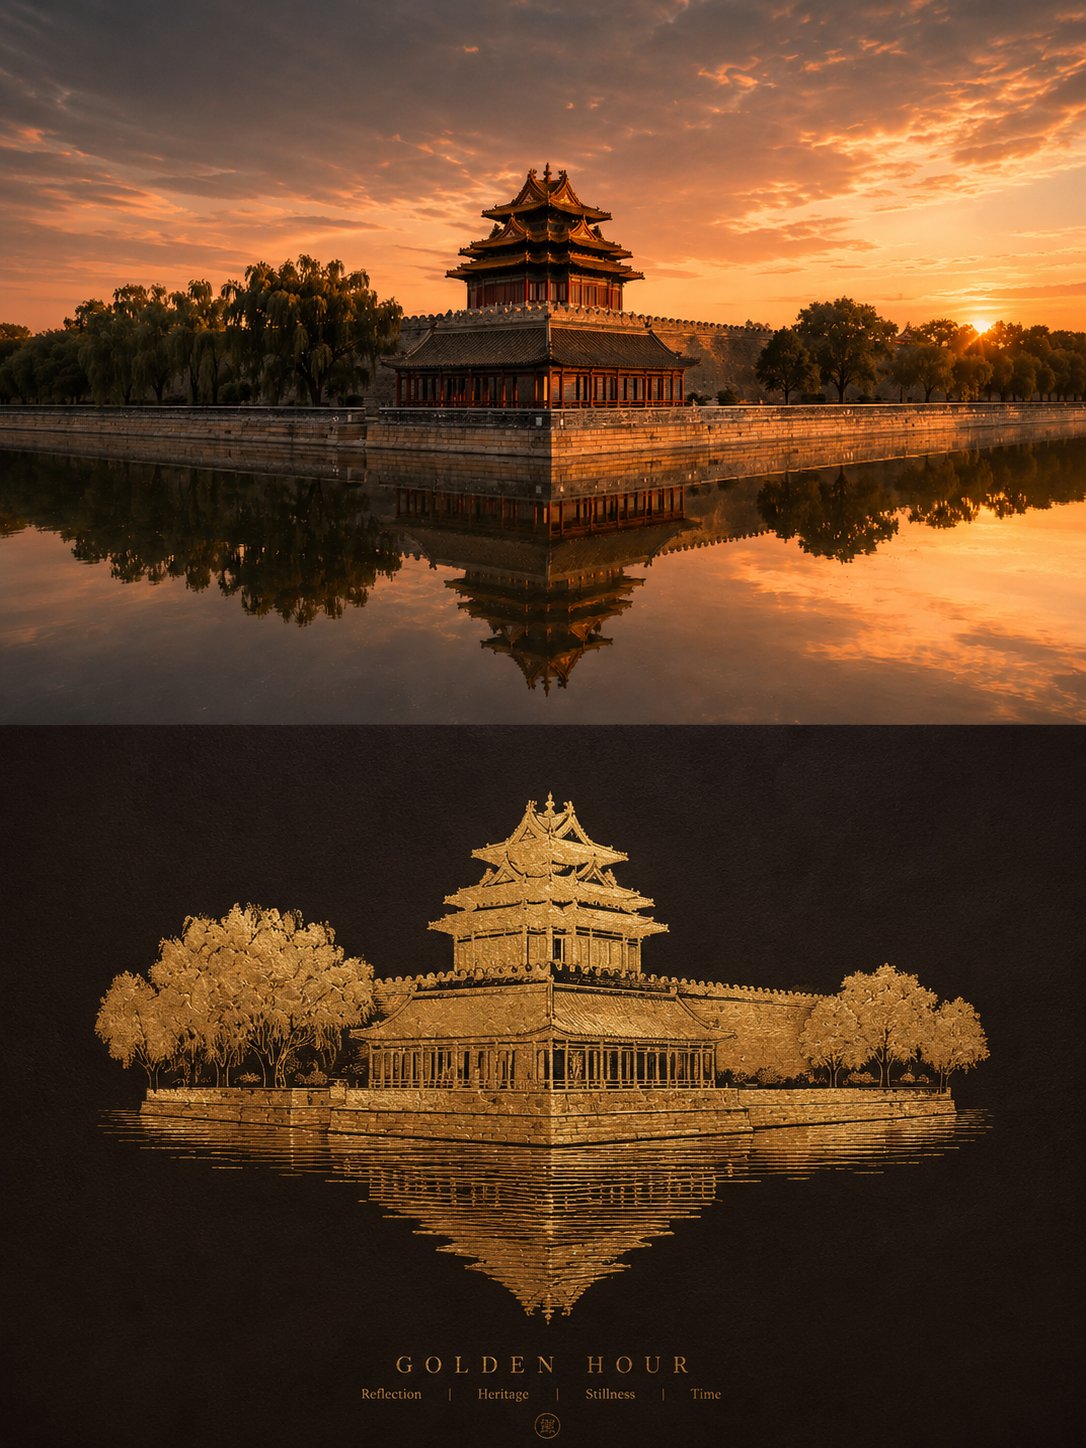
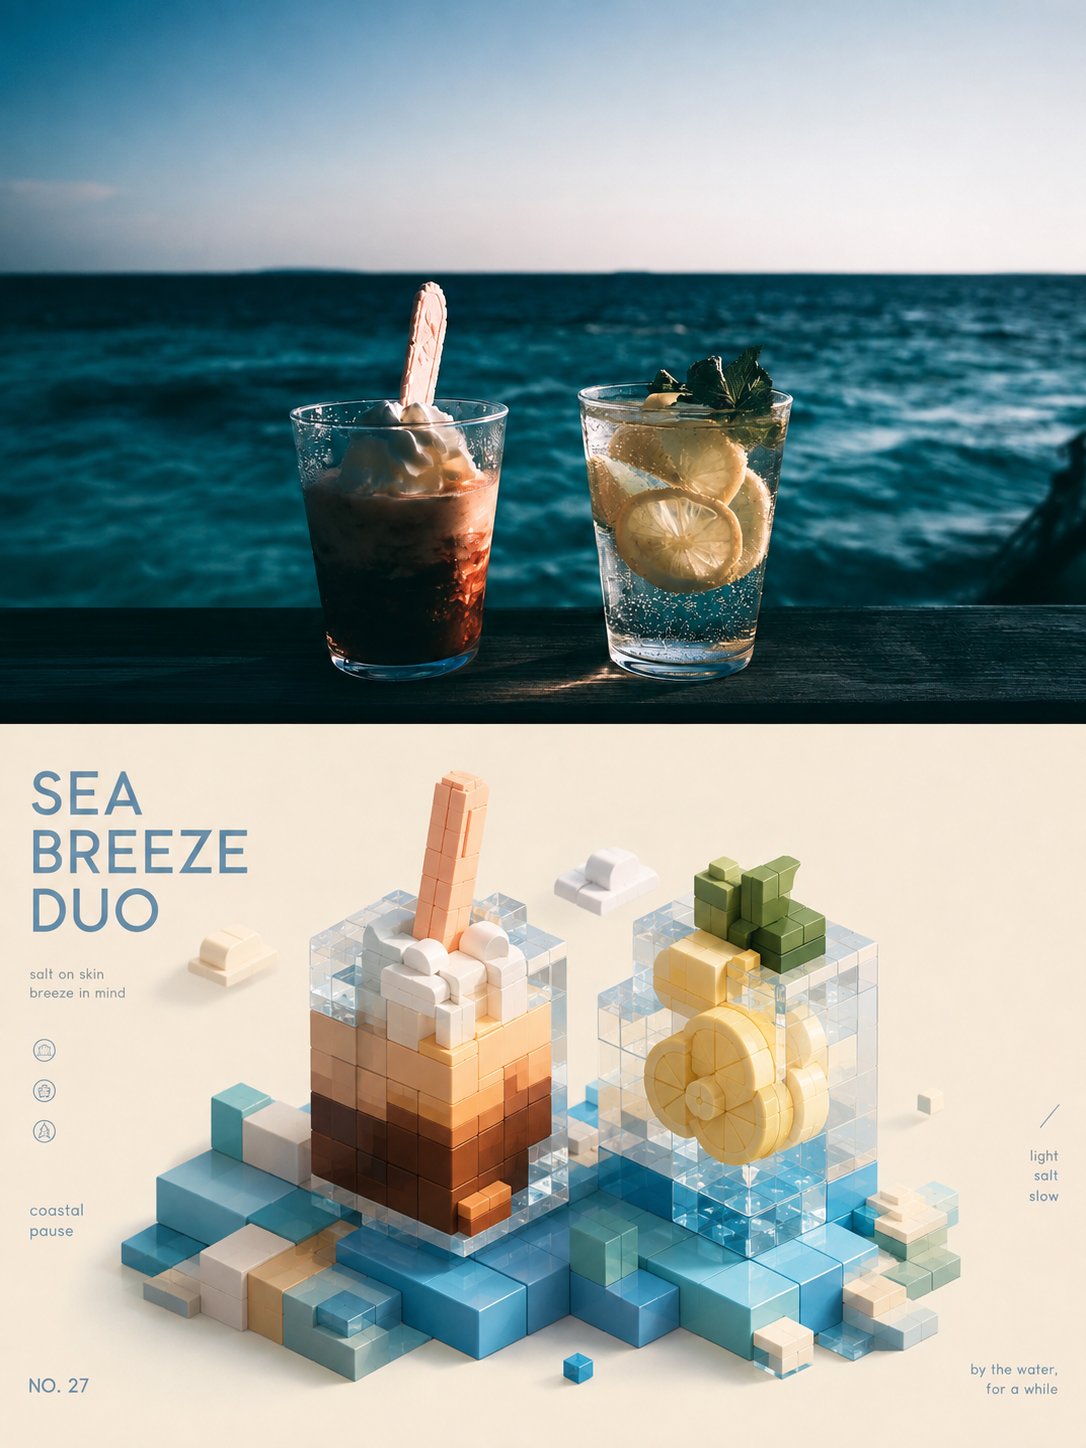
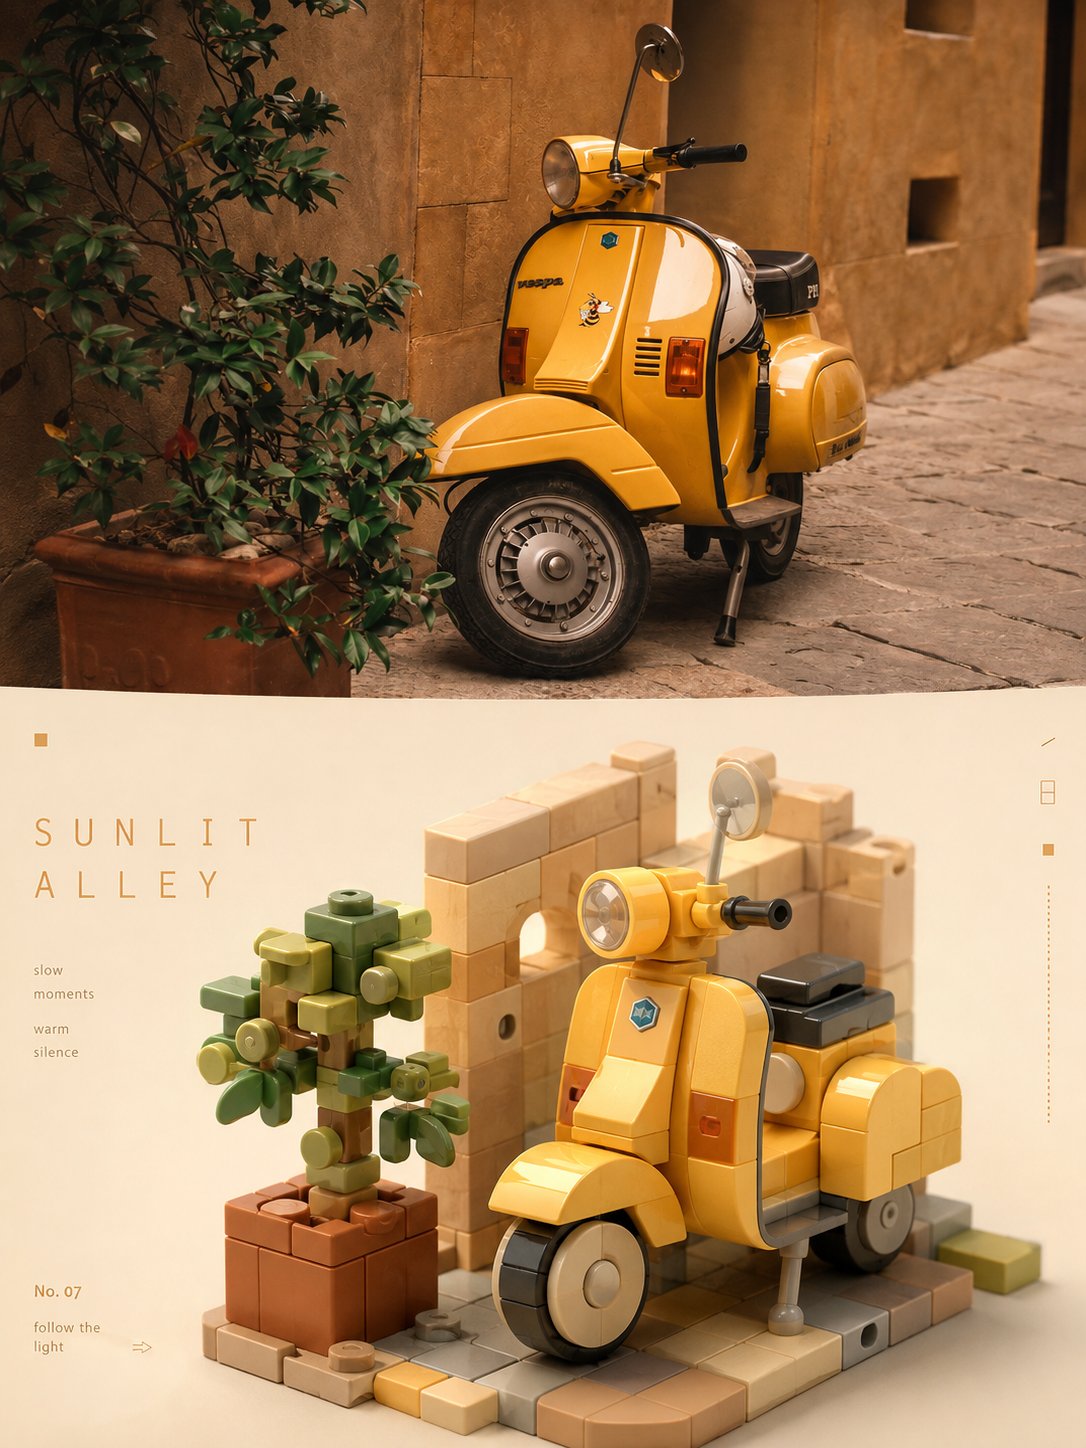
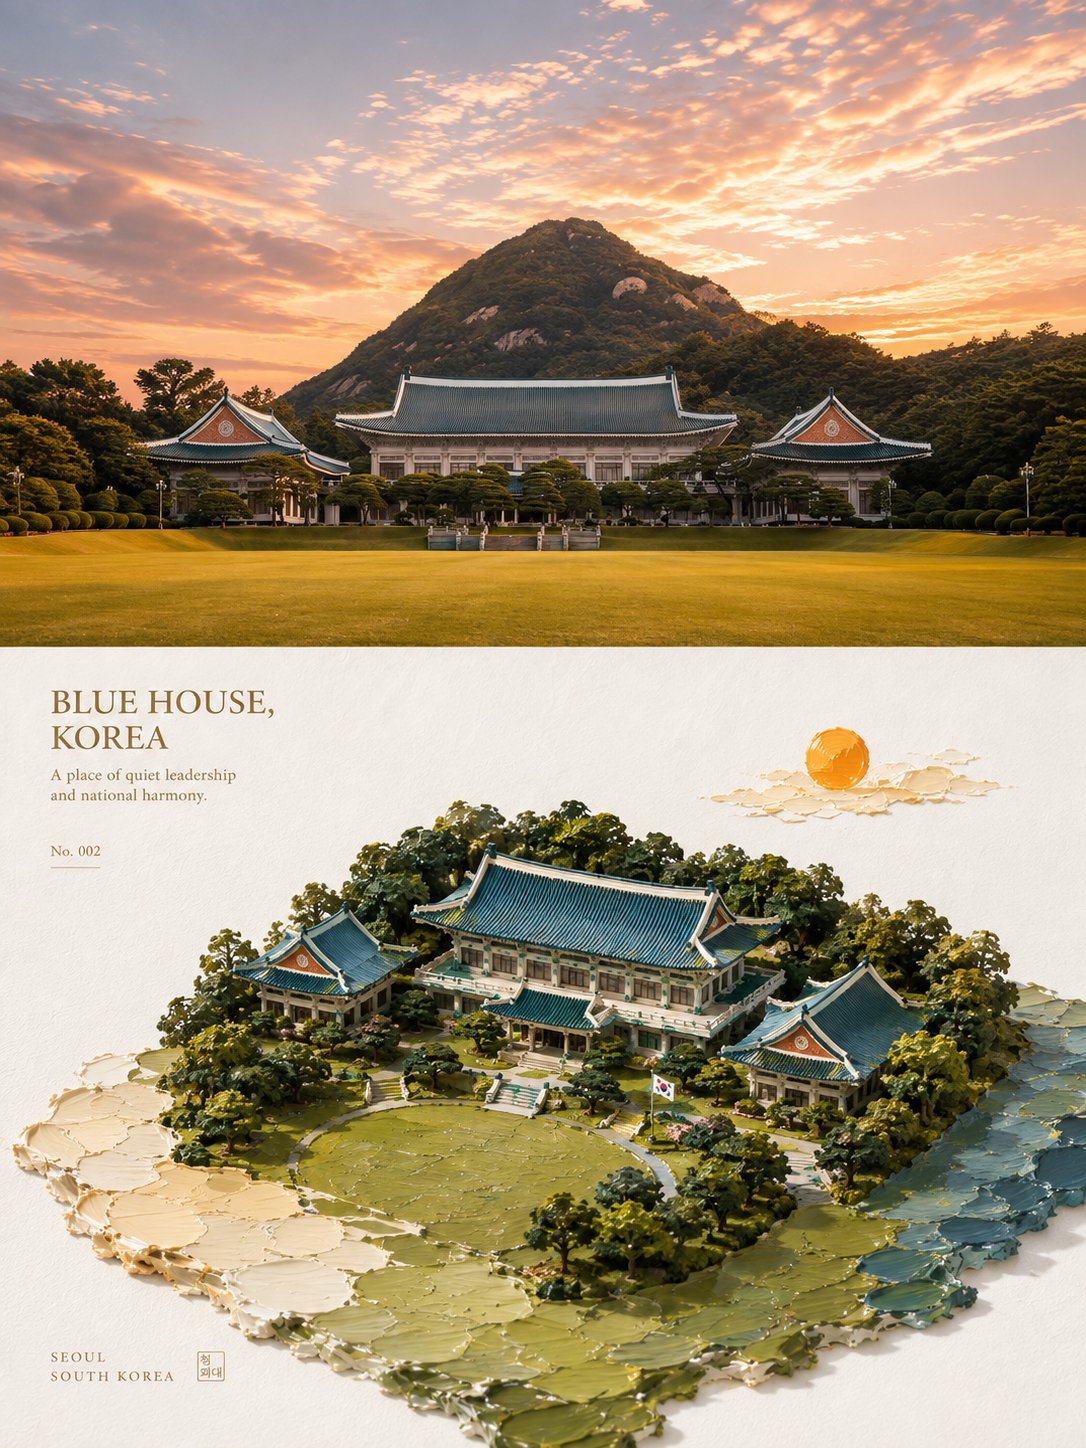
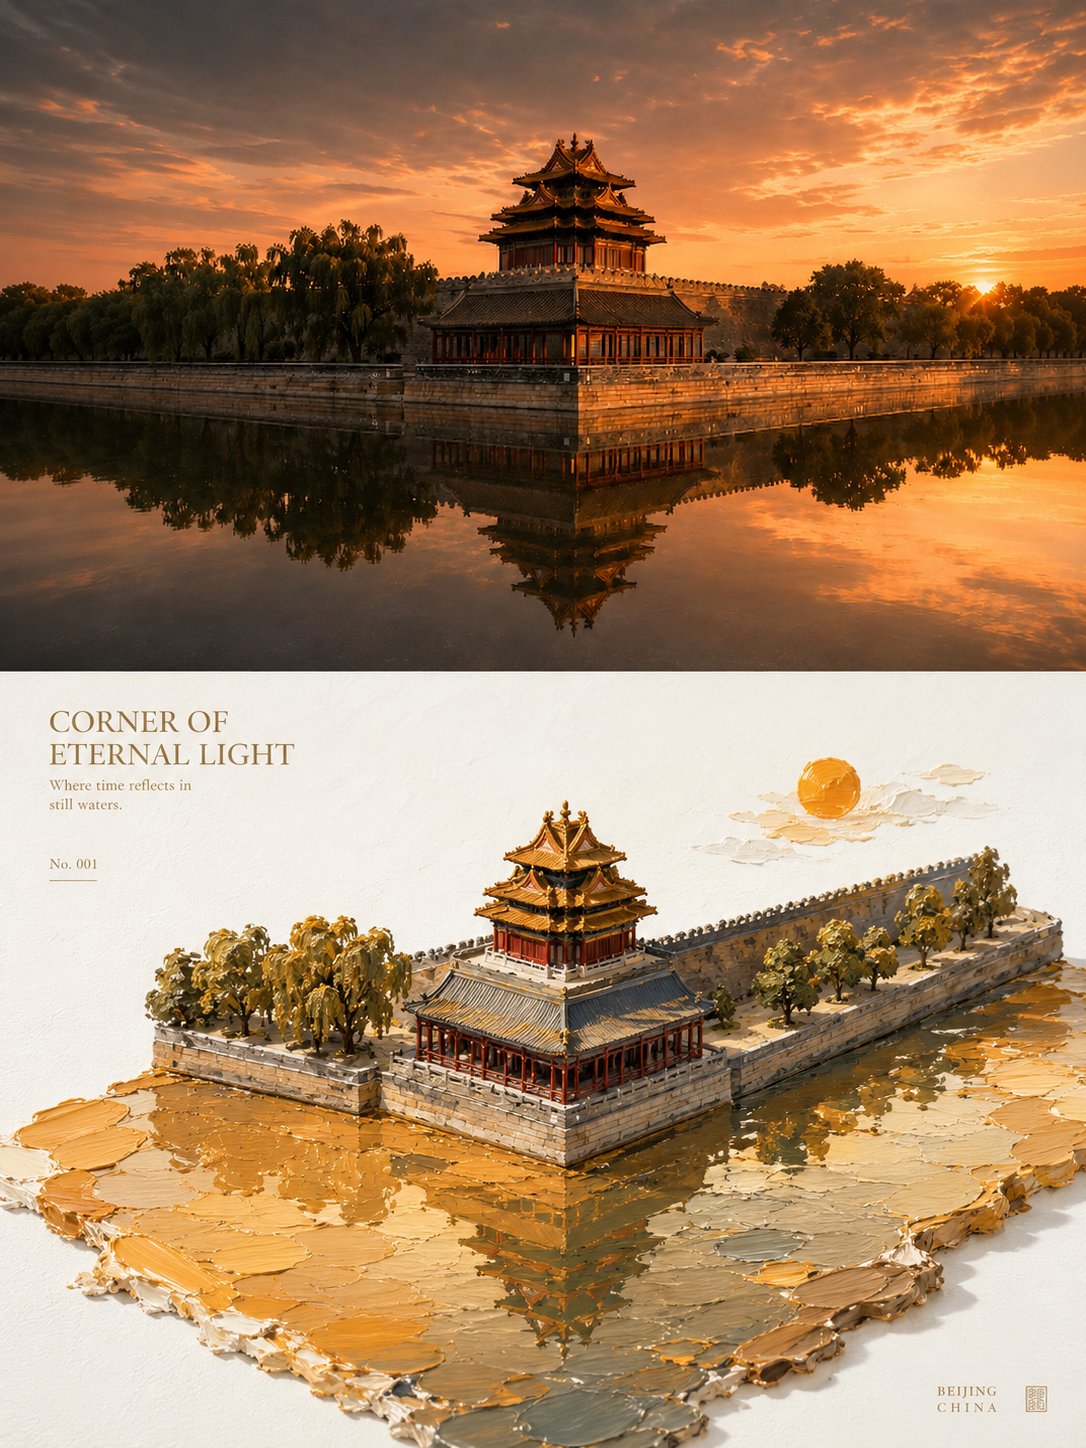
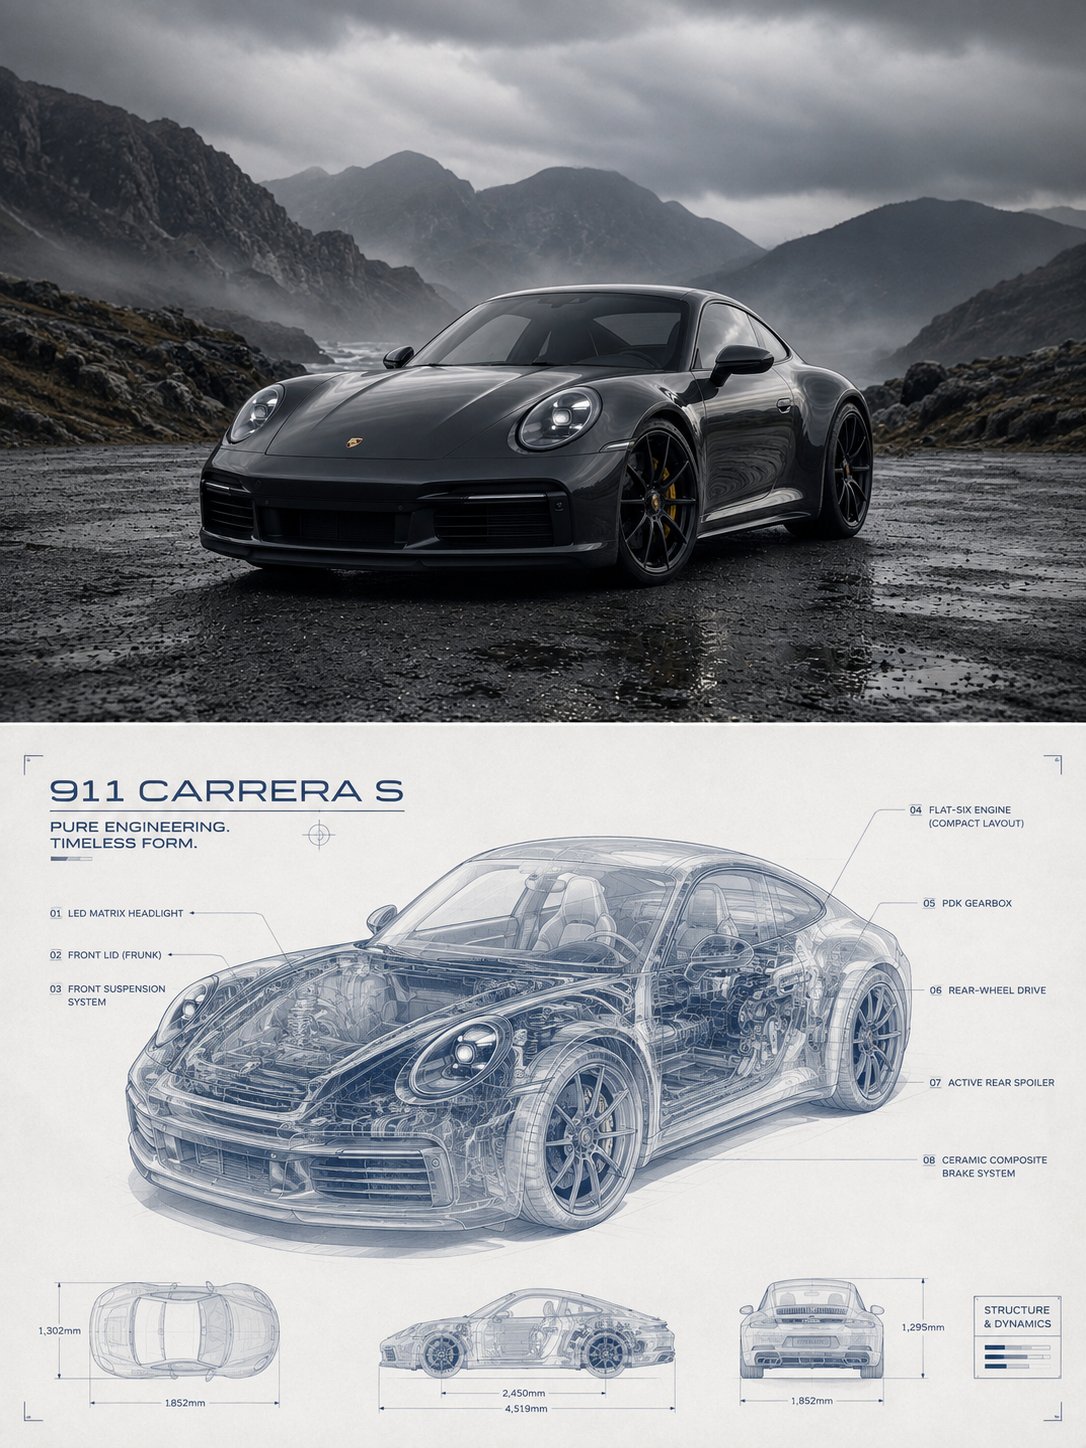
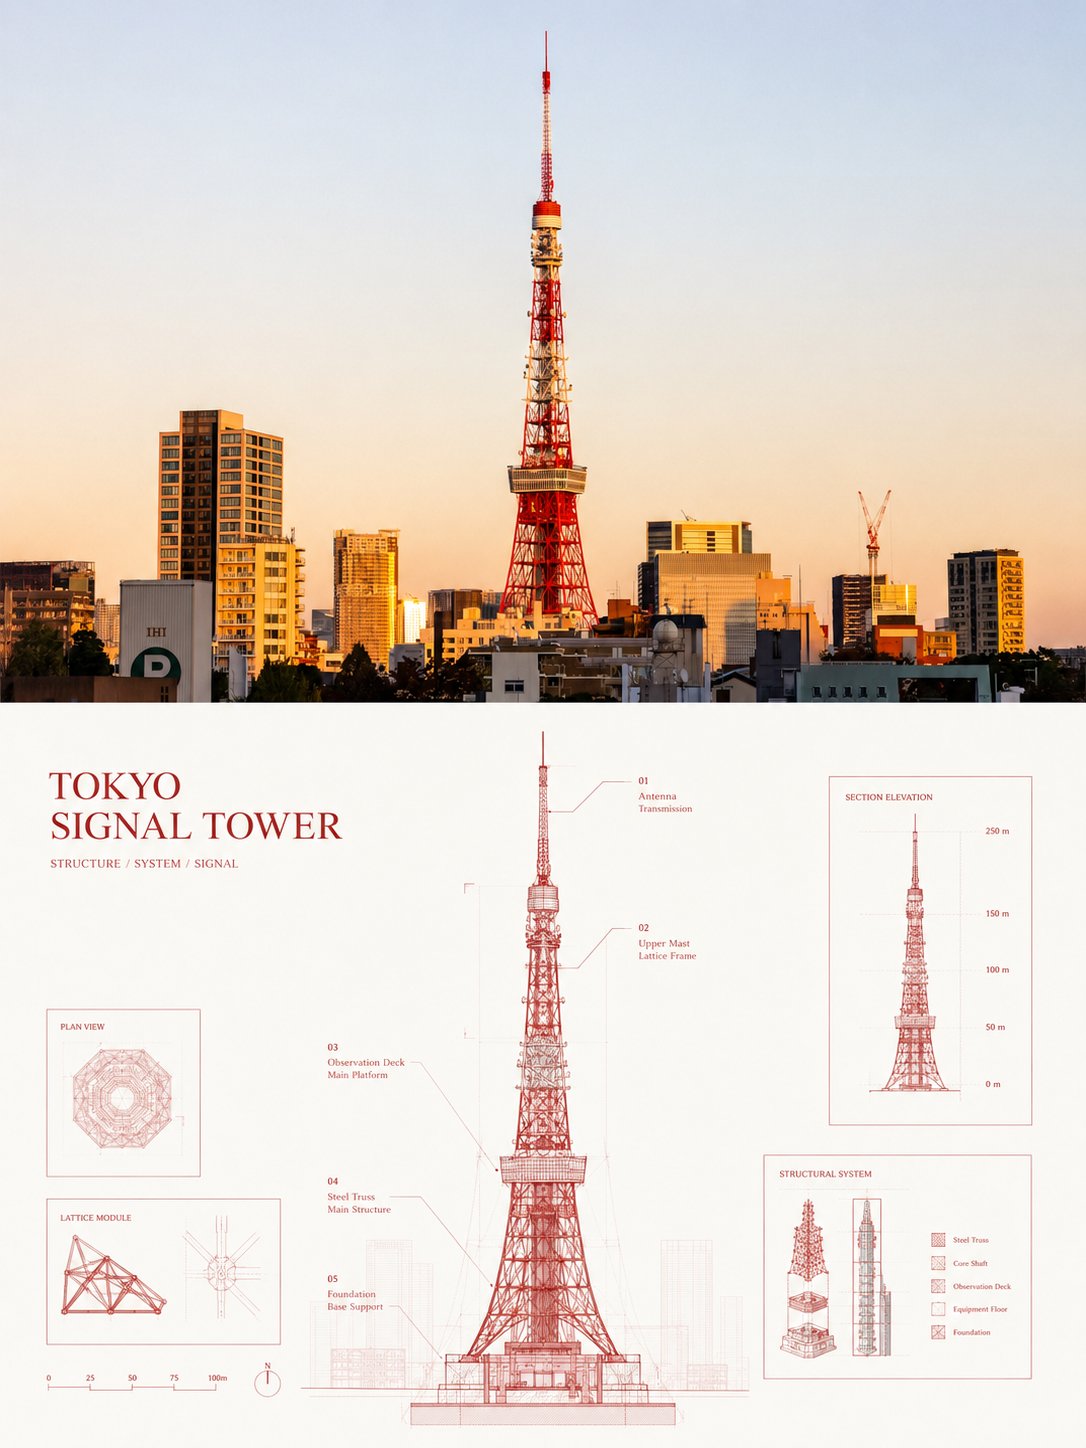
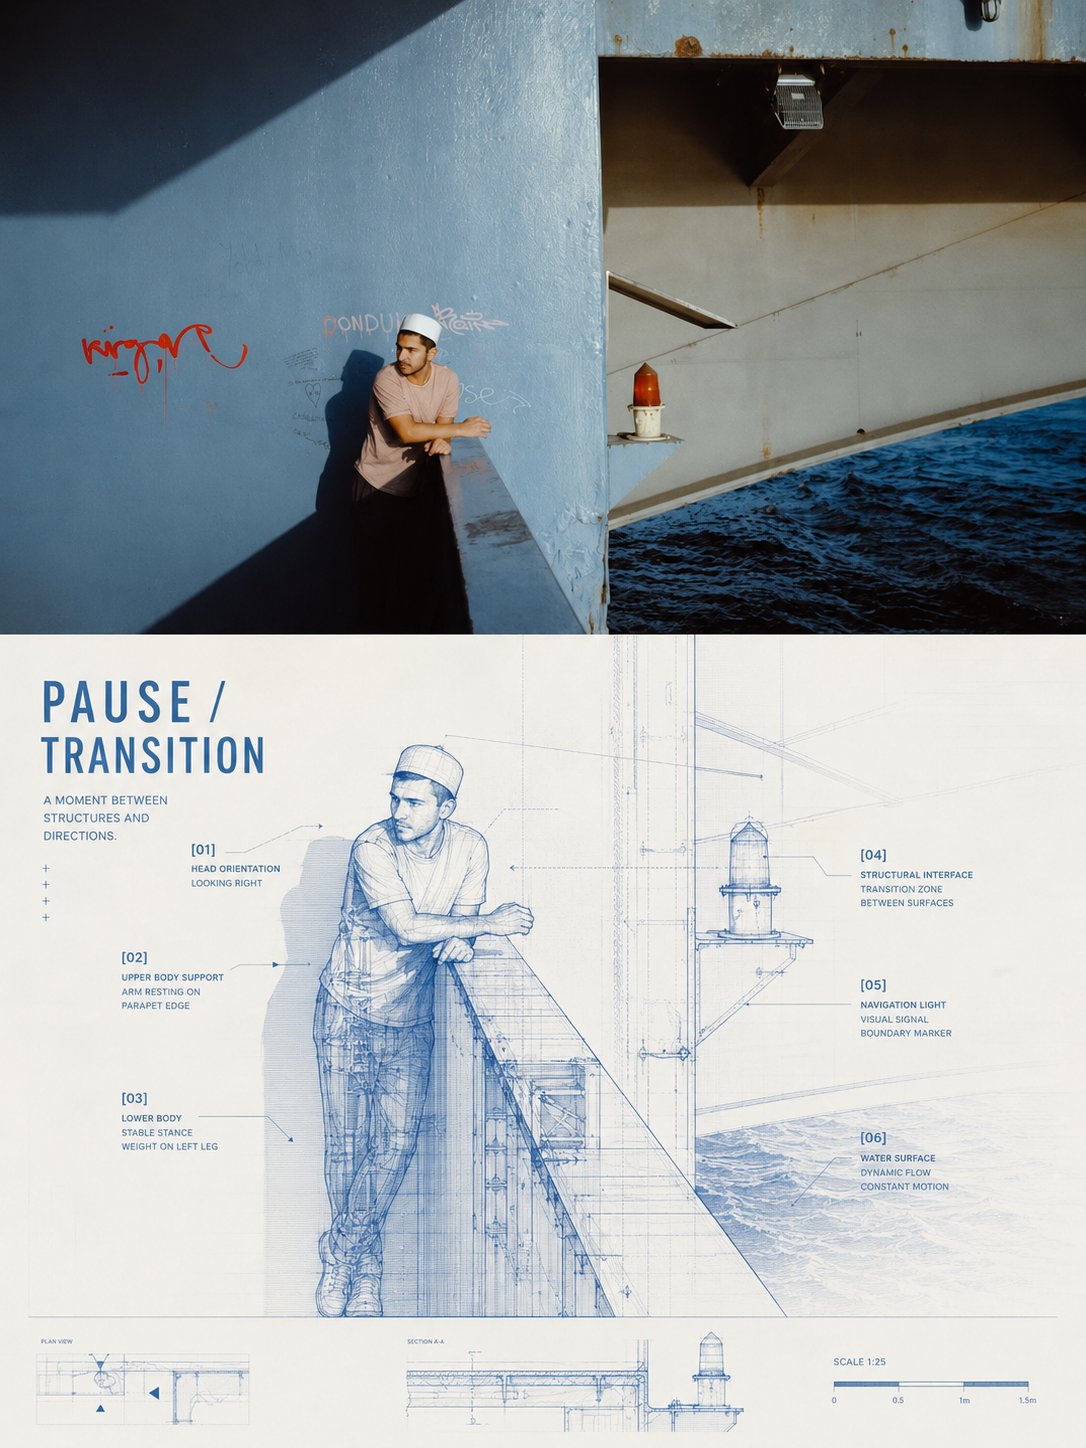
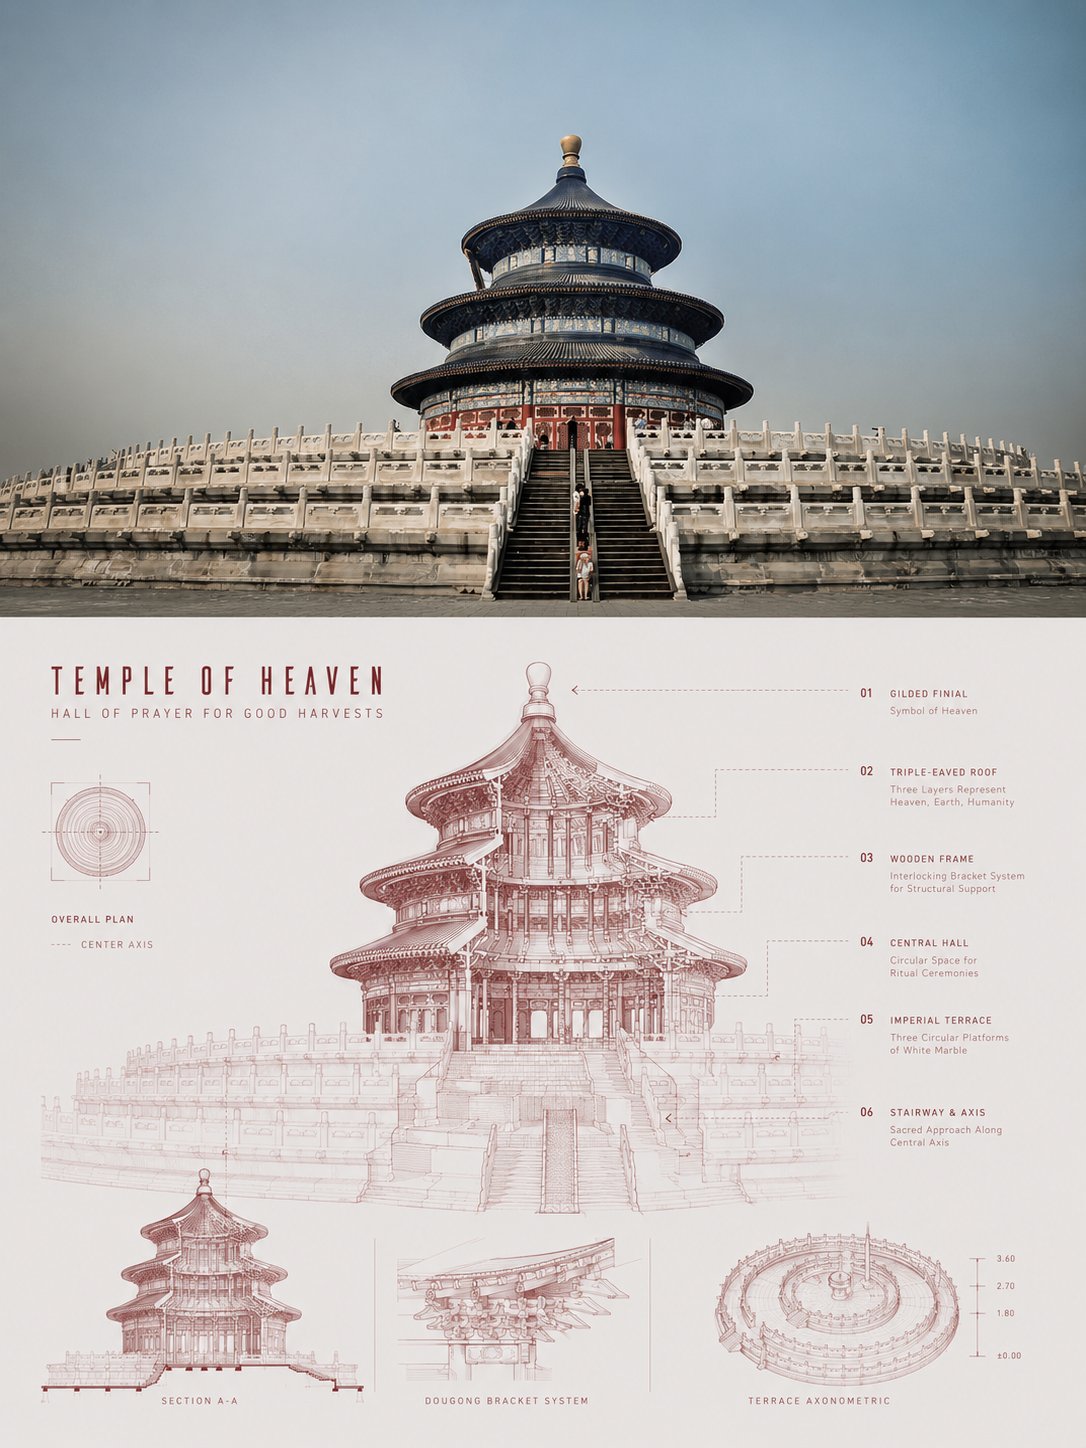
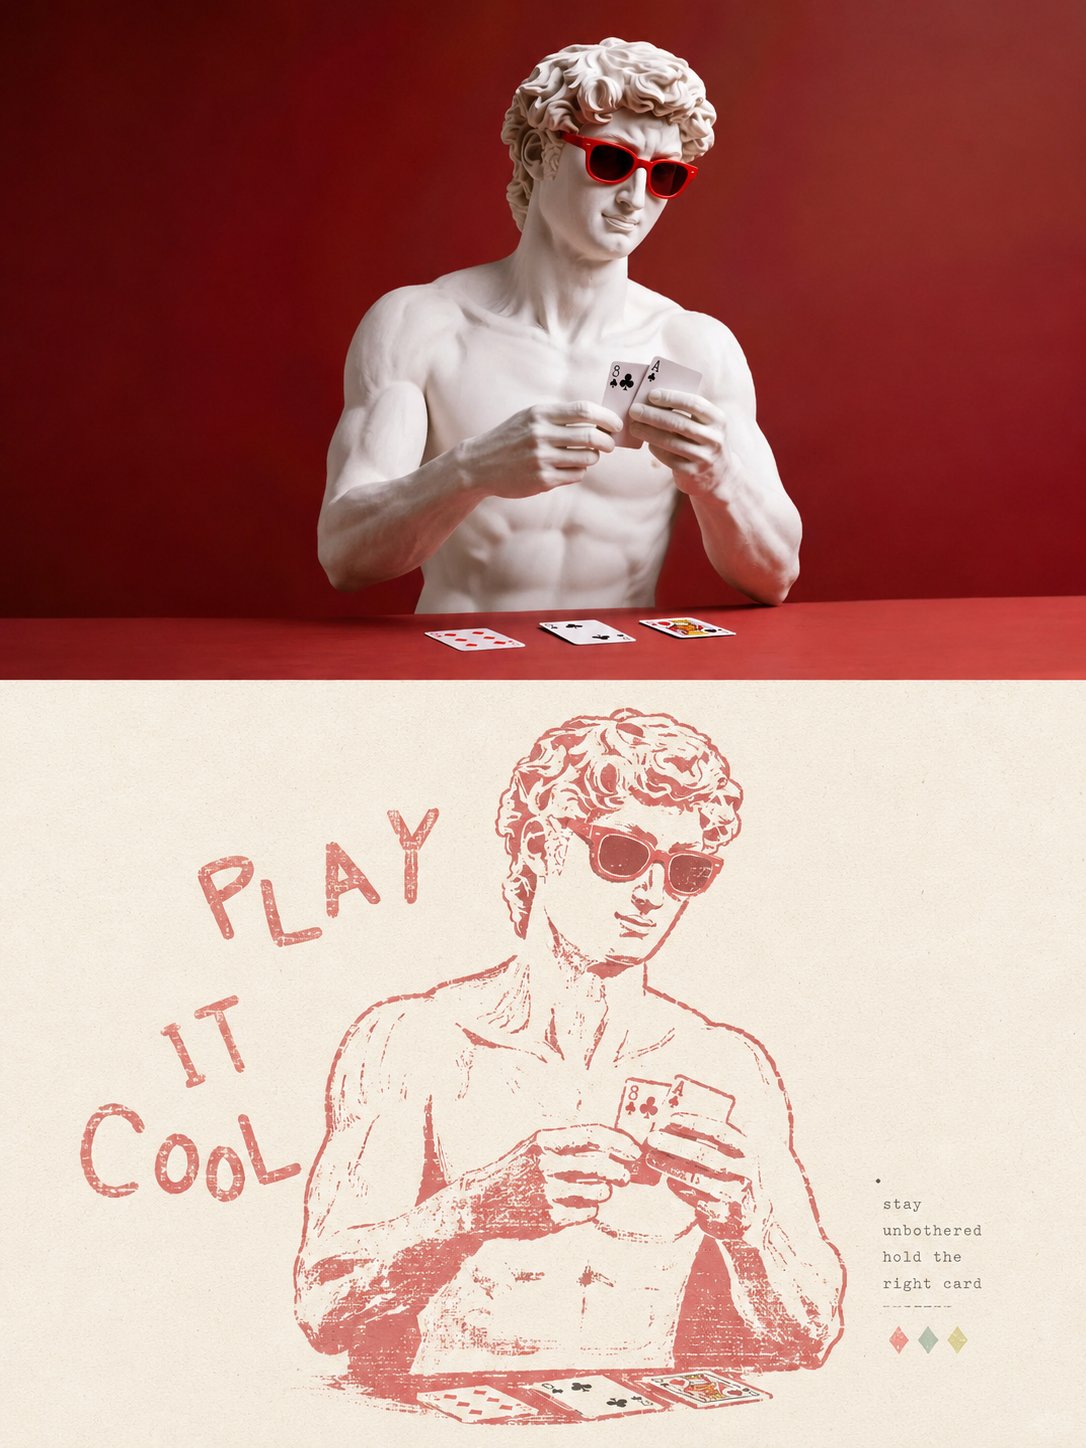
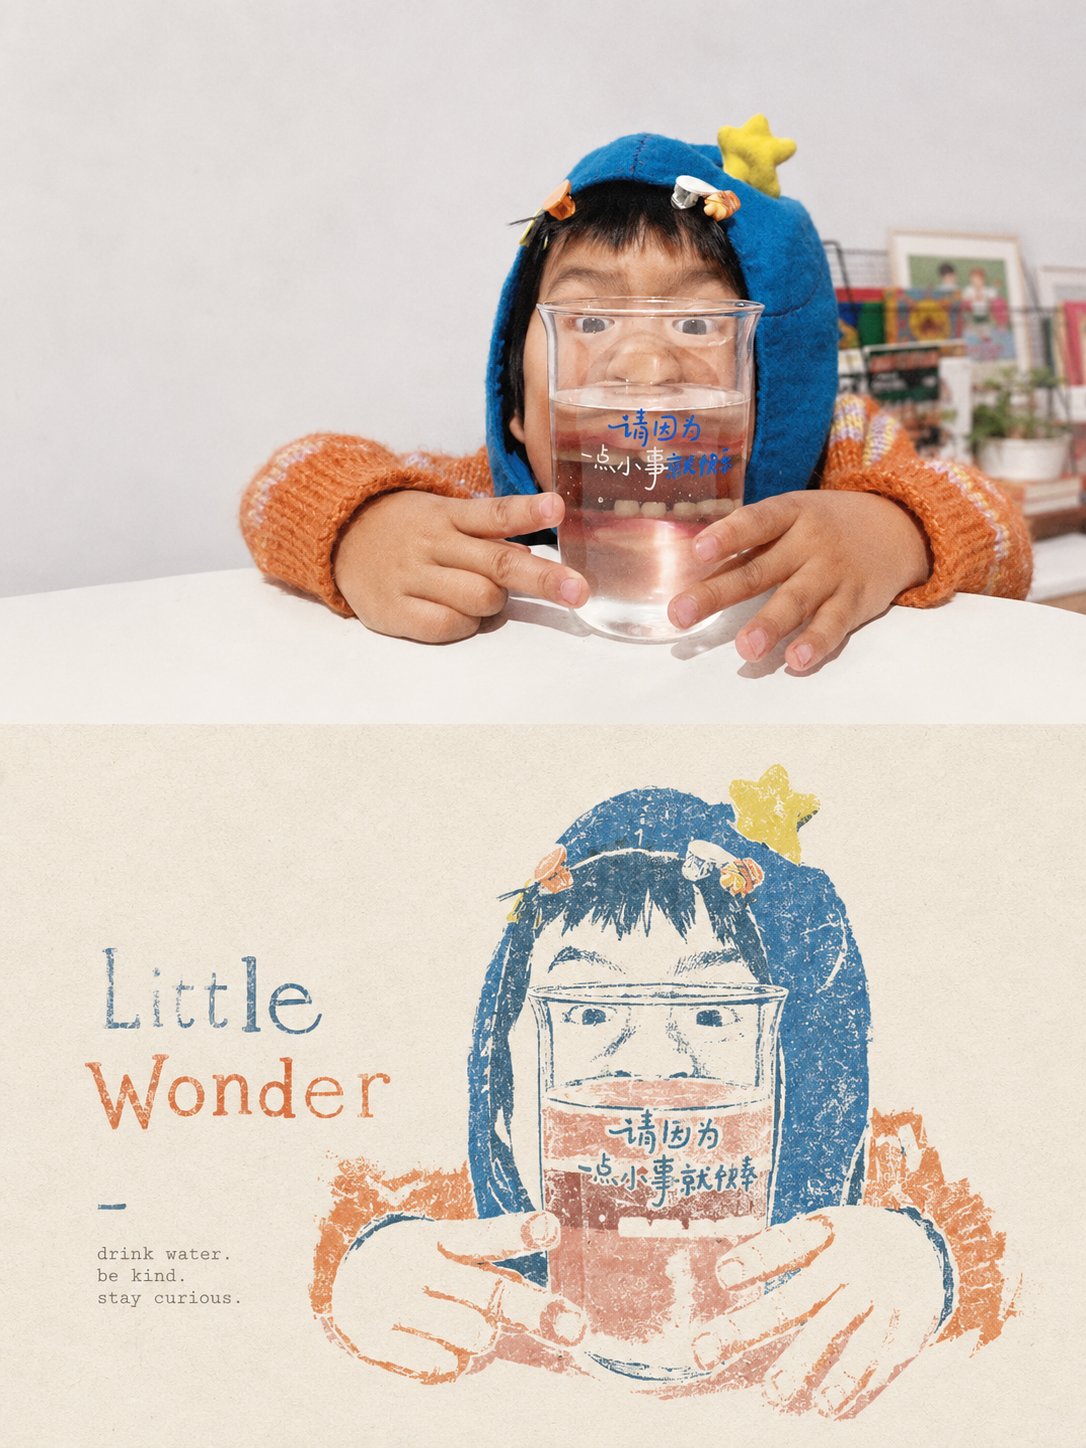
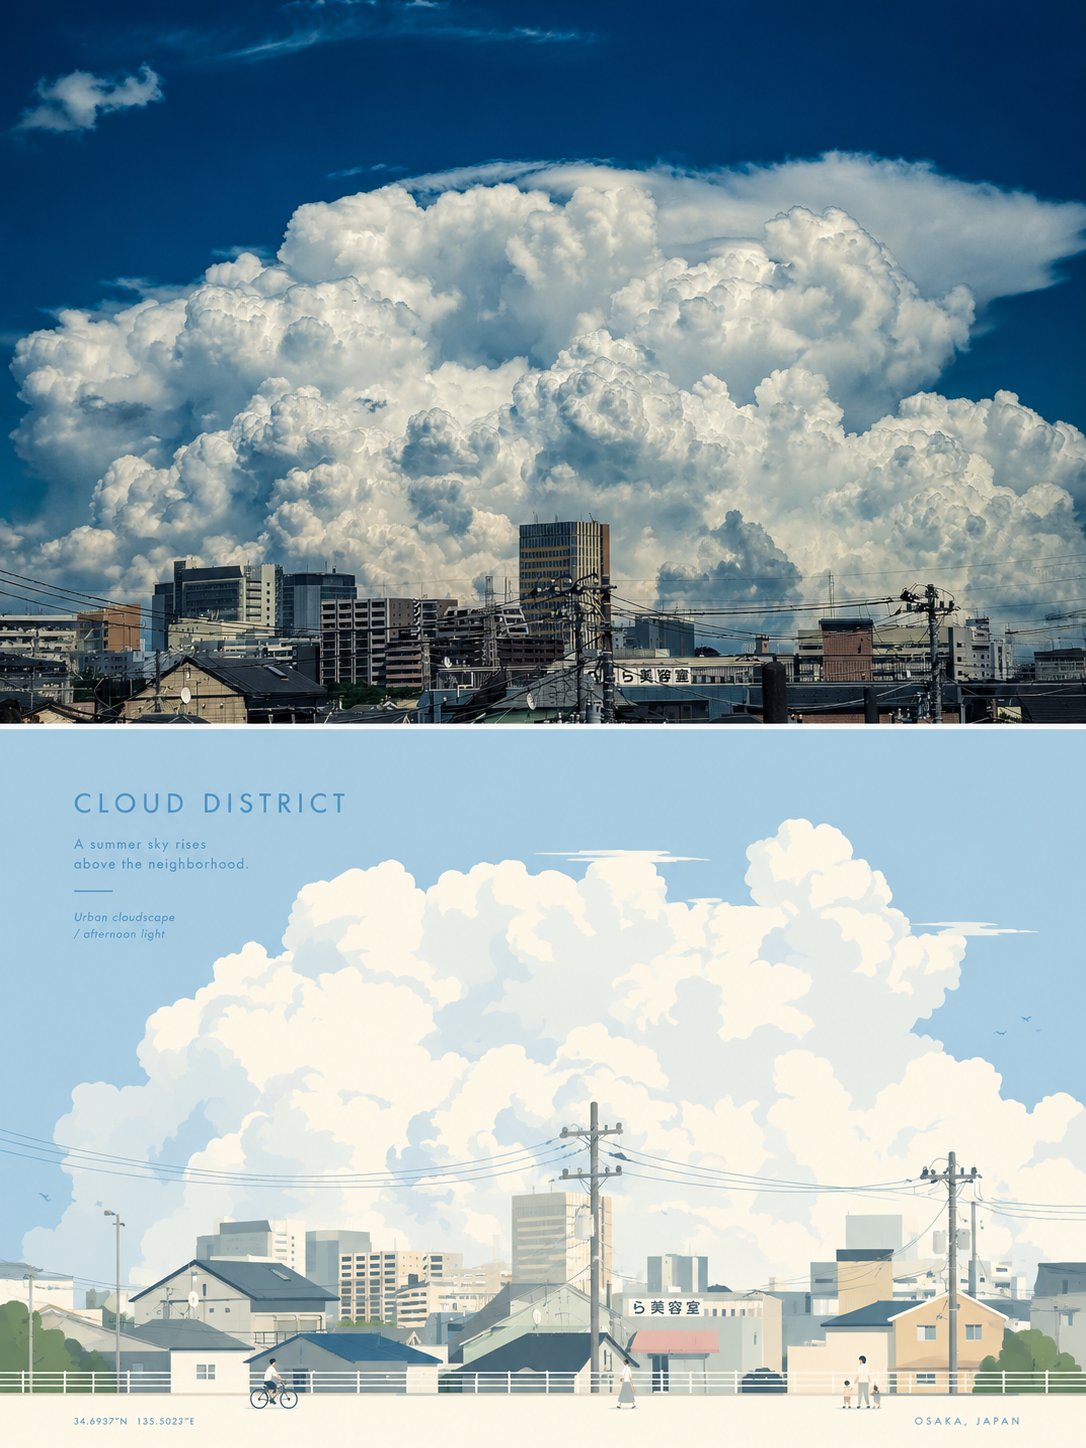
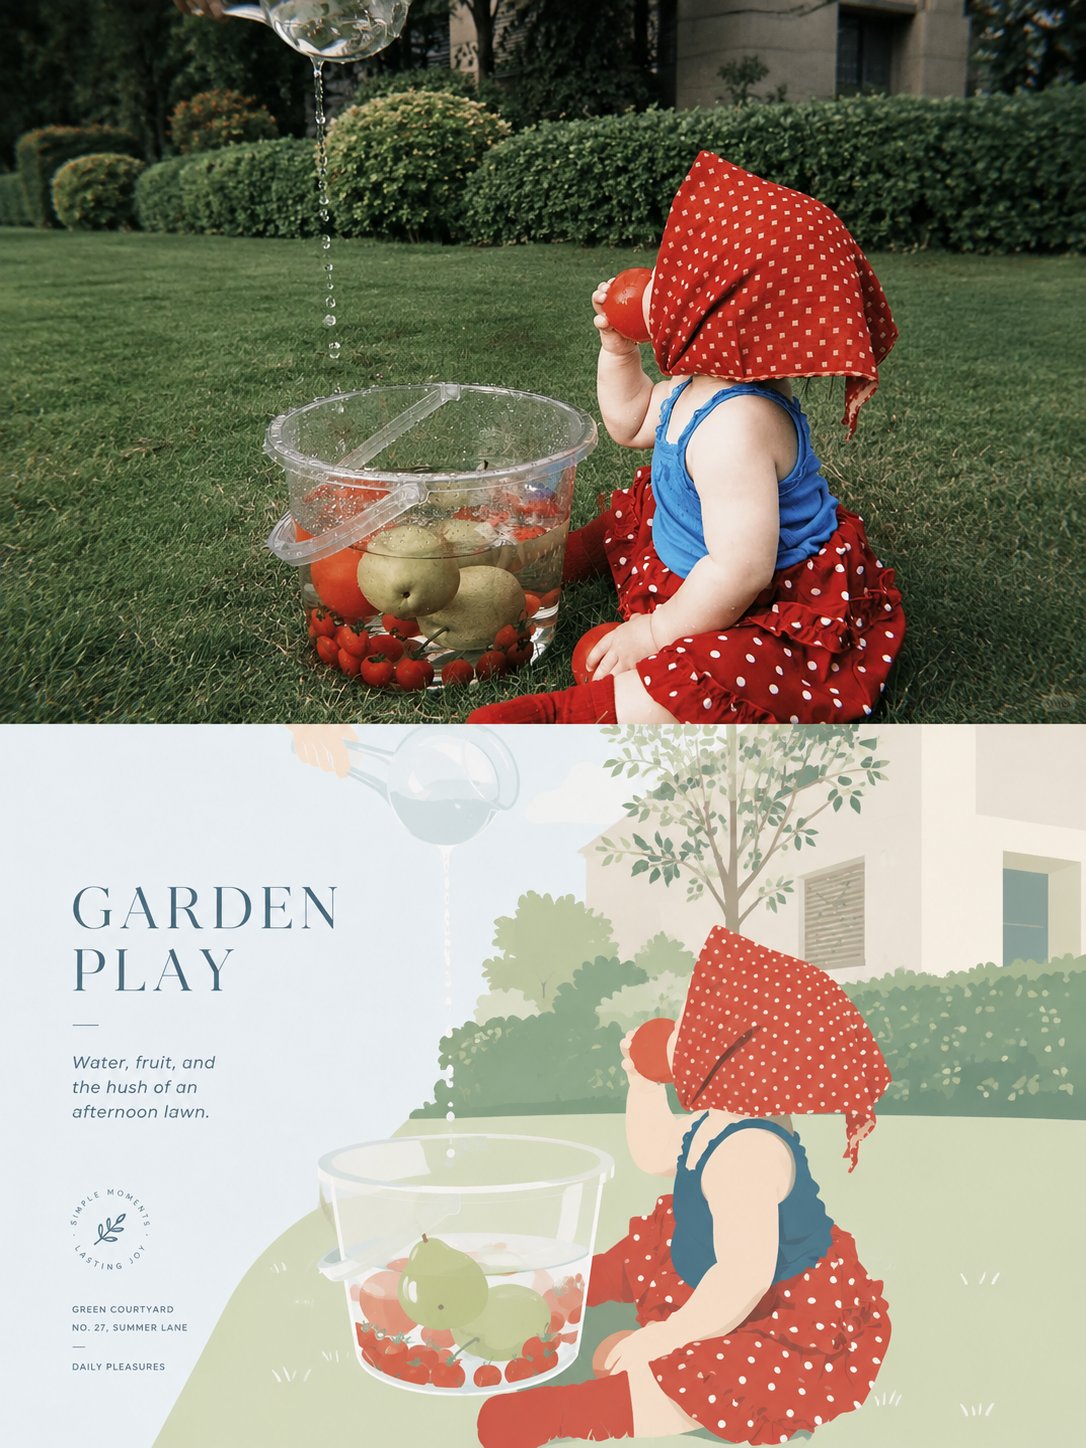
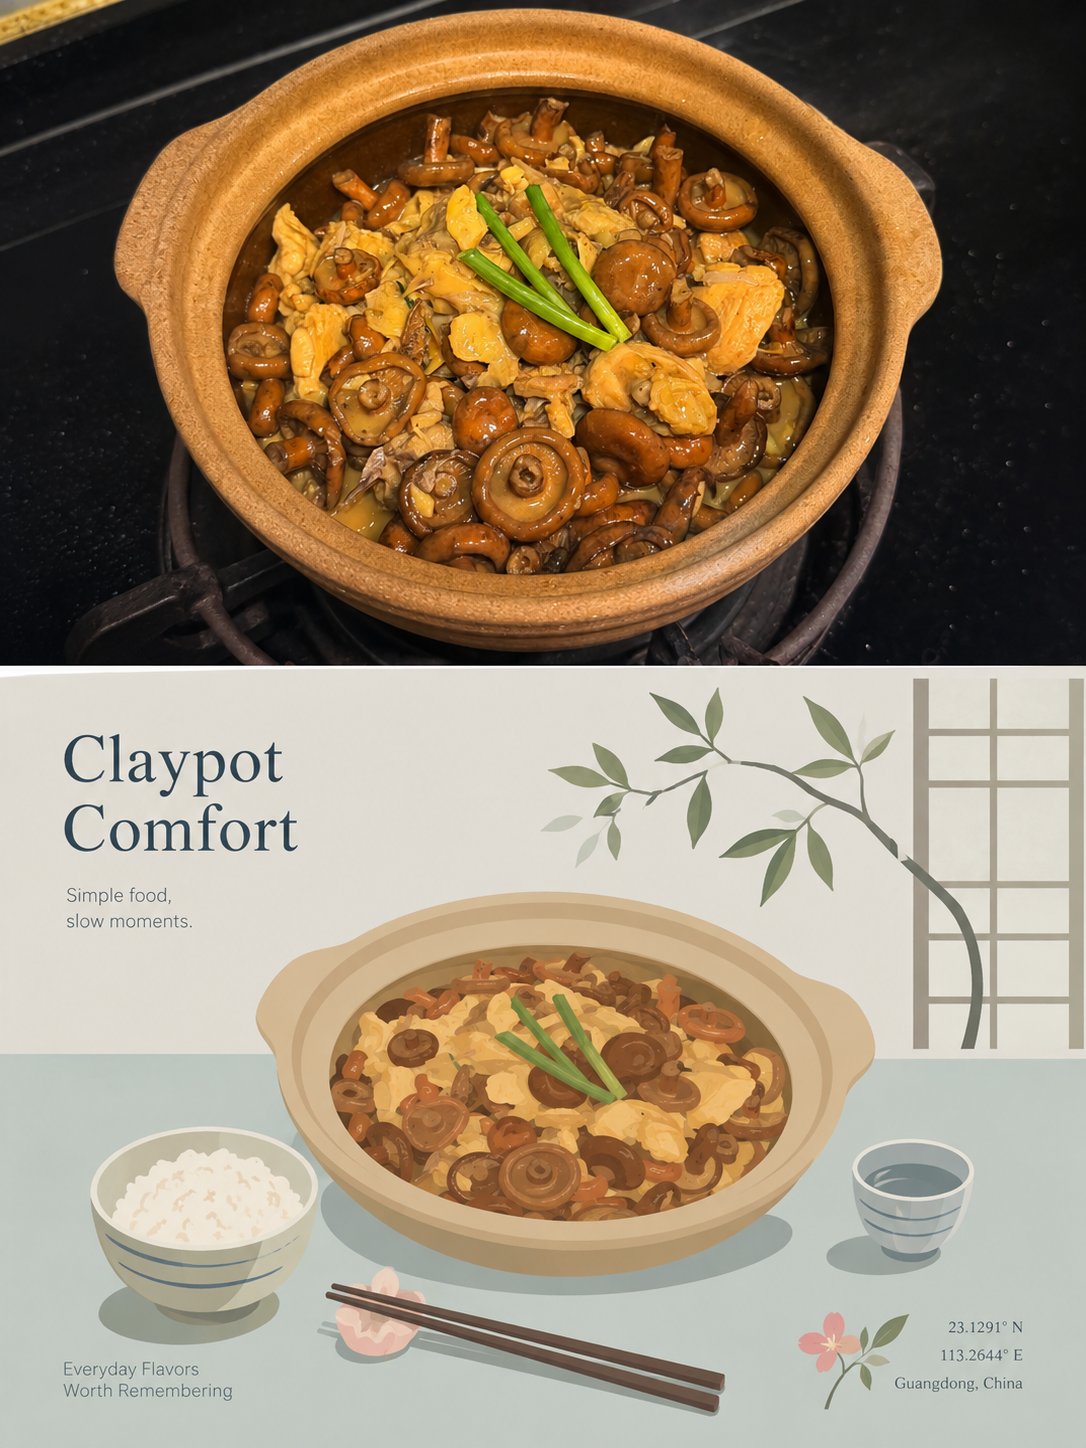
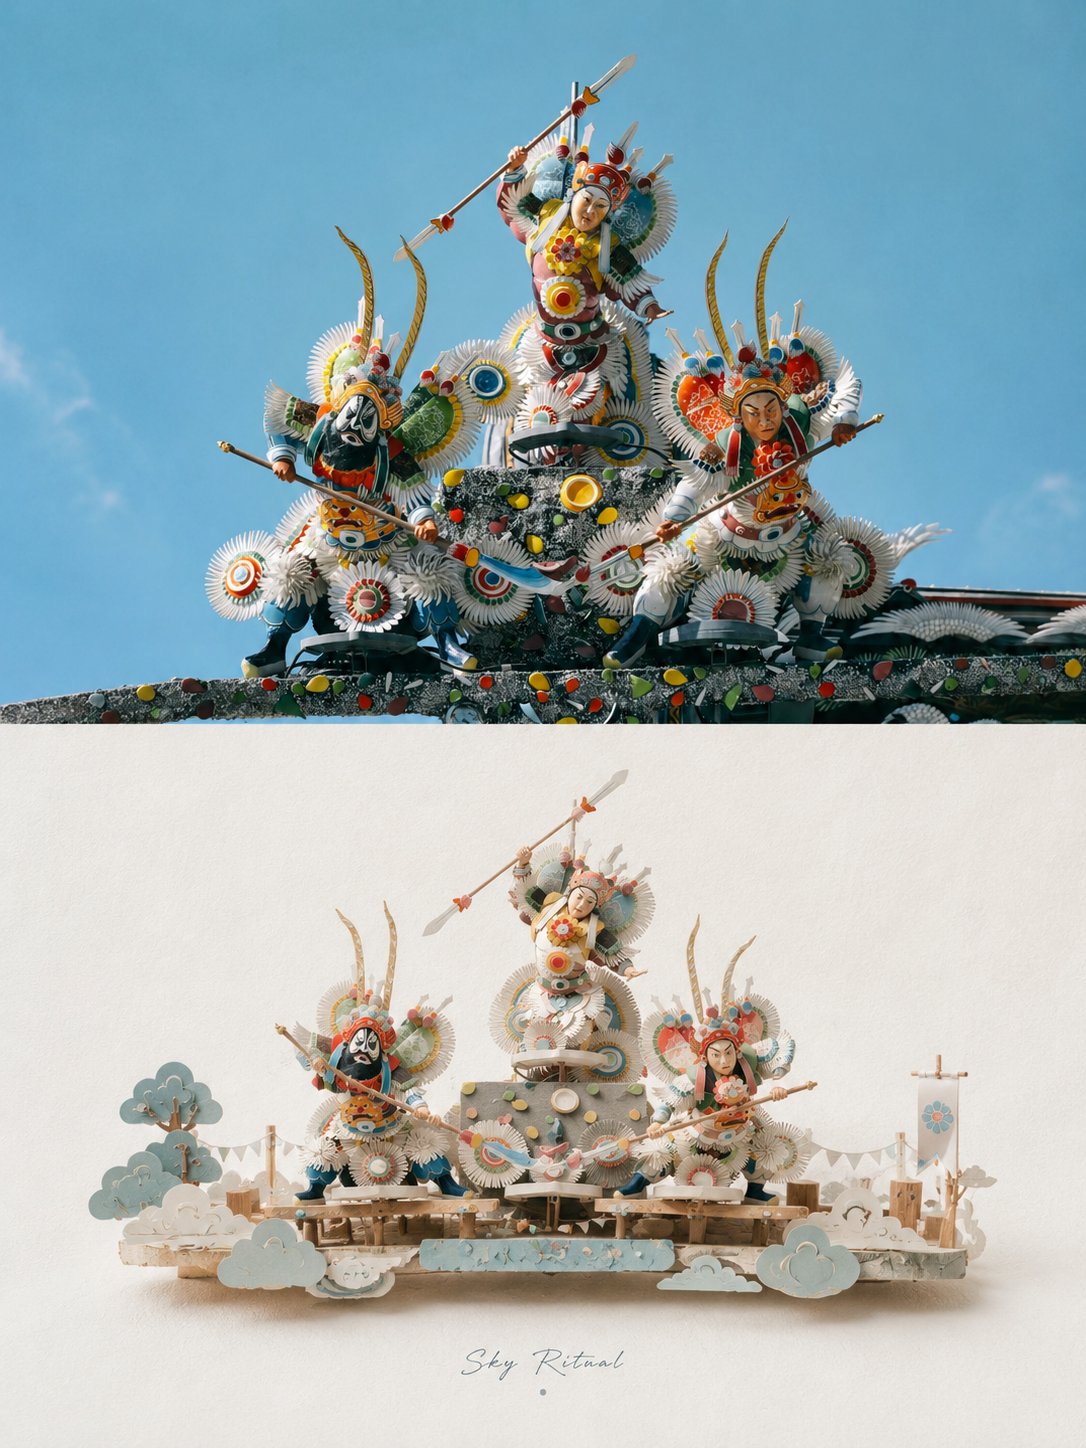
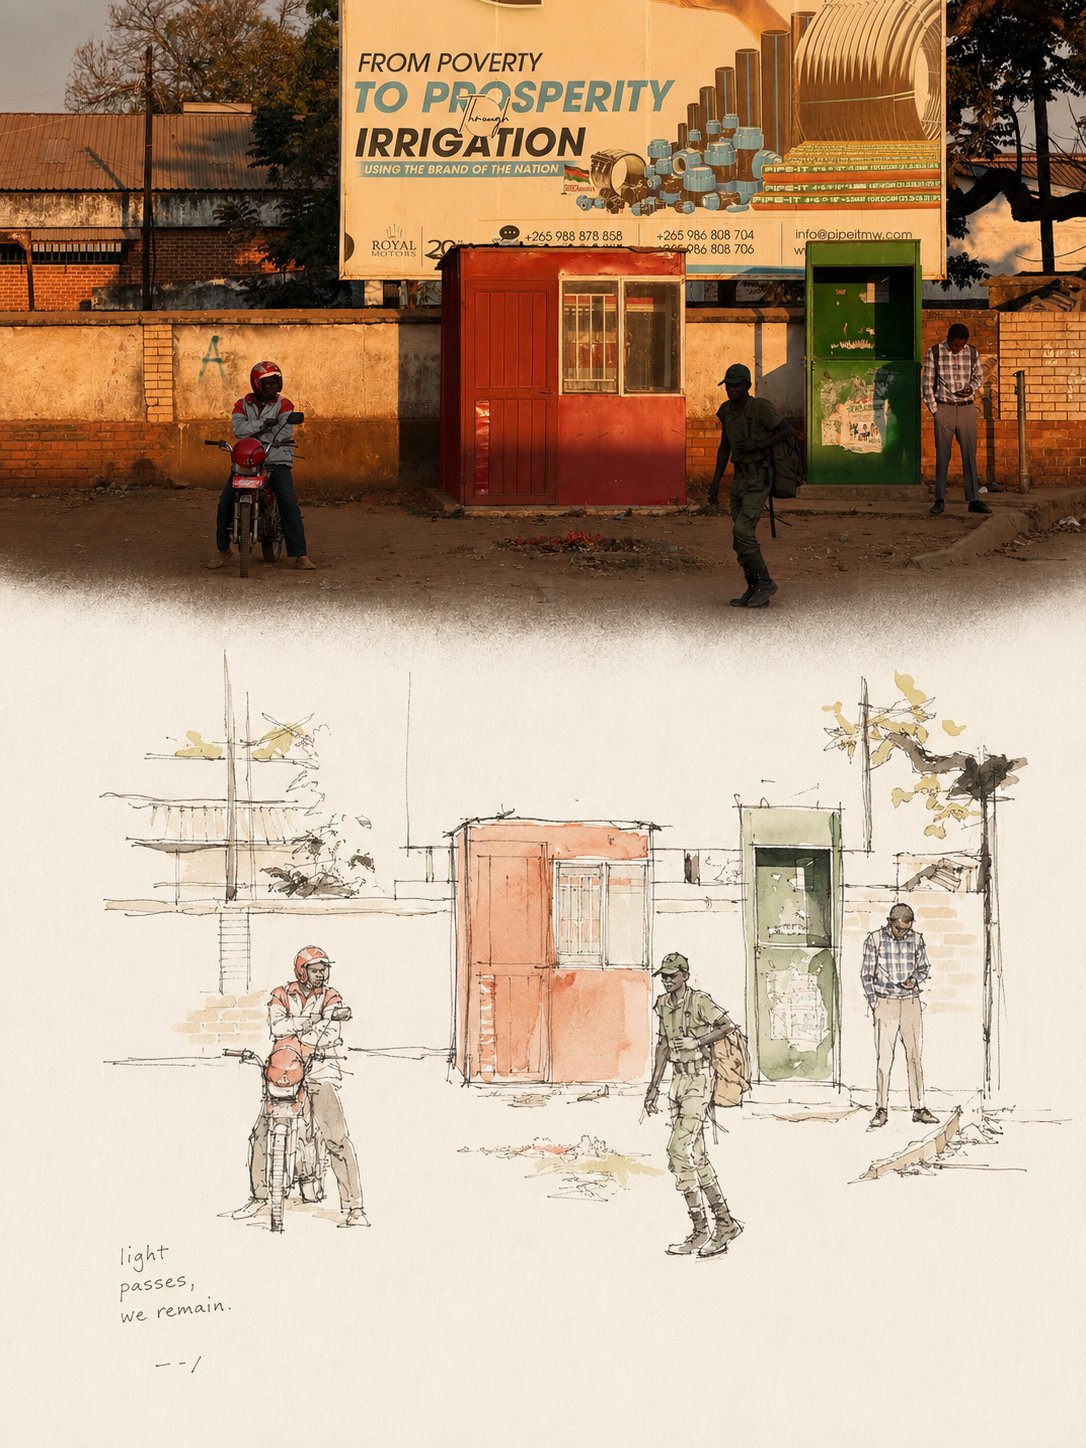
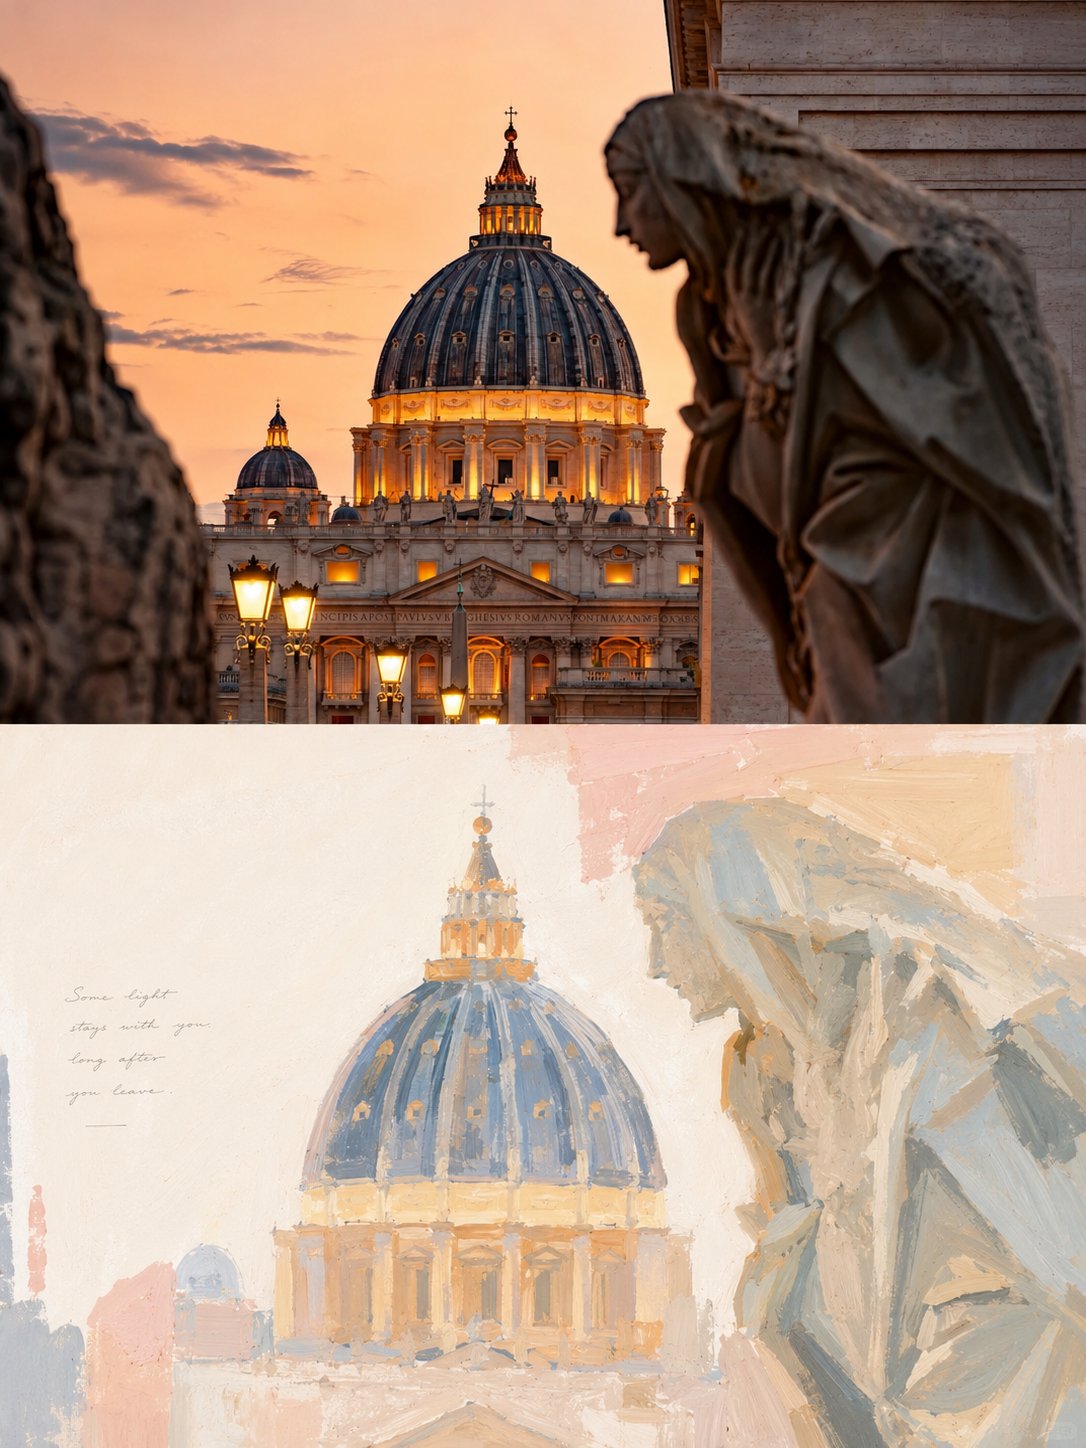
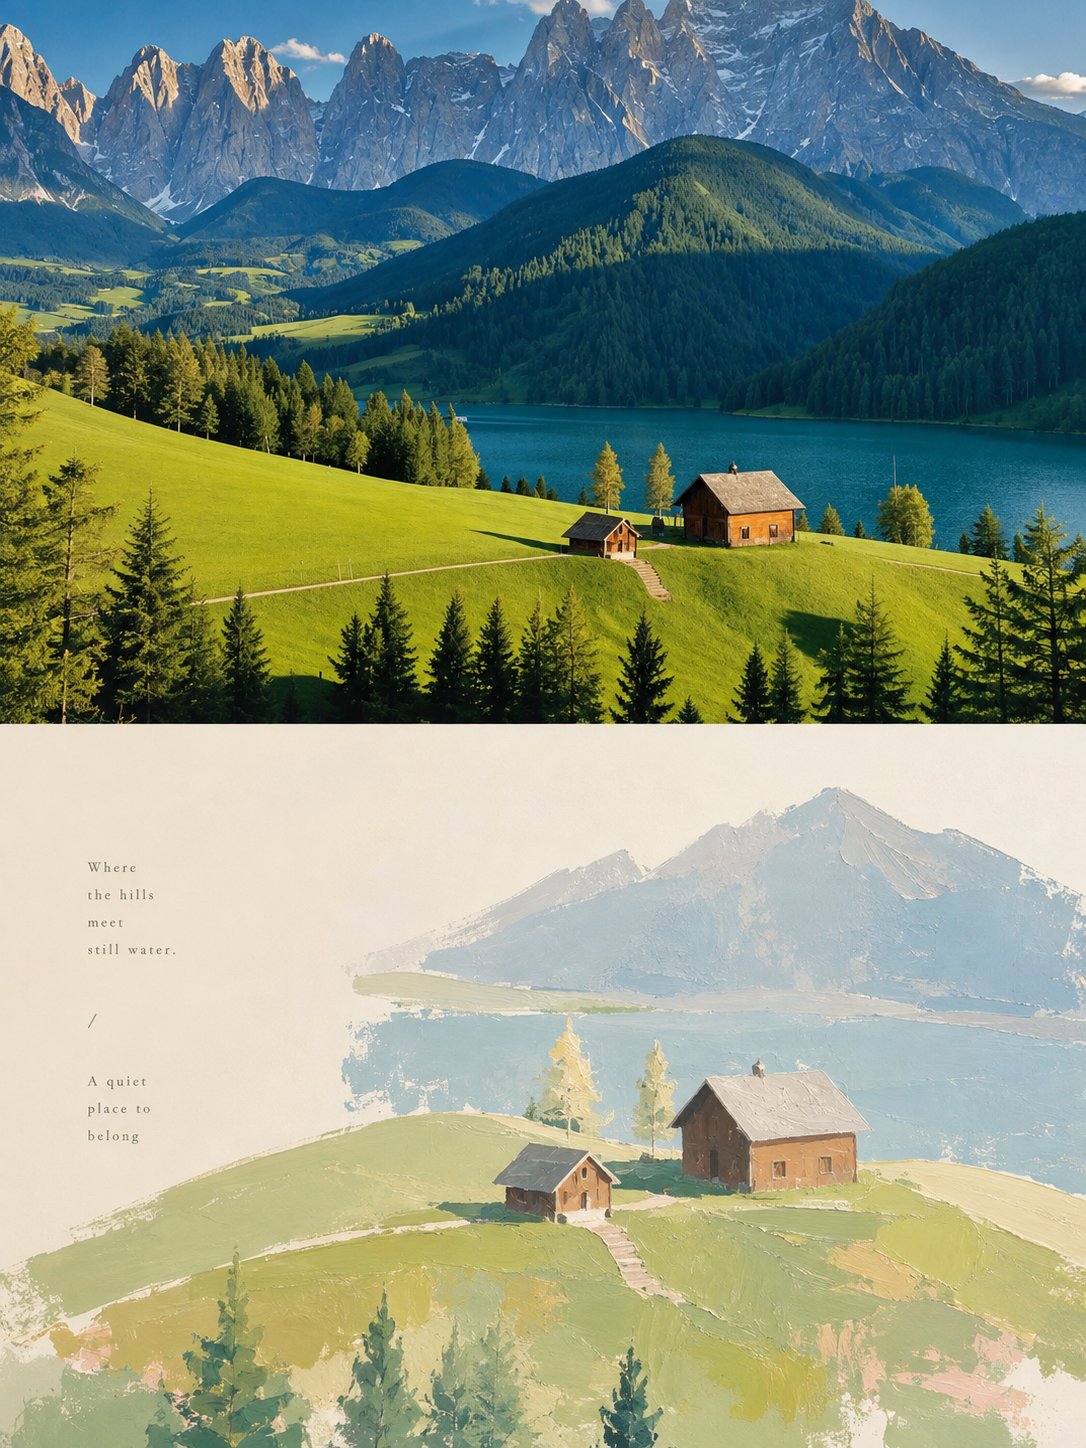
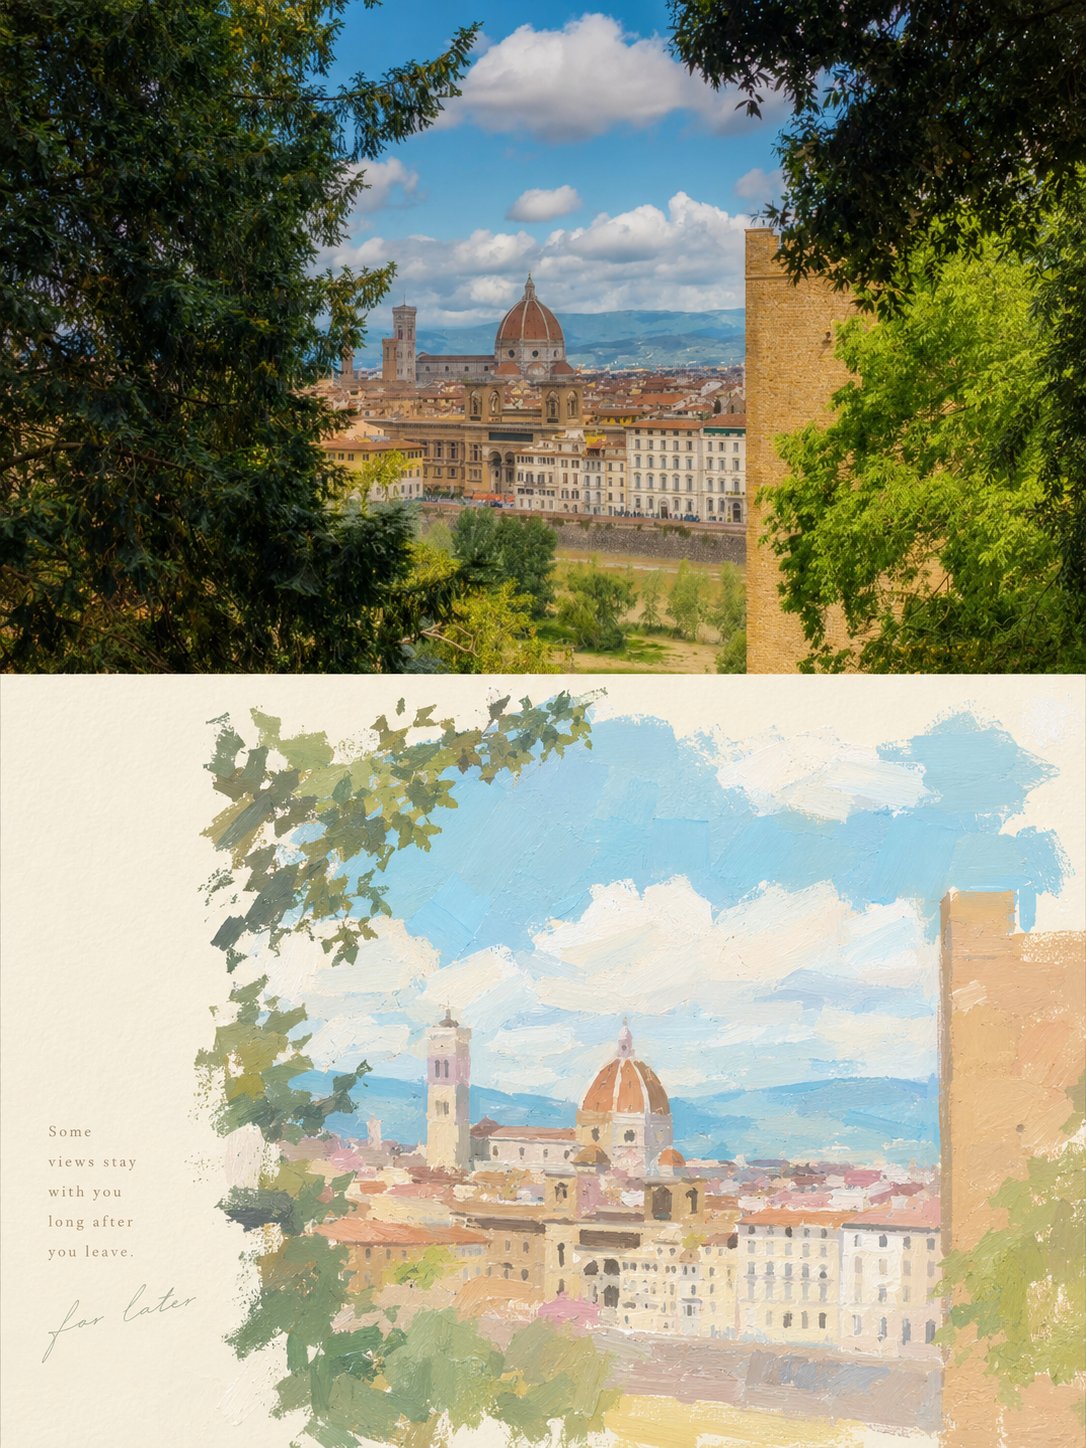
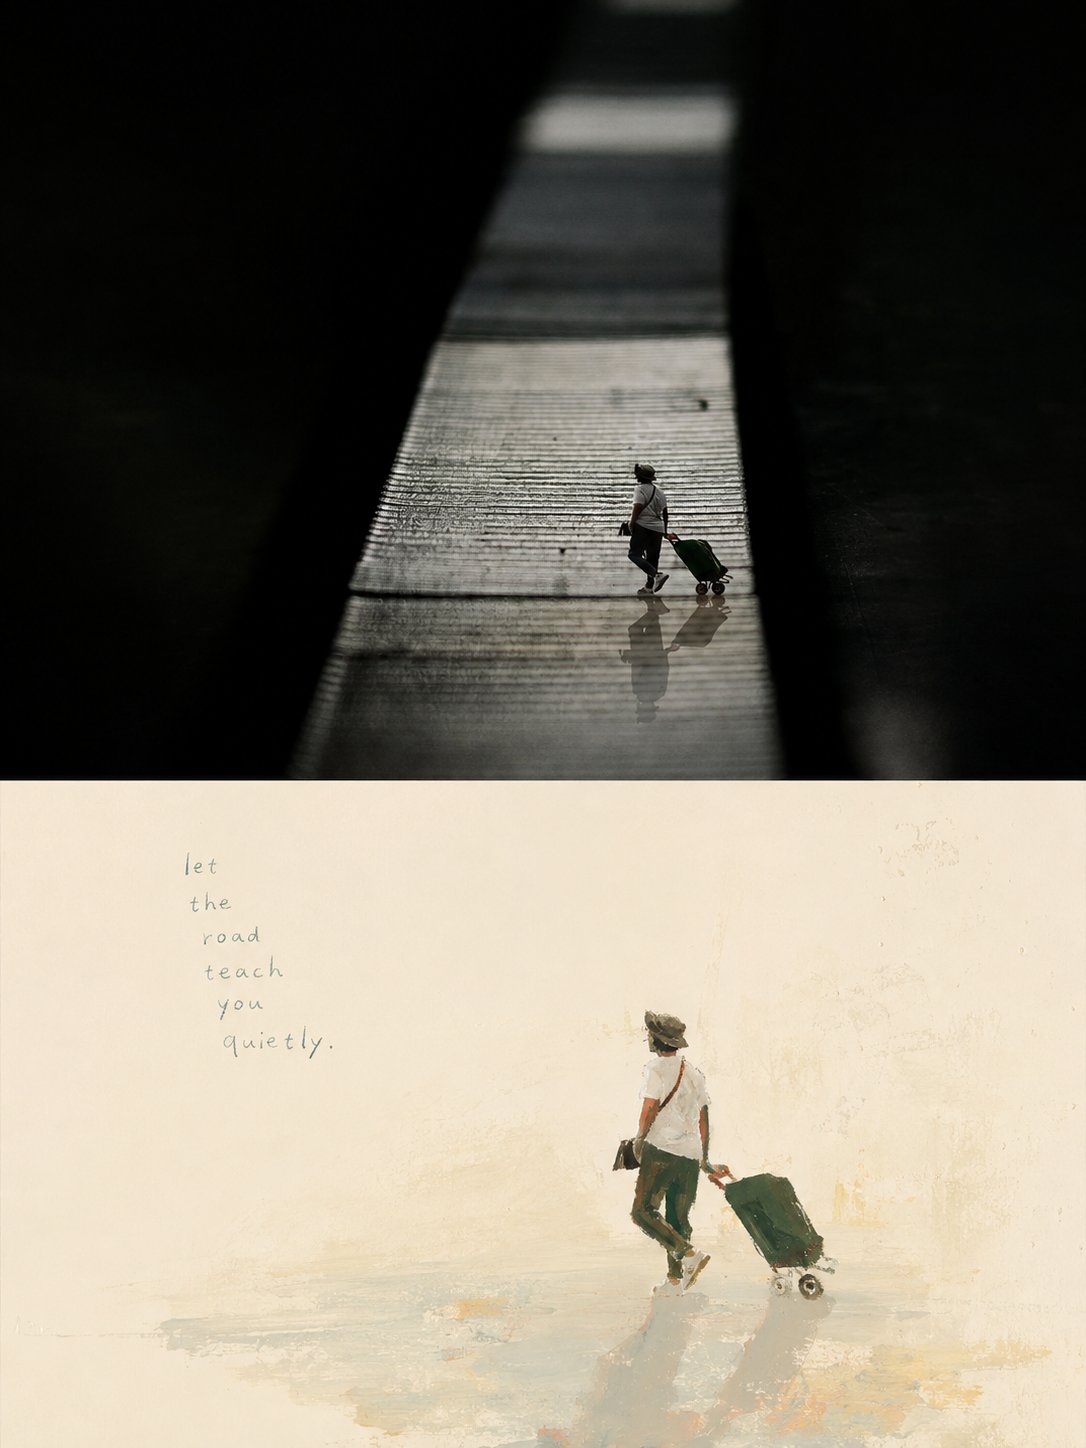
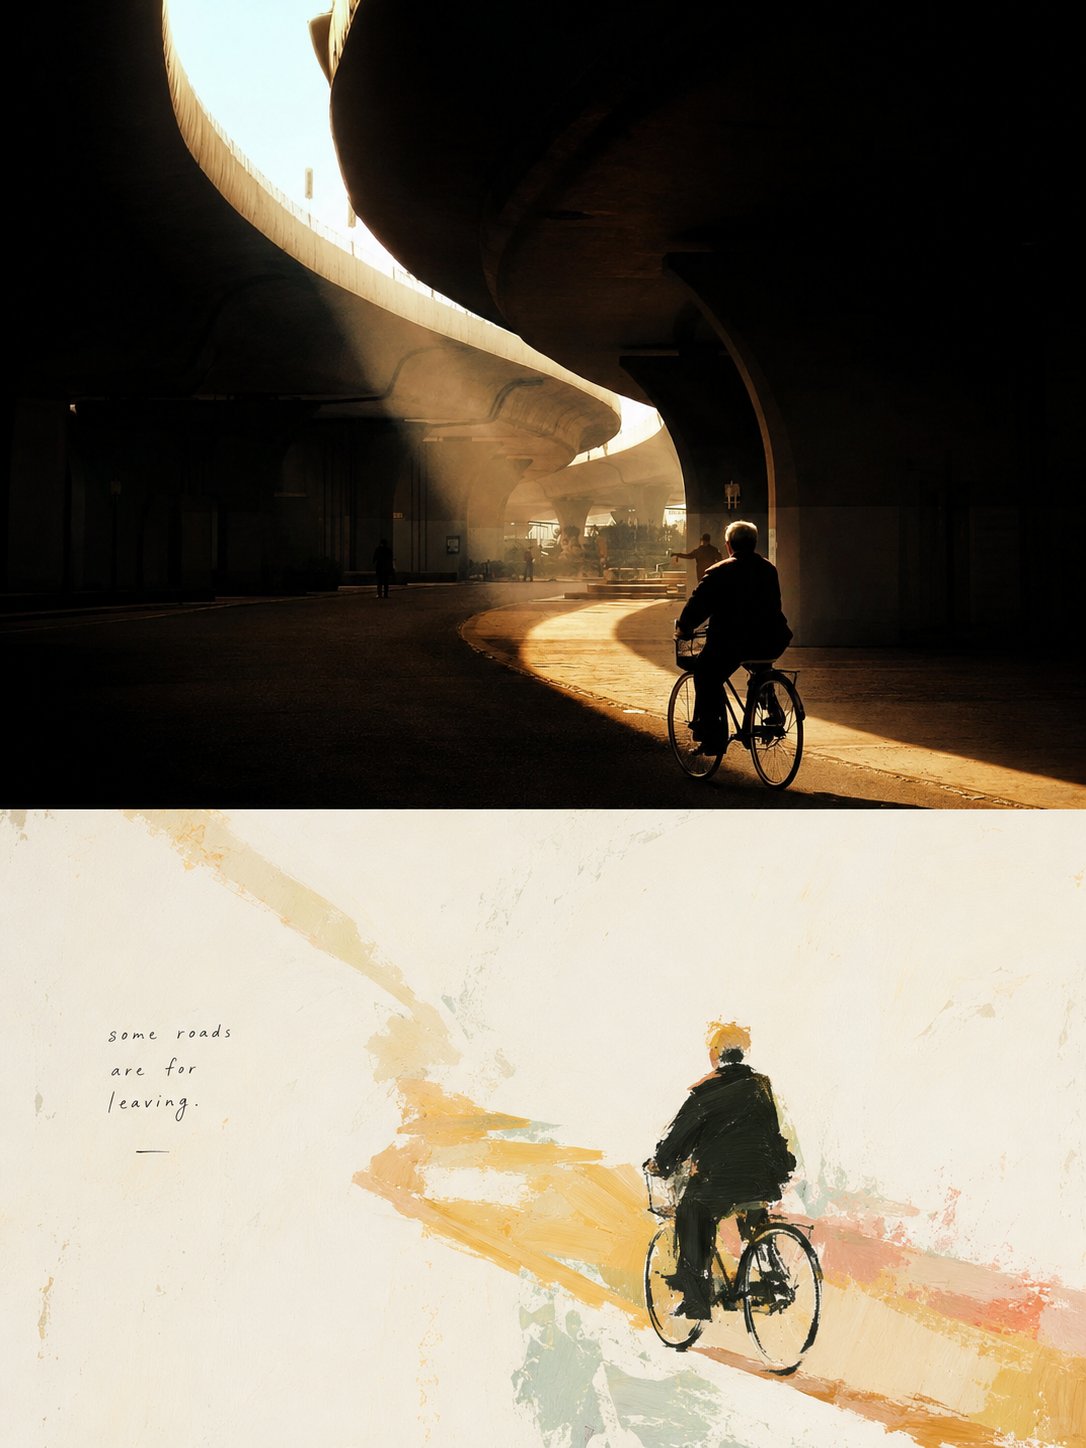
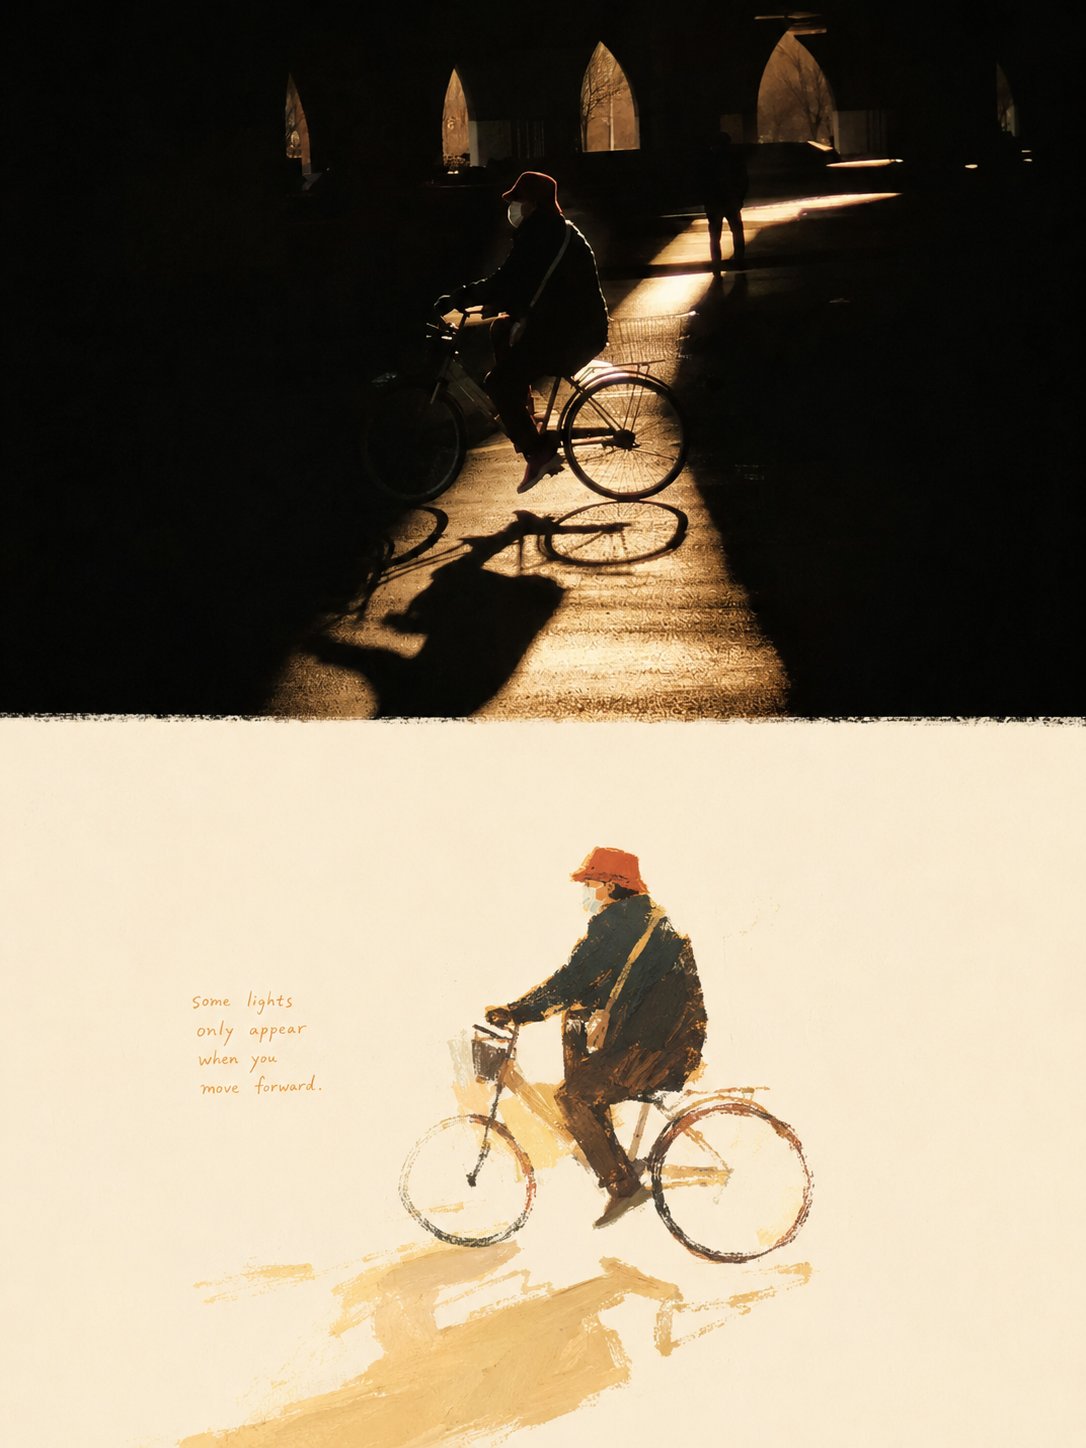
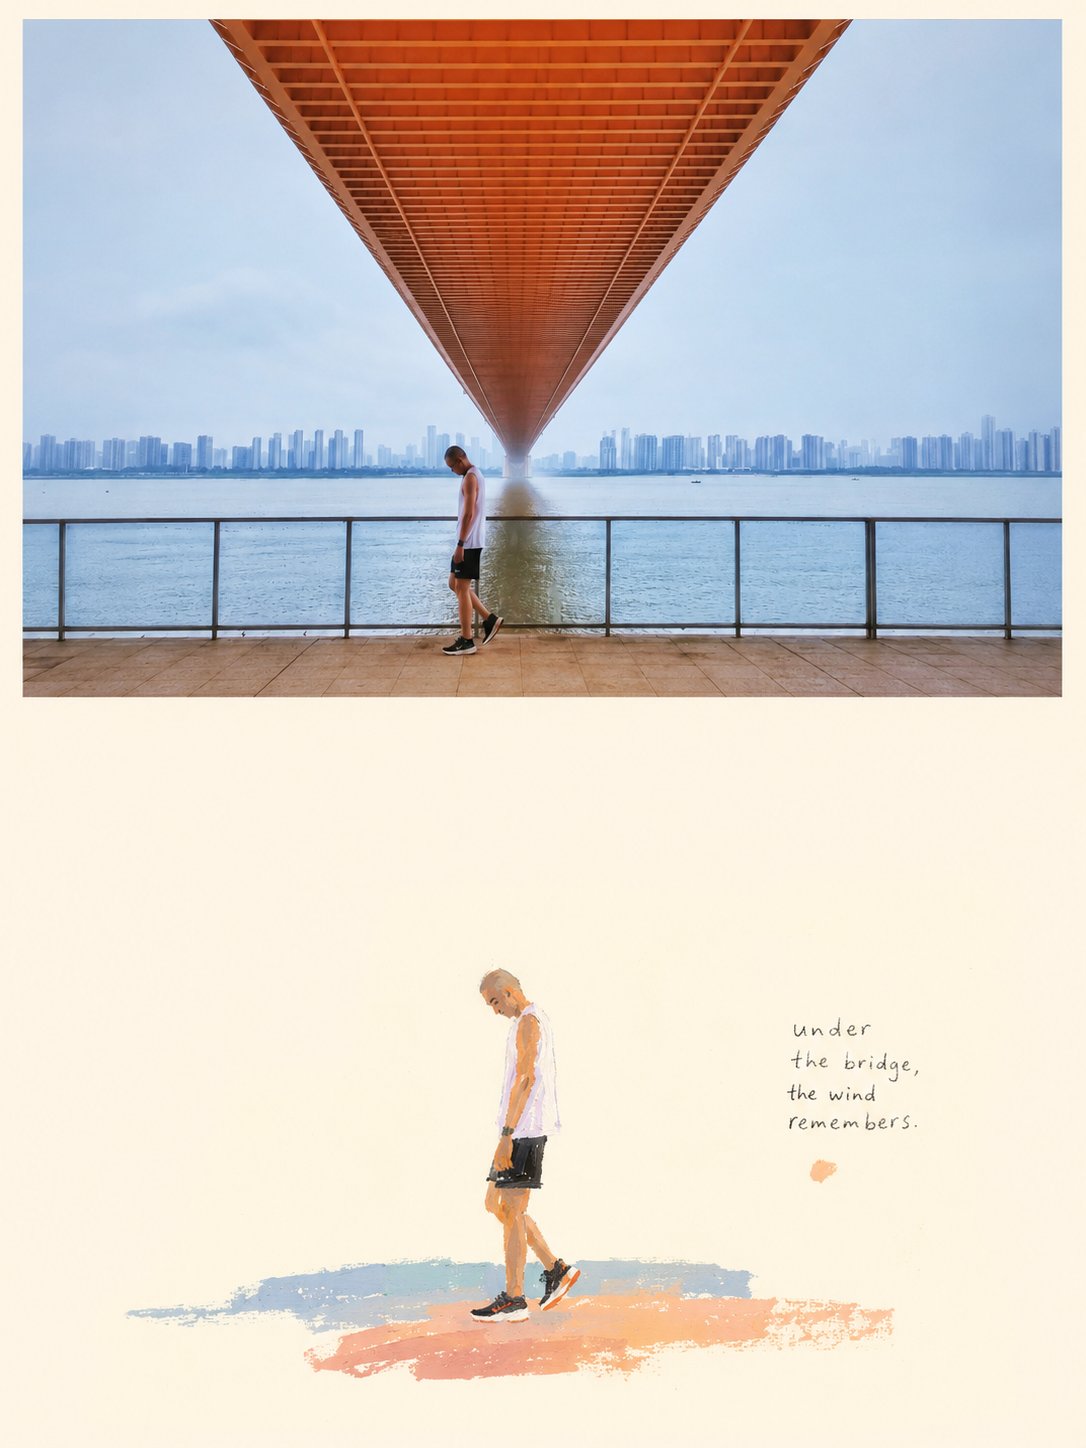
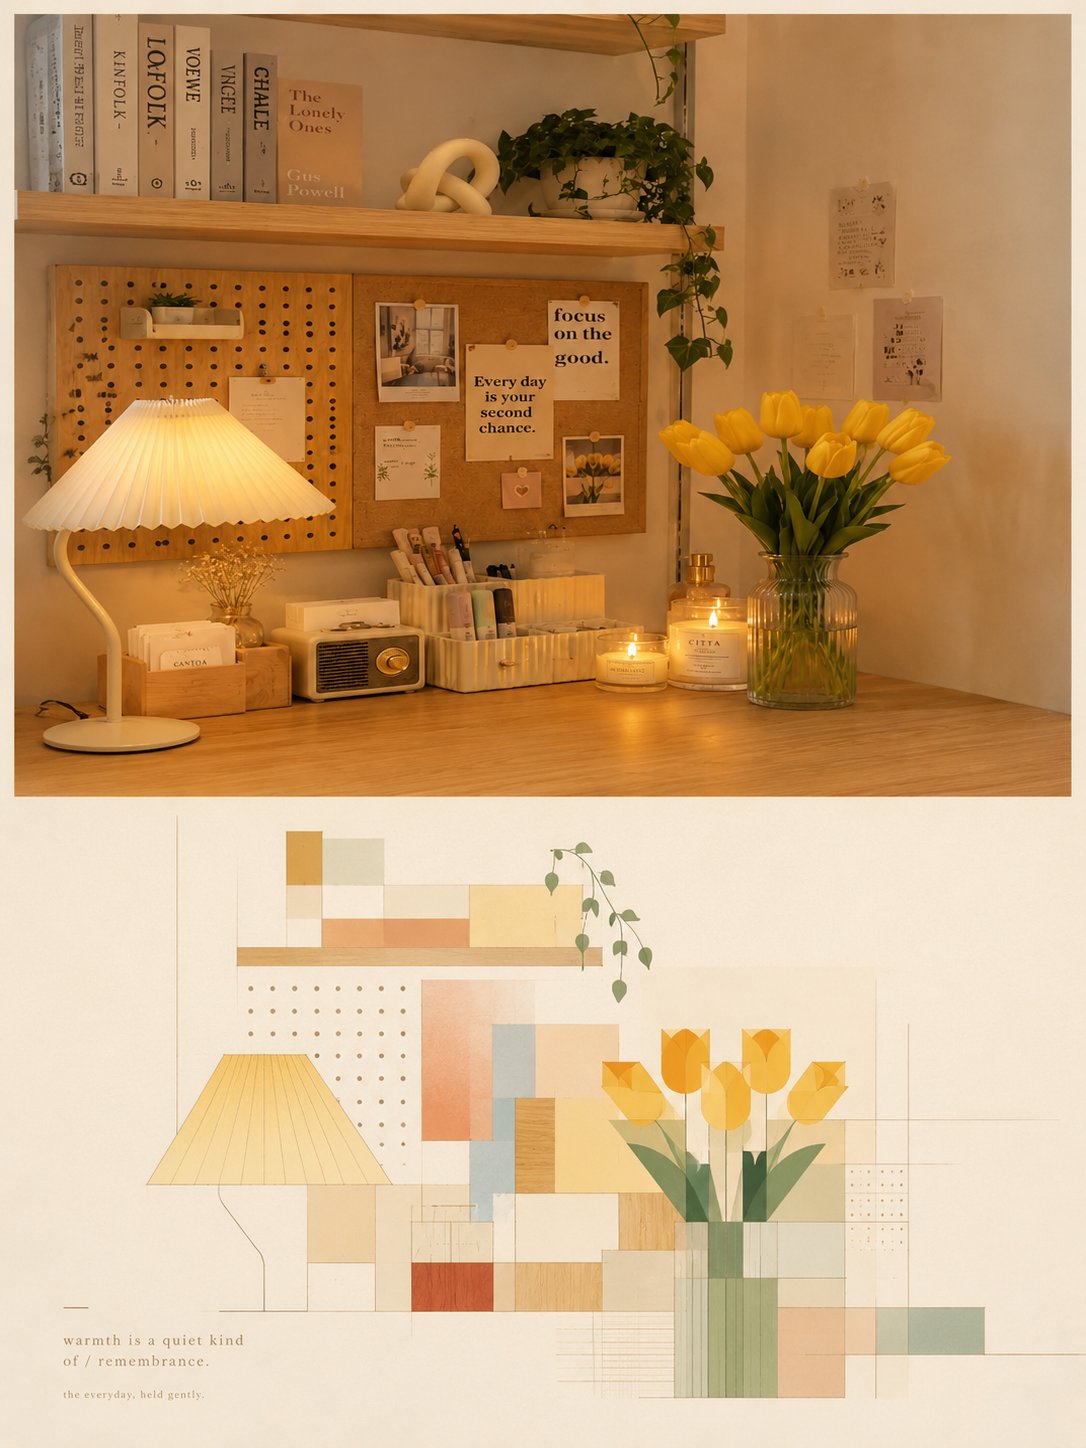
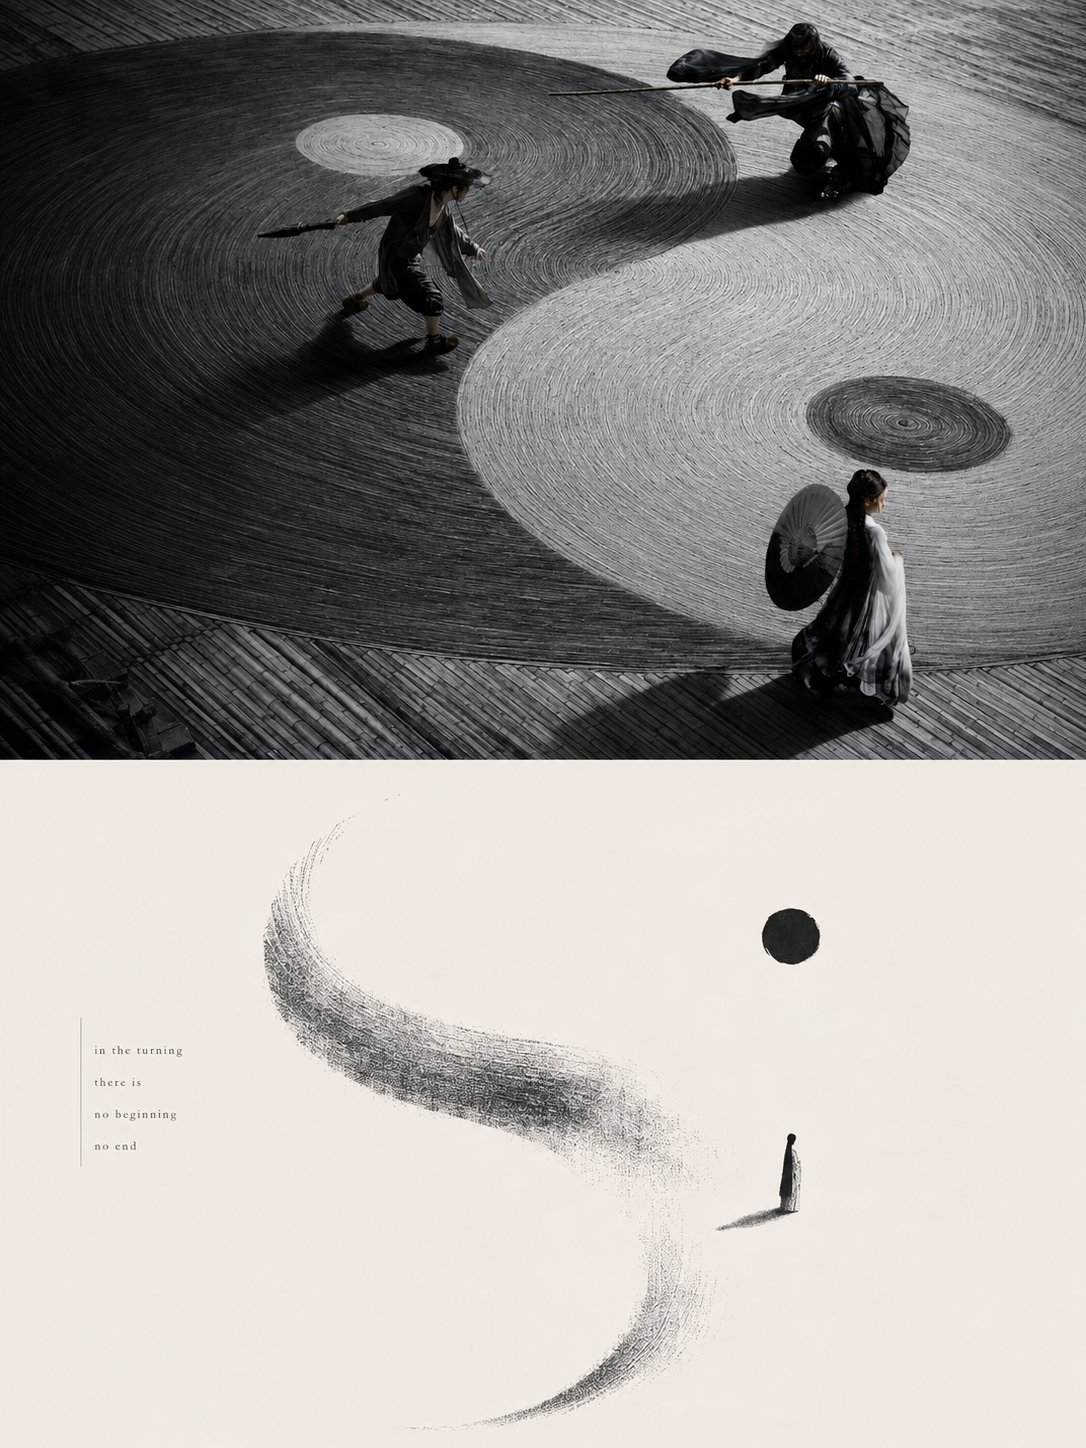
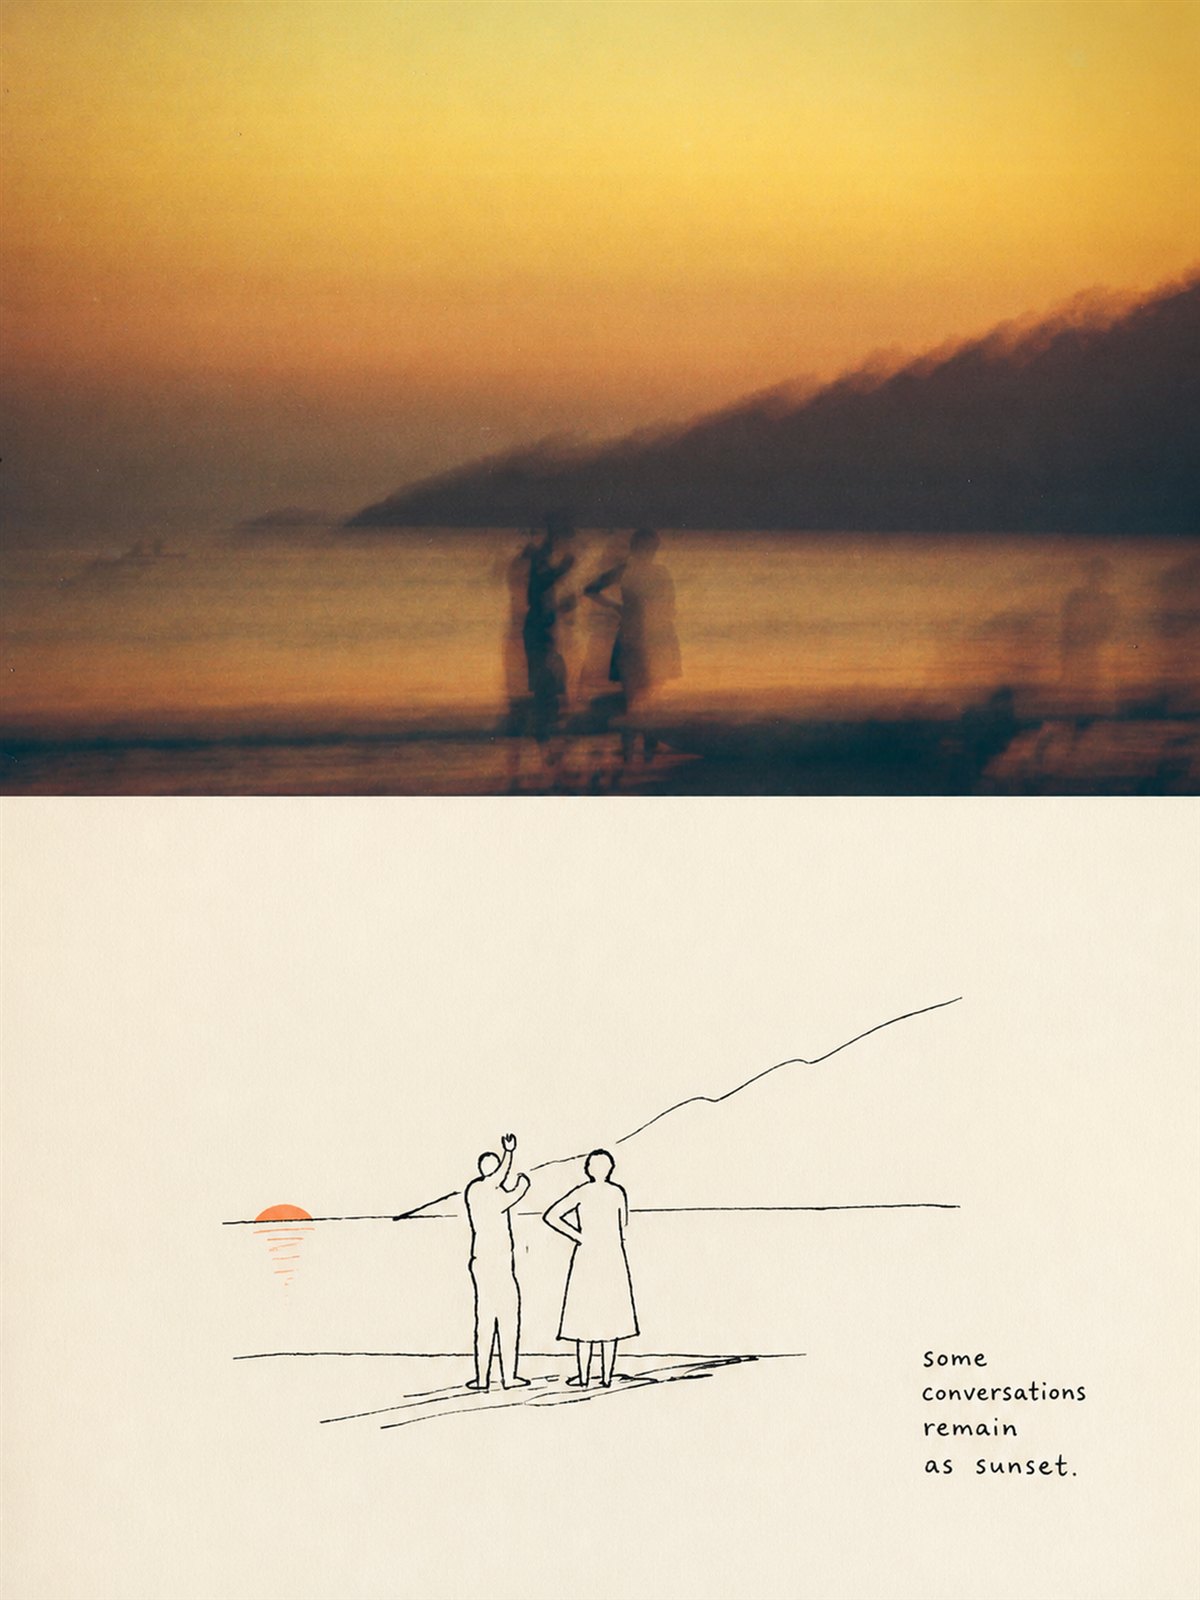
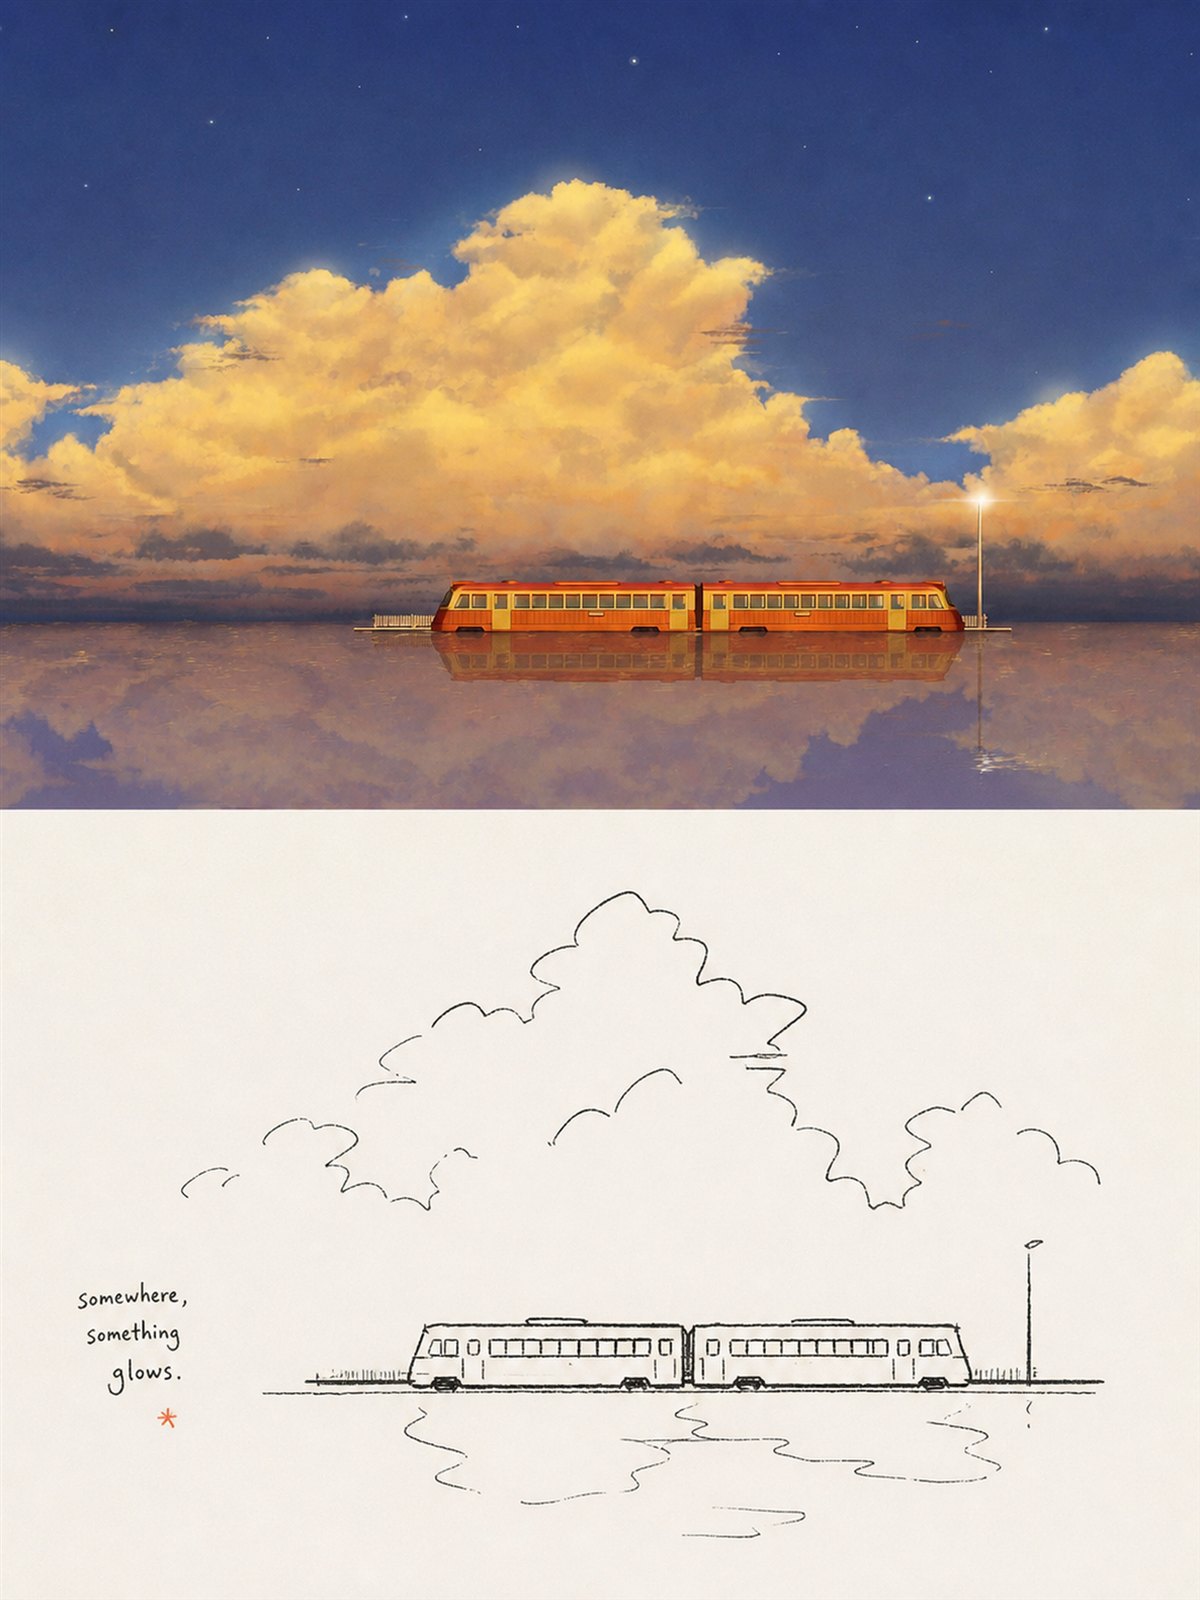
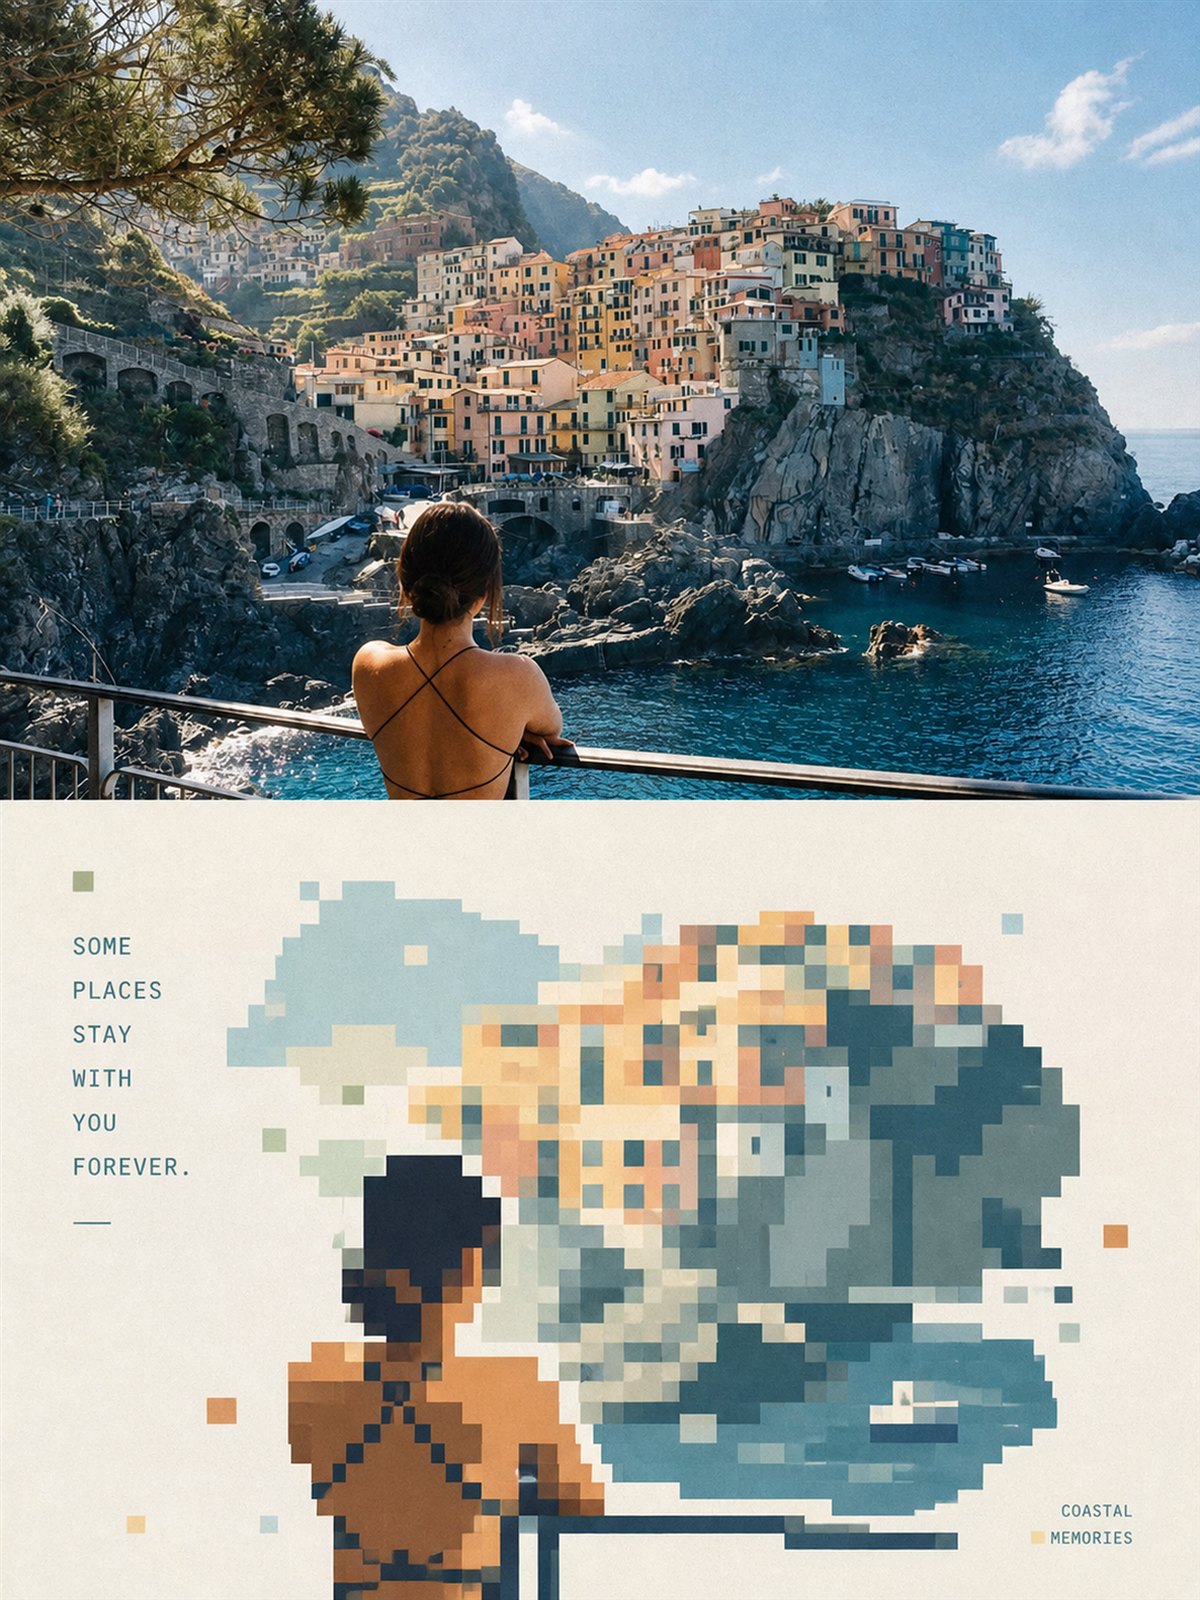
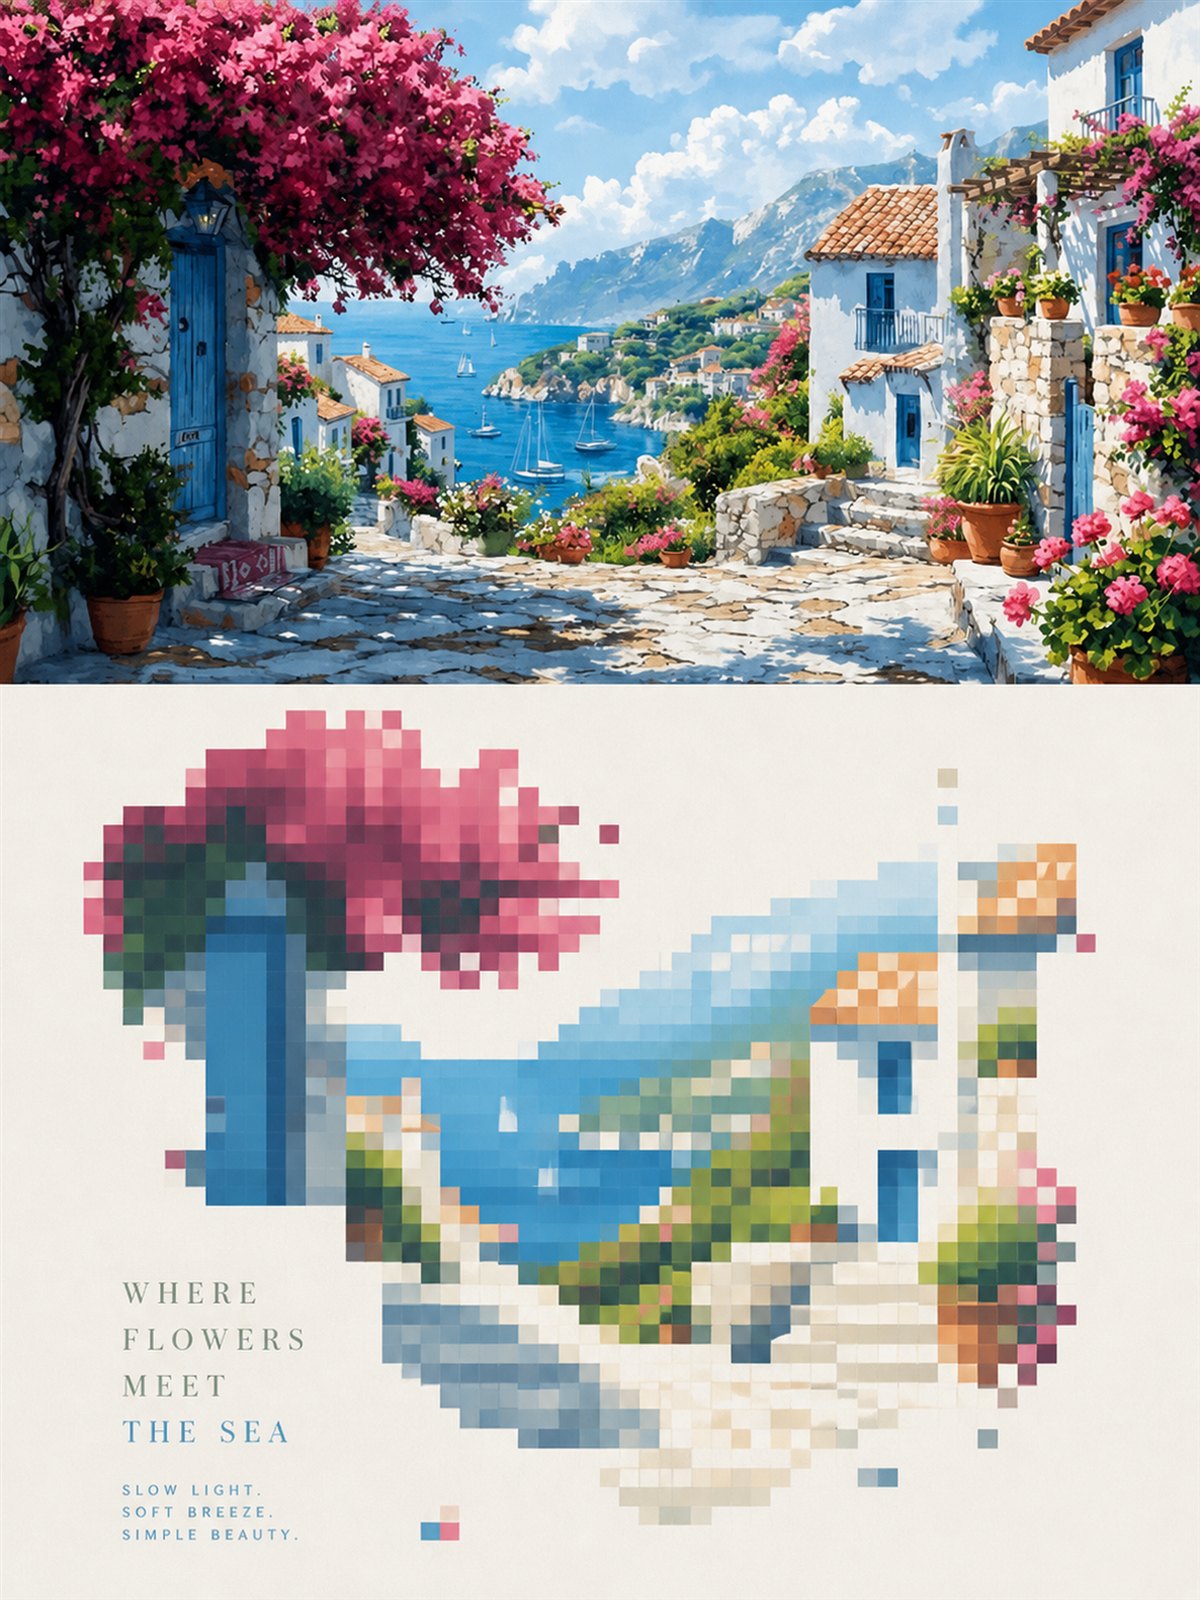
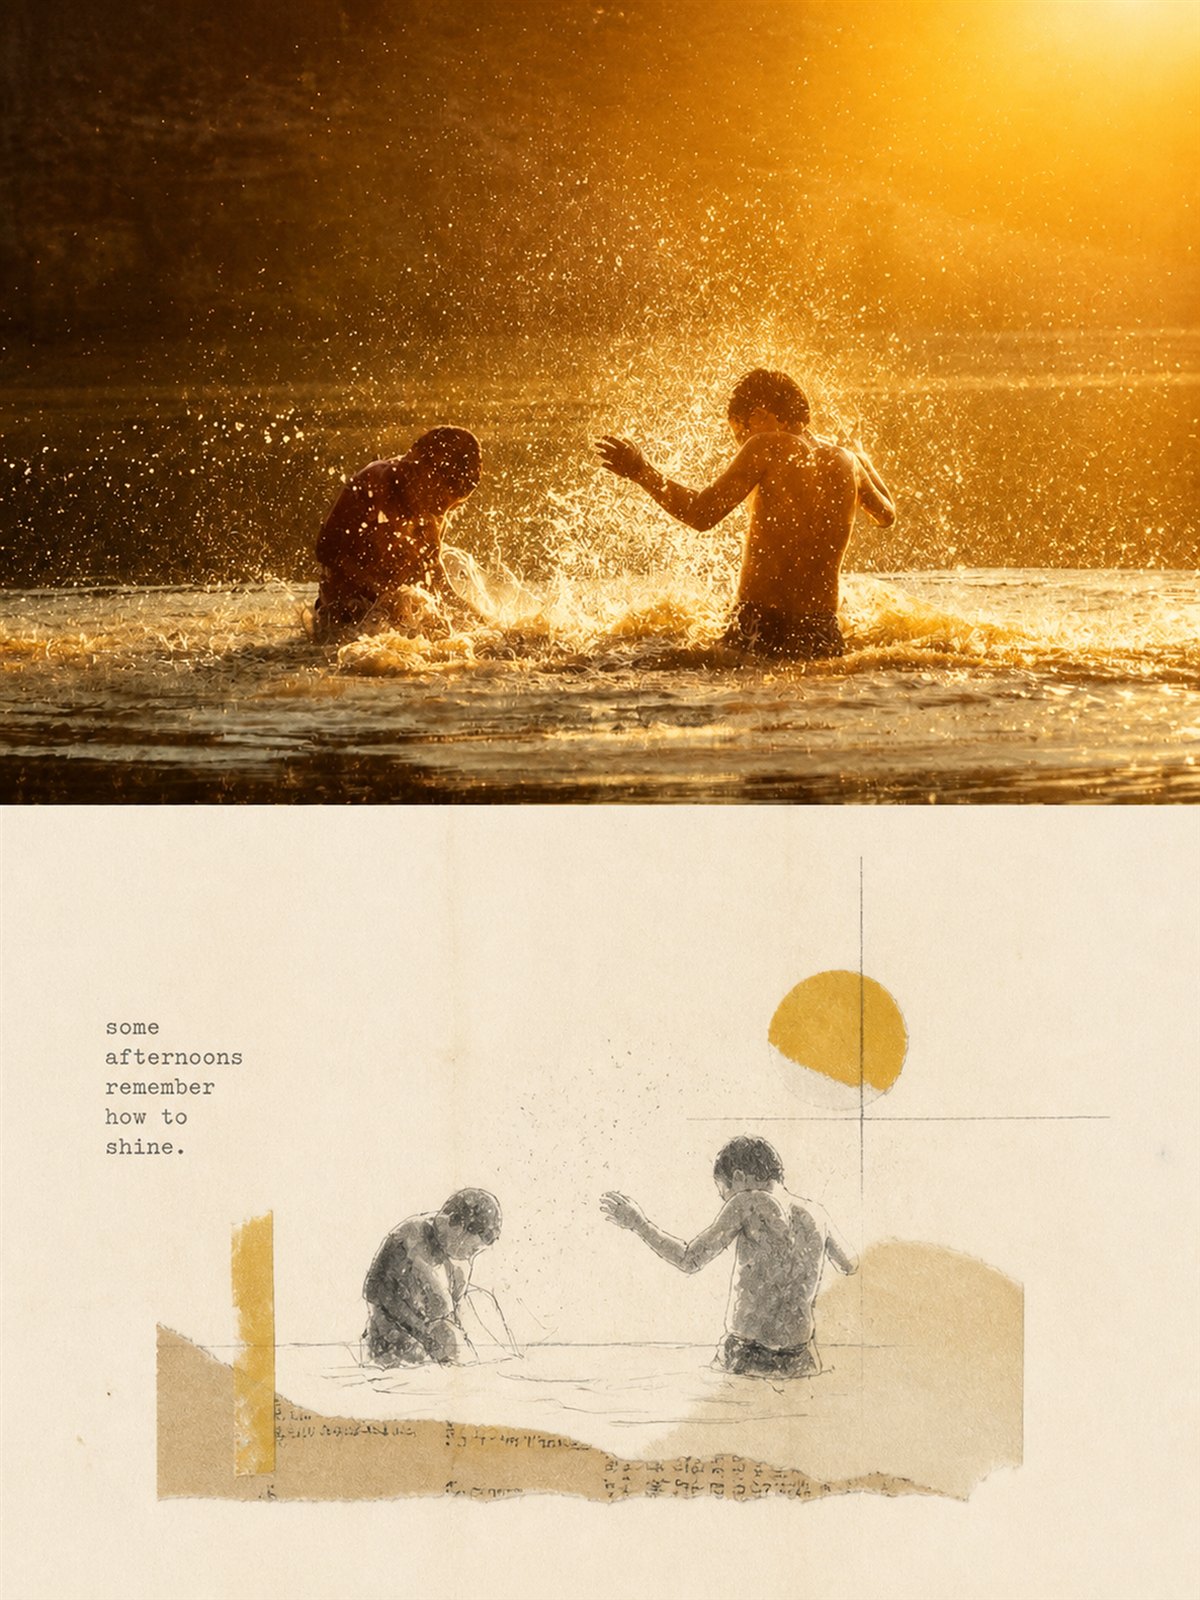
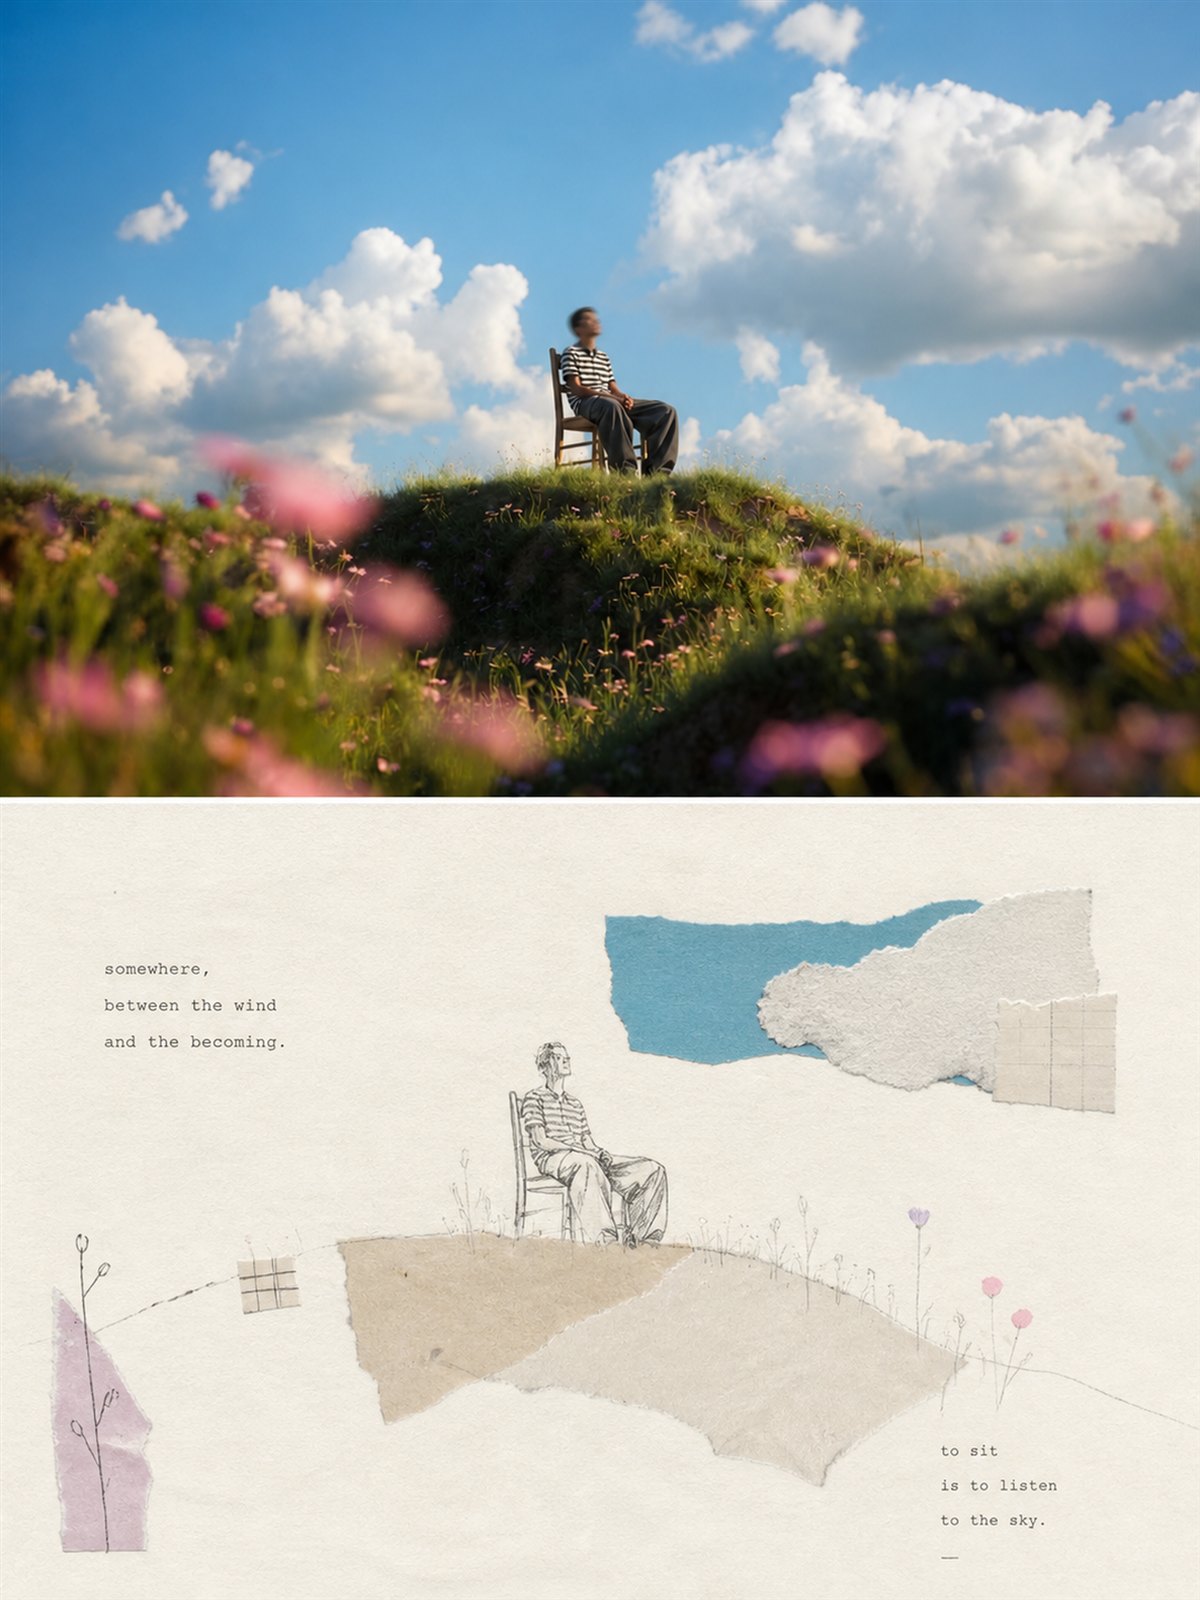
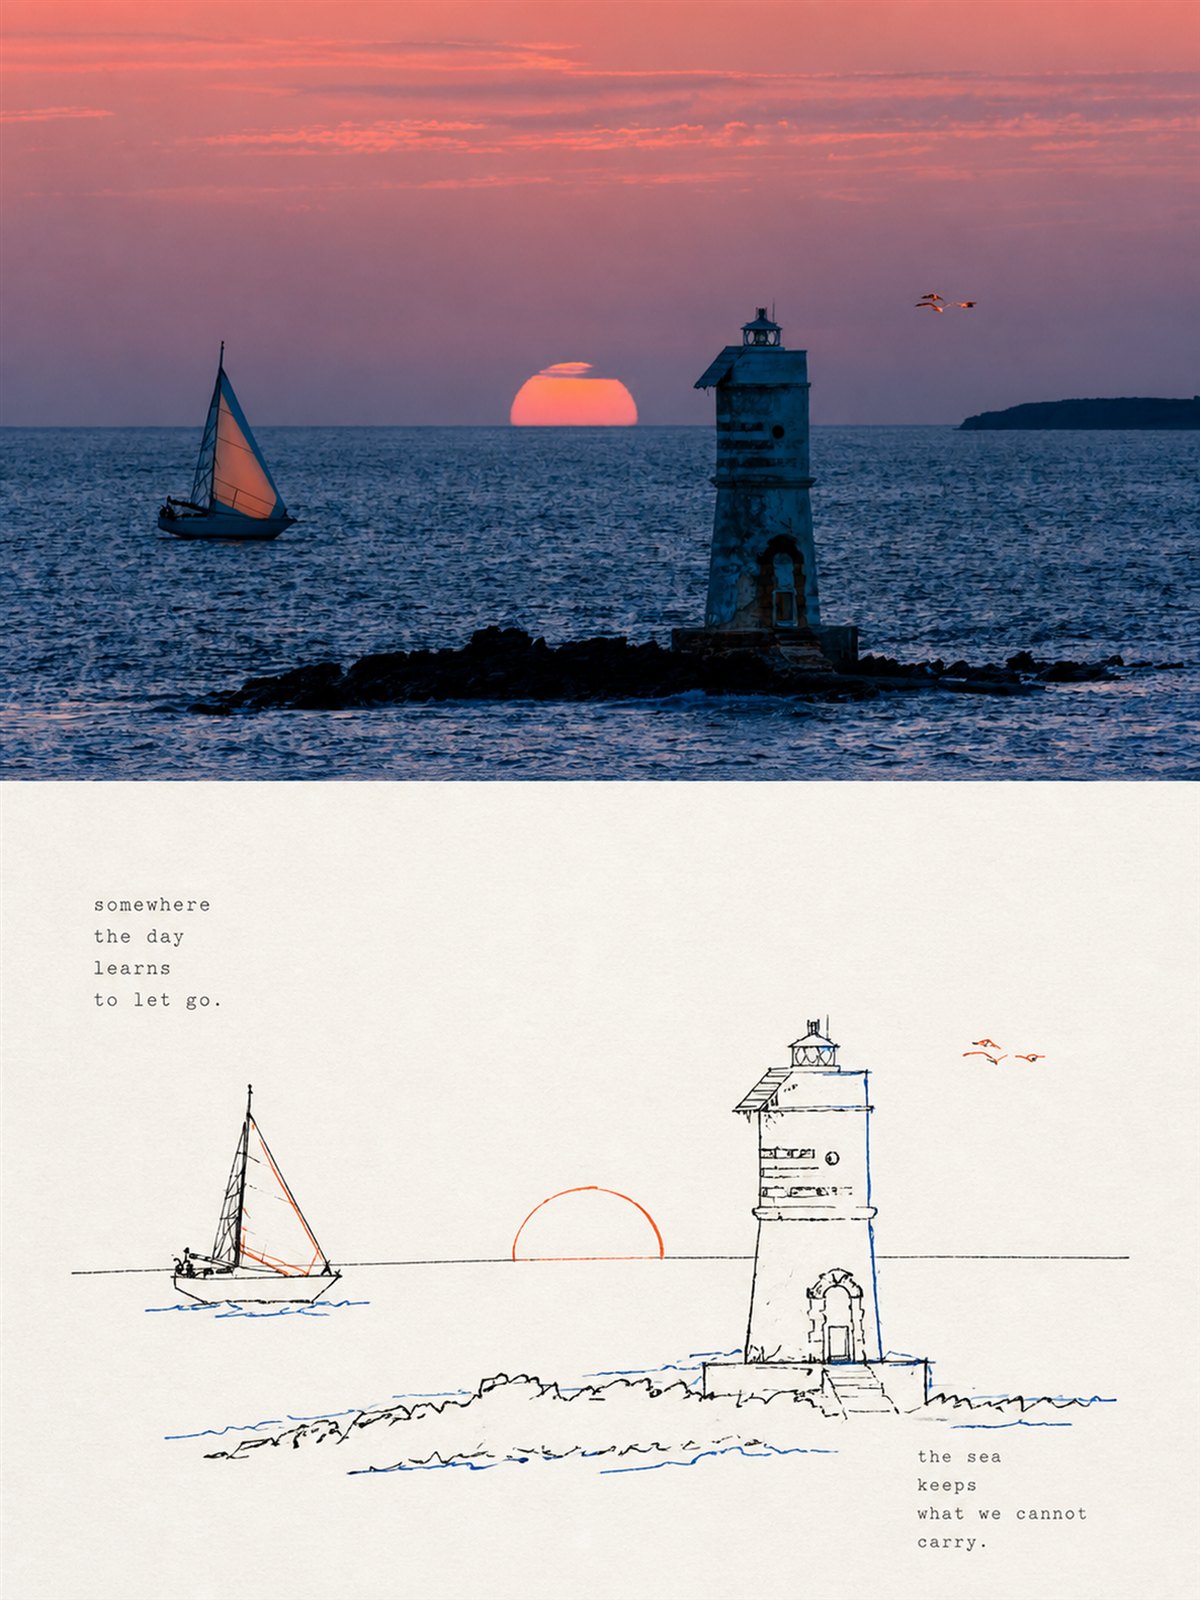
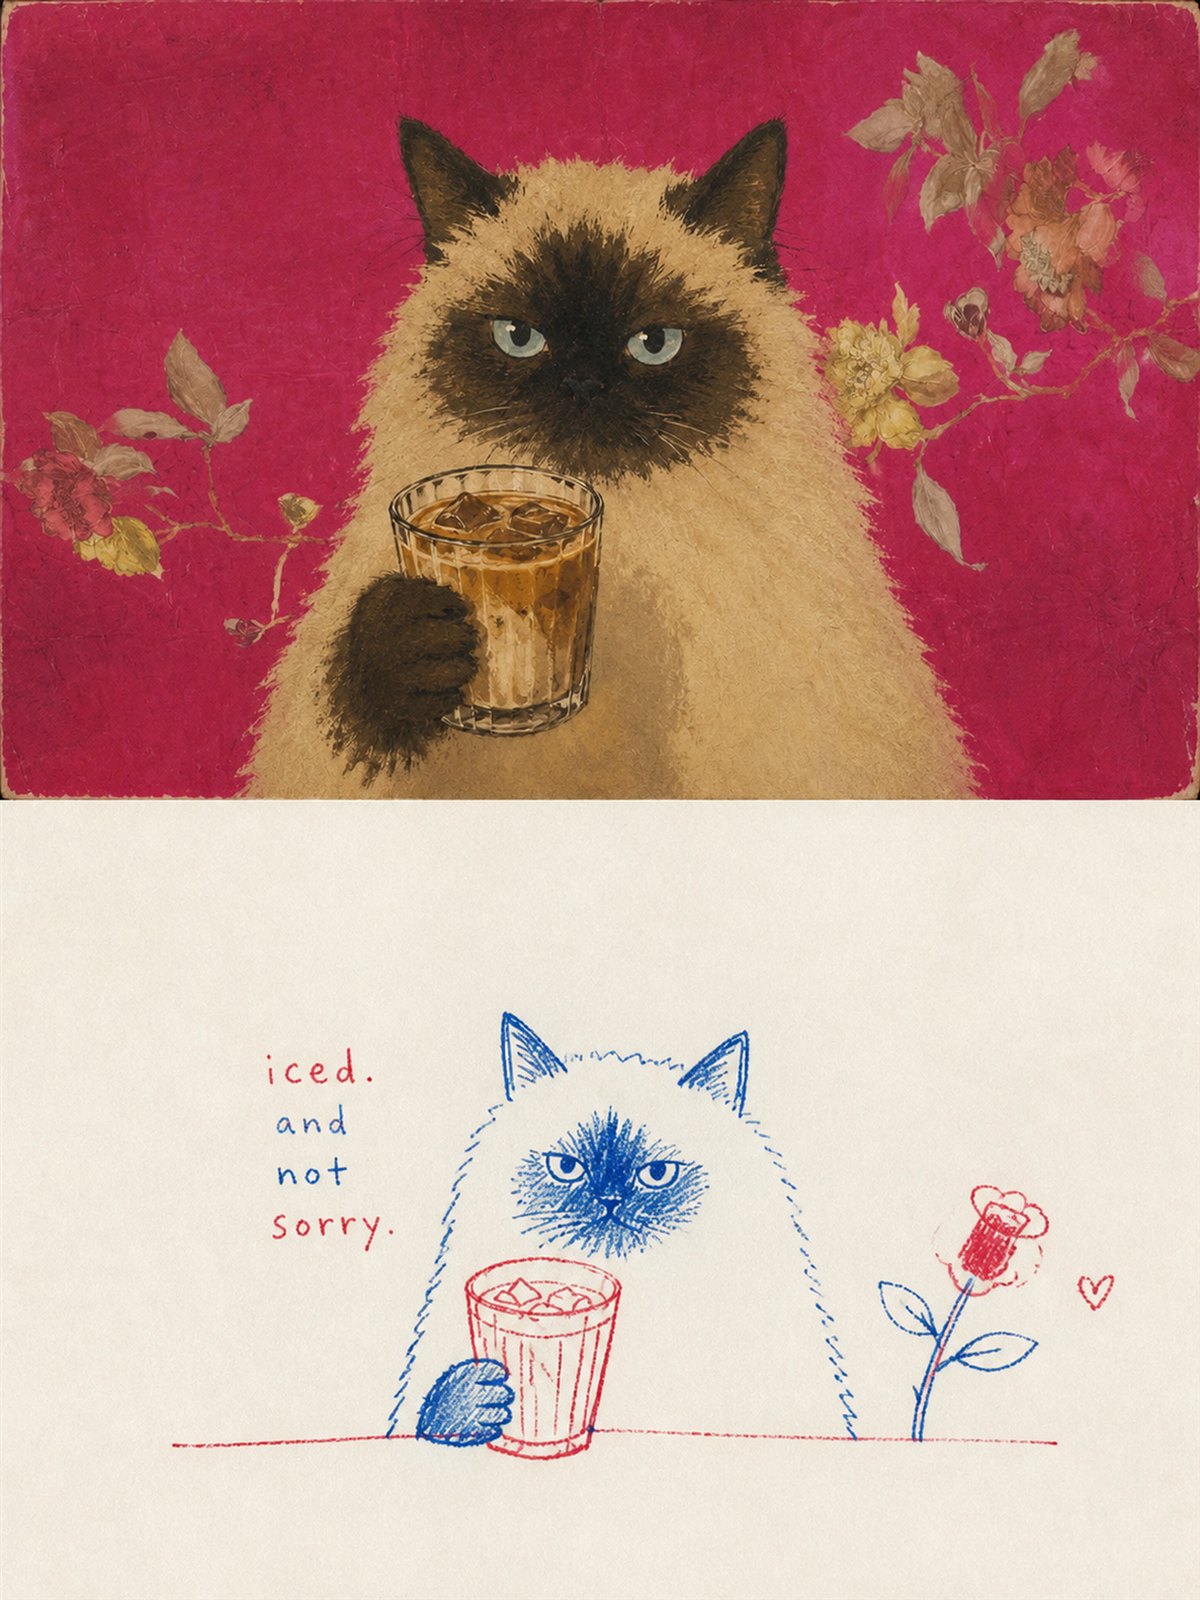
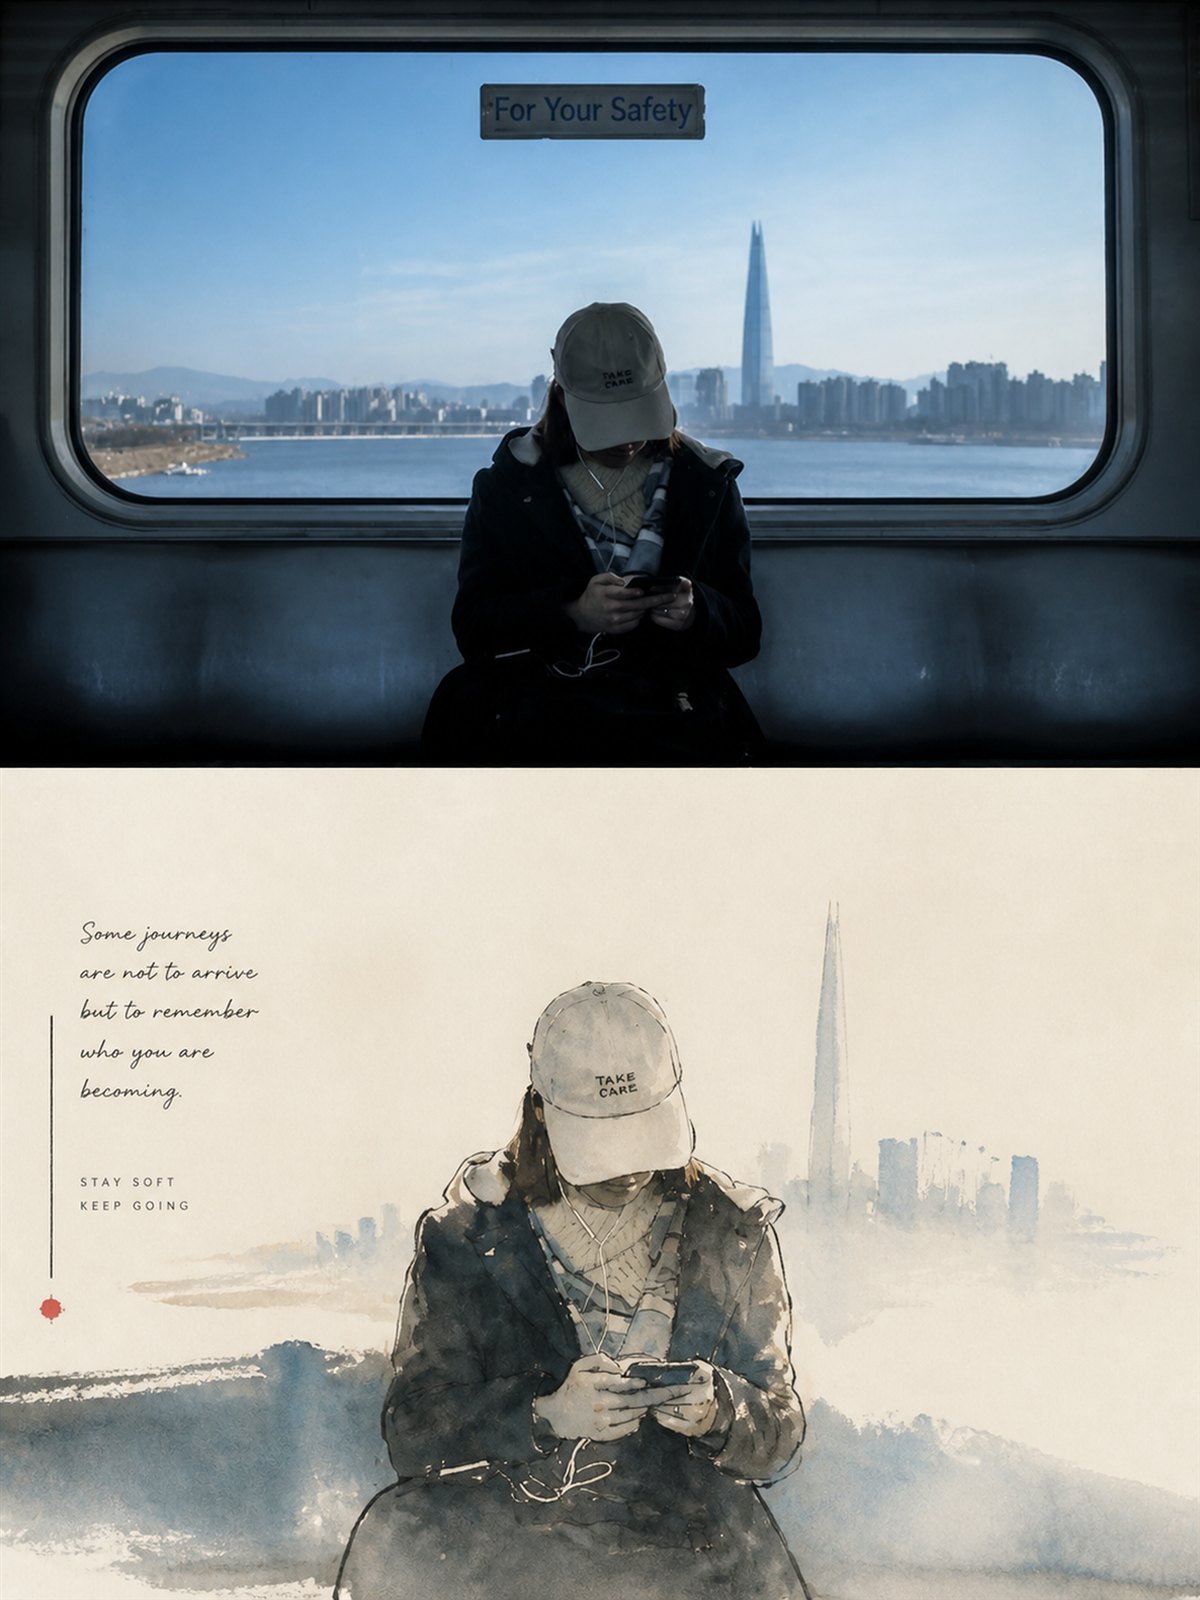
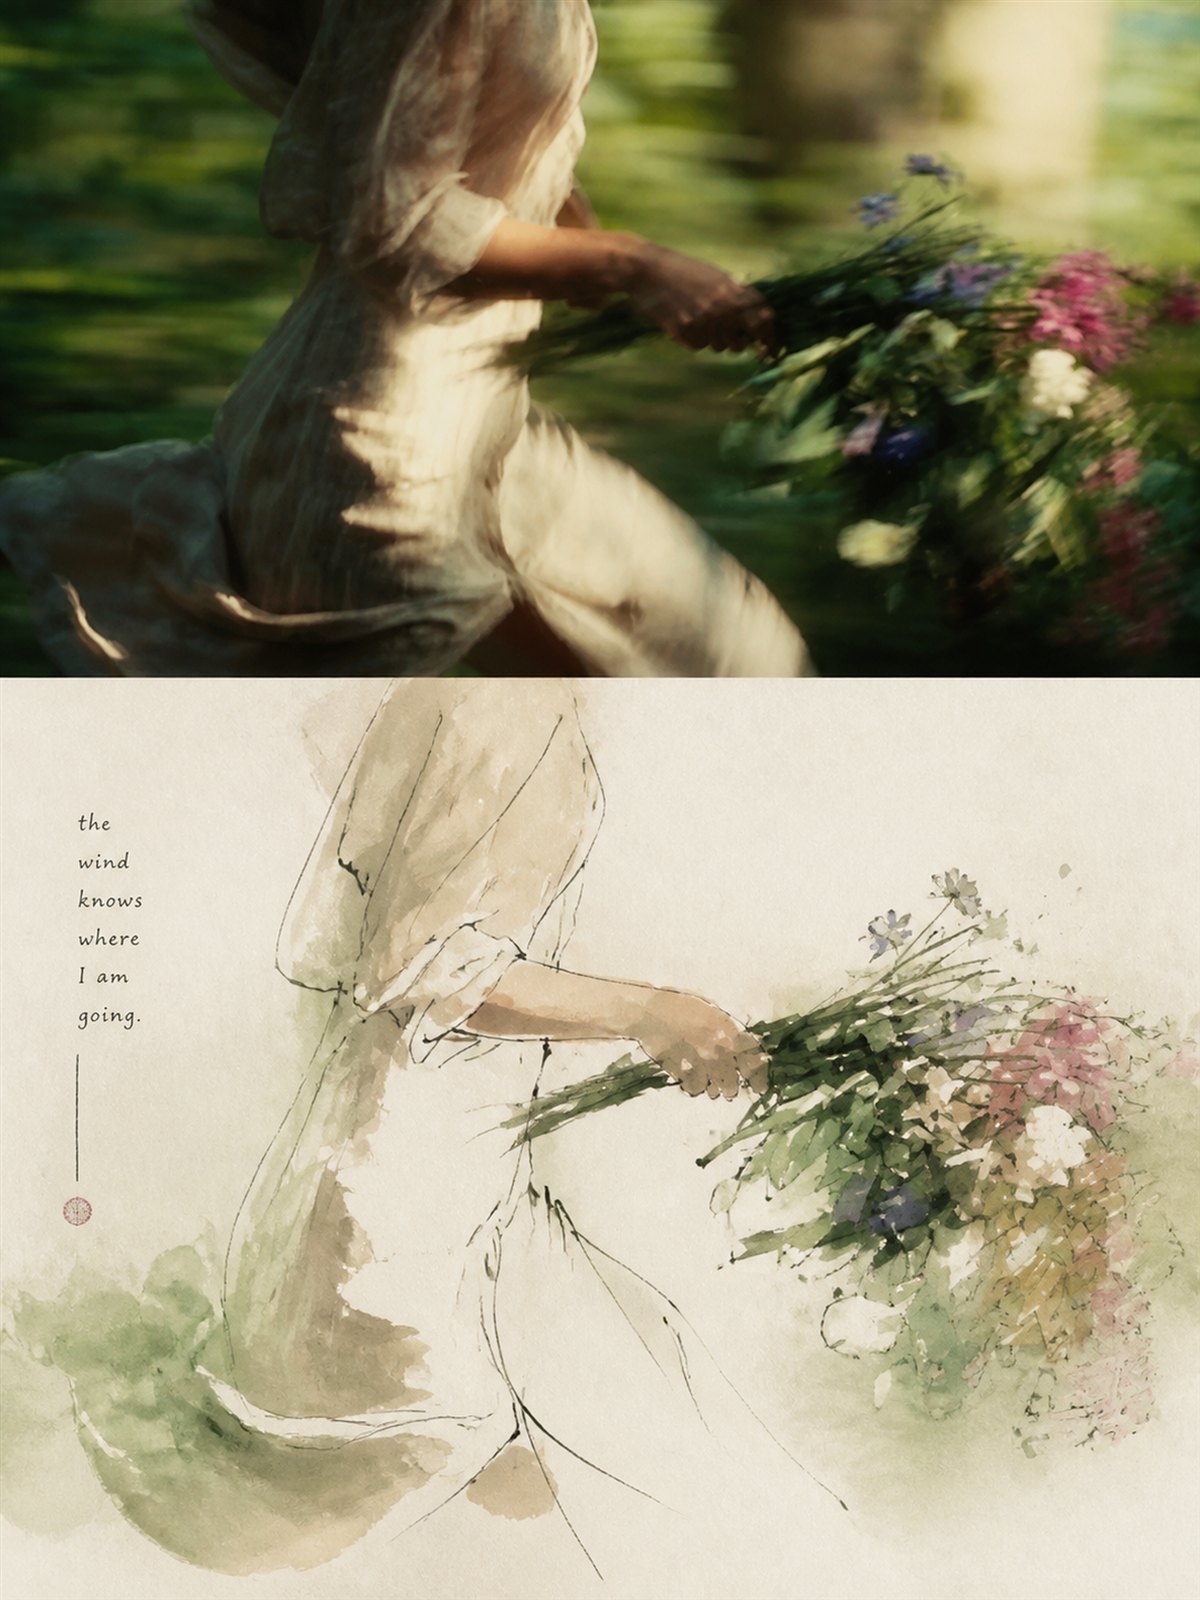
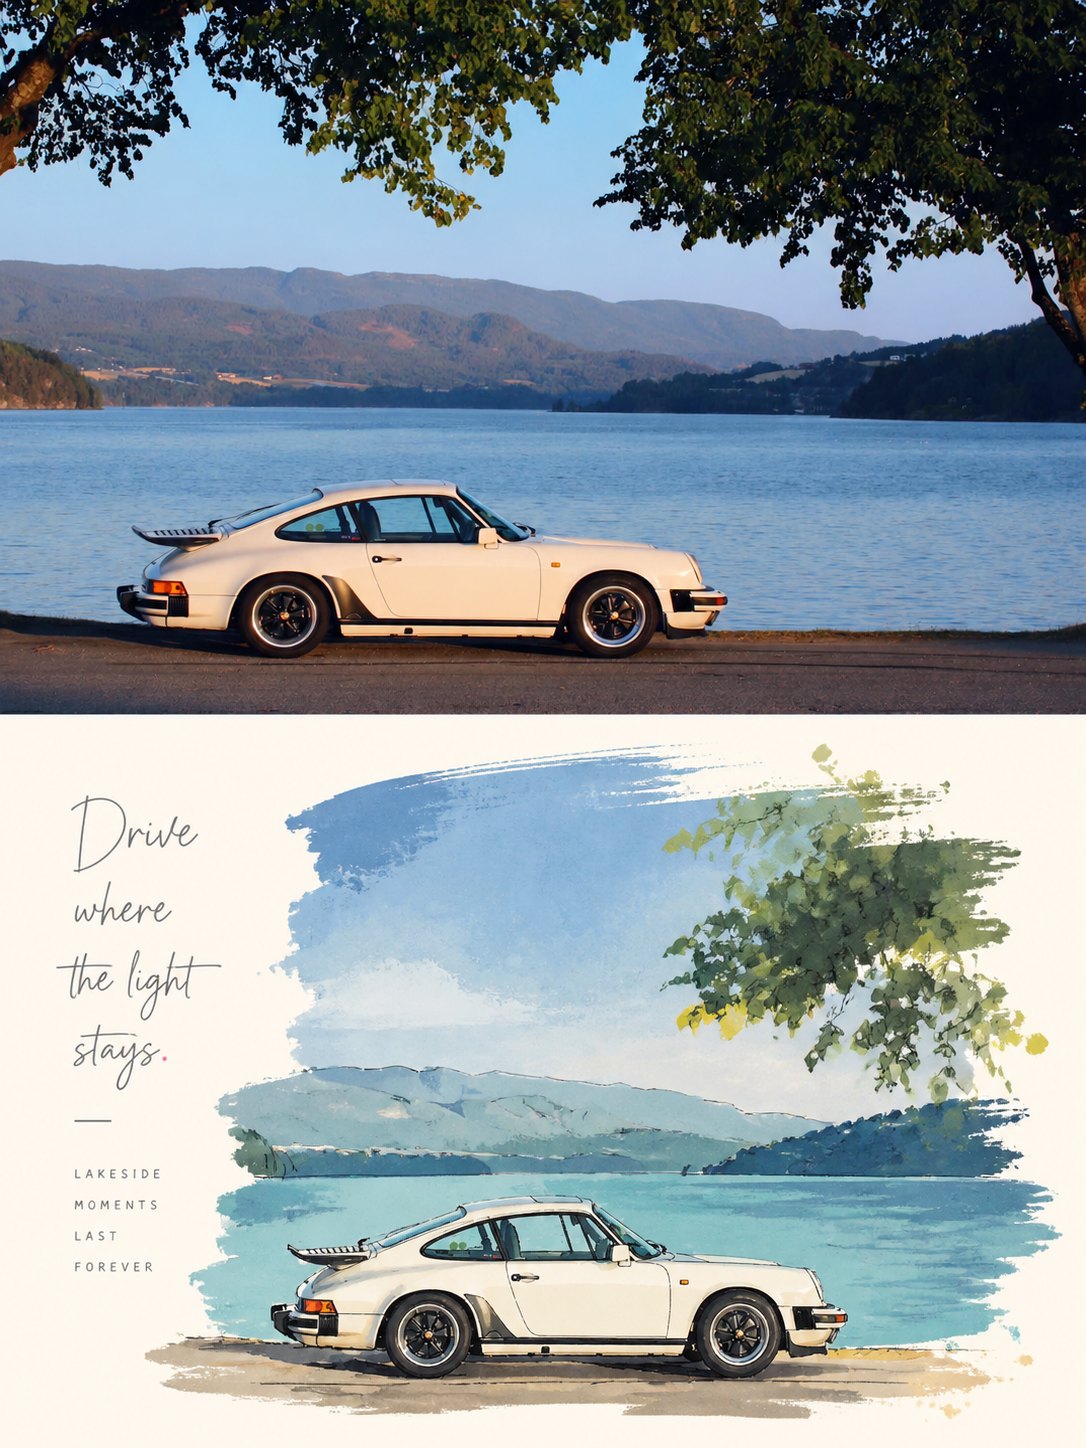
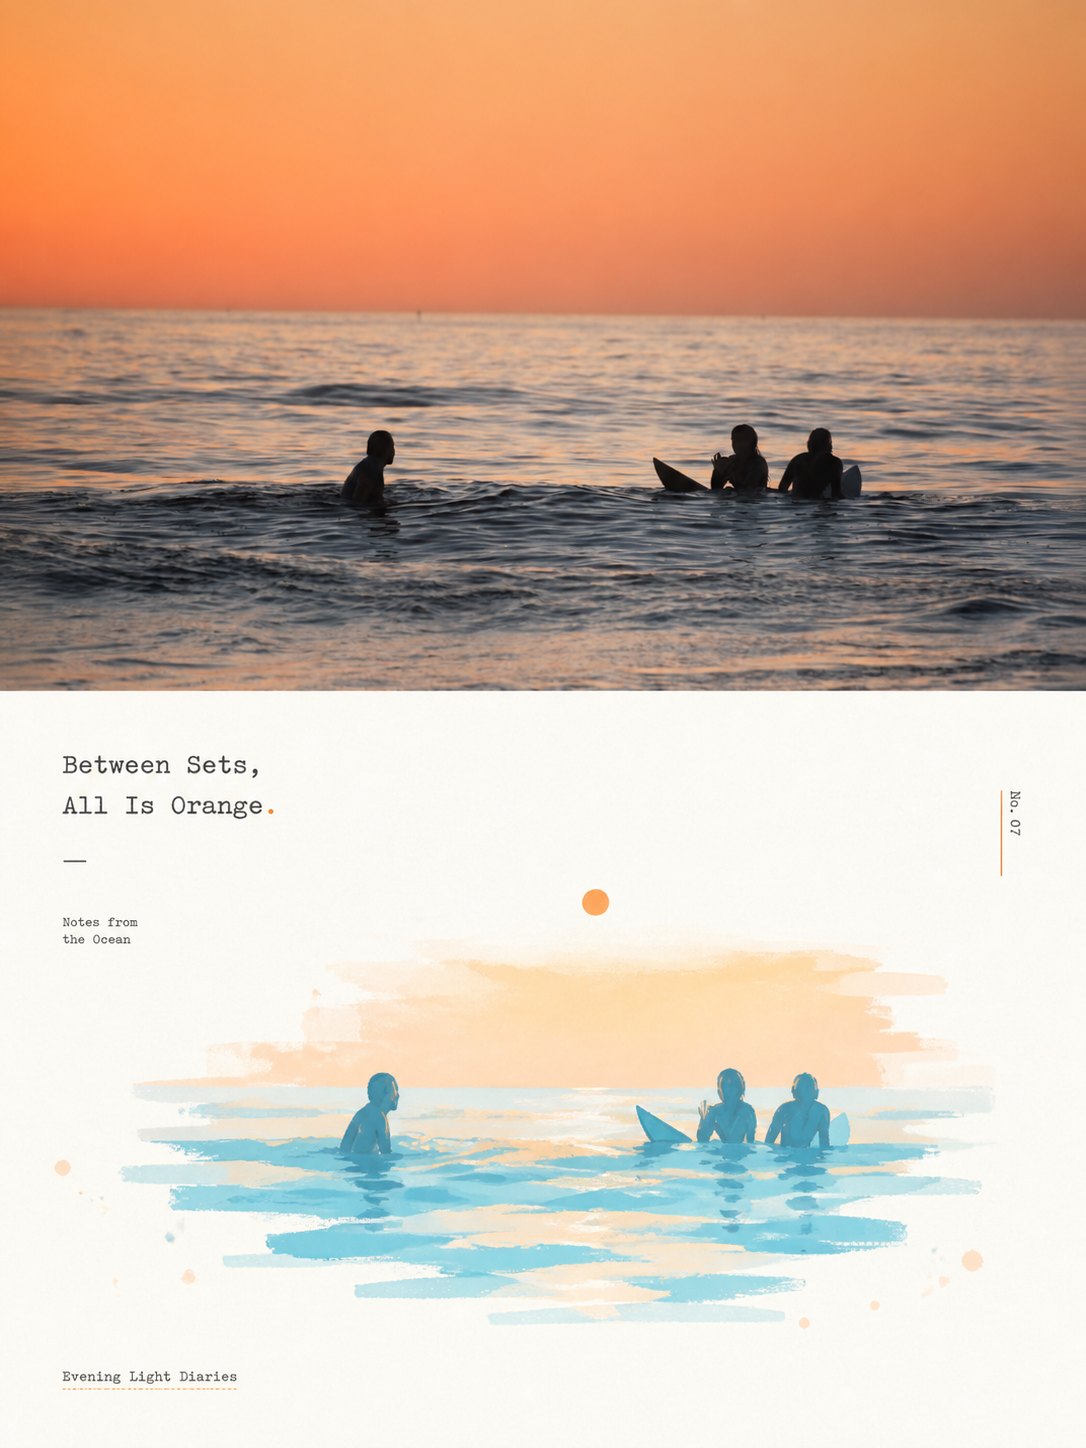
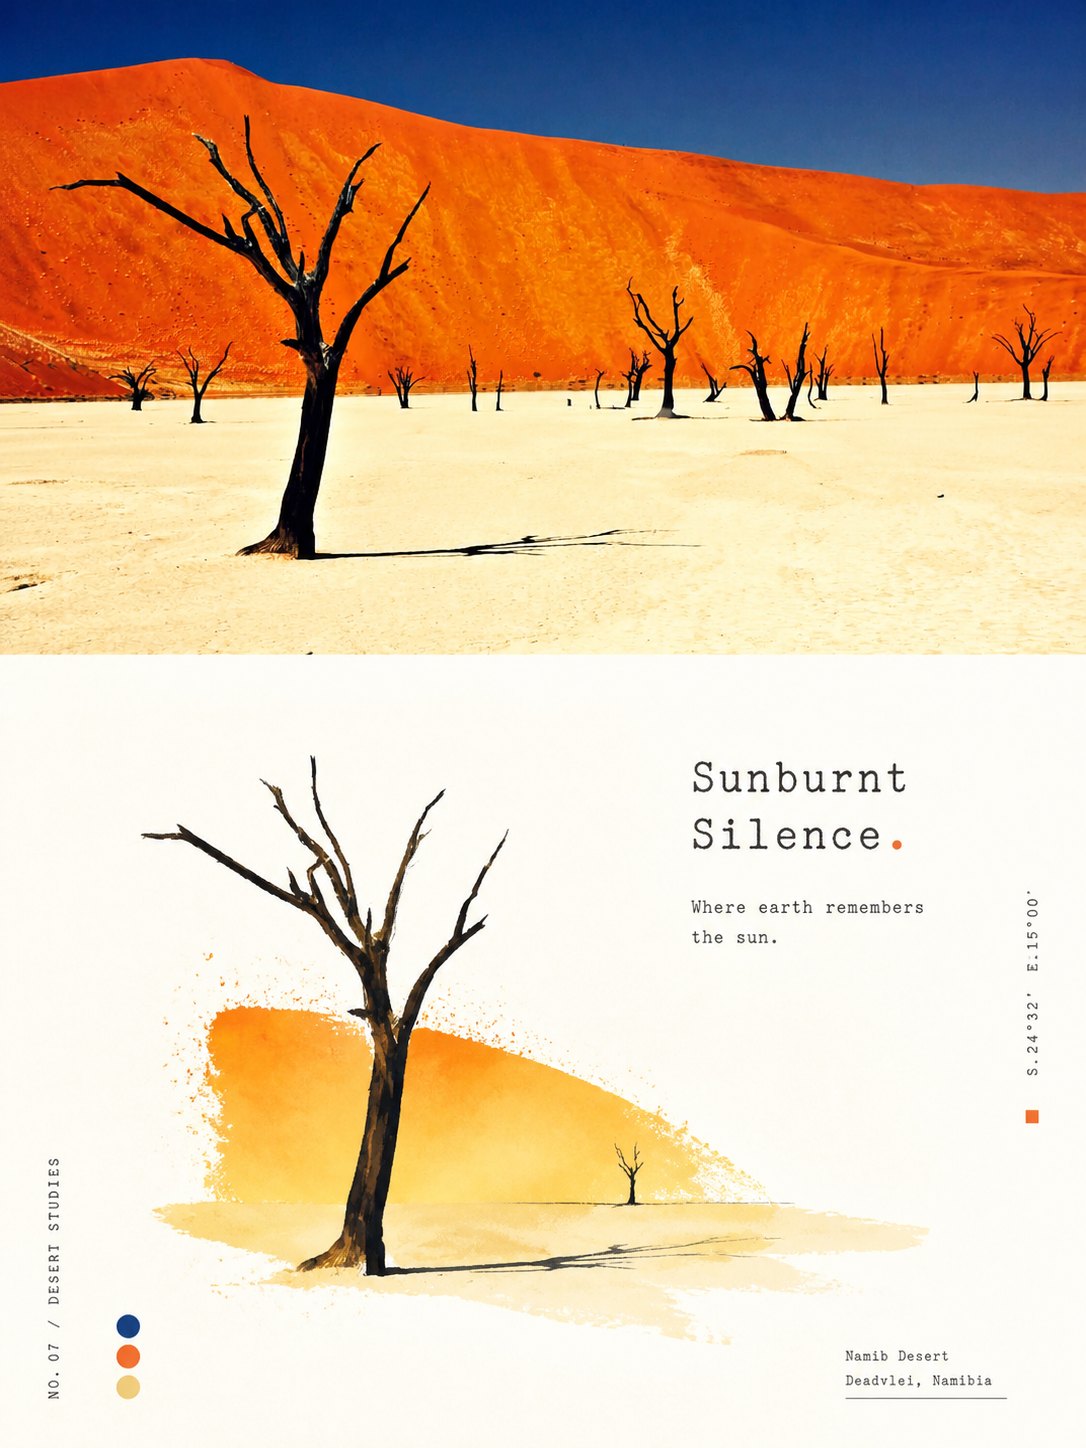
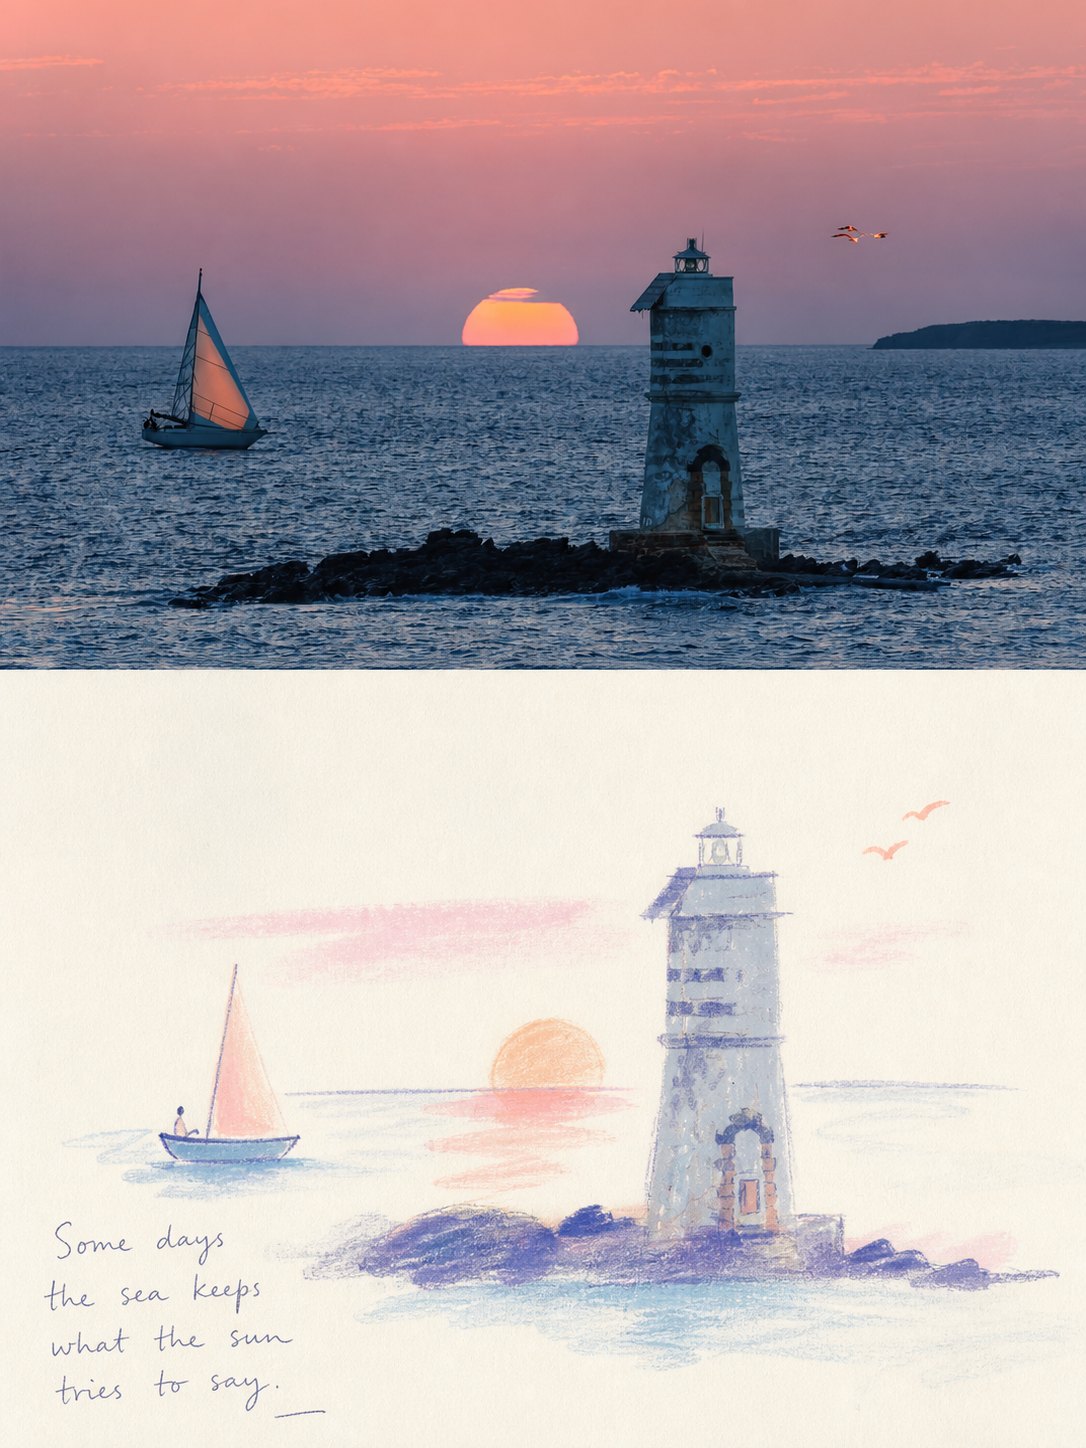
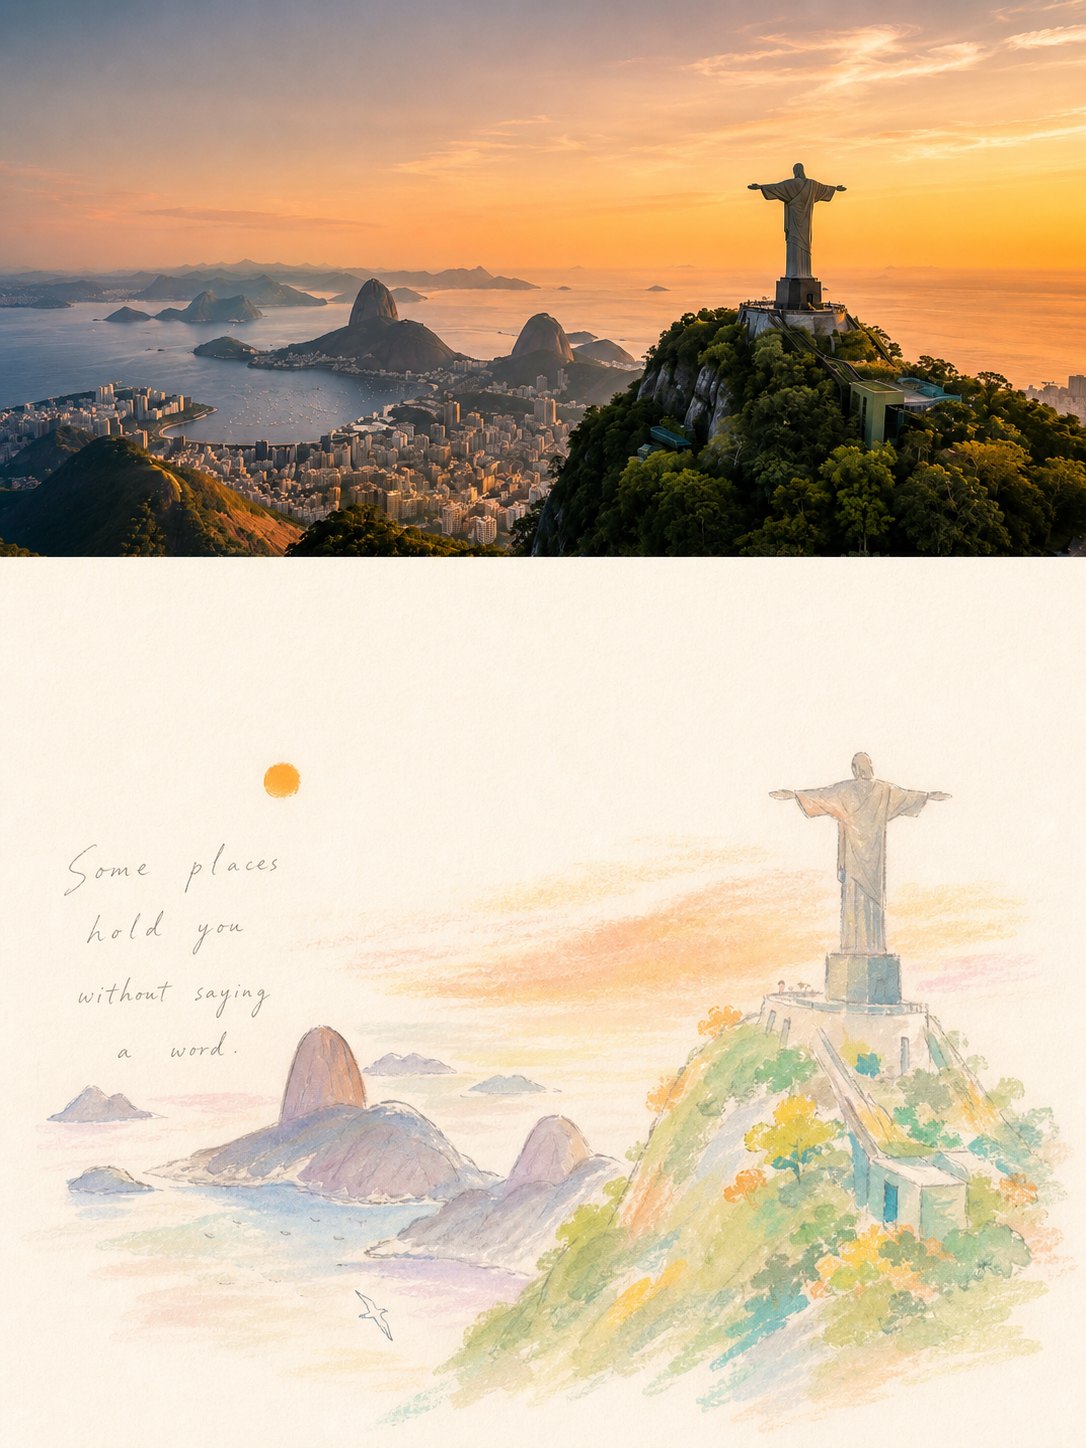
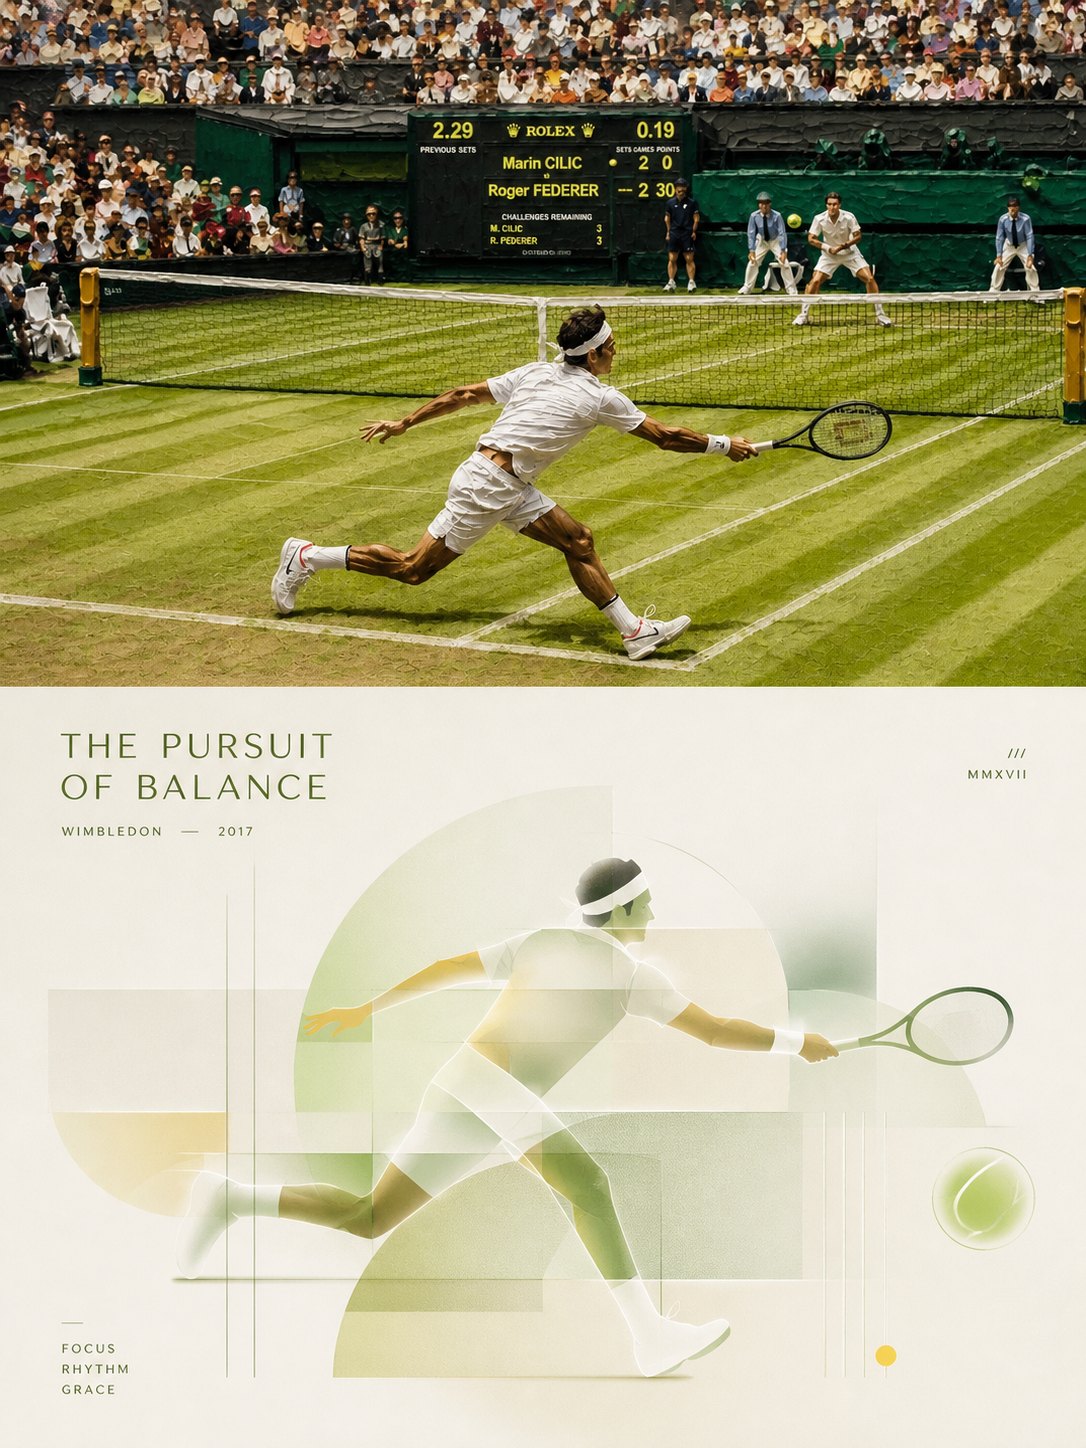
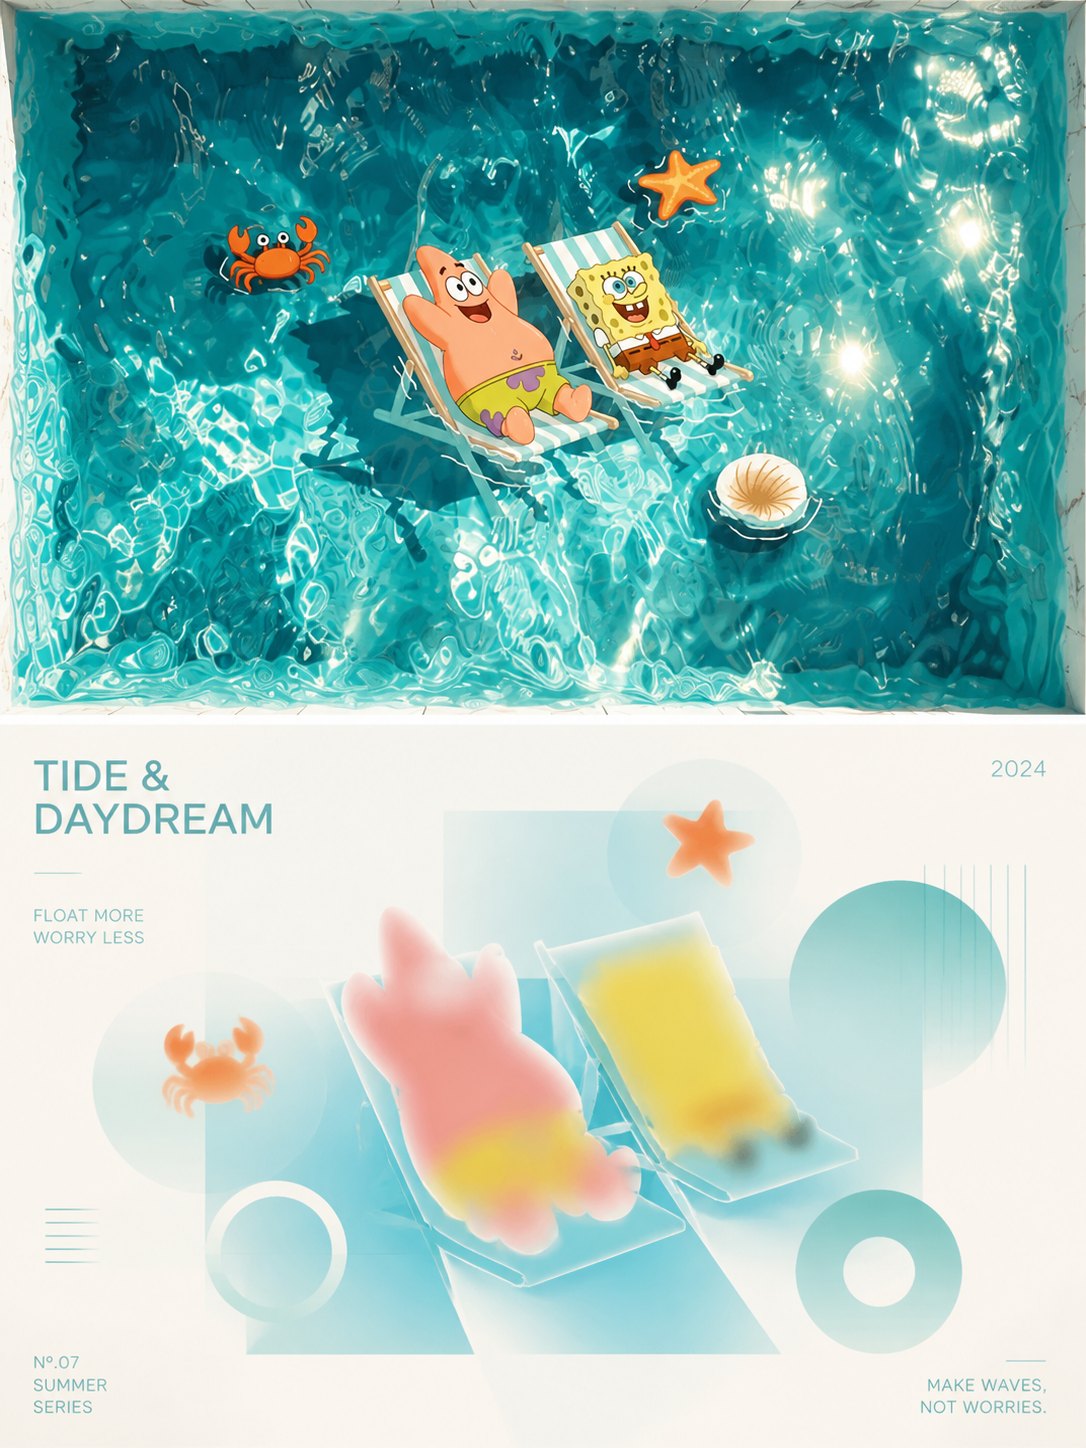
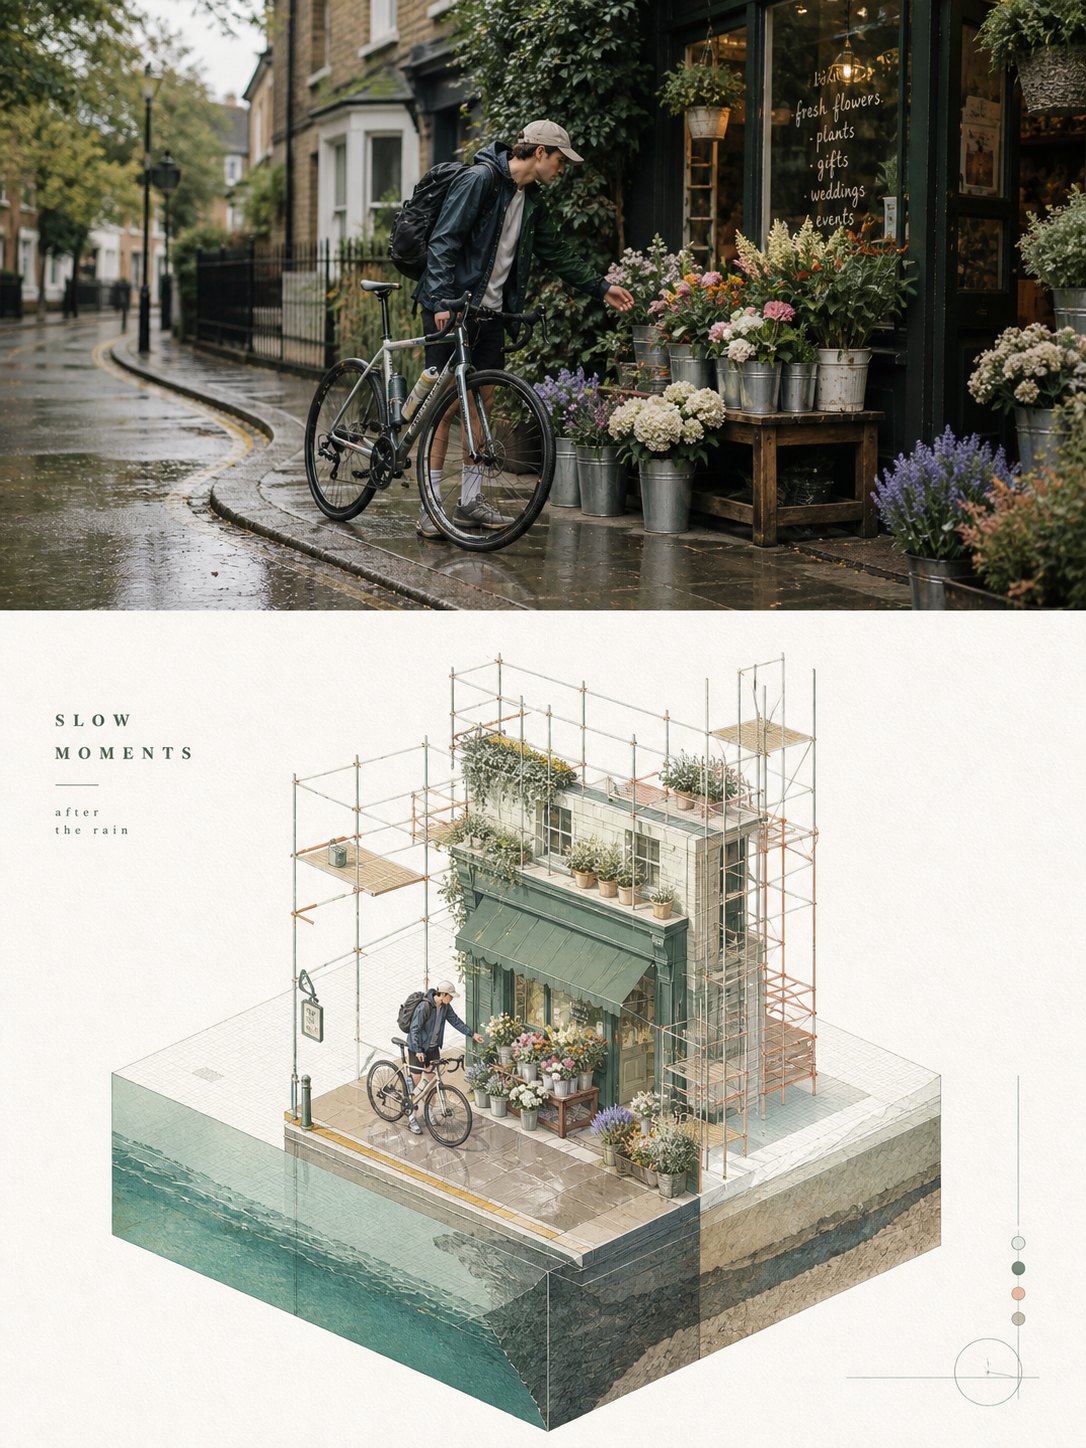
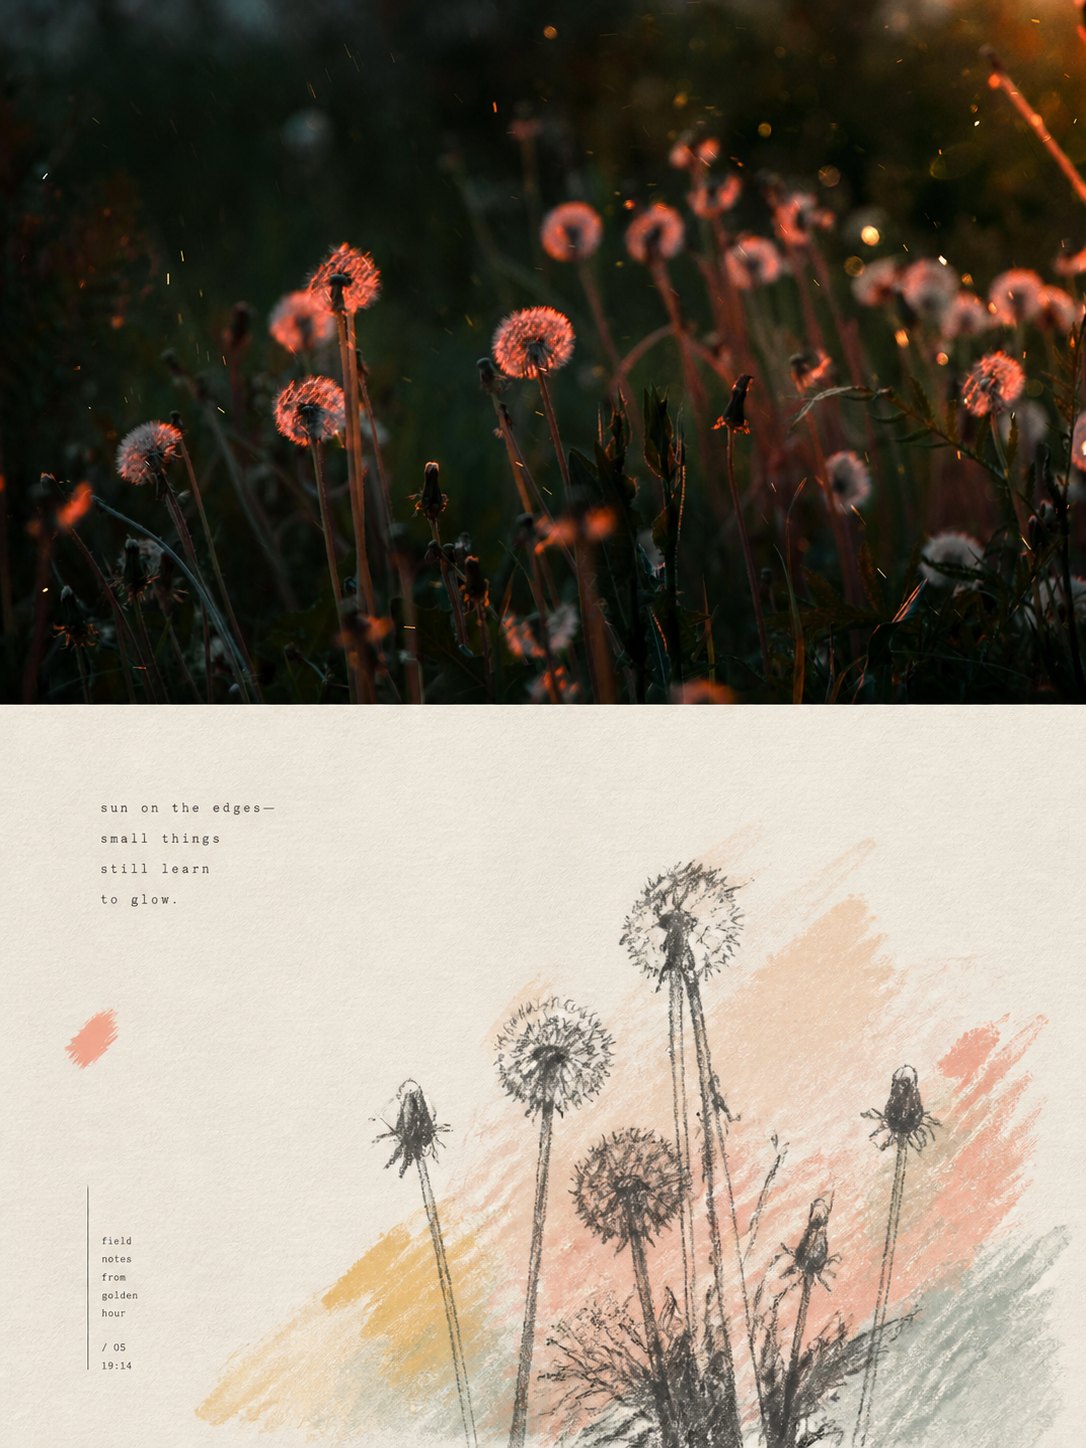
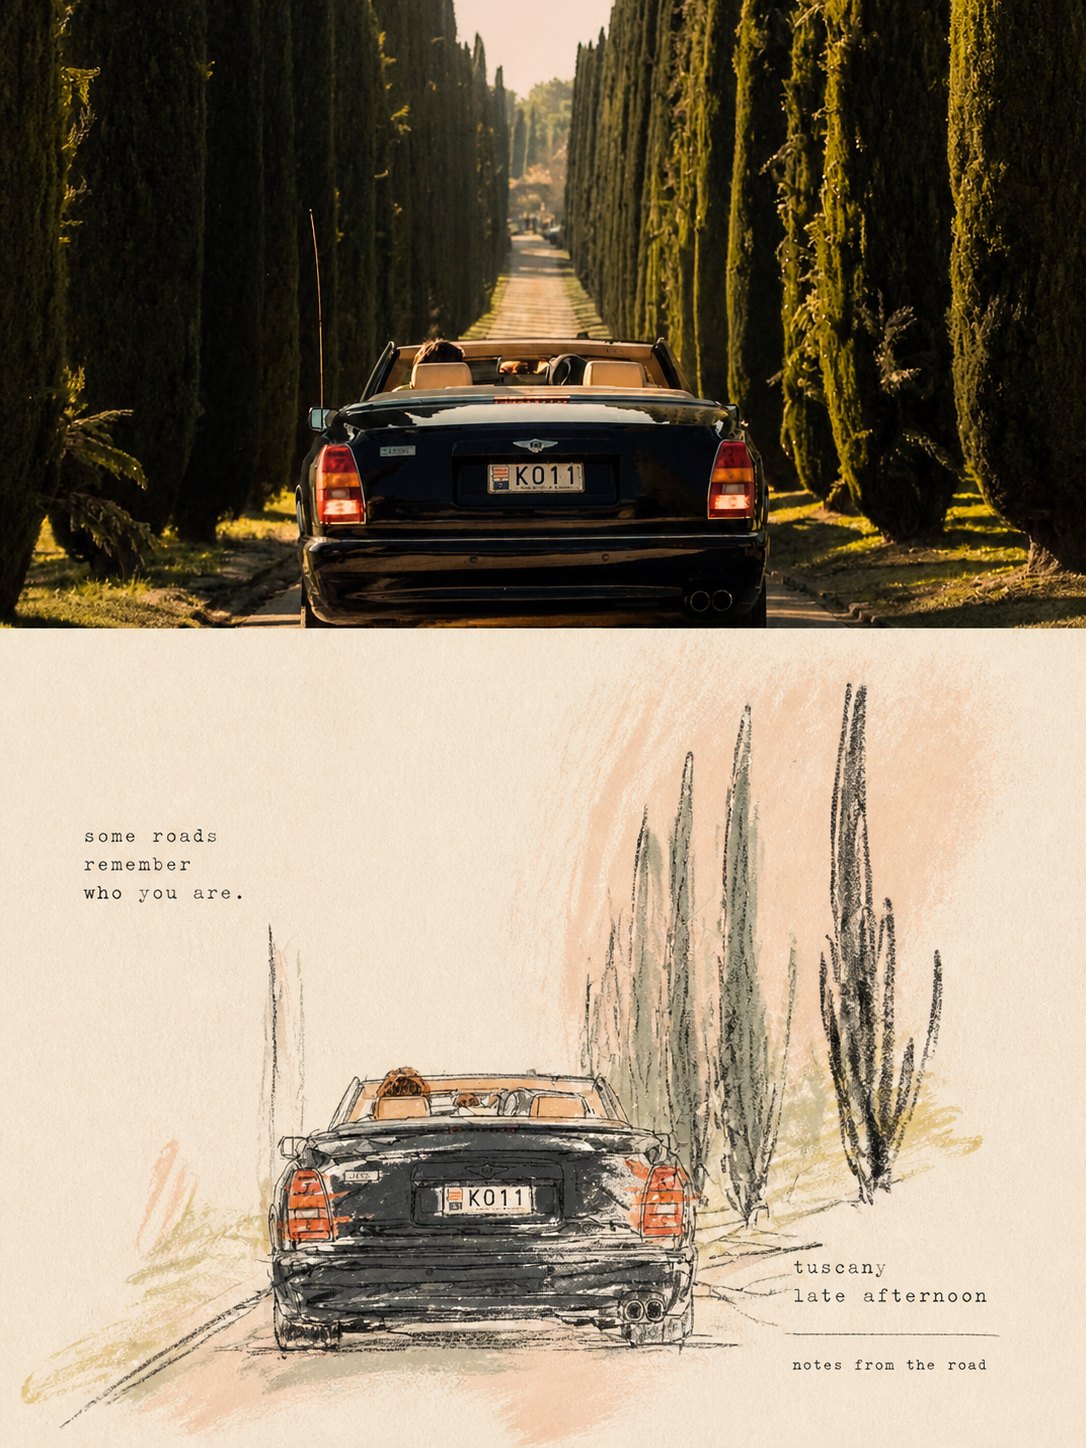
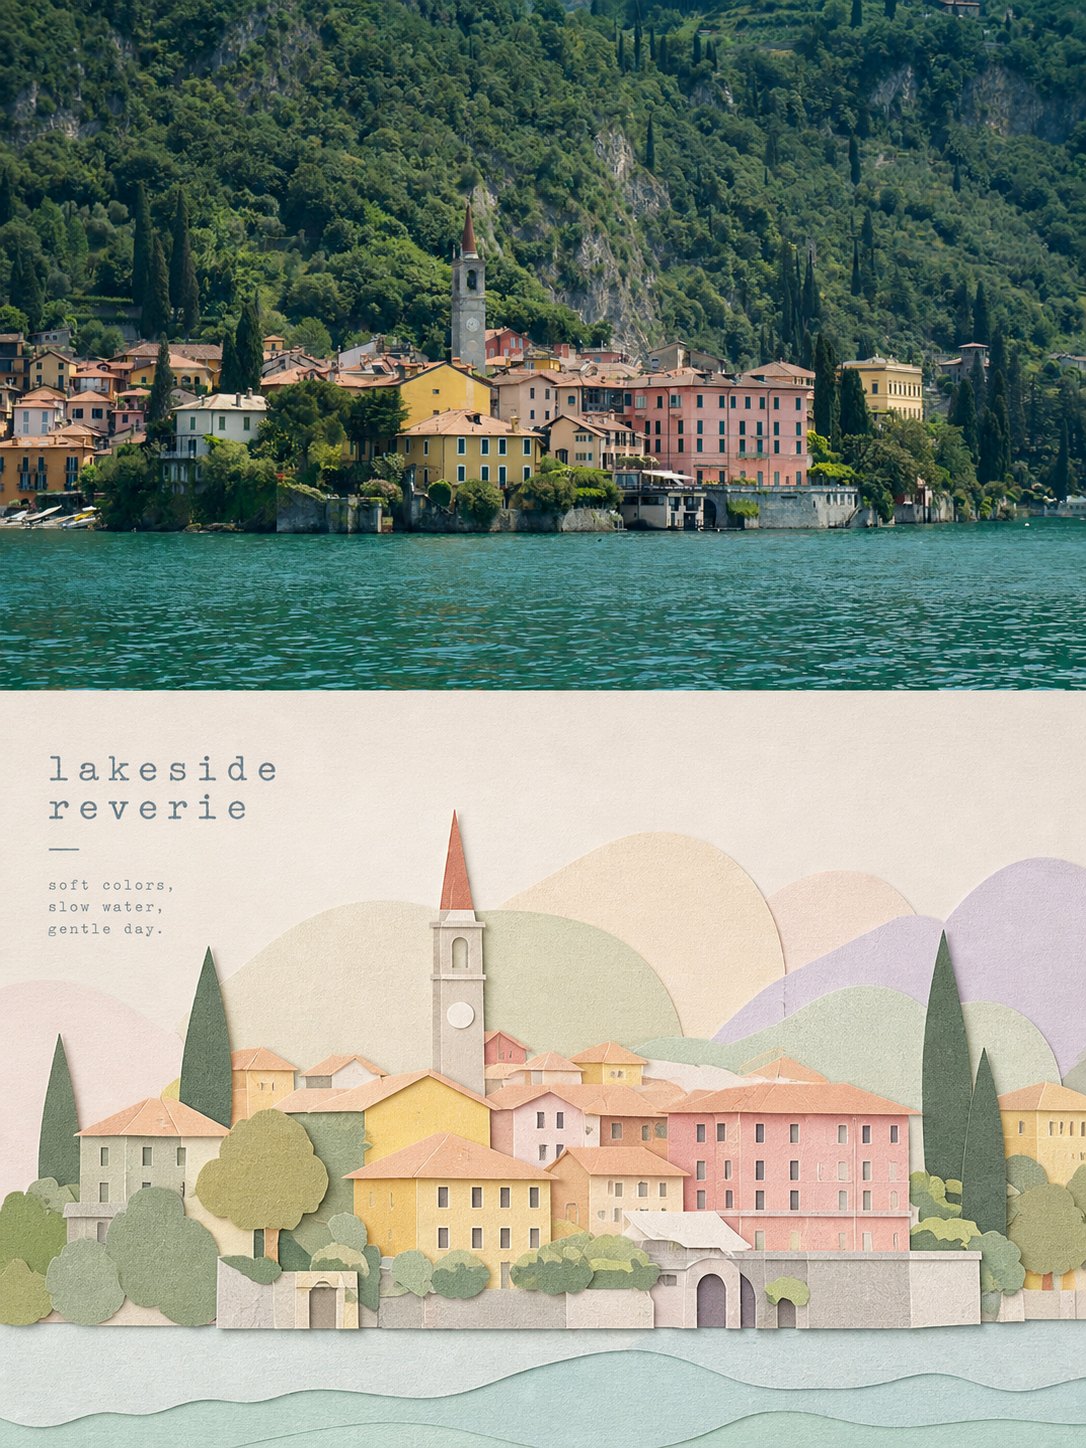
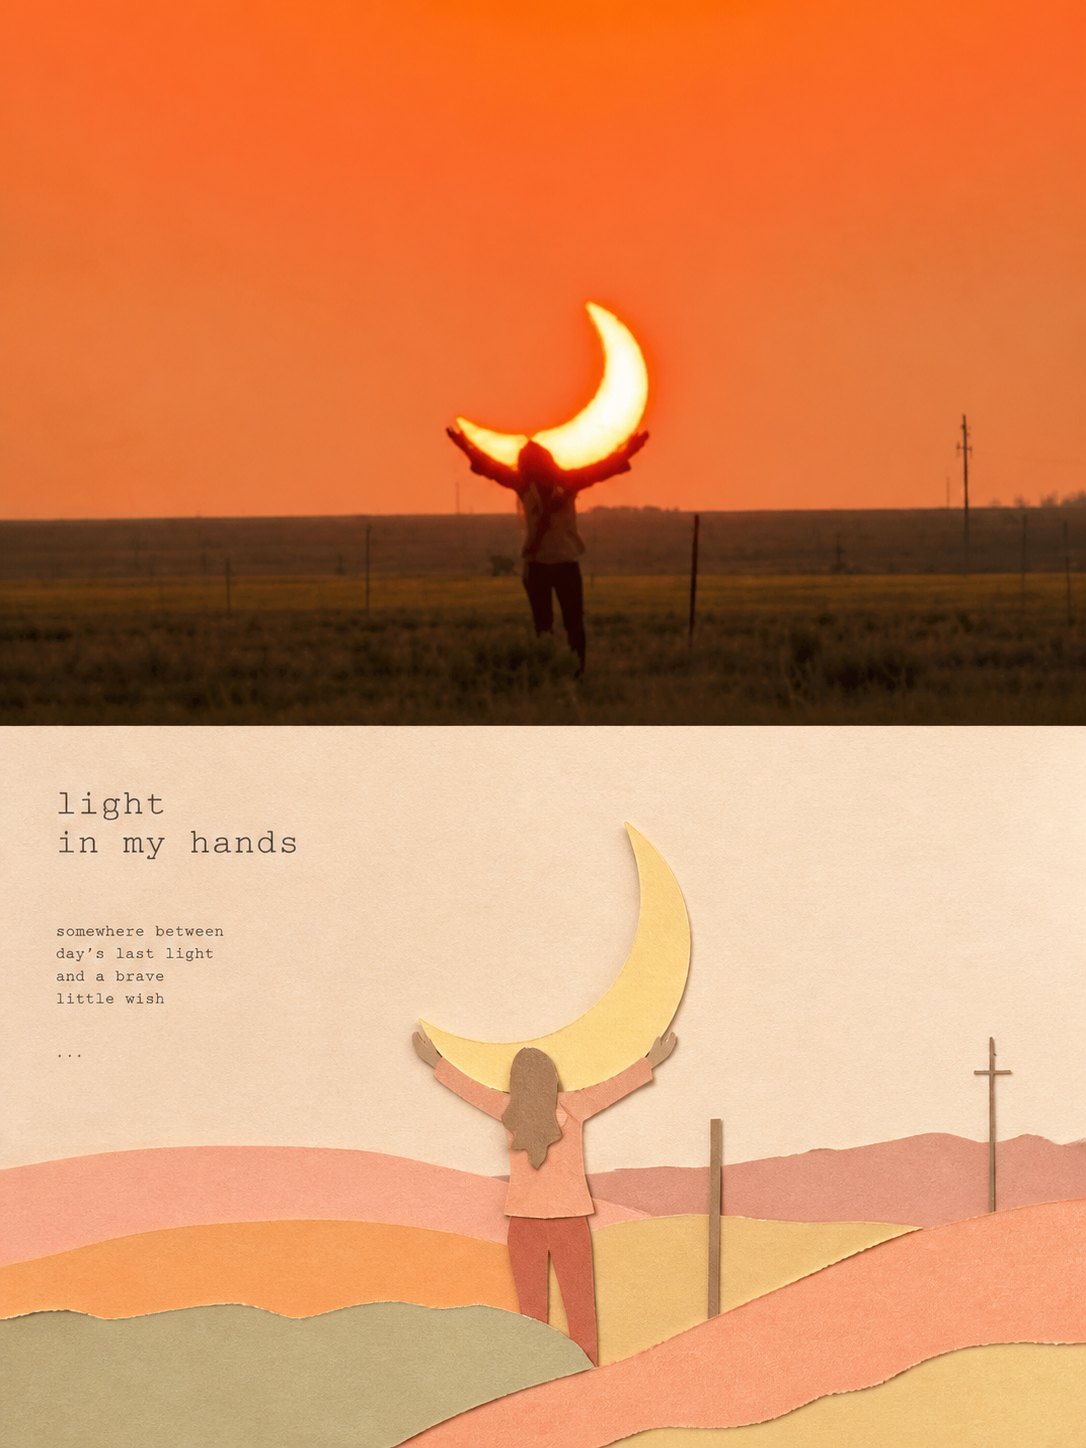
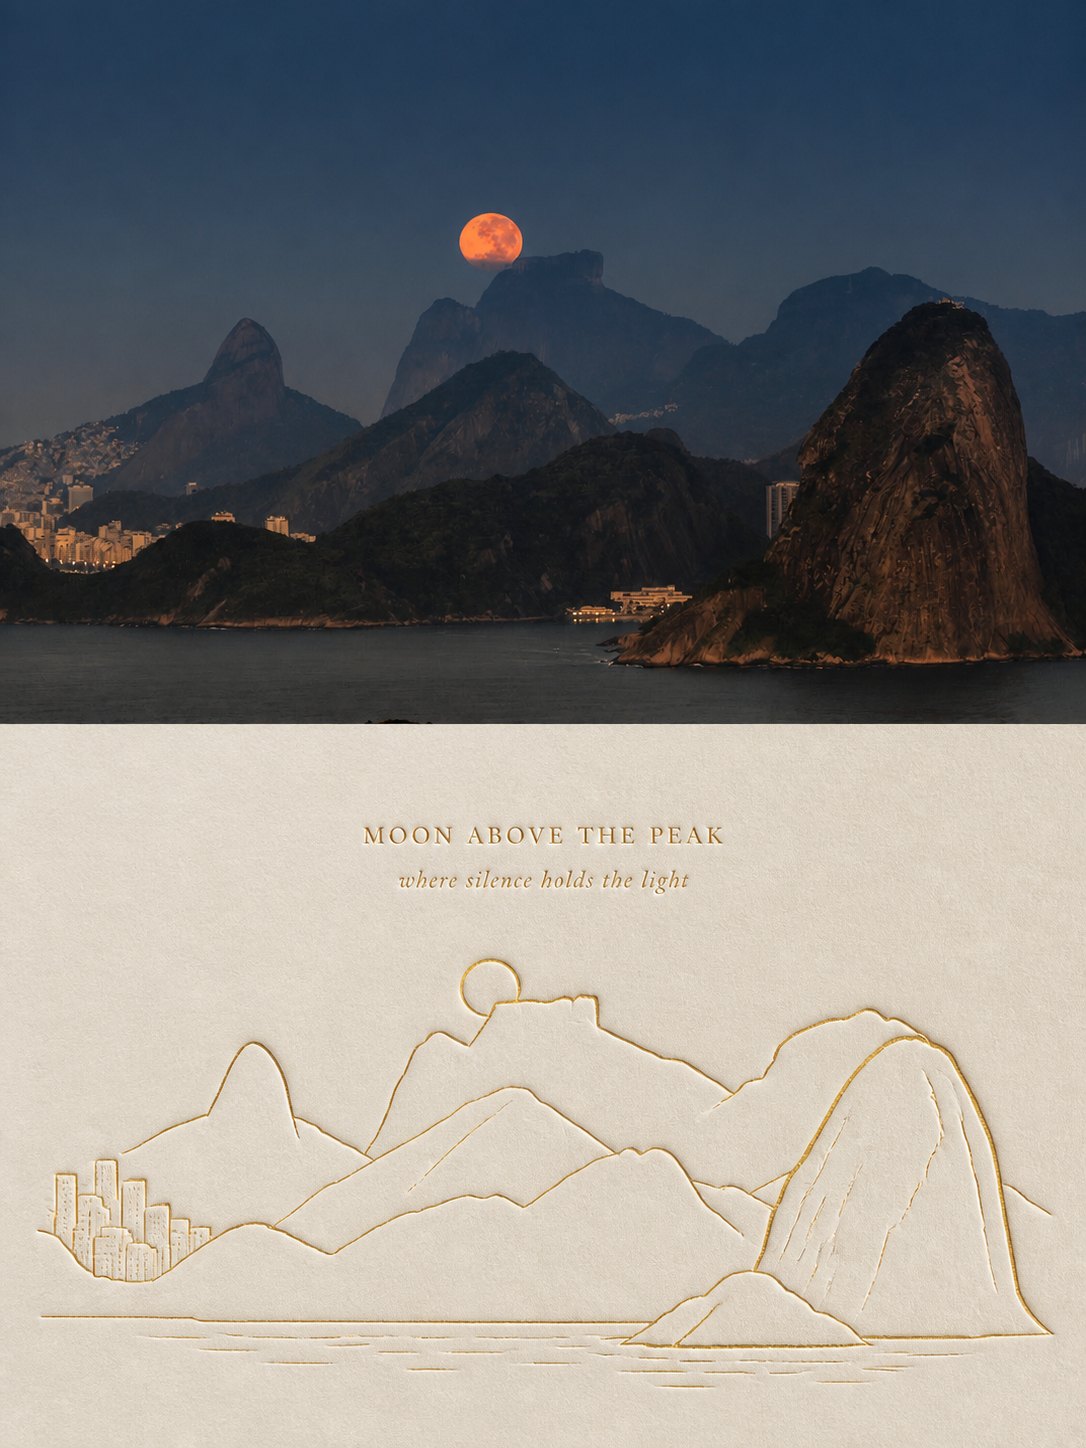
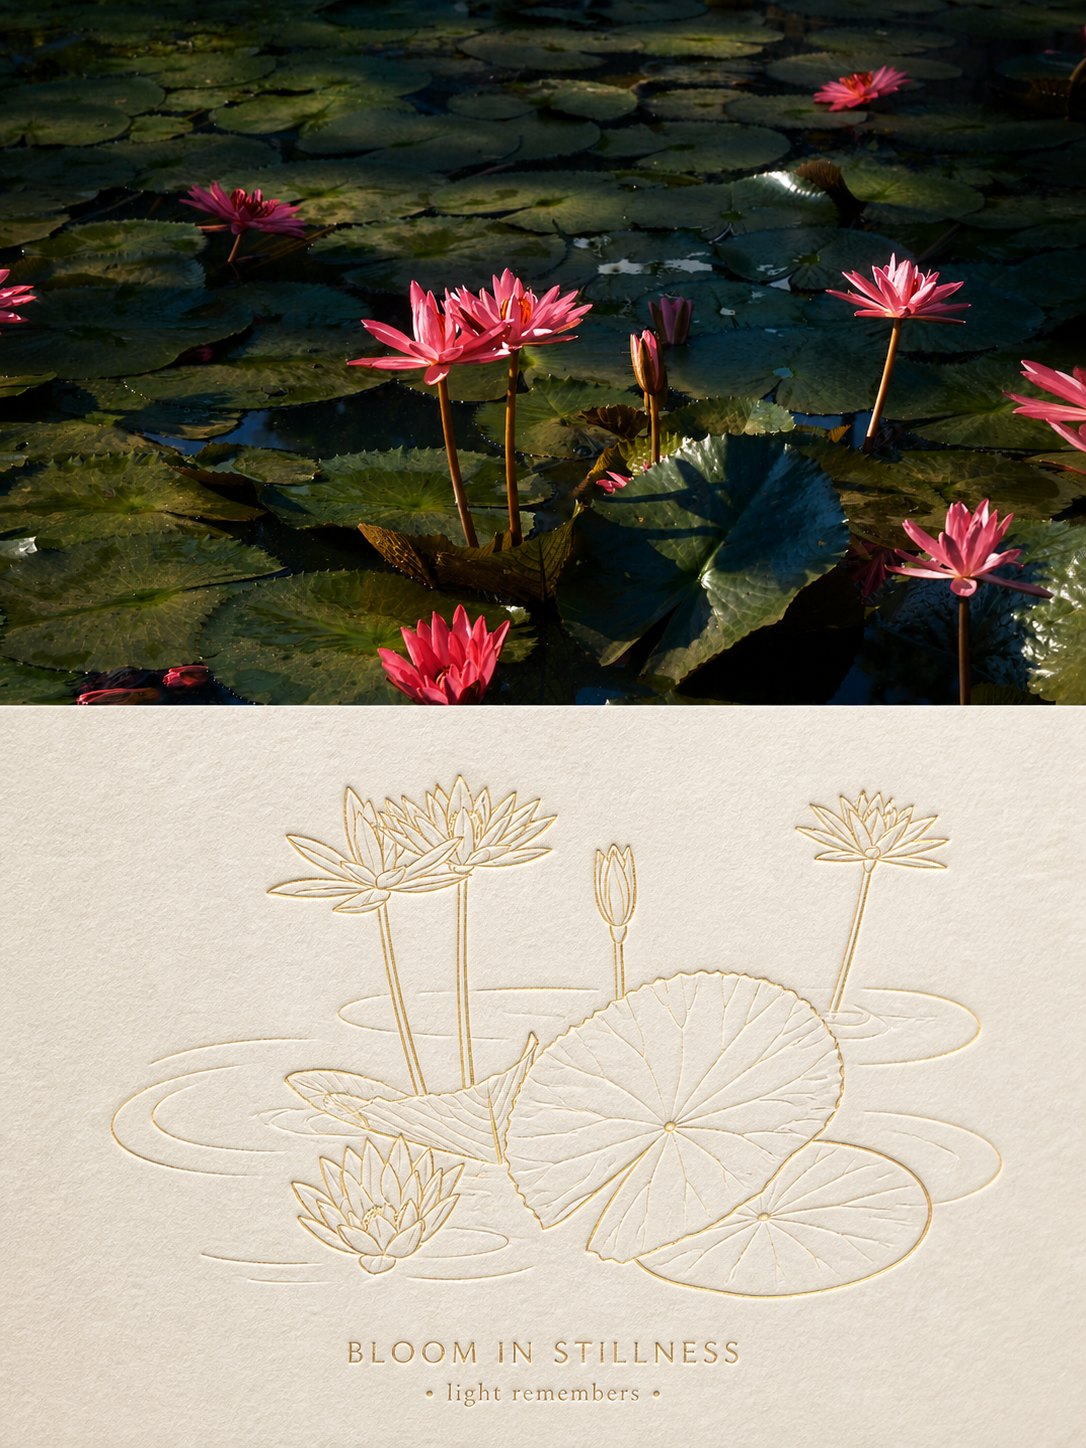
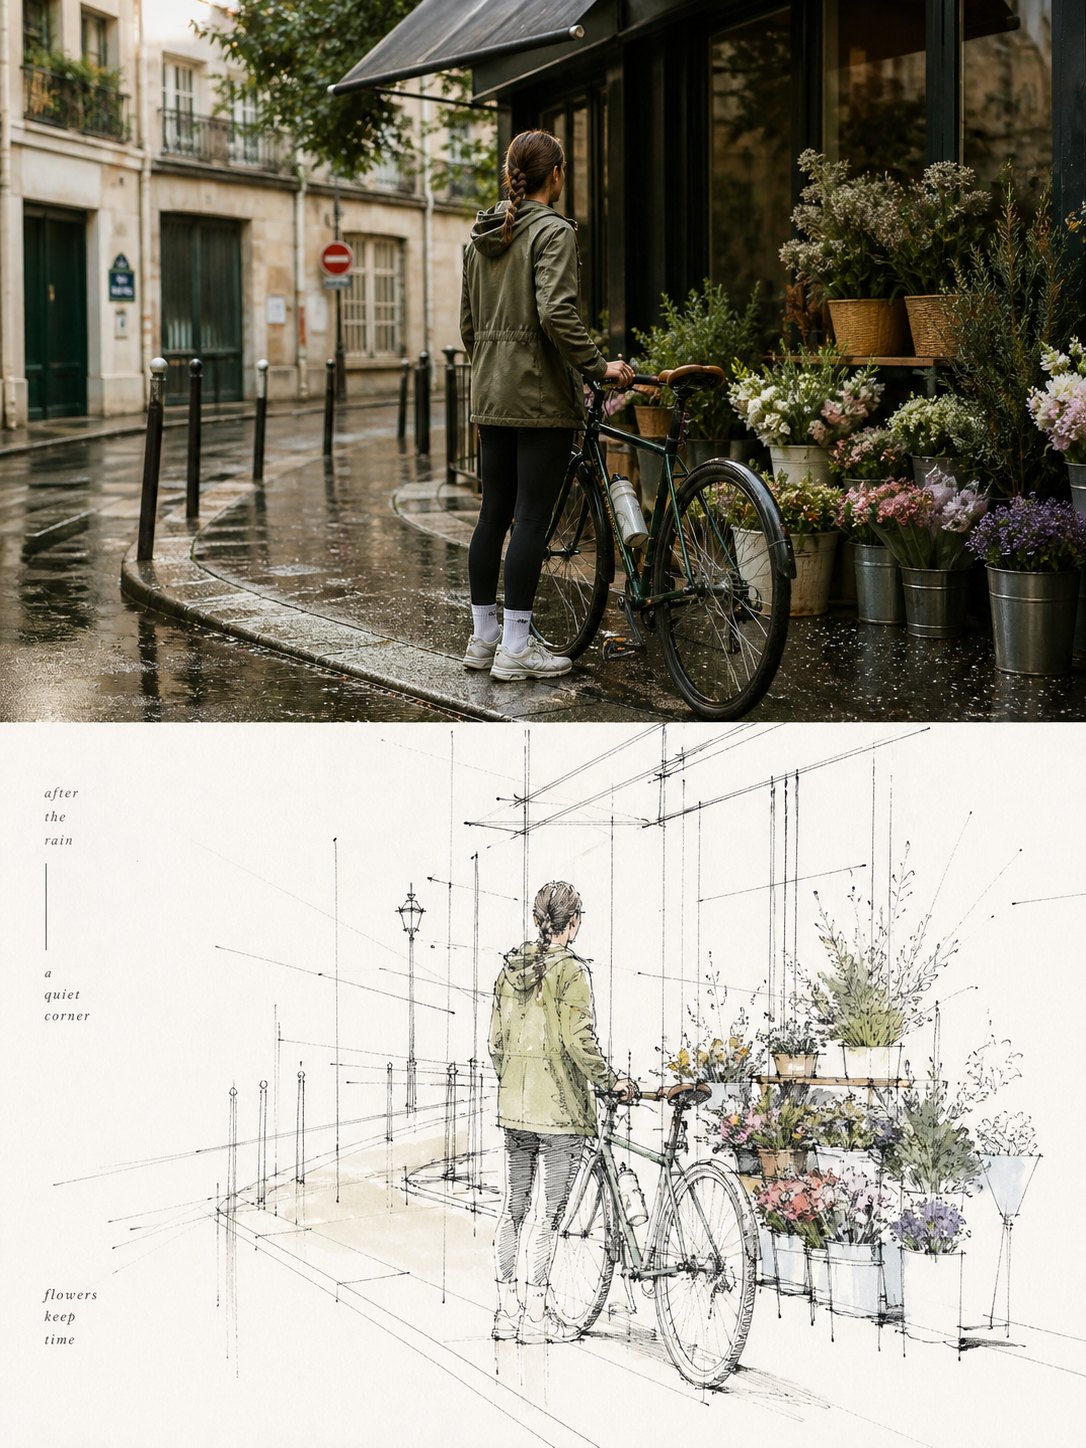
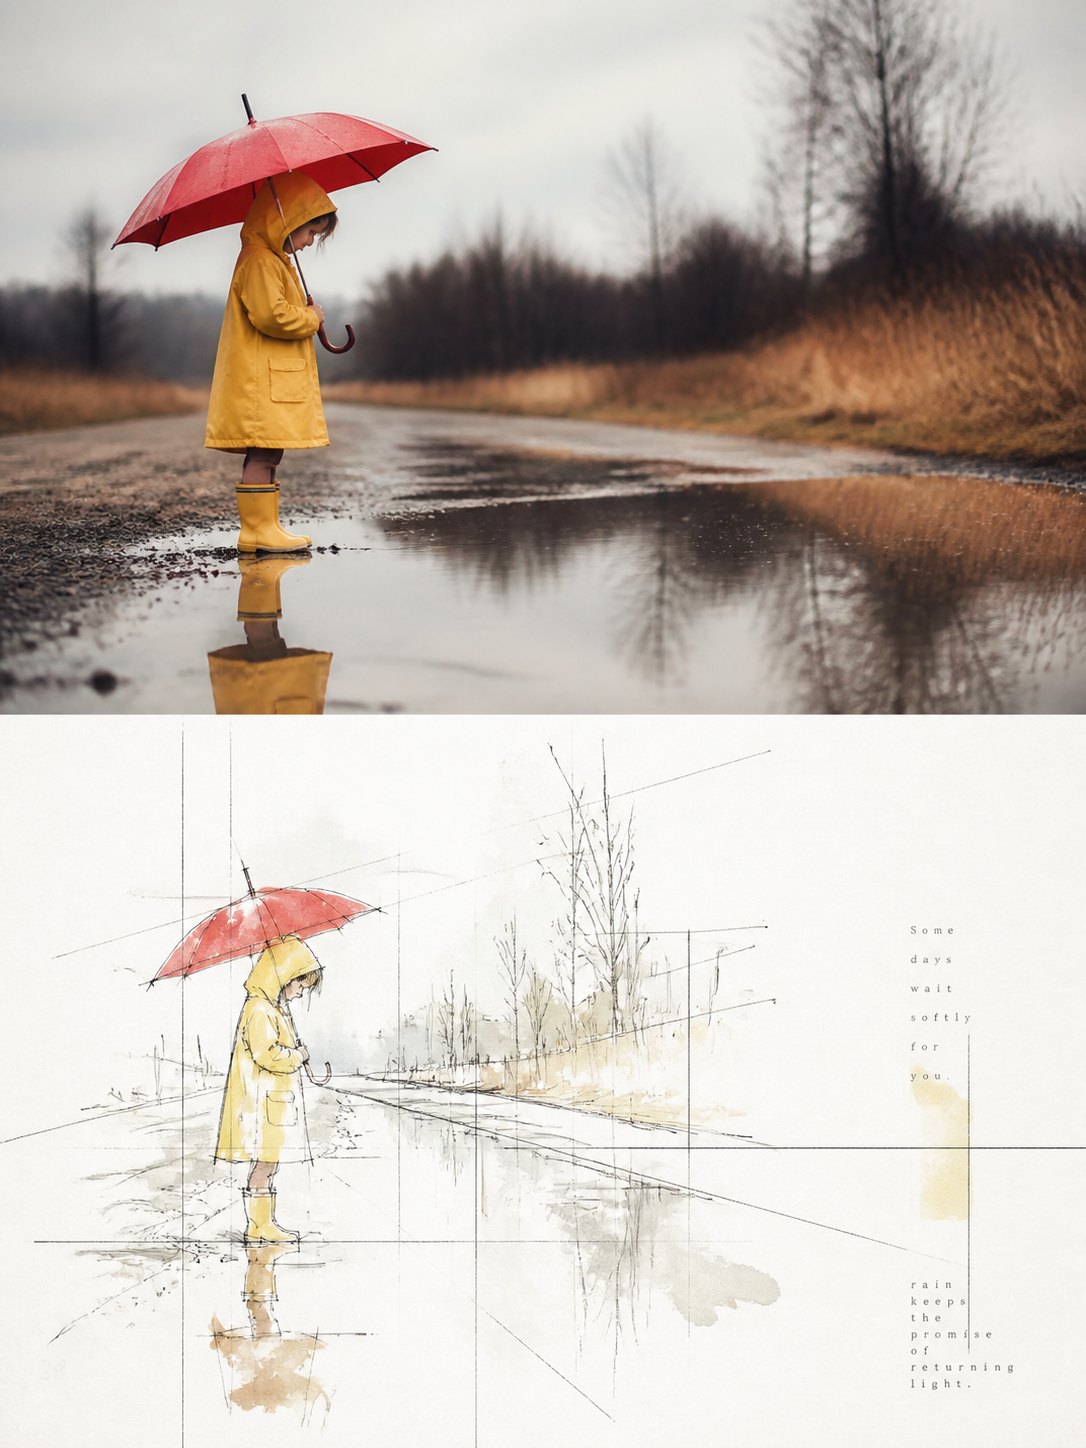
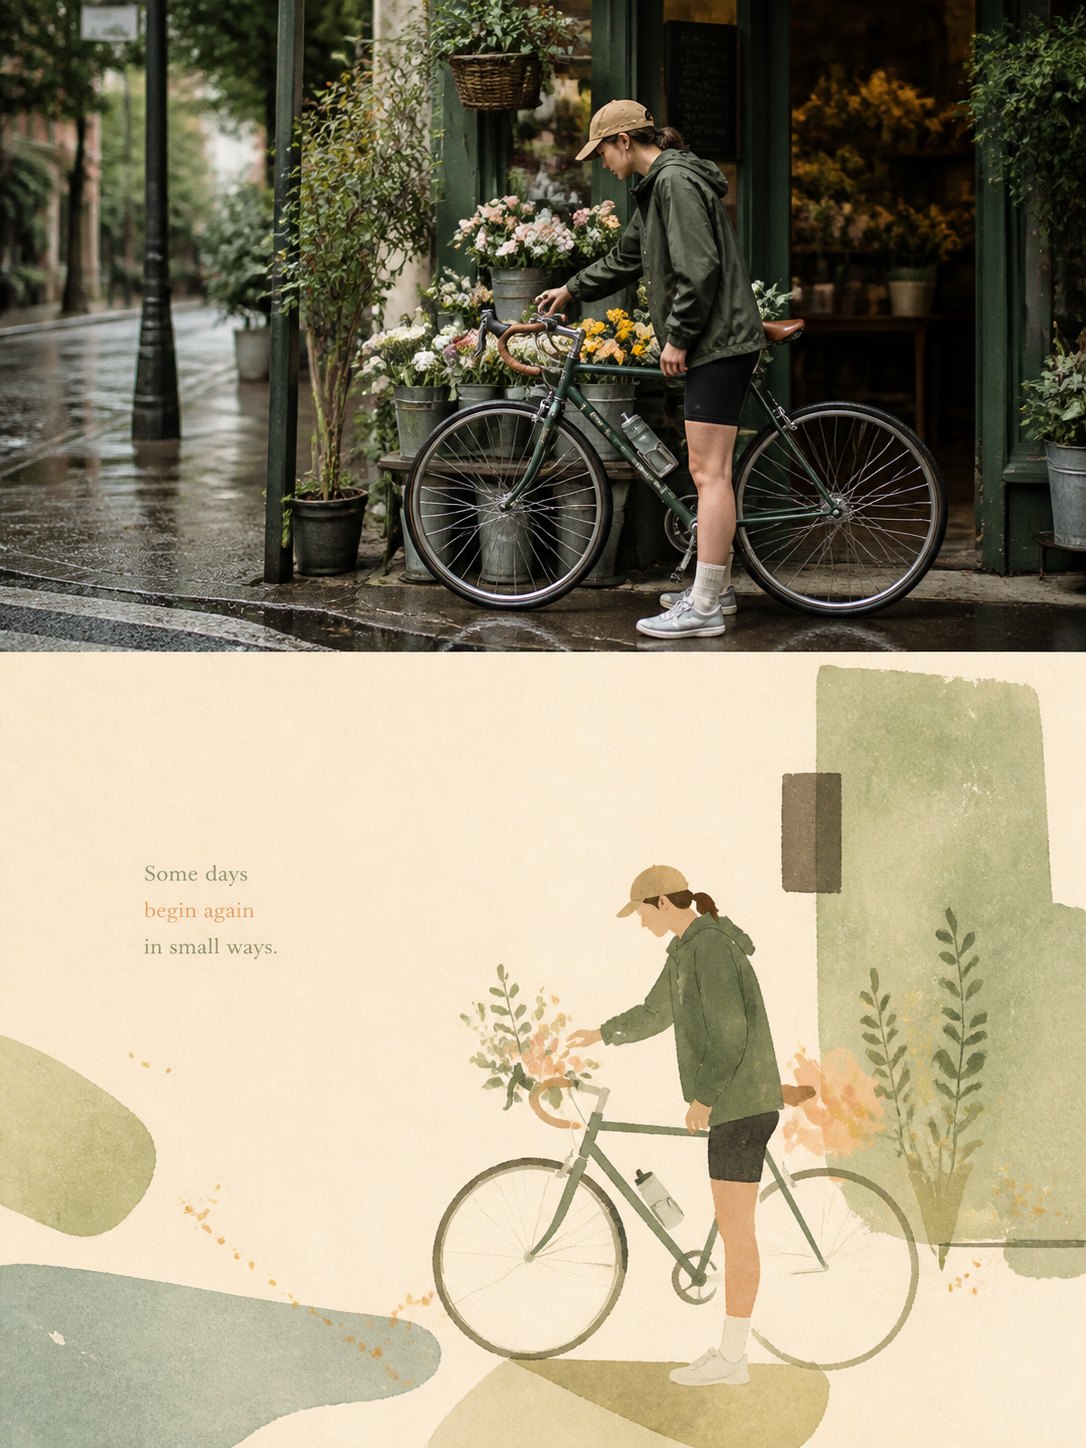
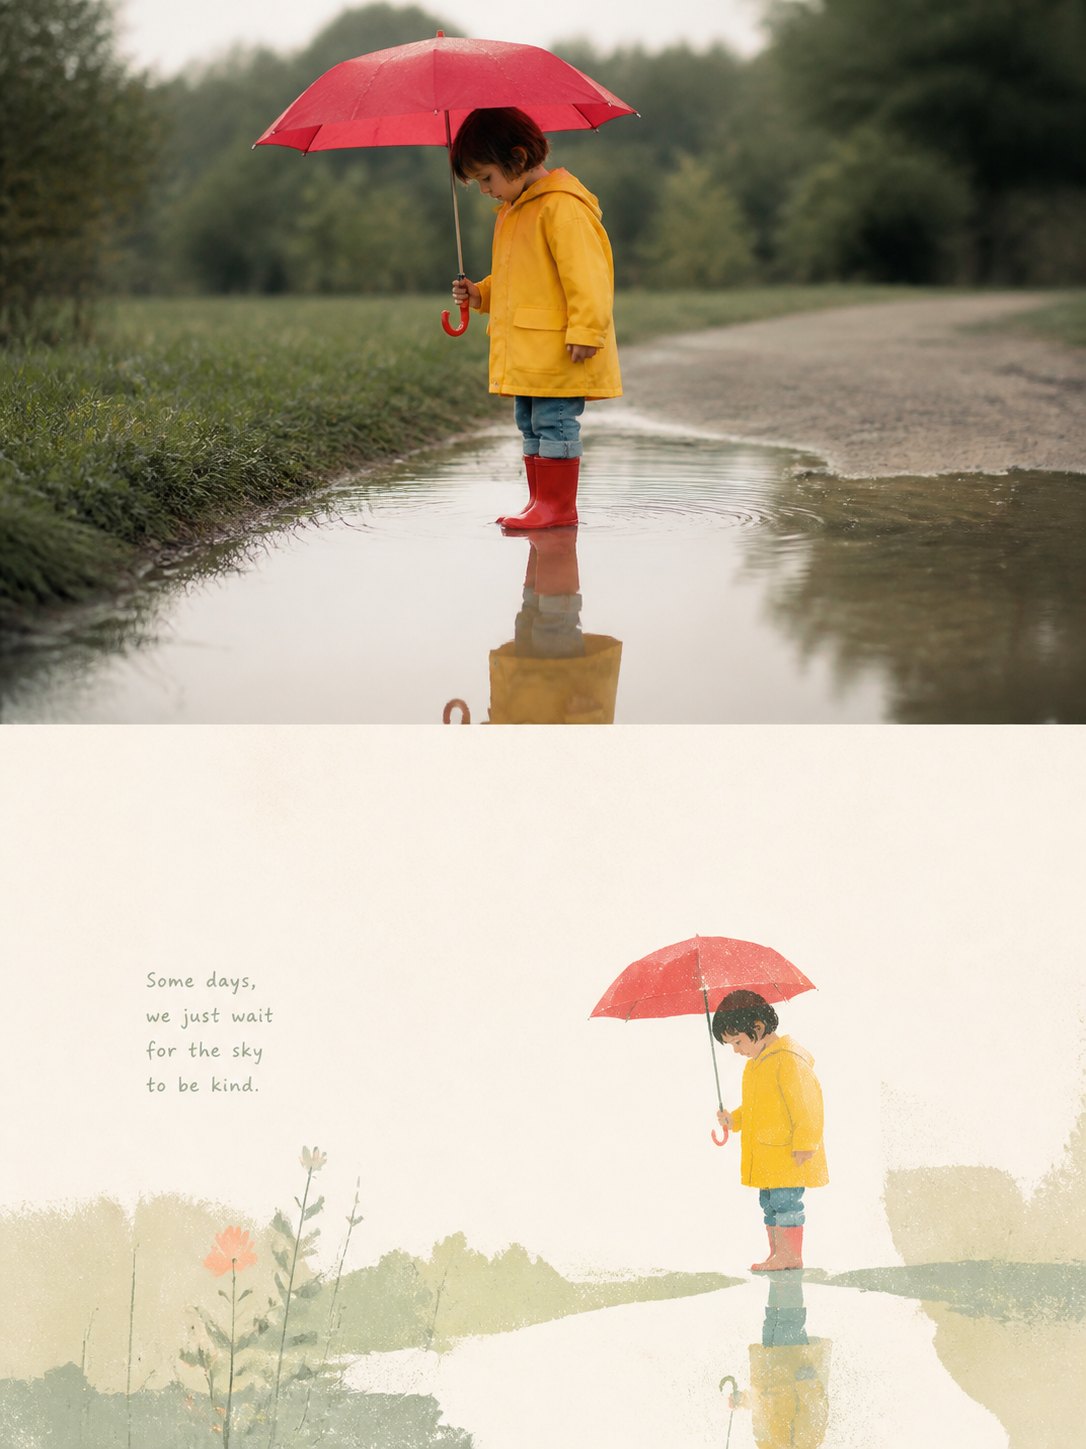
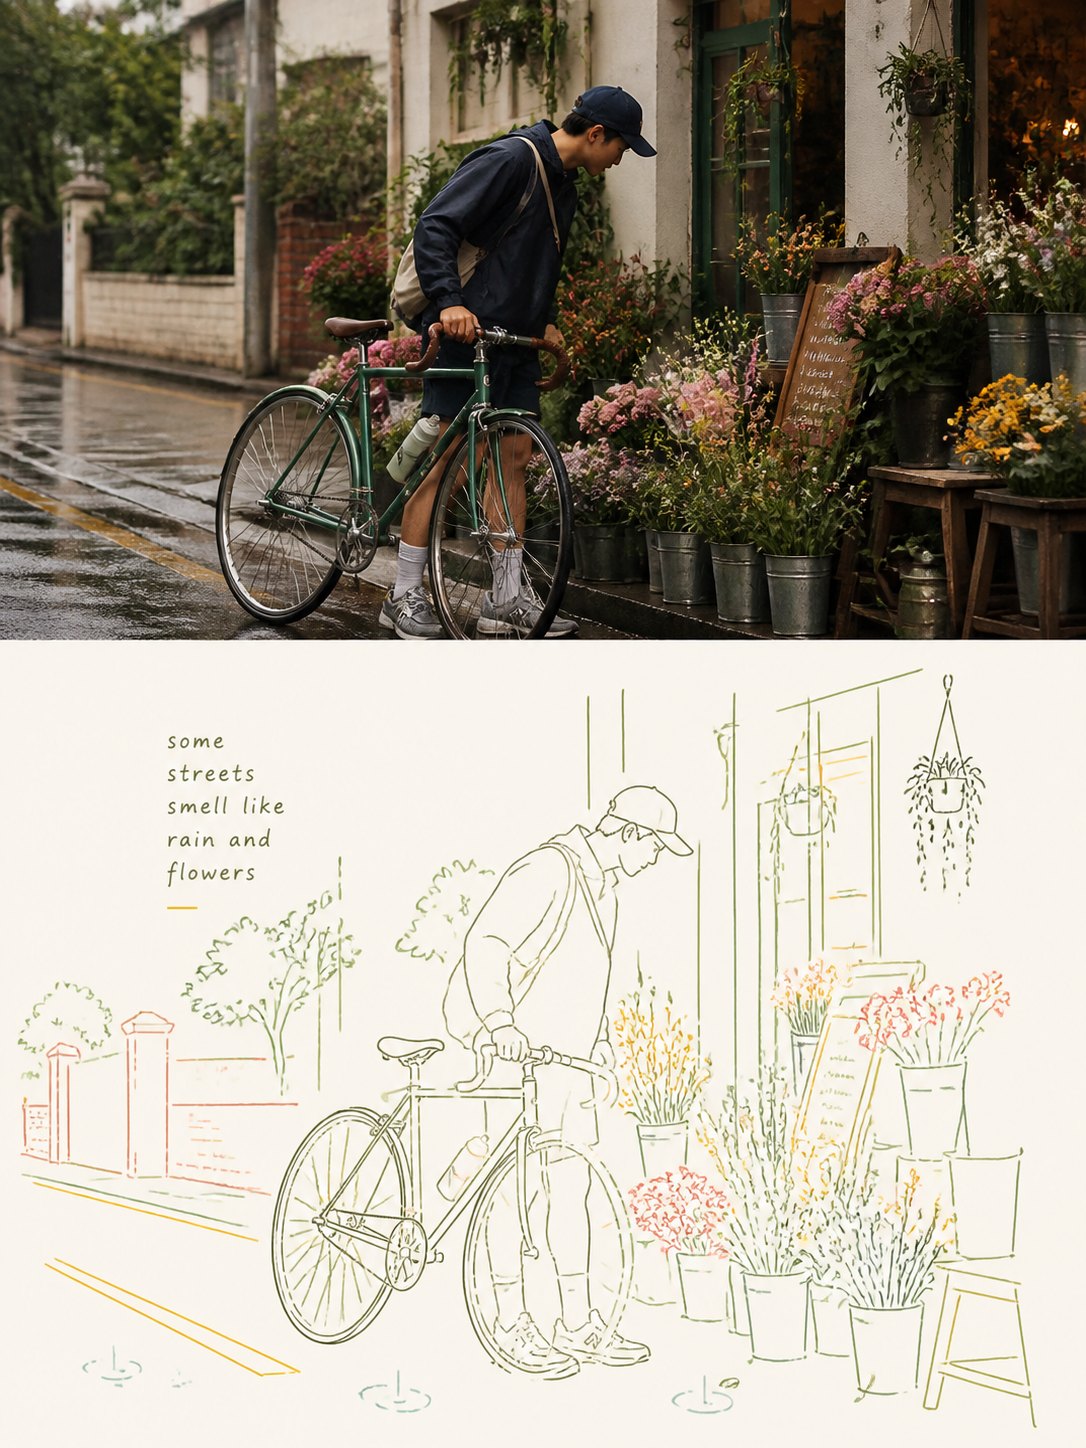
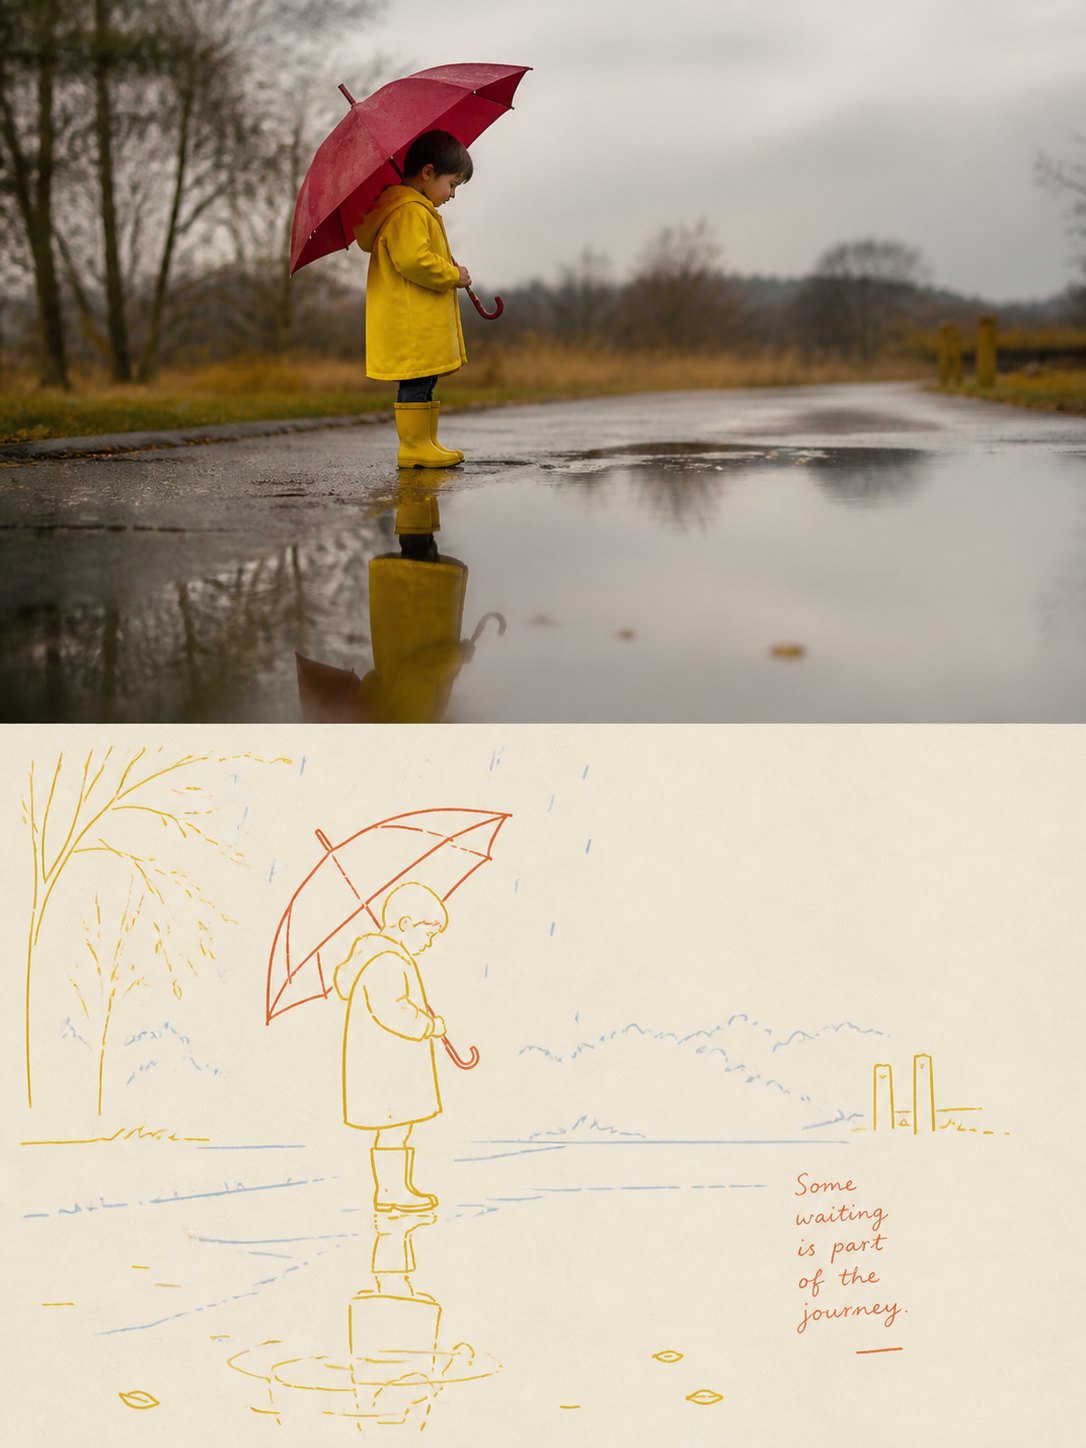
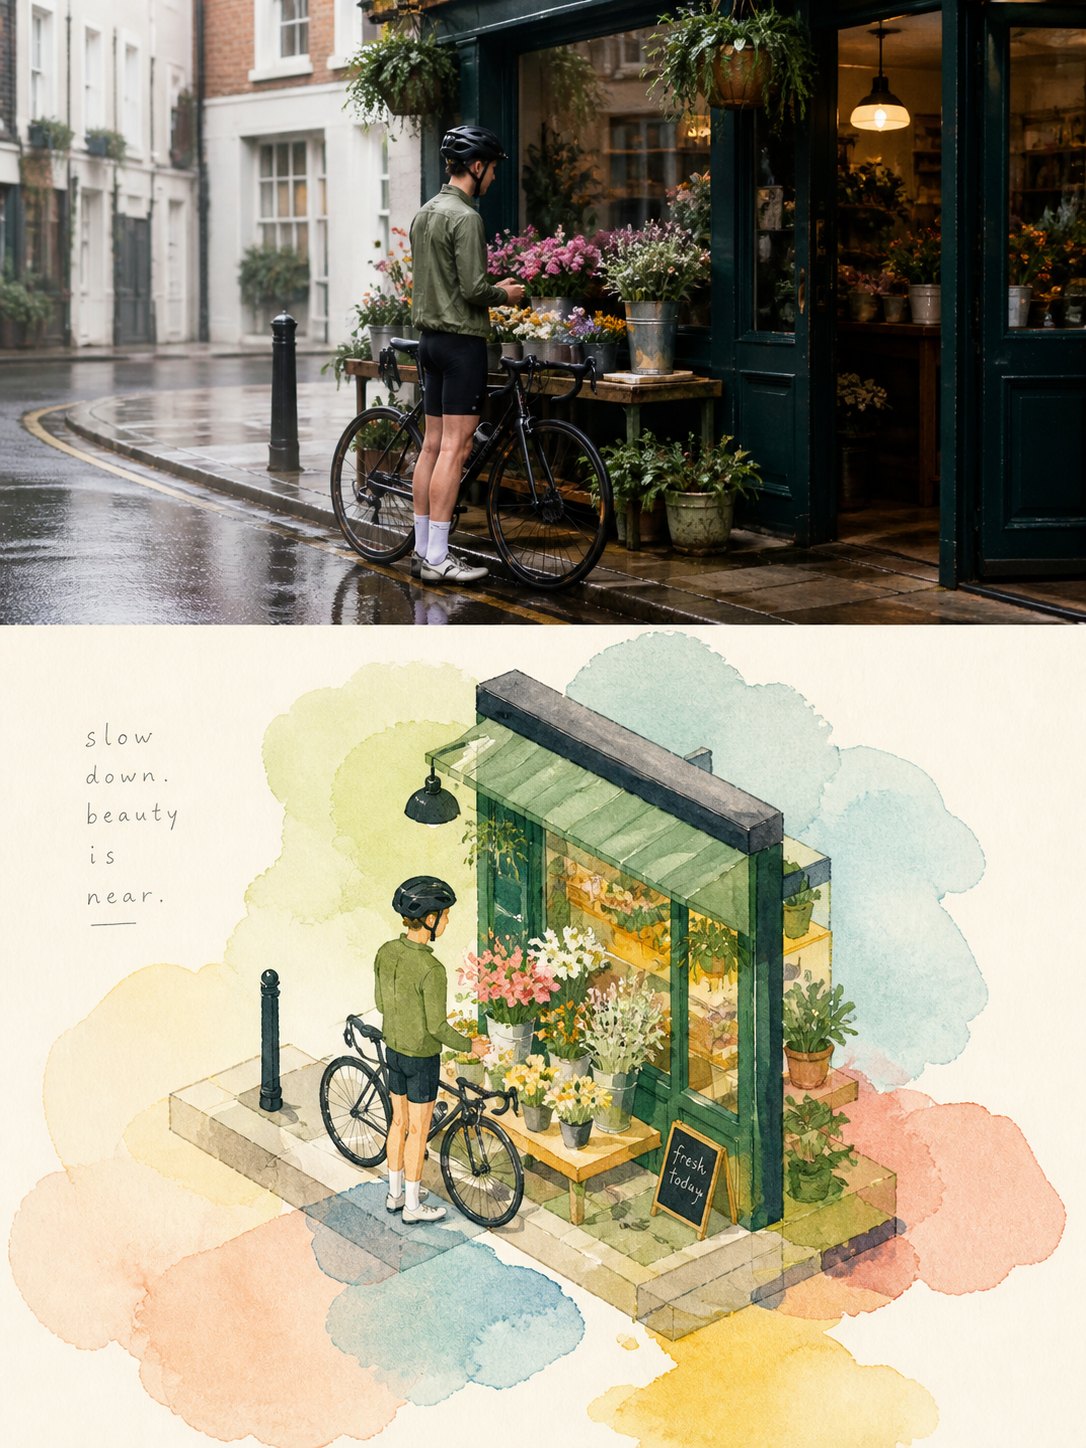
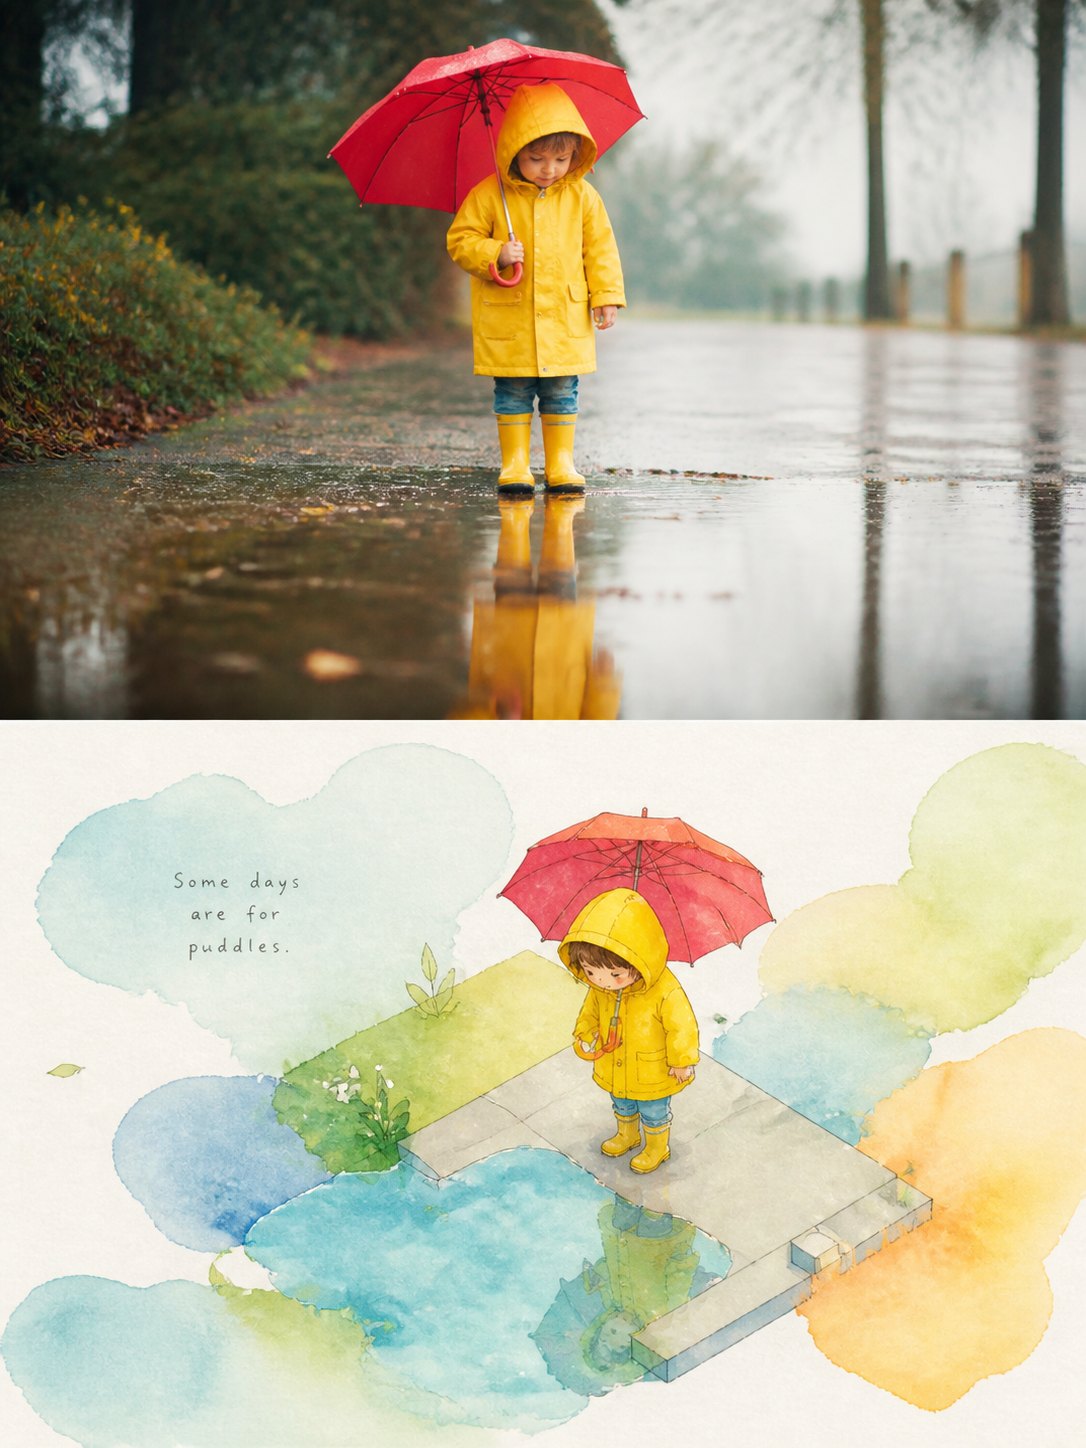
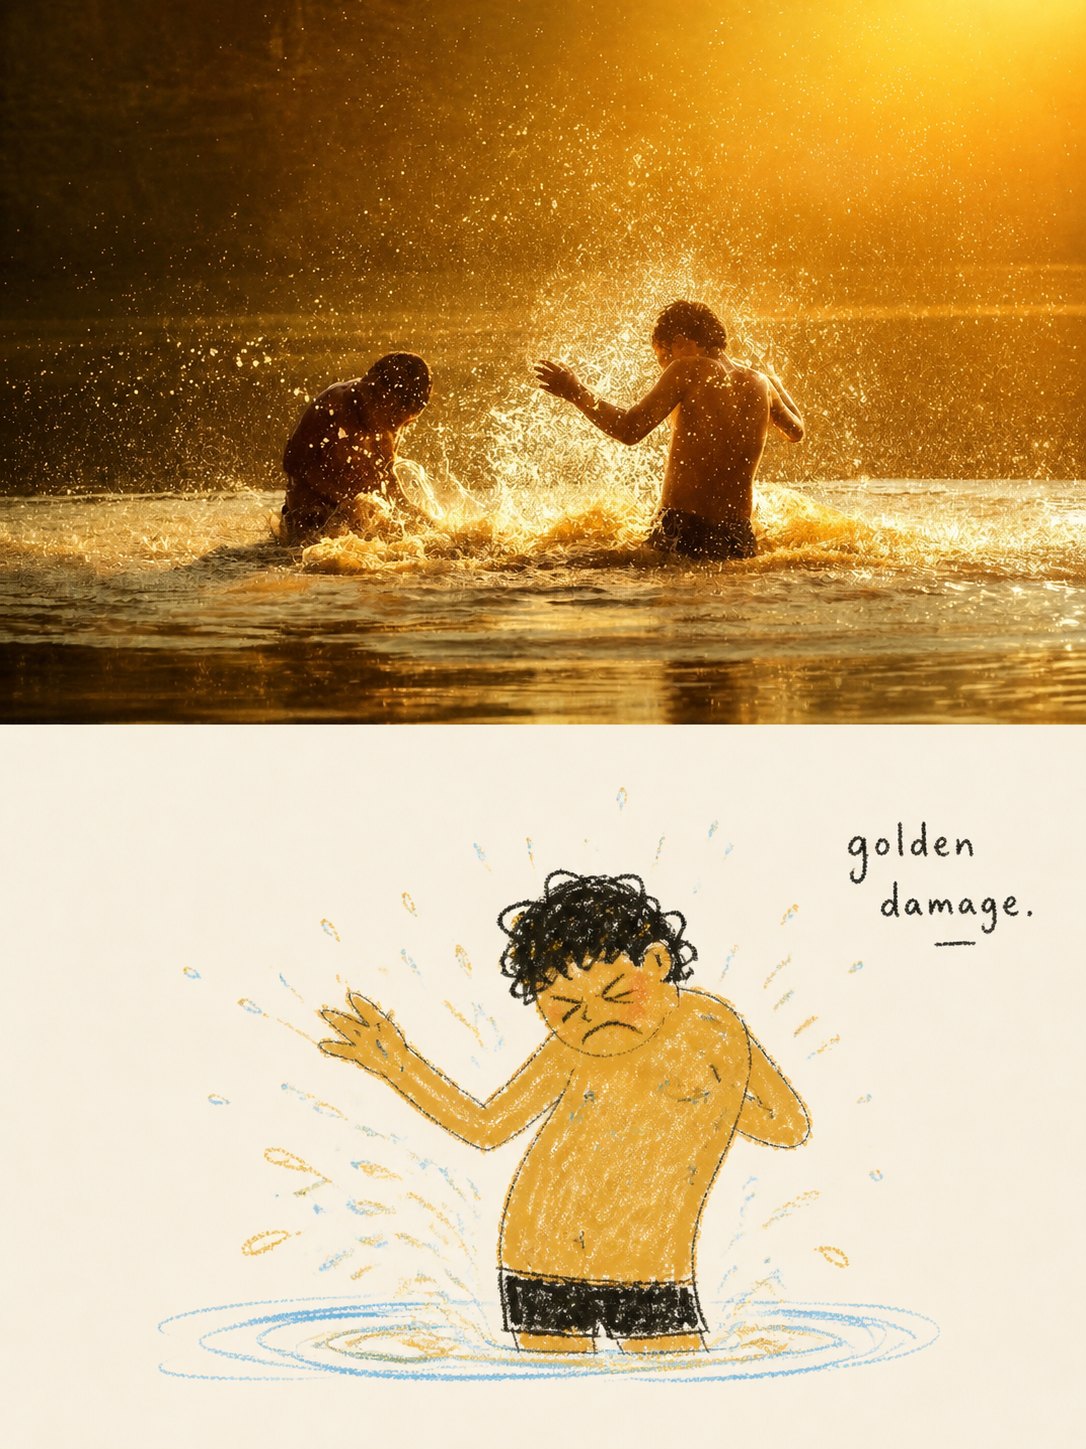
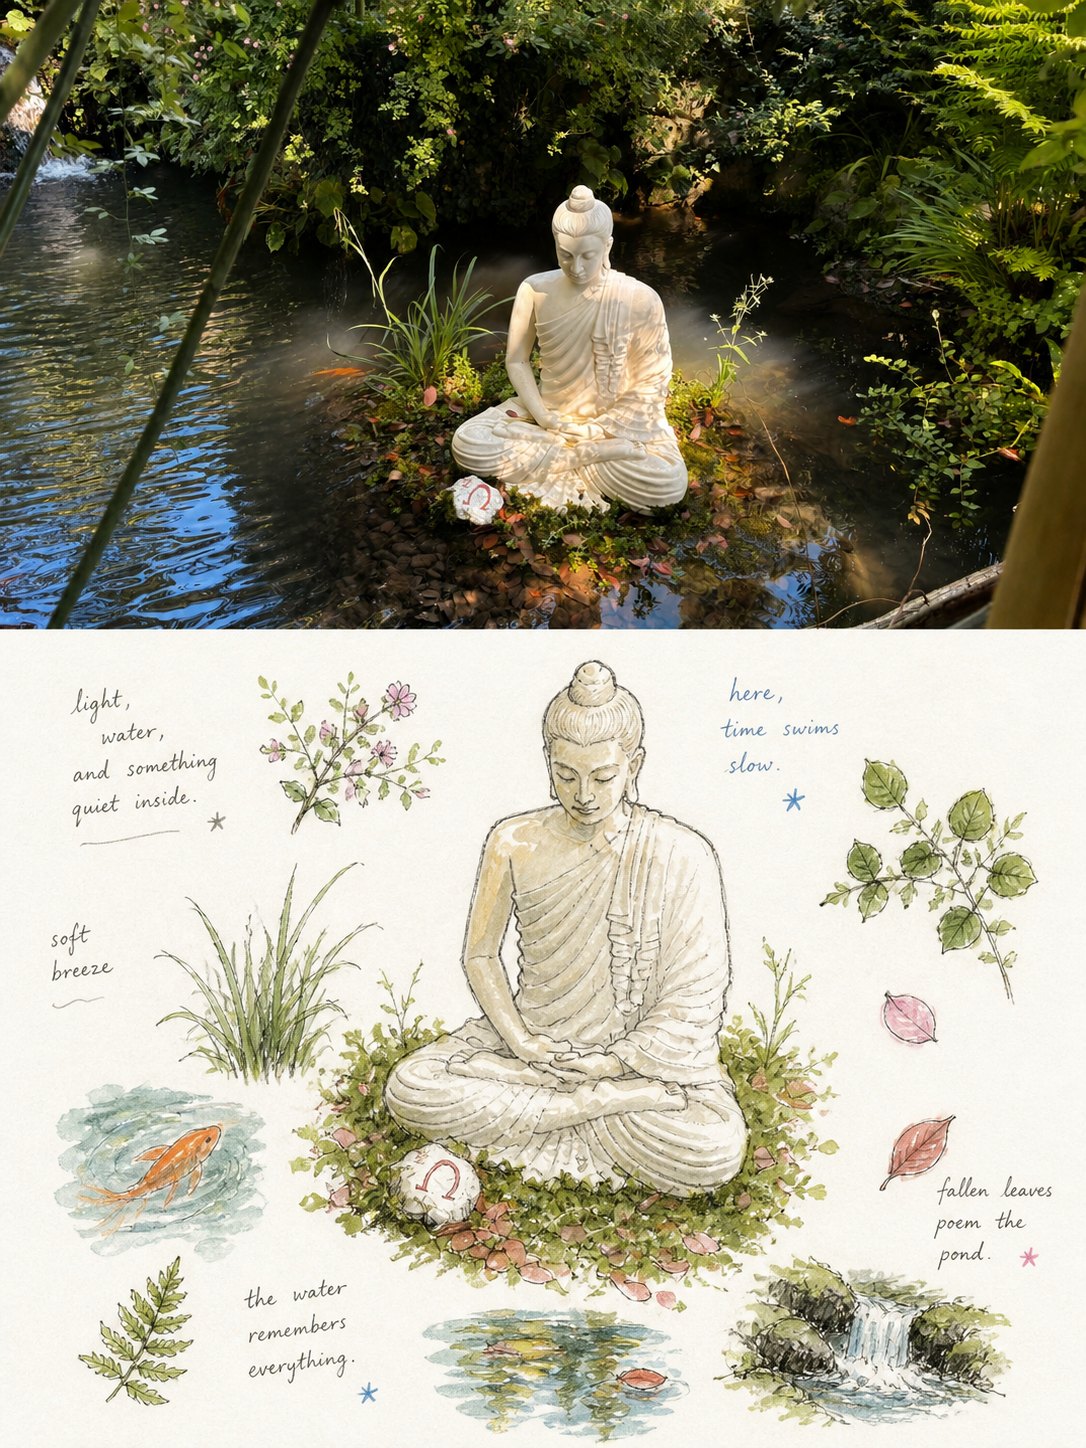
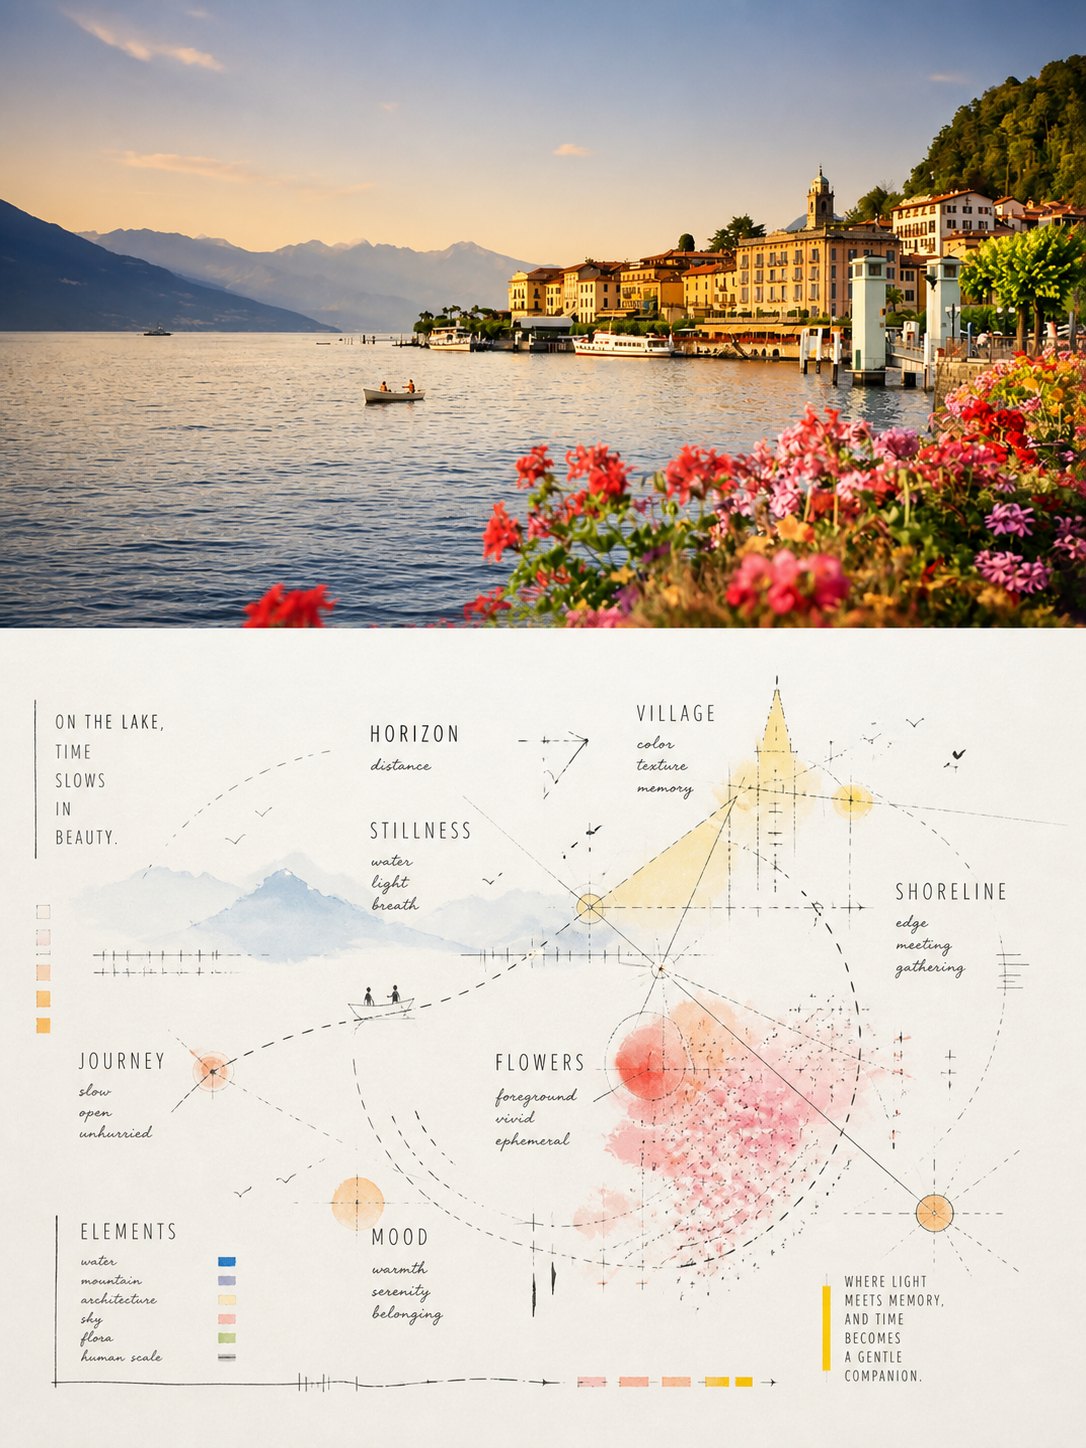
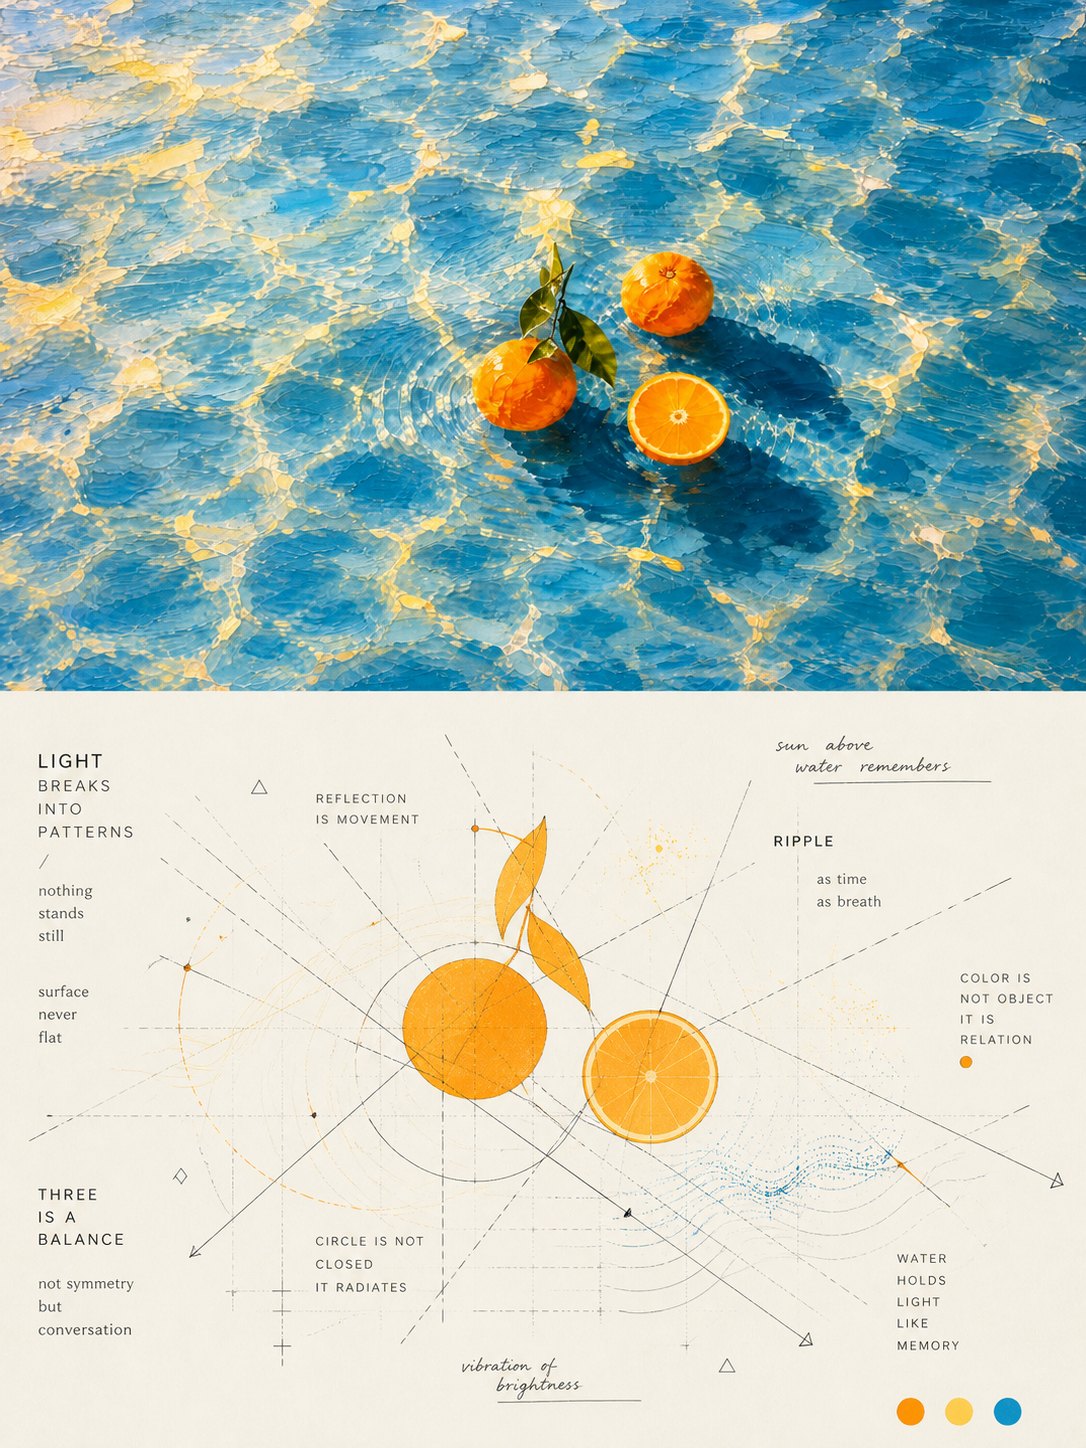
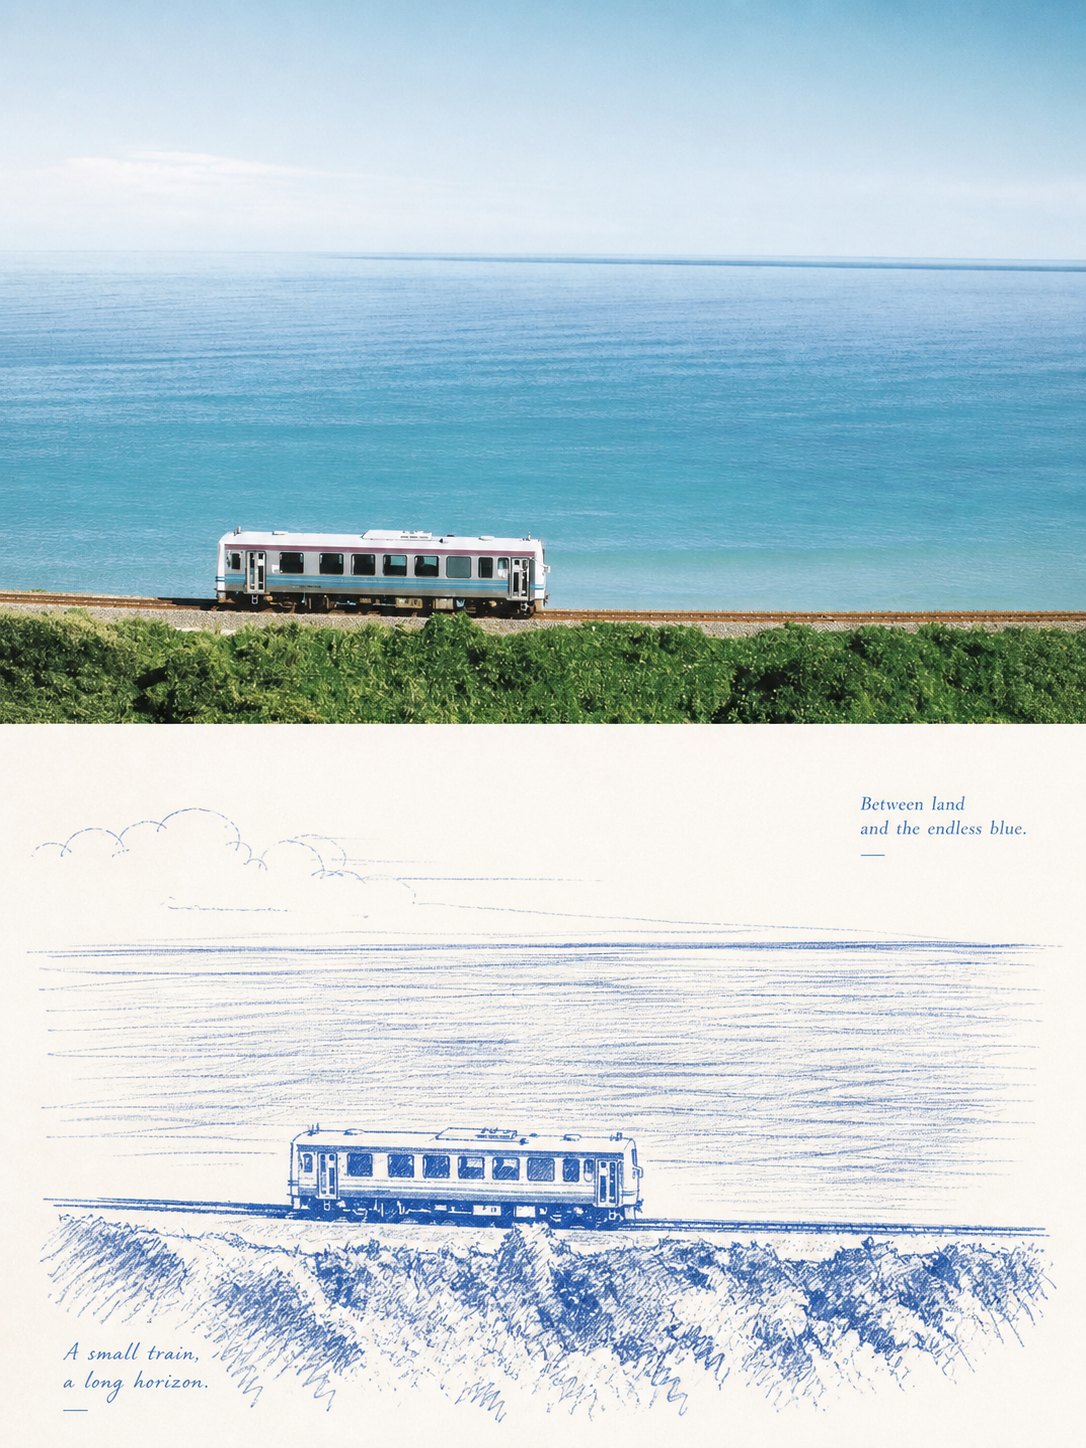
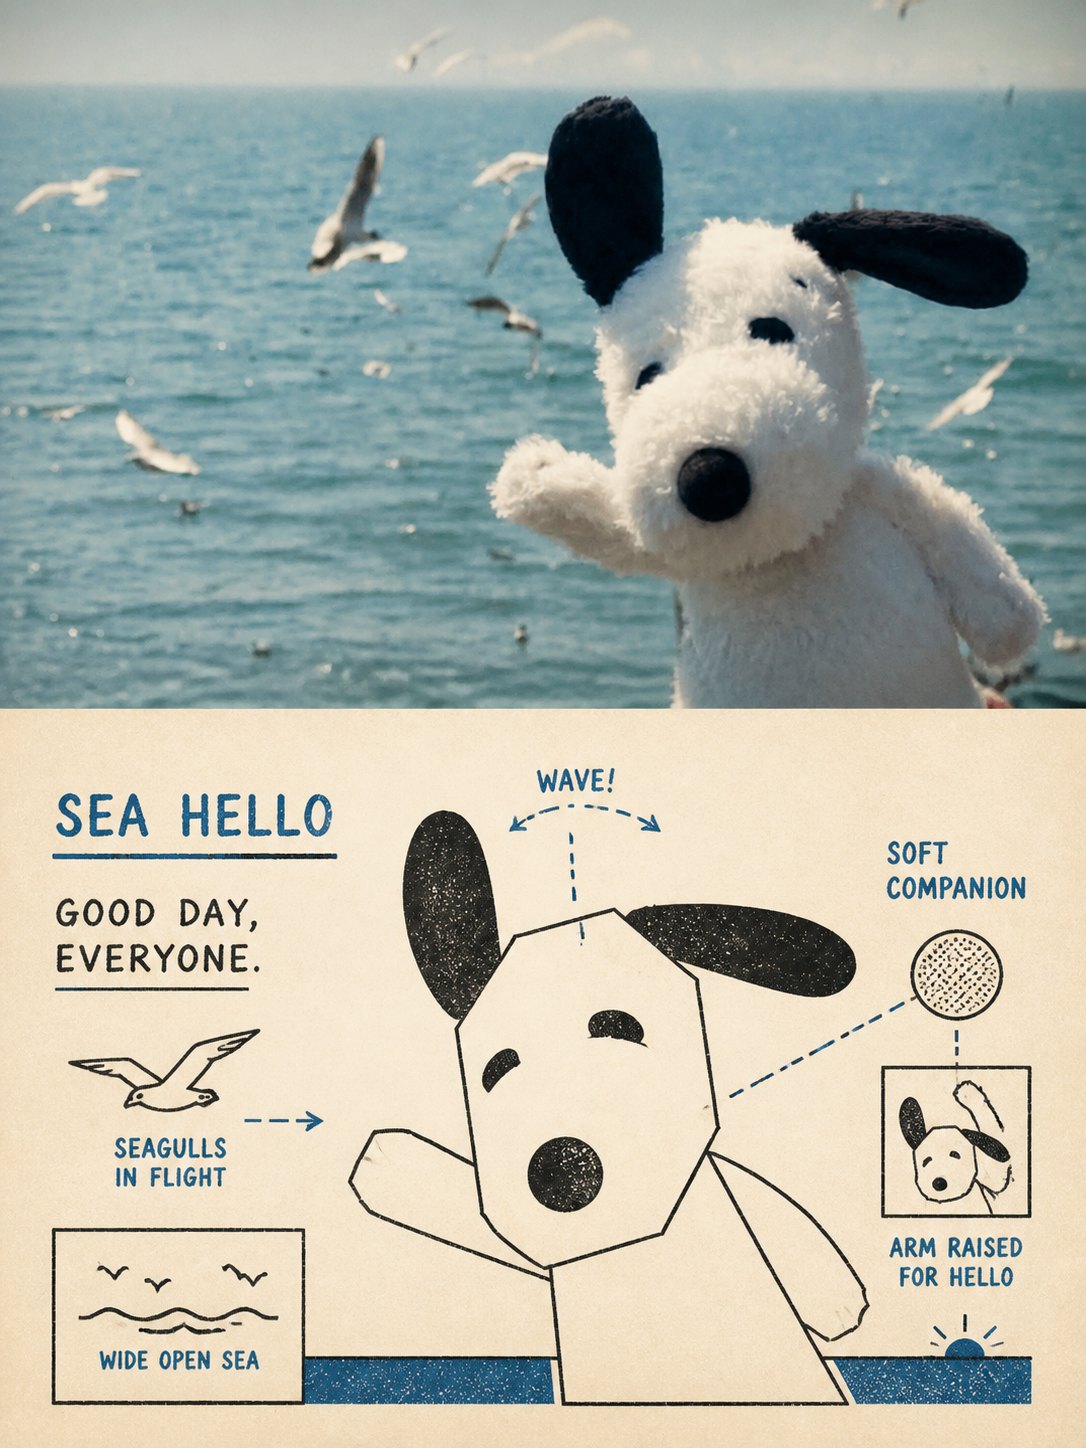
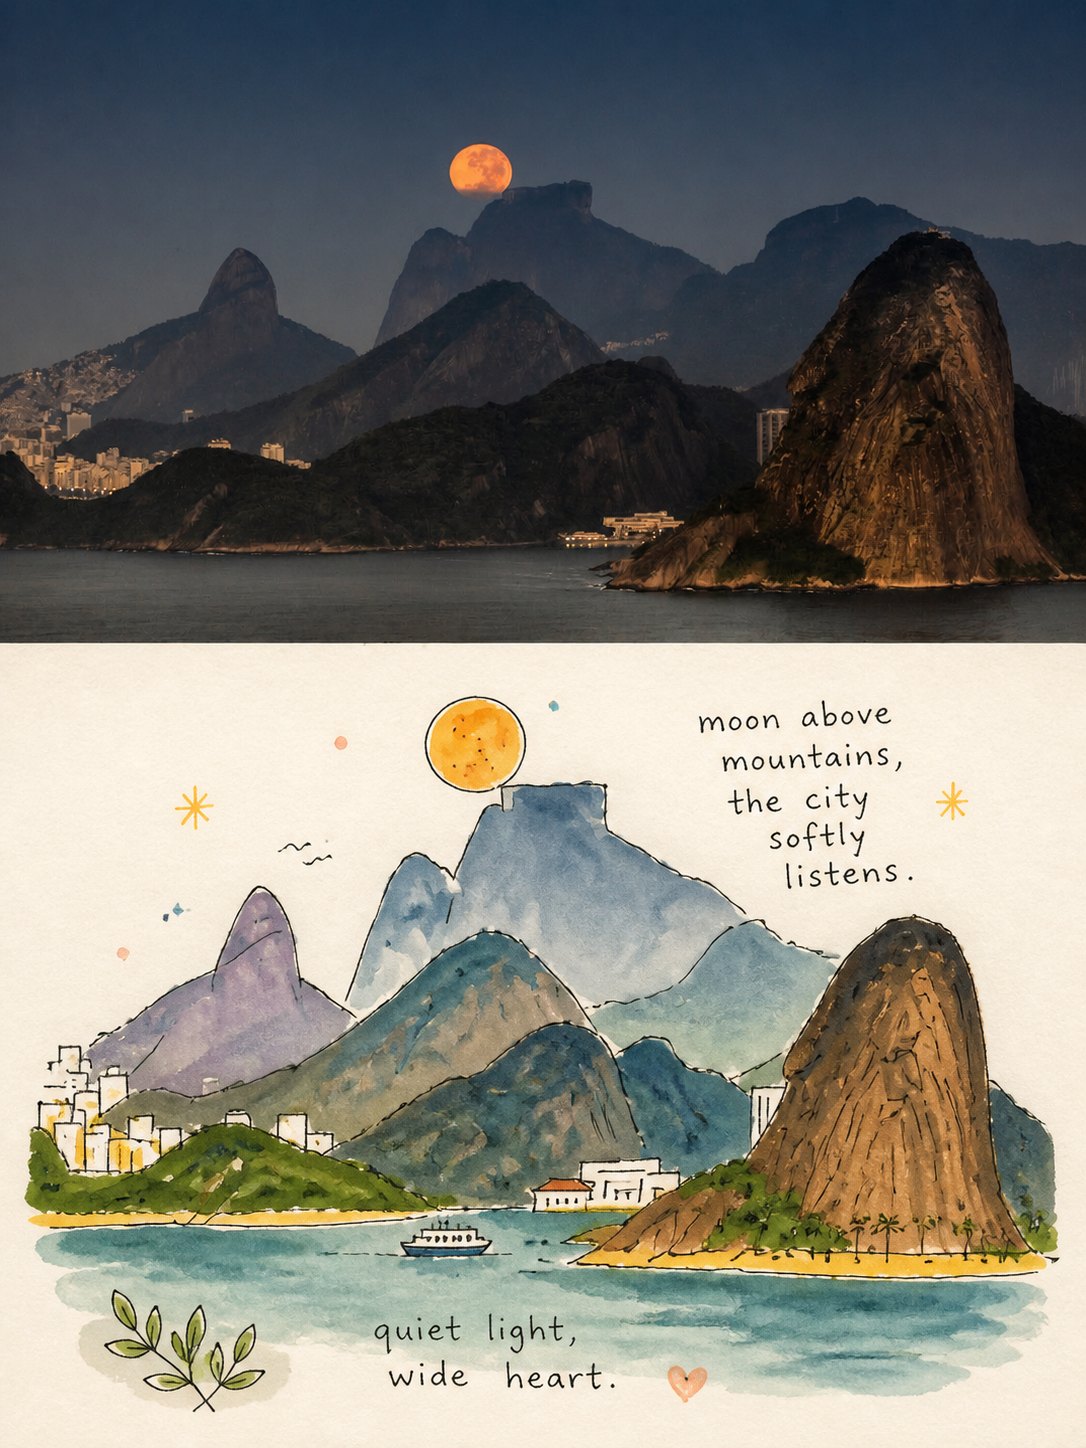
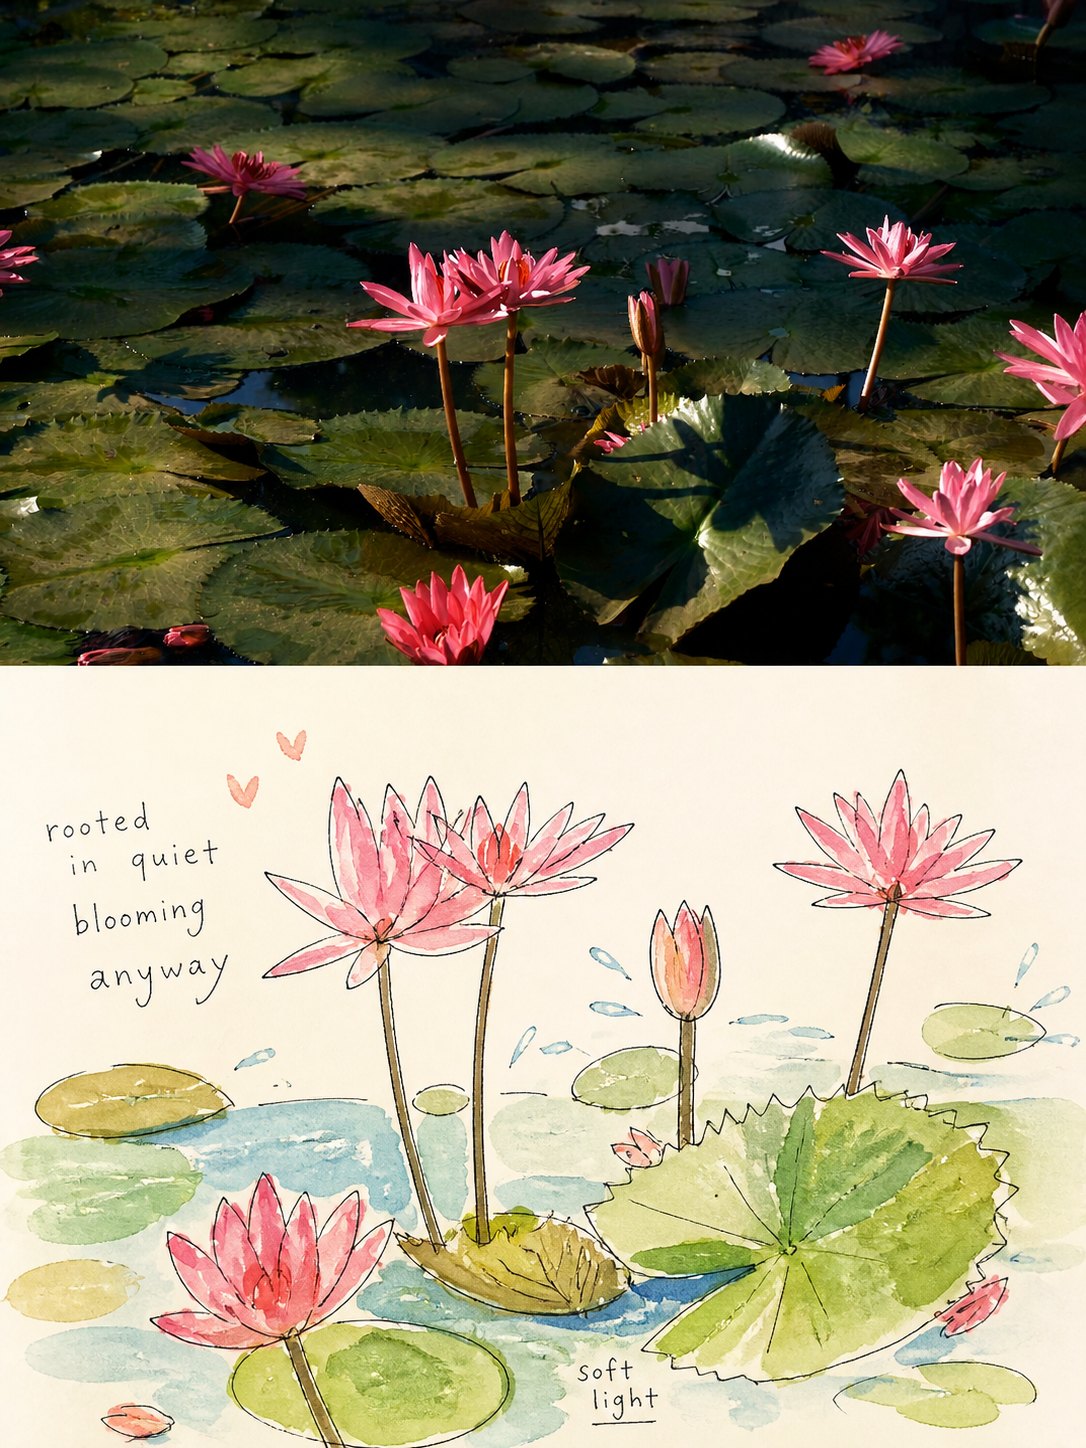
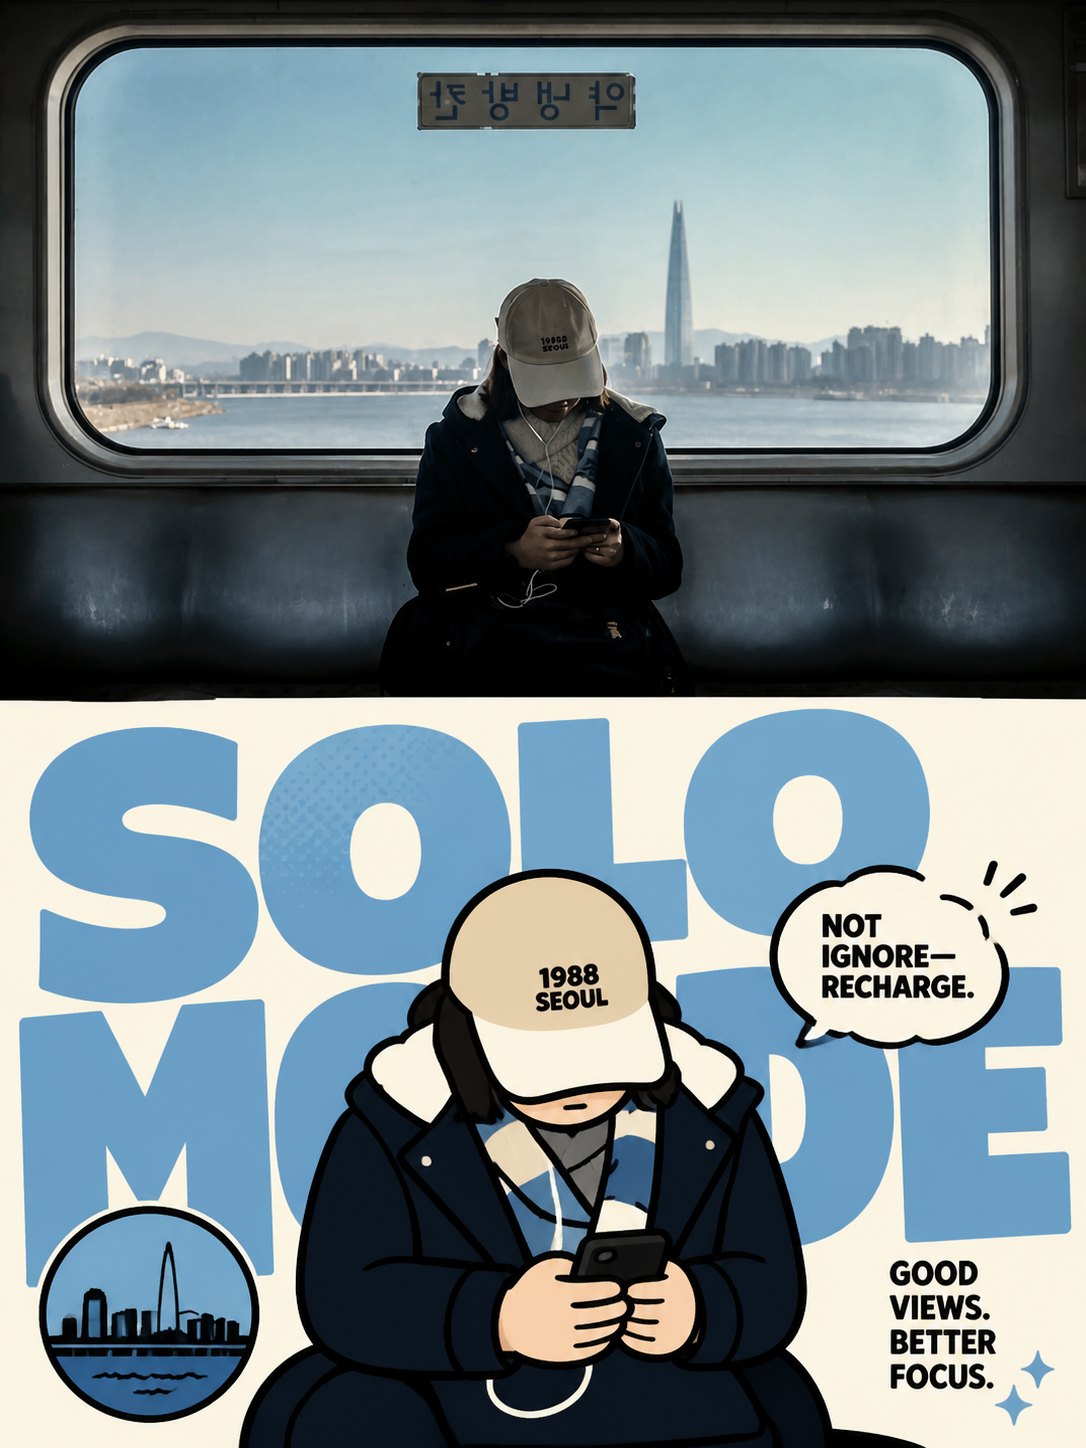
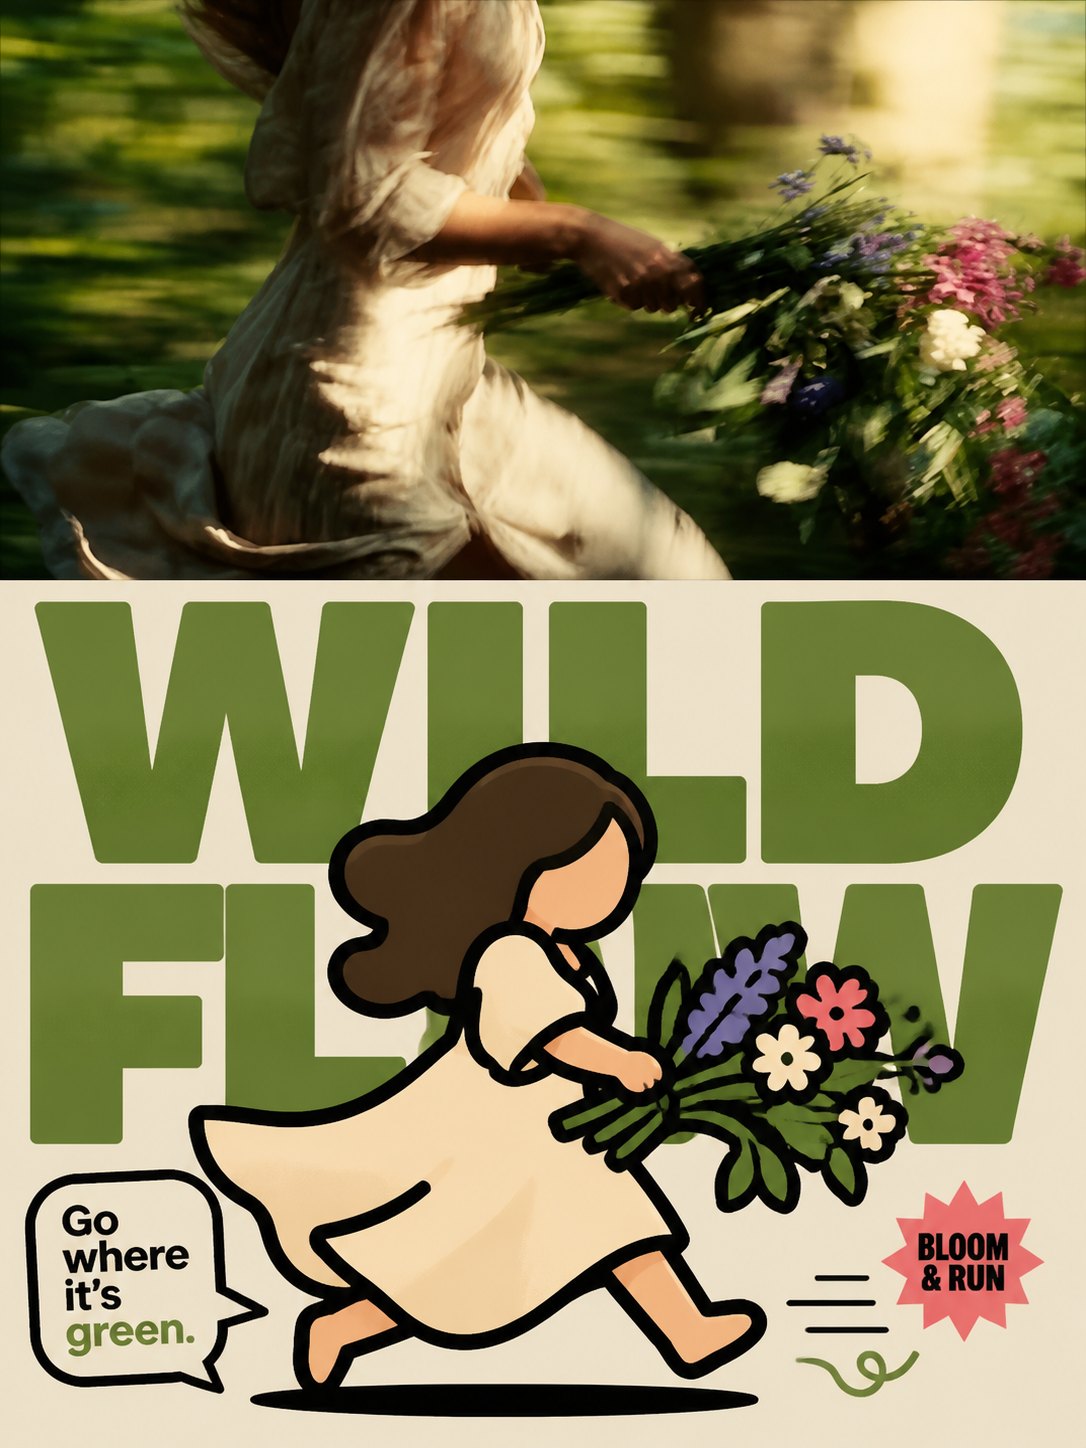
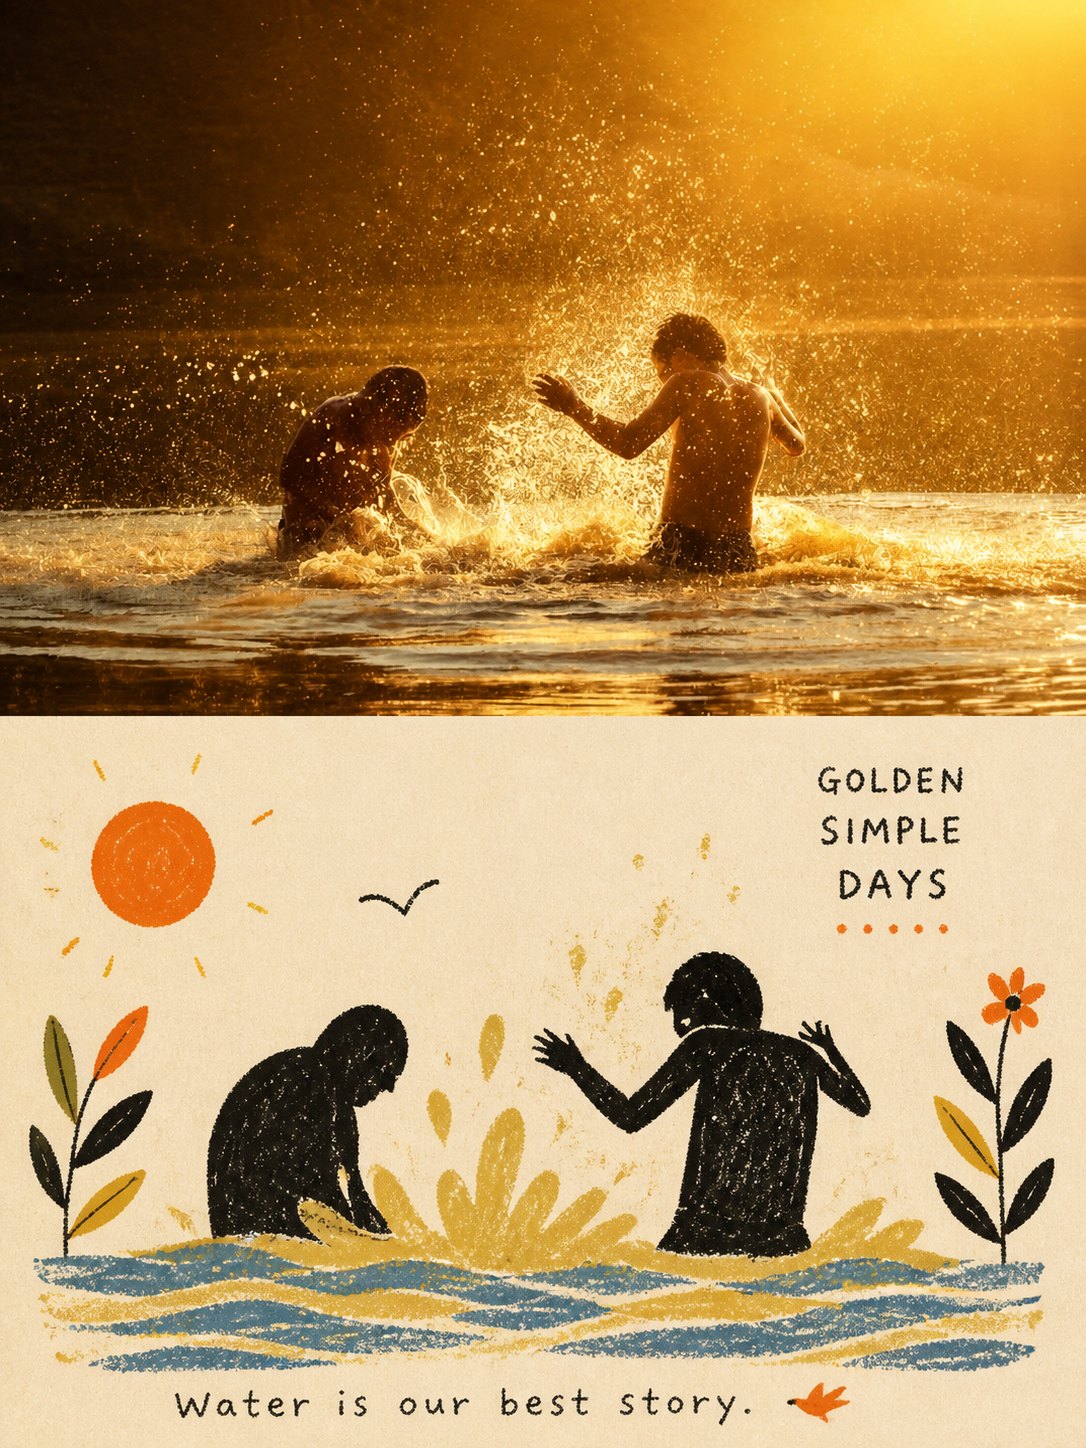
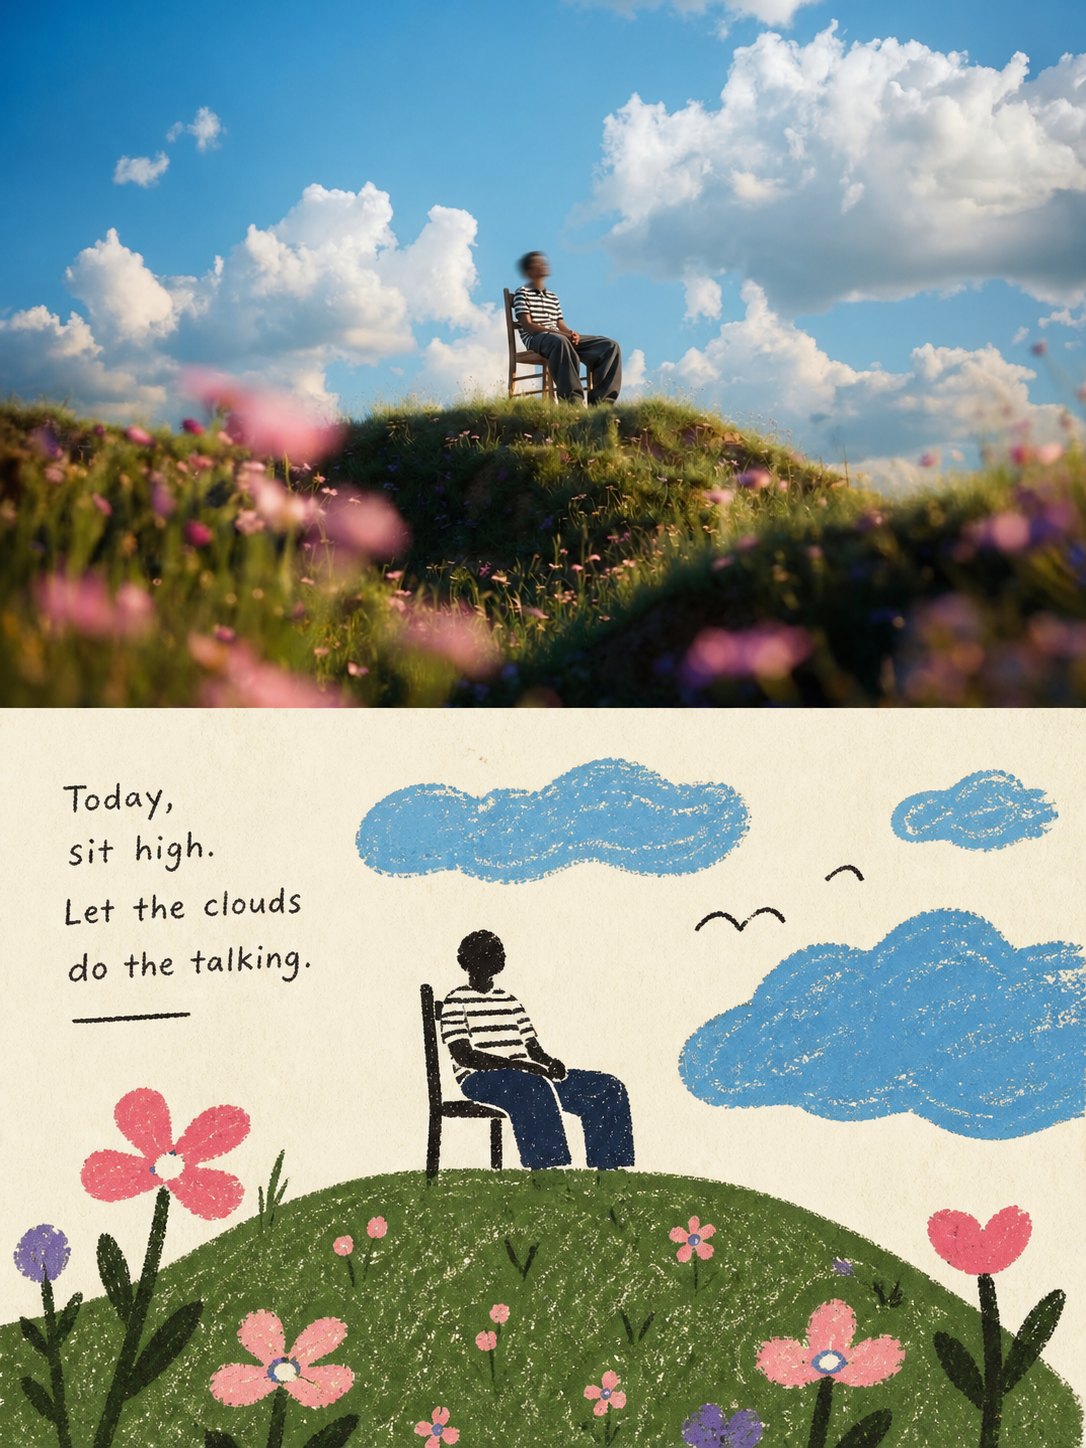
Please create a separate “Folk Ink-Line Colored Landmark Miniature” comparison poster for each of my uploaded travel photos. Output each photo individually, without splicing multiple photos into the same frame.
## Overall Layout
Adopt a 3:4 vertical composition.
Divide the frame into two roughly 1:1 height regions from top to bottom:
- Upper half: High-fidelity original photo;
- Lower half: A folk ink-line colored landmark miniature extracted from the same photo.
Use a straight, clear, restrained horizontal boundary between the upper and lower regions. No gradients, feathering, tearing, or allowing ink lines and color blocks to invade the photo area.
## Upper Half: Real Photo
Faithfully retain from the original photo:
- Landmark or building identity;
- Building height-to-width ratio;
- Frontal or side-frontal viewing angle;
- Relationships between roof, dome, tower, and doorway;
- Steps, columns, sculptures, and entry direction;
- Surrounding essential roads, trees, water surfaces, or walls;
- Authentic textures, natural light and shadow, and original color atmosphere.
Apply only light color grading as in travel magazines, independent publications, or art exhibition photography, and add extremely subtle film grain.
The upper half must remain a genuine photographic work. No illustration stylization, moving buildings, altering perspective, adding decorations, replacing skies, stretching, mirroring, or duplicating the subject.
## Lower Half: Landmark Miniature
Do not fully redraw the photo, nor add an ink-line filter to the photo.
First identify 2–4 most identity-defining structural elements of the building, such as:
- Roof or dome outline;
- Tower height relationships;
- Main doorway and arches;
- Steps and base direction;
- Column rhythm;
- Statue positions;
- Bridgehead, walls, or a short water bank segment.
Actively remove tourists, vehicles, advertisements, signs, dense plants, repeated window panes, brick joints, carvings, complex cornices, sky textures, and photographic noise.
The lower half should retain only the minimal information needed to instantly recognize the building.
The building miniature typically occupies 36%–55% of the rendering area, placed in the center, lower center, or offset to one side following the original photo’s focal gravity. Leave 45%–60% continuous warm white paper around it.
Delete the background first, then shrink the subject. Do not shrink an entire landscape and cram it into the lower half, nor fill the entire background.
## Ink Lines
On warm, off-white matte drawing paper with subtle paper fiber texture, redraw the building using thick, slightly tremulous black brush pens, oil-based markers, or broad ink pens.
Ink lines should convey real wrist pressure and paper resistance:
- Uneven thickness;
- Slight hesitations and retraces;
- Local redrawing;
- Occasional breaks in lines;
- Small ink blobs;
- Rough paper tooth marks;
- A few unclosed contours.
Start with a few firm outer contours to capture the roof, tower body, doorway, steps, and base, then use very few short lines, dotted ink marks, or small black patches to suggest internal structures.
Lines may appear slightly clumsy, but must accurately seize the building’s character. Do not render as fine pen architectural drawings, photo auto-traces, uniform-thickness vector outlines, or children’s coloring book sketches.
## Coloring
Use only 2–3 iconic colors extracted from the original photo, plus paper white and black ink to form the full palette.
Prioritize extracting:
- Representative color of the building walls or roof;
- One environmental color from sky, plants, water, or ground;
- If needed, add one darker visual anchor color.
Reduce color saturation slightly to create full, mildly aged, matte gouache flat washes.
Color blocks may show:
- Obvious brush strokes;
- Uneven coverage;
- Overruns past ink lines;
- Local misalignments;
- Unpainted whites;
- Edge gaps;
- Paper texture showing through.
Colors need not fit tightly inside lines. They should feel like the artist directly brushed a few old color patches onto the paper, not like closed digital fills from software.
Apply colors only to main walls, roof, ground, or two to three irregular backdrop patches—do not cover the entire background.
## Negative Space and Composition
The building miniature and text occupy two spaced-out areas of white paper.
- If the building leans left, place text on the right or upper right;
- If the building leans right, place text on the left or upper left;
- Maintain clear breathing room between building and text.
Beyond the building and text, retain at least one full, continuous, unmarked white paper area to let blankness evoke sky, distance, light, and the quiet of travel.
Do not use a template layout cramming all four corners with information.
## Text
By default, add a restrained but normally readable set of English travel labels.
Text content must be determined word-by-word based on photo facts before generation, including:
1. A 1–3 English word location or scene title;
2. A short field, such as “STUDY NO. 01” or “LANDMARK NOTE”;
3. One line of 5–10 English words as an observation sentence, describing actually visible roof, doorway, steps, colors, shoreline, or weather in the photo.
The main title uses slightly hesitant thick-pen English capitals, oil-based marker lettering, or handmade old type.
The title must be clearly readable at normal chat preview size, typically occupying 20%–32% of the lower half’s width. Allow slight unevenness, ink breaks, paper tooth, and handmade kerning, but not so sloppy as to be illegible.
Numbering and observation sentences are about 45%–65% of the title’s font height, using small old type, handwritten marginalia, or humanist sans-serif, while keeping them clearly readable.
Text uses black ink or one dark color extracted from the building’s color blocks, like it was directly written, drawn, or printed on the paper—not a floating smooth digital typesetting layer.
If the location cannot be reliably confirmed, use a real scene theme as the title; do not guess city, building name, date, or coordinates.
Prohibit Chinese titling, fake Chinese, pseudo-calligraphy, author names, signatures, social accounts, logos, QR codes, URLs, fictional places, and garbled text.
## Mandatory Avoids
Avoid:
fixed Chinese temple template, red-wall blue-background formula, invented stone lions, invented flags, fake seals, Chinese calligraphy, copied reference architecture, detailed pen-and-ink architecture drawing, transparent watercolor wash, screenprint halftone, full-page rubber stamp texture, woodcut hatching, automatic photo outlines, vector illustration, clean closed color fills, childish coloring-book style, cartoon landmark icon, complete background rendering, excessive architectural details, edge-to-edge painting, tiny unreadable typography, floating digital text, author signature, logo, watermark.
Most important rule:
The upper half must clearly retain the authentic original photo.
The lower half uses thick, slightly tremulous black ink lines to capture the most identity-defining roof, tower body, doorway, steps, or statue of the same building; then applies two to three slightly overrun, brush-marked old color flat washes to anchor the main relationships.
Actively remove details, shrink the building, add readable travel labels, and retain large continuous white paper, making the result feel like a earnest folk architectural miniature sketched on the road—not an architectural fine-drawing, photo filter, or generic cartoon landmark.
2026-08-31via @Hamburgerai